Home>Articles>How To Replace Drawer Slide On A Waterloo Tool Chest
Articles
How To Replace Drawer Slide On A Waterloo Tool Chest
Modified: August 16, 2024
Learn how to replace drawer slides on a Waterloo tool chest with this helpful article. Gain step-by-step instructions and expert tips to get your tools organized and working smoothly.
(Many of the links in this article redirect to a specific reviewed product. Your purchase of these products through affiliate links helps to generate commission for Storables.com, at no extra cost. Learn more)
Introduction
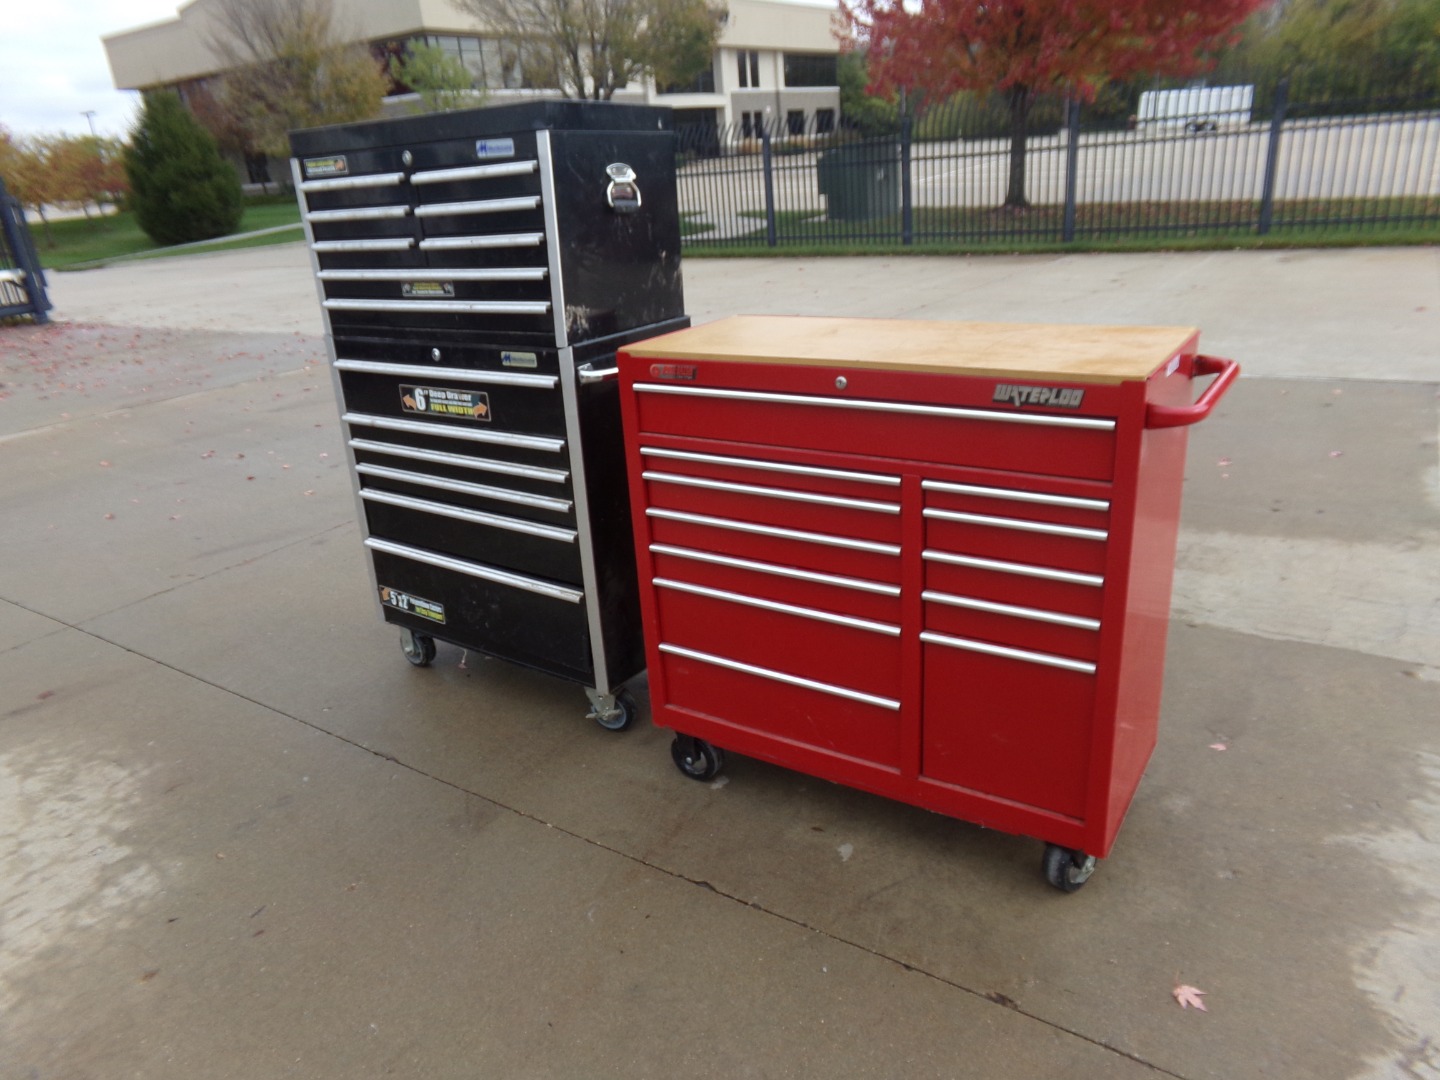
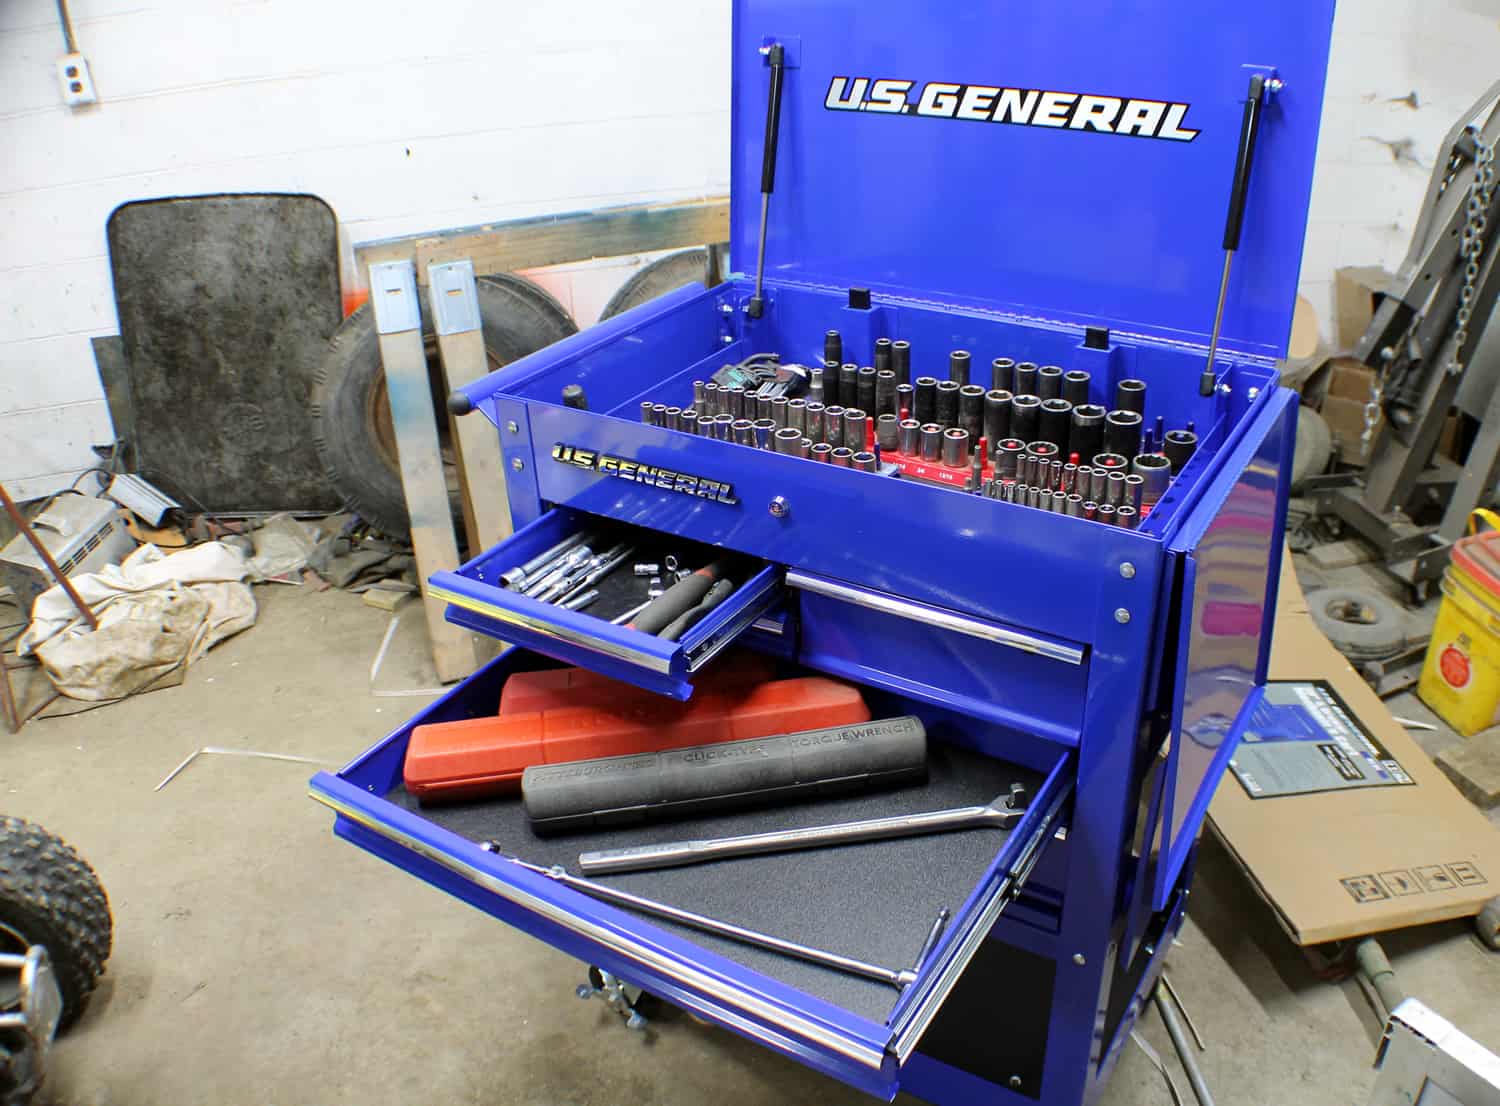
When it comes to organizing and storing your tools, a reliable tool chest is a must-have. Among the various components of a tool chest, the drawer slide plays a crucial role in ensuring smooth and effortless drawer movement. Over time, drawer slides may become worn out or damaged, resulting in difficulty opening and closing the drawers.
Fortunately, replacing a drawer slide on a Waterloo tool chest is a relatively simple task. With a few basic tools and some patience, you can restore the functionality of your tool chest and regain the convenience of seamless drawer operation.
In this article, we will guide you through the step-by-step process of replacing a drawer slide on a Waterloo tool chest. Whether you are a DIY enthusiast or a professional tradesperson, this guide will empower you to tackle this project with confidence and efficiency.
Before we begin, it’s important to note that the specific steps may vary depending on the model of your Waterloo tool chest and the type of drawer slide it utilizes. Therefore, it’s always a good idea to consult the manufacturer’s instructions or the user manual that came with your tool chest for detailed guidance.
Now, let’s gather the necessary tools and materials to get started on replacing the drawer slide on your Waterloo tool chest.
Key Takeaways:
- Replacing a drawer slide on a Waterloo tool chest is a simple DIY task that can be accomplished with basic tools and a suitable replacement slide. By following the step-by-step guide, you can restore smooth and effortless drawer movement, enhancing the functionality of your tool chest.
- Identifying the type of drawer slide, purchasing a compatible replacement, and ensuring proper installation are crucial steps in the process. Testing the new slide’s functionality and reinstallation of the drawer complete the rejuvenation of your Waterloo tool chest, providing convenience and efficiency in accessing your tools.
Read more: Where To Buy A Husky Tool Box Drawer Slides
Step 1: Gather necessary tools and materials
Before you embark on replacing the drawer slide on your Waterloo tool chest, it’s crucial to ensure you have all the necessary tools and materials at hand. Having everything ready beforehand will save you time and prevent any unnecessary interruptions during the process. Here’s a list of the tools and materials you’ll need:
- Phillips screwdriver: You’ll need this tool to remove screws and fasteners.
- Flathead screwdriver: This tool will come in handy for prying and removing components.
- Replacement drawer slide: Measure the dimensions of your current drawer slide and purchase a suitable replacement. Make sure to choose a drawer slide that matches the type and size of your tool chest.
- Tape measure: You’ll need this tool to accurately measure the dimensions of your drawer and ensure a proper fit for the new drawer slide.
- Pencil or marker: Use a pencil or marker to mark the position of the drawer slide and make reference points during the installation process.
- Rag or cloth: Having a rag or cloth nearby will help you clean any debris or dust that may accumulate during the process.
Once you have gathered all the necessary tools and materials, you can proceed to the next step: removing the drawer from the tool chest.
Step 2: Remove the drawer from the tool chest
Before you can replace the drawer slide, you’ll need to remove the drawer from your Waterloo tool chest. Follow these steps to safely remove the drawer:
- Open the drawer completely: Pull the drawer out as far as it will go.
- Remove the contents: Empty the drawer of any tools or items that may be inside. Set them aside in a safe location.
- Locate the release lever or latch: Depending on the model of your Waterloo tool chest, there may be a release lever or latch on either side of the drawer. These mechanisms are designed to secure the drawer in place.
- Activate the release mechanism: Use your fingers or a flathead screwdriver to activate the release lever or latch. Gently push or pull on the mechanism until you feel the drawer become free from the tool chest.
- Remove the drawer: Once the drawer is released, carefully lift it out of the tool chest, taking care not to strain yourself or damage the drawer or any surrounding components.
With the drawer removed, you can now proceed to the next step, which involves identifying the type of drawer slide used in your Waterloo tool chest.
Step 3: Identify the type of drawer slide
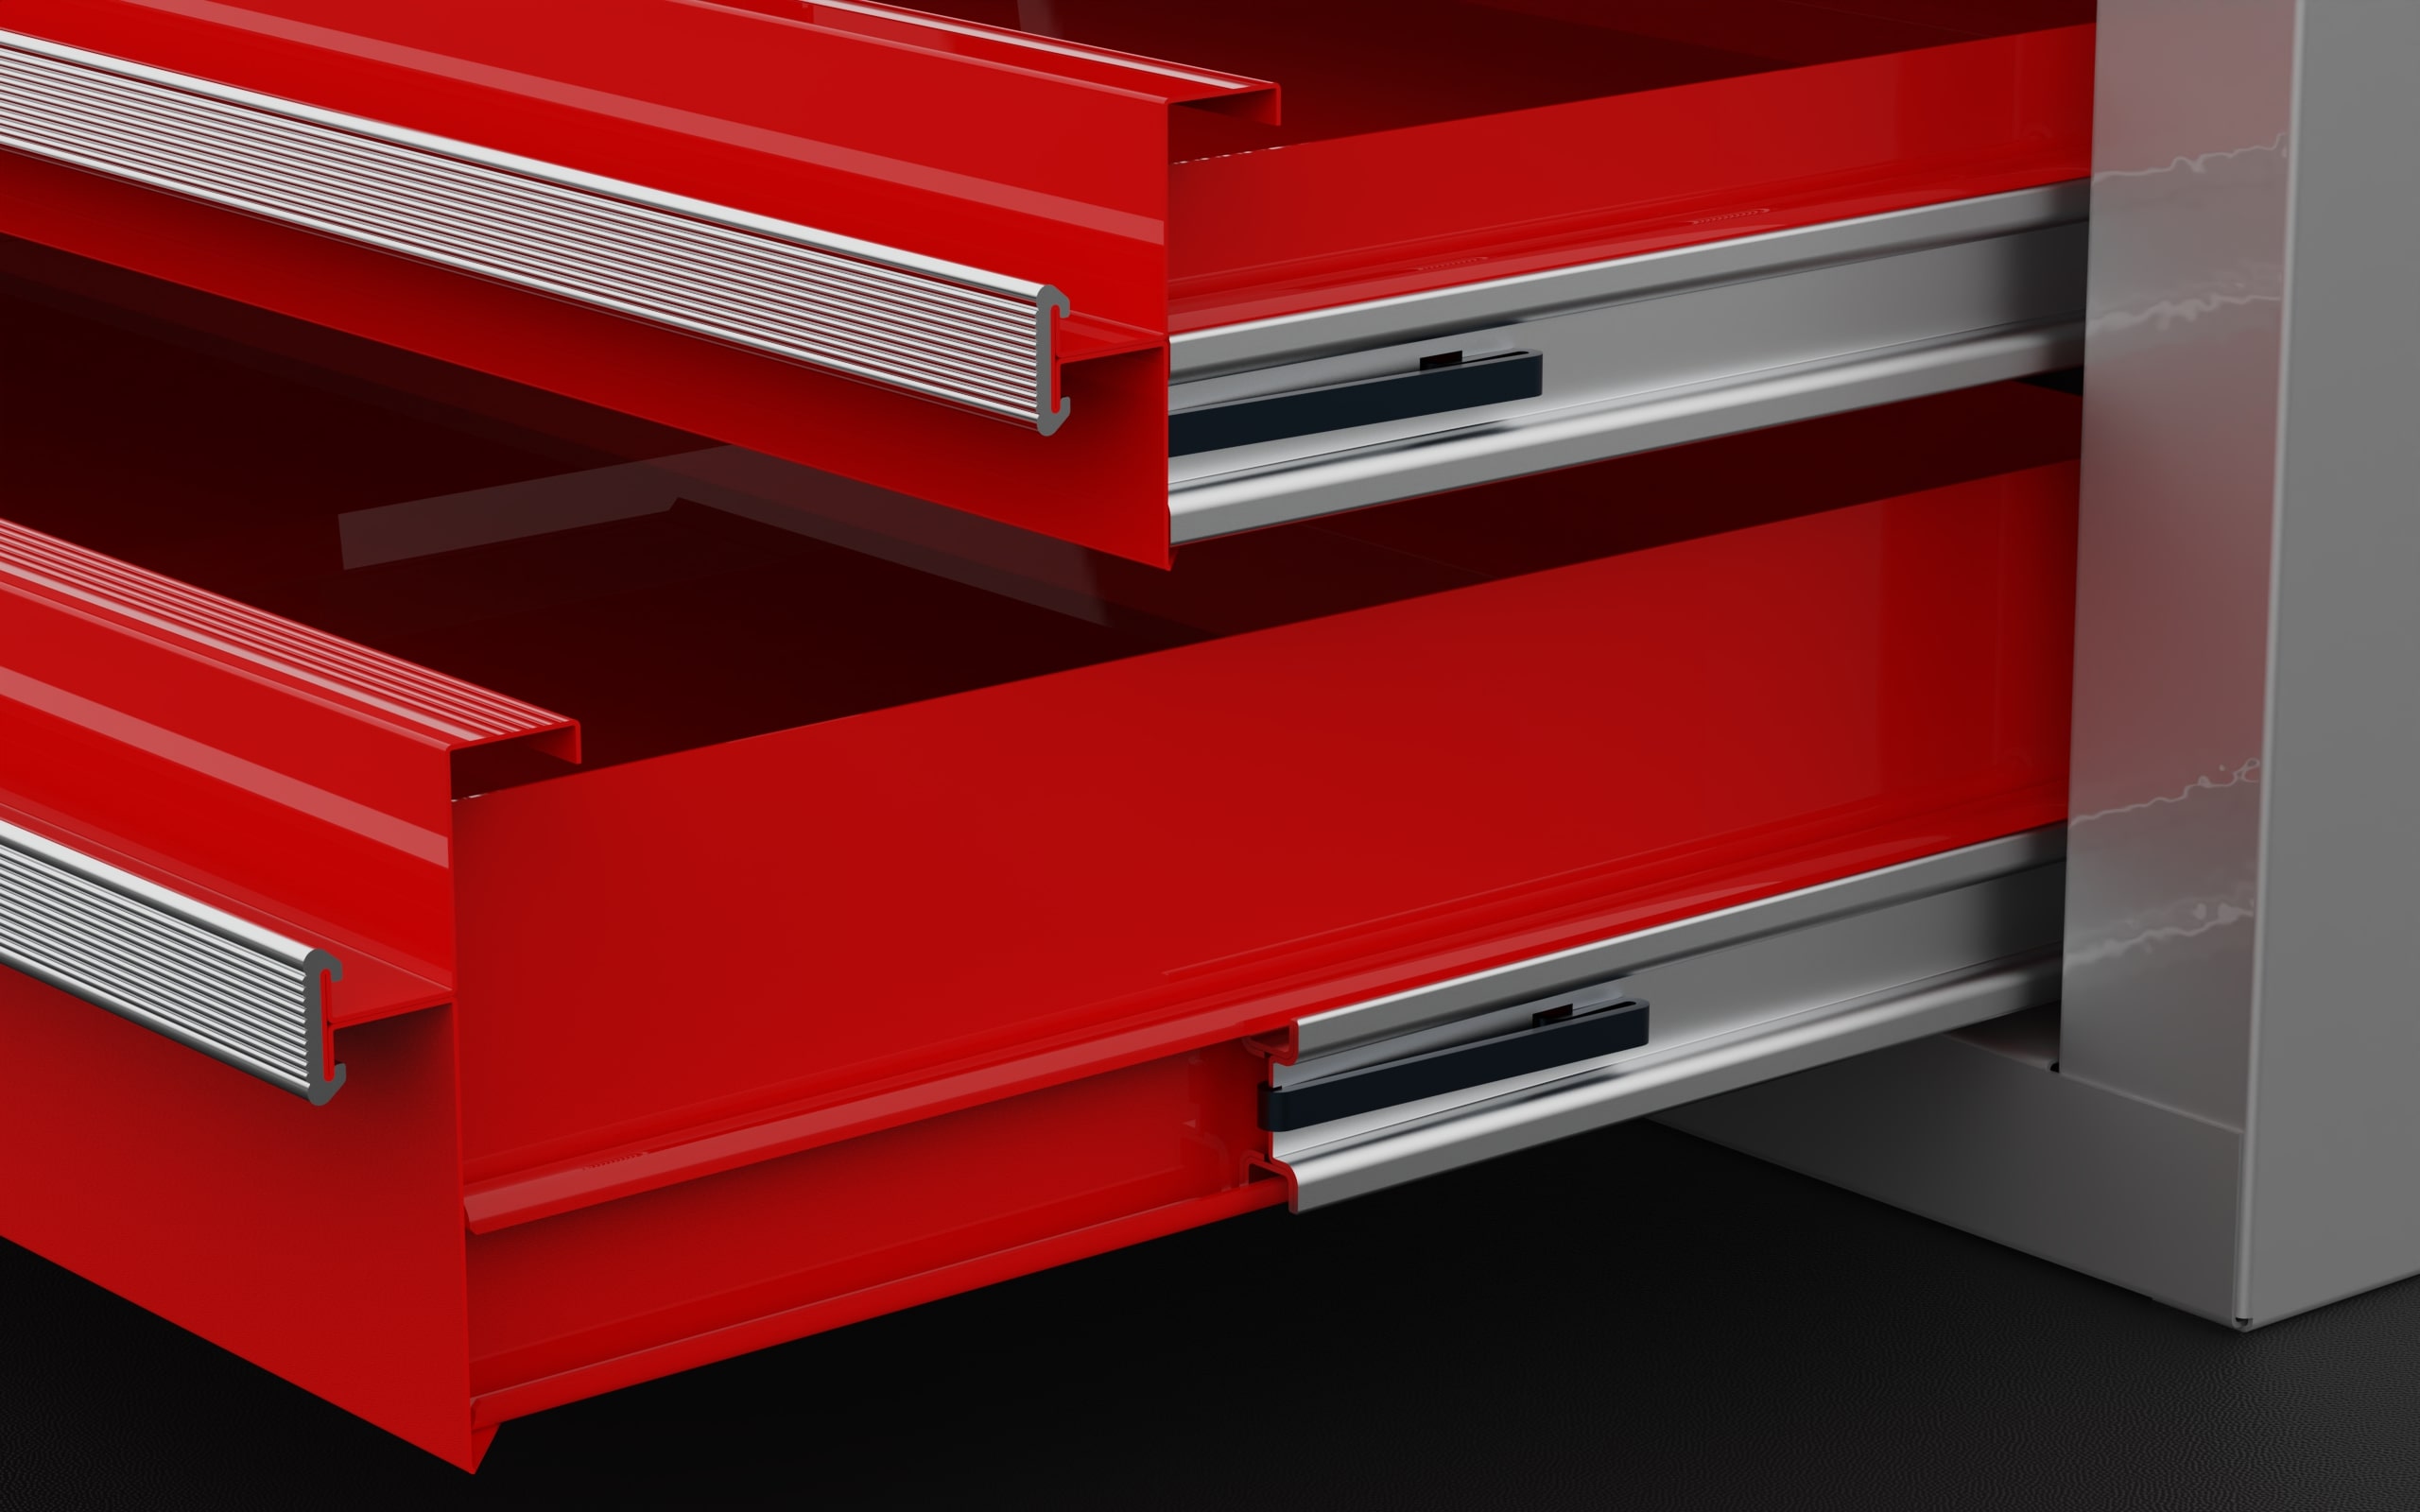
Before you can purchase the replacement drawer slide for your Waterloo tool chest, it’s important to identify the type of drawer slide that is currently installed. Different tool chests may utilize different types of drawer slides, such as ball-bearing slides, roller slides, or friction slides.
Here are a few ways to help you identify the type of drawer slide:
- Inspect the current drawer slide: Take a close look at the drawer slide that is installed in your tool chest. Look for any visible markings or labels that indicate the type or model of the drawer slide.
- Measure the dimensions: Measure the length, width, and height of the existing drawer slide. This will help you find a replacement drawer slide with the correct dimensions.
- Check the manufacturer’s documentation: Consult the manufacturer’s instructions or user manual for your Waterloo tool chest. They may provide information about the type of drawer slide used in your particular model.
- Research online: Use the model number or serial number of your tool chest to search for additional information online. Waterloo may have documentation or support materials available on their website that can assist you in identifying the type of drawer slide.
By identifying the type of drawer slide, you can ensure that the replacement you purchase is compatible with your Waterloo tool chest. Once you have determined the type, you can proceed to the next step: purchasing the replacement drawer slide.
Step 4: Purchase the replacement drawer slide
Now that you have identified the type of drawer slide used in your Waterloo tool chest, it’s time to purchase the replacement. Here are a few considerations to keep in mind when selecting a replacement drawer slide:
- Match the type: Ensure that the replacement drawer slide matches the type of slide used in your tool chest. This could be a ball-bearing slide, roller slide, or friction slide.
- Choose the correct size: Measure the dimensions of your current drawer slide and select a replacement that matches those measurements. Pay attention to the length, width, and height of the slide.
- Consider the weight capacity: Check the weight capacity of the replacement drawer slide to ensure it can support the items and tools you typically store in your tool chest.
- Quality and durability: Look for drawer slides that are made from high-quality materials and have a reputation for durability. This will ensure that your replacement slide will withstand frequent use and last for years to come.
- Check customer reviews: Before making your purchase, take a moment to read customer reviews of the replacement drawer slide. This will give you insight into the experiences of others who have used the slide and can help you make an informed decision.
You can purchase replacement drawer slides from various hardware stores, home improvement centers, or even online retailers. Make sure to compare prices and options to find the best match for your needs and budget.
Once you have obtained the replacement drawer slide, you’re ready to move on to the next step: removing the old drawer slide from your Waterloo tool chest.
When replacing drawer slides on a Waterloo tool chest, make sure to measure the length and width of the existing slides before purchasing new ones. Also, consider the weight capacity and material of the new slides to ensure they are suitable for your needs.
Read more: How To Repair Craftsman Tool Chest Drawer
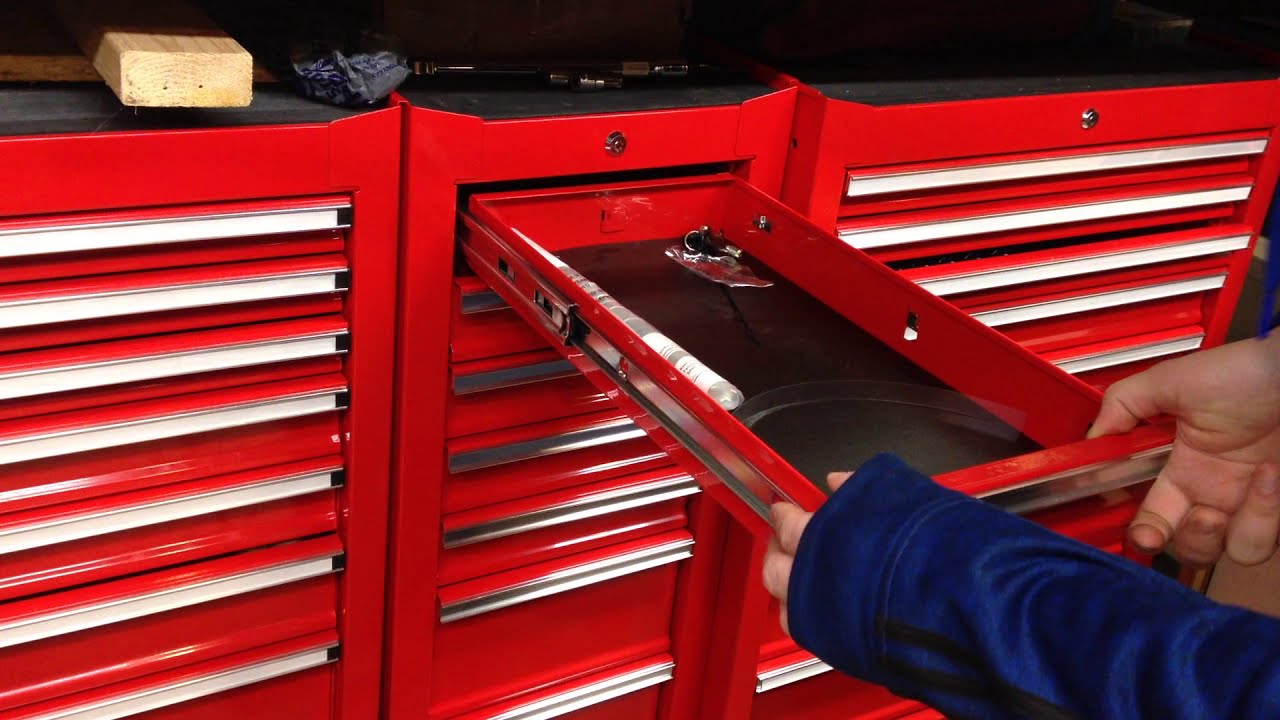
Step 5: Remove the old drawer slide
Now that you have the replacement drawer slide ready, it’s time to remove the old, worn-out slide from your Waterloo tool chest. Follow these steps to remove the old drawer slide:
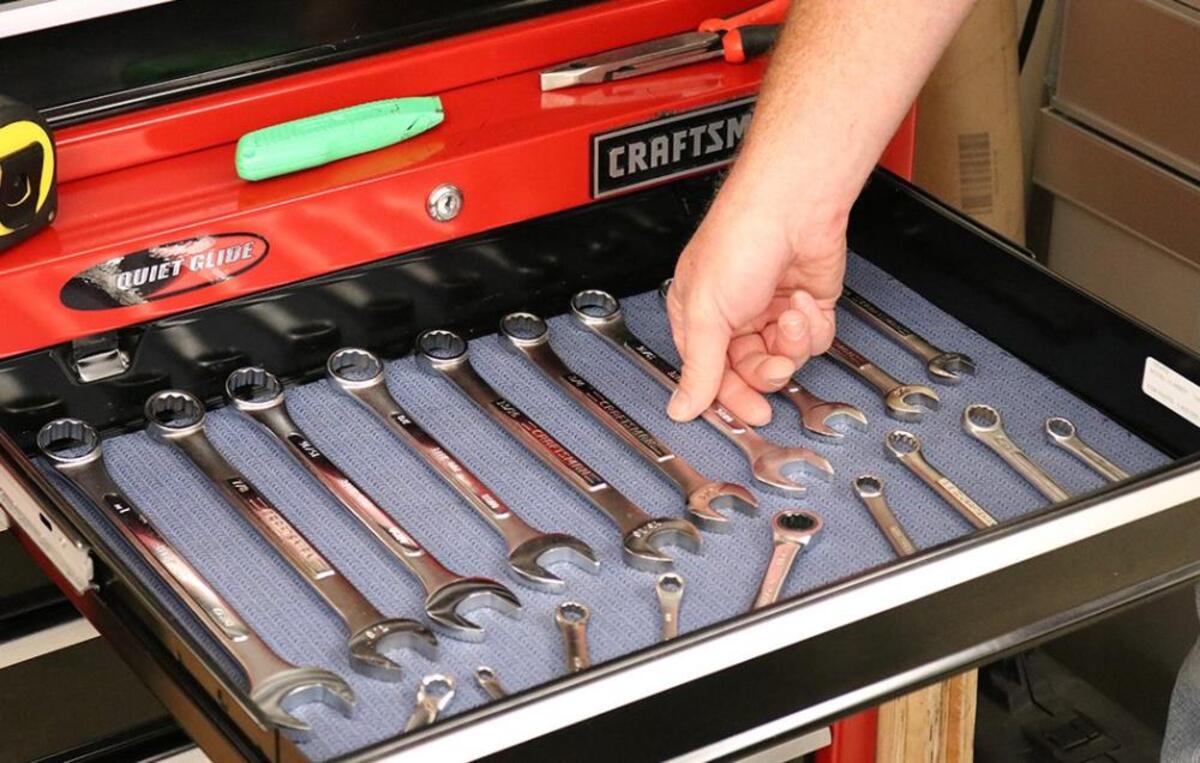
- Empty the drawer: Remove all tools, items, and equipment from the drawer to make it easier to work with.
- Inspect the existing slide: Take a close look at how the old drawer slide is attached to the drawer and the tool chest. Identify any screws, bolts, or fasteners that are securing the slide in place.
- Remove the screws or bolts: Using a screwdriver or appropriate tool, carefully remove the screws or bolts that are holding the old slide in place. Keep them in a safe place for later use or discard them if they are damaged or worn out.
- Detach the old slide: Once the screws or bolts are removed, gently lift the old slide from the drawer and tool chest. Be cautious not to damage any other components during this process.
- Clean the area: Take a moment to clean any debris or dust that may have accumulated during the removal process. Use a rag or cloth to wipe down the surfaces and ensure a clean workspace.
With the old drawer slide removed, you’re now ready to proceed to the next step: installing the new drawer slide.
Step 6: Install the new drawer slide
With the old drawer slide successfully removed, it’s time to install the new replacement slide in your Waterloo tool chest. Follow these steps to ensure a proper installation:
- Position the new slide: Take the new drawer slide and position it in the desired location inside the tool chest. Make sure it is aligned correctly and level with the other side of the tool chest or any existing slide.
- Mark the mounting holes: Use a pencil or marker to mark the locations of the mounting holes on both the tool chest and the drawer. These marks will serve as reference points for attaching the slide.
- Attach the slide to the tool chest: With the marks in place, secure the new slide to the tool chest using screws or bolts. Make sure to tighten them securely, but avoid over-tightening, as it may cause damage or misalignment.
- Attach the slide to the drawer: Similarly, attach the other end of the new slide to the drawer using the marked mounting holes. Again, secure the screws or bolts without over-tightening.
- Test the slide: Once the slide is attached to both the tool chest and the drawer, test its functionality by slowly sliding the drawer in and out. Ensure that the slide operates smoothly and without any obstructions or misalignment.
During the installation process, it’s important to double-check the alignment and levelness of the new slide. This will guarantee proper functioning and prevent any issues down the line.
Now that you have successfully installed the new drawer slide, you’re ready to move on to the next step: testing the drawer slide to ensure its effectiveness.
Step 7: Test the drawer slide
After installing the new drawer slide in your Waterloo tool chest, it’s crucial to test its functionality to ensure that it operates smoothly and without any issues. Follow these steps to properly test the drawer slide:
- Make sure the tool chest is stable: Ensure that your Waterloo tool chest is on a stable and level surface to prevent any wobbling or instability during the testing process.
- Slowly slide the drawer in and out: Gently push the drawer back into the tool chest. Pay attention to how smoothly it glides along the new slide. It should move easily and without any resistance.
- Check for proper alignment: While sliding the drawer in and out, observe if it stays properly aligned with the tool chest. There should be no tilting or sagging of the drawer.
- Test the latch or locking mechanism: If your Waterloo tool chest has a latch or locking mechanism, engage and disengage it to ensure it functions properly with the new drawer slide.
- Ensure full extension: Pull the drawer out completely to test if it can fully extend without any restrictions. It should smoothly extend to its maximum length without any hitches.
- Listen for any unusual sounds: As you test the drawer slide, listen for any unusual noises such as scraping or grinding sounds. These may indicate improper installation or other issues that need to be addressed.
If you encounter any issues or notice any problems during the testing process, it’s important to troubleshoot and address them before continuing to use your Waterloo tool chest. Refer to the manufacturer’s instructions or seek professional assistance if necessary.
Once you are satisfied with the performance of the new drawer slide and everything is functioning smoothly, you can proceed to the final step: reinstalling the drawer in your tool chest.
Step 8: Reinstall the drawer in the tool chest
After successfully testing the functionality of the new drawer slide, it’s time to reinstall the drawer into your Waterloo tool chest. Follow these steps to ensure a proper reinstallation:
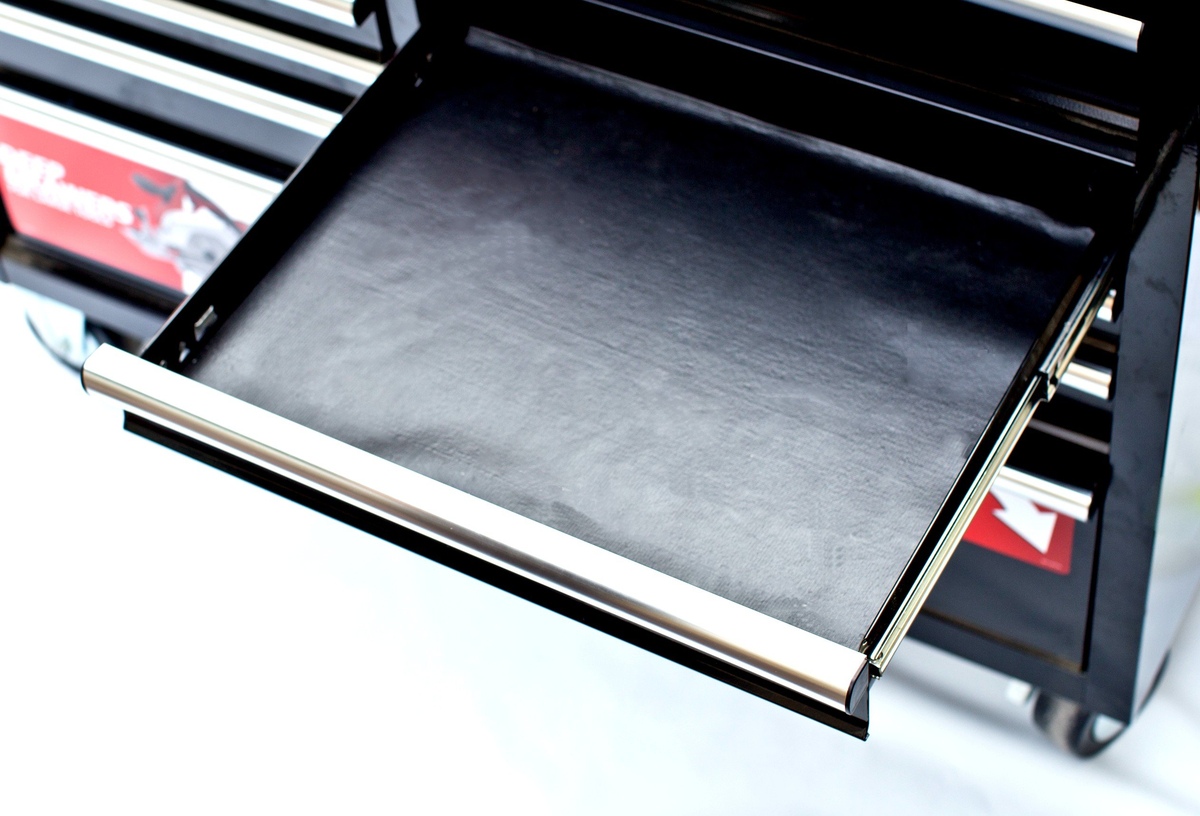
- Position the drawer: Align the drawer with the opening in the tool chest, making sure it is level and centered.
- Slide the drawer into place: Slowly and carefully slide the drawer back into the tool chest, ensuring that it engages with the new slide.
- Secure the drawer: If your Waterloo tool chest has a latch or locking mechanism, engage it to secure the drawer in place. This will prevent it from accidentally sliding out during use.
- Test the drawer’s movement: Once the drawer is back in place, test its movement by opening and closing it. Verify that it operates smoothly and without any issues.
- Check for proper alignment: Ensure that the drawer is properly aligned with the other drawers and the tool chest. It should sit level and flush with the surrounding components.
During the reinstallation process, it’s important to be gentle and careful to avoid any damage to the drawer, the new slide, or other parts of your Waterloo tool chest. Take your time to ensure a proper fit and alignment.
With the drawer reinstalled and functioning smoothly, your Waterloo tool chest is now ready for use. You can confidently store and access your tools and equipment, knowing that the drawer slide has been replaced and optimized for optimal performance.
Finally, take a moment to clean up your workspace and properly dispose of any packaging materials or old drawer slides. Keeping your workspace organized and clutter-free will contribute to a more efficient and enjoyable working environment.
Congratulations! You have successfully replaced the drawer slide on your Waterloo tool chest, rejuvenating its functionality and extending its lifespan. Now you can enjoy the convenience and ease of accessing your tools with a smooth-operating drawer slide.
Read more: How To Remove Stanley Tool Chest Drawers
Conclusion
Replacing a drawer slide on your Waterloo tool chest is a practical and straightforward task that can enhance the functionality and convenience of your toolbox. By following the step-by-step guide outlined in this article, you have learned how to tackle this project with confidence and efficiency.
Throughout the process, you have gathered the necessary tools and materials, removed the drawer from the tool chest, identified the type of drawer slide, purchased a suitable replacement, removed the old slide, installed the new slide, tested its functionality, and finally, reinstalled the drawer into the tool chest.
By taking the time to properly replace a worn-out or damaged drawer slide, you ensure that your tool chest continues to serve its purpose effectively and effortlessly. A smooth-operating drawer slide allows for easy access to your tools and equipment, promoting efficiency and organization in your workspace.
Remember to always consult the manufacturer’s instructions or user manual specific to your Waterloo tool chest, as the steps and considerations may vary depending on the model and type of drawer slide used.
We hope this guide has provided you with valuable insights and guidance on how to replace a drawer slide on your Waterloo tool chest. With these newfound skills, you can confidently maintain and enhance the functionality of your toolbox for years to come.
So, go ahead and embark on this DIY project, revitalize your tool chest, and enjoy the seamless drawer movement that a new drawer slide provides. Happy organizing!
Now that you've mastered replacing drawer slides on your Waterloo tool chest, why not take your organizational skills to the next level? Check out our comprehensive guide on the latest and greatest options for tool storage, perfect for keeping all your equipment in tip-top shape. For enthusiasts keen on specific brands, our exclusive insights into top Waterloo tool chests will surely pique your interest. Both articles offer practical advice to optimize your workspace and keep your tools safe and sound.
Frequently Asked Questions about How To Replace Drawer Slide On A Waterloo Tool Chest
Was this page helpful?
At Storables.com, we guarantee accurate and reliable information. Our content, validated by Expert Board Contributors, is crafted following stringent Editorial Policies. We're committed to providing you with well-researched, expert-backed insights for all your informational needs.


0 thoughts on “How To Replace Drawer Slide On A Waterloo Tool Chest”