Articles
How To Replace Garage Door Bottom Seal
Modified: February 23, 2024
Learn how to replace your garage door bottom seal with this helpful articles. Step-by-step instructions and tips to ensure a proper seal replacement.
(Many of the links in this article redirect to a specific reviewed product. Your purchase of these products through affiliate links helps to generate commission for Storables.com, at no extra cost. Learn more)
Introduction
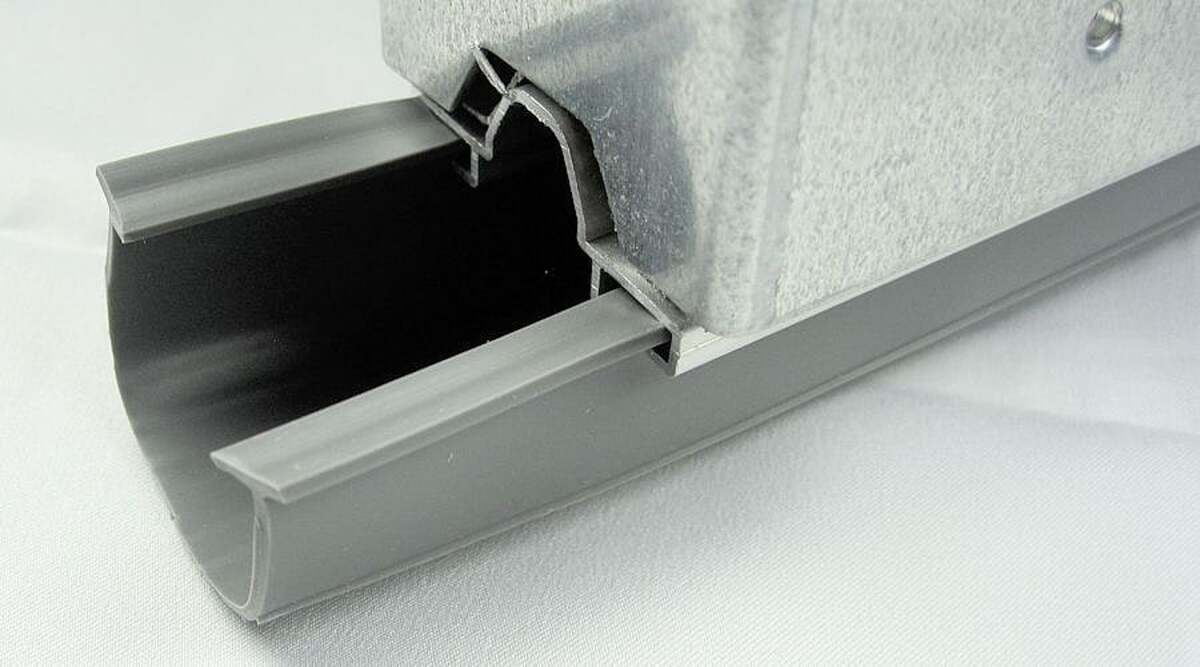
Welcome to our comprehensive guide on how to replace the garage door bottom seal. Over time, the bottom seal of your garage door can deteriorate, become brittle, or get damaged, causing air drafts, water leaks, and potential pest infestations. Replacing the bottom seal is a relatively simple DIY task that can help improve the energy efficiency and weather resistance of your garage. In this article, we will take you through the step-by-step process of replacing the garage door bottom seal, ensuring a tight and secure seal for your garage.
To successfully complete this project, you will need a few tools and materials. Let’s gather them before we dive into the step-by-step instructions.
Key Takeaways:
- Easily improve your garage’s energy efficiency and weather resistance by replacing the bottom seal with simple DIY steps and basic tools.
- Ensure a snug and effective seal for your garage door by accurately measuring, removing, purchasing, cutting, attaching, and testing the new bottom seal.
Read more: How To Seal Garage Door Sides
Tools and Materials Needed
Before you get started, make sure you have the following tools and materials:
- Tape measure
- Screwdriver (flathead or Phillips, depending on your garage door)
- Utility knife
- Pliers
- Replacement garage door bottom seal
It’s important to note that the specific tools and materials needed may vary depending on the type and model of your garage door. Make sure to consult your garage door manufacturer’s instructions or contact a professional if you have any doubts about the tools and materials required.
Once you have gathered all the necessary tools and materials, you’re ready to begin the process of replacing your garage door bottom seal.
Step 1: Measure the Bottom Gap
The first step in replacing the garage door bottom seal is to accurately measure the bottom gap. This will ensure that you purchase the correct size of replacement seal.
- Close your garage door fully, ensuring that it is securely shut.
- Take a tape measure and measure the length of the bottom gap. Start measuring from one end of the garage door and extend the tape measure to the other end.
- Make note of the measured length. It’s a good idea to measure the width of the gap as well, as some seals come in different widths.
Once you have measured the bottom gap of your garage door, you can proceed to the next step of removing the old bottom seal.
Step 2: Remove the Old Bottom Seal
Now that you have measured the bottom gap, it’s time to remove the old bottom seal. Follow these steps to remove the old seal:
- Open your garage door fully to access the bottom seal.
- Inspect the bottom seal and locate any screws or nails that may be securing it in place. Use a screwdriver or pliers to remove any fasteners.
- Once the fasteners are removed, pull the old bottom seal away from the garage door. Be careful not to damage the door or track during this process.
- Inspect the area to ensure that the old seal and any remaining debris are completely removed. Use a brush or vacuum cleaner to clean the bottom of the garage door.
With the old bottom seal removed, you are now ready to move on to the next step of purchasing the new bottom seal.
Step 3: Purchase the New Bottom Seal
After removing the old bottom seal, it’s time to purchase a new one. Here’s how you can select and purchase the right bottom seal for your garage door:
- Before shopping for a new bottom seal, measure the length and width of the bottom gap, as well as the thickness of the existing seal if possible.
- Visit your local hardware store or home improvement center to find a replacement bottom seal that matches the measurements you have taken. If you prefer, you can also search online for garage door bottom seals.
- Consider the material of the new seal. Most seals are made of rubber or vinyl. Rubber seals tend to be more durable and weather-resistant, while vinyl seals are more affordable.
- Check for any specific compatibility requirements based on your garage door model or type. Some bottom seals are designed for specific brands or types of garage doors.
- Compare prices and read customer reviews to ensure you are purchasing a high-quality bottom seal that suits your needs.
- Once you have selected the right bottom seal, proceed to purchase it either in-store or online.
With your new bottom seal in hand, you are now ready to move on to the next step of cutting the seal to size.
When replacing the garage door bottom seal, make sure to measure the width of the door to ensure you purchase the correct size seal. Clean the bottom of the door before installing the new seal to ensure a proper fit and seal.
Read more: How To Replace Freezer Door Seal
Step 4: Cut the New Bottom Seal to Size
Now that you have purchased the new bottom seal, it’s time to cut it to the correct size before installing it. Follow these steps to cut the new seal:
- Place the new bottom seal on a flat surface, such as a workbench or cutting mat.
- Take measurements of the bottom gap once again to ensure accuracy.
- Using a tape measure, mark the desired length on the new seal. Double-check your measurements before cutting.
- Use a utility knife to carefully cut the new seal along the marked line. Make sure to apply enough pressure to cut through the material without damaging it.
- If necessary, cut the seal to the appropriate width to match the bottom gap. You can use scissors or a utility knife for this task.
It’s important to cut the new bottom seal precisely to fit the dimensions of the bottom gap. This will ensure a snug and effective seal when installed on your garage door.
With the new bottom seal cut to size, you are now ready to move on to the next step of attaching it to the garage door.
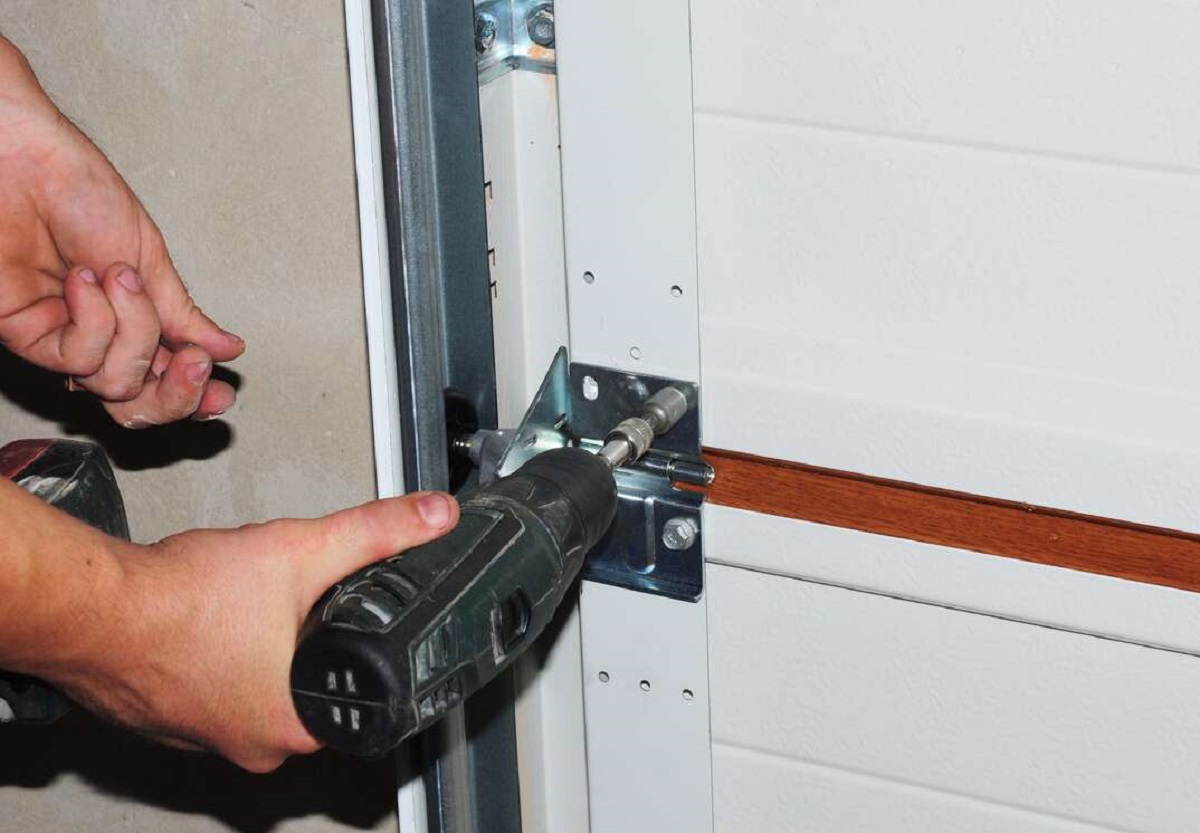
Step 5: Attach the New Bottom Seal to the Garage Door
With the new bottom seal cut to the correct size, it’s time to attach it to the garage door. Follow these steps to securely install the new bottom seal:
- Close your garage door to access the bottom gap.
- Start from one end of the garage door and position the new bottom seal along the bottom gap. Ensure that the seal is centered and aligned properly.
- Depending on the type of bottom seal you have, there may be different attachment methods. Check the manufacturer’s instructions for specific guidance. Common attachment methods include:
- Screws: Pre-drill holes along the seal and secure it to the garage door using screws.
- Adhesive: Apply a suitable adhesive to the back of the seal and press it firmly onto the garage door.
- Clips: Some bottom seals come with built-in clips that can be fastened to the garage door.
- Follow the manufacturer’s instructions to properly attach the new bottom seal. Make sure it is securely fastened and tightly sealed against the garage door.
Take your time during this step to ensure that the new bottom seal is installed correctly. A properly installed seal will provide an effective barrier against air drafts, water, and pests.
With the new bottom seal attached, you’re ready to move on to the final step of testing the bottom seal.
Step 6: Test the Bottom Seal
After attaching the new bottom seal to your garage door, it’s crucial to test its effectiveness and make any necessary adjustments. Follow these steps to test the bottom seal:
- Close the garage door and observe the bottom seal carefully. Check for any gaps or areas where the seal is not properly sealed against the floor.
- If you notice any gaps or gaps, adjust the position of the seal as needed. This may require tightening any screws or reattaching the adhesive.
- Open and close the garage door a few times to ensure smooth operation and proper alignment of the seal with the floor. Watch for any signs of the seal coming loose or getting caught on the door.
- If necessary, make any additional adjustments to the seal to ensure a tight and secure fit.
Testing the bottom seal is essential to ensure that it effectively prevents air drafts, water leaks, and pests from entering your garage. It also helps to maintain proper insulation and energy efficiency.
Congratulations! You have successfully replaced the garage door bottom seal. By following these steps, you have improved the functionality and weather resistance of your garage door.
Remember to periodically inspect the bottom seal for any signs of wear or damage. If needed, replace the seal to maintain its effectiveness. Maintaining a proper seal is crucial for the long-term performance and durability of your garage door.
Thank you for following this guide, and we hope you found it helpful. If you have any further questions or need assistance, don’t hesitate to consult a professional or reach out to your garage door manufacturer.
Happy DIY-ing!
Conclusion
Replacing the garage door bottom seal is a relatively simple DIY task that can profoundly impact the energy efficiency and weather protection of your garage. By following our step-by-step guide, you can successfully replace the old and worn-out seal with a new one, ensuring a tight and secure fit.
Throughout the process, we discussed the tools and materials needed, the importance of measuring the bottom gap accurately, removing the old bottom seal, purchasing the appropriate replacement, cutting the new seal to size, attaching it to the garage door, and testing its effectiveness.
By taking the time to properly install a new bottom seal, you can enjoy several benefits. It helps to keep out unwanted air drafts, water leaks, and pests. It also contributes to better insulation, improved energy efficiency, and increased overall comfort in your garage.
Remember to periodically inspect and maintain the bottom seal. Over time, it may wear out or become damaged, necessitating a replacement. By staying proactive with maintenance, you can ensure that your garage door remains in optimal condition.
If you have any concerns or doubts about replacing the garage door bottom seal, it’s always a good idea to consult a professional or refer to the specific instructions provided by your garage door manufacturer.
We hope that this comprehensive guide has empowered you to confidently tackle the task of replacing the garage door bottom seal. Enjoy the benefits of a properly sealed garage door, and may your garage remain protected, efficient, and comfortable for years to come.
Frequently Asked Questions about How To Replace Garage Door Bottom Seal
Was this page helpful?
At Storables.com, we guarantee accurate and reliable information. Our content, validated by Expert Board Contributors, is crafted following stringent Editorial Policies. We're committed to providing you with well-researched, expert-backed insights for all your informational needs.


0 thoughts on “How To Replace Garage Door Bottom Seal”