Articles
How To Replace Garage Door Panels
Modified: February 23, 2024
Looking to replace your garage door panels? Check out our informative articles for step-by-step guides and expert advice on garage door panel replacement.
(Many of the links in this article redirect to a specific reviewed product. Your purchase of these products through affiliate links helps to generate commission for Storables.com, at no extra cost. Learn more)
Introduction
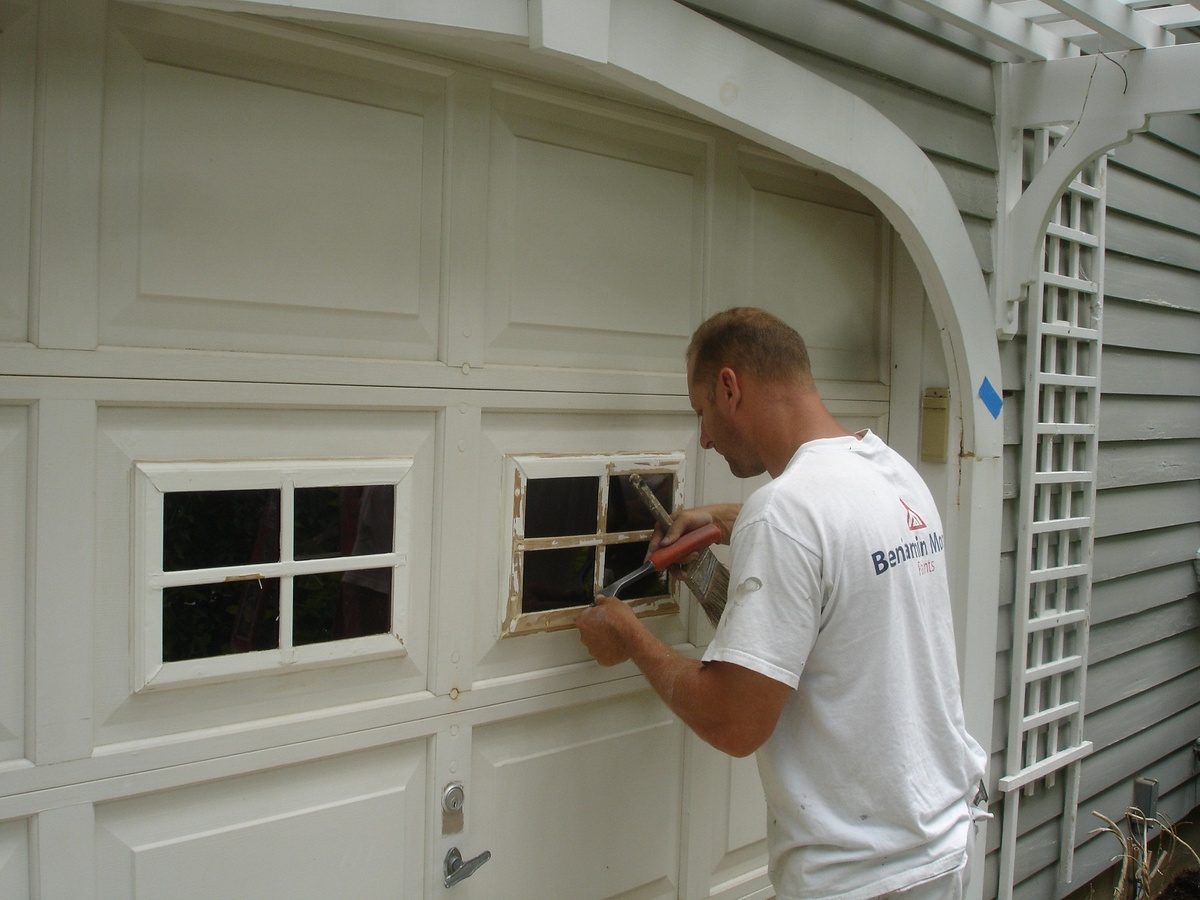
Gone are the days of tedious and expensive full garage door replacements. If you have damaged panels on your garage door, there’s no need to replace the entire door. With a few simple tools and materials, you can easily replace the damaged panels and restore the functionality and appearance of your garage door.
In this article, we will guide you through the step-by-step process of replacing garage door panels. Whether your panels are dented, cracked, or just need a refresh, this DIY project can save you time and money. So, let’s dive in and get started!
Key Takeaways:
- Save time and money by replacing damaged garage door panels instead of the entire door. Follow our step-by-step guide for a DIY project that restores functionality and enhances the appearance of your garage.
- Ensure safety, proper alignment, and smooth operation when replacing garage door panels. Enjoy the satisfaction of a successful DIY project and a visually pleasing, functional garage door for years to come.
Read more: How To Repair A Garage Door Panel
Step 1: Gathering the necessary tools and materials
Before you begin the process of replacing garage door panels, it is important to gather all the necessary tools and materials. Here’s a list of what you’ll need:
- Replacement garage door panels: Measure the dimensions of your existing panels to ensure you purchase the correct size and material.
- Screwdriver or power drill: You’ll need this to remove the screws or bolts holding the old panels in place.
- Replacement screws or bolts: If the existing ones are damaged or rusty, it’s a good idea to have a supply of new screws or bolts on hand.
- Hammer: In case you need to gently tap the panels into position during installation.
- Tape measure: You’ll need this to accurately measure the dimensions of the damaged panels and the new replacement panels.
- Safety glasses and gloves: Protecting your eyes and hands is important while working with tools and handling panels.
- Optional: Lubricant spray or silicone-based lubricant to ensure smooth operation of the door.
Once you have gathered all of the necessary tools and materials, you are ready to move on to the next step.
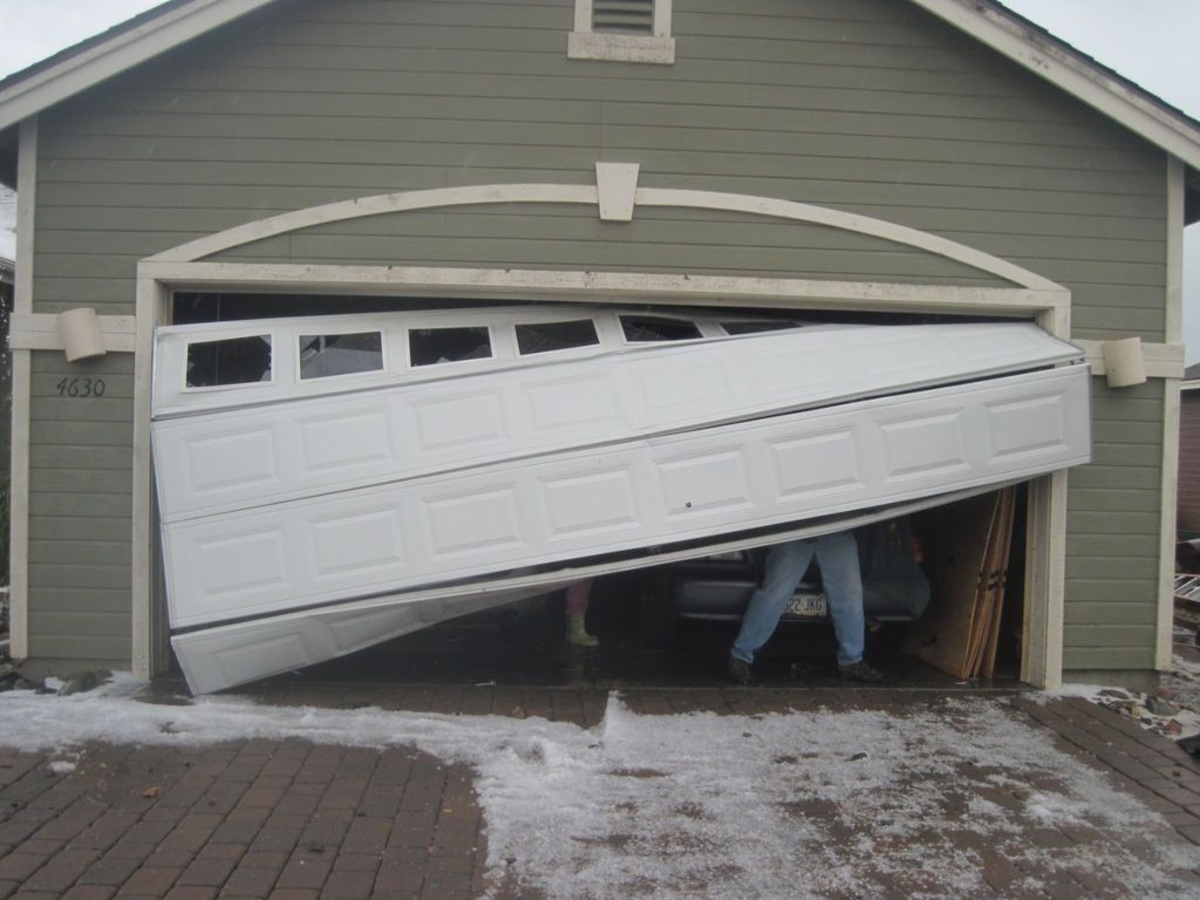
Step 2: Removing the damaged panels
Now that you have your tools and materials ready, it’s time to remove the damaged panels from your garage door. Here’s how to do it:
- Start by disconnecting the garage door opener from the power source to prevent any accidental activation.
- Inspect the panels to determine which ones are damaged and need to be replaced. Mark them for easy identification.
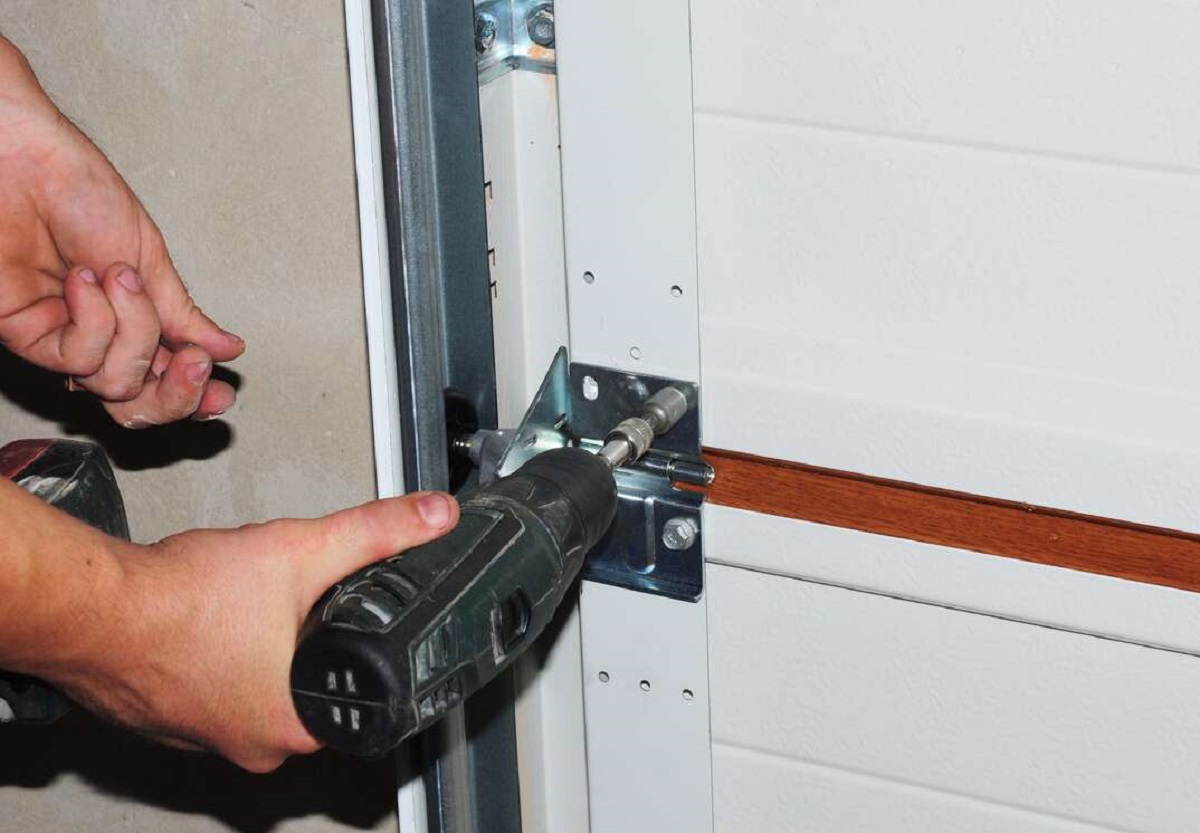
- Using a screwdriver or power drill, remove the screws or bolts that secure the damaged panels to the door frame. Set aside the hardware in a safe place for reinstallation.
- Once the screws or bolts are removed, carefully lift the damaged panels out of the door frame. It’s important to take caution as some panels may be heavy.
- If the panels are connected by hinges, detach them by removing the hinge pins.
- Repeat this process for all the damaged panels until they are completely removed from the garage door.
Once you have successfully removed the damaged panels, you can proceed to the next step of measuring and ordering the replacement panels.
Step 3: Measuring and ordering replacement panels
With the damaged panels removed, it’s time to measure and order the replacement panels. Here’s what you need to do:
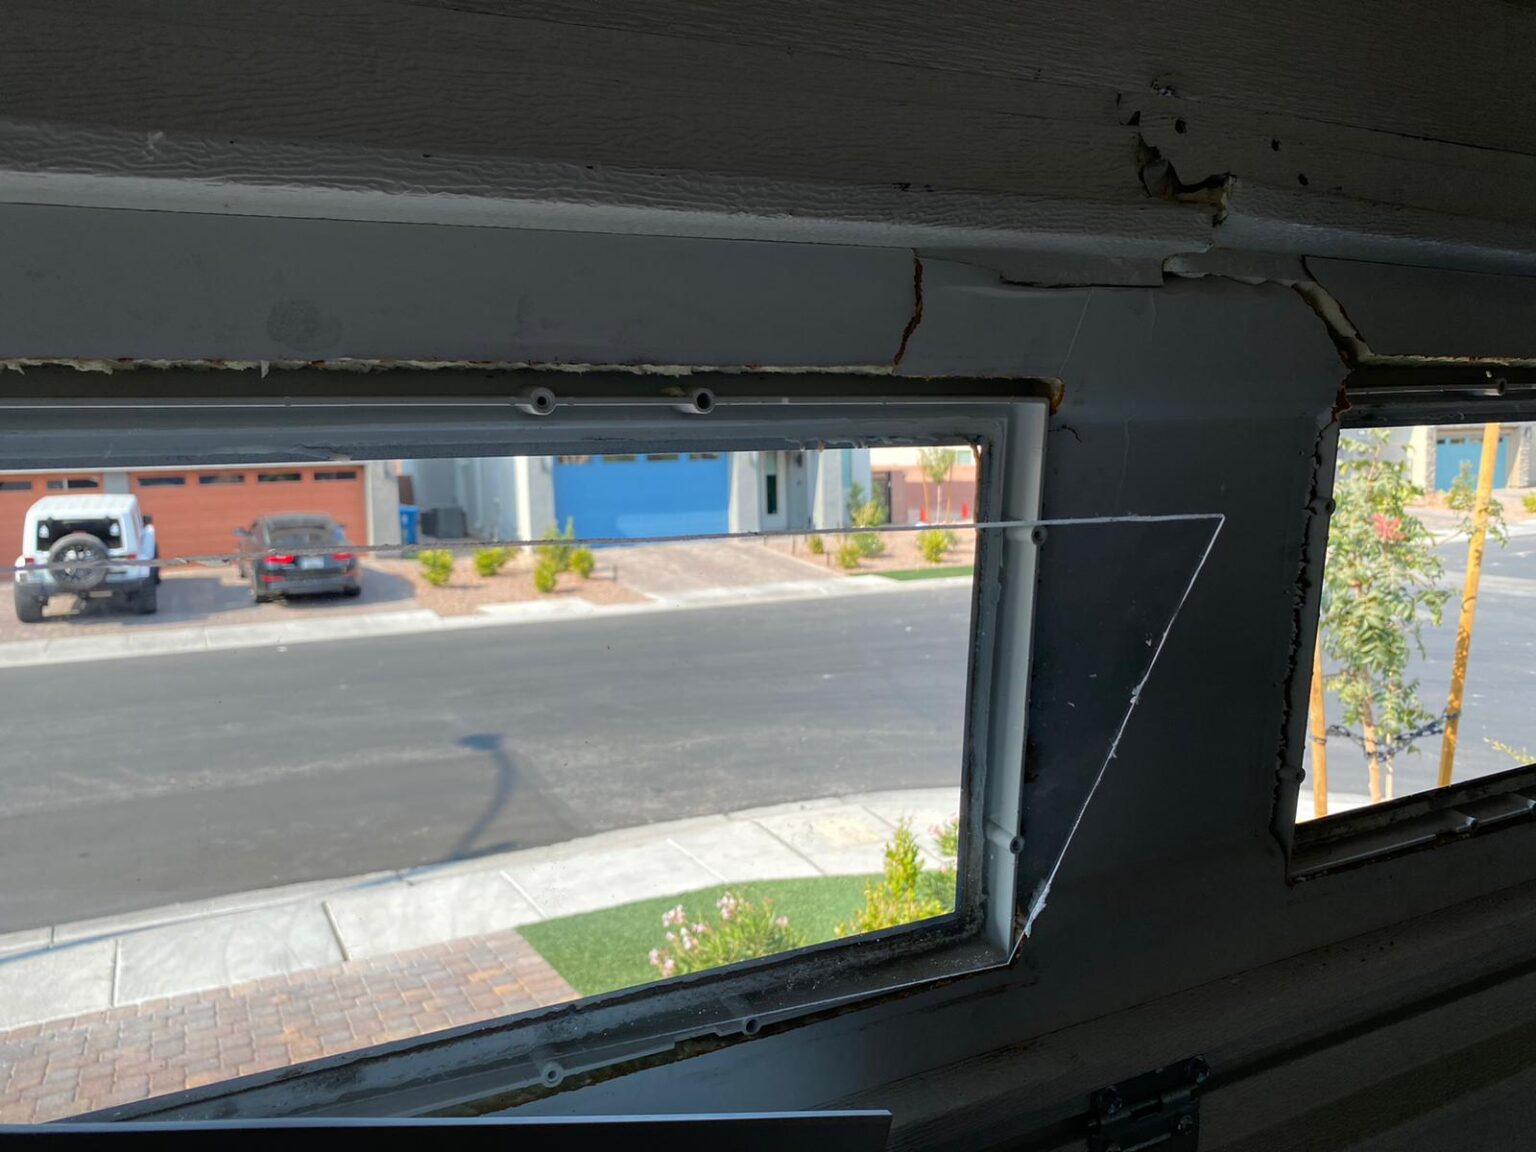
- Using a tape measure, carefully measure the dimensions of the damaged panels. Make note of the width, height, and thickness.
- Take into account any specific design features or patterns on the panels, such as windows or raised textures.
- Compare your measurements with the available options from garage door panel suppliers. Ensure that you select panels that match your garage door’s style, material, and color.
- Place your order for the replacement panels, making sure to provide accurate measurements and specifications.
- Once you receive the replacement panels, carefully inspect them to ensure they match the specifications you ordered.
Remember that it’s always a good idea to order an extra panel or two, especially if your garage door is older or discontinued. This will save you from any future difficulties in finding a matching replacement if another panel gets damaged.
Now that you have your replacement panels, you’re ready to move on to the next step of preparing them for installation.
Step 4: Preparing the new panels for installation
Before installing the new panels, it’s important to properly prepare them. Here’s what you need to do:
- Carefully inspect the new panels for any defects or damage, ensuring they are in good condition.
- If the panels have any protective film or packaging, remove it.
- If the panels require any assembly, follow the manufacturer’s instructions to assemble them before installation.
- If the panels are made of steel or aluminum, consider applying a layer of rust-resistant primer or paint to protect them from future corrosion.
- If the panels have any windows, clean them thoroughly to remove any dirt or debris.
- If the panels have any hardware, such as hinges or handles, ensure they are securely attached.
By properly preparing the new panels, you will ensure that they are in the best possible condition for installation.
Next, we will move on to the exciting part of installing the new panels on your garage door.
When replacing garage door panels, make sure to measure the existing panels accurately to ensure the new ones fit properly. It’s also important to carefully follow the manufacturer’s instructions for installation.
Read more: How Much Is A Garage Door Panel
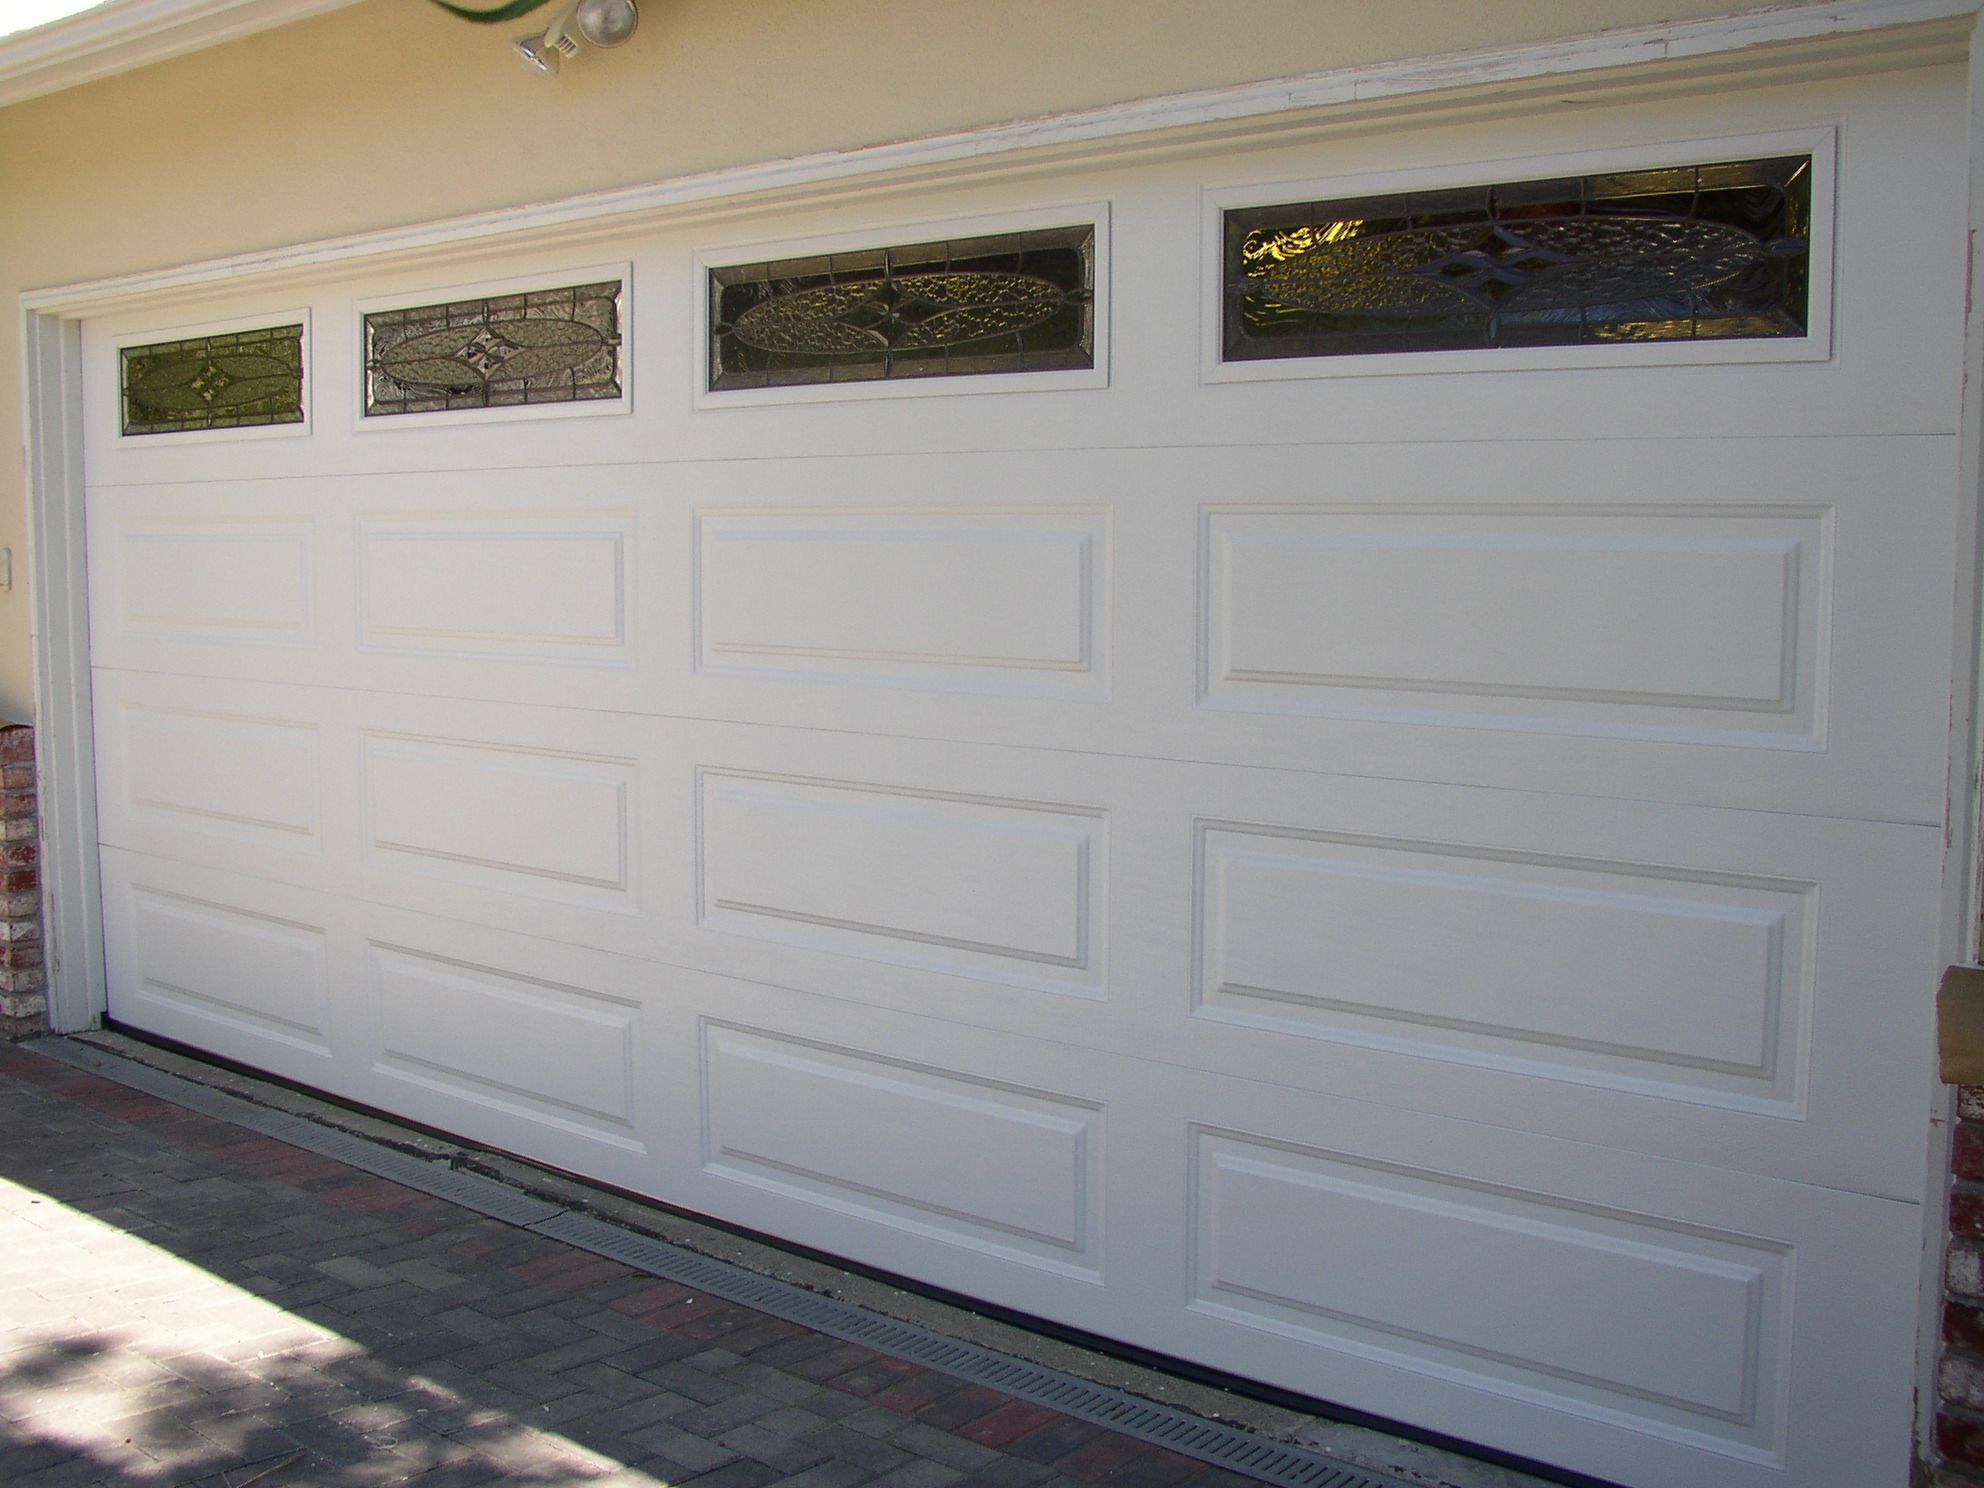
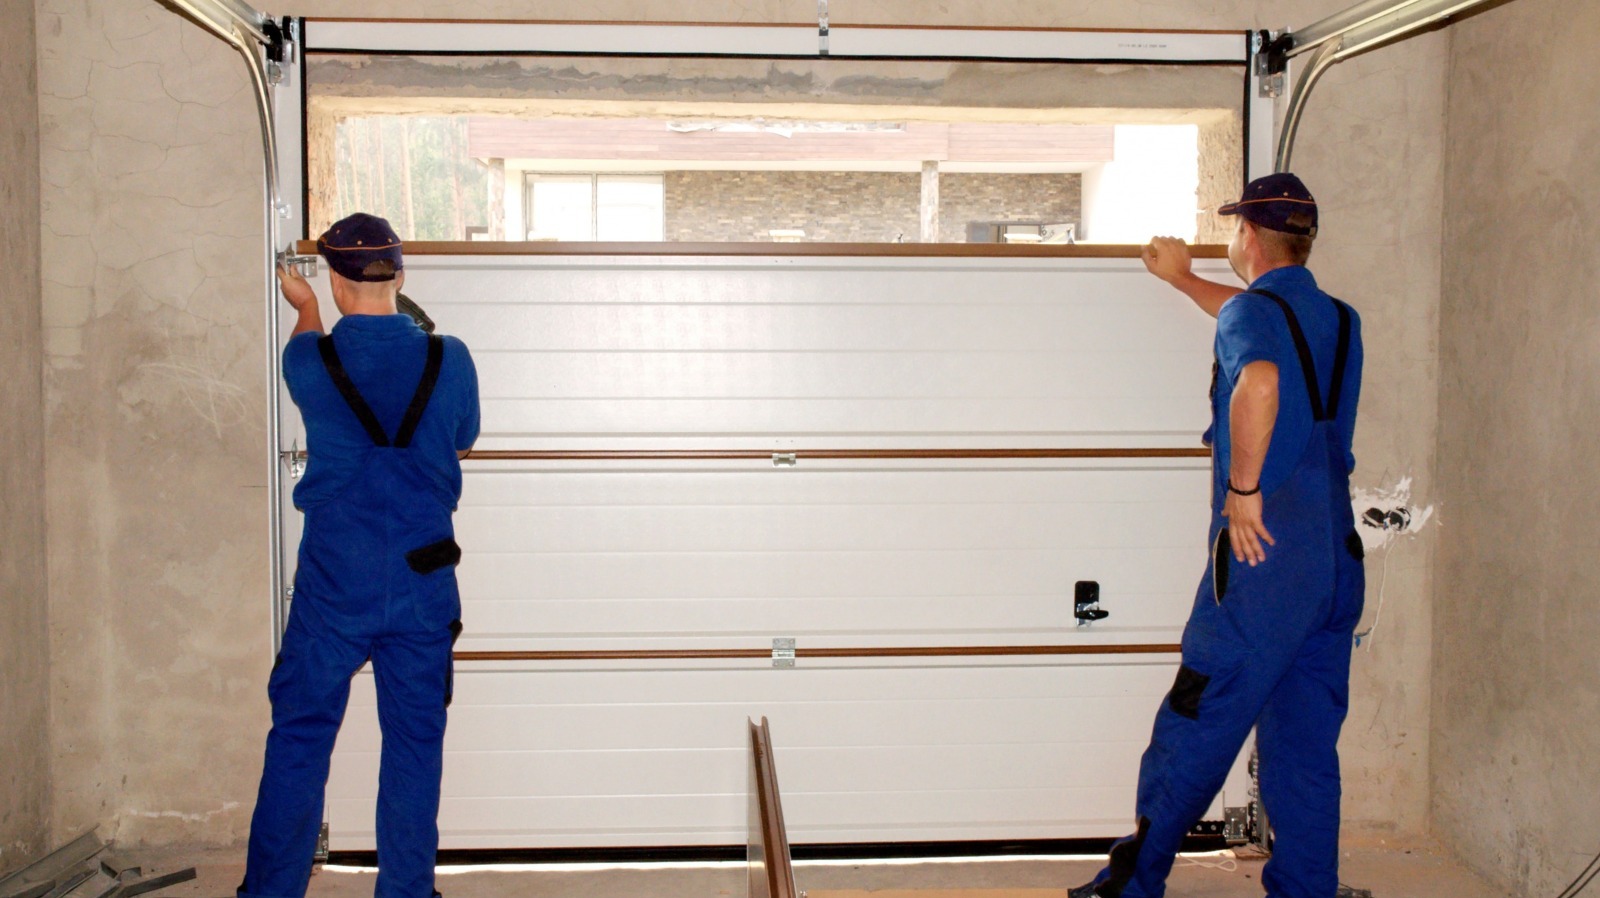
Step 5: Installing the new panels
Now that you have prepared the new panels, it’s time to install them onto your garage door. Follow these steps for a successful installation:
- Start by placing the first replacement panel into the bottom section of the garage door opening. Ensure it is aligned properly with the existing panels.
- If the panels are connected by hinges, insert the hinge pins to secure the new panel to the adjacent panel.
- Secure the panel to the door frame by using the screws or bolts that were previously removed. Ensure they are tightened firmly but not overly tightened.
- Repeat this process for each subsequent panel, working your way up to the top of the door. Make sure each panel is aligned and securely fastened.
- If your garage door has windows, carefully insert any window inserts or frames into the designated openings in the panels.
- Once all the new panels are installed, double-check that they are properly aligned and the door operates smoothly.
During the installation process, it is important to take your time and ensure that each panel is installed correctly. This will ensure the longevity and proper functioning of your garage door.
With the new panels in place, we’re almost done! In the next step, we’ll test the functionality of the new panels.
Step 6: Testing the functionality of the new panels
With the new panels installed, it’s time to test the functionality of your garage door. Follow these steps to ensure everything is working properly:
- Reconnect the garage door opener to the power source.
- Using the garage door opener remote or wall-mounted control panel, open and close the door several times to test the movement of the new panels.
- Observe the smoothness of the door’s operation. Pay attention to any unusual noises or resistance.
- Check for any gaps or misalignment between the new panels and the existing ones. Make adjustments if necessary.
- If your garage door has an auto-reverse feature, test it by placing an object in the path of the door as it closes. The door should automatically reverse its direction upon contact with the object.
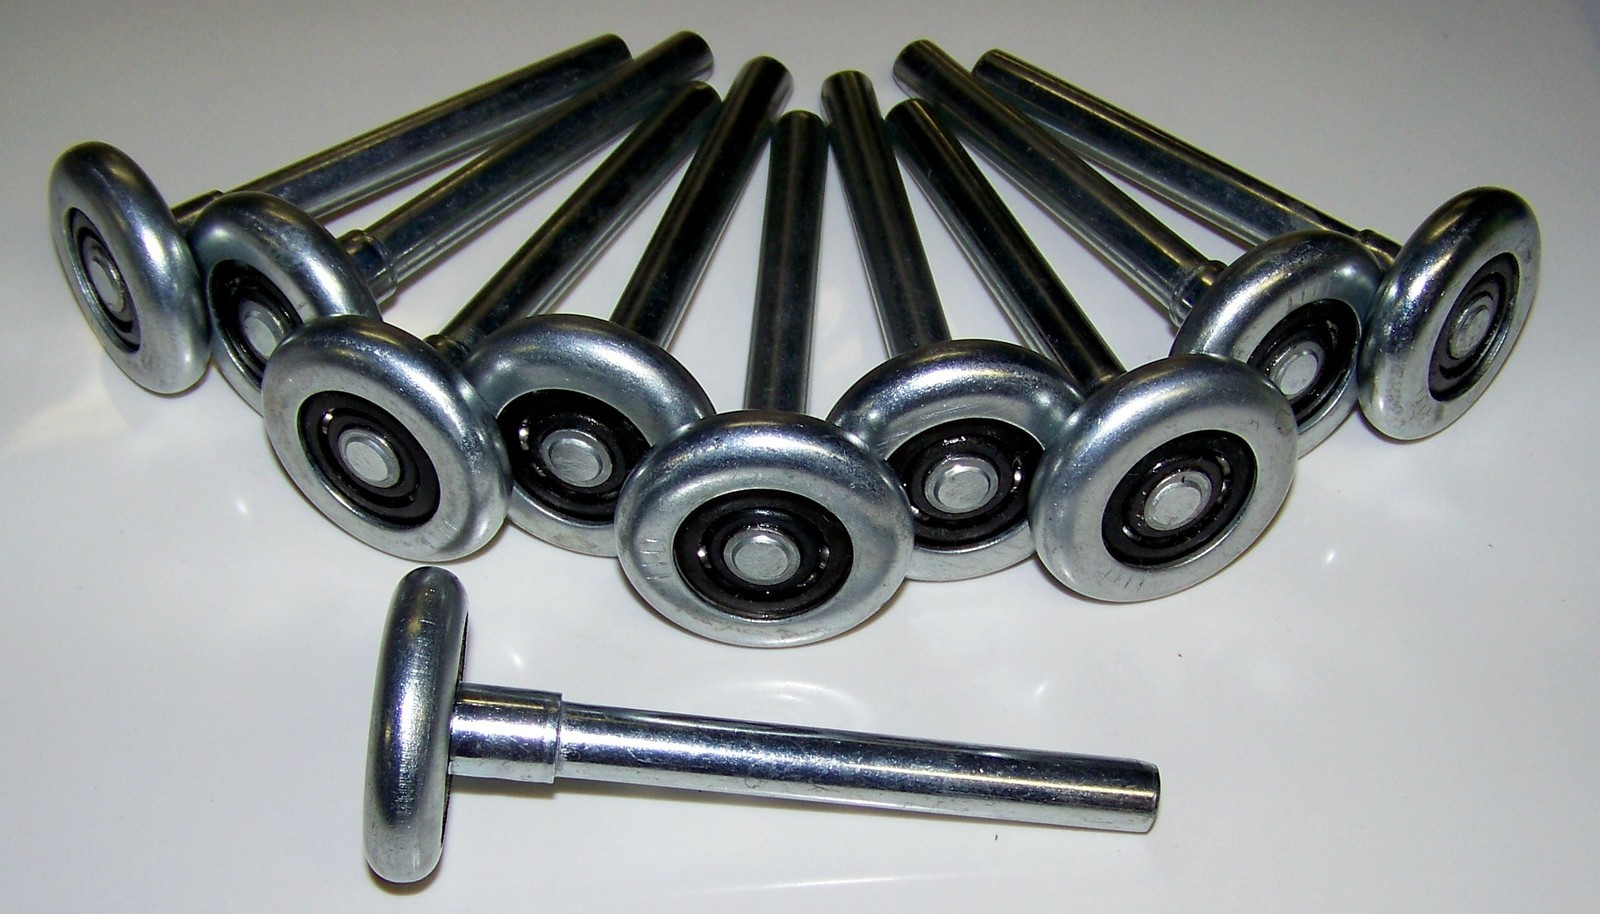
- If any issues arise during the testing process, troubleshoot and make the necessary adjustments. This may involve checking the alignment of the tracks, lubricating moving parts, or tightening any loose screws or bolts.
By thoroughly testing the functionality of the new panels, you can ensure a safe and reliable operation of your garage door.
Now let’s move on to the final step – adding the finishing touches.
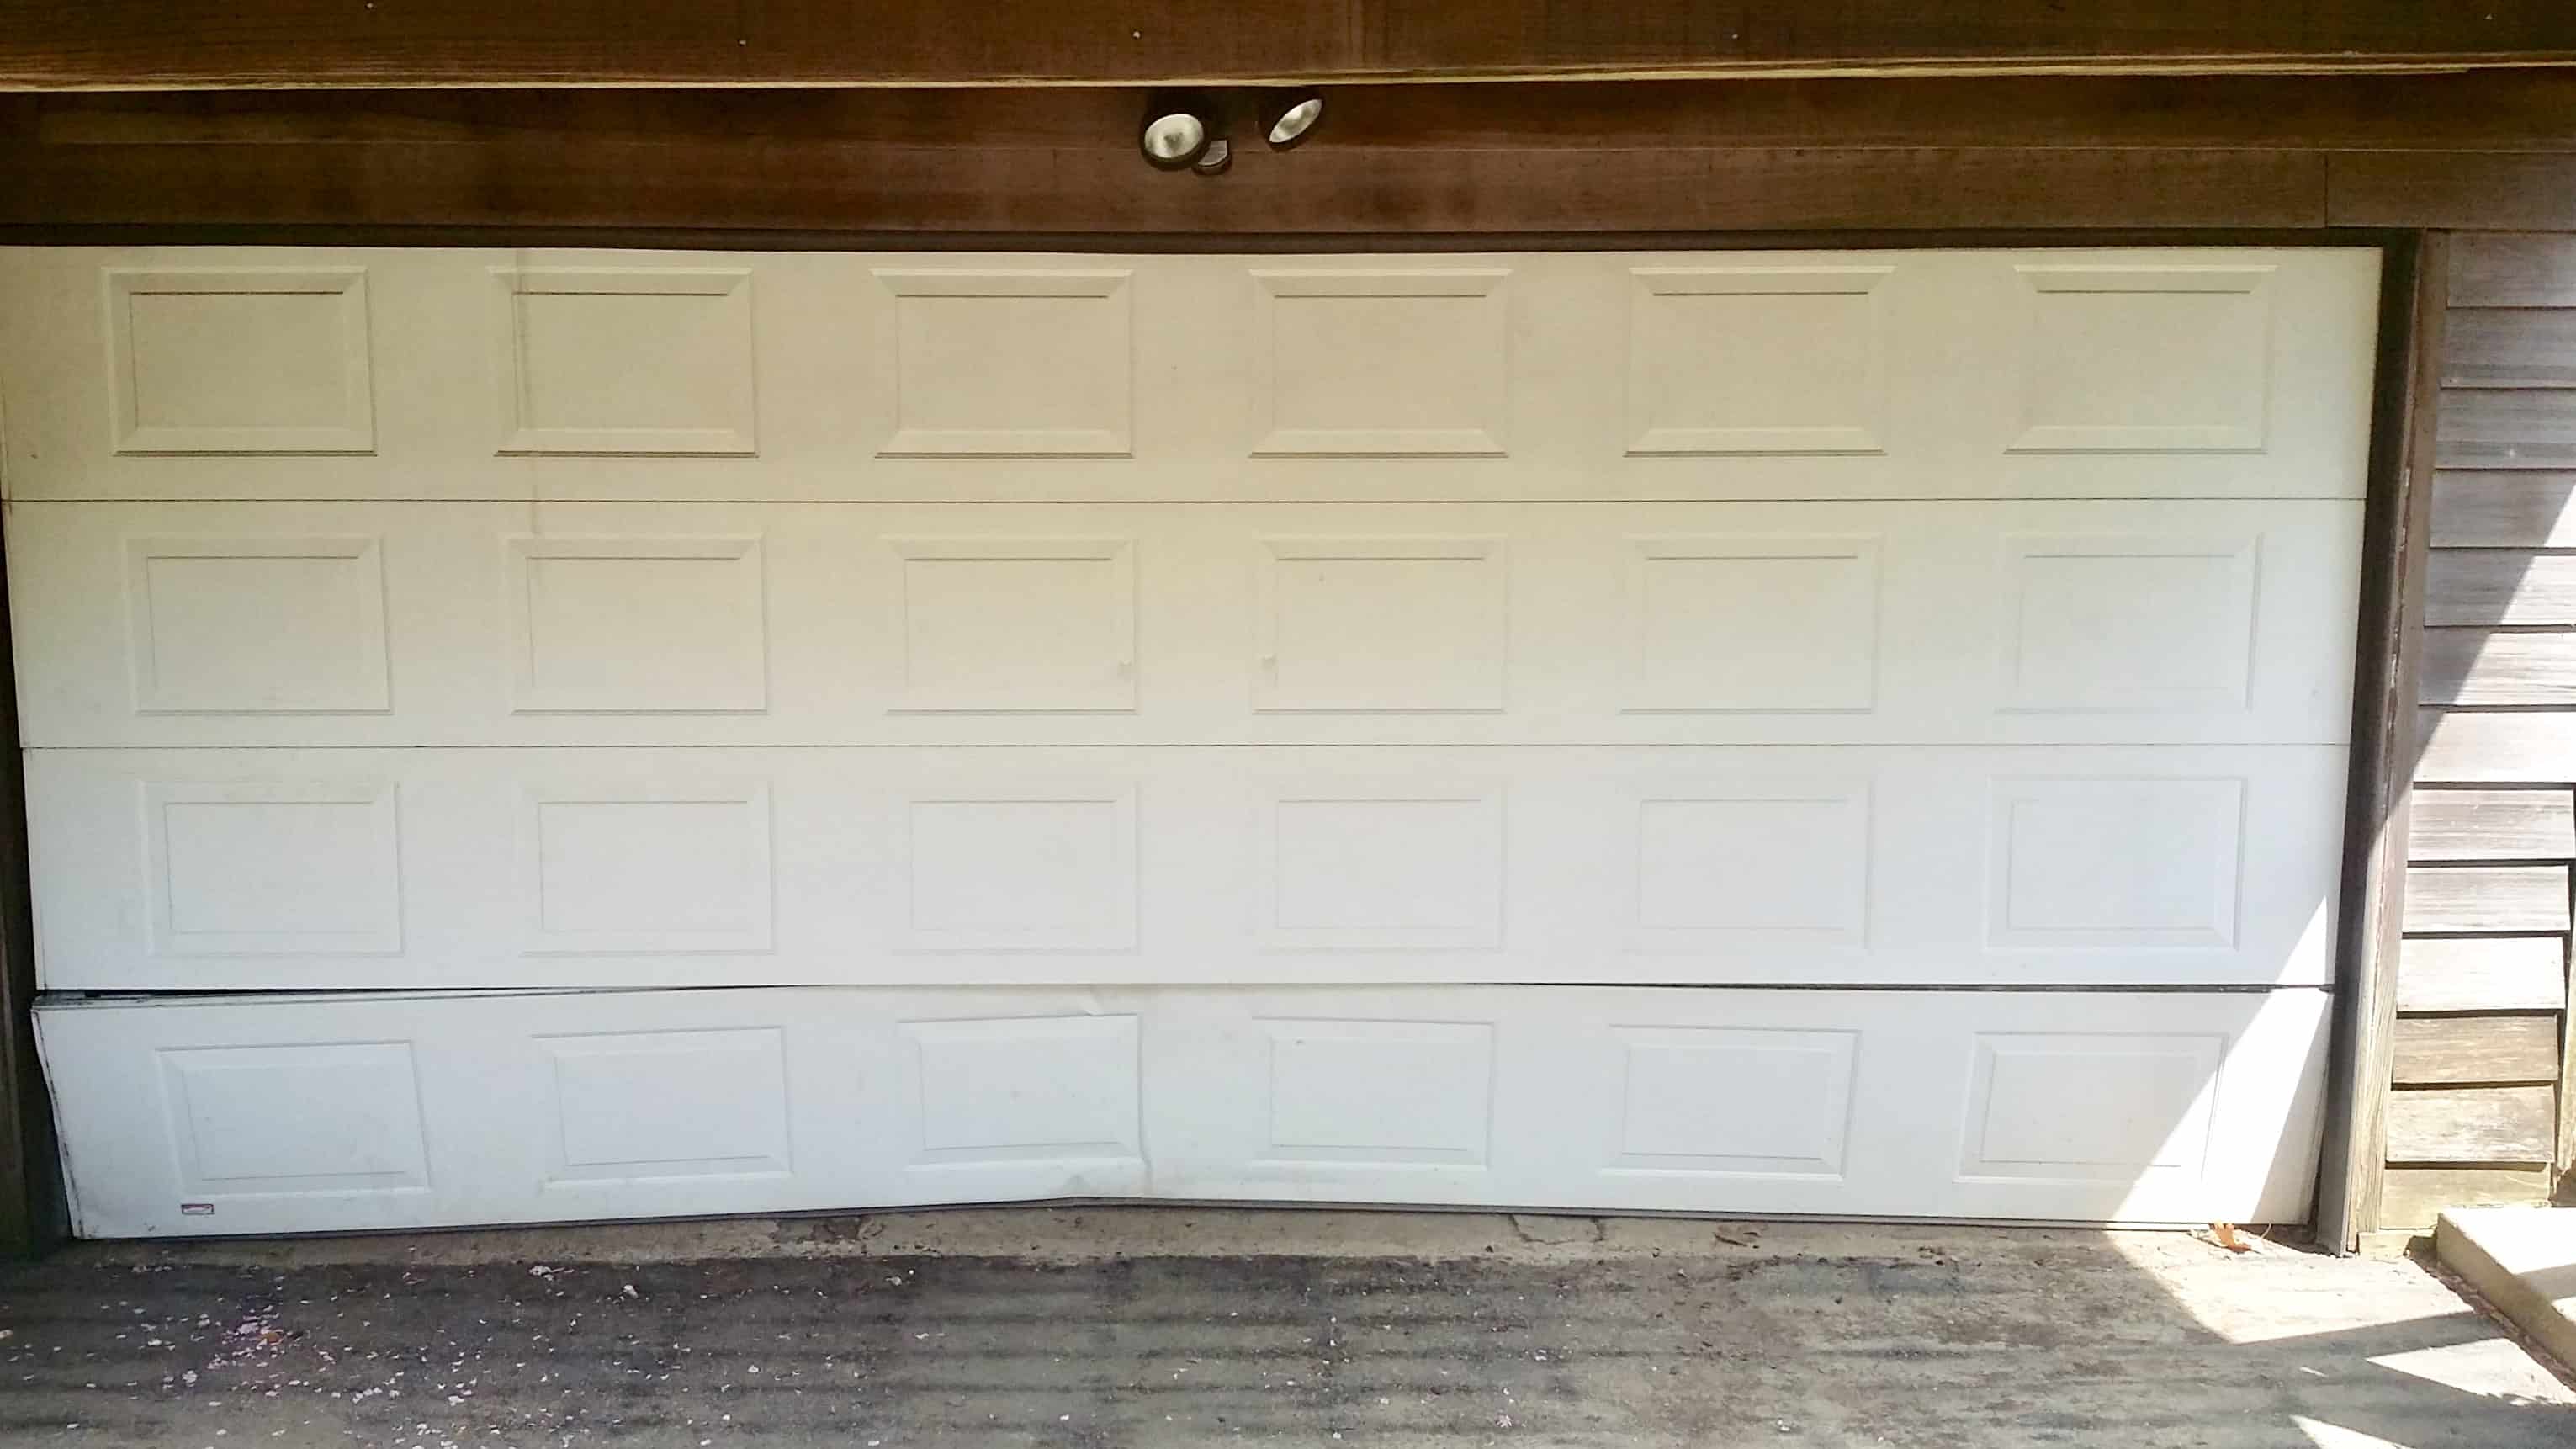
Step 7: Finishing touches and final checks
As we near the end of the process of replacing garage door panels, it’s time to add the finishing touches and perform some final checks. Follow these steps to complete the project:
- Inspect the entire garage door to ensure all panels are securely fastened and aligned properly.
- Check for any gaps or loose hardware and make any necessary adjustments.
- If you applied paint or primer to the new panels, allow sufficient time for it to dry and cure completely.
- If desired, clean the exterior surface of the garage door to give it a fresh look.
- Consider applying a lubricant spray or silicone-based lubricant to the moving parts of the door to ensure smooth operation.
- Test the garage door again to ensure it opens and closes smoothly and quietly.
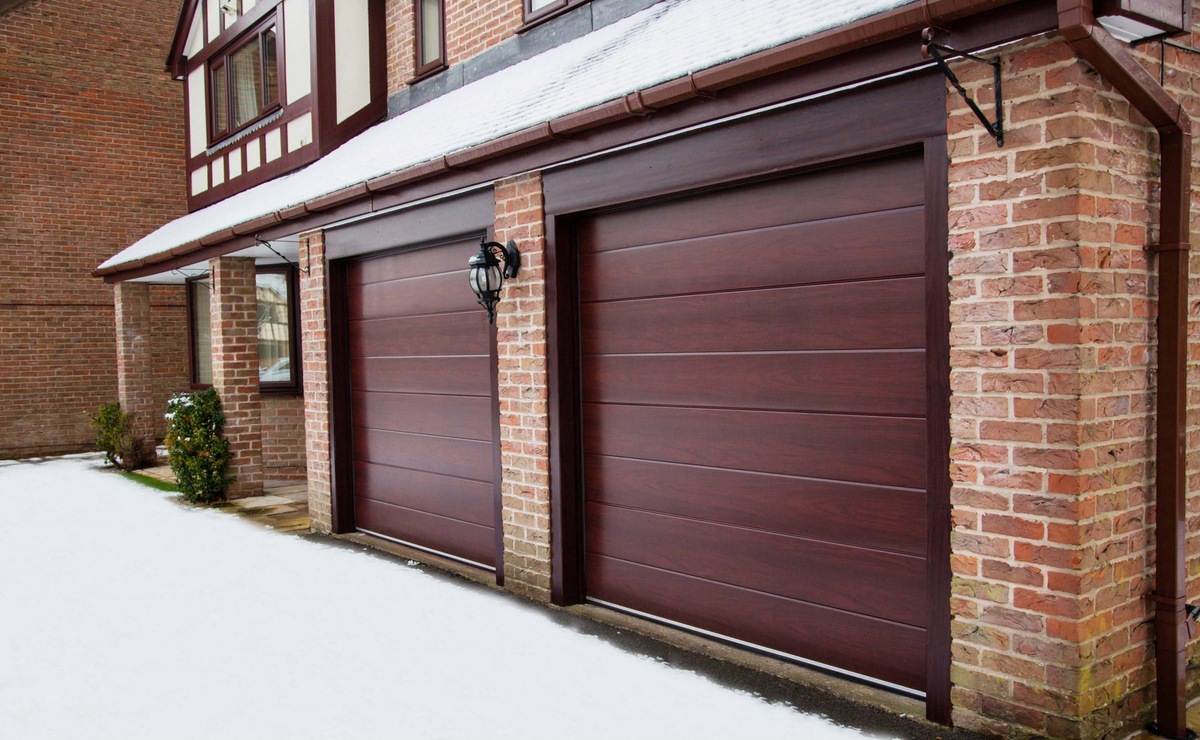
- Lastly, take a step back and admire your newly replaced panels, appreciating the enhanced appearance and functionality they bring to your garage door.
By paying attention to these finishing touches and performing final checks, you can ensure that your garage door will continue to serve you well for years to come.
Congratulations! You have successfully replaced the damaged panels on your garage door. Not only have you saved money by avoiding a full door replacement, but you have also gained the satisfaction of completing a DIY project.
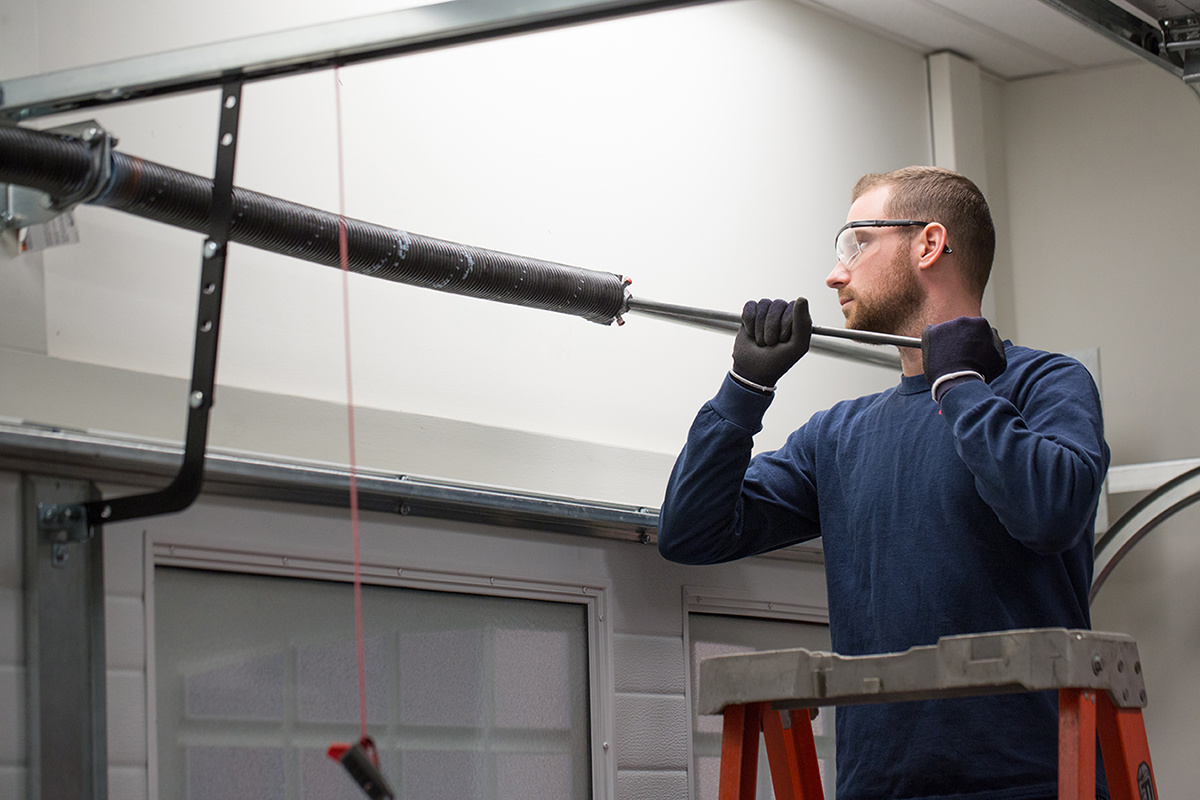
Remember, safety is paramount throughout the entire process. If you encounter any difficulties or feel unsure about any step, it’s always a good idea to consult a professional garage door technician.
Thank you for following this guide, and we hope it has been helpful in your quest to replace garage door panels. Enjoy your newly refurbished garage door!
Conclusion
Replacing garage door panels is a practical and cost-effective solution for restoring the functionality and appearance of your garage door. With some basic tools, materials, and a systematic approach, you can successfully complete this DIY project.
Throughout the step-by-step process outlined in this article, we have covered everything from gathering the necessary tools and materials to measuring, ordering, preparing, installing, testing, and adding the finishing touches to the new panels. By following these guidelines and paying attention to detail, you can achieve a professional-looking result.
Not only does replacing damaged panels save you money compared to a full door replacement, but it also allows you to maintain the overall integrity of your garage door. It is crucial to ensure the proper alignment, security, and smooth operation of the new panels to avoid any potential safety hazards.
Remember, if you encounter any difficulties or feel unsure about any step, it’s always best to consult with a professional garage door technician who can provide expert guidance and assistance.
By taking on this DIY project, you have not only improved the functionality and appearance of your garage door but also gained the satisfaction of successfully completing a home improvement task. So, go ahead and enjoy the benefits of your newly replaced garage door panels.
Thank you for following this comprehensive guide, and we hope it has been informative and helpful. Here’s to a functional and visually pleasing garage door for years to come!
Frequently Asked Questions about How To Replace Garage Door Panels
Was this page helpful?
At Storables.com, we guarantee accurate and reliable information. Our content, validated by Expert Board Contributors, is crafted following stringent Editorial Policies. We're committed to providing you with well-researched, expert-backed insights for all your informational needs.
0 thoughts on “How To Replace Garage Door Panels”