Articles
How To Make Plumbing Access Panel
Modified: January 6, 2024
Learn how to make a plumbing access panel easily with our informative articles. Step-by-step guides and tips to ensure a successful installation.
(Many of the links in this article redirect to a specific reviewed product. Your purchase of these products through affiliate links helps to generate commission for Storables.com, at no extra cost. Learn more)
Introduction
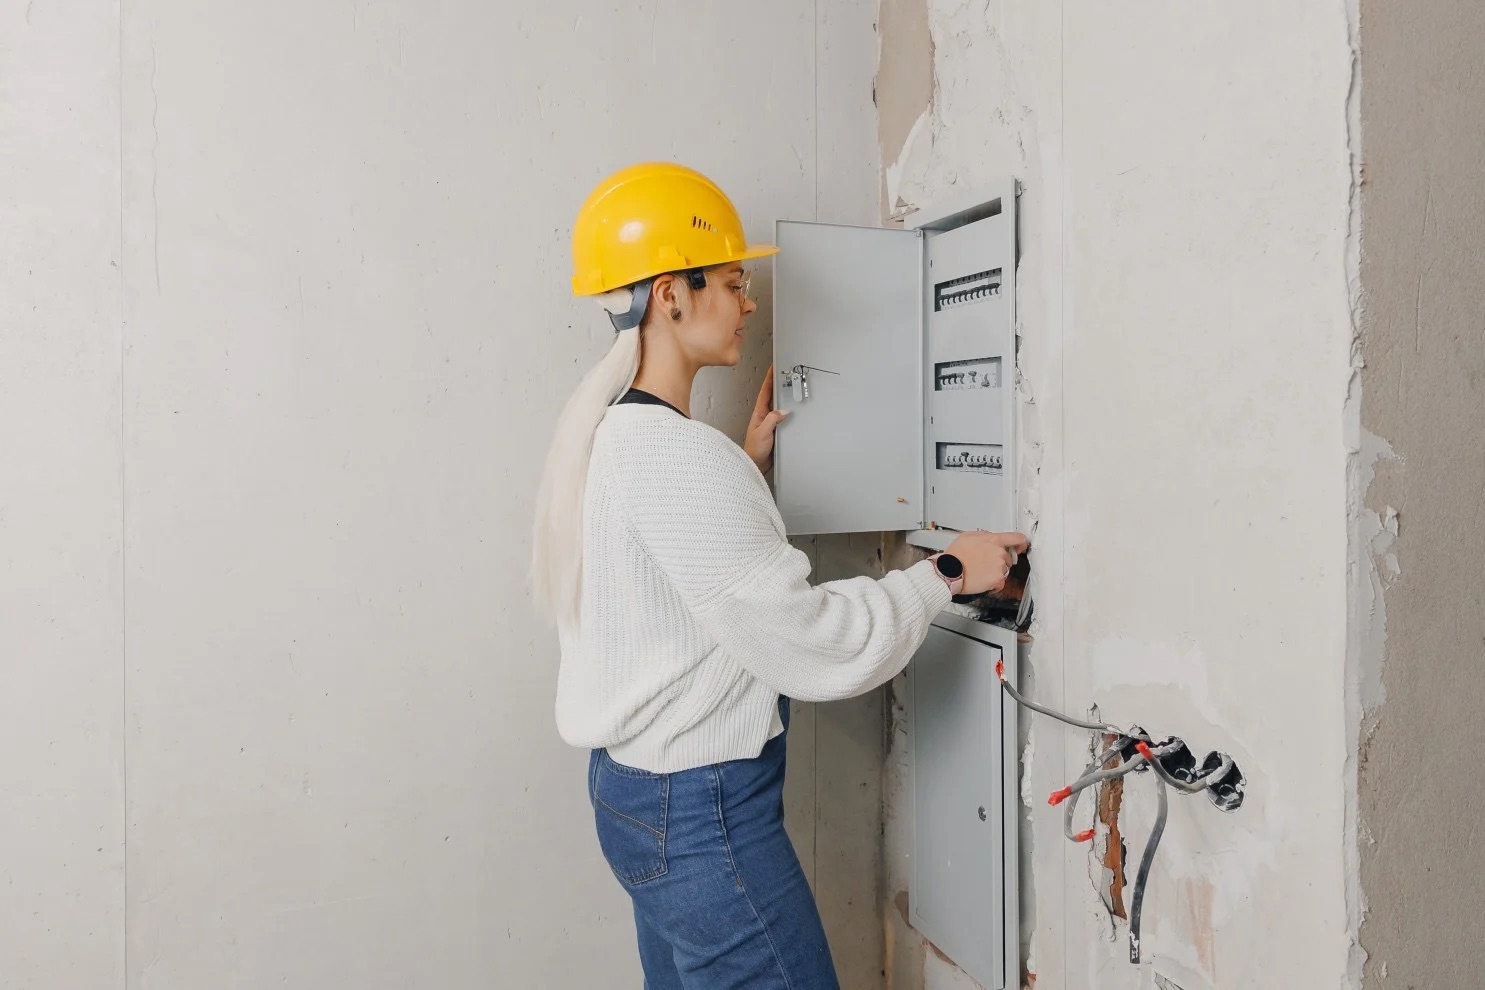
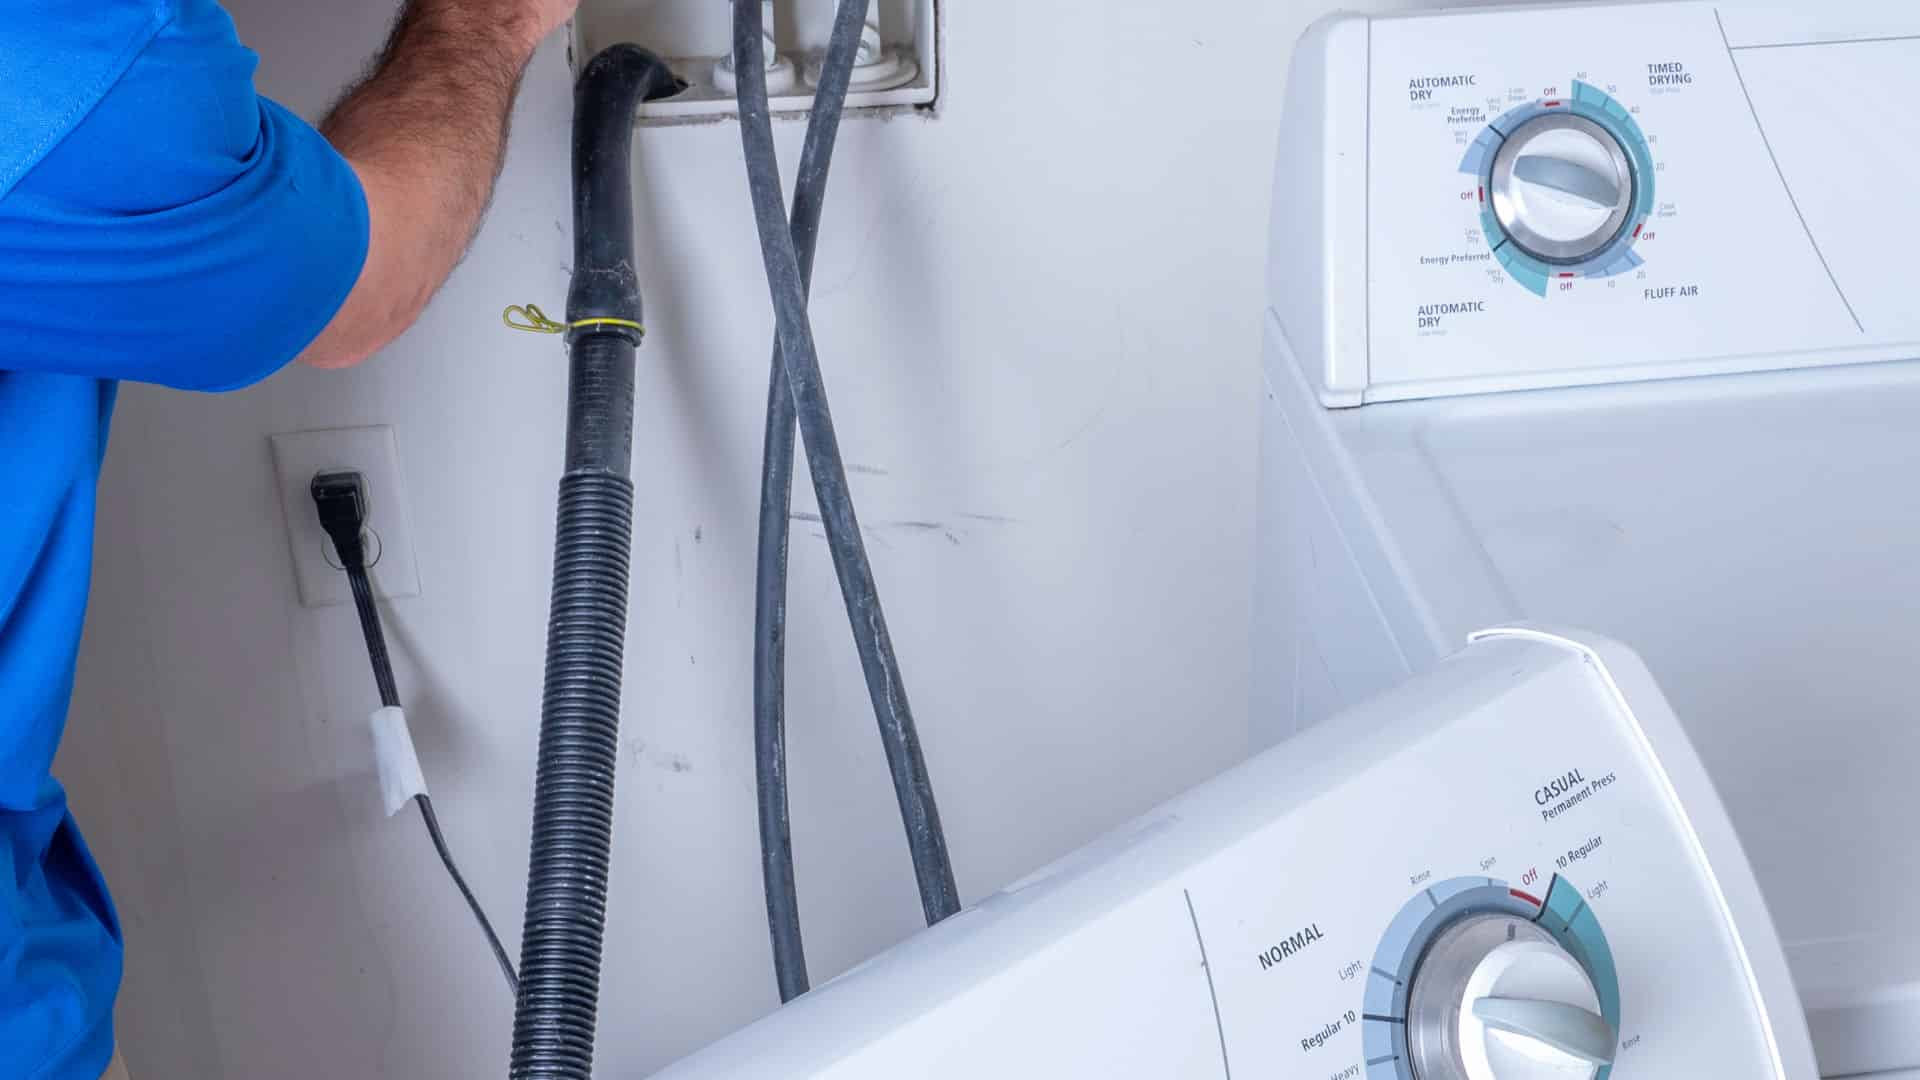
Having easy access to your plumbing system is essential for maintenance and repairs. That’s where a plumbing access panel comes in handy. A plumbing access panel is a convenient way to create a hidden entry point to your plumbing system, allowing you to reach pipes, valves, and other components without having to cut into walls or ceilings.
In this guide, we will walk you through the step-by-step process of creating a plumbing access panel. With a few basic tools and materials, you can easily install an access panel to make your plumbing system more accessible while maintaining the aesthetics of your home.
Before we begin, it’s important to note that the specific installation process may vary depending on the type of access panel you choose and the location where you plan to install it. Always refer to the manufacturer’s instructions for your specific access panel to ensure proper installation.
Now, let’s gather our materials and get started on creating a plumbing access panel that will make maintaining your plumbing system a breeze!
Key Takeaways:
- Creating a plumbing access panel is a DIY-friendly way to make plumbing maintenance easier and more convenient, while maintaining the aesthetics of your home.
- By following the step-by-step process outlined in this guide, you can successfully install a plumbing access panel and enhance the functionality and visual appeal of your plumbing system.
Read also: 8 Incredible Plumbing Access Panel For 2025
Materials Needed
Before you begin installing a plumbing access panel, make sure you have the following materials:
- Access panel kit: You can find these at your local hardware store or online. Choose an access panel kit that suits the size and design requirements for your specific application.
- Tape measure: A tape measure will be essential for accurately measuring and marking the dimensions for your access panel.
- Pencil or marker: Use a pencil or marker to mark the dimensions and cutting lines on the wall or ceiling where you plan to install the access panel.
- Circular saw or reciprocating saw: Depending on the material you will be cutting through, you will need a circular saw or reciprocating saw to create the opening for the access panel.
- Screwdriver or power drill: A screwdriver or power drill will be needed to attach the access panel frame and cover to the wall or ceiling.
- Screws: Choose screws appropriate for the material you are attaching the access panel to.
- Hinges (if not included in the access panel kit): If your access panel kit does not come with hinges, you will need to purchase hinges separately to attach the panel cover.
- Sandpaper: Sandpaper will be useful for smoothing any rough edges or surfaces after cutting the opening for the access panel.
- Paint or finishing materials (optional): Depending on your preference, you may want to paint or finish the access panel cover to match the surrounding wall or ceiling.
Make sure you have all these materials on hand before you begin the installation process. This will ensure a smooth and efficient installation and save you from any unnecessary trips to the store.
Step 1: Measuring and Marking
The first step in creating a plumbing access panel is to accurately measure and mark the dimensions for the opening. This will ensure that the access panel is properly sized and aligned with the plumbing components you need to access. Follow these steps:
- Identify the area where you want to install the access panel. It is typically located near plumbing fixtures or areas with exposed pipes.
- Using a tape measure, measure the height and width of the access panel kit. Make sure to account for any required clearance and add a small allowance for adjustments.
- Once you have the measurements, mark the dimensions on the intended installation spot using a pencil or marker. Use a level to ensure the lines are straight and plumb.
- Double-check the markings to ensure they are accurate and aligned with the plumbing components you need to access. Adjust if necessary.
Measuring and marking accurately is crucial to ensure that the access panel fits perfectly and provides easy access to the plumbing system. Take your time with this step to ensure the best results.
Please note that the location and size of the access panel may vary depending on your specific plumbing setup and preferences. It’s always a good idea to consult with a professional or refer to local building codes if you are unsure about the appropriate placement and dimensions for your access panel.
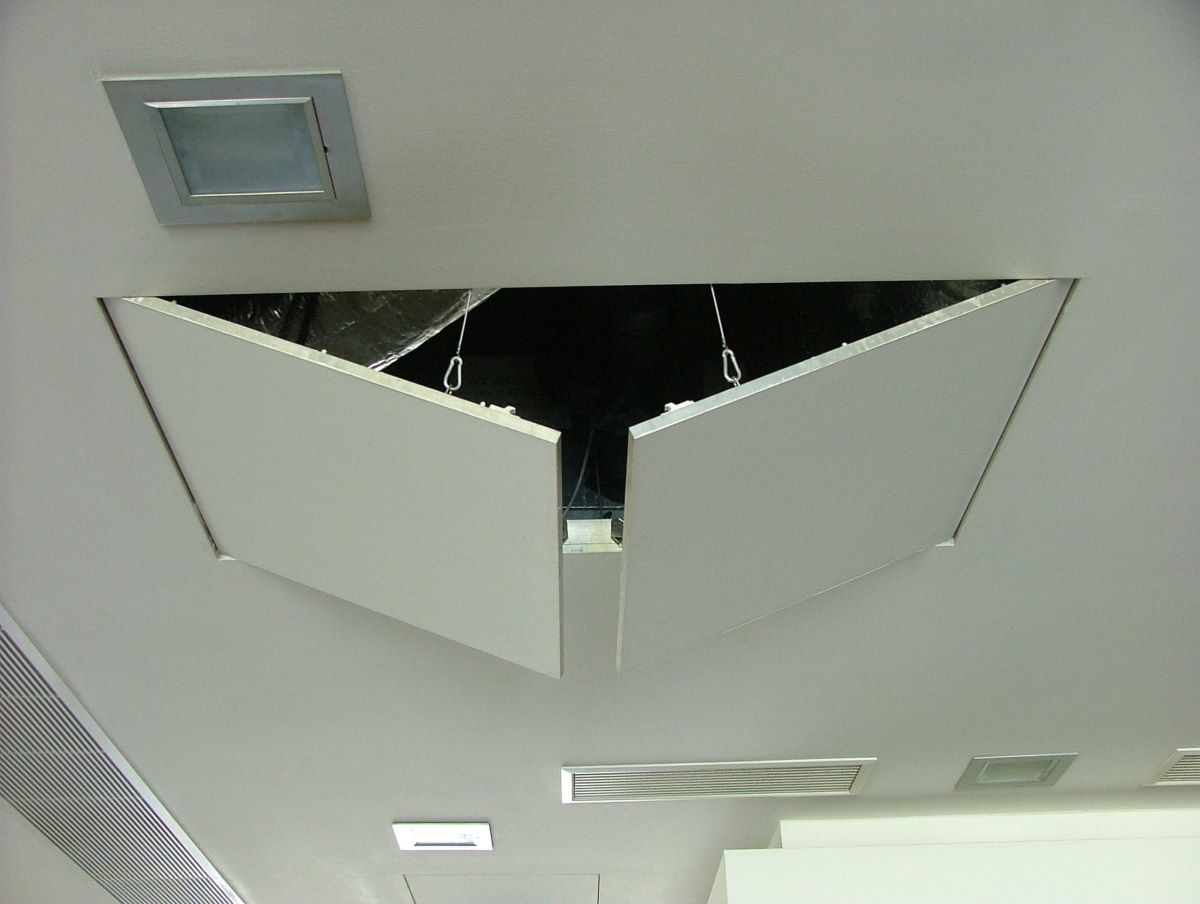
Step 2: Cutting the Opening
Once you have measured and marked the dimensions for your plumbing access panel, it’s time to cut the opening. Follow these steps to create a clean and precise cut:
- Ensure that the area is clear and free from any obstructions. Cover nearby surfaces with drop cloths or plastic sheets to protect them from dust and debris.
- Wear appropriate safety gear, including safety goggles and a dust mask, to protect yourself during the cutting process.
- If the wall or ceiling is made of drywall, use a utility knife to score along the marked lines. This will help prevent any tearing or damage to the surrounding area.
- For cutting through drywall, use a keyhole saw or drywall saw to carefully cut along the scored lines. Start at one corner and work your way around the marked perimeter. Take your time and make smooth, controlled cuts.
- If you are cutting through other materials like plaster, wood paneling, or tile, a reciprocating saw or circular saw with an appropriate cutting blade will be needed. Ensure that the saw is set to the correct depth to avoid cutting into any pipes or wires behind the wall.
- Once the cut is complete, remove any excess material and clean up the area. Use sandpaper to smooth any rough edges or surfaces.
Remember to work slowly and carefully when cutting the opening for the access panel. Take breaks if necessary to prevent fatigue and to ensure accuracy. It’s better to spend a little extra time on this step to ensure a clean and precise cut.
Be cautious when cutting through walls or ceilings, as there may be hidden electrical or plumbing components. If you are unsure about what lies behind the surface, it’s best to consult with a professional to avoid any potential hazards.
Step 3: Adding Support Frame
Now that you have cut the opening for your plumbing access panel, it’s time to add a support frame. The support frame will provide stability and help secure the access panel in place. Follow these steps to add the support frame:
- Measure the dimensions of the opening and cut four pieces of lumber or plywood to fit. These pieces will be used to create the support frame.
- Position one piece of lumber or plywood horizontally along the top edge of the opening. Use a level to ensure it is perfectly level. Hold the piece in place and mark the screw hole positions.
- Pre-drill holes at the marked positions using a drill bit that is slightly smaller than the diameter of the screws you will be using.
- Attach the first piece of lumber or plywood to the top edge of the opening using screws. Make sure the piece is securely fastened.
- Repeat the same process to attach the remaining three pieces of lumber or plywood along the bottom edge and the two sides of the opening. These pieces will form a rectangular frame.
- Check to see if the frame is level and secure. Make any adjustments if necessary.
The support frame will provide a sturdy base for attaching the access panel and ensure that it stays securely in place. Make sure to use appropriate screws and fasten the frame tightly to the opening to prevent any movement.
It’s worth noting that some access panel kits may come with built-in support frames. In such cases, you can skip this step and directly proceed to the installation of the access panel.
When making a plumbing access panel, be sure to use durable and moisture-resistant materials such as PVC or metal. This will ensure the panel lasts and effectively protects the plumbing components.
Read more: How To Install Access Panel In Ceiling
Step 4: Installing Hinges
After adding the support frame, the next step in creating a plumbing access panel is to install hinges. Hinges will allow the panel cover to open and close smoothly, providing easy access to your plumbing system. Follow these steps to install the hinges:
- Check your access panel kit to determine if it includes hinges. If not, purchase hinges that are suitable for the size and weight of your access panel.
- Position the panel cover on top of the support frame, aligning it with the opening.
- Mark the locations for the hinges on the panel cover and the support frame.
- Pre-drill holes at the marked positions using a drill bit that matches the size of the hinge screws.
- Attach the hinges to the panel cover and the support frame using the screws provided.
- Check to ensure that the hinges allow the panel cover to open and close smoothly. Make any adjustments if needed.
Installing hinges will allow you to easily open and close the access panel whenever you need to access your plumbing system. Ensure that the hinges are secure and properly aligned to avoid any issues with the functionality of the access panel.
If your access panel kit already includes hinges, simply refer to the manufacturer’s instructions for the proper installation process specific to your kit.
Step 5: Attaching the Panel Cover
Now that you have installed the hinges, it’s time to attach the panel cover to the support frame. This step will secure the access panel in place and provide a finished look. Follow these steps to attach the panel cover:
- Open the access panel cover to a 90-degree angle.
- Position the open panel cover against the support frame, aligning the hinges with the corresponding hinge plates.
- Secure the panel cover to the support frame by inserting and tightening the screws provided with the hinges.
- Close the panel cover to ensure that it fits correctly and opens and closes smoothly.
- Check for any gaps between the panel cover and the support frame. If necessary, adjust the alignment and tighten the screws accordingly.
Attaching the panel cover is an important step as it ensures that the access panel is securely closed when not in use and blends seamlessly with the surrounding wall or ceiling. Make sure the screws are properly tightened, but be careful not to over-tighten and damage the hinges or the support frame.
Once the panel cover is attached, test the opening and closing mechanism to ensure smooth operation. If there are any issues, such as stiffness or misalignment, make the necessary adjustments before proceeding.
Step 6: Painting or Finishing Touches
After completing the installation of the plumbing access panel, you may want to consider painting or adding some finishing touches to enhance its appearance. This step is optional but can help the access panel blend seamlessly with the surrounding wall or ceiling. Follow these steps to paint or add finishing touches:
- If desired, prepare the surface of the access panel cover by lightly sanding it. This will help the paint adhere better.
- Clean the surface of the access panel cover to remove any dust or debris.
- If painting, choose a paint color that matches or complements the surrounding wall or ceiling. Use a primer first for better paint adhesion.
- Apply the paint or primer to the access panel cover using a paintbrush or roller. Ensure even coverage and allow each coat to dry completely before applying the next.
- If using a different finishing material, apply it according to the manufacturer’s instructions. This can include applying a wood veneer, laminate, or wallpaper to the access panel cover.
- Once the paint or finishing material is dry, test the access panel cover to ensure that it opens and closes smoothly and does not stick due to the added layers.
Adding a paint or finish to the access panel cover can help it blend seamlessly with the surrounding décor, making it almost invisible. Remember to take your time during this step to achieve a professional and polished look.
Please note that if you are working in a commercial or public building, it may be necessary to comply with specific building codes or regulations regarding the appearance or labeling of access panels. Be sure to check with the appropriate authorities before proceeding with any finishing touches.
Conclusion
Creating a plumbing access panel allows for easy access to your plumbing system while maintaining the aesthetics of your home. By following the steps outlined in this guide, you can successfully install a plumbing access panel and make maintenance and repairs more convenient. Here’s a summary of the steps:
- Measure and mark the dimensions for the access panel.
- Cut the opening using the appropriate tools and techniques.
- Add a support frame to provide stability and support.
- Install hinges to allow the panel cover to open and close smoothly.
- Attach the panel cover to the support frame.
- Consider painting or adding finishing touches to enhance the appearance.
Remember to consult the manufacturer’s instructions for your specific access panel kit and refer to local building codes if needed.
With a well-installed plumbing access panel, you’ll have easy access to your plumbing system whenever necessary, saving you time and effort in maintenance and repairs. Whether you’re a DIY enthusiast or hiring a professional, the process outlined in this guide will help you create a functional and visually appealing access panel.
So go ahead and enhance your plumbing system with a convenient plumbing access panel, and enjoy the benefits of easy access and efficient maintenance!
Frequently Asked Questions about How To Make Plumbing Access Panel
Was this page helpful?
At Storables.com, we guarantee accurate and reliable information. Our content, validated by Expert Board Contributors, is crafted following stringent Editorial Policies. We're committed to providing you with well-researched, expert-backed insights for all your informational needs.

0 thoughts on “How To Make Plumbing Access Panel”