Articles
How To Replace Shower Plumbing
Modified: August 28, 2024
Learn how to replace shower plumbing with our informative articles. Find step-by-step guides and expert advice to ensure a successful DIY project.
(Many of the links in this article redirect to a specific reviewed product. Your purchase of these products through affiliate links helps to generate commission for Storables.com, at no extra cost. Learn more)
Introduction
When it comes to the plumbing in your home, the shower is one of the most frequently used fixtures. Over time, it’s common for shower plumbing to wear out or develop issues that require replacement. Whether you’re experiencing leaks, low water pressure, or simply want to upgrade your shower system, knowing how to replace shower plumbing is a valuable skill that can save you time and money.
In this comprehensive guide, we’ll walk you through the steps involved in replacing shower plumbing. From gathering the necessary tools and materials to testing the new installation, we’ll cover everything you need to know to successfully complete the project. So, grab your toolbox and let’s get started!
Key Takeaways:
- Mastering the art of replacing shower plumbing can save you time and money while ensuring a functional and efficient shower system. Thorough preparation, careful installation, and testing are essential for a successful outcome.
- If you’re experiencing leaks, low water pressure, or simply want to upgrade your shower, learning how to replace shower plumbing gives you the freedom to take control of your home’s plumbing system. Don’t hesitate to tackle this project and enjoy the benefits of a refreshed, reliable, and enjoyable shower for years to come!
Read more: How To Replace A Shower Tile
Step 1: Gather Necessary Tools and Materials
Before you begin replacing your shower plumbing, it’s important to gather all the necessary tools and materials. Having everything you need at hand will make the process much smoother and save you from last-minute trips to the hardware store.
Here’s a list of the tools and materials you’ll need:
- Adjustable wrench
- Pipe wrench
- Plumbing tape
- Screwdriver
- Plumbers putty or silicone sealant
- New shower fixture or plumbing components
- Bucket or towel for water collection
- Cleaning supplies (if necessary)
Make sure to have these tools readily available before you proceed with the replacement. It’s also a good idea to wear protective gloves and goggles to ensure your safety throughout the process.
Step 2: Turn off the Water Supply
Before you begin removing the existing shower plumbing, it’s crucial to turn off the water supply to avoid any unintentional water damage. The location of your water shut-off valve may vary depending on the plumbing setup in your home. Typically, you can find it near the water meter, in the basement, or near the water heater.
Once you locate the shut-off valve, turn it clockwise to shut off the water supply. It’s important to ensure that the valve is fully closed to prevent any water from flowing through the pipes.
After turning off the water supply, relieve any remaining water pressure by opening a nearby faucet or shower valve. This will help drain any excess water from the pipes before you begin removing the shower plumbing.
It’s also a good idea to place a bucket or towel under the shower plumbing to catch any residual water that may still be present in the pipes.
Remember, safety should always be a priority when working on plumbing systems, so turning off the water supply is an essential step that should not be overlooked.
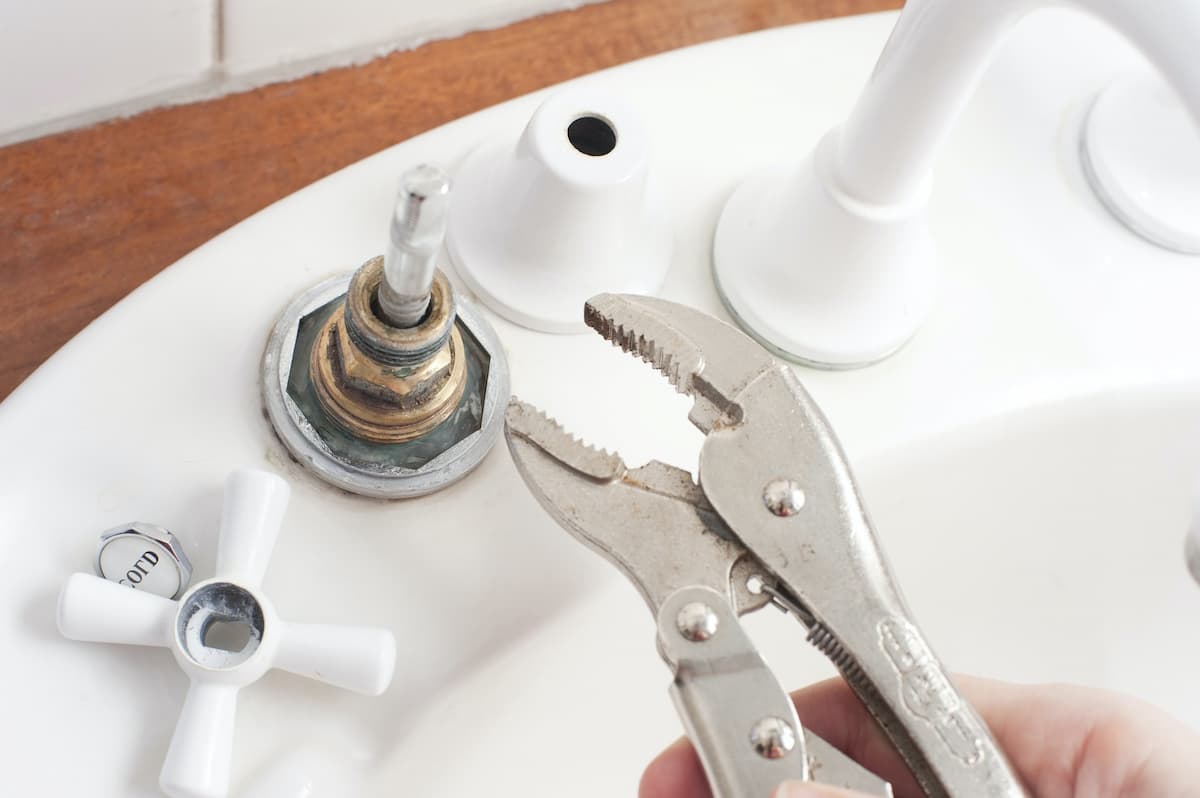
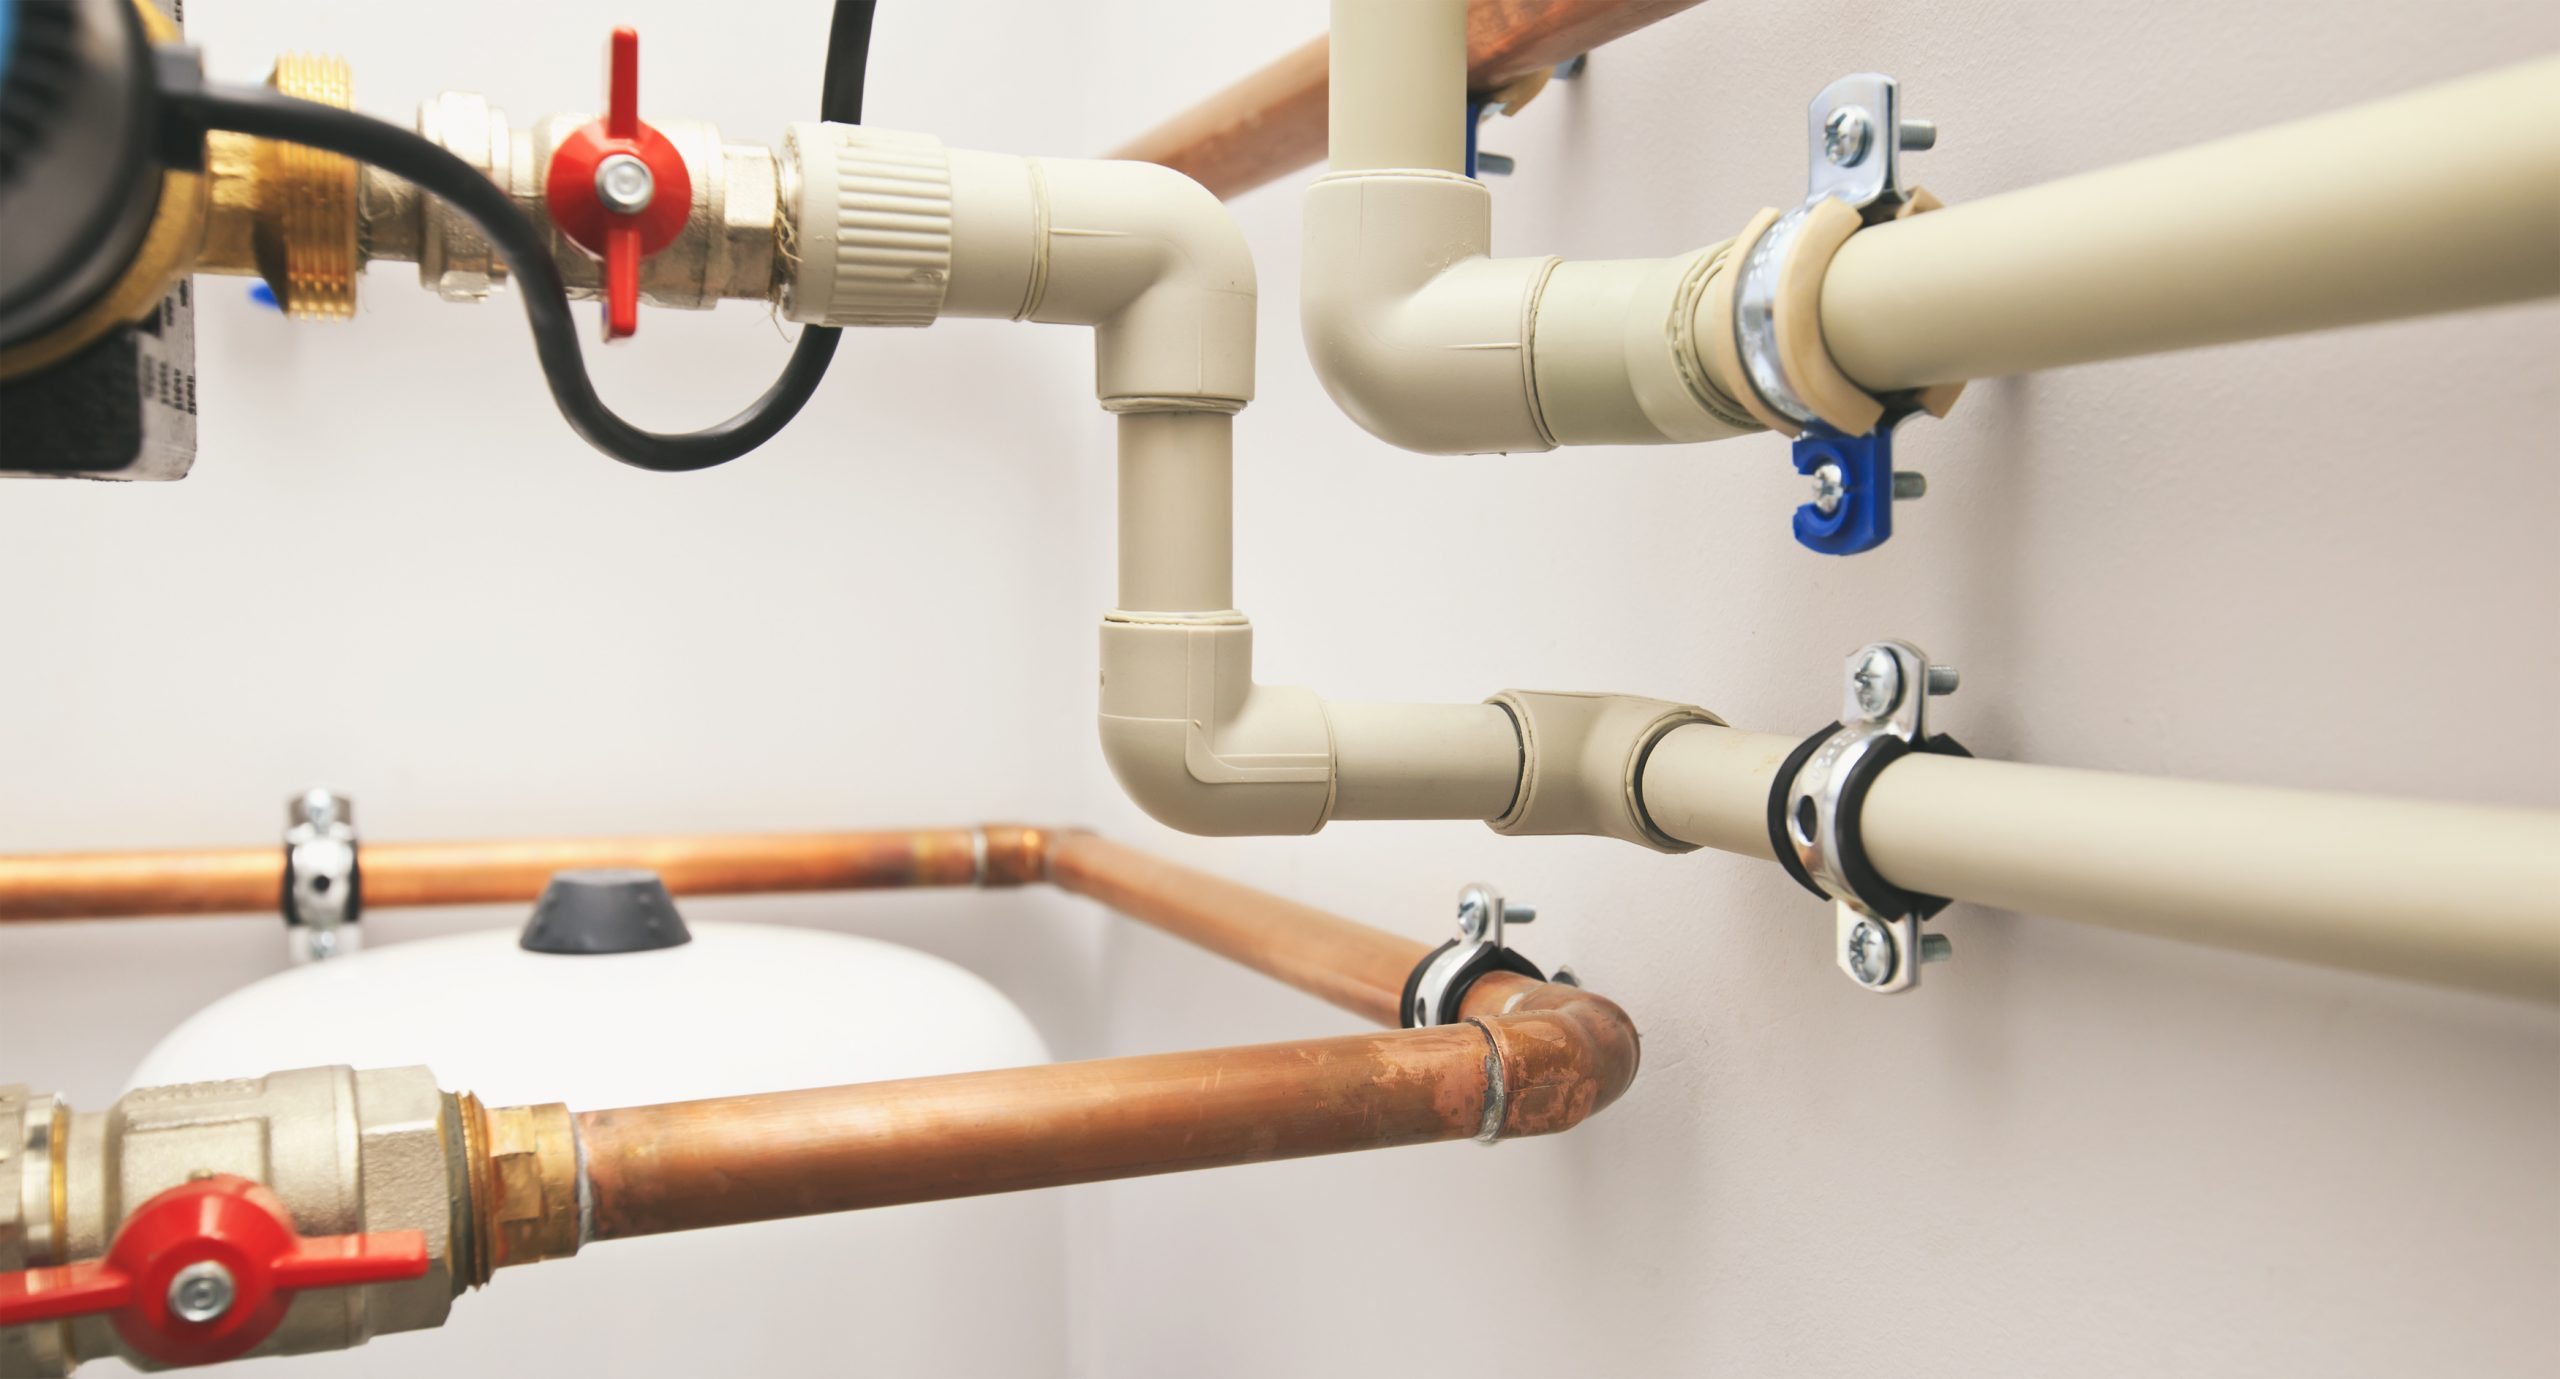
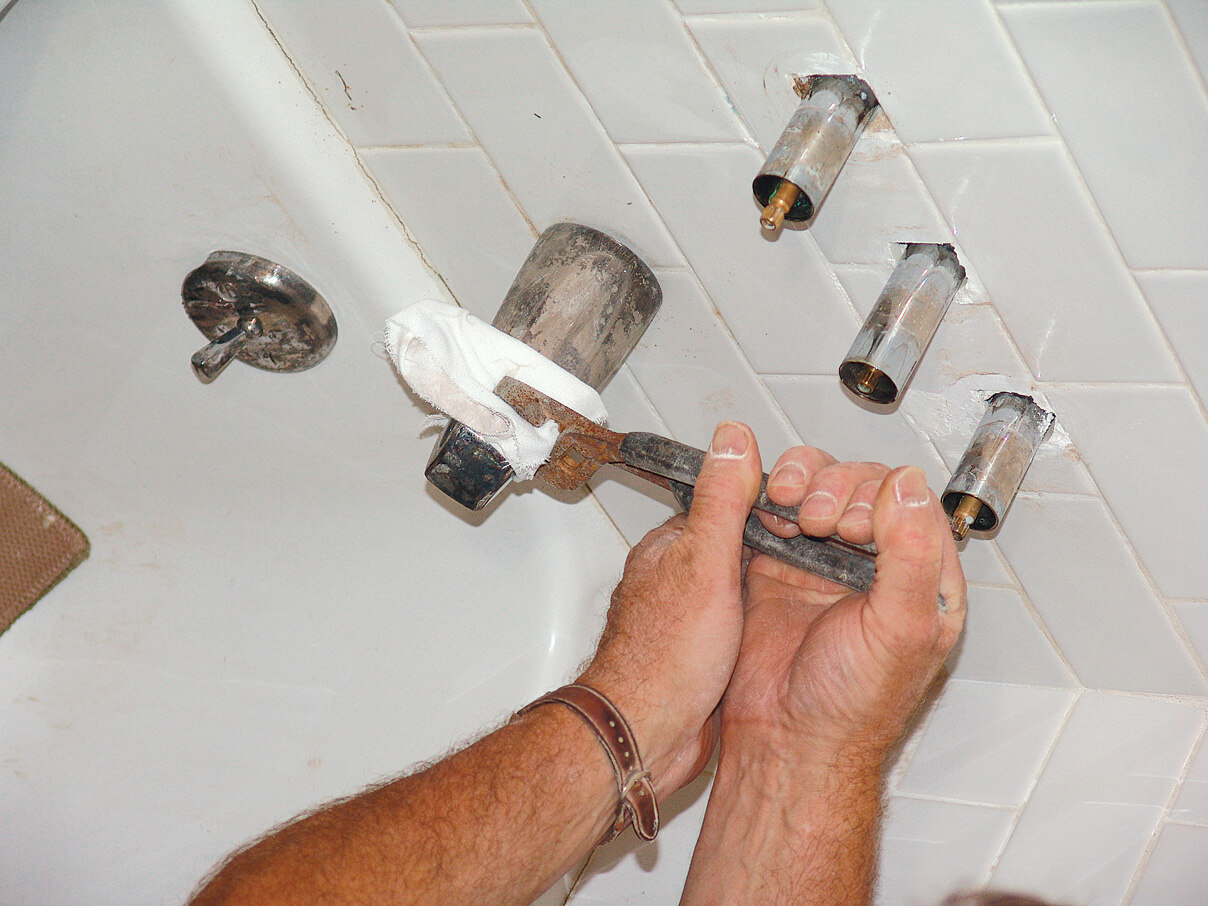
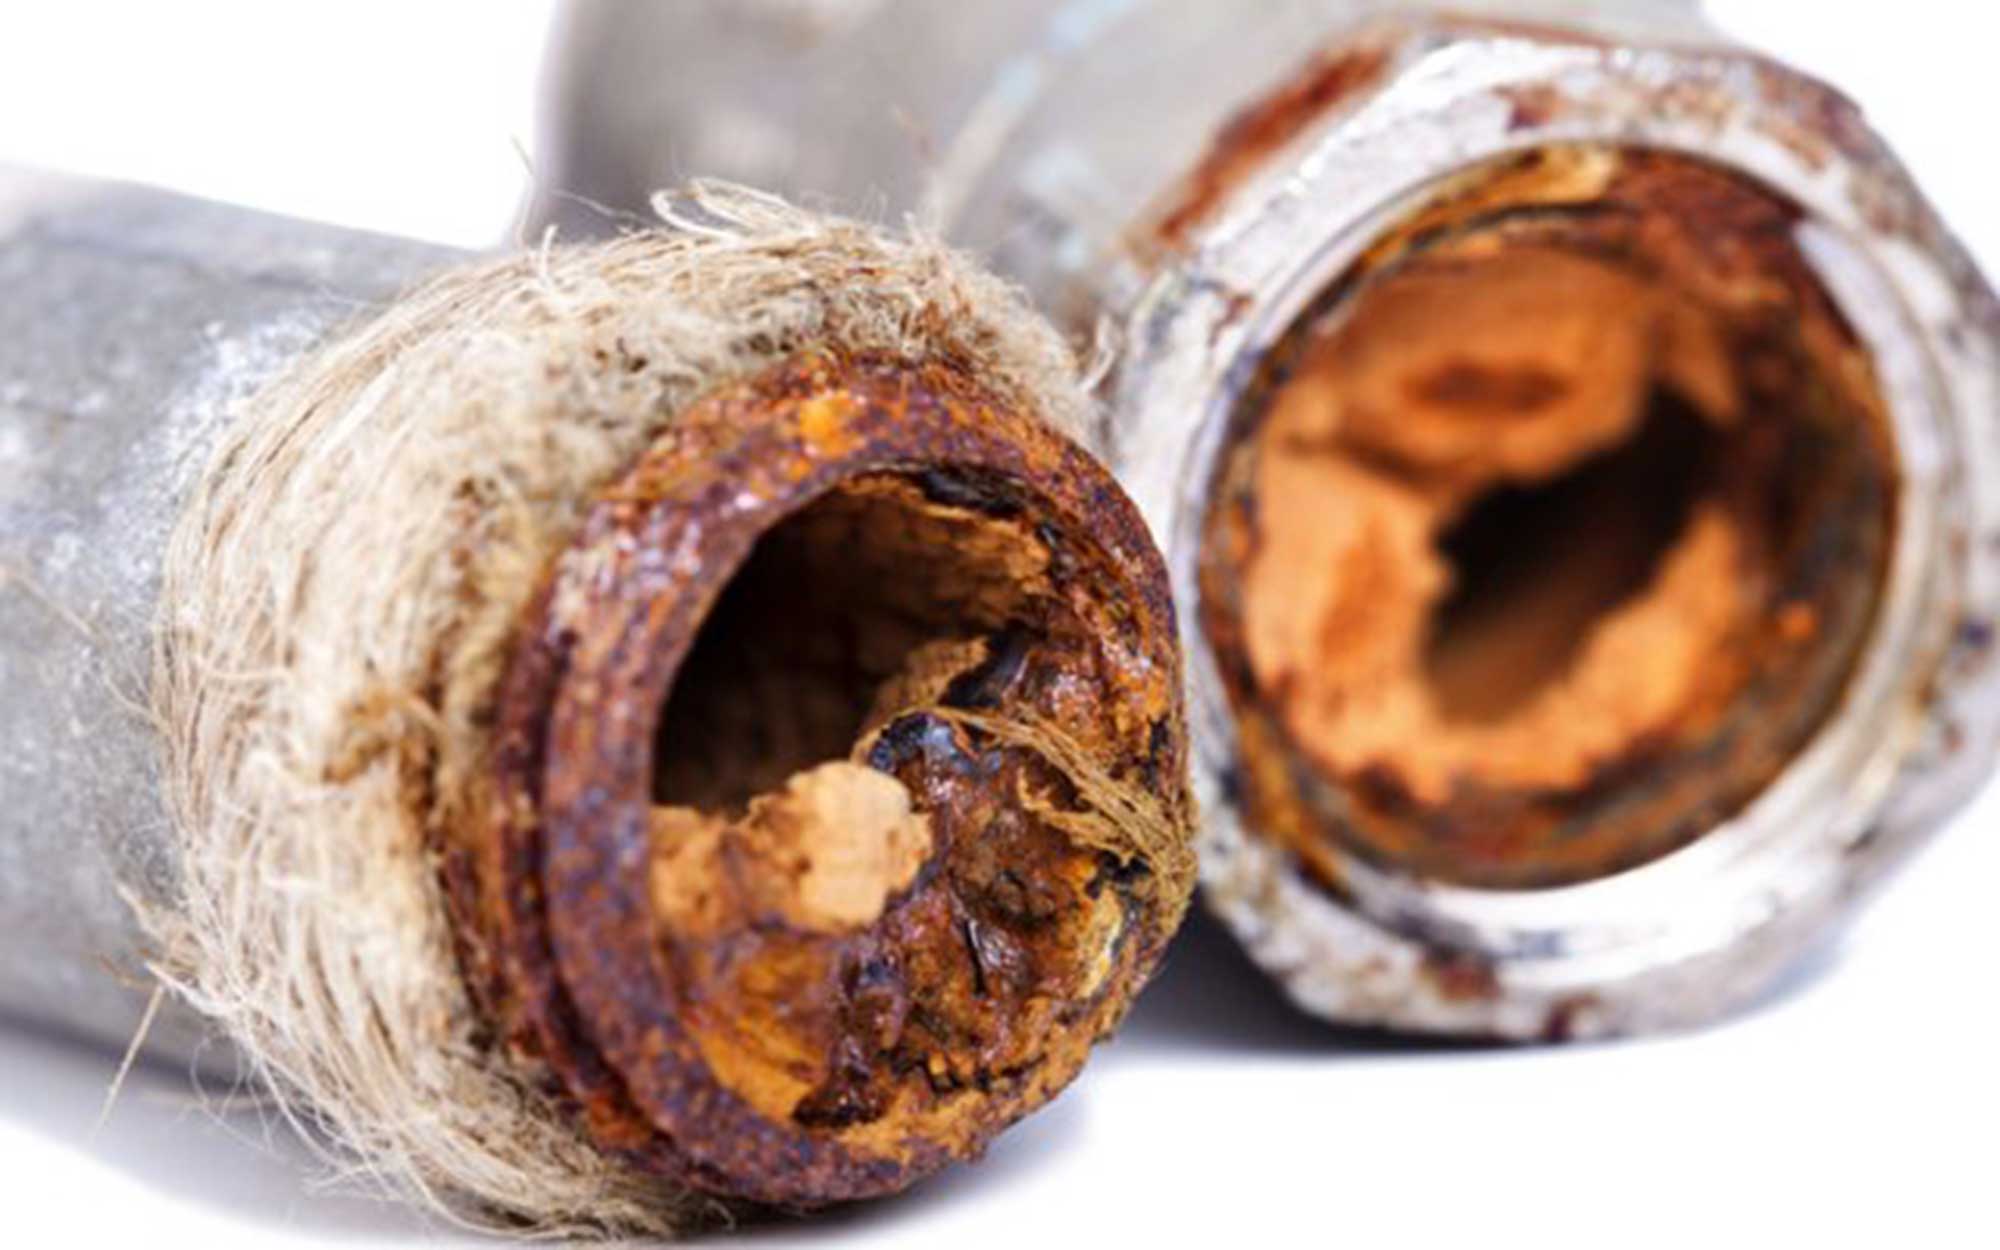
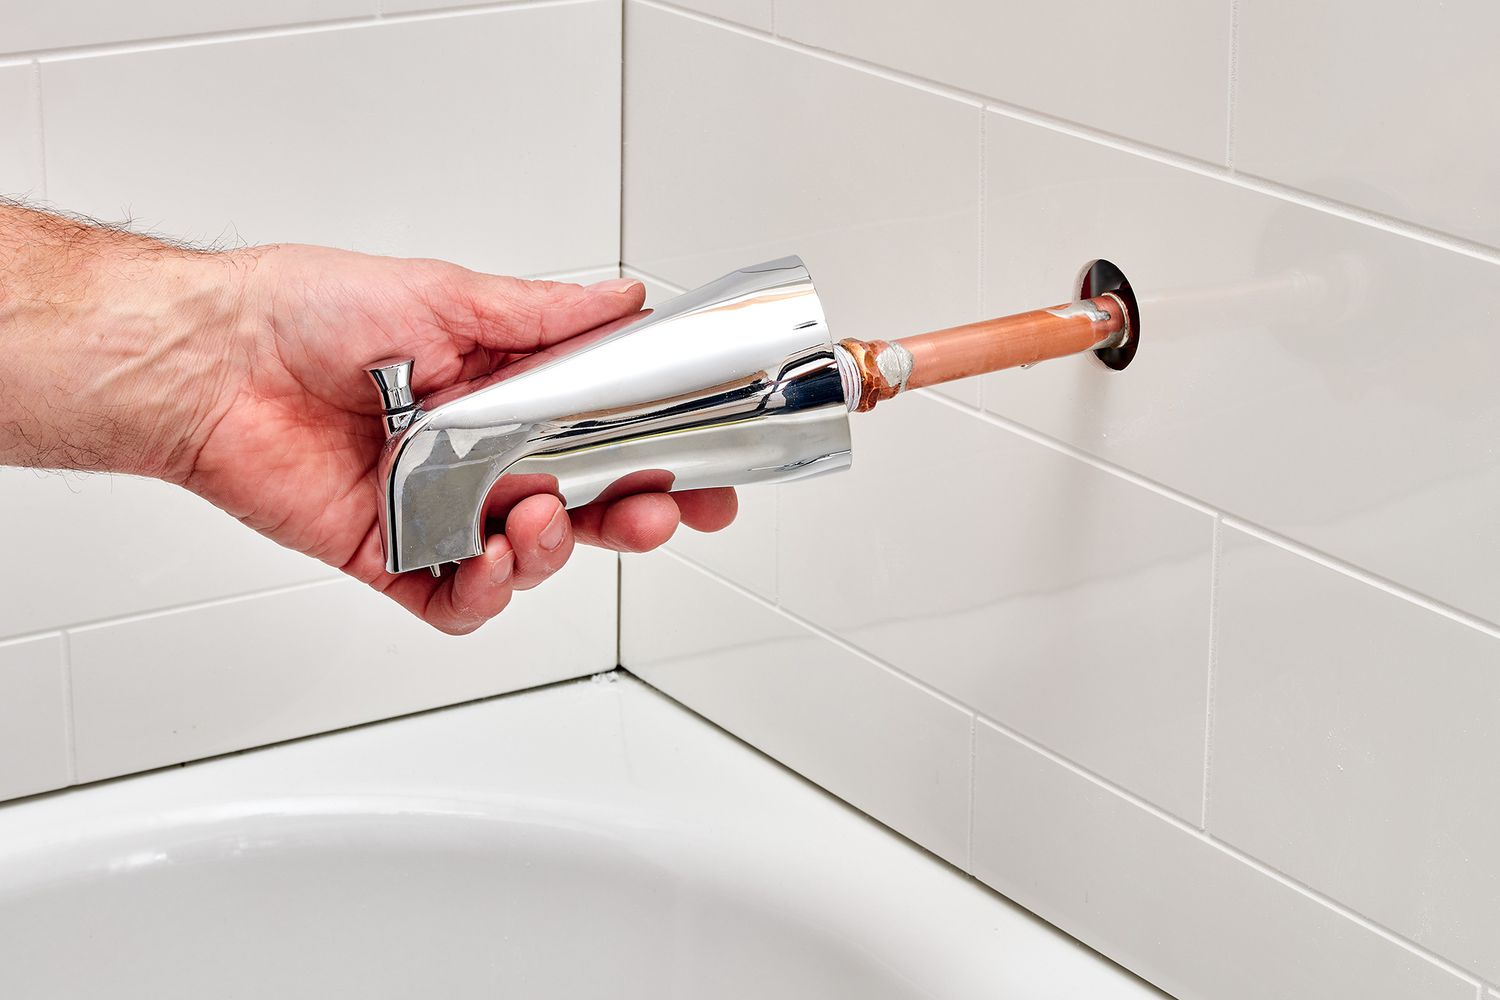
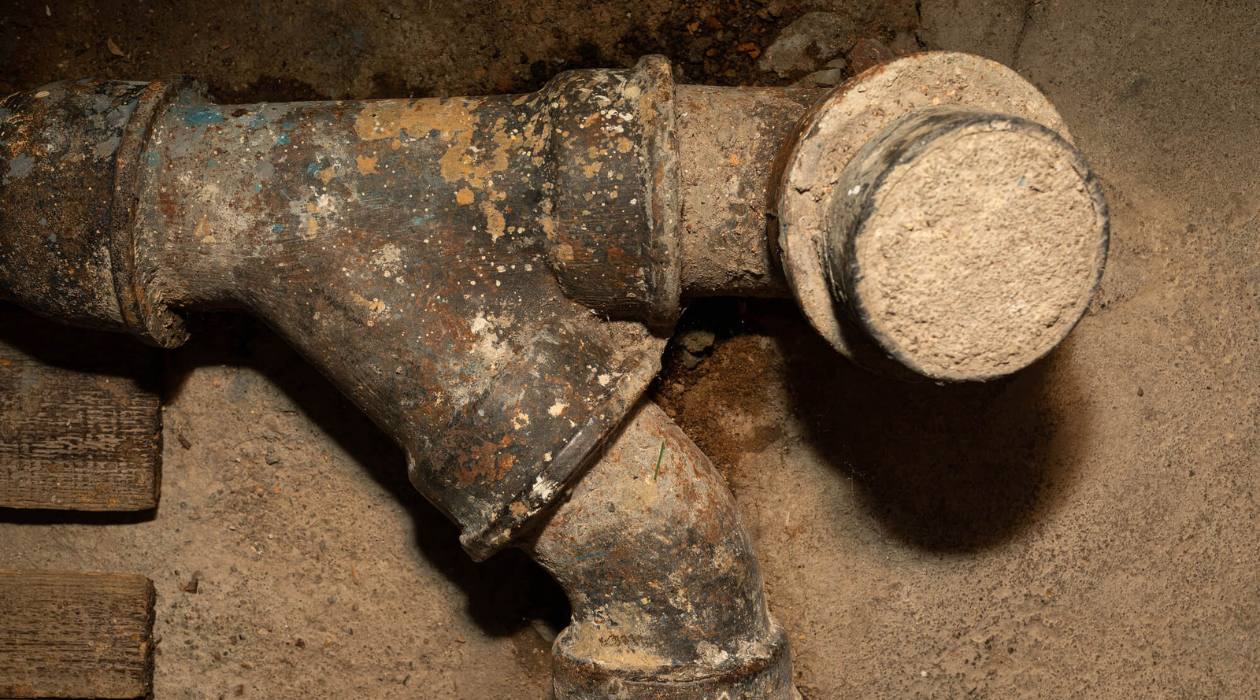
Step 3: Remove Existing Shower Plumbing
Now that you have turned off the water supply and drained any remaining water from the pipes, it’s time to remove the existing shower plumbing. This step involves disconnecting the showerhead, faucet, and any other components that are part of your shower system.
Follow these steps to remove the existing shower plumbing:
- Start by removing the showerhead. Most showerheads can be unscrewed by hand, but if it’s tightly secured, you may need to use an adjustable wrench or pliers. Turn the showerhead counterclockwise until it comes loose. Set it aside.
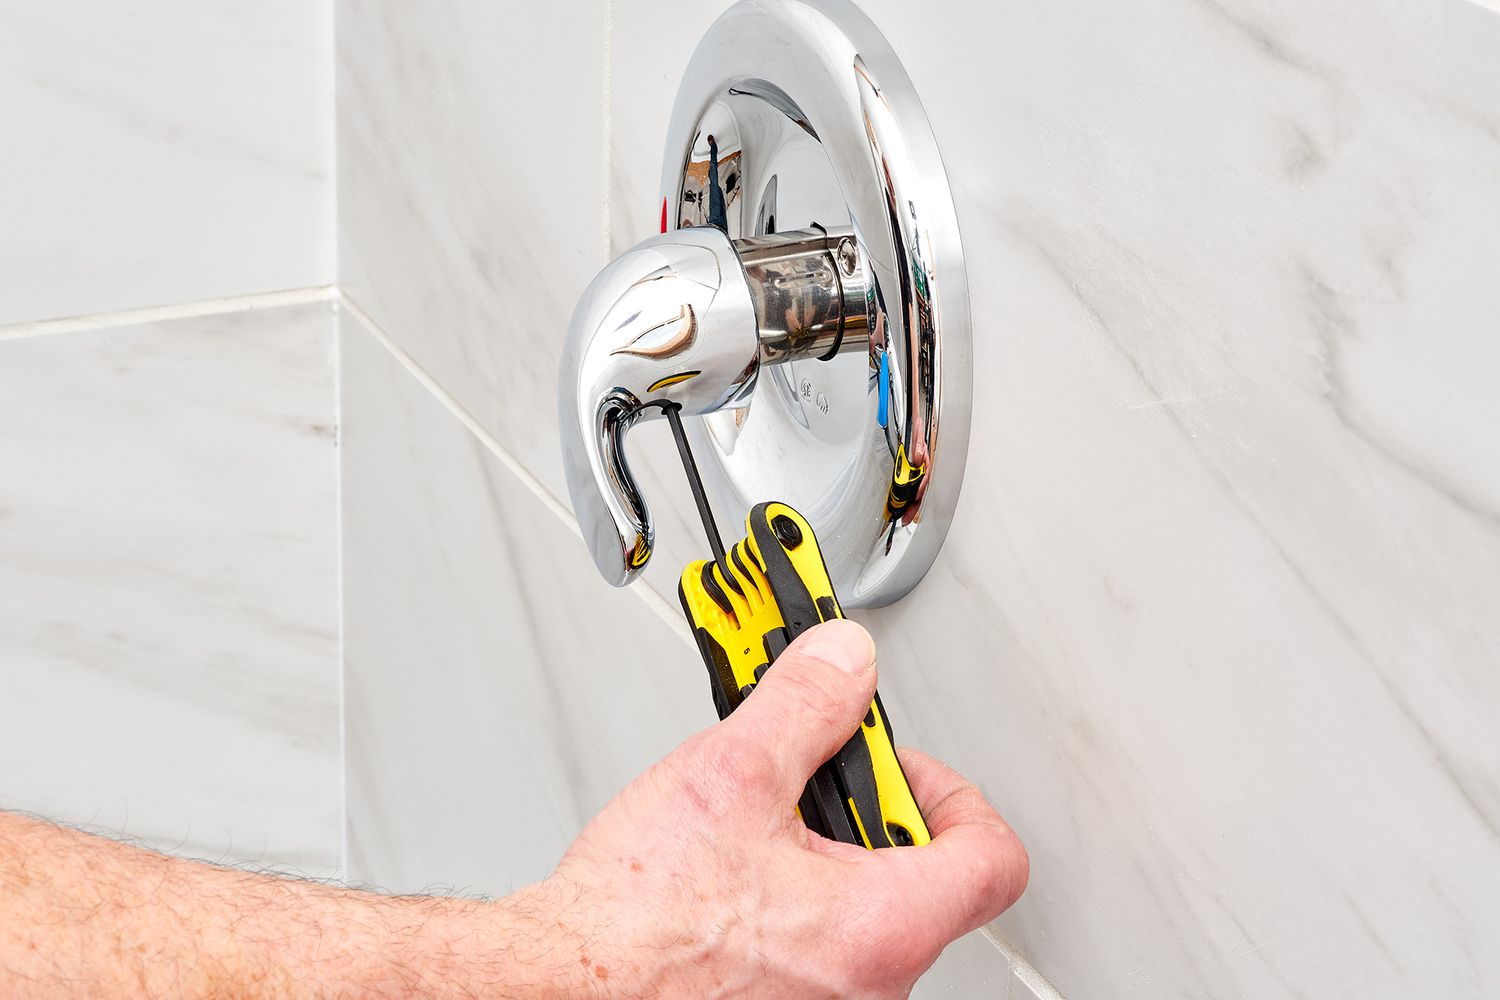
- Next, remove the faucet handles. Depending on the type of faucet you have, you may need to remove a decorative cap, unscrew a retaining screw, or use a wrench to remove the handles. Once the handles are off, you will have better access to the plumbing connections.
- Locate the connections for the shower plumbing, which are typically located behind the wall or under the shower enclosure. Use a pipe wrench or adjustable wrench to loosen and disconnect the connections. Be careful not to damage the pipes or fittings during this process.
- If there is a shower diverter valve or other additional components, remove them as well using the appropriate tools.
- Once all the connections are disconnected, carefully remove the existing shower plumbing from the wall or shower enclosure. Take your time and ensure that all parts are properly detached.
It’s crucial to be gentle during the removal process to avoid any damage to the surrounding tiles or fixtures. If there are any stubborn connections that won’t budge, you may need to apply penetrating oil and let it sit for a while before attempting to loosen them again.
With the existing shower plumbing removed, you’re now ready to install the new shower plumbing components in the next step.
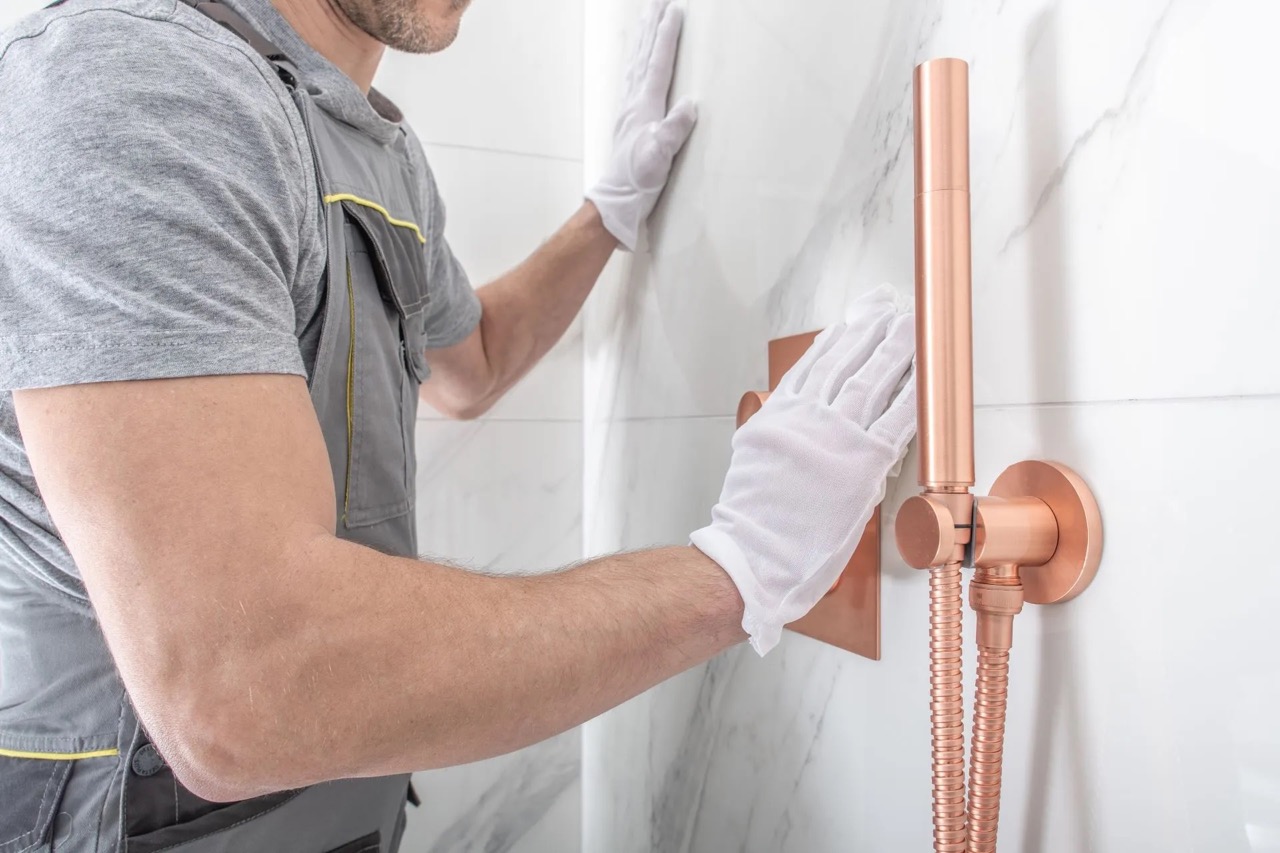
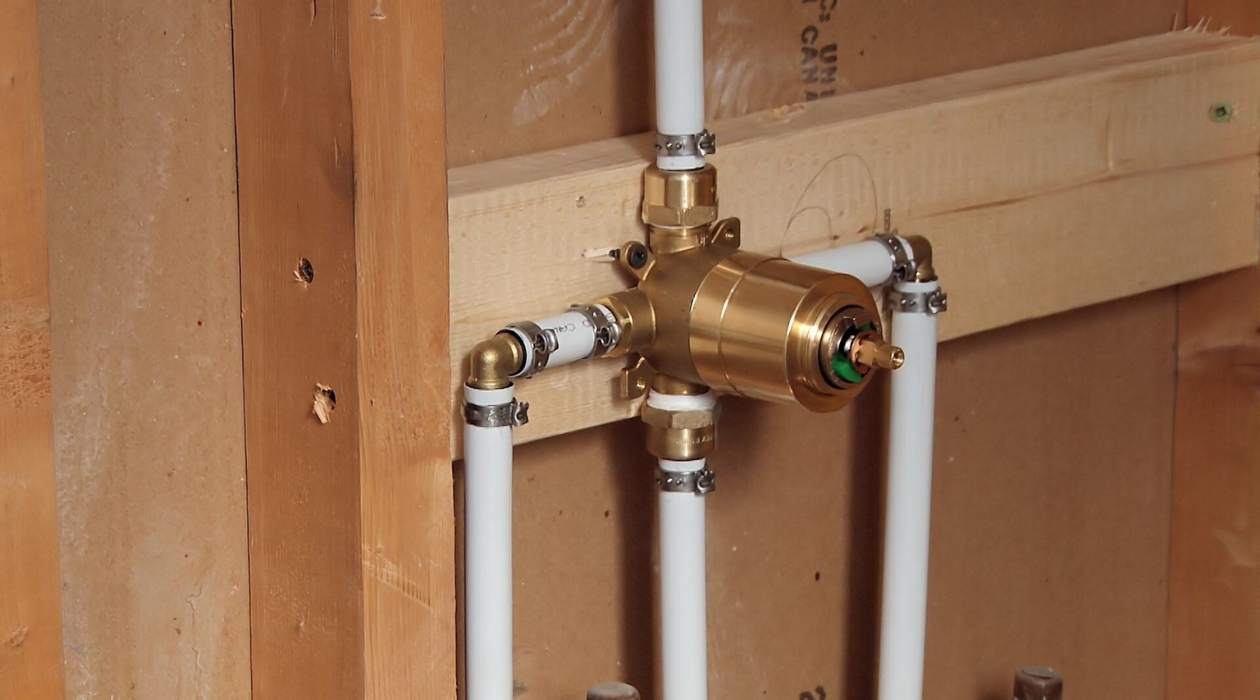
Step 4: Install New Shower Plumbing
With the existing shower plumbing removed, it’s time to install the new components and create a fresh and functional shower system. Follow these steps to install the new shower plumbing:
- Begin by applying plumbing tape to the threads of the new plumbing fittings. This will create a watertight seal when the connections are tightened.
- Start with the shower valve. Insert the valve into the wall or shower enclosure, ensuring that it is level and properly aligned. Use a wrench to secure the valve in place, making sure it is tightly fastened.
- Next, install the showerhead pipe or arm. Apply plumbers putty or silicone sealant to the threads of the pipe, then screw it into the shower valve outlet. Use a wrench to tighten it, but be careful not to overtighten and potentially damage the threads.
- Attach the showerhead to the end of the shower pipe. Again, apply plumbing tape to the threads of the showerhead and screw it on. Use a wrench to ensure it is securely tightened.
- If you are installing a new faucet, follow the manufacturer’s instructions to properly mount and connect it to the shower valve. This may involve attaching the handles, spout, and any additional components.
- Make sure all connections are secure and properly tightened. Double-check that everything is aligned and in the correct position.
Take your time during the installation process to ensure everything is done correctly. If you encounter any difficulties or need clarification, refer to the manufacturer’s instructions for specific guidelines.
Once all the new shower plumbing components are installed, you’re ready to move on to the next step and ensure everything is working as intended.
When replacing shower plumbing, make sure to turn off the water supply before starting any work. This will prevent any potential flooding or water damage.
Read more: How To Replace A Bathtub Shower
Step 5: Check for Leaks and Proper Functioning
After installing the new shower plumbing, it’s essential to check for any potential leaks and ensure that everything is functioning properly. Here’s what you should do:
- Turn on the water supply. Slowly open the water shut-off valve to allow water to flow through the pipes. Check for any visible leaks around the new connections.
- Inspect the showerhead and faucet for any signs of leaking. If you notice any leaks, tighten the connections or use plumbing tape to create a better seal.
- Turn on the shower and test both the hot and cold water. Check for any irregularities in water pressure, temperature, or flow.
- Listen for any unusual noises or vibrations that could indicate a problem with the plumbing system.
- Run the shower for several minutes to ensure there are no hidden leaks or issues that may only become apparent over time.
- If you detect any leaks or other problems, address them immediately. This may involve tightening connections, replacing faulty parts, or seeking professional assistance if necessary.
It’s important not to overlook this step, as even a small leak can lead to water damage and potential structural issues in the future. Taking the time to thoroughly check for leaks and proper functioning will ensure a reliable and efficient shower system.
Once you’re satisfied with the results and there are no leaks or issues, you can proceed to the next step, which involves reconnecting the water supply.
Step 6: Reconnect Water Supply
With the new shower plumbing installed and checked for leaks and proper functioning, it’s time to reconnect the water supply and restore the flow of water to your shower. Follow these steps to reconnect the water supply:
- Locate the water shut-off valve that you previously turned off during the installation process.
- Slowly turn the valve counterclockwise to gradually restore water flow to the shower plumbing. This helps prevent sudden pressure surges that could potentially damage the newly installed components.
- Once the water supply is fully restored, check for any leaks around the connections. If you notice any leaks, tighten the fittings or use plumbing tape to create a better seal.
It’s important to monitor the connections closely for a few minutes after turning on the water supply to ensure there are no new leaks. If you detect any leaks, address them immediately to prevent any further damage.
Once you have confirmed that there are no leaks and the water supply is securely reconnected, it’s time to move on to the final step – testing the new shower plumbing.
Step 7: Test the New Shower Plumbing
Now that the water supply is reconnected, it’s important to test the new shower plumbing to ensure that everything is working as expected. Follow these steps to test the functionality of the new shower:
- Turn on the shower and check the water flow and temperature. Make sure the water comes out evenly from the showerhead and that the temperature is comfortable for use.
- Adjust the shower controls to test the functionality of any diverters or temperature controls. Ensure that these features work smoothly and without any issues.
- Observe the water pressure in the shower. If the pressure seems lower than normal, you may need to check for any clogs or obstructions in the plumbing.
- Listen for any unusual sounds or vibrations during use, as these may indicate underlying issues that need to be addressed.
- Check for any leaks around the connections, showerhead, or faucet handles while the shower is in use. If you notice any leaks, tighten the fittings or use plumbing tape to create a better seal.
Take your time during the testing phase to thoroughly evaluate the functionality of the new shower plumbing. If you encounter any problems or detect issues, it’s important to address them promptly. This may involve tightening connections, adjusting valves, or seeking professional assistance if necessary.
Once you’re satisfied that the new shower plumbing is working effectively and without any issues, congratulations! You have successfully replaced the shower plumbing in your home. Enjoy your refreshed and reliable shower system.
Conclusion
Replacing shower plumbing may seem like a daunting task, but with the right tools, materials, and guidance, it can be a manageable and rewarding project. By following the step-by-step instructions outlined in this guide, you have learned how to replace shower plumbing and create a functional and efficient shower system in your home.
Remember, thorough preparation, careful disconnection of existing plumbing, proper installation of new components, and thorough testing are key to a successful outcome. By taking the time to gather the necessary tools, turn off the water supply, remove the old plumbing, install the new components, check for leaks, reconnect the water supply, and test the new shower plumbing, you can ensure a job well done.
However, it’s important to note that if you are uncomfortable or unsure about any aspect of the process, it’s always wise to consult a professional plumber. They have the expertise and experience to handle any challenges or complications that may arise.
Replacing shower plumbing not only improves the functionality of your shower but also allows you to upgrade to more modern and efficient fixtures. Whether you’re dealing with leaks, low water pressure, or simply want to enhance your shower experience, knowing how to replace shower plumbing gives you the freedom to take control of your home’s plumbing system.
So, don’t hesitate to tackle this project and enjoy the benefits of a refreshed, reliable, and enjoyable shower for years to come!
Frequently Asked Questions about How To Replace Shower Plumbing
Was this page helpful?
At Storables.com, we guarantee accurate and reliable information. Our content, validated by Expert Board Contributors, is crafted following stringent Editorial Policies. We're committed to providing you with well-researched, expert-backed insights for all your informational needs.


0 thoughts on “How To Replace Shower Plumbing”