
Articles
How To Replace Stove Top
Modified: January 8, 2024
Learn how to replace a stove top with step-by-step instructions and helpful tips in our informative articles.
(Many of the links in this article redirect to a specific reviewed product. Your purchase of these products through affiliate links helps to generate commission for Storables.com, at no extra cost. Learn more)
Introduction
When it comes to cooktops, the stove top is one of the most frequently used components. Over time, it can become worn out or damaged, requiring replacement. While the idea of replacing a stove top may seem daunting, it is actually a relatively simple process that can be done by following a few steps.
Whether you are replacing an electric cooktop or a gas cooktop, this article will guide you through the process. By gathering the necessary tools and materials and following a step-by-step approach, you can easily replace your stove top and have your kitchen up and running again in no time.
In this article, we will cover the materials and tools you will need, how to turn off the power supply, the steps to remove the old stove top, how to install the new one, and how to connect the wires. So, let’s dive in and learn how to replace a stove top!
Key Takeaways:
- Replacing a stove top is a manageable DIY project that can enhance your kitchen’s functionality and aesthetics. Prioritize safety, follow the step-by-step guide, and enjoy the benefits of a new cooktop.
- Regular maintenance and proper installation of a new stove top can prolong its lifespan and optimize performance. Follow safety protocols, test the burners, and embrace culinary adventures in your upgraded kitchen.
Read more: How To Replace A Gas Cooktop
Step 1: Gather the necessary tools and materials
Before you begin the process of replacing your stove top, it is important to gather all the necessary tools and materials to ensure a smooth and efficient replacement. Here are the items you will need:
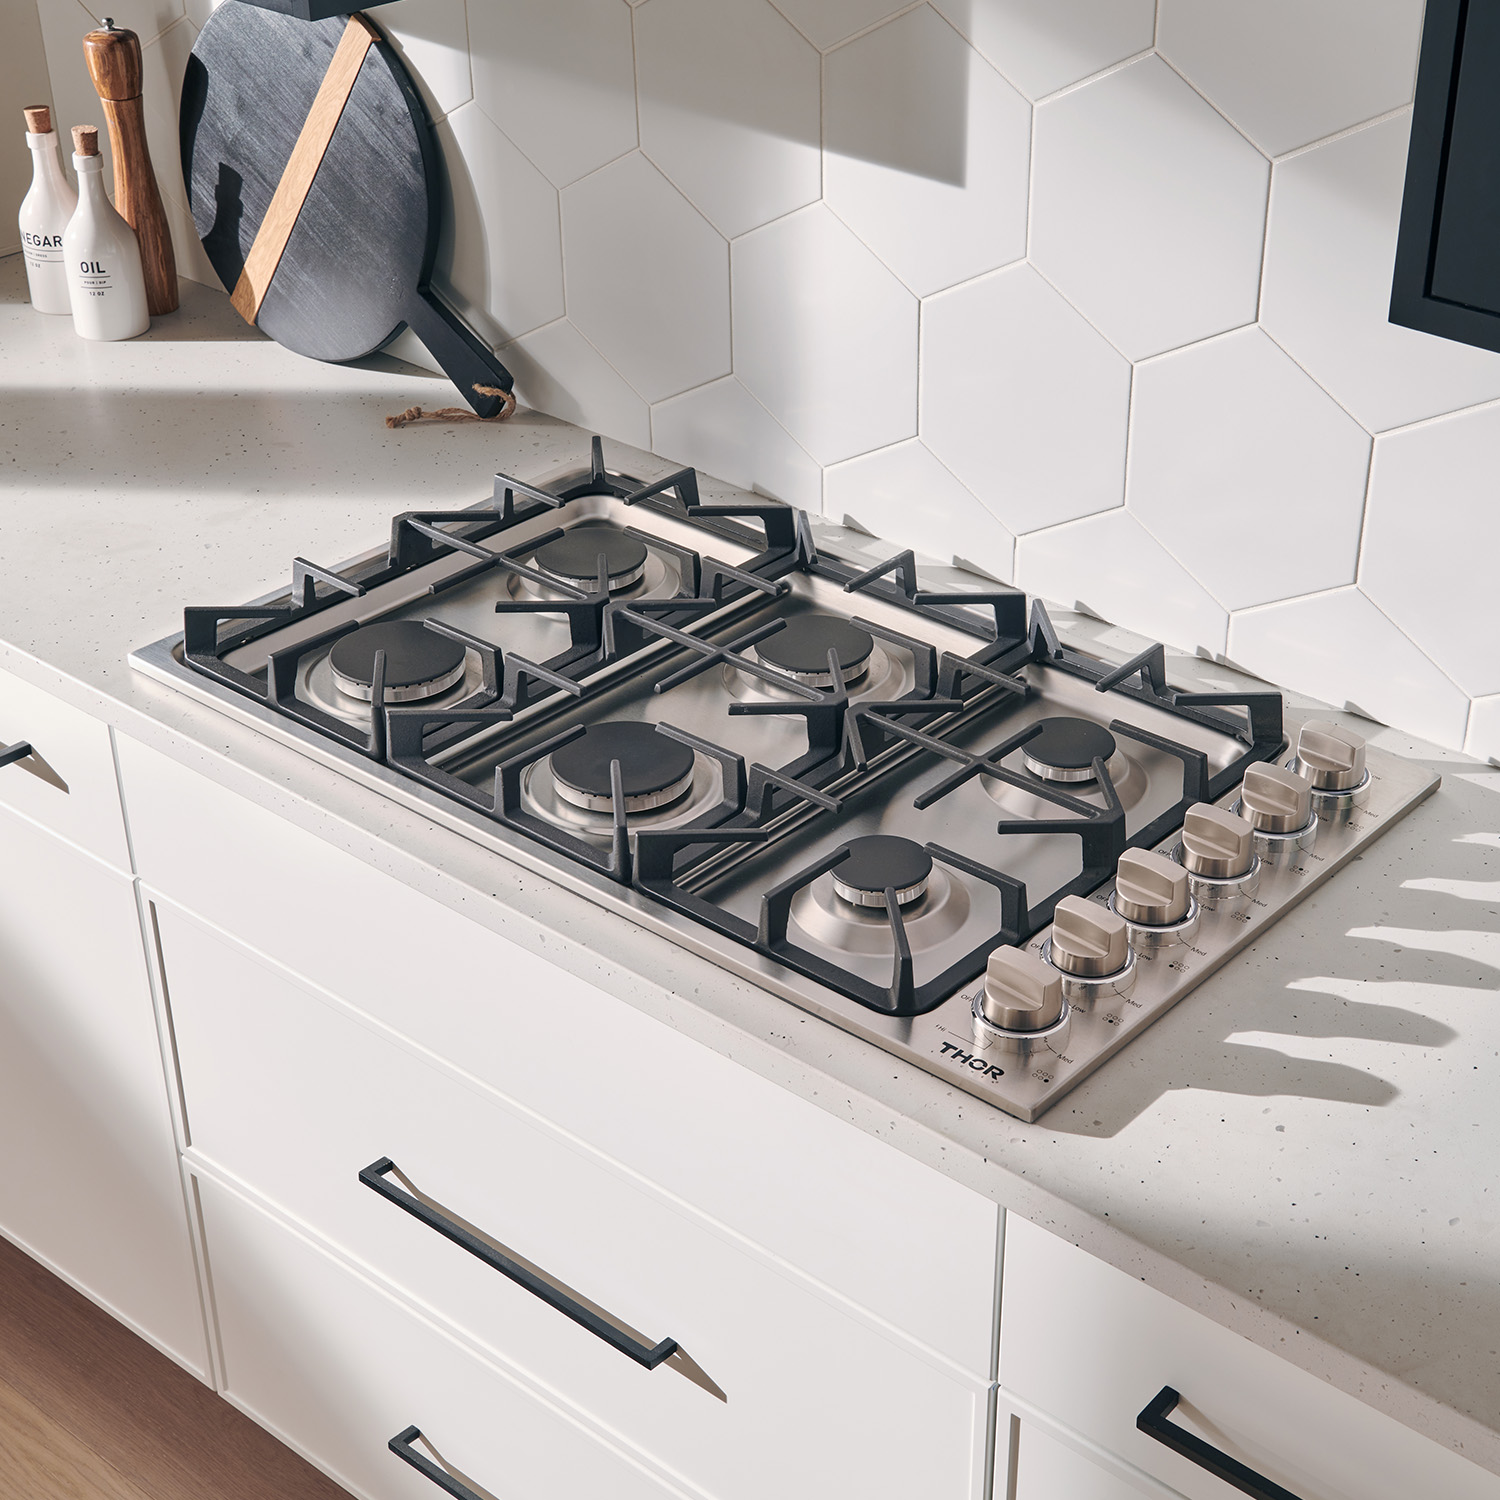
- Replacement stove top: Make sure you have the correct size and type (electric or gas) that matches your current cooktop.
- Screwdriver: A flat-head or Phillips screwdriver will be needed to remove screws or fasteners.
- Wrench: If your stove top is gas-powered, you may need a wrench to disconnect the gas line.
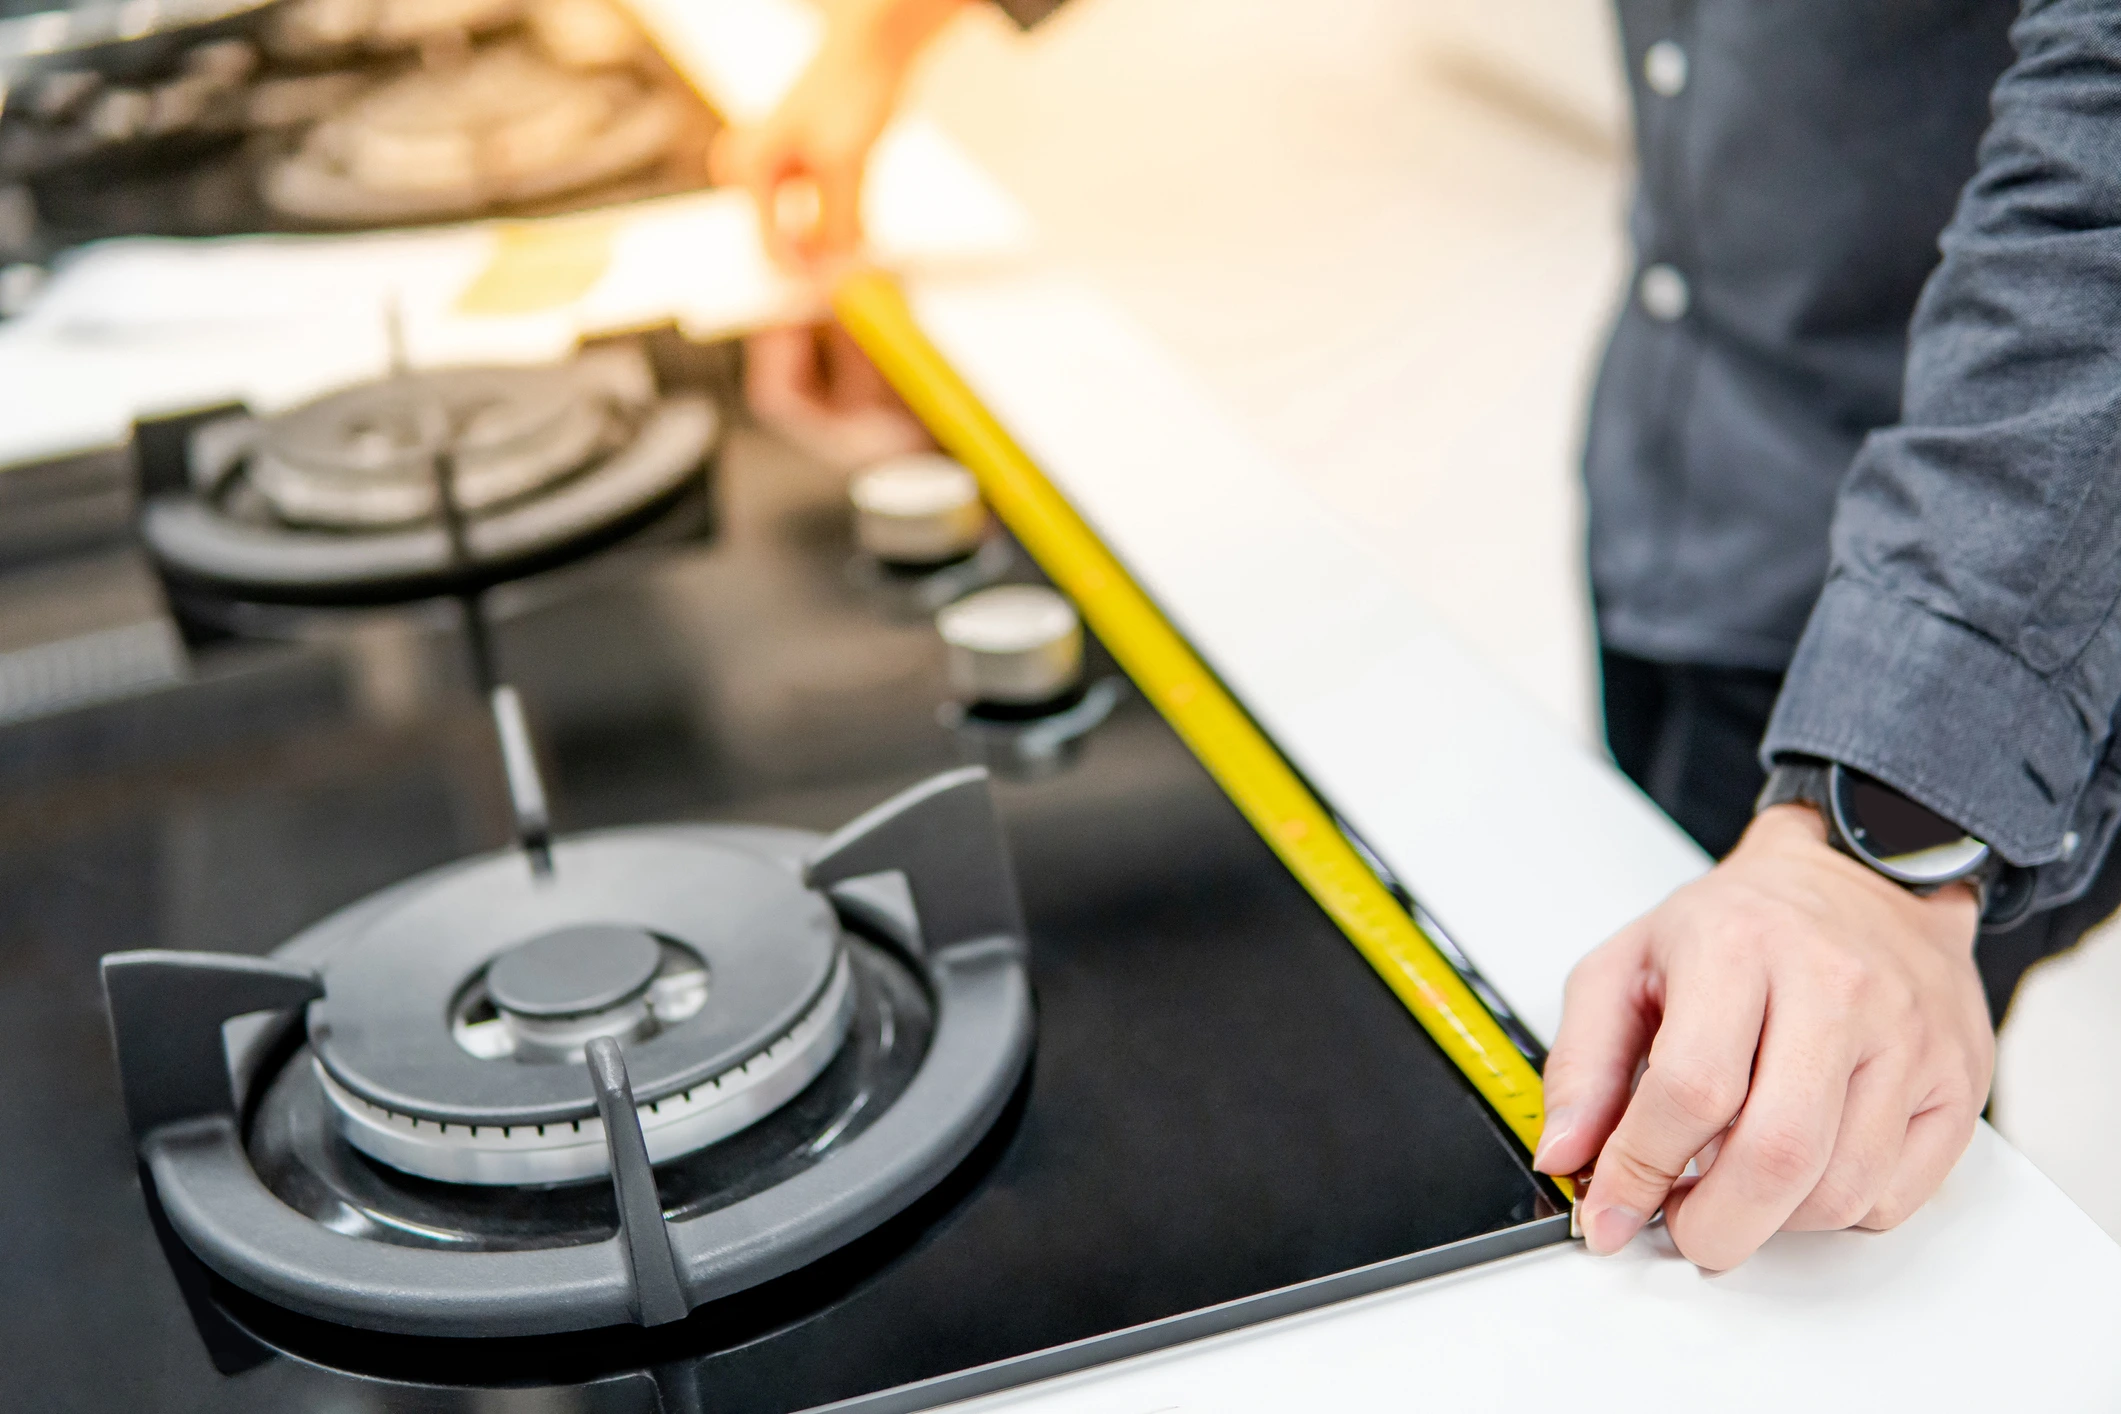
- Tape or pencil: You will need to mark the placement of the burners for proper reinstallation.
- Clean cloth or sponge: This will come in handy for cleaning any spills or residue during the replacement process.
- Protective gloves: Safety should always be a priority. Wear protective gloves to avoid any injuries.
- Electrical tape: This will be used to secure the electrical connections.
Once you have gathered all the necessary tools and materials, you can proceed to the next step of the process. It is important to have everything readily available to avoid any unnecessary delays or interruptions.
Step 2: Turn off the power supply
Before you start working on replacing your stove top, it is crucial to turn off the power supply to ensure your safety. This step is especially important if you have an electric stove top. Follow the steps below to turn off the power:
- Locate the electrical panel in your home. It is usually found in the basement, utility room, or garage.
- Open the panel and find the circuit breaker that controls the power to your stove top. It is usually labeled as “Stove” or similar.
- Flip the corresponding circuit breaker to the “Off” position. This will cut off the power supply to your stove top.
If your stove top is gas-powered, you will also need to turn off the gas supply. Locate the gas shut-off valve, usually located behind the stove or in the basement. Use a wrench to turn the valve clockwise until it is fully closed.
Remember to prioritize safety during this step. Turning off the power and gas supply will prevent any accidents or electrical shocks as you work on replacing the stove top.
Once the power supply and gas supply are safely turned off, you can proceed to the next step: removing the burners and burner grates.
Step 3: Remove the burners and burner grates
With the power supply turned off and the gas supply shut off (if applicable), you can now move on to removing the burners and burner grates from your stove top. Follow these steps:
- Allow the stove top to cool down completely before starting. This will prevent any burns or injuries.
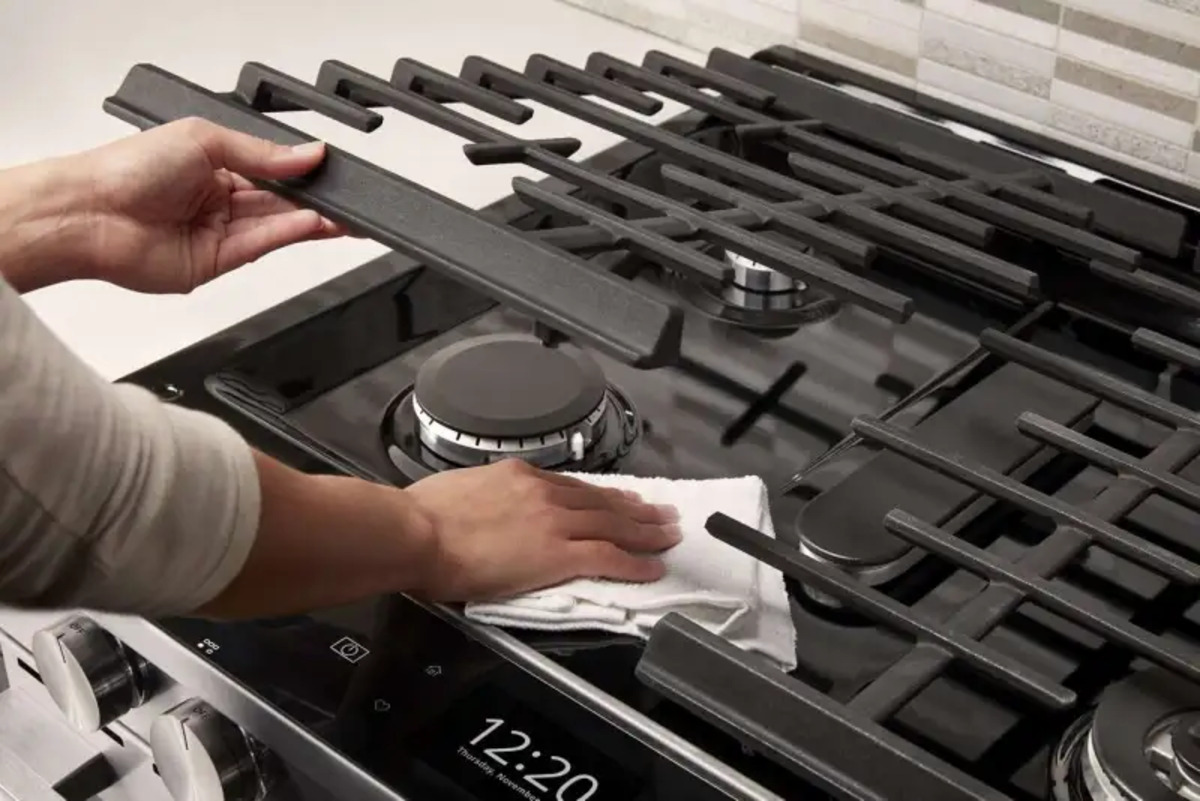
- Carefully lift the burner grates off the stove top and set them aside.
- Depending on your stove top model, the burners may be secured by screws or clips. Use a screwdriver or release the clips to detach the burners.
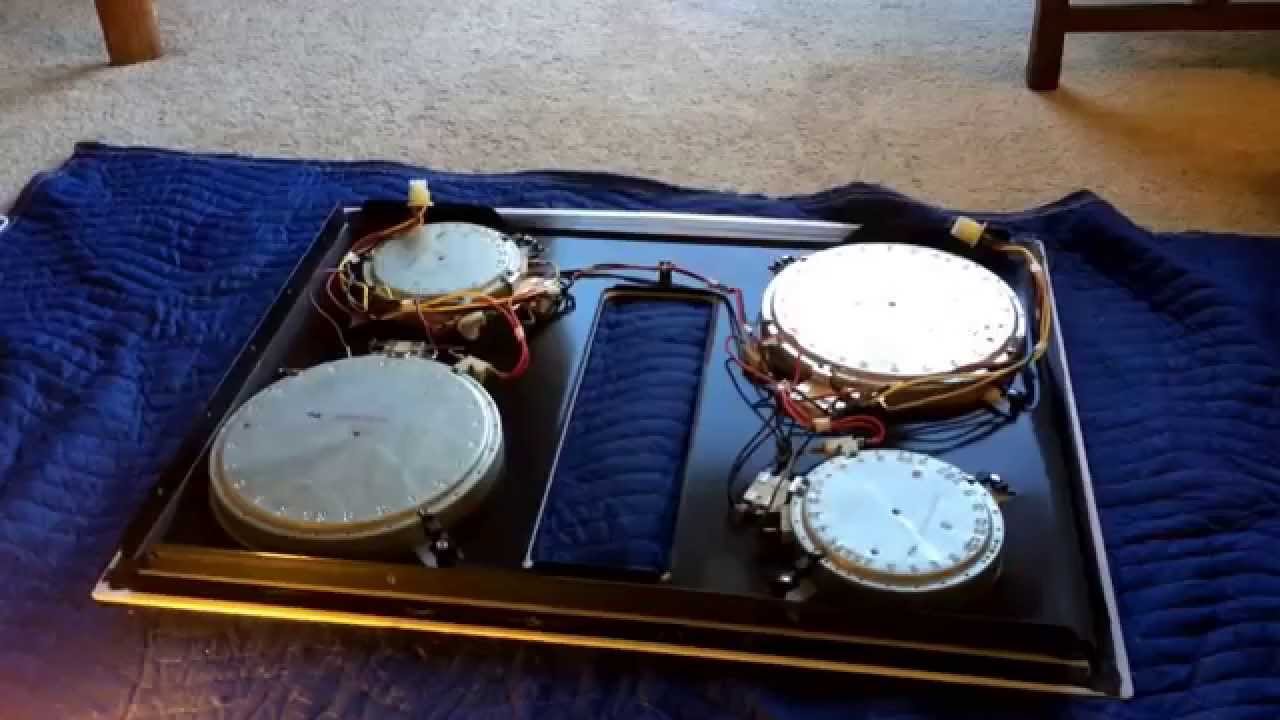
- Once the burners are detached, gently lift them up and disconnect the wires connected to them. Take note of the position of each wire to ensure proper reinstallation later.
- Set the burners aside in a safe place.
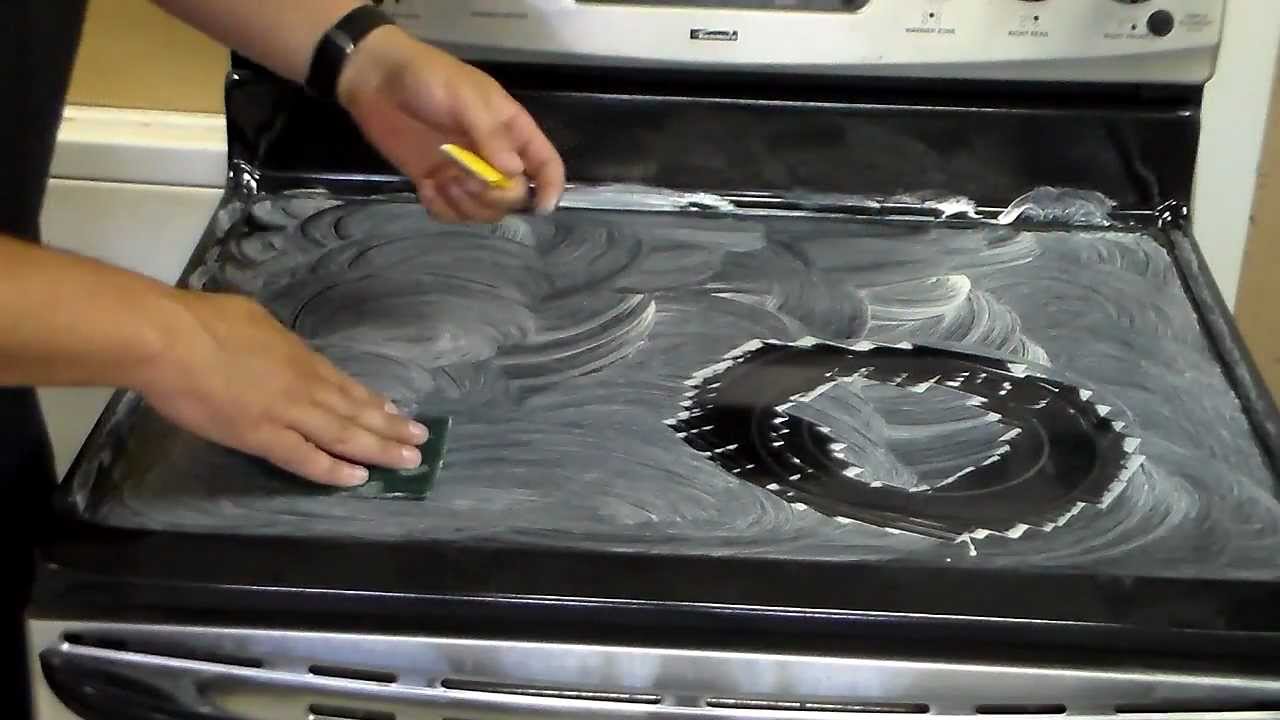
After removing the burners and burner grates, take this opportunity to clean the area underneath. Use a clean cloth or sponge to wipe away any spills or residue that may have accumulated over time. This will ensure a clean and smooth installation of the new stove top.
Now that the burners and burner grates are removed and the area is cleaned, you can move on to the next step: disconnecting the old stove top.
Step 4: Disconnect the old stove top
Now that the burners and burner grates are safely removed, it’s time to disconnect the old stove top from its electrical and/or gas connections. Follow these steps to disconnect the old stove top:
- Locate the connections at the back of the stove top. For electric stove tops, you will find electrical wires connected to terminal screws. For gas-powered stove tops, you will find a gas line connected to a valve.
- For electric stove tops, use a screwdriver to loosen the terminal screws. Carefully detach the wires from the screws and tuck them away from any sharp edges or moving parts.
- For gas-powered stove tops, use a wrench to loosen the connection between the gas line and the valve. Turn the connection counterclockwise until it is detached.
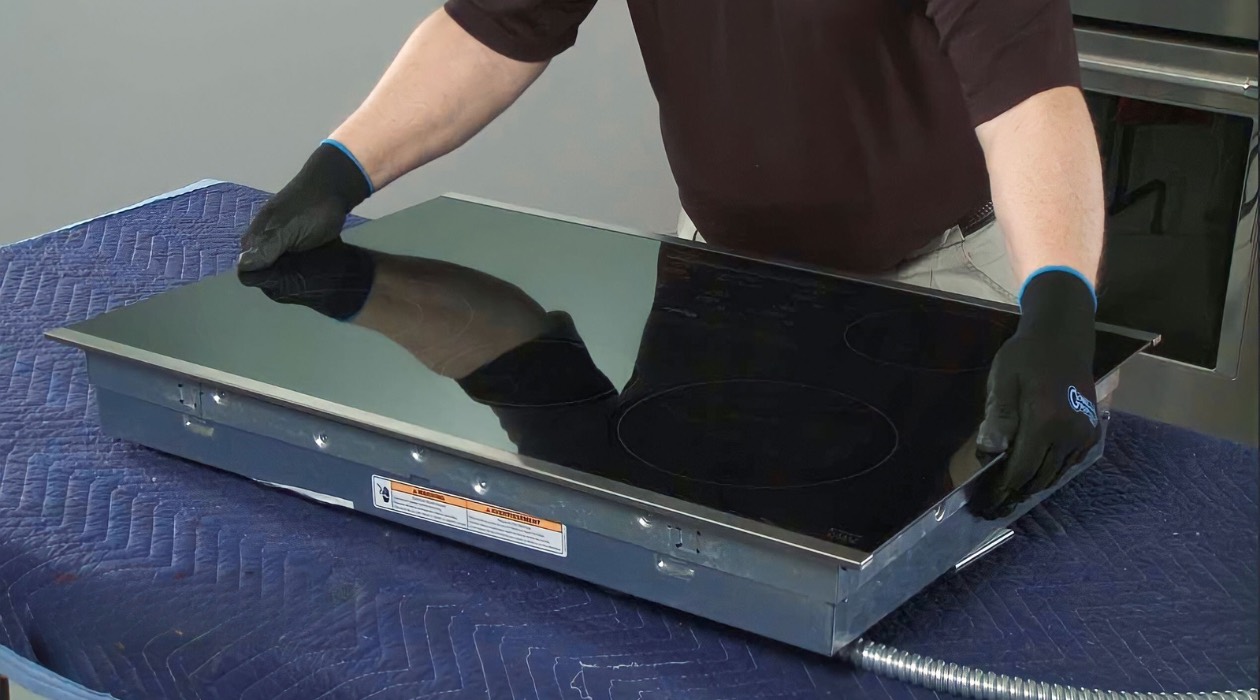
- Once the electrical and/or gas connections are disconnected, carefully lift the old stove top off the countertop. Enlist the help of a friend or family member to ensure safe handling.
- Place the old stove top aside in a safe location.
With the old stove top successfully disconnected, you’re one step closer to installing the new one. But before you do that, it is important to take a moment to inspect the area and ensure it is clean and ready for the new stove top.
Remove any debris or dirt from the countertop surface and make sure there are no loose screws or other obstacles that could interfere with the installation. Once you’ve confirmed that the area is clean and ready, you can proceed to the next step: installing the new stove top.
When replacing a stove top, always turn off the power and gas supply before starting. Use a screwdriver to remove the old top and carefully disconnect the wiring. Take note of the placement of the wires to ensure proper reconnection.
Read more: How To Replace Cooktop
Step 5: Install the new stove top
Now that the old stove top is disconnected and the area is prepared, it’s time to install the new stove top. Follow these steps to ensure a proper installation:
- Position the new stove top on the countertop, aligning it with the opening.
- Ensure that the stove top sits evenly and securely on the countertop surface.
- If your stove top has a mounting bracket or clips, use a screwdriver or your fingers to secure them in place. This will help keep the stove top in position during use.
- Carefully lower the stove top onto the countertop, taking care not to damage any of the electrical or gas connections.
- Ensure that the stove top is centered and properly aligned with the countertop opening.
- Apply gentle pressure to secure the stove top in place.
It is important to refer to the manufacturer’s instructions for any specific installation requirements or recommendations for your particular stove top model.
Once the new stove top is securely installed, you can move on to the next step: connecting the wires (for electric stove tops) or the gas line (for gas-powered stove tops).
Before proceeding, double-check that the power supply is still turned off and the gas supply is shut off, if applicable.
Step 6: Connect the wires
If you have an electric stove top, the next step is to connect the wires to the new stove top. Follow these steps to ensure a proper electrical connection:
- Referencing your notes from Step 3, identify the corresponding wires for each burner.
- Strip the ends of the wires to expose a small section of copper.
- Insert the stripped ends of the wires into the terminal screws on the new stove top.
- Tighten the terminal screws firmly to secure the wires in place. Be careful not to overtighten, as this may damage the screws or wires.
- Double-check that each wire is securely connected and there are no loose connections.
- Once all the wires are connected, use electrical tape to wrap around the terminal screws for added security.
Remember to follow the manufacturer’s instructions for proper wire installation and connection. If you are unsure about the wiring or feel uncomfortable working with electricity, it is recommended to seek assistance from a qualified electrician.
With the wires properly connected, you are almost done! The next step is to reassemble the burners and burner grates.
Step 7: Reinstall the burners and burner grates
Now that you have successfully connected the wires (for electric stove tops) or completed the necessary gas line connections (for gas-powered stove tops), it’s time to reassemble and reinstall the burners and burner grates. Follow these steps:
- Take each burner and carefully reconnect the wires to their respective terminals or clips, ensuring they are properly aligned.
- Gently lower each burner into its designated position on the stove top.
- Ensure that each burner is securely in place and aligned with its corresponding opening.
- Next, place the burner grates back onto the stove top, ensuring that they are properly positioned and centered.
- Double-check that all the burners and burner grates are securely installed and in their correct positions.
By following these steps, you can ensure that the burners and burner grates are reinstalled correctly and will function efficiently once the stove top is operational.
With the burners and burner grates reinstalled, you are almost there! The final step is to turn on the power supply (for electric stove tops) or the gas supply (for gas-powered stove tops).
Step 8: Turn on the power supply
Congratulations! You’ve made it to the final step – turning on the power supply to your newly installed stove top. Follow these instructions to ensure a safe and successful power supply restoration:
- If you have an electric stove top, go to the electrical panel in your home.
- Locate the circuit breaker that controls the power to your stove top. It should be the same one you turned off in Step 2.
- Flip the corresponding circuit breaker to the “On” position to restore power to your stove top.
If you have a gas-powered stove top, proceed with the following additional steps:
- Locate the gas shut-off valve, which you turned off in Step 2.
- Use a wrench to turn the valve counterclockwise until it is fully open.
With the power and/or gas supply restored, your new stove top should be ready for use. However, before you start cooking, it’s always a good idea to perform a quick test to ensure everything is working properly:
- Turn on each burner, one by one, to ensure they ignite and heat up.
- Check for any gas leaks by smelling for a distinct gas odor. If you detect a gas leak, immediately turn off the gas supply and seek professional assistance.
- Observe the burners for a few minutes to verify that they are operating correctly and evenly distributing heat.
If you encounter any issues during the testing phase or if something does not seem right, do not hesitate to contact a professional for assistance. Safety should always be your top priority.
Now that you have successfully replaced your stove top, you can enjoy using your upgraded cooking appliance. Remember to regularly clean and maintain your stove top to ensure its longevity and optimal performance.
That concludes the step-by-step guide on how to replace a stove top. By following these instructions, you can easily replace your stove top and have your kitchen ready for culinary endeavors!
Conclusion
Replacing a stove top may initially seem like a challenging task, but by following the step-by-step process outlined in this guide, you can confidently tackle this project and enjoy a fully functioning cooktop. From gathering the necessary tools and materials to turning off the power supply, removing the burners and burner grates, disconnecting the old stove top, installing the new stove top, connecting the wires or gas line, and reassembling the burners and burner grates, each step is essential for a successful replacement.
Throughout the process, it is crucial to prioritize safety. Always turn off the power supply and, if applicable, the gas supply before starting any work. Take your time, follow the manufacturer’s instructions, and if needed, seek professional assistance for any electrical or gas-related tasks.
By replacing your stove top, you are not only ensuring the functionality of your kitchen appliance but also enhancing the overall aesthetics of your cooking space. A new stove top can breathe new life into your kitchen and make meal preparation a more enjoyable experience.
Remember to regularly clean and maintain your stove top to prolong its lifespan and efficiency. This includes wiping away spills, food debris, and grease, as well as performing routine inspections for any signs of damage or wear.
With the completion of the final step, turning on the power supply, you can now confidently use your newly installed stove top. Test each burner for proper ignition and heat distribution, and be observant for any irregularities or issues that may require further attention.
Whether you replaced an electric stove top or a gas-powered one, this guide has equipped you with the knowledge and guidance to successfully complete the replacement process. Enjoy the benefits of your new stove top and get ready to embark on culinary adventures in your kitchen!
Frequently Asked Questions about How To Replace Stove Top
Was this page helpful?
At Storables.com, we guarantee accurate and reliable information. Our content, validated by Expert Board Contributors, is crafted following stringent Editorial Policies. We're committed to providing you with well-researched, expert-backed insights for all your informational needs.


0 thoughts on “How To Replace Stove Top”