Articles
How To Restain Wood Furniture
Modified: August 28, 2024
Learn how to restain wood furniture with our easy step-by-step guide. Achieve a beautiful new look for your furniture using our expert tips and techniques.
(Many of the links in this article redirect to a specific reviewed product. Your purchase of these products through affiliate links helps to generate commission for Storables.com, at no extra cost. Learn more)
Introduction
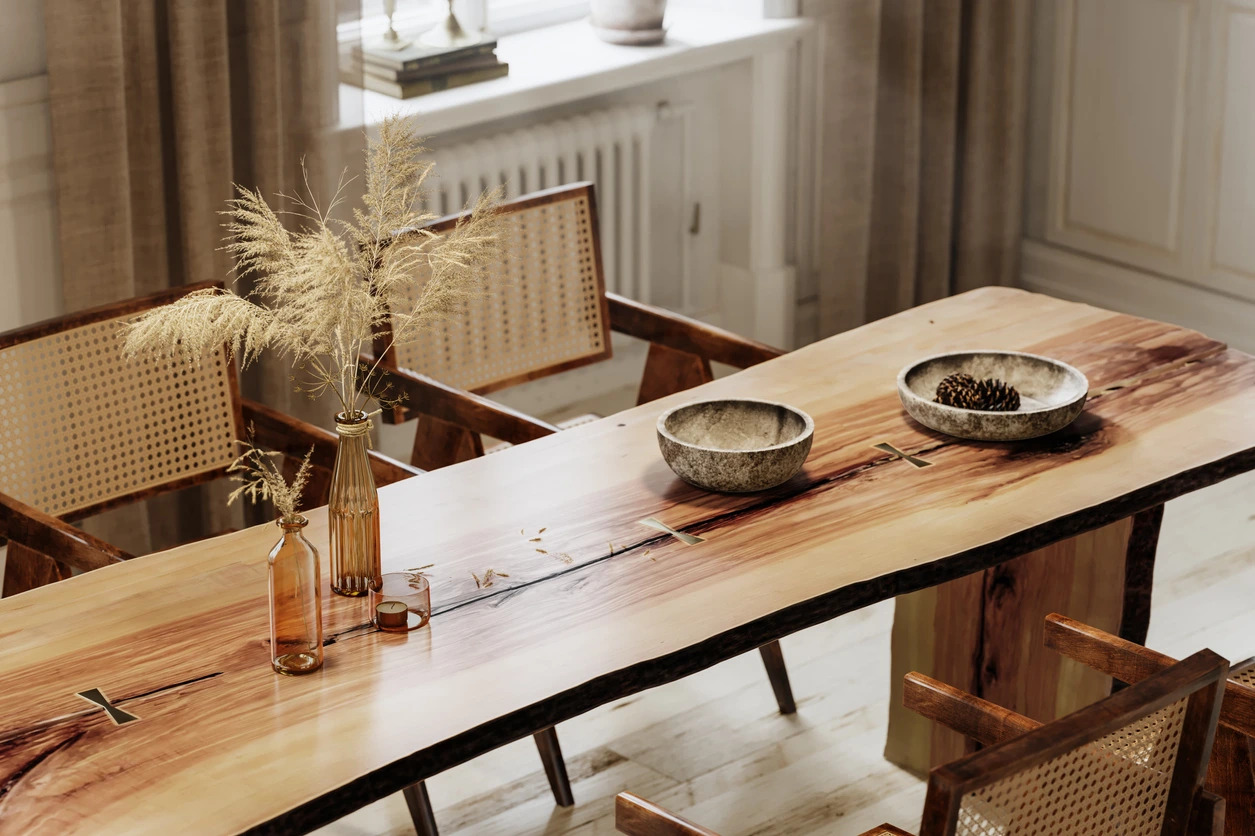
Welcome to the world of furniture restoration! Nothing compares to the satisfaction and pride of rejuvenating an old piece of furniture and bringing it back to its former glory. Restaining wood furniture is a fantastic way to give it a fresh new look, while still preserving its natural beauty.
Whether you have a cherished family heirloom that needs some attention or you found a diamond in the rough at a thrift store or garage sale, restaining can transform a worn-out piece into a stunning focal point in your home.
This comprehensive guide will walk you through the process of restaining wood furniture step by step. From the preparation to the finishing touches, we will cover all the essential aspects to ensure a successful and satisfying project.
Before we dive in, it’s important to note that the process of restaining wood furniture requires time, patience, and attention to detail. Each piece is unique, and the results you achieve will depend on the type of wood, the condition of the existing finish, and your personal preferences. So, let’s get started on this exciting journey of furniture transformation!
Key Takeaways:
- Transform worn-out wood furniture into stunning focal points by following the restaining process, from preparation to applying a protective finish. Attention to detail and patience are key to achieving professional results.
- Selecting the right stain and applying it correctly are crucial for achieving the desired look and protecting the wood’s natural beauty. Regular maintenance and proper care will ensure the longevity of restained wood furniture.
Read more: How To Disinfect Wood Furniture
Preparation
Before you begin restaining your wood furniture, it’s crucial to take the time to prepare the piece properly. Preparation ensures that the end result is smooth, even, and long-lasting. Here are the essential steps to follow:
- Clear the workspace: Start by clearing a well-ventilated area where you can work comfortably. Lay down a drop cloth or plastic sheet to protect the floor or table surface.
- Gather the necessary tools: Make sure you have all the tools you’ll need for the project. This may include gloves, safety glasses, a respirator mask, sandpaper or sanding blocks, a tack cloth, a paintbrush or foam applicator, and a clean cloth for wiping off excess stain.
- Clean the furniture: Use a mild soap and water solution to clean the furniture of any dirt, grease, or grime. Ensure that the piece is completely dry before proceeding.
- Remove hardware: If your furniture has any knobs, handles, or other hardware, consider removing them before restaining. This will make the process easier and prevent any accidental damage to the hardware.
- Protect surrounding areas: If there are areas of the furniture that you don’t want to restain, such as metal accents or glass inserts, cover them with painter’s tape or plastic wrap to protect them from the stain.
By taking the time to properly prepare your furniture, you’ll create the ideal foundation for a successful restaining project. This step ensures that the wood is clean, smooth, and ready to absorb the new stain.
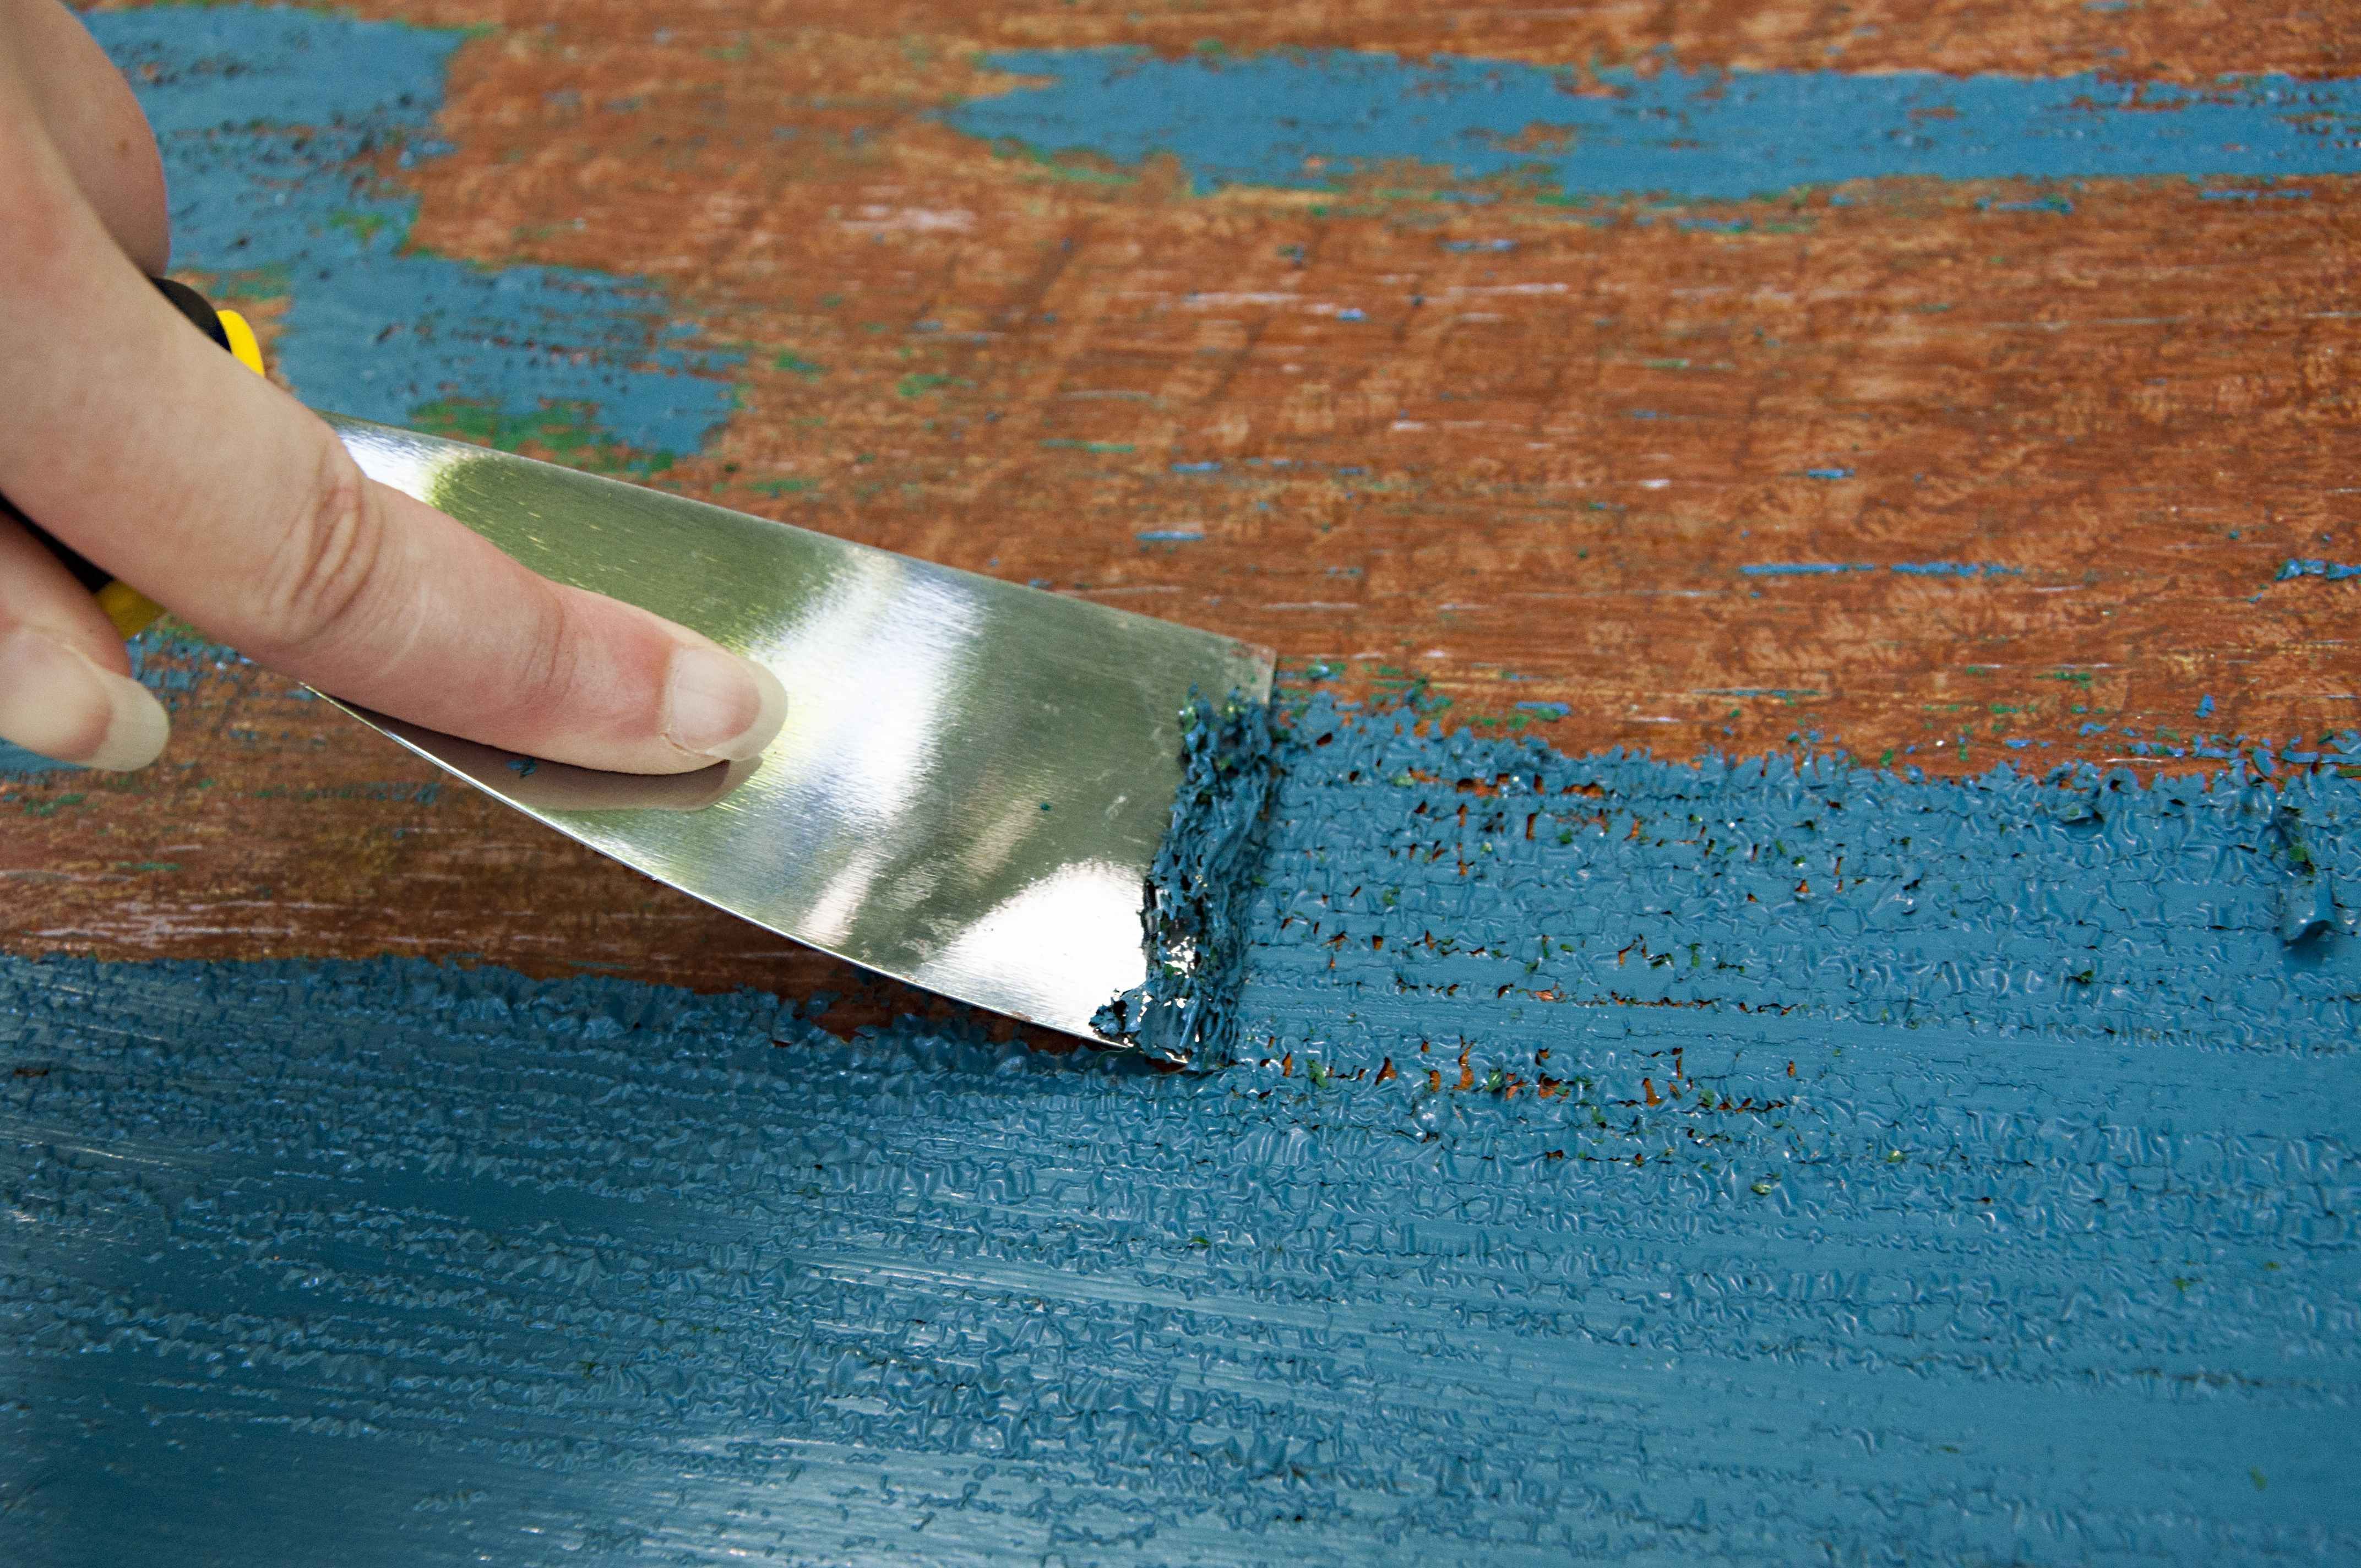
Removing the Old Finish
Before you can restain your wood furniture, it’s important to remove the old finish or any existing layers of paint. This step is necessary to create a smooth and even surface for the new stain to adhere to. Here’s how you can remove the old finish:
- Assess the existing finish: Determine the type of finish on your furniture. If it’s a clear varnish or lacquer, you can use a chemical finish remover. If it’s paint or a colored stain, sanding may be the best option.
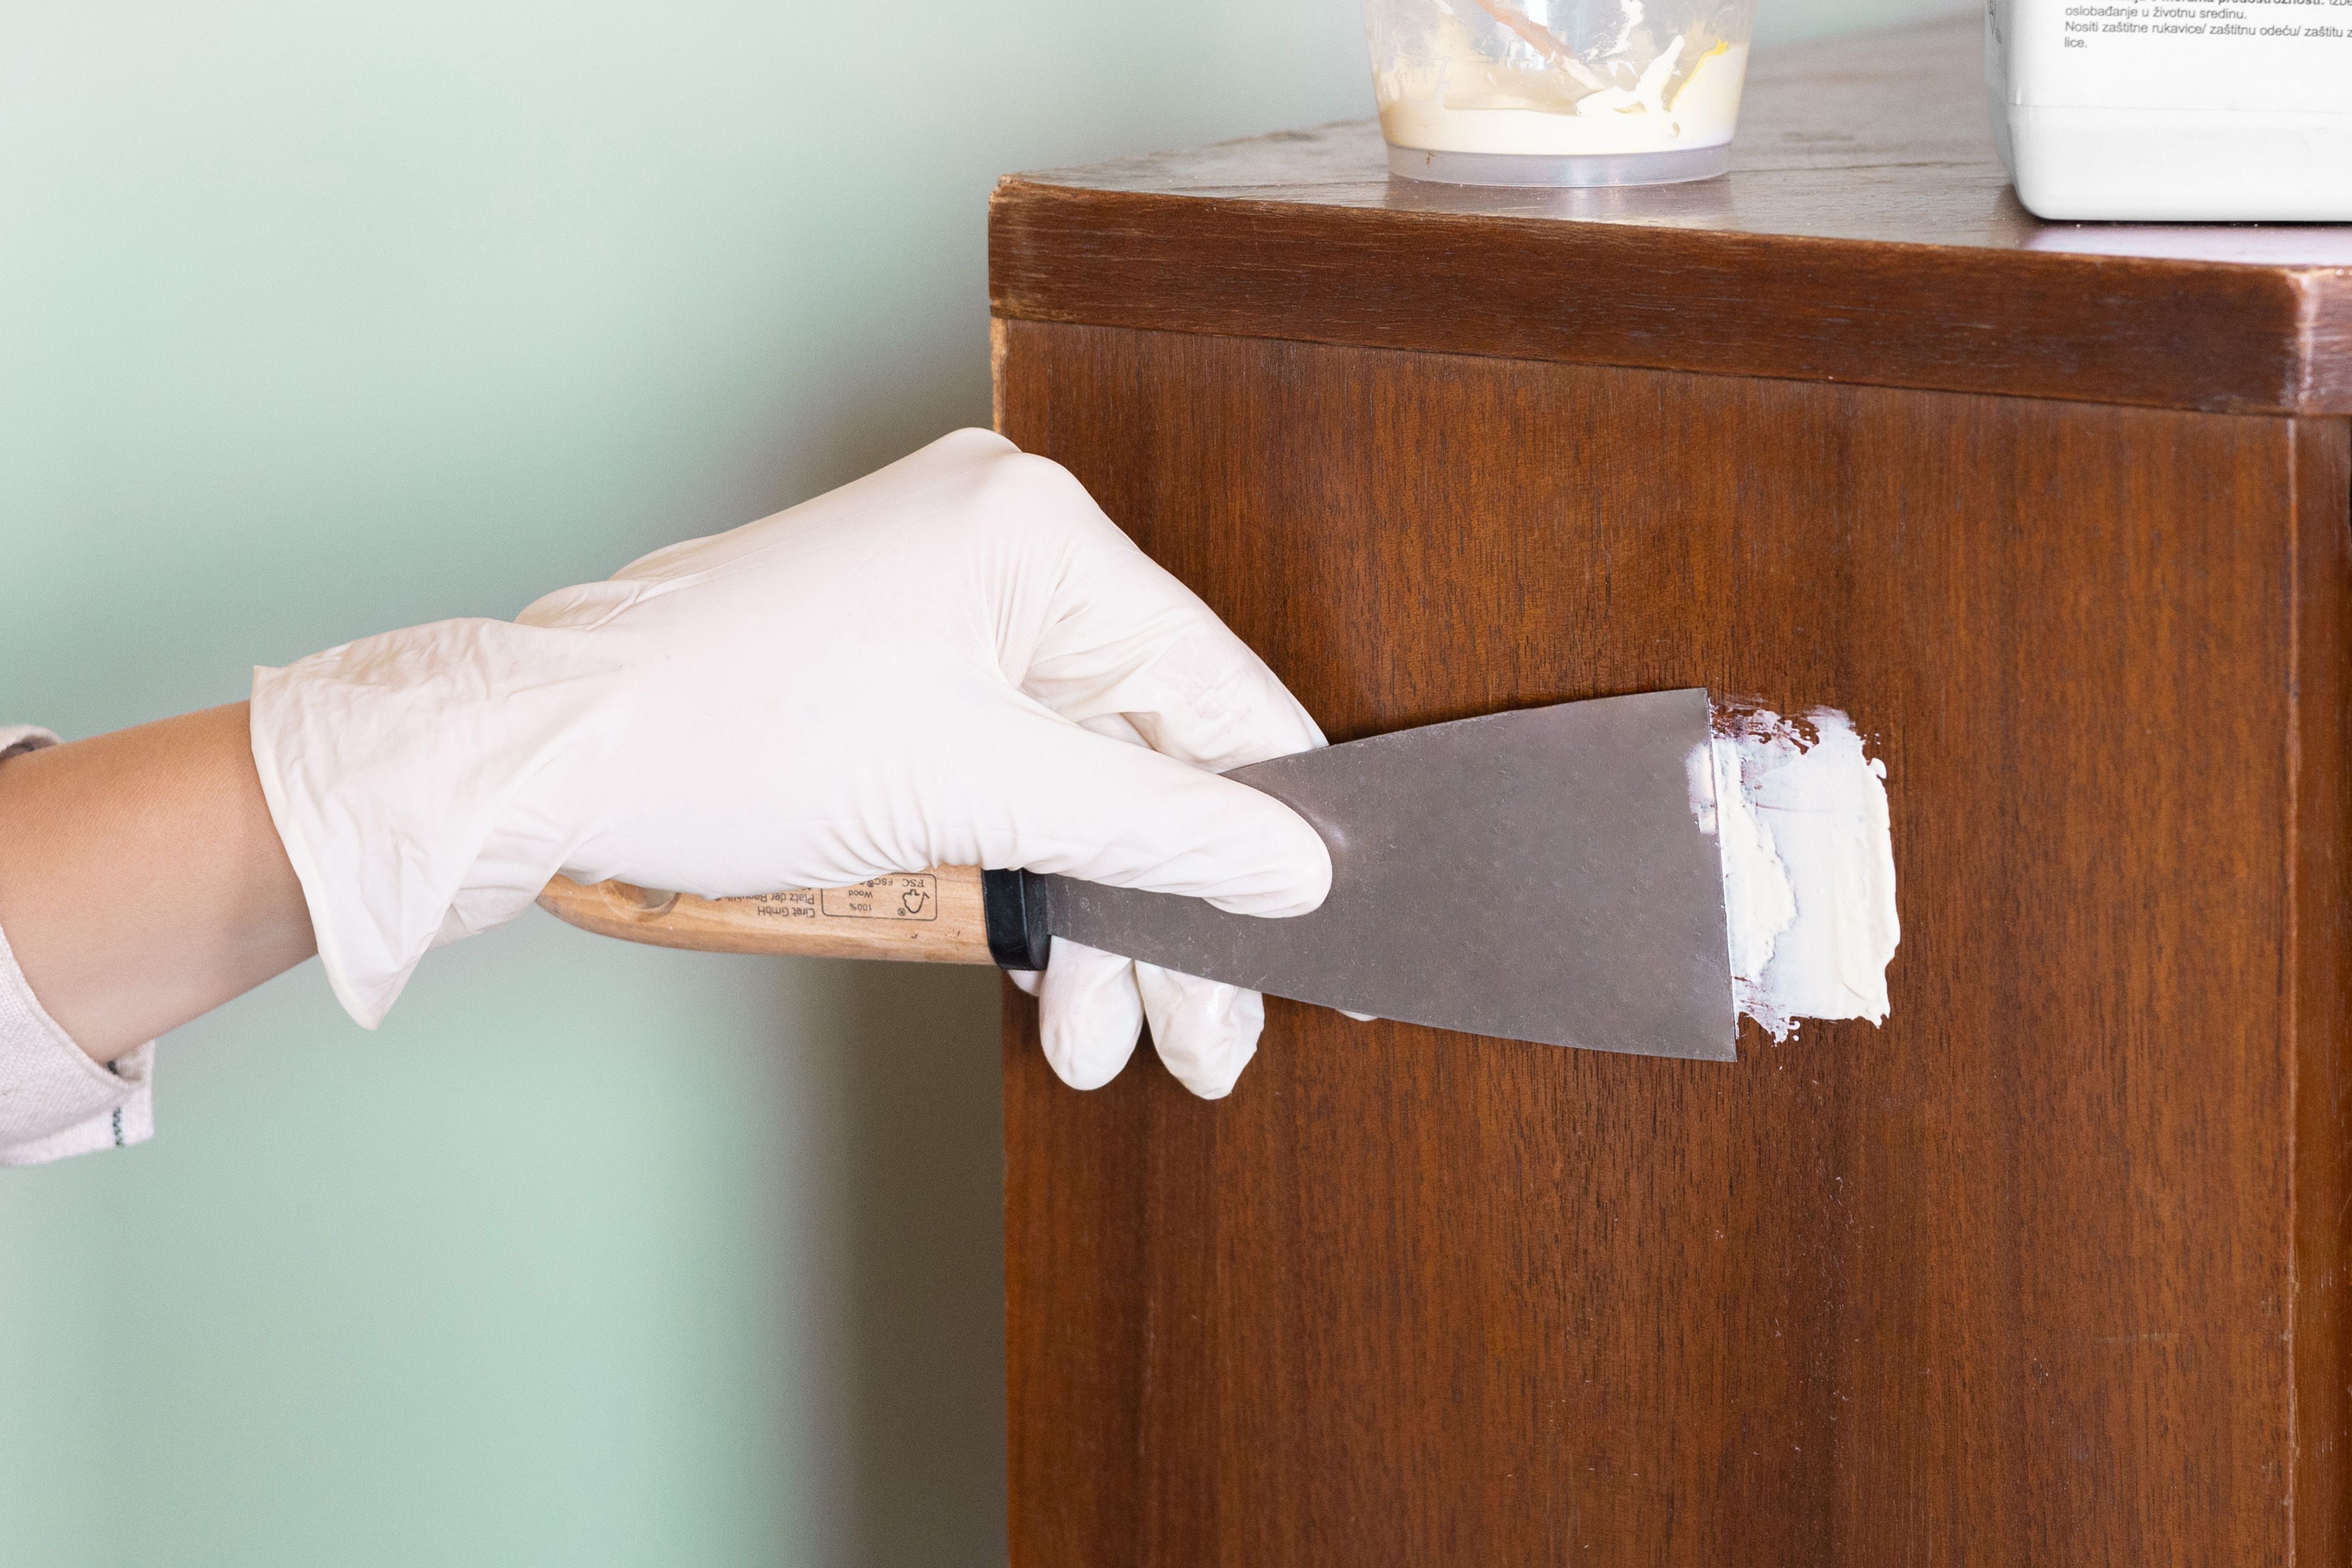
- Chemical finish remover: If you’re using a chemical finish remover, follow the instructions on the product carefully. Apply a generous amount of the remover to the furniture’s surface using a brush or sponge. Let it sit for the recommended time period, allowing it to loosen the old finish.
- Scrape off the old finish: After the allotted time, use a scraper tool to gently remove the loosened finish. Be careful not to gouge or damage the wood surface. Continue scraping until all the old finish is removed.
- Sanding: If sanding is the best option for your furniture, start with a coarse-grit sandpaper (around 80 to 120 grit) and gradually work your way to a finer grit (around 220). Sand in the direction of the wood grain, applying even pressure. This will remove the old finish and any imperfections.
- Remove dust: After removing the old finish, use a vacuum cleaner or a tack cloth to remove any dust or debris from the surface. It’s important to start with a clean and smooth surface before applying the new stain.
Remember, the method you choose for removing the old finish will depend on the type of furniture and the existing finish. Take your time and be gentle to avoid damaging the wood. Once the old finish is removed, you’re ready to move on to the next step: sanding the surface.
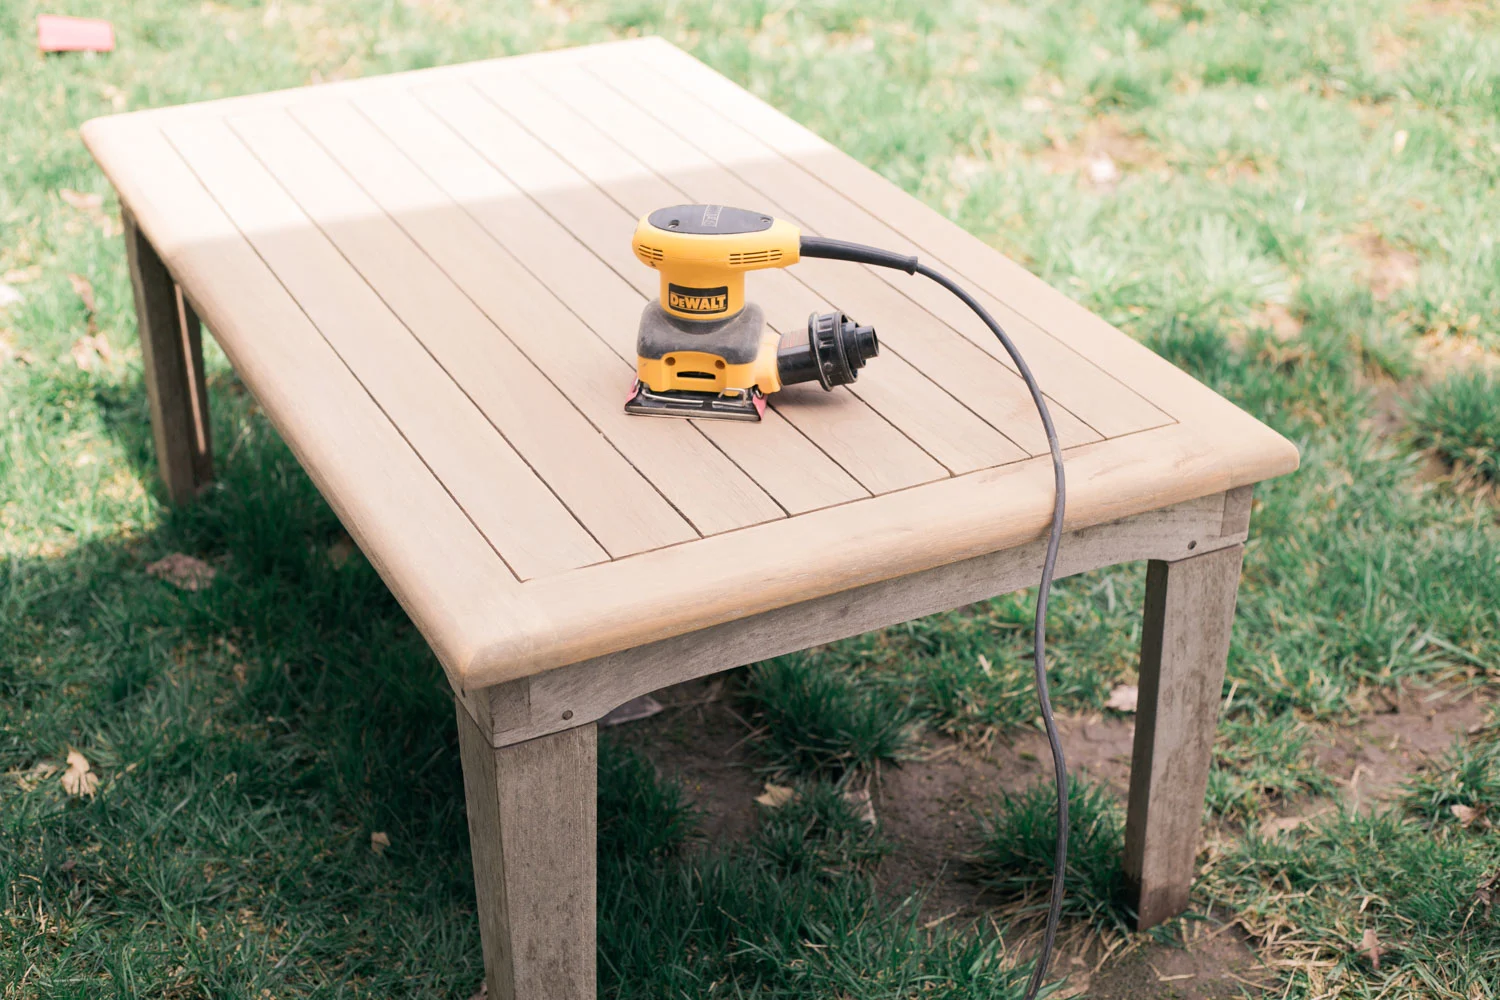
Sanding the Surface
After removing the old finish from your wood furniture, the next step is to sand the surface. Sanding helps to smooth out any imperfections, evens out the wood grain, and prepares the wood to better absorb the new stain. Follow these steps to sand the surface effectively:
- Select the right sandpaper: Choose the appropriate grit sandpaper for the job. Start with a medium-grit sandpaper (around 120 to 150 grit) to remove any rough patches or uneven areas. Follow up with a fine-grit sandpaper (around 220 grit) to achieve a smooth finish.
- Sand with the grain: Always sand in the direction of the wood grain. This helps to prevent scratches and ensures a consistent finish. Use steady, even pressure while sanding and maintain a smooth and gentle motion.
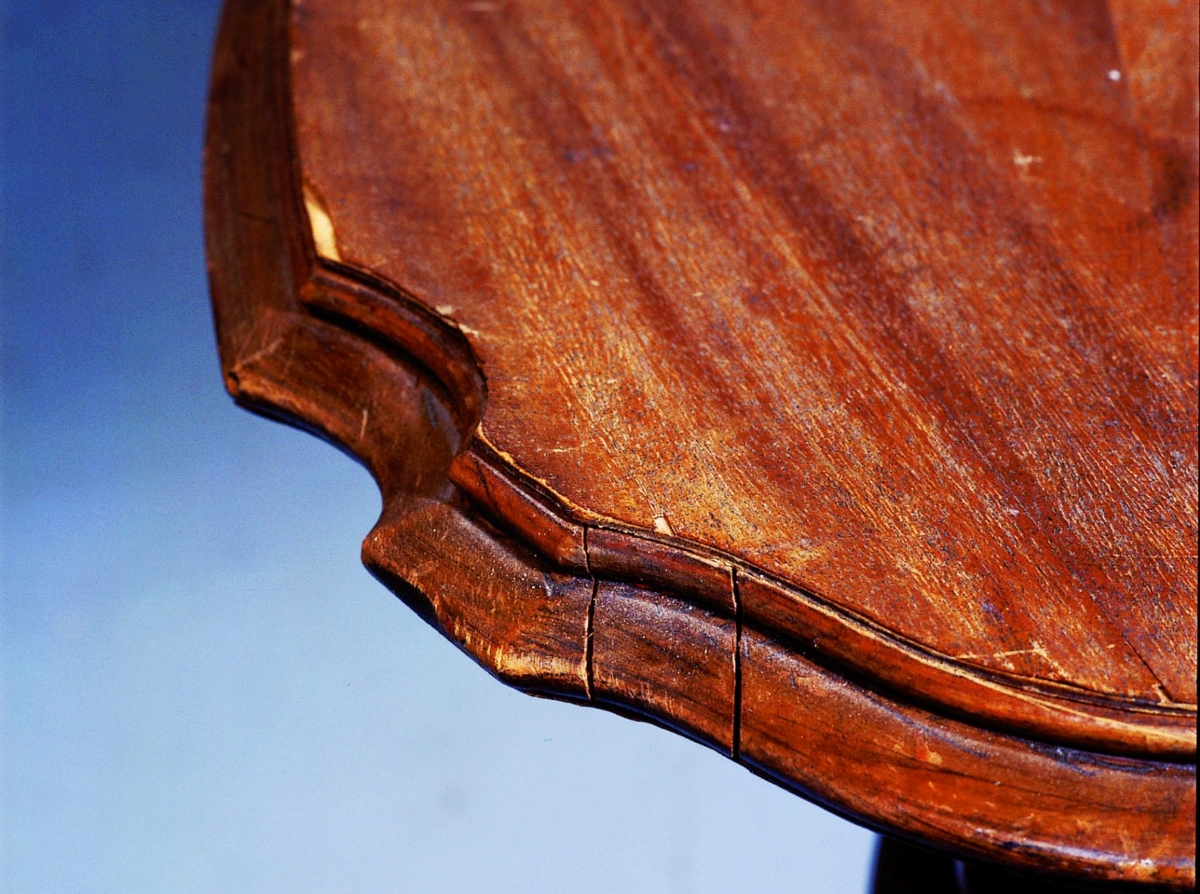
- Don’t oversand: Be careful not to oversand the wood. Sand until the surface feels smooth to the touch and any raised grain or imperfections are eliminated. It’s important to maintain the natural contours and character of the piece without removing too much material.
- Remove dust: After sanding, use a vacuum cleaner or a tack cloth to remove any dust or debris from the surface. This step is crucial to ensure a clean and smooth surface for applying the stain.
Sanding the surface of your wood furniture not only creates a fresh canvas for the new stain but also helps to enhance the beauty of the wood grain. Be patient and thorough in this step to achieve a professional-looking result. Once the surface is sanded to your satisfaction, it’s time to choose the right stain for your furniture.
Choosing the Right Stain
Choosing the right stain for your wood furniture is a crucial step in the restaining process. The stain you select will determine the color, richness, and overall aesthetic of the finished piece. Here are some factors to consider when choosing a stain:
- Wood type: Different wood types have distinct natural colors and characteristics. Consider the type of wood you’re working with and how it will interact with the chosen stain. Some woods, like oak or walnut, have a strong grain pattern that can enhance the appearance of the stain, while others, like pine or maple, may require additional preparation or conditioning.
- Desired color: Think about the color you want to achieve. Stains come in various shades, from light and natural tones to darker and more dramatic hues. Consider the overall color scheme in your space and how the stain will complement the existing decor.
- Transparency: Stains come in different levels of transparency, ranging from transparent to semi-transparent and solid. Transparent stains allow the natural beauty and grain of the wood to shine through, while solid stains offer more coverage and can hide imperfections.
- Testing: It’s always a good idea to test the stain on a small, inconspicuous area of the furniture or on a scrap piece of wood. This allows you to see how the color develops and how it interacts with your particular piece of furniture.
- Sealant compatibility: Consider whether you’ll be using a sealant or topcoat after applying the stain. Certain stains are designed to be used with specific sealants or topcoats to achieve the desired finish and level of protection.
Take your time in selecting the right stain for your wood furniture. It’s a decision that will greatly impact the final look and feel of your piece. Once you’ve chosen the perfect stain, you’re ready to move on to the exciting part: applying the stain!
Before restaining wood furniture, make sure to thoroughly sand the surface to remove the existing finish and prepare it for the new stain. Sanding will help the new stain adhere evenly and result in a smooth finish.
Read more: How To Lighten Wood Furniture
Applying the Stain
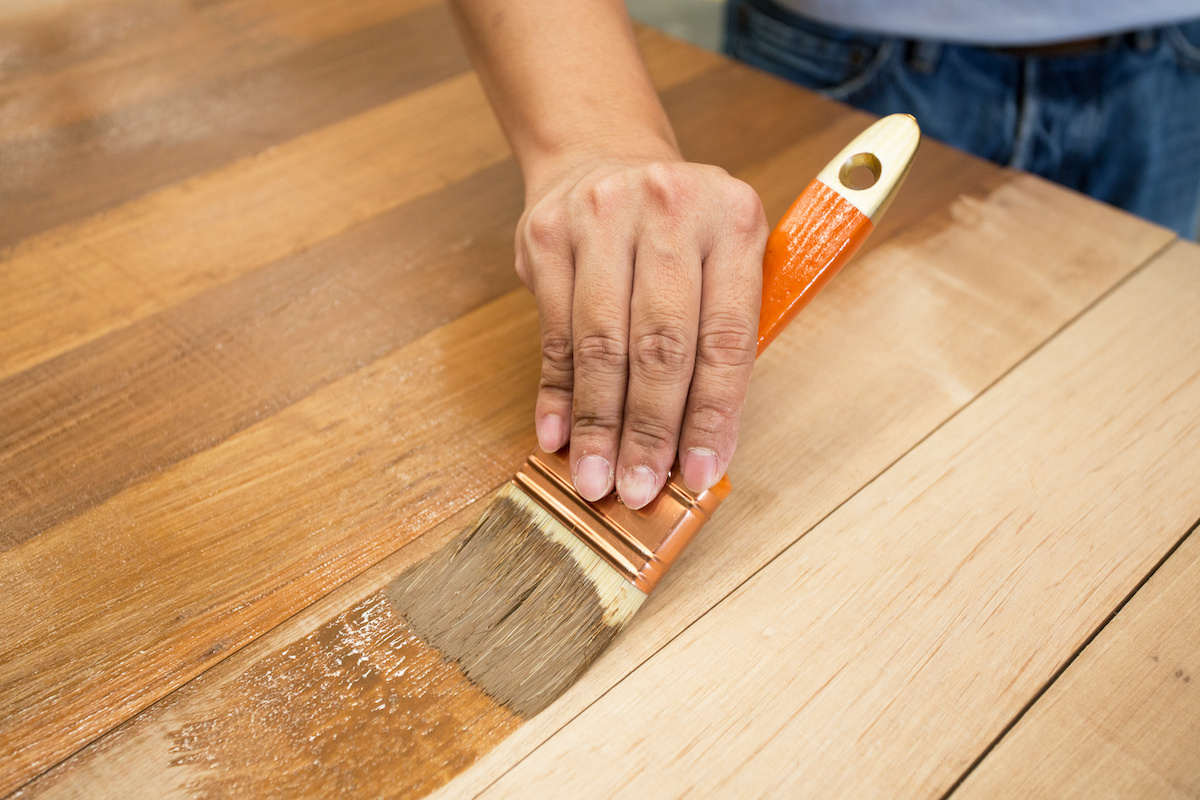
Now that you’ve chosen the perfect stain for your wood furniture, it’s time to apply it. Applying the stain requires precision and care to achieve the desired color and finish. Follow these steps to ensure a successful application:
- Read the instructions: Before you begin, carefully read and follow the instructions provided with the stain. Different stains may have specific application techniques or drying times.
- Stir the stain: Stir the stain thoroughly to ensure an even distribution of color pigments. This is particularly important if the stain has been sitting for a while or if it has separated.
- Test on a small area: Test the stain on a small, discreet part of the furniture or on a scrap piece of wood. This allows you to see how the stain looks on your specific wood type and helps you adjust the application technique if needed.
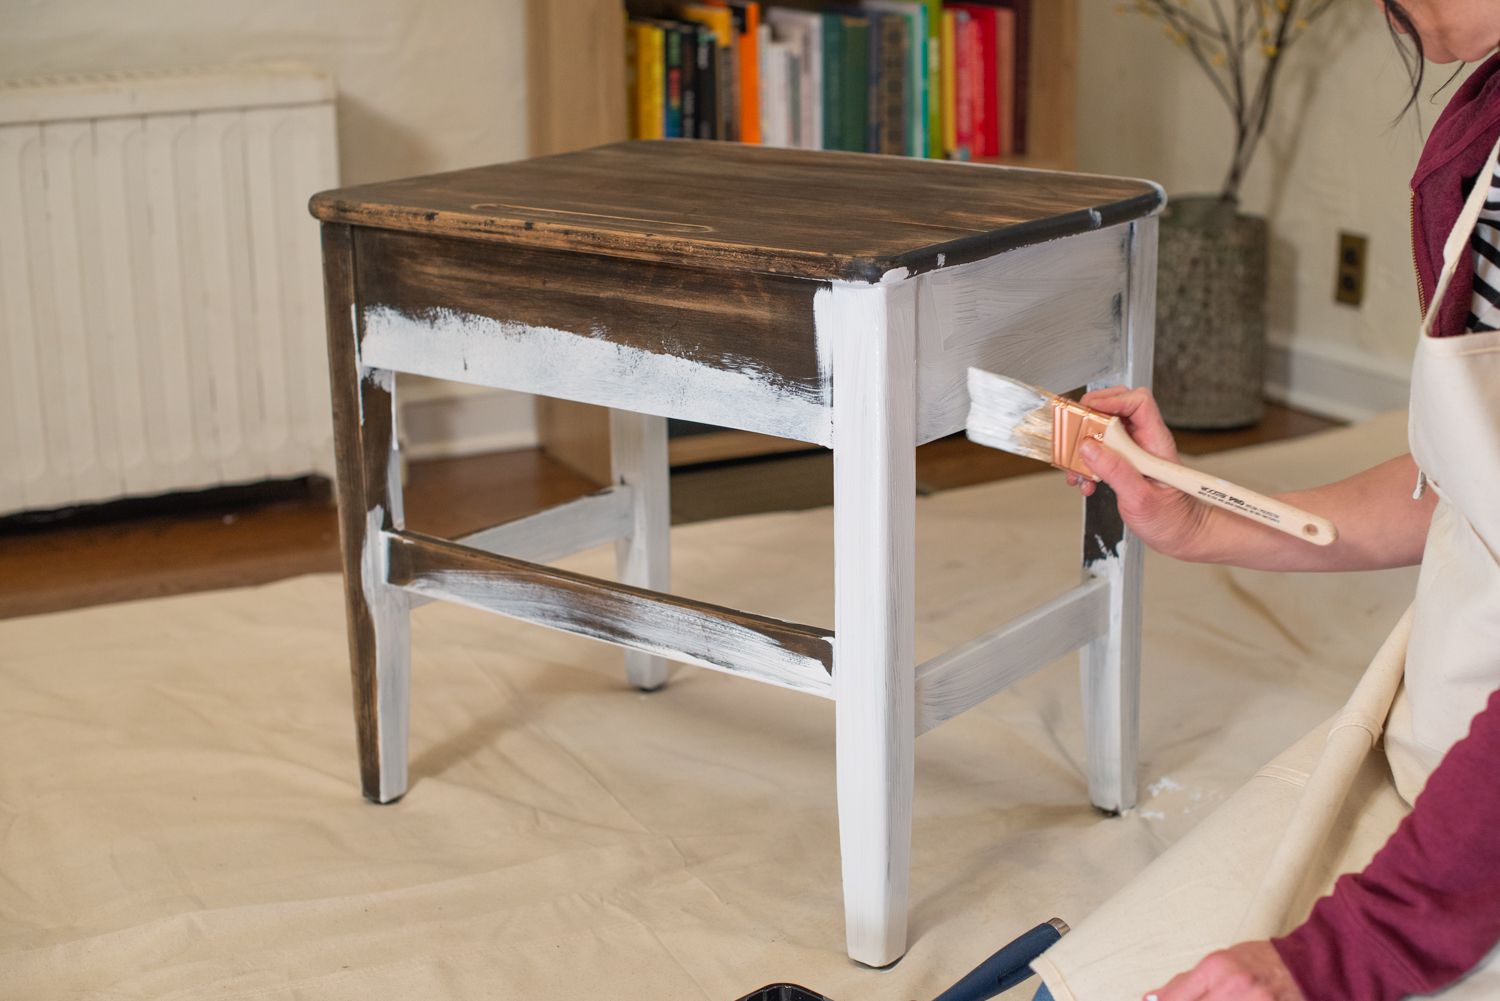
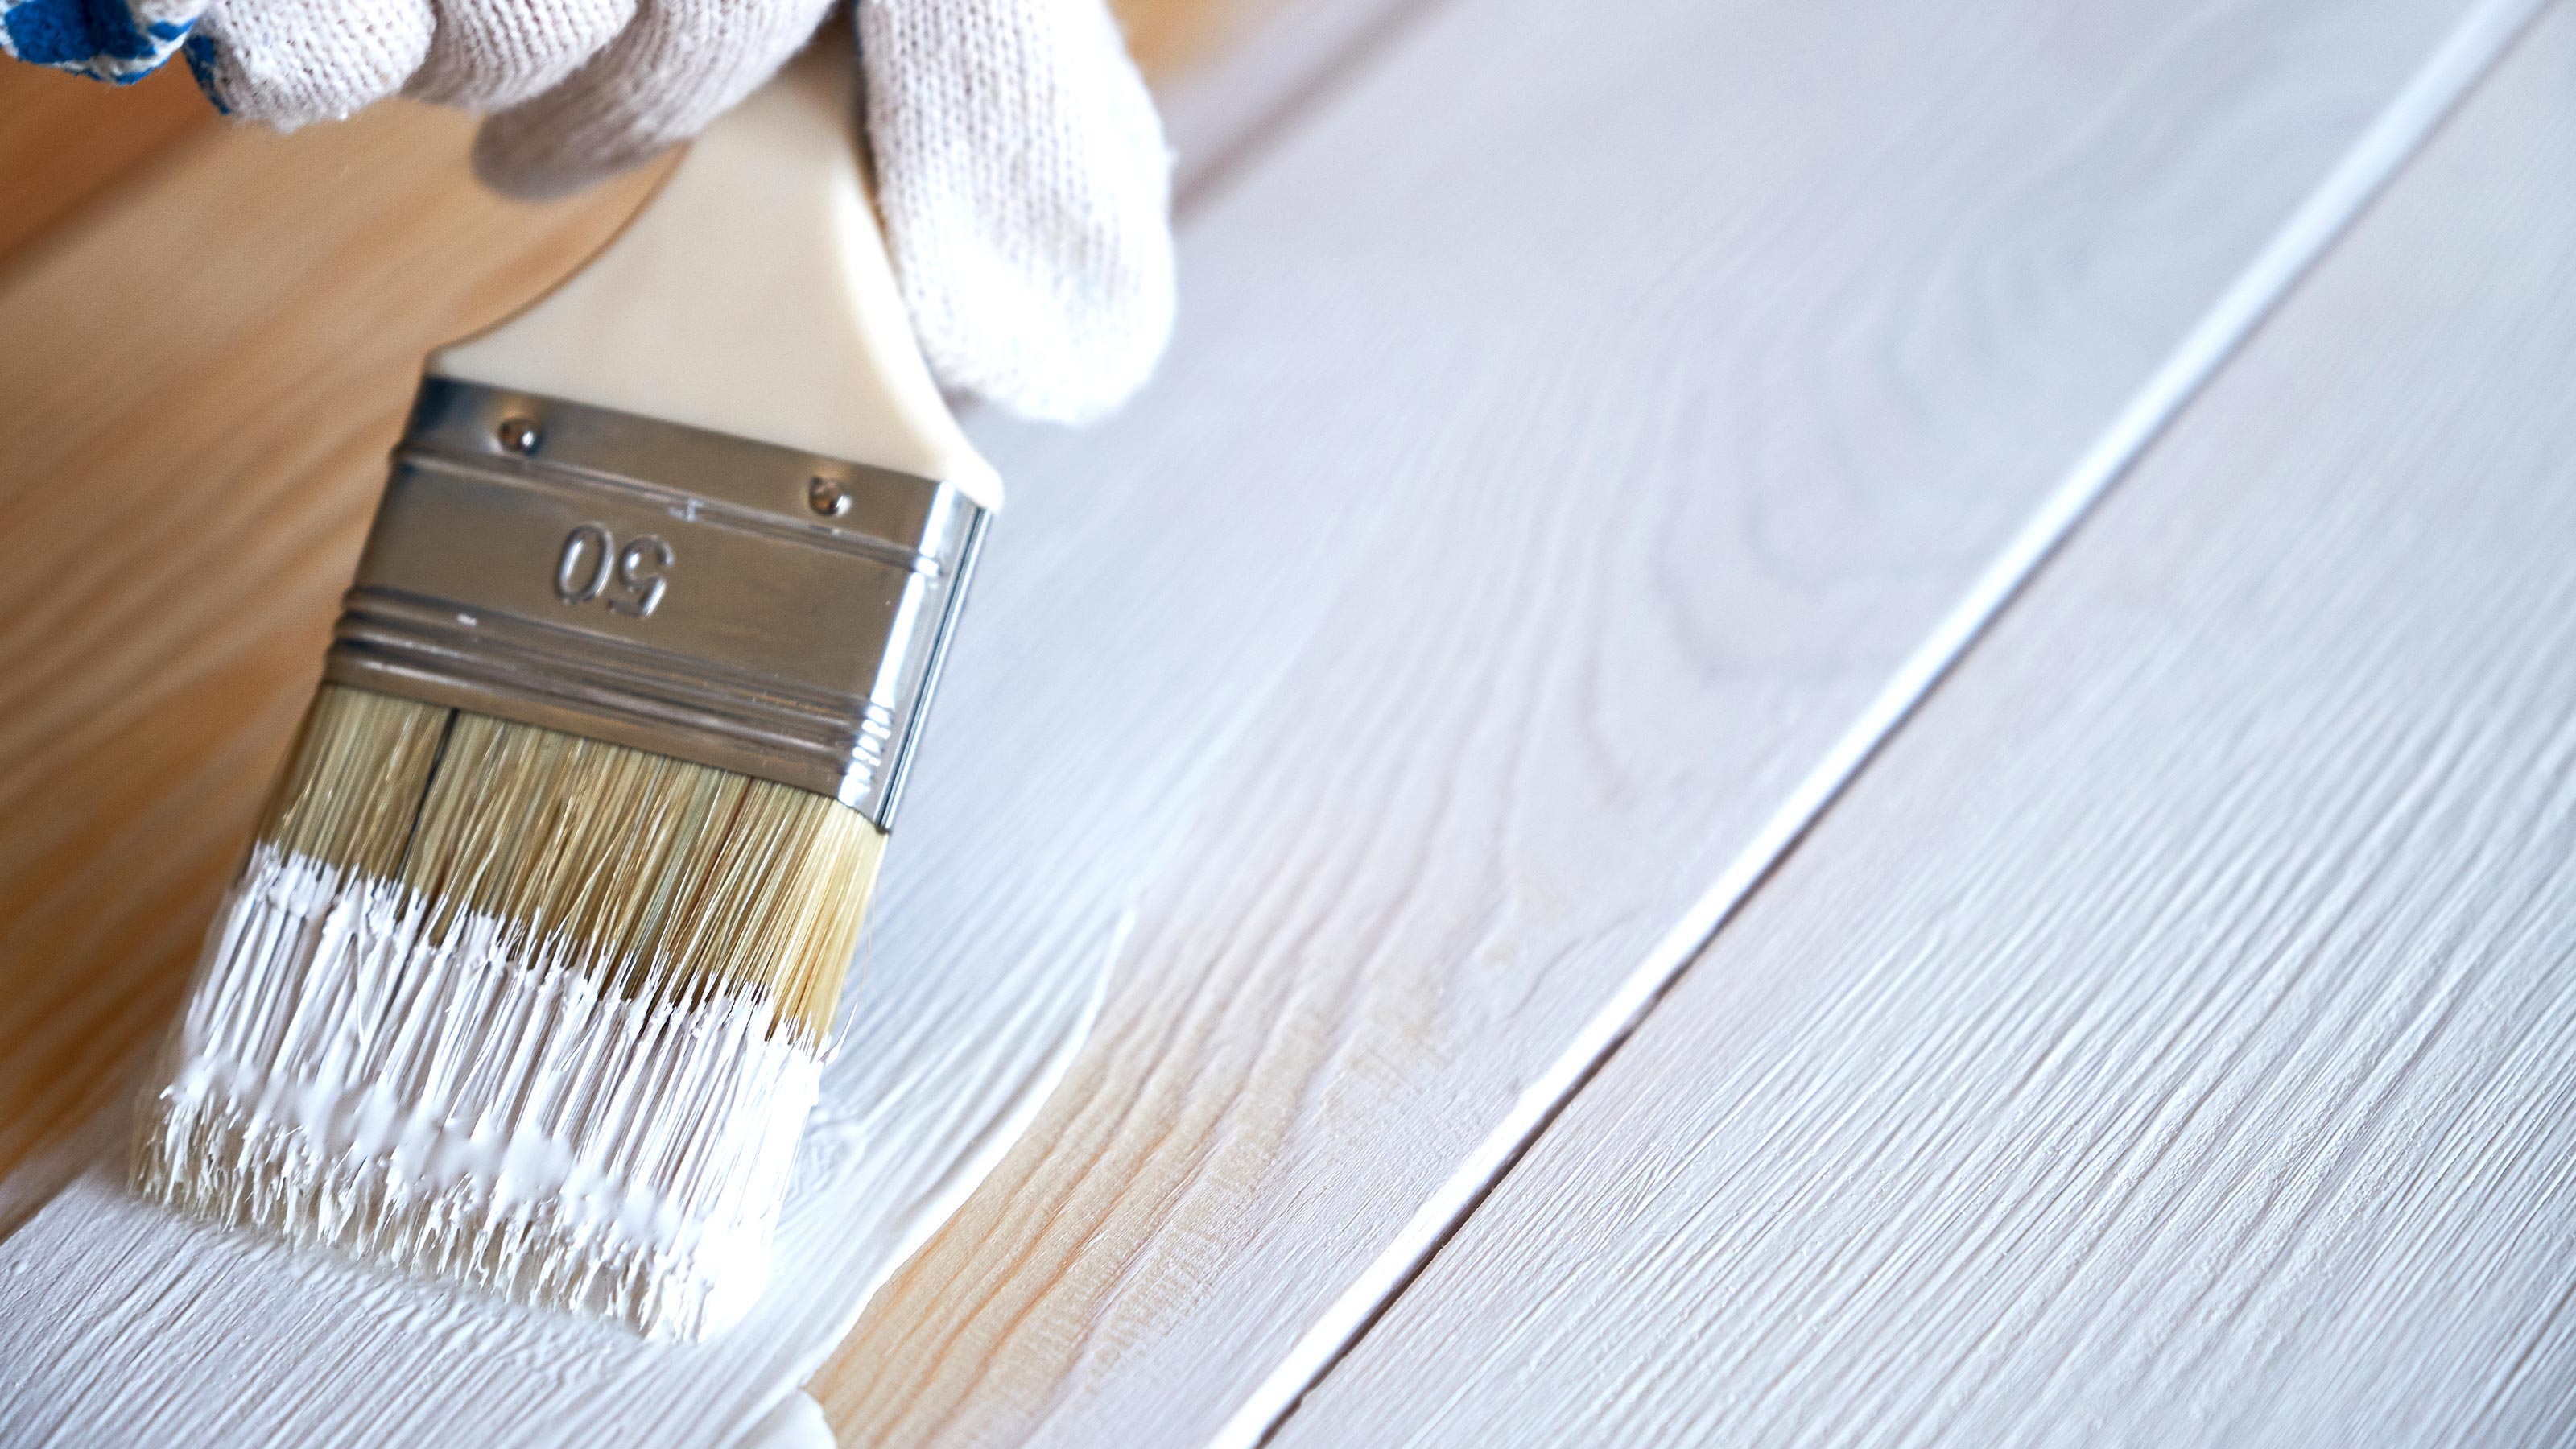
- Apply the stain: Use a brush, foam applicator, or staining pad to apply a thin, even coat of stain to the wood surface. Work in the direction of the grain, taking care to avoid streaks or overlapping brush strokes. Apply the stain evenly, ensuring that no area is left untreated.
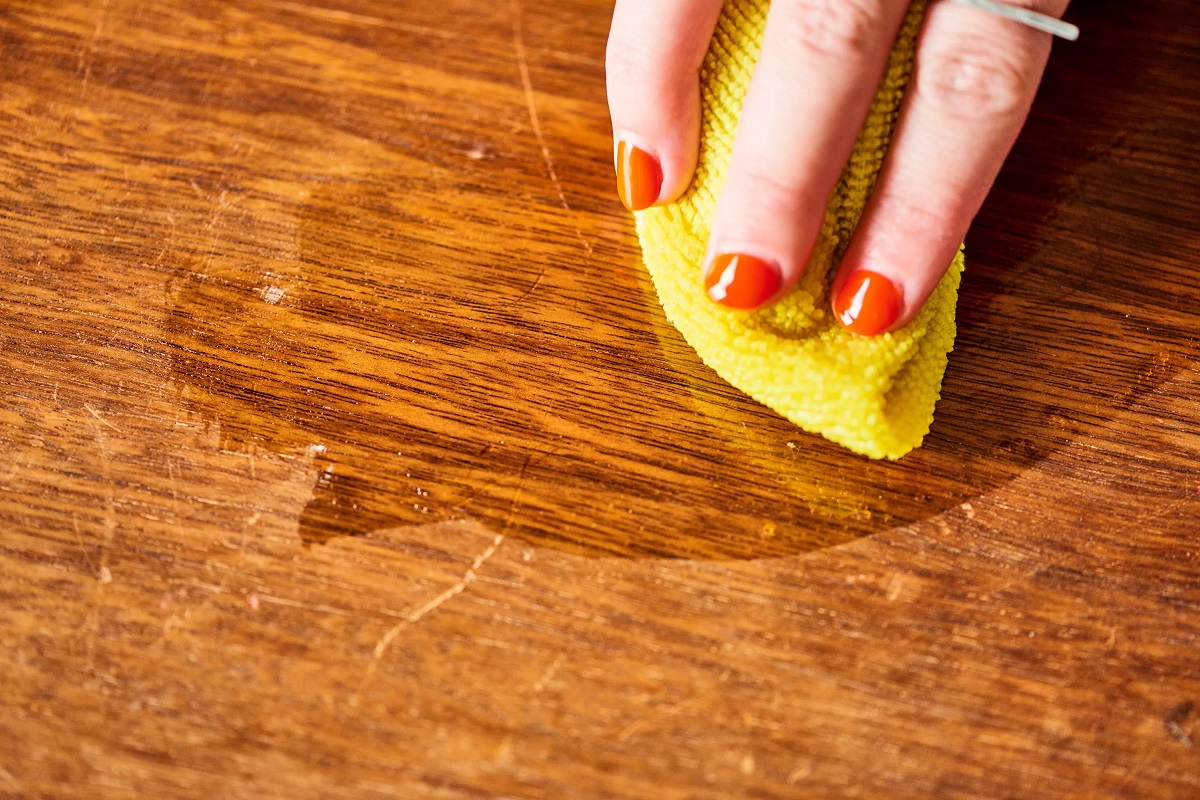
- Wipe off excess: After applying the stain, use a clean cloth to wipe off any excess stain. This step helps to achieve a more uniform color and prevents the stain from pooling or drying unevenly. Use smooth, gentle motions to wipe away the excess stain.
- Allow time to dry: Give the stain ample time to dry according to the instructions provided. Avoid touching or handling the furniture until the stain is completely dry to avoid smudging or unevenness.
- Assess the color: Once the first coat of stain is dry, assess the color. If you desire a deeper or darker color, you can apply additional coats of stain following the same process. Be sure to let each coat dry completely before applying the next.
Remember to work in a well-ventilated area and wear protective gloves and a respirator mask when applying the stain. Take your time and be patient during this step to achieve the desired color and finish. Once the stain is dry, you can move on to the next step: wiping off the excess stain.
Wiping Off the Excess Stain
After applying the stain to your wood furniture, it’s important to wipe off the excess stain to achieve a smooth and even finish. This step helps to enhance the clarity of the wood grain and prevent the stain from becoming too dark or blotchy. Here’s how to effectively wipe off the excess stain:
- Wait for the appropriate time: Refer to the instructions provided with the stain to determine the recommended time for wiping off the excess. Generally, this is done after the stain has had a chance to penetrate the wood, but before it fully dries.
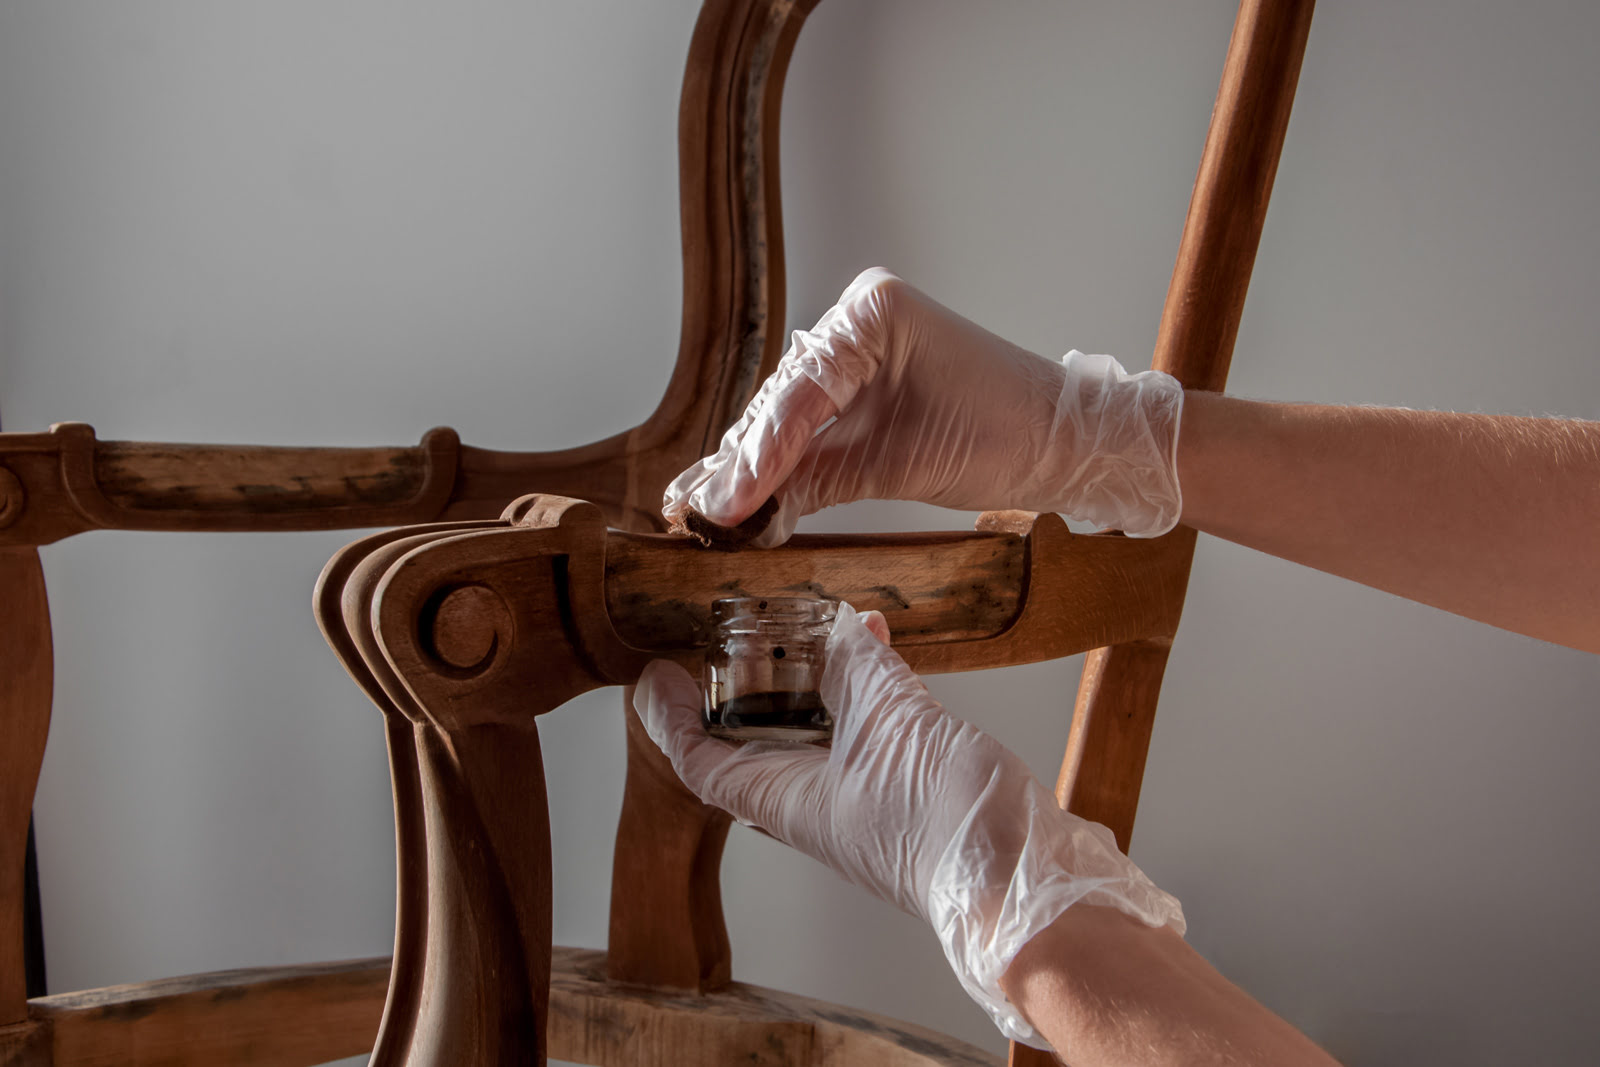
- Use a clean cloth: Take a clean, lint-free cloth and lightly dampen it with an appropriate solvent, such as mineral spirits or a stain wiping solution. Ensure that the cloth is not too wet, as excess moisture can affect the stain’s final appearance.
- Start wiping: Gently wipe over the stained surface using long, smooth strokes in the direction of the wood grain. This helps to remove any excess stain and ensure an even color. Be careful not to press too hard or scrub, as this can result in an uneven finish.
- Inspect the surface: As you wipe off the excess stain, periodically step back and inspect the surface for any areas that may require additional wiping. Pay attention to corners, crevices, and areas where the stain may have pooled or accumulated.
- Allow time to dry: Once you’re satisfied with the result, allow the furniture to dry completely according to the instructions provided with the stain. Avoid touching or using the furniture until it is fully dry to avoid smudging or marring the finish.
- Assess the color: Once the stain is dry, assess the color and overall appearance of the furniture. If you’re satisfied with the result, you can move on to the next step: adding a protective finish. If you desire a darker color or deeper finish, you can apply additional coats of stain following the same process.
Wiping off the excess stain is a critical step in achieving a professional-looking finish. It helps to highlight the natural beauty of the wood and ensure a consistent color throughout the furniture. Take your time and be attentive during this step to achieve the desired result. With the excess stain wiped off, you can now proceed to add a protective finish to your restained wood furniture.
Adding a Protective Finish
Adding a protective finish to your restained wood furniture is essential to enhance its durability and longevity. A protective finish not only safeguards the wood from moisture, scratches, and everyday wear and tear but also adds a beautiful sheen to the surface. Here’s how you can add a protective finish to your furniture:
- Choose the right finish: There are various options for protective finishes, including polyurethane, varnish, lacquer, or wax. Consider the desired level of sheen, the application method, and the level of protection you want to achieve. Follow the instructions on the chosen finish for the best results.
- Prepare the surface: Ensure that the stained surface is clean, smooth, and free from any dust or debris. Lightly sand the surface with a fine-grit sandpaper (around 220 grit) to remove any imperfections or raised grain that may have occurred during the wiping off process.
- Apply the protective finish: Using a clean brush or foam applicator, apply a thin, even layer of the protective finish to the furniture’s surface. Work in the direction of the wood grain, ensuring complete coverage. Avoid applying too much finish, as it can lead to drips or an uneven finish.
- Allow to dry and sand (optional): Depending on the type of finish you’re using, you may need to let it dry for a specified amount of time. Once dry, you can lightly sand the surface with a fine-grit sandpaper (around 400 grit) to achieve a smooth and silky feel.
- Add additional coats (optional): If desired, you can apply additional coats of the protective finish to enhance the durability and depth of the finish. Be sure to let each coat dry completely before applying the next, and lightly sand between coats for optimal adhesion.
- Allow for curing time: After applying the final coat of protective finish, allow the furniture to cure for the recommended time. This period ensures that the finish fully hardens and provides optimal protection.
Adding a protective finish is the final touch in the restaining process. It not only enhances the appearance of your furniture but also ensures its longevity and durability. By following these steps and using high-quality finishing products, you can enjoy a beautiful and protected restained wood furniture piece for years to come.
Caring for Restained Wood Furniture
Once your wood furniture has been restained and finished, it’s important to take proper care of it to maintain its beauty and longevity. Here are some tips to help you care for your restained wood furniture:
- Clean regularly: Dust your furniture regularly with a soft, lint-free cloth to prevent the buildup of dirt. Avoid using abrasive cleaners or harsh chemicals that can damage the finish. Instead, use a mild soap and water solution to clean any spills or stains gently.
- Use coasters and protective pads: Place coasters or protective pads under glasses, cups, and other objects to prevent moisture and heat damage to the wood surface. This also helps to prevent scratches and dents caused by daily use.
- Avoid direct sunlight: Prolonged exposure to direct sunlight can cause the wood to fade or discolor over time. Consider rearranging your furniture or using curtains or blinds to protect it from harmful UV rays.
- Manage humidity levels: Wood furniture is sensitive to changes in humidity, which can cause it to expand or contract. Use a humidifier in dry environments and a dehumidifier in humid environments to maintain a stable humidity level. This helps to prevent warping or cracking of the wood.
- Avoid extreme temperatures: Keep your furniture away from heat sources such as radiators, fireplaces, or vents. Extreme temperatures can damage the wood and affect the stability of the finish.
- Touch up as needed: Over time, your restained wood furniture may experience minor scratches or wear. Use a touch-up stain or marker that matches the color of the restain to address any imperfections. Be sure to follow the manufacturer’s instructions for a seamless repair.
- Refresh the finish: If your furniture’s protective finish starts to show signs of wear, you can consider refreshing it. Lightly sand the surface and apply a new coat of protective finish following the same process as before. This helps to revive the appearance and maintain the integrity of the wood.
Caring for your restained wood furniture is an ongoing process. By following these simple tips, you can preserve its beauty and extend its lifespan. With regular maintenance and care, your furniture will continue to be a stunning centerpiece in your home for years to come.
Read more: How To Identify Wood Furniture
Conclusion
Restaining wood furniture is a fulfilling and rewarding process that allows you to breathe new life into cherished pieces or discover the hidden beauty of second-hand finds. By following the steps outlined in this guide, you can confidently transform your wood furniture into stunning focal points that reflect your personal style and taste.
From the preparation and removal of the old finish to the sanding, staining, and application of a protective finish, each step plays a crucial role in achieving a beautiful and long-lasting result. Attention to detail, patience, and proper care will ensure that your restained wood furniture remains a source of pride and enjoyment for years to come.
Remember, selecting the right stain, applying it correctly, and adding a protective finish are key to achieving the desired look and protecting the wood’s natural beauty. Regular maintenance and proper care, such as dusting, using coasters, and managing humidity levels, will help to preserve the finish and ensure the longevity of your furniture.
So, roll up your sleeves, gather your tools, and embark on the journey of restoring and restaining your wood furniture. With a little time and effort, you can create pieces that not only capture attention but also hold sentimental value and stand the test of time.
Now that you have a comprehensive understanding of the restaining process, go forth and unleash your creativity to transform your furniture into true works of art. Enjoy the journey of bringing new life to old pieces and relish in the satisfaction that comes from seeing the stunning results of your labor.
Frequently Asked Questions about How To Restain Wood Furniture
Was this page helpful?
At Storables.com, we guarantee accurate and reliable information. Our content, validated by Expert Board Contributors, is crafted following stringent Editorial Policies. We're committed to providing you with well-researched, expert-backed insights for all your informational needs.


0 thoughts on “How To Restain Wood Furniture”