Articles
How To Rough In Plumbing For Slab
Modified: October 20, 2024
Learn how to rough in plumbing for a slab with our informative articles. Find step-by-step guides and tips for a successful plumbing installation.
(Many of the links in this article redirect to a specific reviewed product. Your purchase of these products through affiliate links helps to generate commission for Storables.com, at no extra cost. Learn more)
Introduction
Welcome to the world of plumbing! If you’re building a new home or renovating an existing one, understanding how to rough in plumbing for a slab is essential. The rough-in stage is when the plumbing system is installed before the concrete slab is poured, laying the foundation for all future plumbing fixtures and connections.
While it may seem like a complex process, with proper planning and the right materials, you can successfully rough in your plumbing system. This article will guide you through the step-by-step process, ensuring that your plumbing is properly installed and ready for use.
Knowing how to rough in plumbing for a slab is crucial because it allows you to design the layout and ensure that all the necessary pipes and connections are in the right place before the concrete is poured. This not only saves time and money but also prevents issues such as leaks or the need for future remodeling.
Before you begin the rough-in process, it’s important to gather all the necessary materials and tools. These will include PVC or CPVC pipes, fittings, elbows, tees, couplings, a pipe cutter, plastic cement, and a level. You may also need a pipe wrench, a tape measure, and a notepad to sketch out your plumbing plan.
Now that you have a general understanding of the rough-in process and have gathered your materials, let’s dive into the steps involved in roughing in plumbing for a slab. By following these steps carefully, you’ll be on your way to a properly installed plumbing system in no time!
Key Takeaways:
- Proper planning and preparation are essential for roughing in plumbing for a slab. From layout design to pressure testing, attention to detail ensures a reliable and long-lasting plumbing system.
- Consulting local building codes and regulations, as well as seeking professional guidance, are crucial steps in ensuring compliance and safety throughout the rough-in process. This sets the stage for a successful construction project.
Read more: What Is A Rough In Plumbing
Materials Needed
Before you get started with roughing in the plumbing for a slab, it’s important to gather all the necessary materials and tools. Having everything on hand will save you time and allow for a smoother installation process. Here are the materials you’ll need:
- PVC or CPVC Pipes: These pipes are commonly used for plumbing applications and are available in various sizes. Choose the appropriate size for your project, keeping in mind the water load and fixture requirements.
- Pipe Fittings: You’ll need a variety of fittings, including elbows, tees, couplings, and reducers. These fittings are used to connect and redirect the pipes, allowing for a properly designed plumbing system.
- Pipe Cutter: A pipe cutter is essential for cutting the pipes to the desired length. Look for a cutter that is appropriate for the size of the pipes you’re using.
- Plastic Cement: Also known as PVC or CPVC glue, this adhesive is used to join the pipes and fittings together securely. Make sure you choose a cement that is compatible with the type of pipes you’re using.
- Level: A level is necessary to ensure that the pipes are installed correctly and have the proper slope for drainage.
- Pipe Wrench: This tool is handy for tightening and loosening pipe fittings.
- Tape Measure: Accurate measurements are essential for planning and installing the plumbing system.
- Notebook: Keep a notebook handy to sketch out your plumbing plan and note down important measurements and details.
- Safety Gear: Don’t forget to wear appropriate safety gear, such as gloves and safety glasses, to protect yourself during the installation process.
Having all these materials readily available will make the rough-in process much smoother. It’s always a good idea to double-check your supplies before starting the installation to avoid potential delays or interruptions. Now that you have everything you need, let’s move on to the next step: planning the plumbing layout.
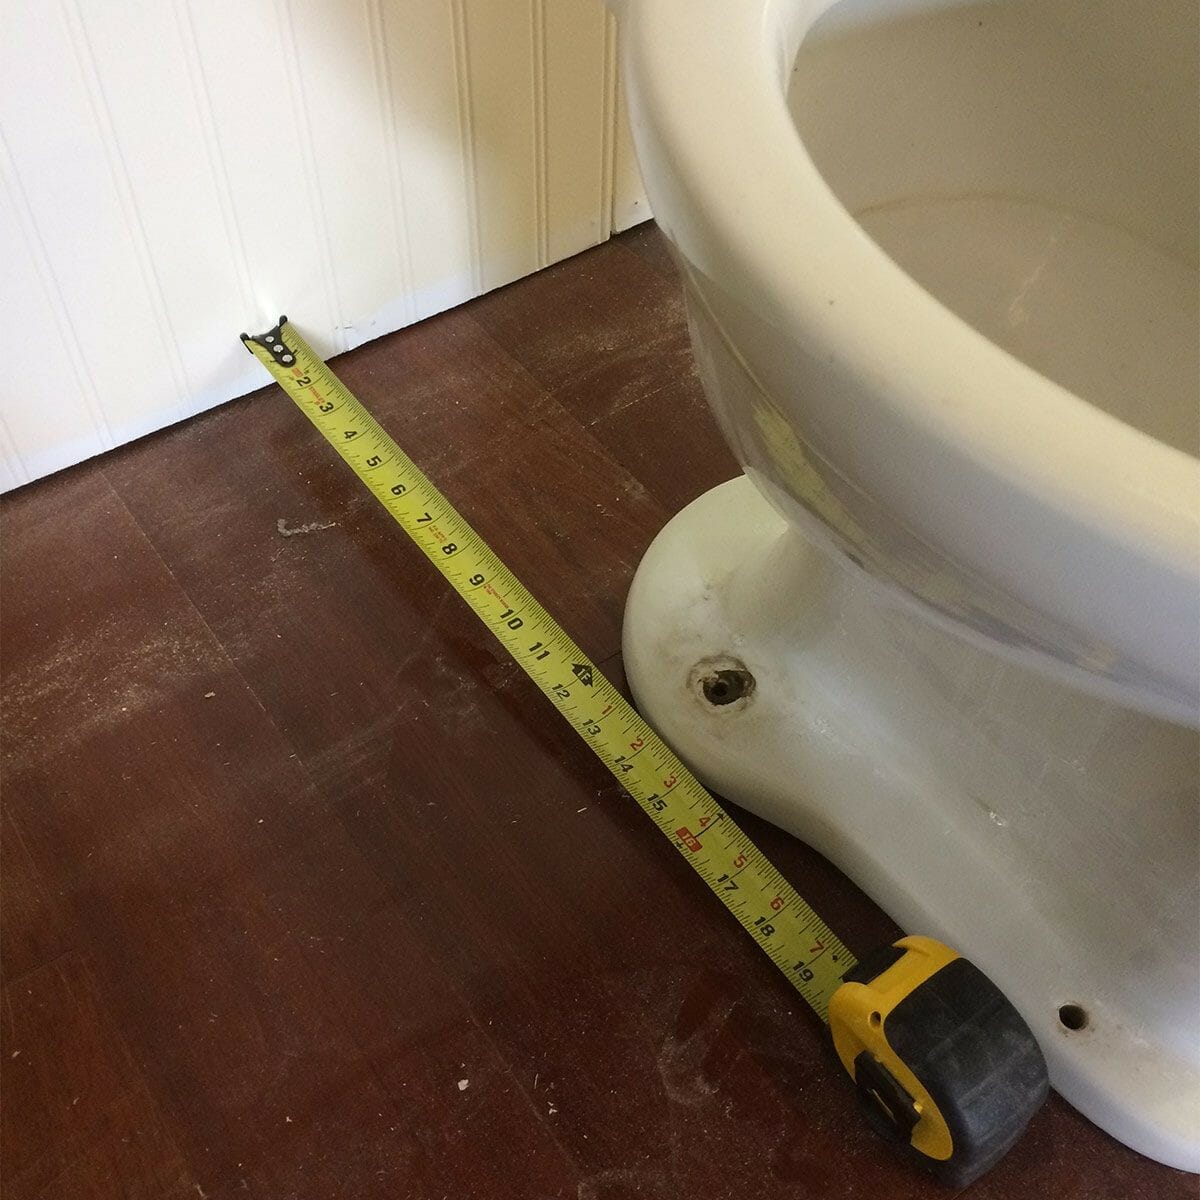
Step 1: Plan the Plumbing Layout
Before starting any physical work, it’s crucial to carefully plan the layout of your plumbing system for the slab. This will ensure that all the necessary pipes and connections are in the right place and that you have a clear understanding of how everything will come together.
Start by sketching out a detailed floor plan of the area where the plumbing will be installed. This can be done on graph paper or using a computer-aided design (CAD) program. Take accurate measurements of the space and mark the locations of all plumbing fixtures, such as sinks, toilets, showers, and water heaters.
Consider the flow of water in your design and the most efficient way to connect all the fixtures. Keep in mind that drainage pipes should always have a downward slope to allow for proper drainage. Plan for clean-outs, which are access points that allow for easy maintenance and clearing of blockages.
Additionally, take into account any local building codes and regulations that may dictate specific requirements for plumbing systems. This will help ensure that your installation meets all necessary standards and regulations.
Once you have the layout planned on paper, you can start marking the actual locations on the slab. Use a tape measure and a can of spray paint to mark the positions of the fixtures and the paths of the pipes. Double-check all measurements and make any necessary adjustments before moving on to the next step.
Remember, a well-thought-out and precise plumbing layout will save you time and effort in the long run. Take the time to carefully plan and visualize the entire system before moving forward. With the layout in place, you’re ready to prepare the slab for the plumbing installation.
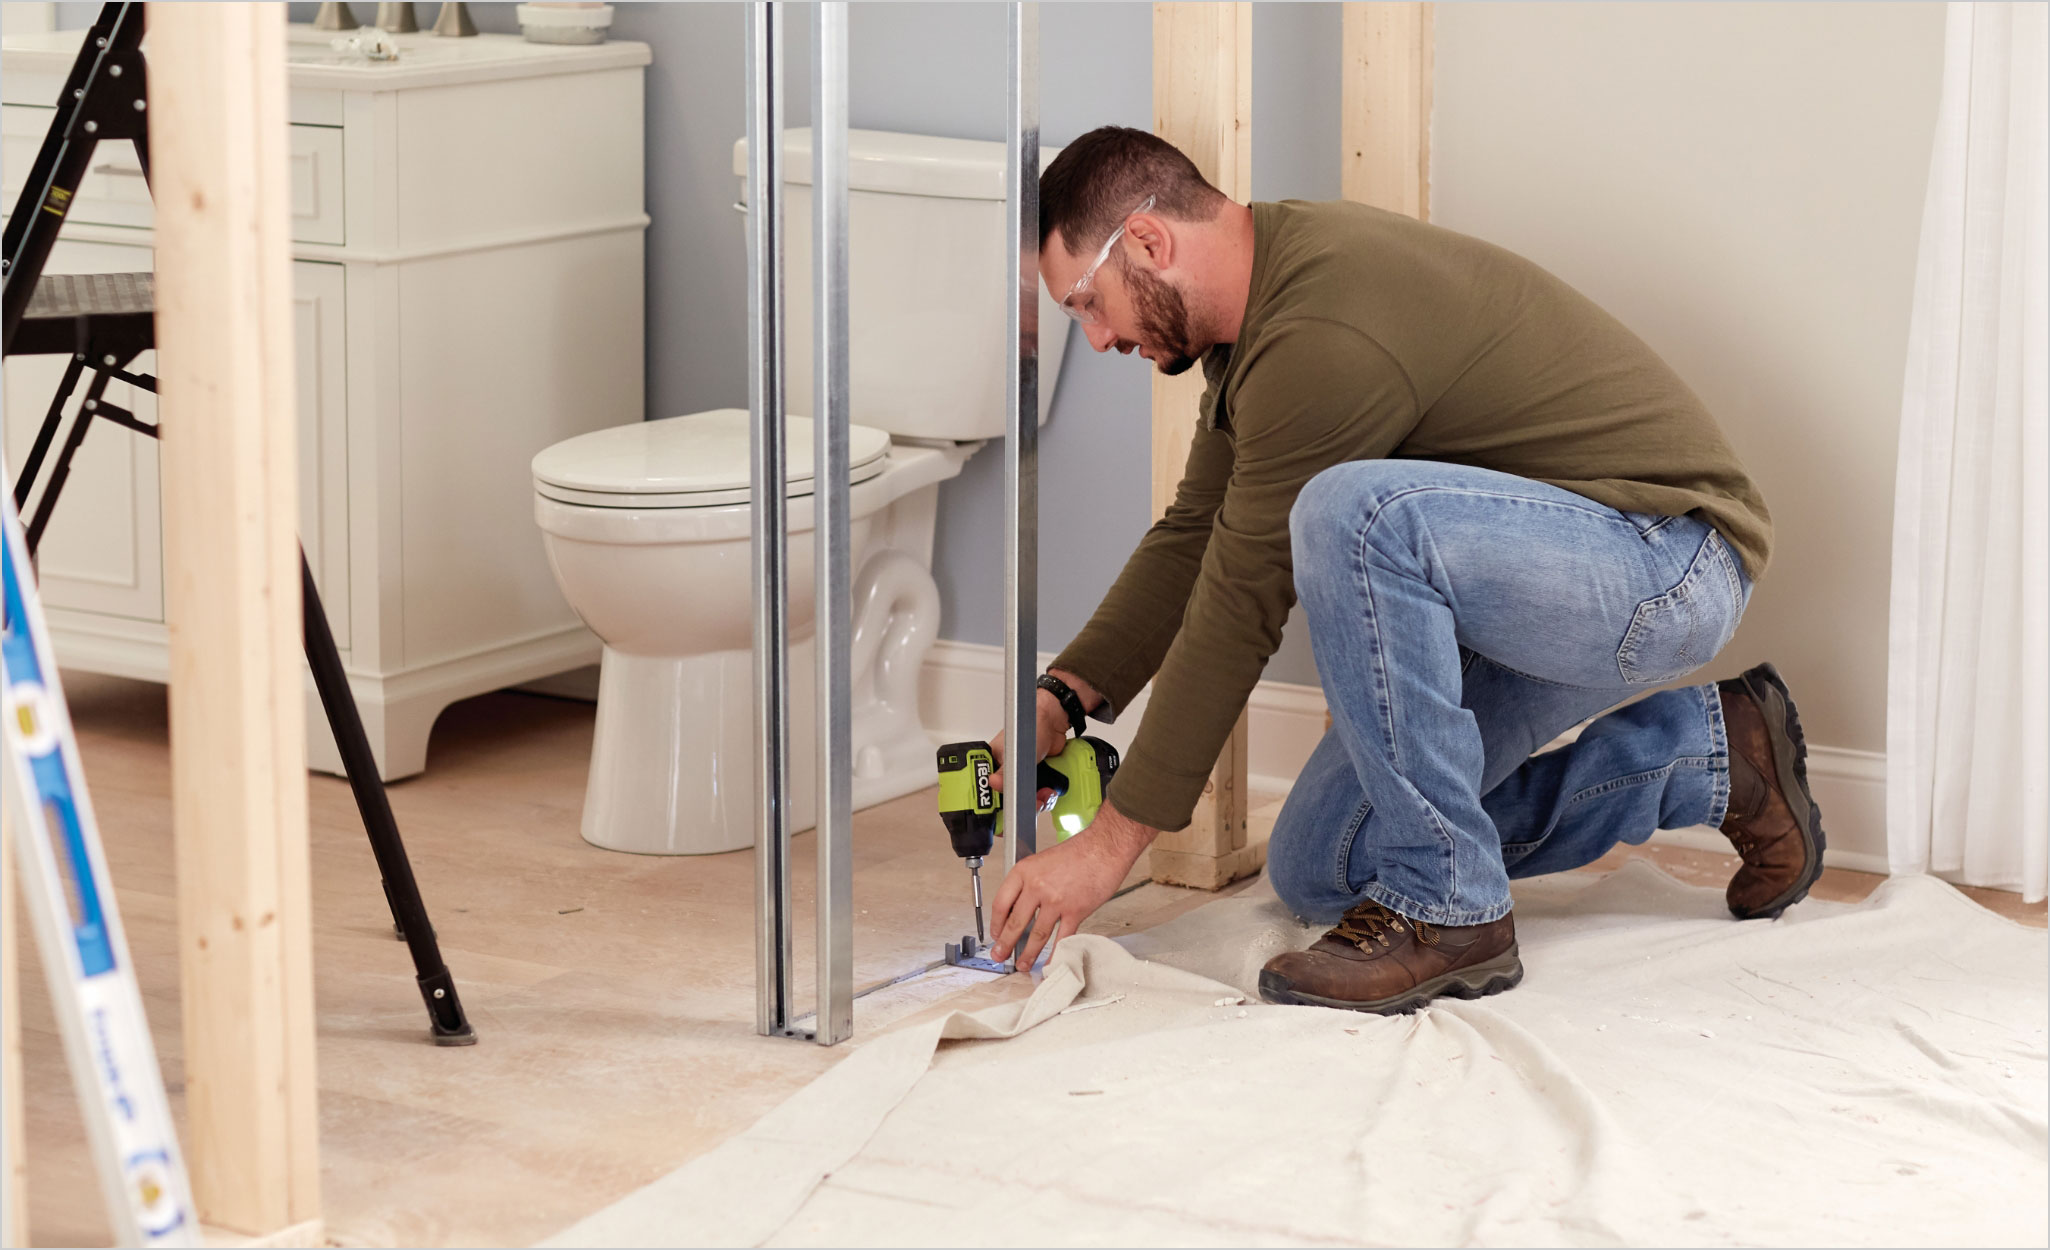
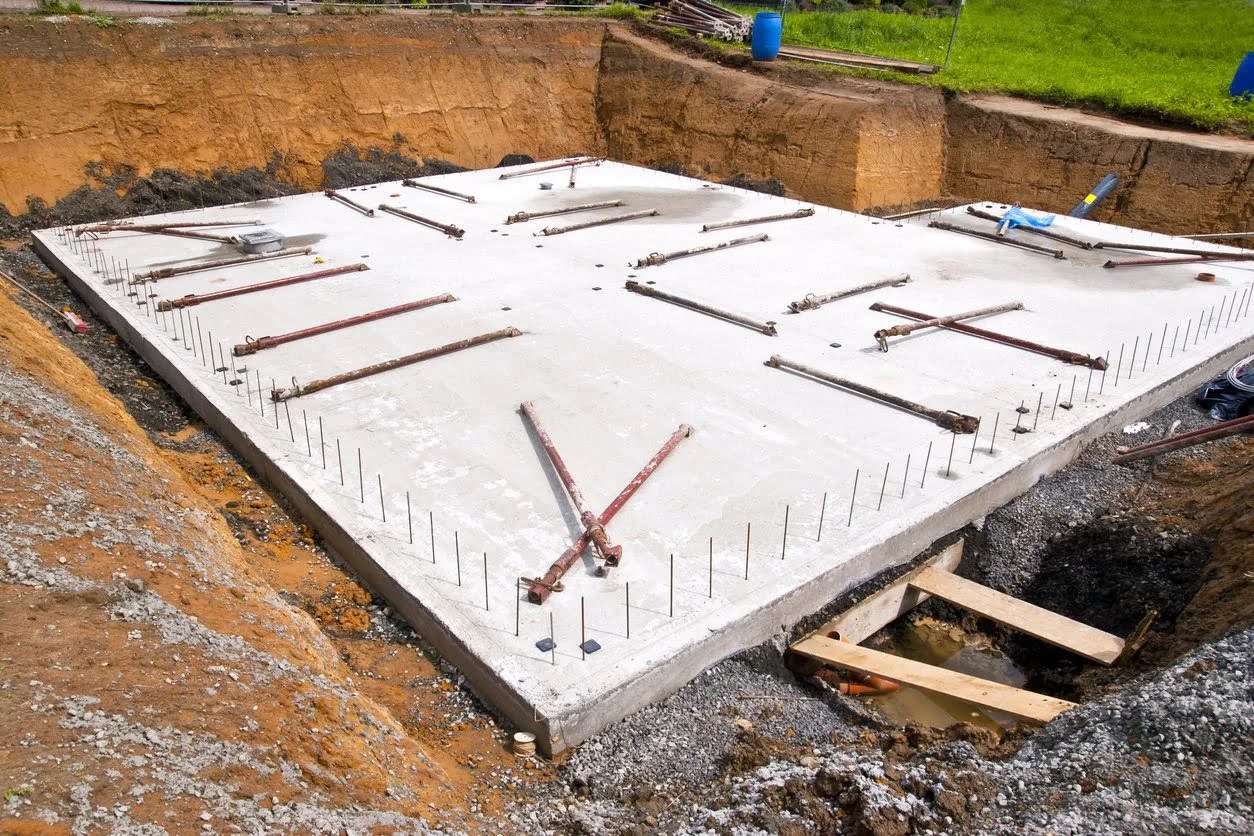
Step 2: Prepare the Slab
With the plumbing layout planned and the locations marked, the next step is to prepare the slab for the installation. Proper preparation is essential to ensure a stable and long-lasting plumbing system. Follow these steps to prepare the slab:
- Clear the area: Remove any debris, furniture, or objects from the floor to create a clean and clear workspace.
- Inspect the slab: Check the condition of the slab for any cracks or damage. It’s important to address any issues before proceeding with the installation.
- Install rebar and anchor bolts: If required by local building codes, install rebar and anchor bolts to reinforce the slab and provide support for the plumbing system. Follow the specific guidelines for spacing and placement.
- Protect the slab: Cover the slab with a layer of plastic or moisture barrier to prevent moisture from seeping into the concrete. This will help prevent potential damage to the pipes in the future.
- Install sleeves: Use plastic or metal sleeves to protect the pipes as they pass through the concrete slab. These sleeves will prevent the pipes from being damaged by the concrete during the pouring process.
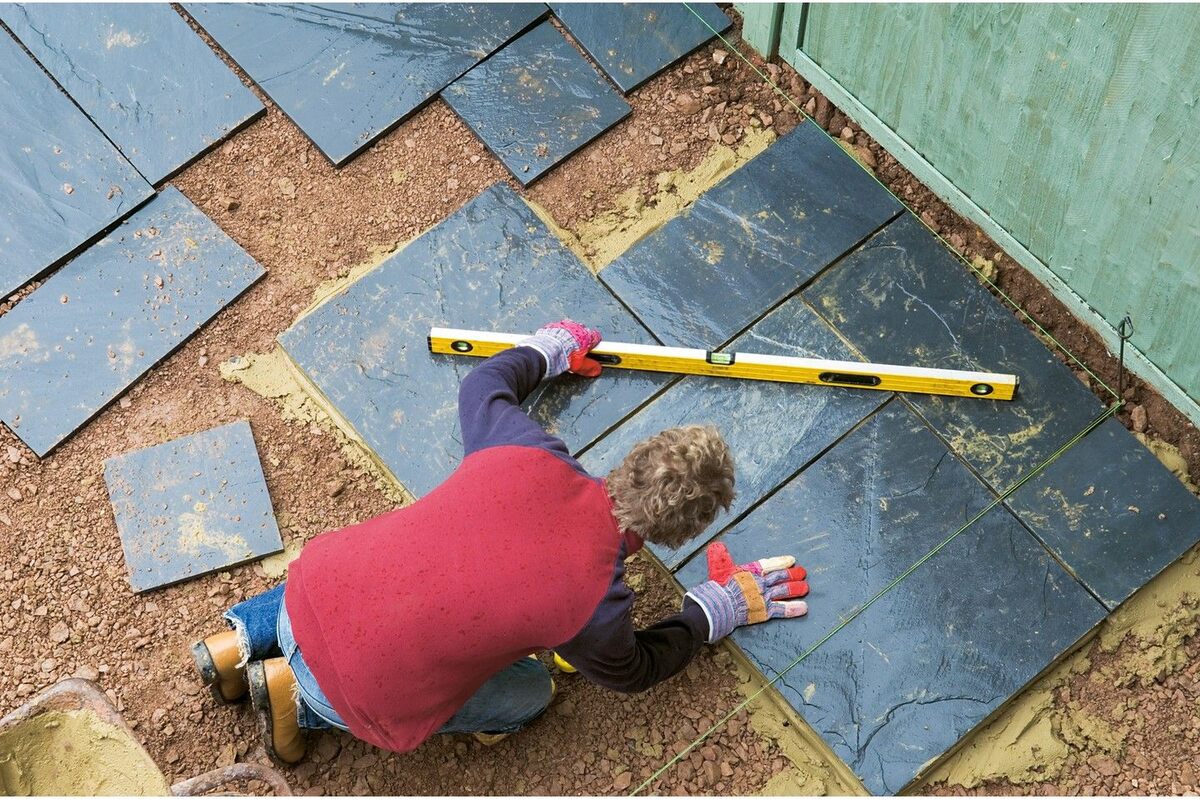
- Level the surface: Ensure that the surface of the slab is level and free from any obstructions or unevenness. Use a level to double-check and make adjustments if necessary.
By properly preparing the slab, you create a solid foundation for the plumbing system and minimize the risk of future issues. Take your time to complete this step carefully, ensuring that all necessary precautions are taken.
With the slab prepared, you’re now ready to move on to the next step: installing the drainage system. This is a crucial part of the rough-in process as it ensures proper disposal of wastewater from your plumbing fixtures.
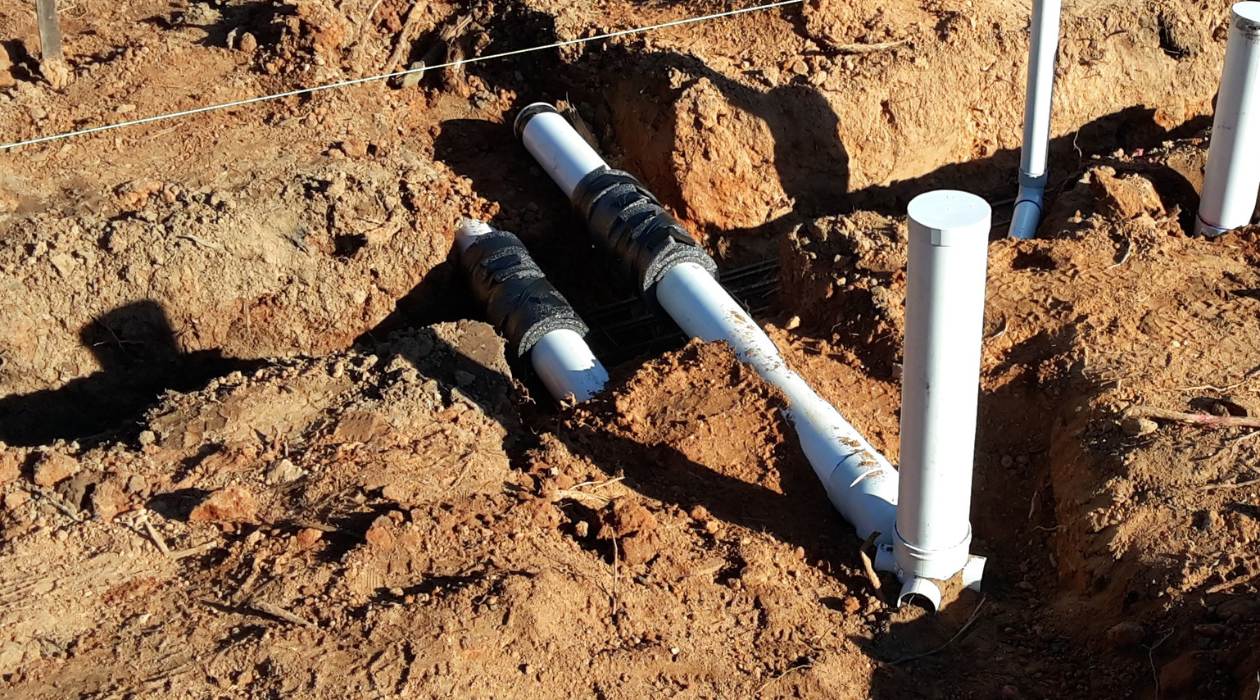
Step 3: Install the Drainage System
Installing the drainage system is a crucial part of roughing in plumbing for a slab. This step involves connecting the pipes that will carry wastewater away from your plumbing fixtures and ensuring proper drainage. Follow these steps to install the drainage system:
- Start with the main drain line: Begin by installing the main drain line. This is the pipe that will carry wastewater from all the fixtures to the sewer or septic system. Connect the main drain line to the marked location on the slab using the appropriate fittings.
- Add branch lines: From the main drain line, you’ll need to add branch lines that connect to each plumbing fixture. Measure and cut the pipes to the required length, making sure they have the proper slope for drainage.
- Install clean-outs: Along the drainage system, install clean-outs at strategic locations. These access points are crucial for future maintenance and clearing of any blockages.
- Connect vent pipes: Vent pipes are essential for providing proper ventilation and preventing the formation of a vacuum in the drainage system. Install vent pipes that connect to each fixture and extend through the roof.
- Secure the pipes: Use appropriate clamps or straps to secure the pipes in place. This will prevent any movement or rattling once the concrete is poured.
- Inspect and test the drainage system: Once the drainage system is installed, carefully inspect all connections and ensure they are watertight. Conduct a pressure test using water to check for any leaks or issues.
Proper installation of the drainage system is critical to prevent wastewater backup and ensure effective and efficient drainage. Take your time to measure accurately, use the correct fittings, and secure the pipes properly. Inspecting and testing the system before moving on to the next step will save you from costly repairs or modifications later on.
With the drainage system in place, you’re ready to move on to the next step: installing the water supply lines. This will complete the rough-in process and prepare your plumbing system for future use.
When roughing in plumbing for a slab, make sure to accurately mark the locations for the pipes and fixtures before pouring the concrete. This will help prevent costly and time-consuming mistakes later on.
Step 4: Install the Water Supply Lines
Once the drainage system is installed, it’s time to focus on the water supply lines. This step involves connecting the pipes that will deliver clean water to your plumbing fixtures. Follow these steps to install the water supply lines:
- Identify the water source: Determine the main water supply line and where it enters your home. This is typically located near the water meter or in the basement.
- Plan the route: From the main water supply line, plan the route for the water supply lines to each fixture. Consider the distance, pipe sizes, and any local building codes or regulations that may dictate specific requirements.
- Cut and connect the pipes: Measure and cut the pipes to the appropriate length using a pipe cutter. Use the necessary fittings and connectors to connect the pipes together, ensuring a secure and watertight connection.
- Install shut-off valves: Install shut-off valves at each fixture location. These valves allow you to shut off the water supply to individual fixtures without affecting the rest of the plumbing system.
- Secure the pipes: Similar to the drainage system, use clamps or straps to secure the water supply pipes in place. Ensure that the pipes are adequately supported to prevent future issues.
- Pressure test the system: Once the water supply lines are installed, conduct a pressure test to check for any leaks or issues. Close all the shut-off valves and pressurize the system. Monitor the pressure gauge for any drop in pressure over time, which may indicate a leak.
Proper installation of the water supply lines is crucial for consistent water flow and functionality of your plumbing system. Take your time to measure accurately, use the correct fittings, and secure the pipes properly. Conducting a pressure test is essential to identify and address any potential issues before moving forward.
With the water supply lines installed and the system successfully pressure tested, you are now ready to move on to the next step: filling the slab with concrete. This will complete the rough-in process and prepare your plumbing system for the next phase of construction.
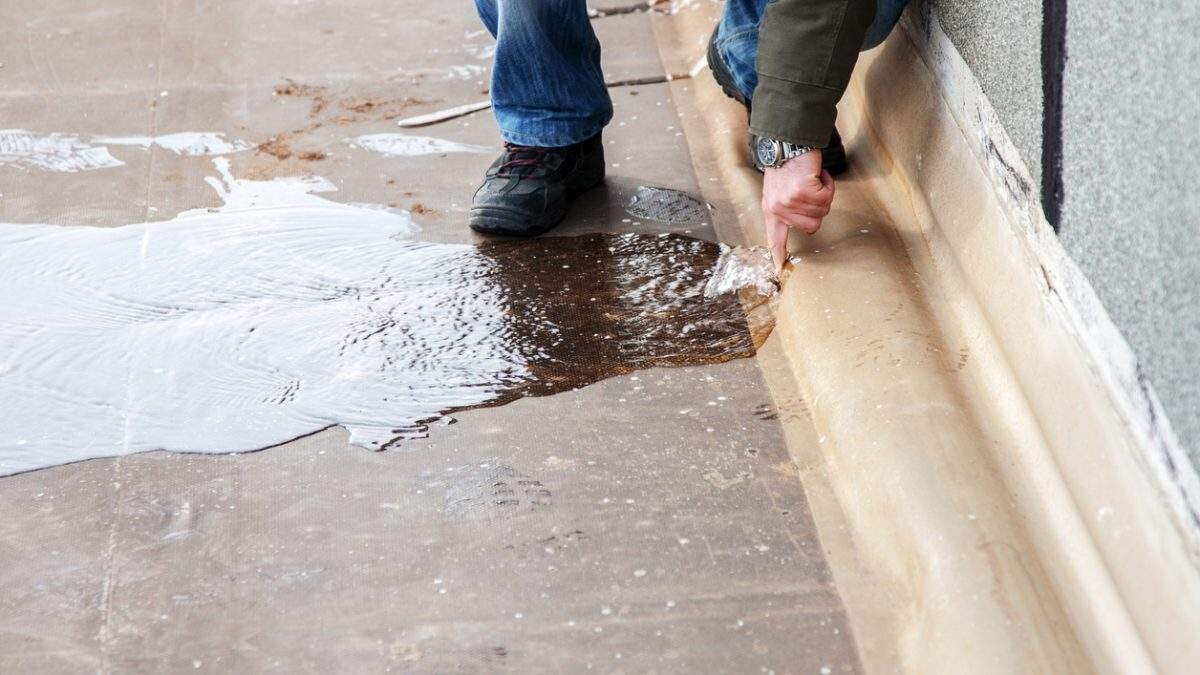
Step 5: Pressure Test the Plumbing System
One of the most critical steps in the rough-in plumbing process is pressure testing the system. This step ensures that your plumbing system is properly sealed, water-tight, and free from leaks. Follow these steps to pressure test the plumbing system:
- Close all fixtures and outlets: Shut off all faucets, valves, and fixtures connected to the water supply lines. This includes showerheads, faucets, and toilets.
- Isolate the system: Using shut-off valves, isolate the plumbing system from the main water supply. This prevents water from flowing into the system during the test.
- Pressurize the system: Attach a pressure gauge to a hose bib or other access point in the plumbing system. Slowly open the shut-off valve to allow water to enter the system and build up pressure.
- Monitor the pressure: Once the system is pressurized, monitor the pressure gauge and check for any drop in pressure over time. The pressure should remain constant for at least 15-20 minutes without any significant drop.
- Inspect for leaks: During the pressure test, carefully inspect all visible pipes, connections, and fixtures for any signs of leaks such as dripping water or water stains. Pay close attention to joints, fittings, and valves.
- Repair any leaks: If you find any leaks during the pressure test, mark their locations and make the necessary repairs. This may involve tightening connections, replacing faulty fittings, or resealing joints with plumber’s tape or sealant.
Pressure testing your plumbing system is crucial as it ensures the integrity and reliability of the installation. It helps prevent future issues such as leaks, water damage, and costly repairs. Take your time during the pressure test and carefully inspect the entire system for any leaks or weak spots that need attention.
Once you have successfully completed the pressure test and addressed any necessary repairs, you can move on to the next step: filling the slab with concrete. This will finalize the rough-in plumbing process and get your plumbing system ready for the next stages of construction.
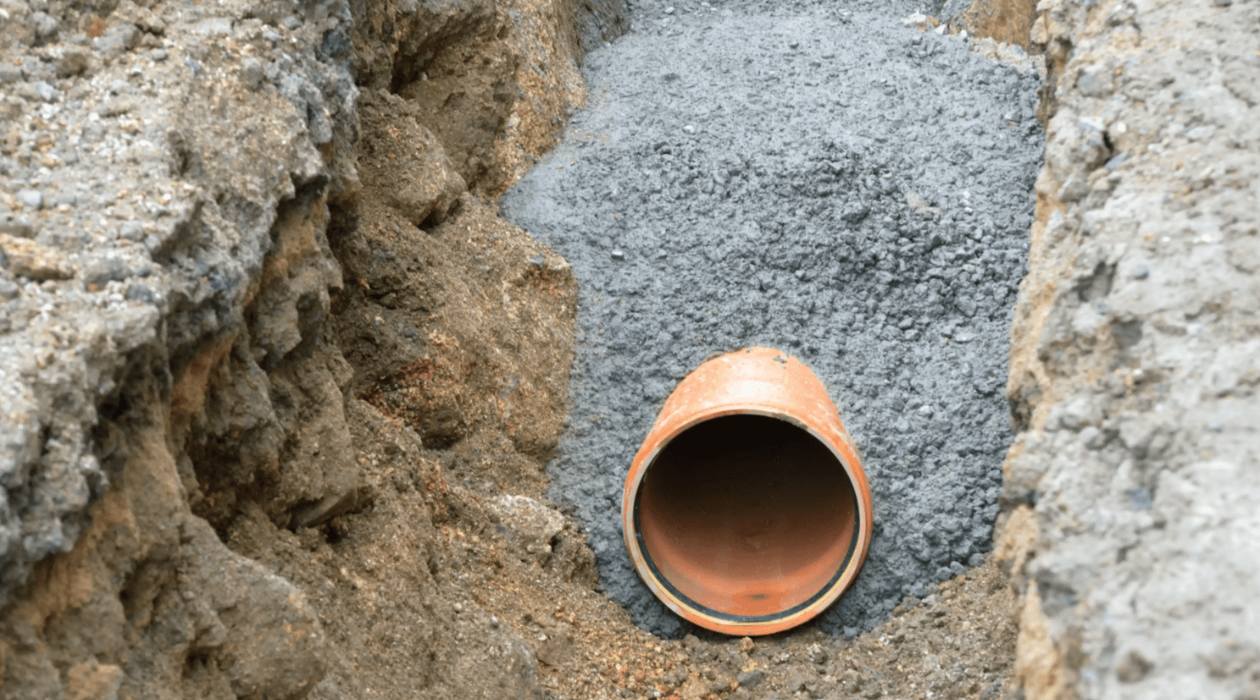
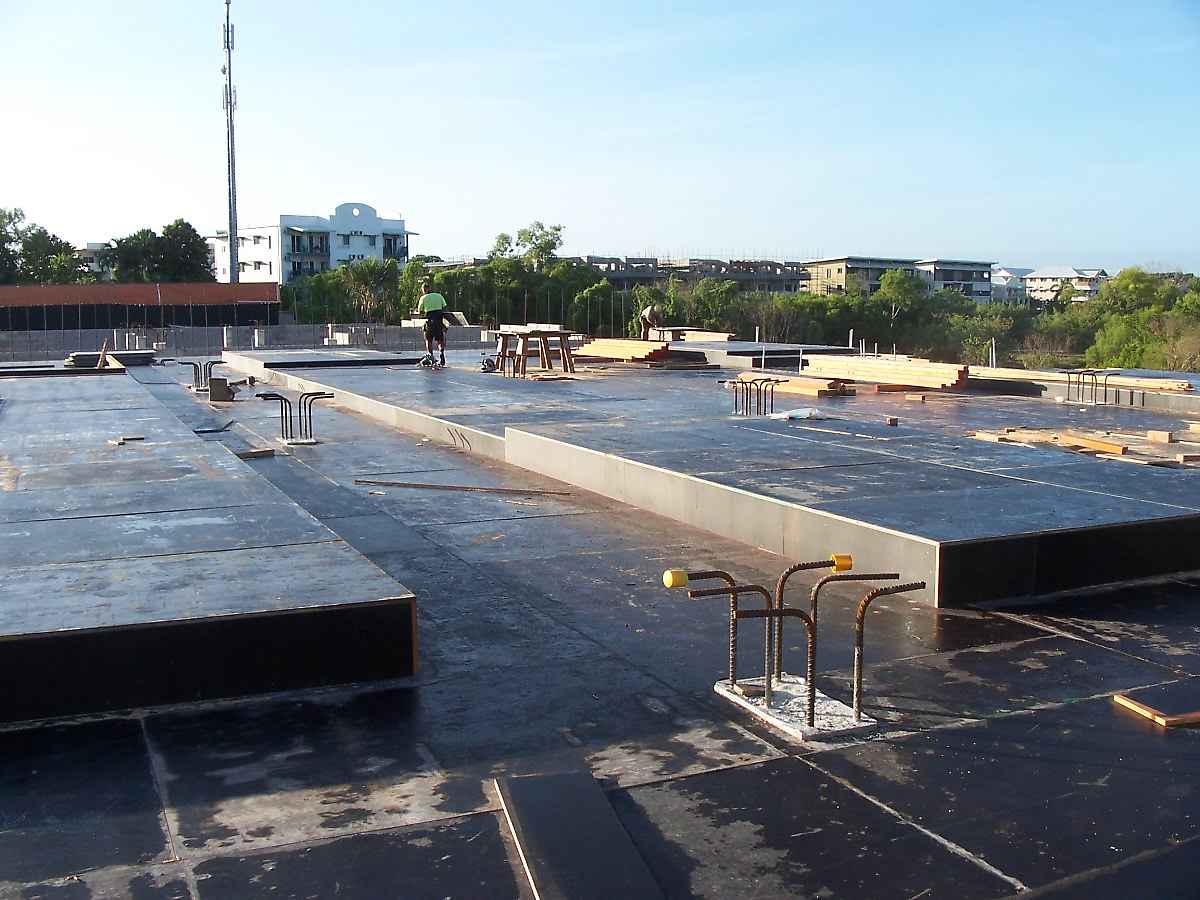
Step 6: Fill the Slab
After completing all the necessary plumbing installations and confirming the integrity of the system, it’s time to fill the slab with concrete. Filling the slab creates a solid foundation and protects the plumbing system from any external damage. Follow these steps to fill the slab:
- Prepare the concrete mix: Use a high-quality concrete mix that is suitable for the specific requirements of your project. Follow the manufacturer’s instructions for mixing proportions and water-to-cement ratios.
- Pour the concrete: Start pouring the concrete into the slab area, taking care not to disturb or damage the installed plumbing system. Use a shovel or concrete pump to distribute the concrete evenly throughout the area.
- Spread and level the concrete: Use a rake or a screed board to spread and level the concrete, ensuring an even thickness across the entire slab. Pay special attention to areas around the plumbing pipes and fixtures to ensure proper coverage.
- Smooth the surface: Use a trowel or a float to smooth the surface of the concrete, removing any excess material or air pockets. This will result in a level and finished appearance.
- Cure the concrete: Cover the freshly poured concrete with plastic sheeting or use a curing compound to promote proper curing and prevent cracking. Follow the recommended curing time as per the manufacturer’s instructions.
- Inspect the slab: Once the concrete has cured, carefully inspect the slab to ensure that no damage has occurred to the plumbing system during the pouring process. Look for any visible cracks or signs of stress.
Filling the slab with concrete not only provides a stable foundation for the plumbing system but also protects it from external elements such as moisture and impact. Properly curing the concrete is essential to ensure its strength and longevity.
With the slab filled and the concrete cured, you have completed the rough-in plumbing for the slab. Congratulations! The plumbing system is now ready for the next stages of construction, such as installing flooring and fixtures.
Remember to consult with local building codes and regulations throughout the rough-in process to ensure compliance and safety. It’s always a good idea to consult with a professional plumber if you are unsure or require assistance.
By following these steps and taking the time to plan and execute each stage carefully, you can create a solid and reliable plumbing system for your home or project. Good luck!
Conclusion
Congratulations! You have successfully learned how to rough in plumbing for a slab. This comprehensive guide has provided you with the knowledge and steps needed to plan, prepare, and install the plumbing system for your project. By following these steps and paying attention to detail, you have ensured a solid foundation for your plumbing fixtures and connections.
Roughing in plumbing for a slab requires careful planning, precise measurements, and the use of appropriate materials and tools. By properly planning the layout, preparing the slab, installing the drainage and water supply lines, pressure testing the system, and filling the slab with concrete, you have created a plumbing system that is efficient, reliable, and built to last.
Throughout the rough-in process, it is essential to consult with local building codes and regulations to ensure compliance and safety. If you are unsure or require assistance, it is always recommended to seek the advice of a professional plumber who can provide guidance and expertise.
Remember, a well-executed rough-in plumbing installation sets the stage for the rest of your construction project. It ensures that your plumbing system is properly integrated into the slab and ready for the next phases, such as installing fixtures and completing the interior finishes.
Thank you for following this guide. With your newfound knowledge on how to rough in plumbing for a slab, you can confidently move forward with your construction or renovation project, knowing that your plumbing system is in capable hands. Best of luck with your project!
Frequently Asked Questions about How To Rough In Plumbing For Slab
Was this page helpful?
At Storables.com, we guarantee accurate and reliable information. Our content, validated by Expert Board Contributors, is crafted following stringent Editorial Policies. We're committed to providing you with well-researched, expert-backed insights for all your informational needs.


0 thoughts on “How To Rough In Plumbing For Slab”