Home>Furniture>Outdoor Furniture>How To Extend A Patio Slab
Outdoor Furniture
How To Extend A Patio Slab
Modified: March 24, 2024
Learn how to extend your patio slab to create more space for your outdoor furniture. Discover the steps to seamlessly add on to your existing patio and enjoy the outdoors in style.
(Many of the links in this article redirect to a specific reviewed product. Your purchase of these products through affiliate links helps to generate commission for Storables.com, at no extra cost. Learn more)
Introduction
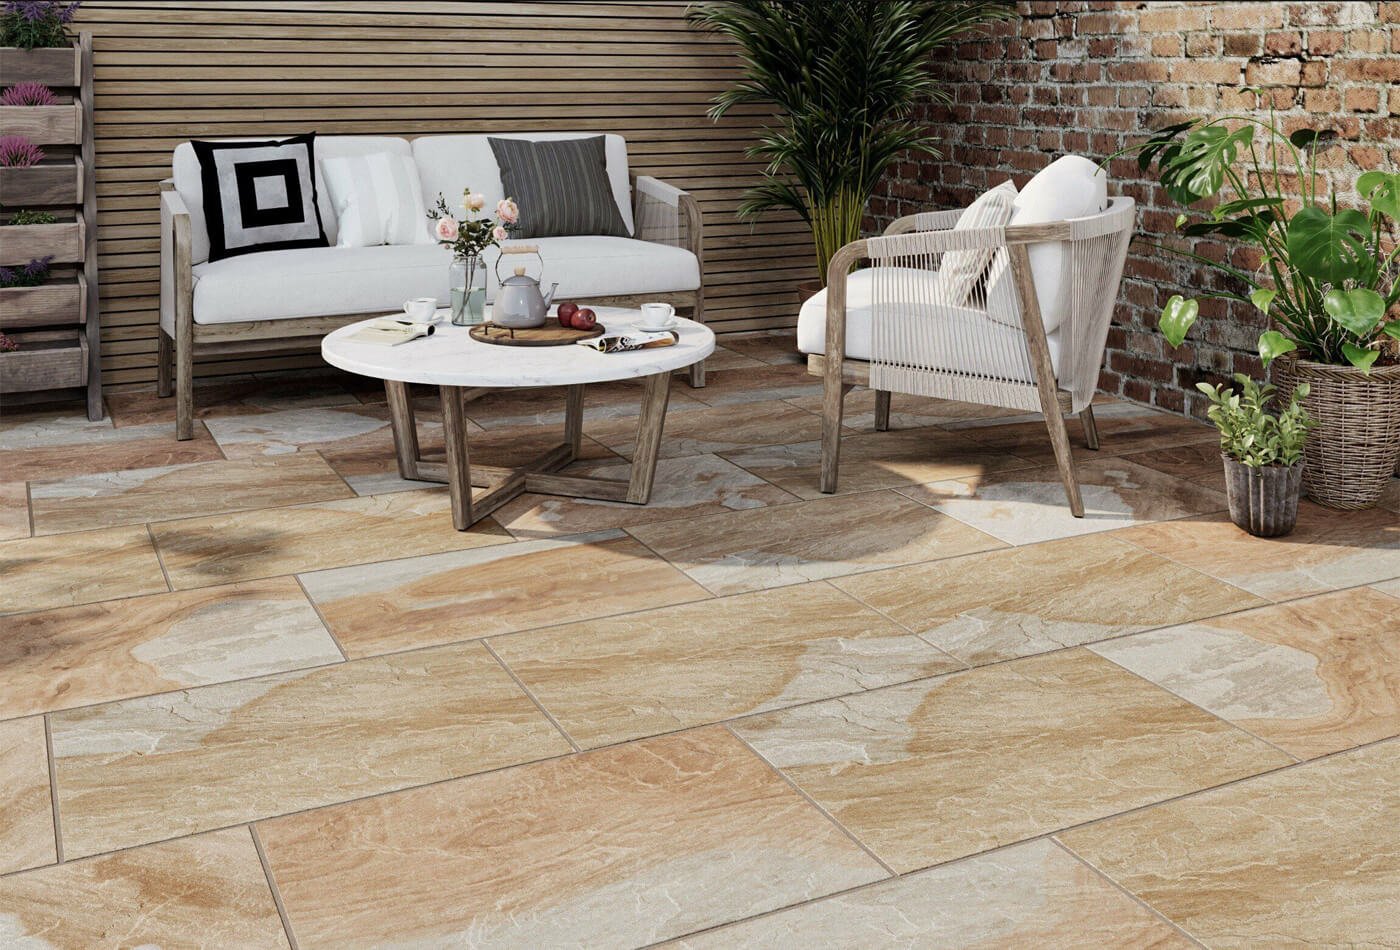
Having a patio in your outdoor space can provide a wonderful area for relaxation, entertainment, and enjoying the beauty of nature. However, as your needs and preferences change, you may find that your current patio slab is no longer able to accommodate your desired space. This is where extending your patio slab comes into play.
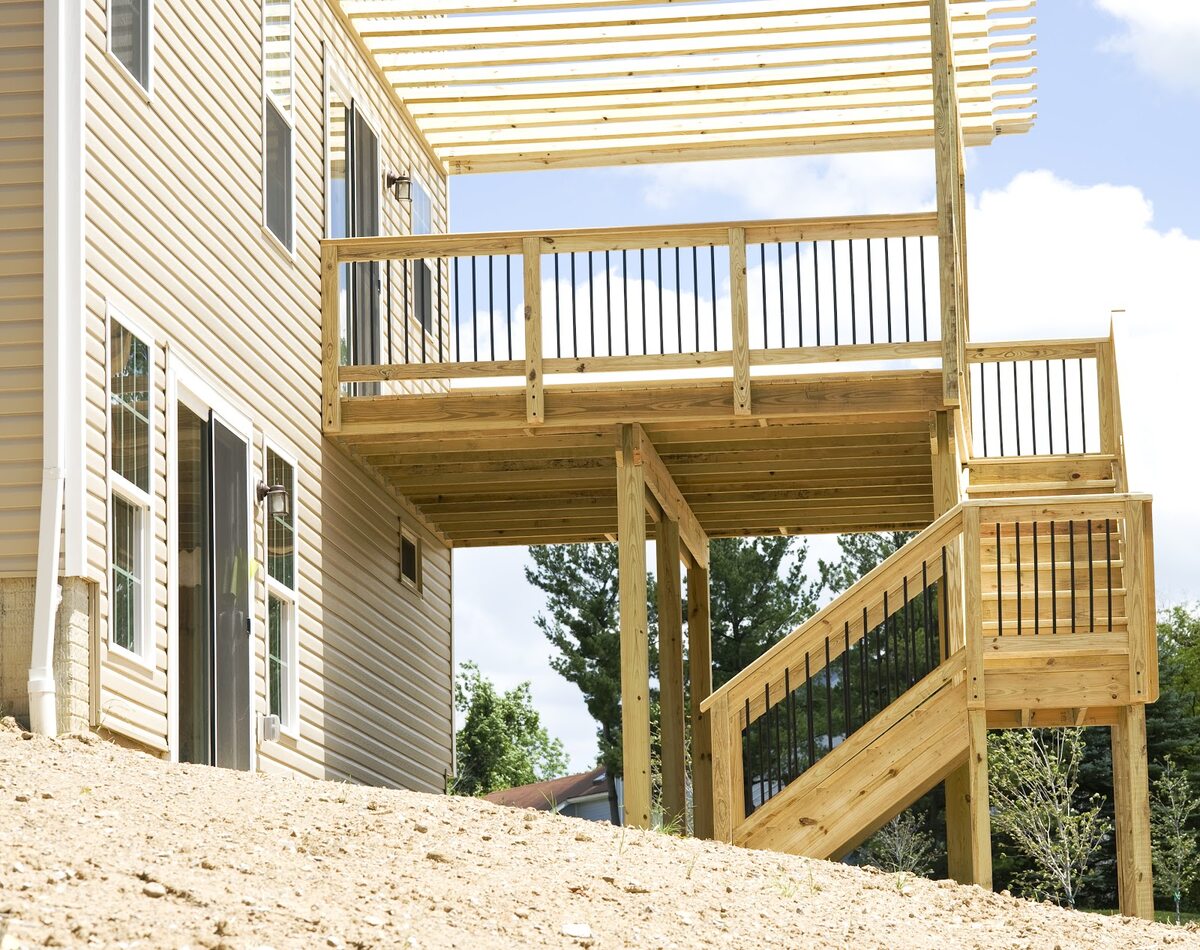
Extending a patio slab is a great way to increase the size and functionality of your outdoor living area. Whether you want to add more seating space, create a dining area, or incorporate additional features like a fire pit or outdoor kitchen, extending your patio slab can provide the solution you need.
Before embarking on this project, it’s important to have a clear plan in place and gather the necessary materials and tools. By properly preparing the ground and laying the extension with care, you can ensure a long-lasting and seamless integration.
In this article, we’ll guide you through the process of extending a patio slab, from planning and preparation to laying the extension and finishing touches. Let’s get started on transforming your outdoor space into a more spacious and versatile paradise!
Key Takeaways:
- Planning and preparation are crucial for extending a patio slab. Measure the existing slab, decide on the extension’s size and shape, and gather all necessary materials and tools before starting the project.
- Laying and finishing the extension requires careful concrete preparation, leveling, and curing. Applying a sealer after curing protects the surface, ensuring a long-lasting and beautiful patio slab extension.
Read more: How To Lay A Patio Slab
Planning and Preparation
Before you start extending your patio slab, it’s crucial to do some careful planning and preparation. This will ensure that the final result meets your expectations and fits seamlessly with your existing outdoor space.
Measure and Assess the Current Patio Slab
The first step is to measure and assess your current patio slab. This will help you determine the necessary dimensions for the extension. Measure the length, width, and height of your existing patio slab accurately. Note down these measurements and keep them handy for future reference.
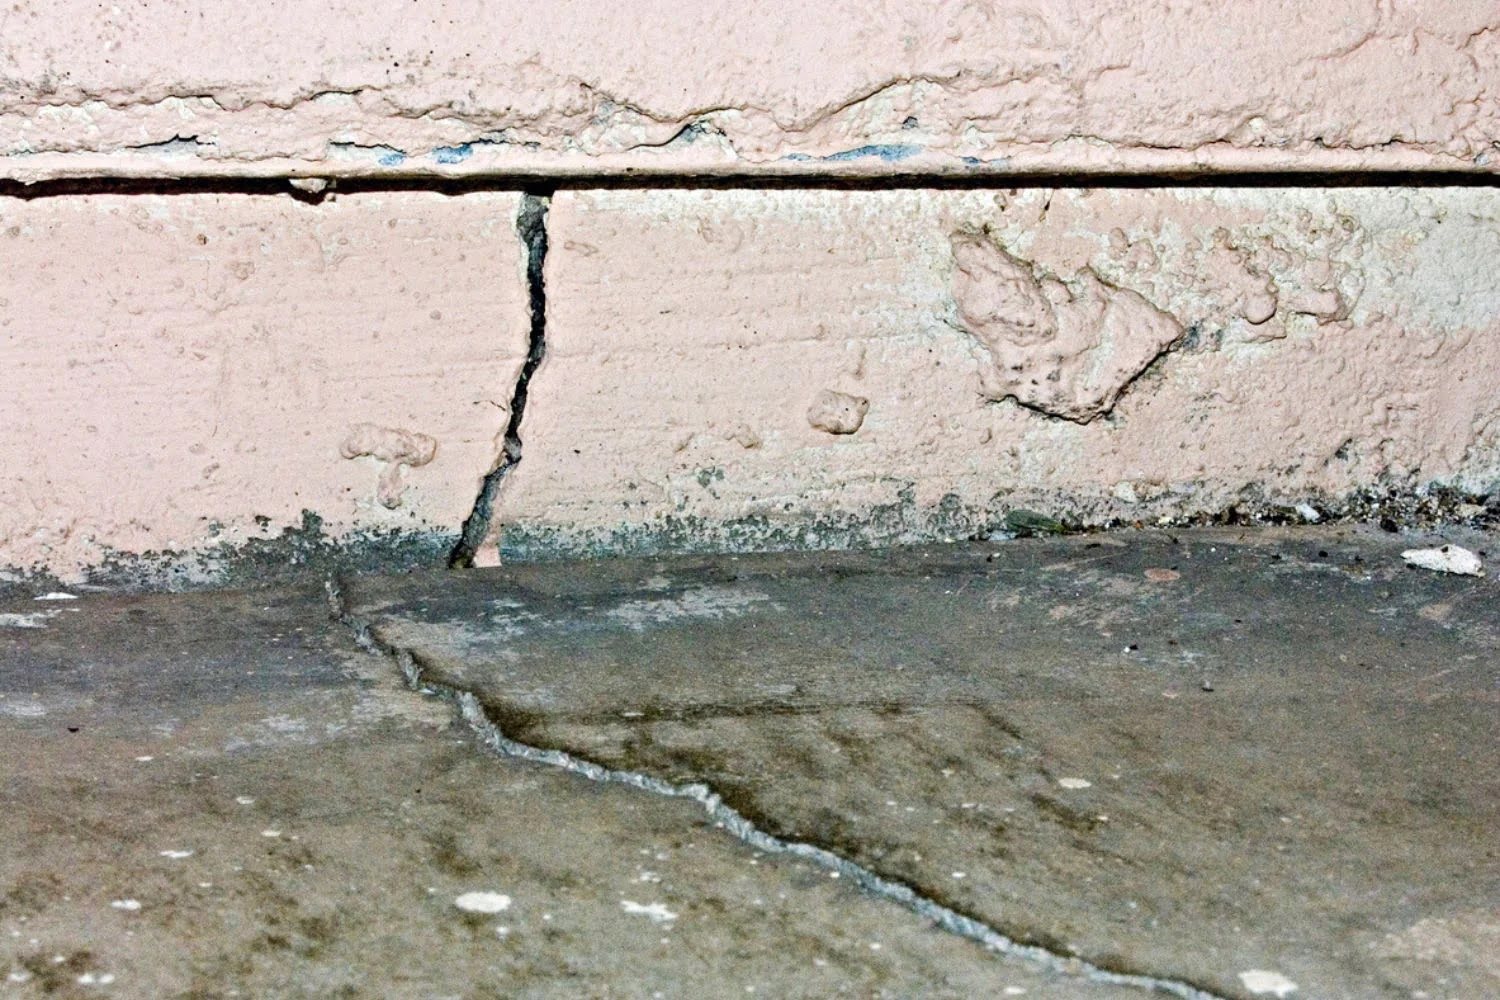
Additionally, assess the condition of your current patio slab. Look out for any cracks, uneven areas, or damage that may need to be addressed before proceeding with the extension. It’s essential to have a strong and stable foundation for the new portion of your patio.
Determine the Size and Shape of the Extension
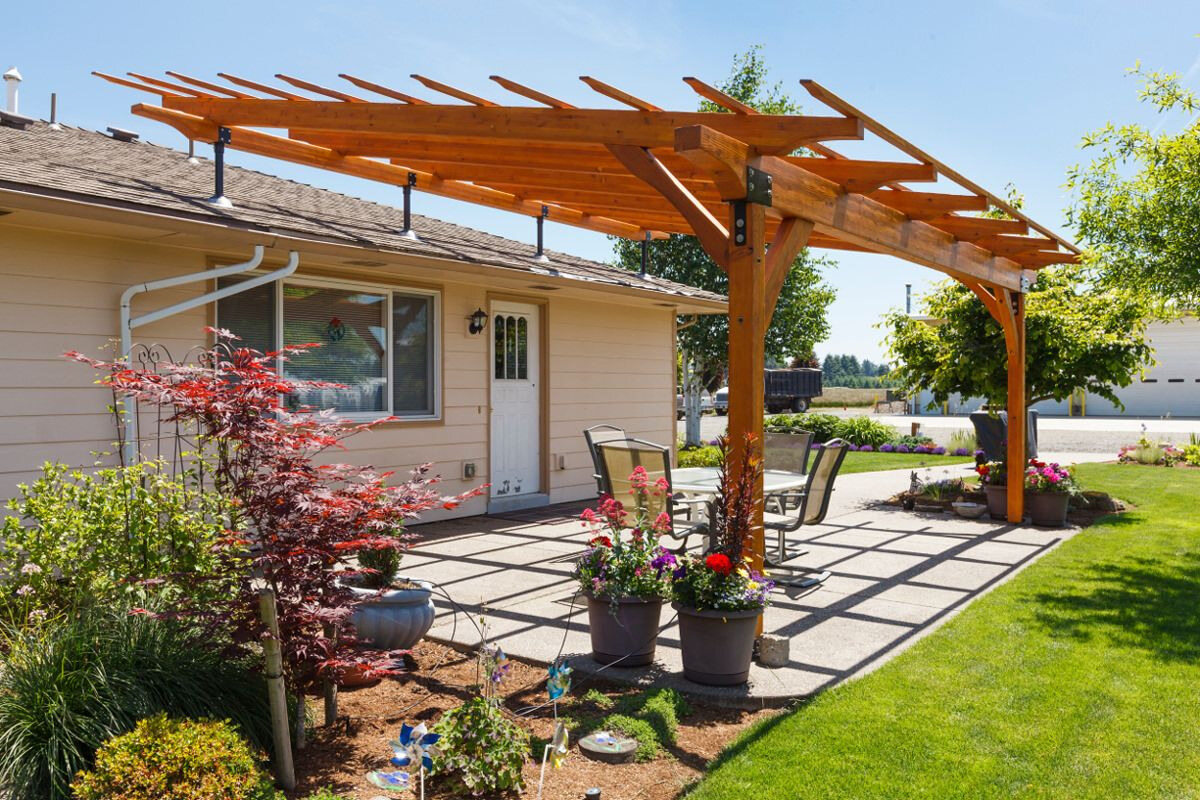
Next, decide on the size and shape of the patio slab extension. Consider your specific needs and how you envision using the expanded space. Do you want to create a larger seating area, add a walkway, or incorporate a specific feature like a garden bed or a barbecue grill?
Take into account the existing layout and the natural flow of your outdoor space. Aim to create a seamless transition between your current patio and the extension. Visualize how the shape and size of the extension will complement and enhance the overall design of your outdoor area.
It’s a good idea to mark out the desired shape and dimensions of the extension using stakes and string. This will help you better visualize the physical space it will occupy and make any necessary adjustments before moving forward.
Once you have measured and assessed your patio slab and determined the size and shape of the extension, you can proceed to the next step of gathering the materials and tools you’ll need for the project.
Gathering Materials and Tools
Now that you have a clear plan in place for extending your patio slab, it’s time to gather the necessary materials and tools. Having everything you need on hand before you start the project will ensure a smooth and efficient process.
Read more: How To Extend A Patio
List of Necessary Materials:
- Concrete mix: Choose a high-quality concrete mix suitable for outdoor use. Consider factors such as durability and resistance to weather conditions.
- Rebar or mesh: Reinforcing your concrete with rebar or mesh will add strength and stability to the extension.
- Gravel: A layer of gravel will help with drainage and prevent the concrete from cracking.
- Expansion joint material: This material is used to create a gap between the existing patio slab and the extension to allow for movement and prevent cracking.
- Concrete sealer: Applying a sealer after the concrete has cured will protect the surface from staining and prolong its lifespan.
- Tools for mixing and pouring concrete: This includes a wheelbarrow or mixing tub, a shovel or concrete mixer, and a trowel for spreading and smoothing the concrete.
- Leveling tools: A level, a long straightedge, and a mallet or rubber mallet will help you ensure a level and even surface.
- Measuring and marking tools: A tape measure, stakes, string, and a marker will assist in accurately measuring and marking the area for the extension.
- Safety equipment: Don’t forget to prioritize safety by wearing gloves, safety goggles, and a dust mask when handling concrete.
Required Tools for the Project:
- Shovel or excavator: This will be necessary if you need to remove any existing concrete or excavate the area for the extension.
- Wheelbarrow or mixing tub: This is used to mix and transport the concrete.
- Concrete mixer (optional): If you have a large project and prefer not to mix the concrete manually, a concrete mixer can be used.
- Trowel: This tool is essential for spreading and smoothing the concrete.
- Pipe or level: Using a long pipe or level will help you ensure that the extension is leveled properly.
- Broom or brush: You’ll need a broom or brush to create a non-slip texture on the surface of the concrete.
- Safety equipment: As mentioned earlier, safety goggles, gloves, and a dust mask are crucial for protecting yourself during the project.
Make sure to gather all the necessary materials and tools before you begin extending your patio slab. Having everything within reach will streamline the process and help you achieve the desired results efficiently.
Removing the Existing Slab (if applicable)
If you have an existing patio slab that needs to be removed to make way for the extension, it’s important to approach this step with caution. Proper removal of the old slab ensures a clean and solid base for the new portion of your patio. Here are the steps to successfully remove the existing patio slab:
- Prepare the area: Clear the surrounding area of any furniture, plants, or obstacles. This will provide you with unobstructed access to the patio slab and prevent any potential damage or accidents.
- Wear safety gear: Prioritize your safety by wearing protective gear, including safety goggles, gloves, and a dust mask. This will protect you from any flying debris or dust particles during the removal process.
- Make a cut: Use a concrete saw or a circular saw with a diamond blade to make strategic cuts on the existing patio slab. Make sure the cuts are deep enough to penetrate the entire thickness of the slab.
- Remove the sections: With the cuts made, use a sledgehammer, jackhammer, or pry bar to break apart the slab into smaller sections. Start from one edge and work your way towards the center. Carefully lift and remove each section of the broken slab.
- Remove any remaining debris: Once you have removed the larger sections of the slab, clear out any smaller pieces or debris from the area. Use a broom and a shovel to ensure a clean and level surface for the new extension.
- Inspect the base: Take a moment to inspect the base where the old slab was removed. Look for any unevenness, soft spots, or poor soil conditions. It’s important to address any issues before proceeding with the next steps.
- Prepare the ground: If necessary, level the ground and make any adjustments to ensure a solid and stable foundation for the new portion of your patio. This may involve adding or removing soil and compacting it to create a level surface.
Removing an existing patio slab can be a labor-intensive task. If you are unsure or if the slab is large or complex, it may be best to consult with a professional to ensure a safe and efficient removal process.
Once you have successfully removed the existing slab and prepared the ground, you can move on to the next phase of extending your patio slab: preparing the ground for the new extension.
Preparing the Ground
With the existing patio slab removed (if applicable), it’s time to prepare the ground for the extension. Properly preparing the ground ensures a stable and level surface for your new patio slab. Here are the steps to follow:
Read more: How To Regrout Patio Slabs
Clearing the Area for the Extension
Start by clearing the area where the extension will be located. Remove any vegetation, rocks, or debris that may interfere with the installation process. Use a shovel or a rake to clear the area thoroughly, ensuring that it is clean and free from any obstructions.
If there are stubborn weeds or grass, you may consider using an herbicide or a weed killer to prevent regrowth. Follow the instructions on the product carefully to ensure safe and effective removal of unwanted vegetation.
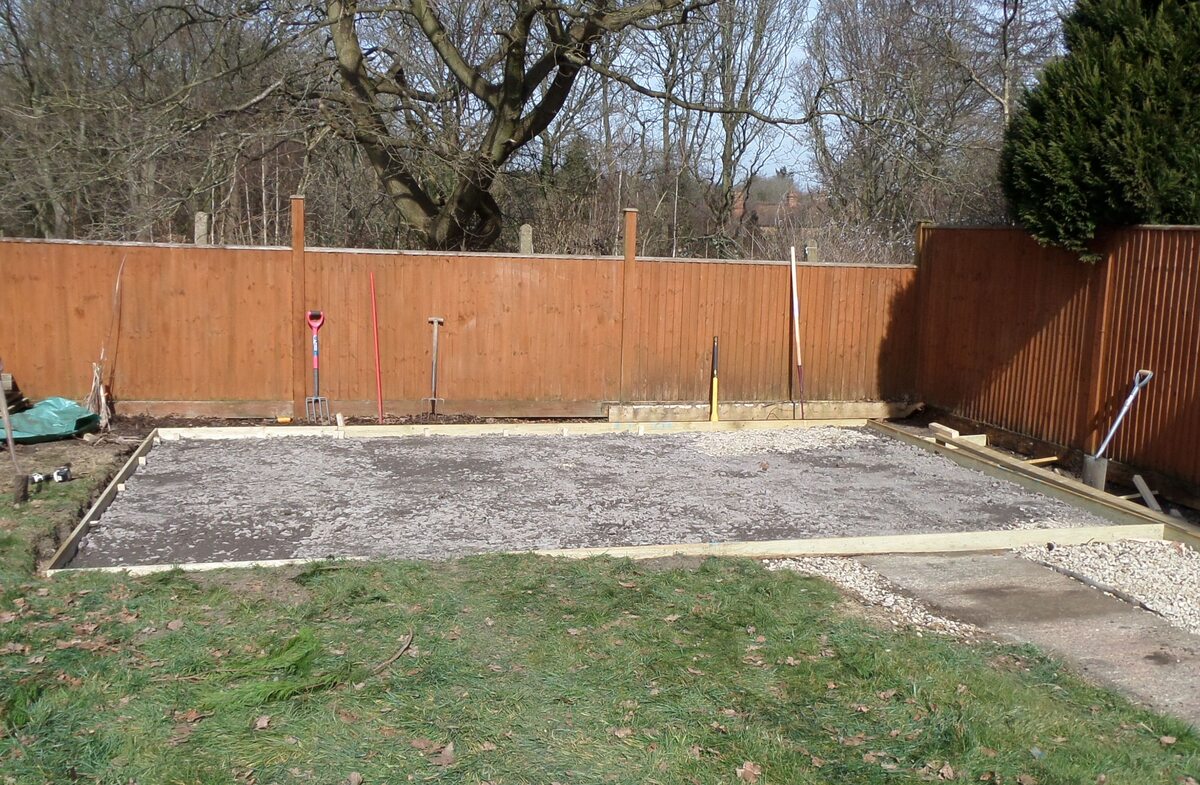
Leveling the Ground
Next, it’s important to ensure that the ground is leveled properly. This will help create a flat and even surface for your new patio slab. Here’s how to level the ground:
- Check the slope: Use a level or a long straightedge to check if the ground has any significant slopes or unevenness. Ideally, you want the ground to have a slight slope away from your house to prevent water pooling on the patio.
- Add or remove soil: If there are areas that are too low or uneven, you may need to add or remove soil to achieve a level surface. Use a shovel or a rake to distribute the soil evenly and compact it firmly to create stability.
- Compact the ground: Use a plate compactor or a hand tamper to compact the soil thoroughly. This helps to eliminate air gaps and ensure a solid foundation for your patio slab. Compact the ground in layers, working from one side to the other, until the entire area is compacted evenly.
- Check for levelness: Periodically check the levelness of the ground using a level or straightedge. Make any necessary adjustments by adding or removing soil until you achieve a level and even surface.
Remember to take your time and be meticulous during the ground preparation process. A solid and level base will contribute to the longevity and stability of your patio extension.
Once you have cleared the area and leveled the ground, you are now ready to move on to the exciting part of the project: laying the extension.
Laying the Extension
With the ground prepared for the extension, it’s time to start laying the new patio slab. This is where the transformation of your outdoor space begins to take shape. Here are the steps to follow:
Preparing the Concrete Mixture
The first step in laying the extension is to prepare the concrete mixture. Follow these guidelines to ensure the proper mixture:
- Gather the materials: Make sure you have all the necessary materials on hand, including the concrete mix, water, and any additional additives if required.
- Measure the materials: Follow the instructions on the concrete mix packaging to determine the correct water-to-concrete ratio. Measure the appropriate amount of water and add it to a mixing container.
- Add the concrete mix: Gradually add the concrete mix to the water, stirring continuously. Use a shovel or a mixing tool to combine the materials until you achieve a consistent and workable mixture. Avoid adding too much water, as it can weaken the concrete.
- Optional: Add additives: If desired, you can add concrete additives such as fibers or plasticizers to enhance the strength and durability of the concrete. Follow the manufacturer’s instructions for the correct amount and method of adding these additives.
Read more: How To Clean Patio Slabs
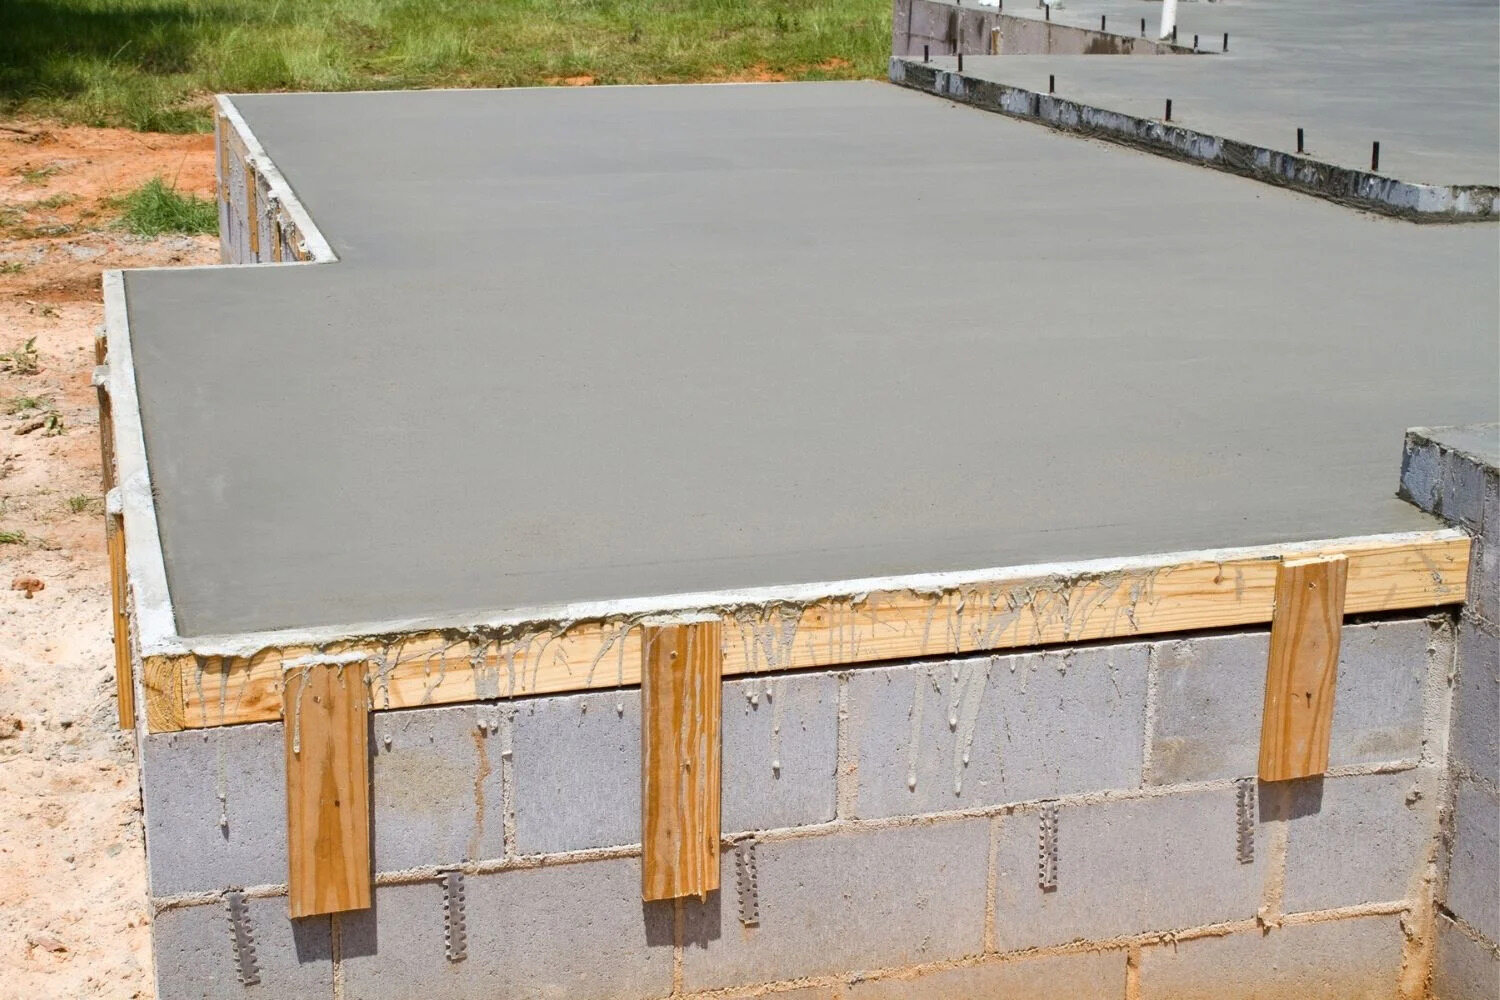
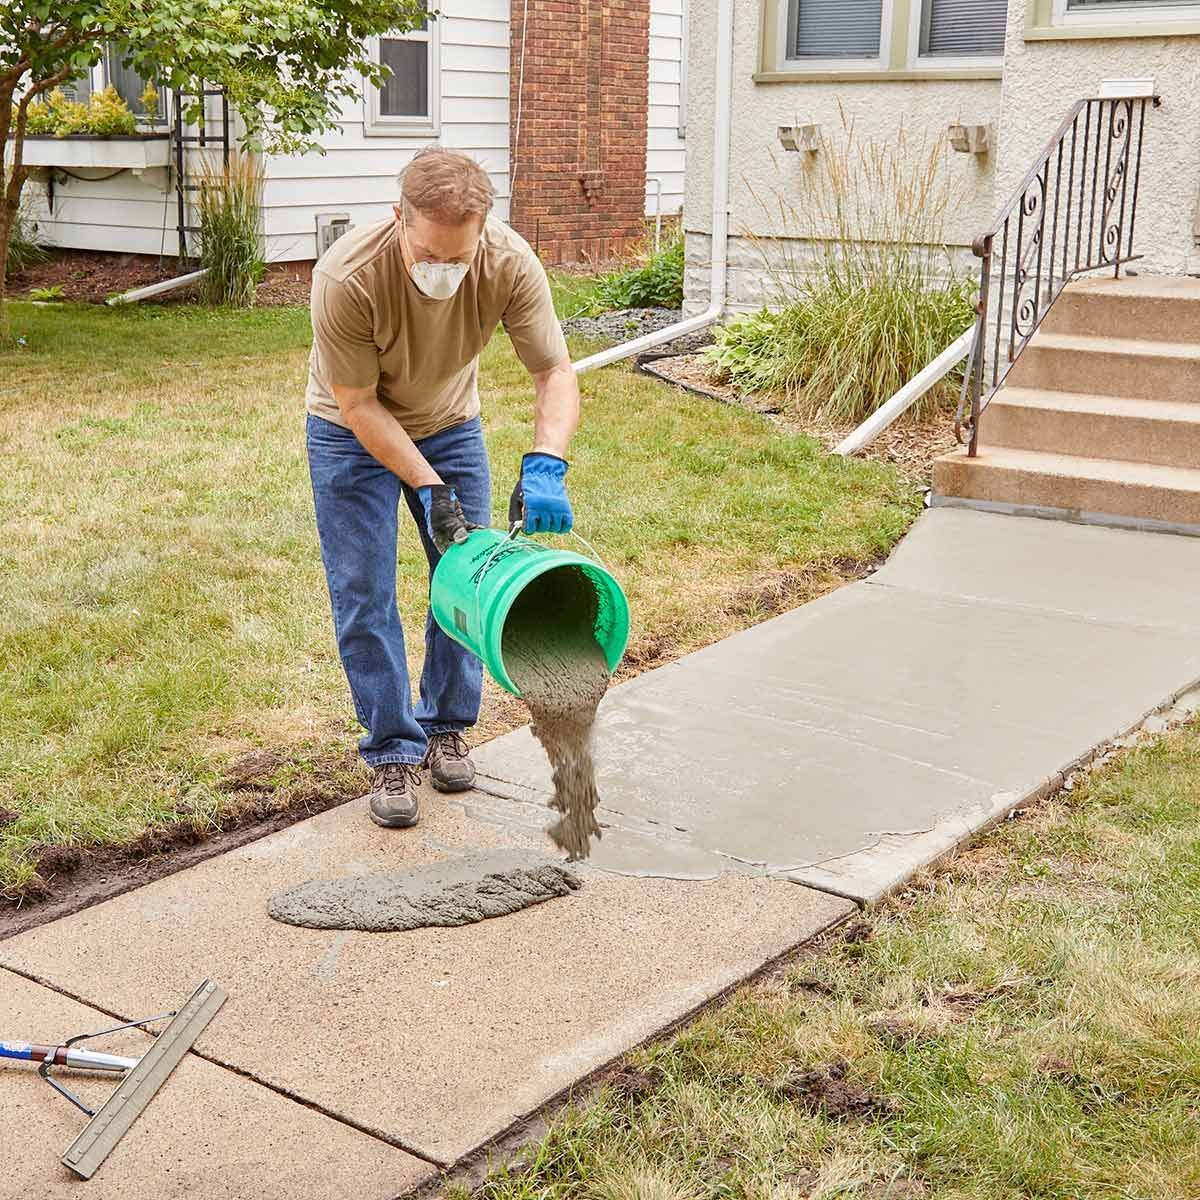
Pouring and Spreading the Concrete
Once you have prepared the concrete mixture, it’s time to pour and spread it onto the prepared ground for the extension:
- Start with the perimeter: Begin by pouring a small amount of concrete along the perimeter of the extension area. This will act as a border and contain the rest of the concrete as you pour it.
- Pour the concrete: While working in manageable sections, pour the concrete mixture into the designated area. Use a shovel or a scoop to distribute the concrete evenly, filling the space up to the desired thickness.
- Spread the concrete: Use a long straightedge, such as a board or a screed, to level the concrete and spread it evenly. Move the straightedge in a back-and-forth motion while applying light pressure to create a smooth and level surface.
- Fill any low spots: As you spread the concrete, pay attention to any low spots or areas that may require additional concrete. Add more mixture to these areas and level them with the rest of the surface.
Leveling the Surface
After spreading the concrete, it’s crucial to ensure that the surface is level and even:
- Use a level or pipe: Place a level or a long pipe on top of the concrete surface to check for any unevenness. Adjust the levelness of the concrete by adding or removing concrete mixture as necessary.
- Smooth the surface: Use a trowel to smooth out any imperfections on the surface of the concrete. Work in small circular motions to create a flawless finish.
- Create texture: If desired, you can use a broom or a brush to create a texture on the surface of the concrete, providing better traction and a more visually appealing look.
Remember to work efficiently as the concrete mixture has a limited working time. Depending on the specific product you are using, follow the manufacturer’s instructions for curing time and any additional steps required.
With the extension laid and leveled, you can now move on to the next phase of the project: curing and finishing the patio slab extension.
Curing and Finishing
After laying the extension and ensuring a level surface, it’s important to give the concrete time to properly cure and then finish it off with sealing and protection. This final phase will ensure the longevity and durability of your patio slab extension. Here are the steps to follow:
Allowing the Concrete to Cure
Once the concrete has been laid and leveled, it needs time to cure. Curing is the process of allowing the concrete to harden and gain its full strength. Here’s how to properly cure your patio slab extension:
- Cover the concrete: Protect the freshly poured concrete from direct sunlight, extreme temperatures, and excessive moisture by covering it with a plastic sheet or using curing blankets. This helps to retain moisture in the concrete, promoting proper curing.
- Maintain moisture: During the curing period, ensure that the concrete stays moist by lightly misting it with water or keeping a layer of damp sand over it. This prevents the surface from drying too quickly and helps the concrete cure uniformly.
- Allow sufficient curing time: Follow the manufacturer’s instructions or general guidelines to determine the recommended curing time for the specific concrete mix you used. Typically, concrete takes at least 28 days to cure fully, but it’s important to consult the guidelines for accurate timing.
While waiting for the concrete to cure, take the time to plan the finishing touches to enhance the aesthetic appeal and protection of your patio slab extension.
Read more: How To Lay Patio Slabs On Grass
Sealing and Protecting the Extension
Once the concrete has cured, you can apply a sealer to protect the surface and enhance its longevity. Sealing the patio slab extension offers several benefits, including:
- Protection against staining: A sealer creates a barrier that helps prevent water, oil, and other substances from penetrating the concrete surface, thereby reducing the risk of unsightly stains.
- Enhanced durability: Sealing the concrete makes it more resistant to wear, abrasion, and cracking, prolonging its lifespan and maintaining its appearance over time.
- Improved aesthetics: A sealer can enhance the color and sheen of the concrete, providing a more visually pleasing finish to your patio slab extension.
When selecting a sealer, choose one that is specifically designed for outdoor concrete and suitable for your desired finish. Follow the manufacturer’s instructions for application, including the number of coats and drying times.
Before applying the sealer, thoroughly clean the surface of any dirt, debris, or stains. Follow the cleaning instructions provided by the sealer manufacturer to ensure proper adhesion and effectiveness of the product.
Once the sealer has been applied, allow it to dry completely before using the patio slab extension. This will give it the necessary time to cure and provide optimal protection.
By following these steps to properly cure your patio slab extension and protect it with a sealer, you can ensure the longevity and beauty of your outdoor living space. Now, it’s time to sit back, relax, and enjoy your newly extended patio!
Conclusion
Congratulations on successfully extending your patio slab! By following the steps outlined in this article, you have transformed your outdoor space into a more spacious and functional area for relaxation, entertainment, and enjoyment.
The process of extending a patio slab requires careful planning, preparation, and execution. From measuring and assessing the current patio slab to determining the size and shape of the extension, gathering the necessary materials and tools to removing the existing slab (if applicable), preparing the ground, and finally laying the extension, each step is essential in creating a solid foundation for your patio.
Once the extension is laid and leveled, it’s important to allow the concrete to cure properly. Take the time to follow the guidelines for curing, ensuring the concrete gains its full strength and durability. After curing, applying a sealer to the surface of the patio slab extension will protect it against staining, enhance its durability, and improve its overall appearance.
Now that your patio slab extension is complete, it’s time to personalize and furnish the space according to your preferences. Add comfortable seating, outdoor furniture, plants, and any other elements that will create a welcoming and inviting atmosphere.
Remember to maintain and care for your patio slab extension regularly. Sweep away dirt and debris, clean any spills promptly, and reapply a sealer every few years to keep the surface looking fresh and protected. Regular maintenance will ensure that your outdoor space remains functional and beautiful for years to come.
Enjoy your extended patio and make the most of your newfound space. Whether it’s hosting gatherings, enjoying meals, or simply relaxing in the open air, your patio slab extension provides endless possibilities for outdoor enjoyment.
Thank you for joining us on this journey of extending your patio slab. We hope this article has been informative and helpful in creating the outdoor oasis you’ve always envisioned.
Happy patio extension!
Frequently Asked Questions about How To Extend A Patio Slab
Was this page helpful?
At Storables.com, we guarantee accurate and reliable information. Our content, validated by Expert Board Contributors, is crafted following stringent Editorial Policies. We're committed to providing you with well-researched, expert-backed insights for all your informational needs.

0 thoughts on “How To Extend A Patio Slab”