Home>Furniture>Outdoor Furniture>How To Smooth Out A Rough Concrete Patio

Outdoor Furniture
How To Smooth Out A Rough Concrete Patio
Modified: March 15, 2024
Learn how to transform your rough concrete patio into a comfortable outdoor oasis with our expert tips and recommendations for outdoor furniture.
(Many of the links in this article redirect to a specific reviewed product. Your purchase of these products through affiliate links helps to generate commission for Storables.com, at no extra cost. Learn more)
Introduction
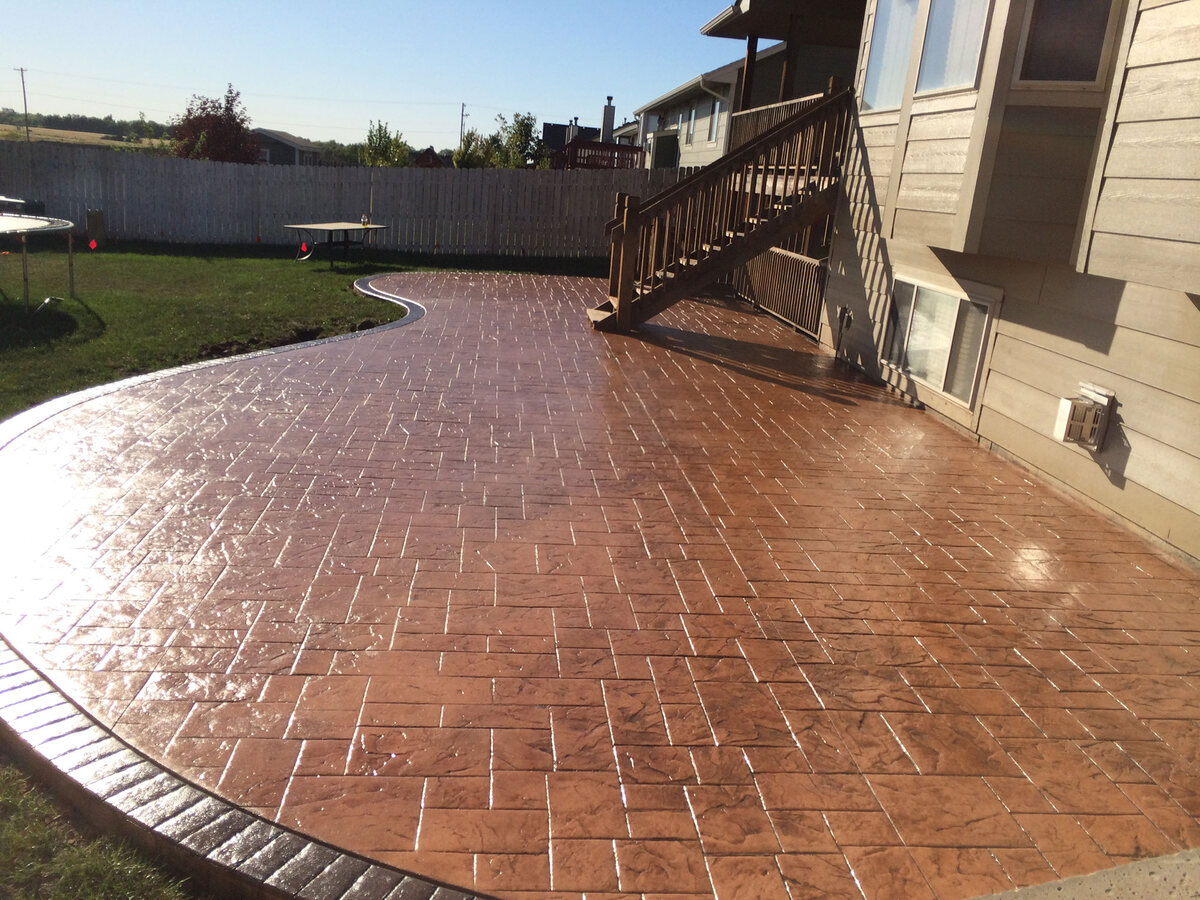
A concrete patio is a popular choice for outdoor living spaces due to its durability and low maintenance. However, over time, the surface of the patio can become rough and uneven, making it uncomfortable to walk on and unappealing to look at. Fortunately, there are methods to smooth out a rough concrete patio and restore its beauty and functionality.
In this article, we will provide you with a comprehensive guide on how to smooth out a rough concrete patio. We’ll cover everything from assessing the condition of the patio to preparing it for smoothing, applying a concrete patch, filling in cracks and divots, smoothing the surface with a sander, sealing the patio for a smooth finish, and maintaining it to prevent future damage.
By following the steps outlined in this article, you’ll be able to transform your rough concrete patio into a smooth and inviting outdoor space that you can enjoy for years to come.
Key Takeaways:
- Transforming a rough concrete patio into a smooth oasis involves assessing, repairing, and sealing the surface. Regular maintenance is crucial for preserving its beauty and functionality.
- Gathering the right materials, applying a concrete patch, and smoothing the surface with a sander are essential steps in achieving a beautifully smooth concrete patio. Regular cleaning and preventative measures help maintain its appeal.
Read more: How To Smooth A Concrete Patio
Assessing the Condition of the Concrete Patio
Before you begin the process of smoothing out your rough concrete patio, it’s important to assess its condition. This will help you determine the extent of the repairs needed and the best approach to take.
Start by visually inspecting the surface of the patio. Look for any cracks, divots, or areas where the concrete is crumbling. Take note of the size and severity of these imperfections.
If there are only minor cracks or small divots, you may be able to address them with a simple concrete patch. However, if the damage is more extensive or if the patio has significant areas of unevenness, you may need to consider more intensive repair methods.
In addition to inspecting the surface, it’s also essential to consider the underlying cause of the roughness. Is the patio experiencing structural issues? Has it been subjected to excessive moisture or freeze-thaw cycles? Understanding these factors will help you address the root cause of the roughness and prevent future damage.
Lastly, consider the level of expertise and equipment you have available. Certain repair methods, such as using a concrete grinder, may require specialized tools or professional assistance. Assess your capabilities and resources to determine which approach is most suitable for your situation.
By thoroughly assessing the condition of your concrete patio, you’ll be able to make informed decisions and choose the most effective repair methods to achieve a smooth and visually appealing surface.
Gathering the Necessary Materials
Once you’ve assessed the condition of your concrete patio and determined the repair methods needed, it’s time to gather the necessary materials. Having the right tools and materials on hand will ensure that you can complete the project smoothly and efficiently.
Here are some essential items you may need:
- Concrete patching compound: This material is used to fill in cracks and divots on the surface of the patio. Choose a patching compound that is suitable for outdoor use and can adhere well to concrete.
- Concrete bonding agent: If you’re working with a concrete patch, a bonding agent will help the patch adhere firmly to the existing concrete.
- Trowel and putty knife: These tools are necessary for applying the patching compound and smoothing it out over the damaged areas.
- Concrete filler: For larger cracks or areas of damage, a concrete filler may be needed to provide additional support and stability.
- Sander or grinder: A sander or grinder can be used to smooth out the surface of the patio and remove any rough or uneven areas. Depending on the size of the project, you may choose to rent or purchase this equipment.
- Protective gear: Safety should always be a priority. Be sure to wear gloves, safety glasses, and a dust mask to protect yourself from any potential hazards or dust during the repair process.
- Sealer: Once the repairs are complete, applying a sealer will help protect the patio from future damage and give it a smooth, finished look.
It’s a good idea to make a list of the materials you’ll need and gather them before starting the project. This will save you time and ensure that you have everything you need to successfully smooth out your rough concrete patio.
Preparing the Patio for Smoothing
Before you can begin the process of smoothing out your rough concrete patio, it’s essential to prepare the surface properly. Preparing the patio will ensure that the repairs adhere well and that you achieve the best possible results.
Here are the steps to prepare your patio for smoothing:
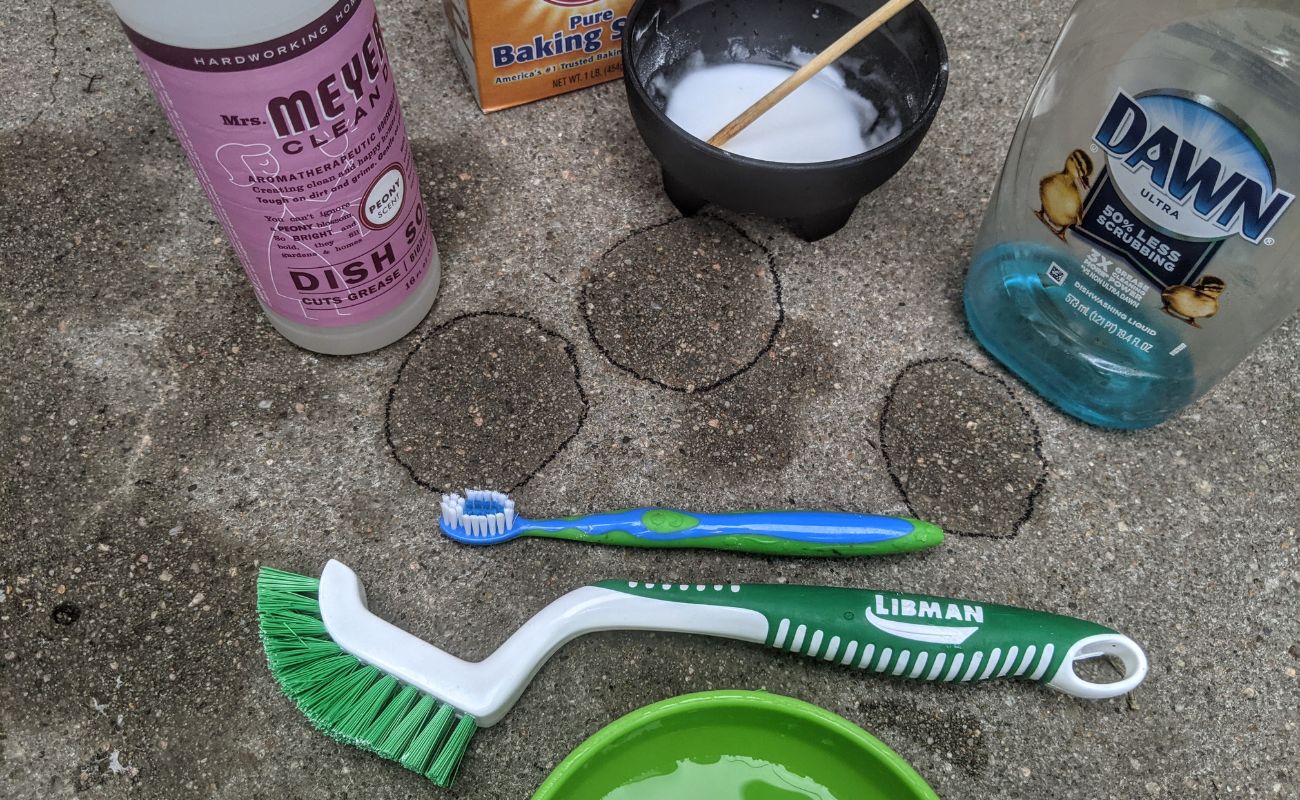
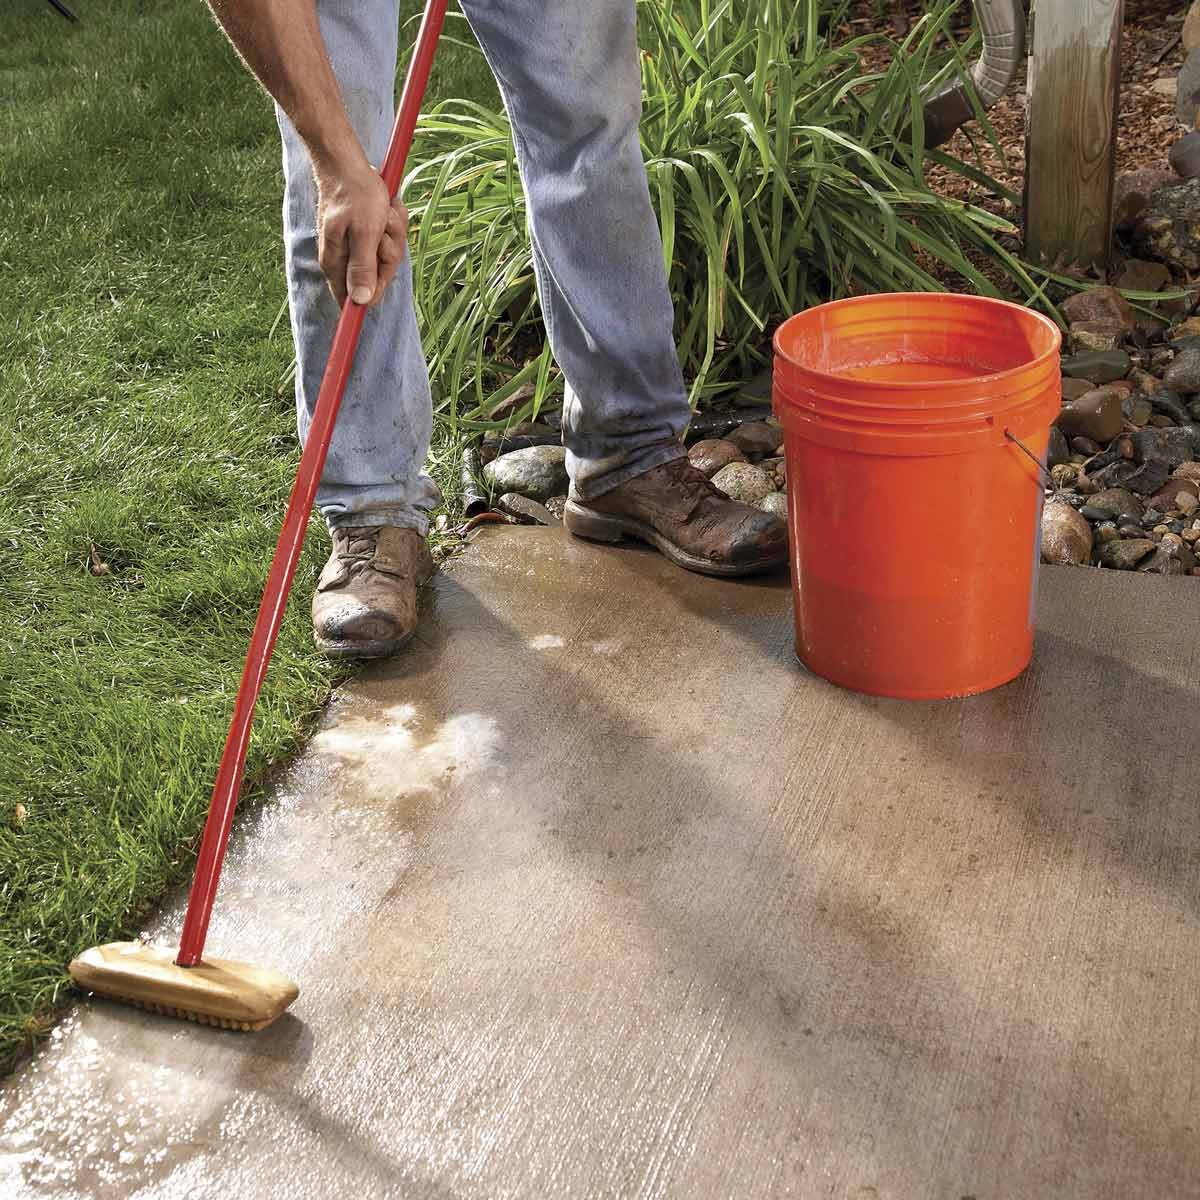
- Clean the surface: Start by thoroughly cleaning the patio surface. Remove any dirt, debris, or loose material from the area using a broom and a pressure washer if necessary. This step will ensure that the repair materials can bond effectively to the concrete.
- Remove any loose or damaged concrete: If there are any areas of loose or crumbling concrete on your patio, use a chisel and hammer to remove them. Be sure to wear protective gear and work carefully to avoid damaging the surrounding areas.
- Repair any underlying issues: If the roughness of your patio is due to structural issues or improper drainage, address these problems before proceeding with the smoothing process. Fixing the root cause will ensure that your repairs last longer and prevent future damage.
- Fill in deep cracks and divots: Use a concrete filler to fill in any deep cracks or divots on your patio surface. Follow the manufacturer’s instructions and let the filler dry completely before moving on to the next step.
- Apply a concrete bonding agent: If you’re working with a concrete patching compound, it’s recommended to apply a concrete bonding agent to the damaged areas. This bonding agent will help the patch adhere better to the existing concrete and create a stronger bond.
By properly preparing your patio for smoothing, you’ll create a clean and stable surface for the repair materials. This will ensure that your repairs are long-lasting and that you achieve a smooth and visually appealing concrete patio.
Applying a Concrete Patch
One of the most effective ways to smooth out a rough concrete patio is by applying a concrete patch. A concrete patching compound is designed to fill in cracks, divots, and other surface imperfections, creating a smooth and even finish.
Here are the steps to follow when applying a concrete patch:
- Prepare the patching compound: Read the manufacturer’s instructions carefully and mix the concrete patching compound according to the recommended ratio. Use a bucket and a mixing paddle to ensure a consistent and smooth blend.
- Apply the patching compound: Using a trowel or putty knife, apply the prepared patching compound to the damaged areas of your concrete patio. Work the compound into the cracks and divots, ensuring that it fills the entire space and is level with the surrounding surface.
- Smooth and blend the patch: Use the trowel or putty knife to smooth and blend the patching compound with the rest of the patio surface. Feather the edges of the patch to create a seamless transition between the repaired areas and the existing concrete.
- Allow the patch to dry: Follow the manufacturer’s instructions for drying time. Typically, the patching compound will need several hours or overnight to dry completely. Avoid walking or placing heavy objects on the repaired areas until they have fully cured.
- Sand the patched areas (optional): If necessary, use a sander or sandpaper to smooth out any rough spots or inconsistencies on the patched areas. This step will help achieve a perfectly smooth and even surface.
Remember to work carefully and pay attention to detail while applying the concrete patch. Take your time to ensure that the patches are properly leveled and blended with the surrounding concrete. This will result in a seamless and professionally repaired patio surface.
Once the patching compound has fully cured, you can proceed with the next steps of filling in cracks and divots and smoothing the surface to achieve a beautifully smooth concrete patio.
Consider using a concrete resurfacer to smooth out a rough concrete patio. Clean the surface, apply the resurfacer, and then use a trowel to smooth it out for a fresh new look.
Read more: How To Level Out A Concrete Patio
Filling in Cracks and Divots
After applying a concrete patch to the damaged areas of your patio, the next step in smoothing out a rough concrete surface is to fill in any remaining cracks and divots. Filling in these imperfections will help create a level and smooth finish.
Here are the steps to follow when filling in cracks and divots on your patio:
- Clean the cracks and divots: Use a wire brush or a pressure washer to clean out any debris or loose material from the cracks and divots. This will ensure that the filling material adheres properly.
- Choose the appropriate filler: Select a suitable filler material based on the size and depth of the cracks and divots. For small cracks, a ready-to-use concrete filler or a crack repair sealant can be used. For larger divots or deeper cracks, a pre-mixed concrete patching compound will provide better coverage and support.
- Apply the filler: Using a putty knife or trowel, apply the chosen filler material into the cracks and divots, ensuring that it completely fills the space. Overfill slightly, as the filler may shrink slightly when it dries.
- Smooth and level the filler: Use the putty knife or trowel to smooth and level the filler material with the surrounding patio surface. Feather the edges of the filled areas to create a seamless transition.
- Allow the filler to dry: Follow the manufacturer’s instructions for drying time. Depending on the filler used, it may take several hours or overnight to fully dry and cure.
- Sand the filled areas (optional): If necessary, sand the filled areas with a sander or sandpaper to achieve a smooth and even finish. This step will remove any excess filler and create a seamless surface.
By thoroughly filling in cracks and divots, you will ensure that your patio has a level and uniform appearance. This will create a smooth foundation for the next step of the process, which is smoothing the entire surface of the patio.
Once the filler has dried and the filled areas have been smoothed, you can proceed with using a sander to achieve a beautifully smooth concrete patio.
Smoothing the Surface with a Sander
Smoothing the surface of your rough concrete patio is a crucial step in achieving a visually appealing and comfortable outdoor space. Using a sander or grinder, you can remove any rough or uneven areas, creating a smooth and polished finish.
Here are the steps to follow when smoothing the surface of your concrete patio:
- Select the appropriate tool: Depending on the size of your patio and the extent of the roughness, choose between a hand-held sander, a floor sander, or a concrete grinder. Consider renting the equipment if needed.
- Prepare the area: Before starting, clear the patio of any furniture or debris. Use plastic sheets or tarps to cover nearby plants, windows, or other items to protect them from dust.
- Start with a coarse grit sandpaper or diamond grinding disc: If your patio has significant roughness or unevenness, begin the sanding process with a coarse grit sandpaper or diamond grinding disc. This will remove the high spots and make the surface more even.
- Sand in a back-and-forth motion: Holding the sander with a firm grip, move it back and forth across the surface of the patio. Apply even pressure and let the tool do the work. Continue until the surface is smooth and level.
- Switch to a finer grit sandpaper or diamond grinding disc: Once the rough areas have been smoothed out, switch to a finer grit sandpaper or diamond grinding disc. This will further refine the surface and create a polished finish.
- Pay attention to edges and corners: Use a hand-held sander or a smaller tool to sand the edges and corners of the patio. Take your time to ensure that these areas are also smooth and even.
- Clean the surface: Once the sanding is complete, use a broom or a vacuum to remove any dust or debris from the patio surface. This will prepare it for the next step, which is sealing.
Remember to wear appropriate safety gear, including goggles, a dust mask, and gloves, while operating the sander. Taking the time to properly sand the surface of your concrete patio will result in a smooth and visually appealing outdoor space where you can relax and enjoy the outdoors.
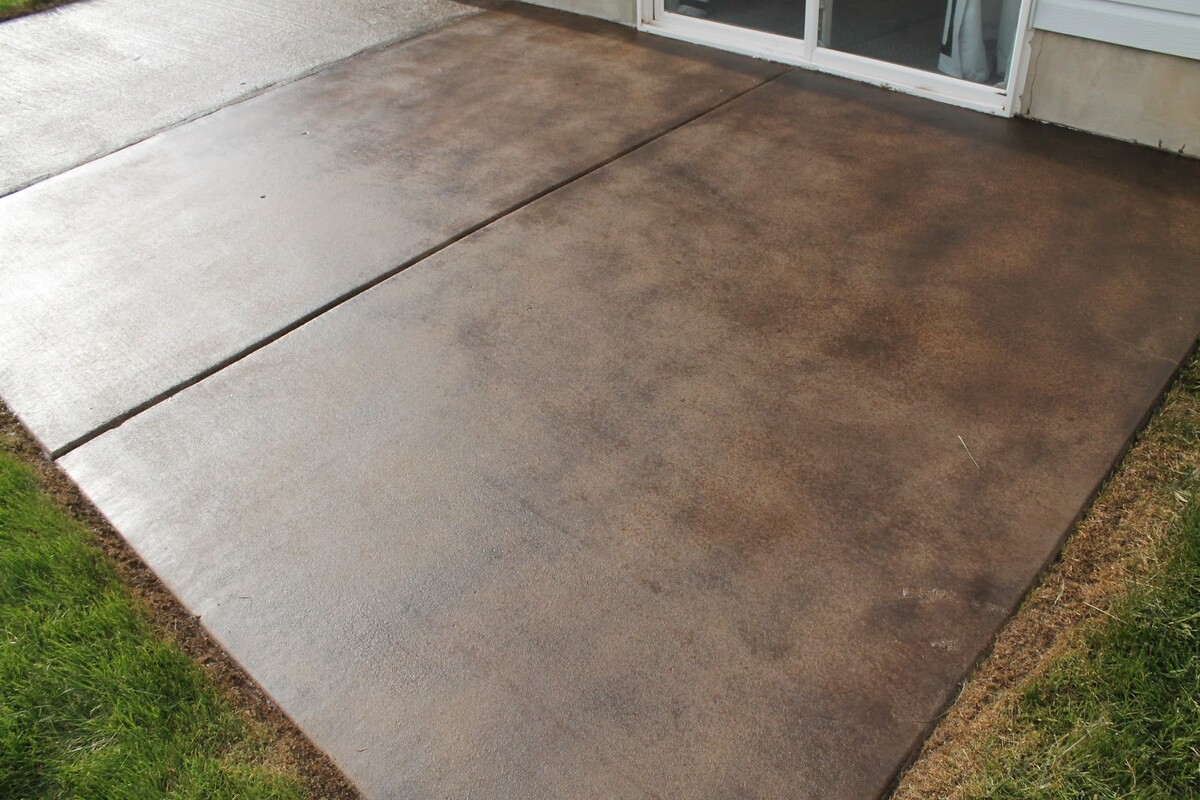
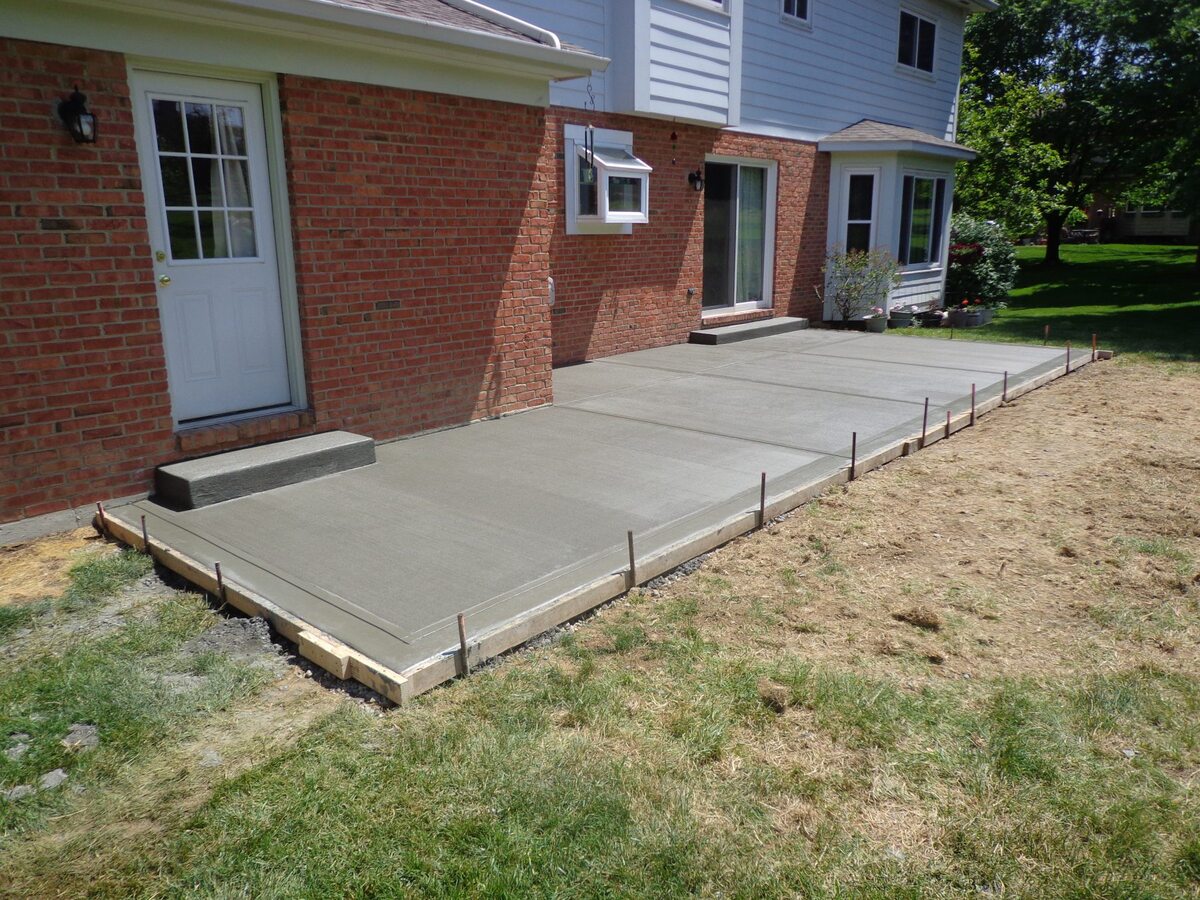
Sealing the Patio for a Smooth Finish
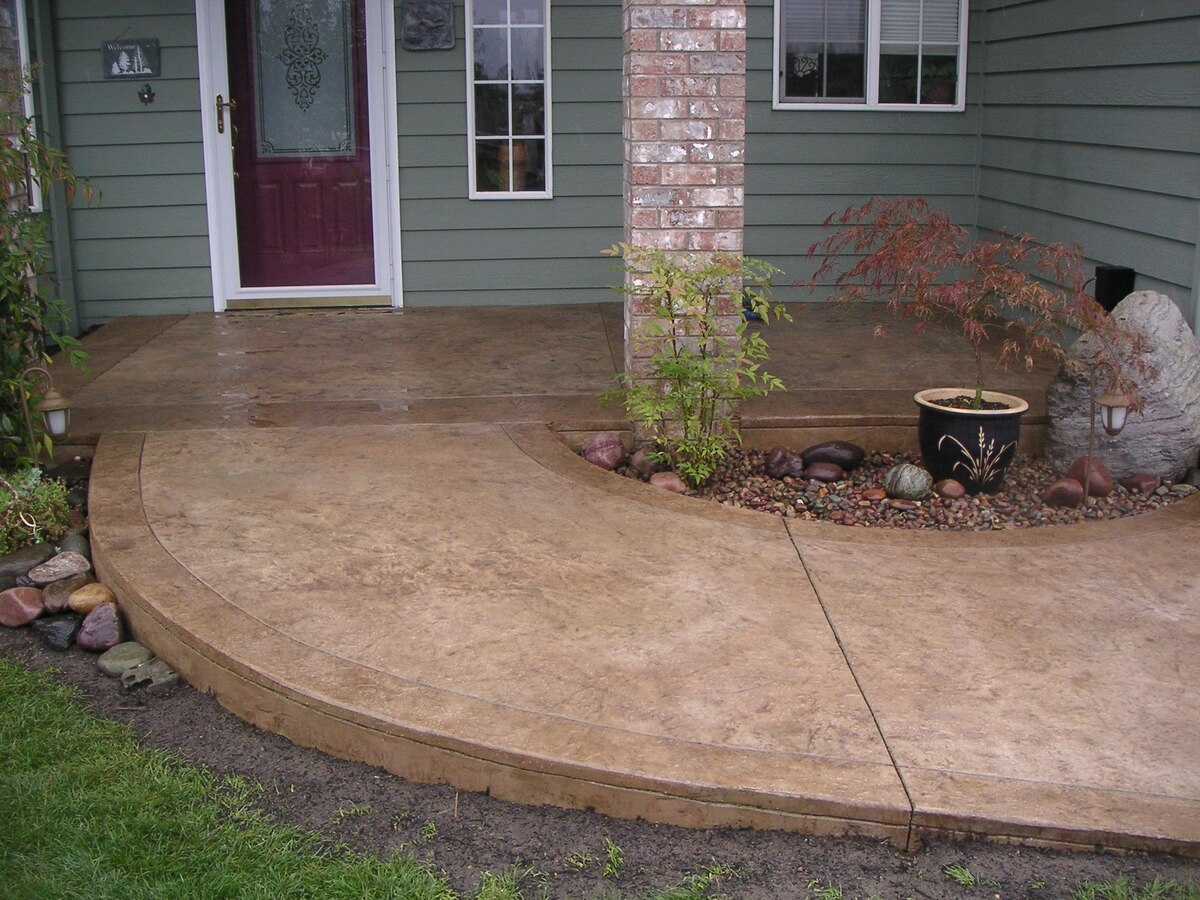
Once you have smoothed out the surface of your concrete patio, it’s important to protect it and enhance its appearance with a sealer. Sealing the patio provides a protective barrier against moisture, stains, and UV damage, while also giving it a polished and finished look.
Here are the steps to follow when sealing your patio:
- Choose the right sealer: Select a sealer that is suitable for outdoor use and compatible with concrete surfaces. Consider factors such as the type of finish you prefer (matte, glossy, or natural), as well as any specific requirements for your climate.
- Prepare the patio: Ensure that the patio is clean and dry before applying the sealer. Remove any dust, dirt, or debris from the surface using a broom or a pressure washer.
- Apply the sealer: Follow the manufacturer’s instructions for applying the sealer. Use a paint roller or a sprayer to evenly distribute the sealer over the entire surface of the patio. Apply multiple thin coats rather than a single thick coat for better coverage and adhesion.
- Allow the sealer to dry: Give the sealer ample time to dry and cure according to the manufacturer’s directions. This can range from a few hours to a day or more. Avoid walking or placing furniture on the patio until the sealer has fully dried.
- Consider additional coats: Depending on the type of sealer you use, you may need to apply multiple coats for maximum protection and durability. Follow the manufacturer’s guidelines regarding the recommended number of coats and drying times in between.
Sealing your patio not only protects it from the elements but also enhances the overall appearance. The sealer will bring out the color and texture of the concrete, giving it a polished and finished look.
Remember to reapply the sealer every few years or as recommended by the manufacturer to maintain the protective layer and ensure the longevity of your beautifully smooth concrete patio.
Maintaining and Preventing Future Damage
Once you have successfully smoothed and sealed your concrete patio, it’s important to implement proper maintenance practices to prolong its lifespan and prevent future damage. Regular maintenance will help keep your patio looking smooth and beautiful for years to come.
Here are some maintenance tips to follow:
- Clean regularly: Sweep or use a leaf blower to remove debris and dirt from the surface of your patio. Regular cleaning will prevent the buildup of dirt and stains, keeping your patio looking fresh and well-maintained.
- Avoid harsh chemicals: When cleaning your patio, opt for mild, non-abrasive cleaners specifically formulated for concrete surfaces. Harsh chemicals or acidic cleaners can damage the sealer and the concrete itself, leading to discoloration and deterioration.
- Remove stains promptly: If you notice any spills or stains on your patio, clean them up as soon as possible. Prompt action will minimize the chances of permanent staining and keep your patio looking pristine.
- Use furniture protectors: When placing furniture on your patio, use protective pads or cushions to prevent scratches and damage to the surface. Avoid dragging heavy objects across the patio, as this can leave marks and cause abrasions.
- Repair cracks and divots: Inspect your patio regularly for any signs of cracks or divots. Address these issues promptly by filling them in with a suitable concrete filler or patching compound. Repairing minor damage early on can prevent it from becoming more extensive and costly to fix.
- Prevent moisture damage: Ensure proper drainage around your patio to prevent the accumulation of moisture. Avoid letting water pool on the surface, as it can seep into the concrete and potentially cause cracks or other forms of damage.
- Consider periodic resealing: Over time, the protective sealer on your patio may wear off. Consider periodic recoating or resealing to maintain the integrity of the surface and provide ongoing protection against the elements.
By following these maintenance tips and taking proactive measures, you can extend the lifespan of your smooth concrete patio and prevent future damage. Regular care and upkeep will ensure that your outdoor space remains a beautiful and enjoyable area for relaxation and entertainment.
Read more: How To Smooth Concrete Countertops
Conclusion
Transforming a rough and uneven concrete patio into a smooth and inviting outdoor space is a rewarding project that can greatly enhance the beauty and functionality of your home. By following the steps outlined in this comprehensive guide, you’ll be able to achieve a beautifully smooth concrete patio that you can enjoy for years to come.
From assessing the condition of your patio to gathering the necessary materials, preparing the surface, applying a concrete patch, filling in cracks and divots, smoothing the surface with a sander, and sealing the patio for a polished finish, each step plays a crucial role in achieving a stunning result.
However, the journey doesn’t end there. Regular maintenance and preventative measures are key to preserving your smooth surface and preventing future damage. By cleaning regularly, avoiding harsh chemicals, protecting furniture, and promptly addressing any issues or repairs, you can extend the lifespan of your patio and keep it looking its best.
Remember, a smooth concrete patio not only enhances the aesthetic appeal of your outdoor space but also provides a comfortable and safe area for relaxation, entertaining, and enjoying the beauty of your surroundings.
So, roll up your sleeves, gather your materials, and embark on the journey to transform your rough concrete patio into a smooth haven that you can be proud of. With careful planning, attention to detail, and a little bit of elbow grease, you’ll create a beautiful and inviting outdoor oasis that will be the envy of your friends and neighbors.
Frequently Asked Questions about How To Smooth Out A Rough Concrete Patio
Was this page helpful?
At Storables.com, we guarantee accurate and reliable information. Our content, validated by Expert Board Contributors, is crafted following stringent Editorial Policies. We're committed to providing you with well-researched, expert-backed insights for all your informational needs.


0 thoughts on “How To Smooth Out A Rough Concrete Patio”