Articles
How To Seal Concrete Basement Floor
Modified: October 20, 2024
Discover step-by-step articles on how to effectively seal your concrete basement floor for long-lasting protection and durability.
(Many of the links in this article redirect to a specific reviewed product. Your purchase of these products through affiliate links helps to generate commission for Storables.com, at no extra cost. Learn more)
Introduction
When it comes to your basement, ensuring it is well-maintained and protected is crucial. One essential step in preserving the condition of your basement is sealing the concrete floor. A sealed concrete basement floor not only enhances the visual appeal of your space but also helps prevent moisture issues, such as water leaks and mold growth. In this article, we will guide you through the step-by-step process of sealing your concrete basement floor for optimal protection and longevity.
Before diving into the process, it’s important to understand the benefits of sealing your concrete basement floor. Firstly, sealing the floor acts as a protective barrier, preventing water and moisture from seeping through the concrete and into your basement. This is especially important in areas prone to high humidity or with a history of water intrusion issues. Secondly, a sealed concrete floor is much easier to clean and maintain, as it provides a smooth and non-porous surface that resists stains and spills. Additionally, sealing the floor can help reduce musty odors and allergens by preventing the growth of mold and mildew.
Now that we have established the importance of sealing your concrete basement floor, let’s move on to the step-by-step process. Following these steps will ensure that you achieve a durable and long-lasting seal:
Key Takeaways:
- Protect your basement from moisture and stains by sealing the concrete floor. Follow the step-by-step process to ensure a durable and long-lasting seal, enhancing the functionality and aesthetics of your space.
- Consider applying a second coat of sealant for added protection, especially in high-traffic areas. Properly sealed concrete basement floor minimizes moisture-related issues, making it easier to clean and maintain for years to come.
Read more: How Thick Is Basement Concrete Floor
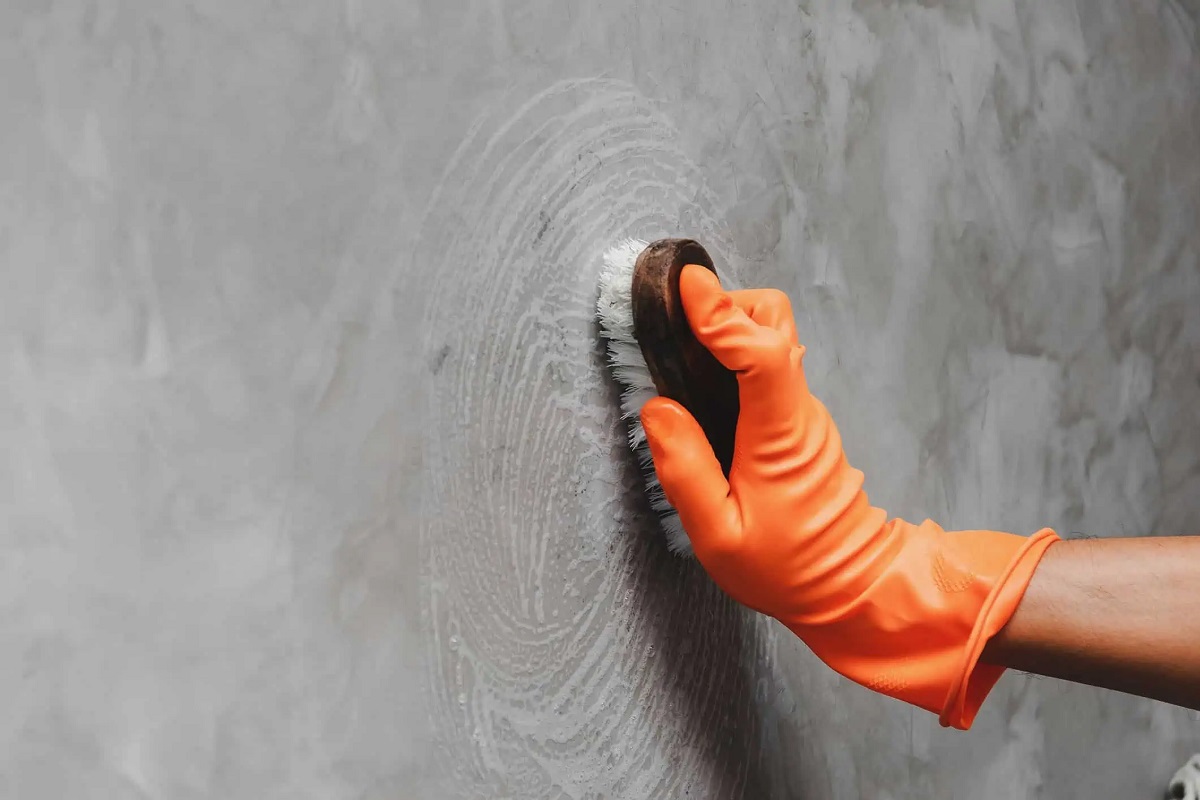
Step 1: Clean the Floor
The first step in preparing your concrete basement floor for sealing is to thoroughly clean it. This is important because any dust, dirt, or debris on the surface can prevent proper adhesion of the sealant, compromising its effectiveness.
Start by removing any loose items or furniture from the basement floor. Sweep the entire area using a broom or vacuum to get rid of the loose dirt and debris. You can also use a shop vac to ensure a more thorough clean.
Next, use a mild detergent mixed with water to mop the floor. Make sure to scrub any stubborn stains or spills using a scrub brush or sponge. For especially stubborn stains, you may need to use a concrete cleaner or degreaser. Follow the manufacturer’s instructions for proper application and rinse thoroughly to remove any residue.
Once the floor is clean, allow it to completely dry before moving on to the next step. This is important as applying a sealant on a damp surface can lead to poor adhesion and ineffective results. You can use fans or open windows to help expedite the drying process.
Taking the time to properly clean your concrete basement floor will ensure that the sealant bonds effectively, providing a strong and durable seal that will protect your floor for years to come.
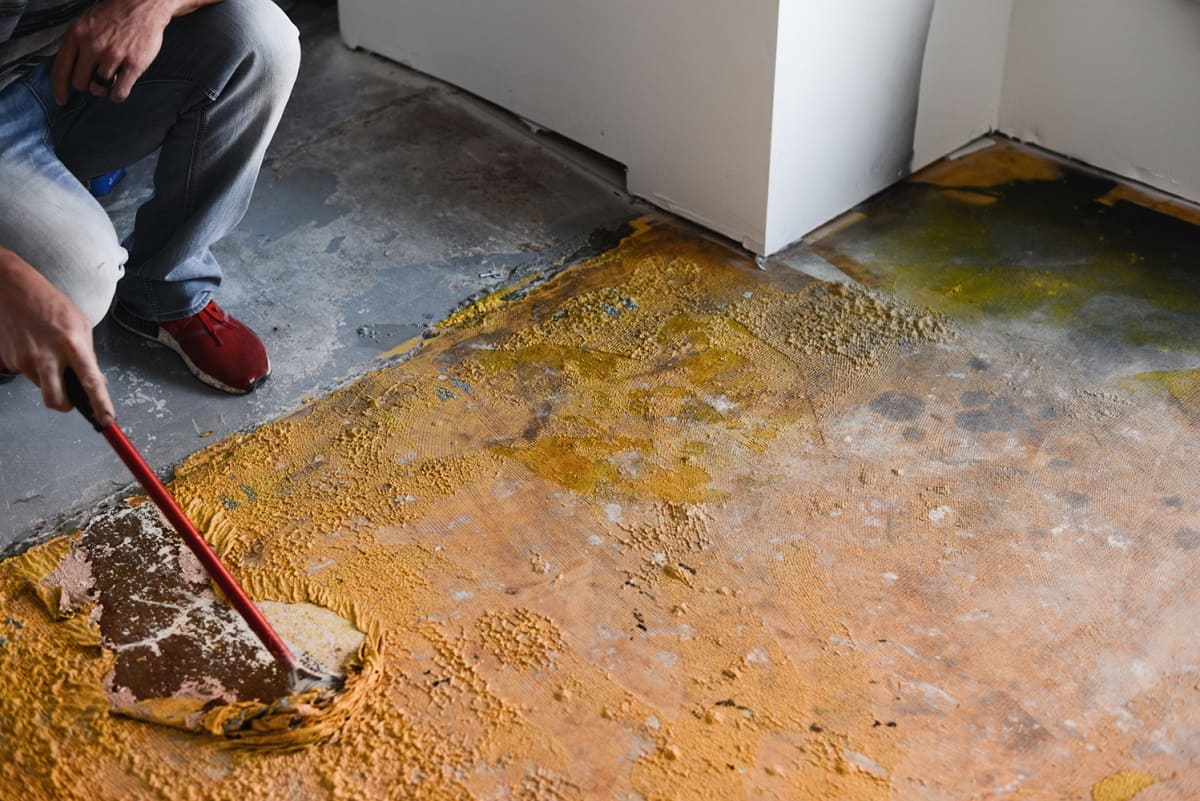
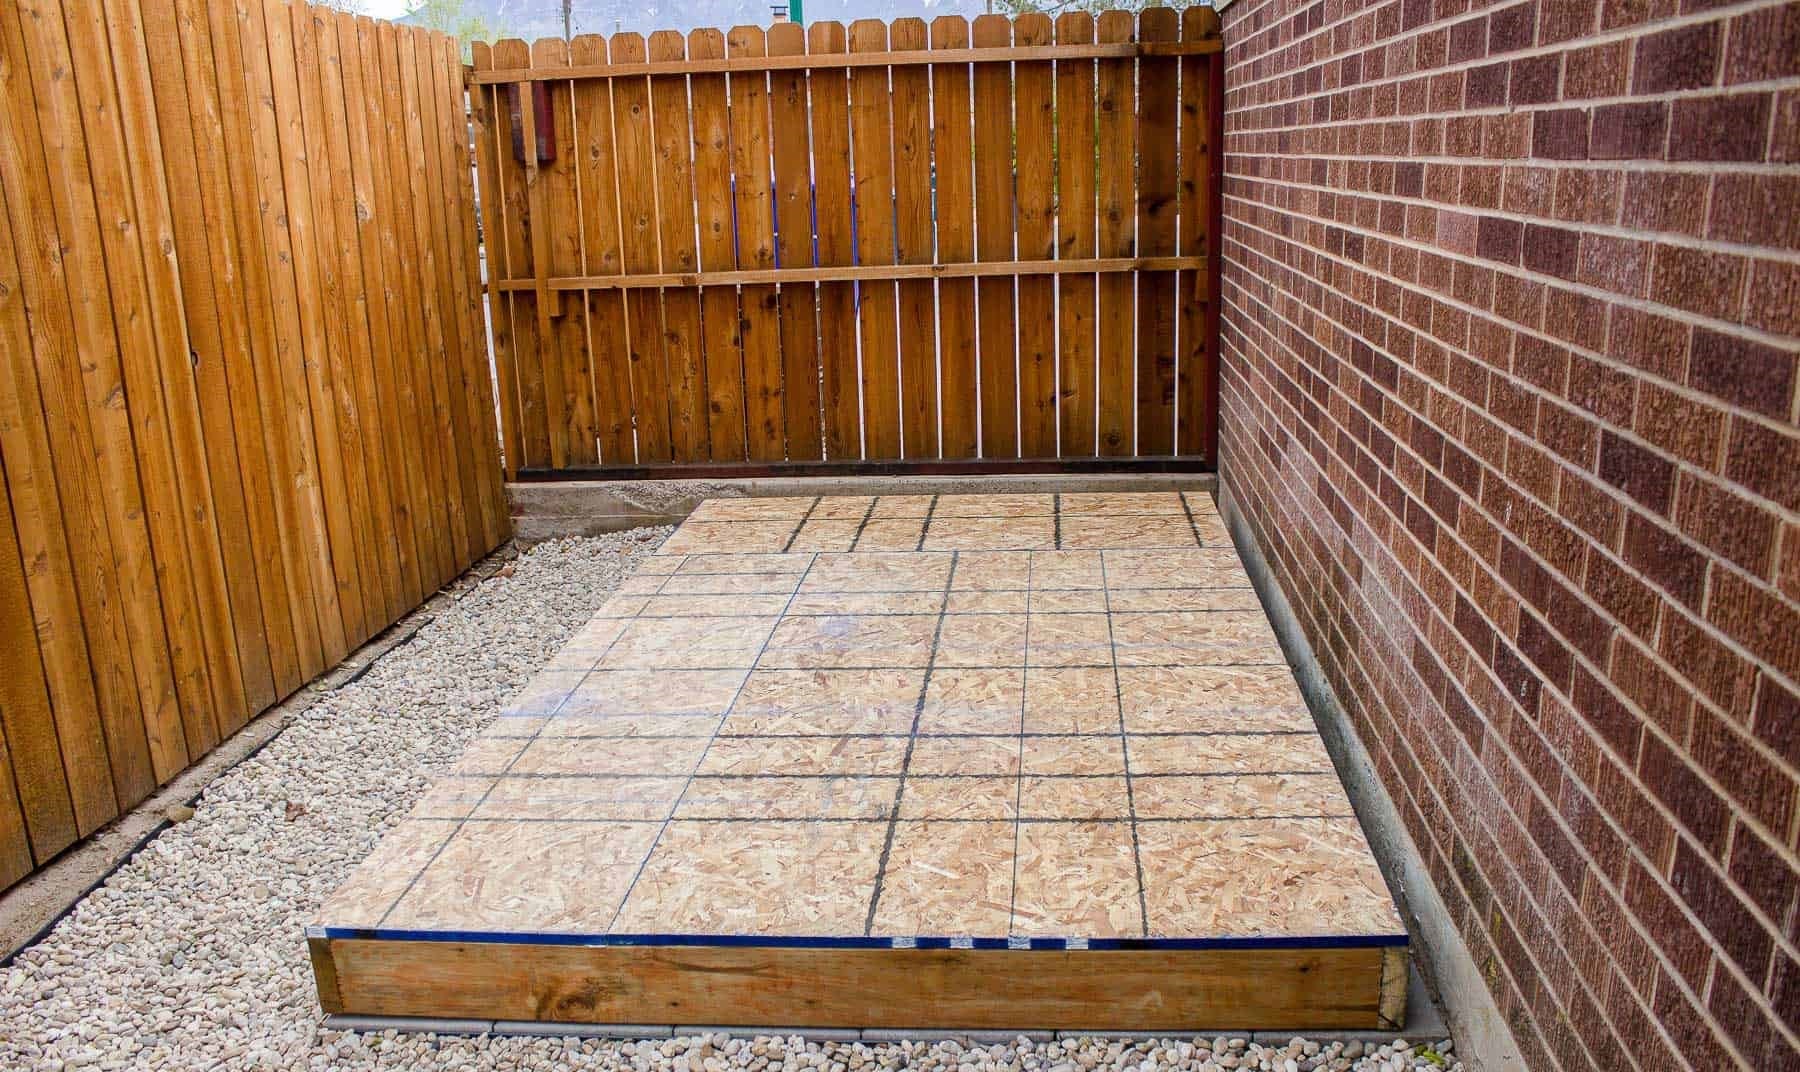
Step 2: Repair Cracks and Holes
Before applying the sealant, it’s important to inspect the concrete basement floor for any cracks or holes. These imperfections can compromise the effectiveness of the sealant and allow moisture to penetrate the floor.
Start by carefully examining the entire surface of the floor, paying close attention to the areas around corners and joints. Look for any visible cracks, holes, or gaps in the concrete. Use a flashlight to ensure you don’t miss any smaller imperfections.
If you come across any cracks or holes, it’s important to repair them before proceeding with the sealing process. There are several options for repairing concrete cracks, depending on their size and severity:
Small cracks: For hairline cracks or cracks less than a quarter-inch wide, you can use a concrete crack sealer or a patching compound specifically designed for small repairs. Simply apply the sealer or patching compound directly into the crack, smoothing it out with a trowel or putty knife. Make sure to follow the manufacturer’s instructions for the specific product you are using.
Larger cracks and holes: If you have larger cracks or holes, you may need to use a concrete repair product that is designed for more substantial repairs. These products usually come in a pre-mixed form or as a powder that needs to be mixed with water. Follow the manufacturer’s instructions for the proper application and allow the repair material to fully cure before proceeding.
After repairing the cracks and holes, make sure to smooth out the repaired areas to ensure a level surface. You can use a sander or grinder to remove any rough edges or unevenness.
By taking the time to repair any cracks and holes in your concrete basement floor, you are ensuring a solid and uniform surface for the sealant application. This will prevent moisture from seeping through these weaknesses, ensuring a more effective sealing process.
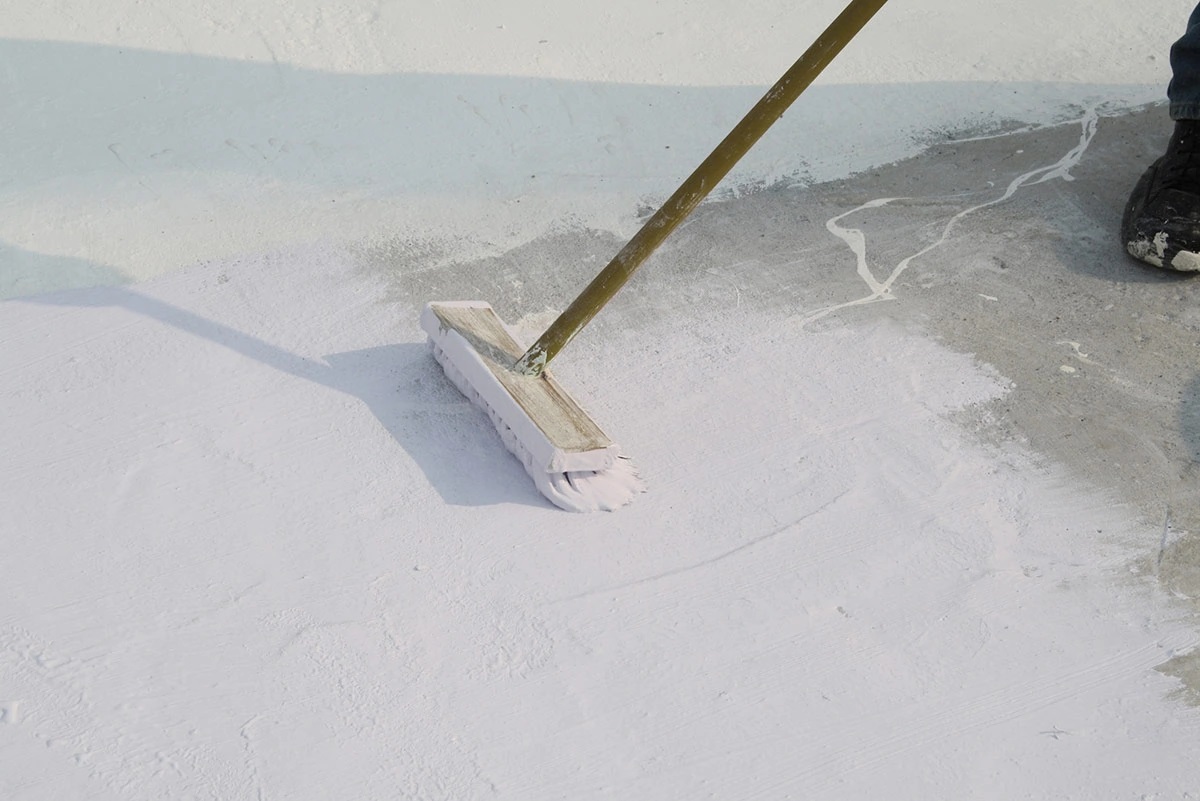
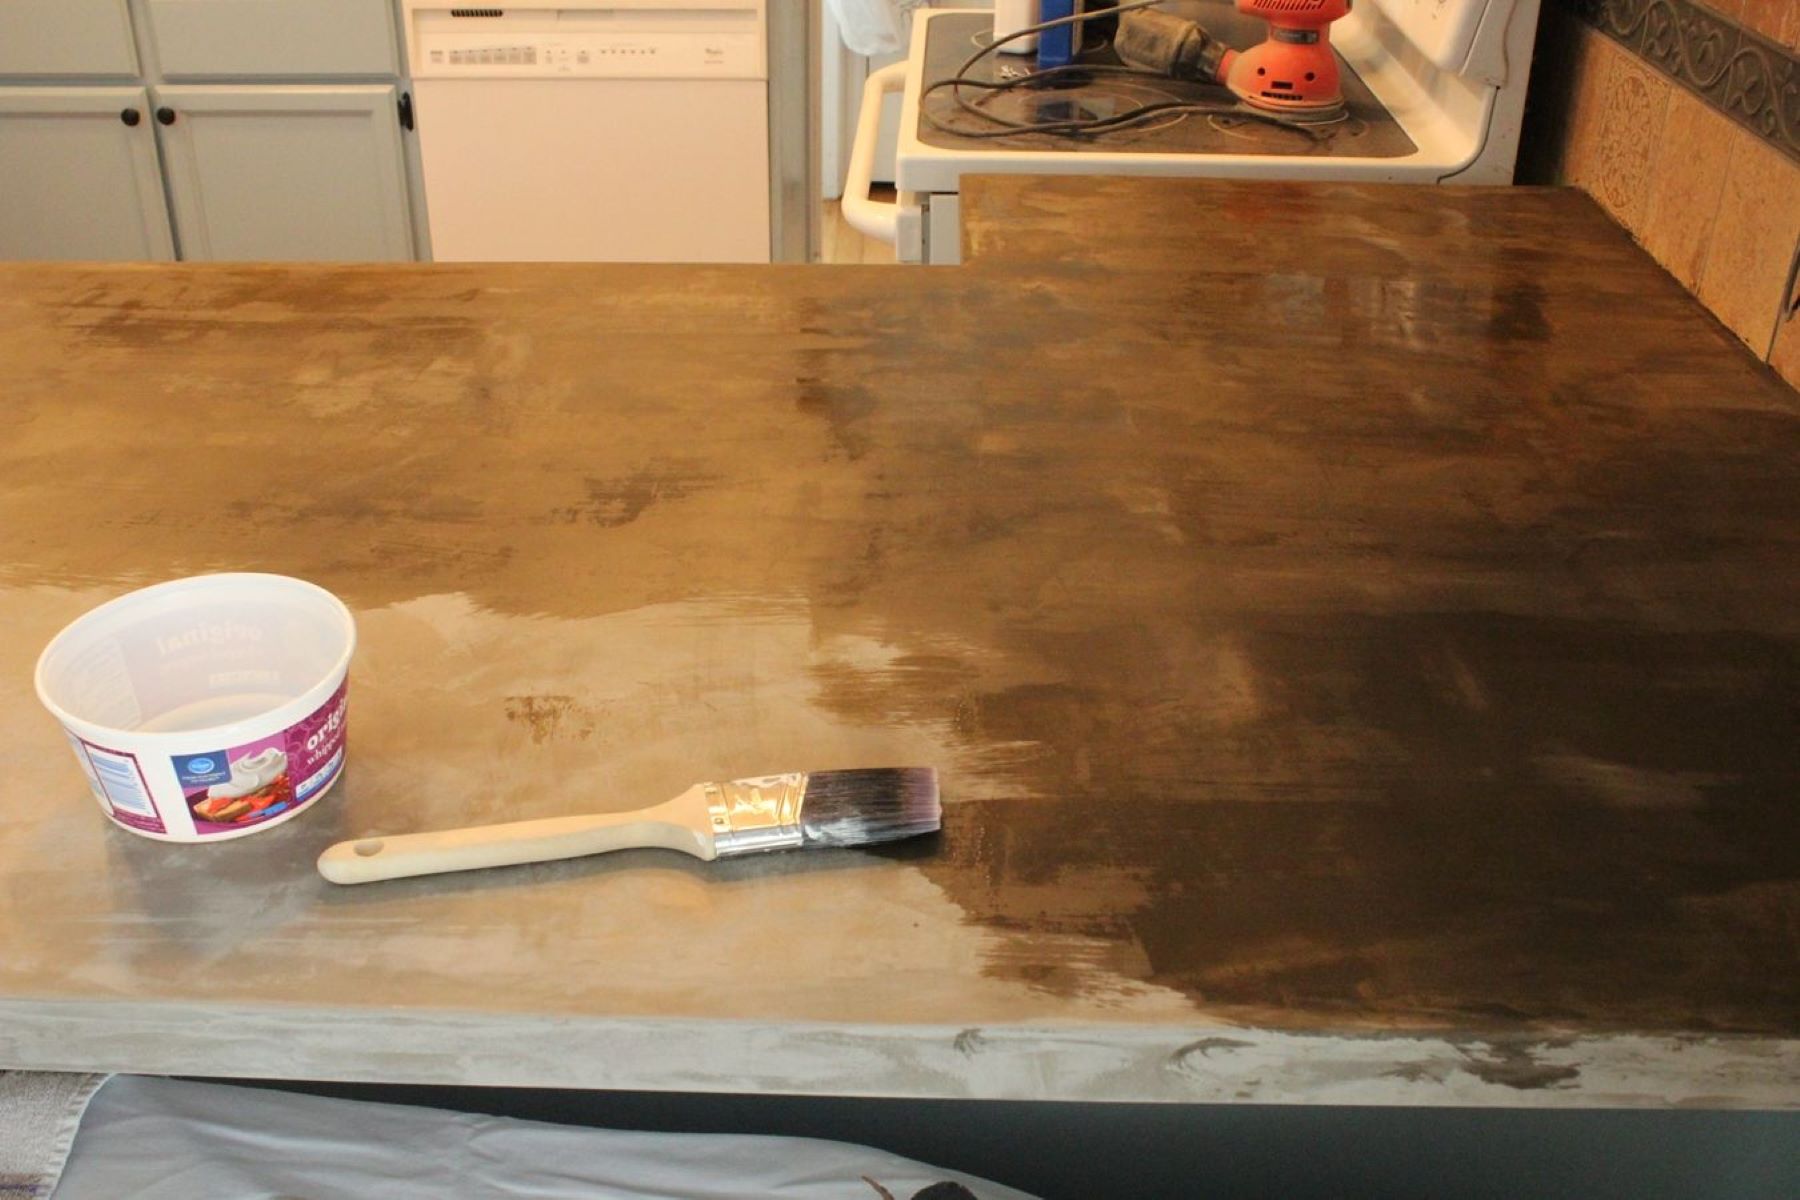
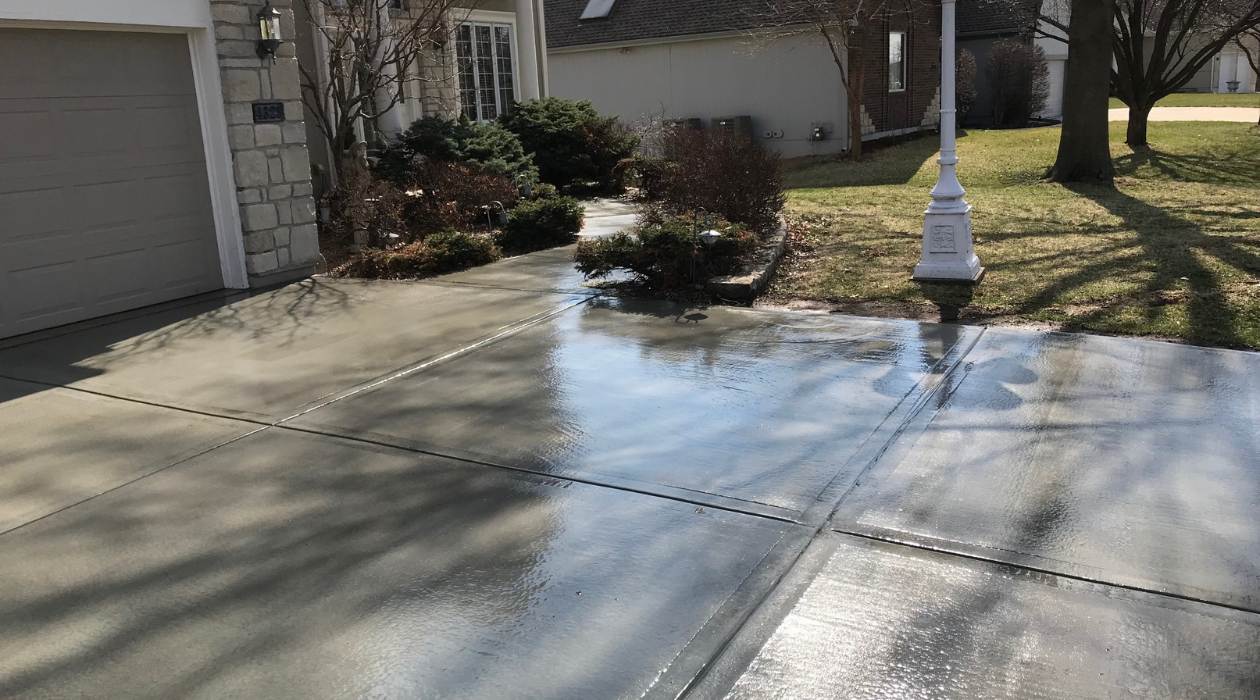
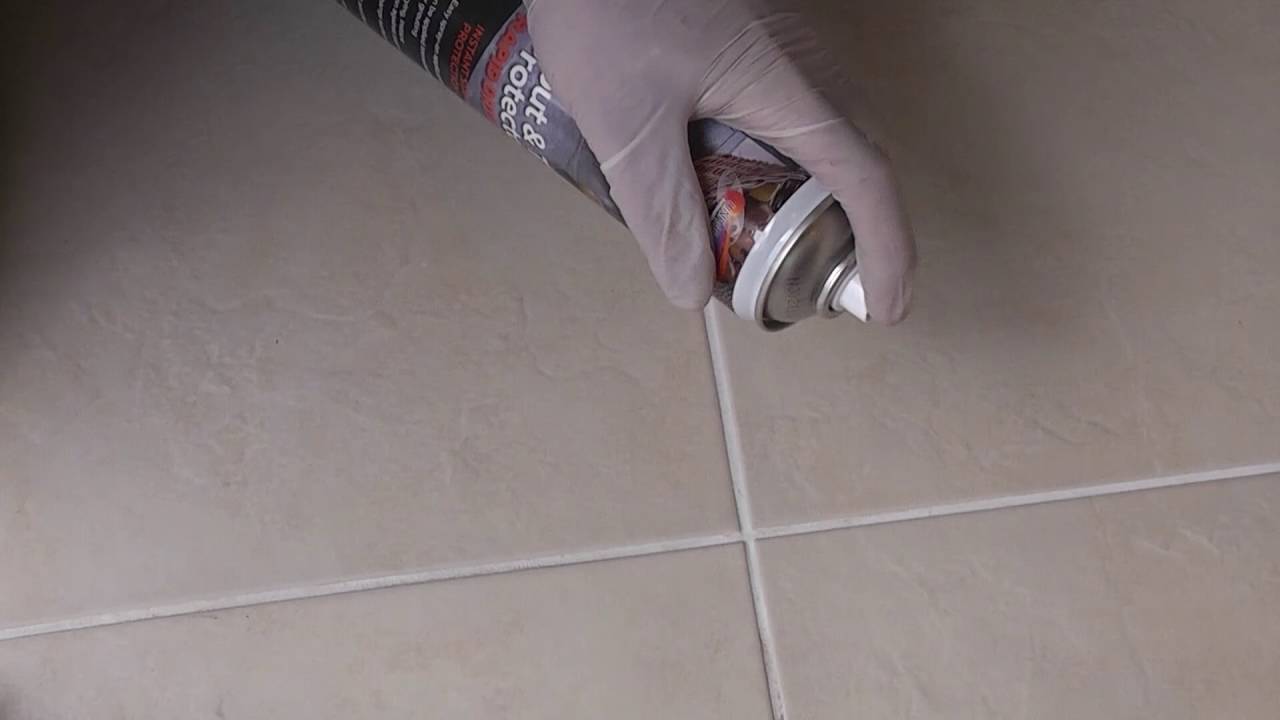
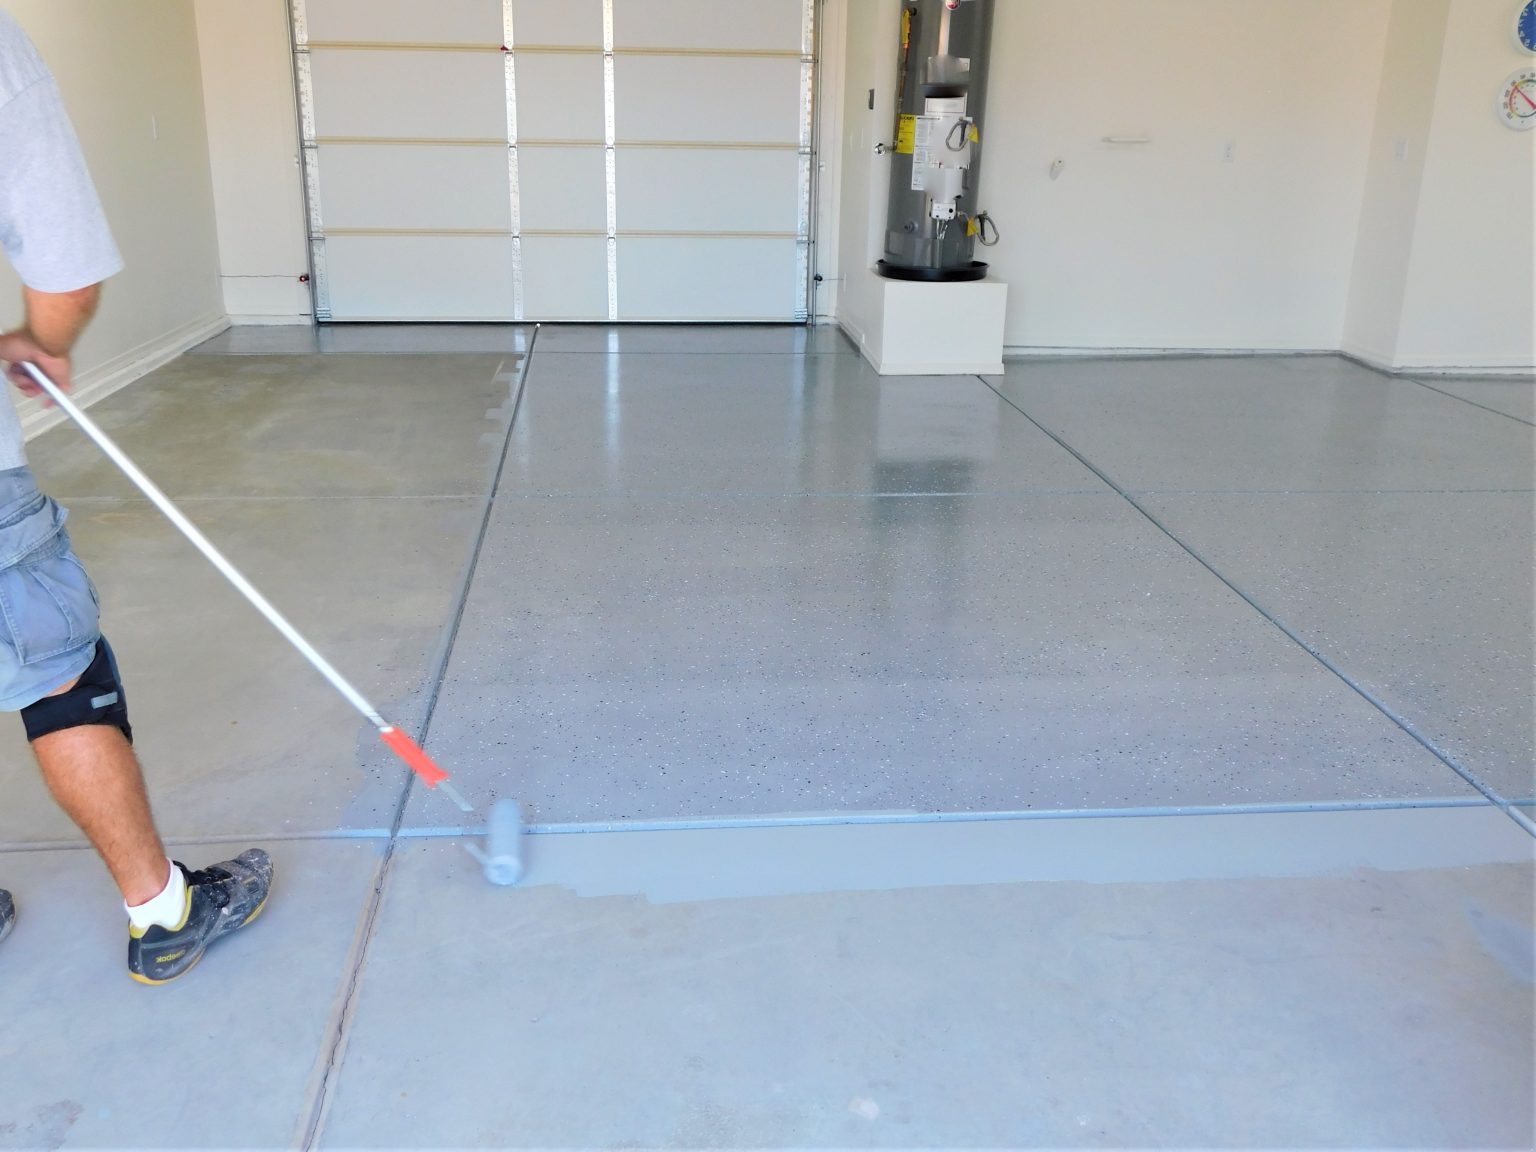
Step 3: Apply Concrete Sealant
Now that your concrete basement floor is clean and any cracks or holes have been repaired, it’s time to apply the concrete sealant. This sealant will create a protective barrier on the surface of the concrete, preventing moisture and stains from penetrating.
Before applying the sealant, make sure to choose the right type of sealant for your specific needs. There are various options available, including acrylic sealers, epoxy sealers, and penetrating sealers. Each type has its own benefits and application methods, so be sure to read the manufacturer’s instructions and choose the one that best suits your requirements.
Start by pouring the sealant into a paint tray or bucket. Use a paint roller with a medium-nap cover to apply the sealant evenly across the surface of the basement floor. Work in small sections, starting from one corner and gradually moving towards the exit to avoid trapping yourself in a corner.
Apply the sealant in thin and even coats, making sure to avoid any puddles or excessive buildup. This will help ensure proper adhesion and prevent the sealant from peeling or bubbling. If necessary, use a brush or roller extension to reach areas along the walls or in tight corners.
As you apply the sealant, pay attention to any bubbles or streaks that may form. If you notice any, gently roll over them with the roller to smooth them out. This will help achieve a more uniform and flawless finish.
Allow the first coat of sealant to dry according to the manufacturer’s instructions. This usually takes a few hours, but it’s best to wait until the surface is completely dry before proceeding.
Once the first coat is dry, you can decide if a second coat is necessary. Applying a second coat can provide added protection and durability, especially in high-traffic areas or in basements prone to moisture issues. Follow the same application process as the first coat, allowing the sealant to dry completely between coats.
By applying a concrete sealant, you are adding an extra layer of protection to your basement floor, ensuring its longevity and resistance to moisture and stains.
Before sealing your concrete basement floor, make sure to thoroughly clean and dry the surface to ensure proper adhesion of the sealant. Use a concrete cleaner and degreaser to remove any stains or dirt, and allow the floor to dry completely before applying the sealant.
Step 4: Allow the Sealant to Dry
After applying the concrete sealant to your basement floor, it is crucial to allow sufficient drying time for optimal results. This step ensures that the sealant sets properly and provides a strong protective barrier against moisture and other potential damage.
The drying time for the sealant will depend on various factors, including the type of sealant used and the environmental conditions in your basement. It is important to consult the manufacturer’s instructions for specific drying time recommendations. In general, however, it is recommended to wait at least 24 to 48 hours for the sealant to fully dry and cure.
During the drying process, it is essential to keep the basement well-ventilated to allow air circulation and aid in the drying process. Open windows and use fans or dehumidifiers to promote air movement and expedite the drying time.
While the sealant is drying, it is important to avoid walking or placing any furniture or heavy objects on the floor. This can disrupt the curing process and potentially damage the freshly applied sealant.
Additionally, it is crucial to be mindful of any pets or children who may access the basement area. Restrict their access to the sealed floor to prevent accidental damage or premature wear and tear.
By allowing the sealant to dry completely, you are ensuring its effectiveness in providing a durable, long-lasting protective coating for your concrete basement floor.
Read more: How To Finish Concrete Basement Floor
Step 5: Apply a Second Coat (Optional)
Applying a second coat of sealant to your concrete basement floor is an optional step that can provide additional protection and longevity to the sealing process. While a single coat is often sufficient, a second coat can further enhance the durability and resistance of the sealed surface.
If you have chosen to apply a second coat, it is crucial to allow the first coat of sealant to dry completely before proceeding. Refer to the manufacturer’s instructions for the recommended drying time, which is typically around 24 to 48 hours.
Once the first coat is fully dry, you can begin the process of applying the second coat. Follow the same application method as described in Step 3, using a clean paint roller and working in small sections.
When applying the second coat, make sure to maintain a consistent and even coverage to achieve a uniform finish. Check for any missed spots or areas that may require additional attention. Take care to avoid over-applying the sealant as this can lead to a thick, uneven coating.
After applying the second coat, allow it to dry according to the manufacturer’s instructions. It is essential to avoid any foot traffic or placing heavy objects on the floor until the second coat is fully dry. This will ensure that the sealant cures properly and provides optimal protection.
Keep in mind that applying a second coat is not always necessary, particularly if the first coat has provided adequate coverage and protection. However, in high-traffic areas or if you want an extra layer of security, a second coat can be beneficial.
By considering the option of applying a second coat, you can further enhance the longevity and effectiveness of the sealant on your concrete basement floor.
Conclusion
Sealing your concrete basement floor is an essential step in maintaining the longevity and integrity of your space. By following the step-by-step process outlined in this article, you can effectively seal your basement floor and protect it from moisture, stains, and other potential damage.
Starting with a thorough cleaning of the floor, removing any dust, dirt, or debris, ensures a clean surface for the sealant to adhere to. Repairing any cracks and holes is crucial to prevent moisture from seeping through and compromising the sealant’s effectiveness.
Applying a high-quality concrete sealant creates a protective barrier on the surface of the floor, preventing moisture intrusion and enhancing its resistance to stains and spills. Allowing the sealant to dry thoroughly is essential for it to cure properly and provide long-lasting protection.
While a single coat of sealant can be sufficient, applying a second coat is optional and can provide additional durability and protection, especially in high-traffic areas. Be sure to follow the manufacturer’s instructions for drying time between coats.
By taking the time to properly seal your concrete basement floor, you are investing in its longevity and minimizing the risk of moisture-related issues, such as water leaks and mold growth. A well-sealed floor is easier to clean and maintain, improving the overall aesthetics and functionality of your basement space.
Remember to choose the right type of sealant for your specific needs and follow all manufacturer’s instructions throughout the sealing process. If you are unsure or unfamiliar with the process, consider consulting a professional who can provide expert guidance and ensure a successful seal.
With a properly sealed concrete basement floor, you can enjoy a clean, dry, and resilient space that adds value to your home and provides a comfortable environment for years to come.
Frequently Asked Questions about How To Seal Concrete Basement Floor
Was this page helpful?
At Storables.com, we guarantee accurate and reliable information. Our content, validated by Expert Board Contributors, is crafted following stringent Editorial Policies. We're committed to providing you with well-researched, expert-backed insights for all your informational needs.


0 thoughts on “How To Seal Concrete Basement Floor”