Articles
How To Set Up GE Light Bulb
Modified: December 7, 2023
Learn how to set up and install GE light bulbs with our informative articles. Discover tips and tricks for optimizing your lighting experience.
(Many of the links in this article redirect to a specific reviewed product. Your purchase of these products through affiliate links helps to generate commission for Storables.com, at no extra cost. Learn more)
Introduction
Welcome to the comprehensive guide on how to set up your GE Light Bulb! In this article, we will walk you through the step-by-step process of connecting and configuring your GE Light Bulb so you can enjoy the convenience and benefits of smart lighting.
The GE Light Bulb offers a wide range of features and functionalities, allowing you to control your lighting directly from your smartphone or other compatible devices. With the ability to adjust brightness, color temperature, and even schedule lighting scenes, the GE Light Bulb brings convenience, energy efficiency, and customization to your fingertips.
Whether you’re new to smart lighting or have some experience, this guide will help you seamlessly set up your GE Light Bulb and maximize its potential. So, let’s get started and shed some light on the setup process!
Key Takeaways:
- Transform your home with GE Light Bulb’s smart lighting capabilities. Follow the easy setup guide to connect, customize, and enjoy the convenience of personalized lighting scenes and energy efficiency.
- Ensure a seamless smart lighting experience by testing and troubleshooting your GE Light Bulb. Take advantage of voice control integration and periodic app and firmware updates for optimal performance.
Read more: How To Set Up Cync Light Bulb With Alexa
Step 1: Gather the necessary equipment
Before you begin setting up your GE Light Bulb, it’s essential to gather all the necessary equipment to ensure a smooth and hassle-free installation. Here’s a list of what you’ll need:
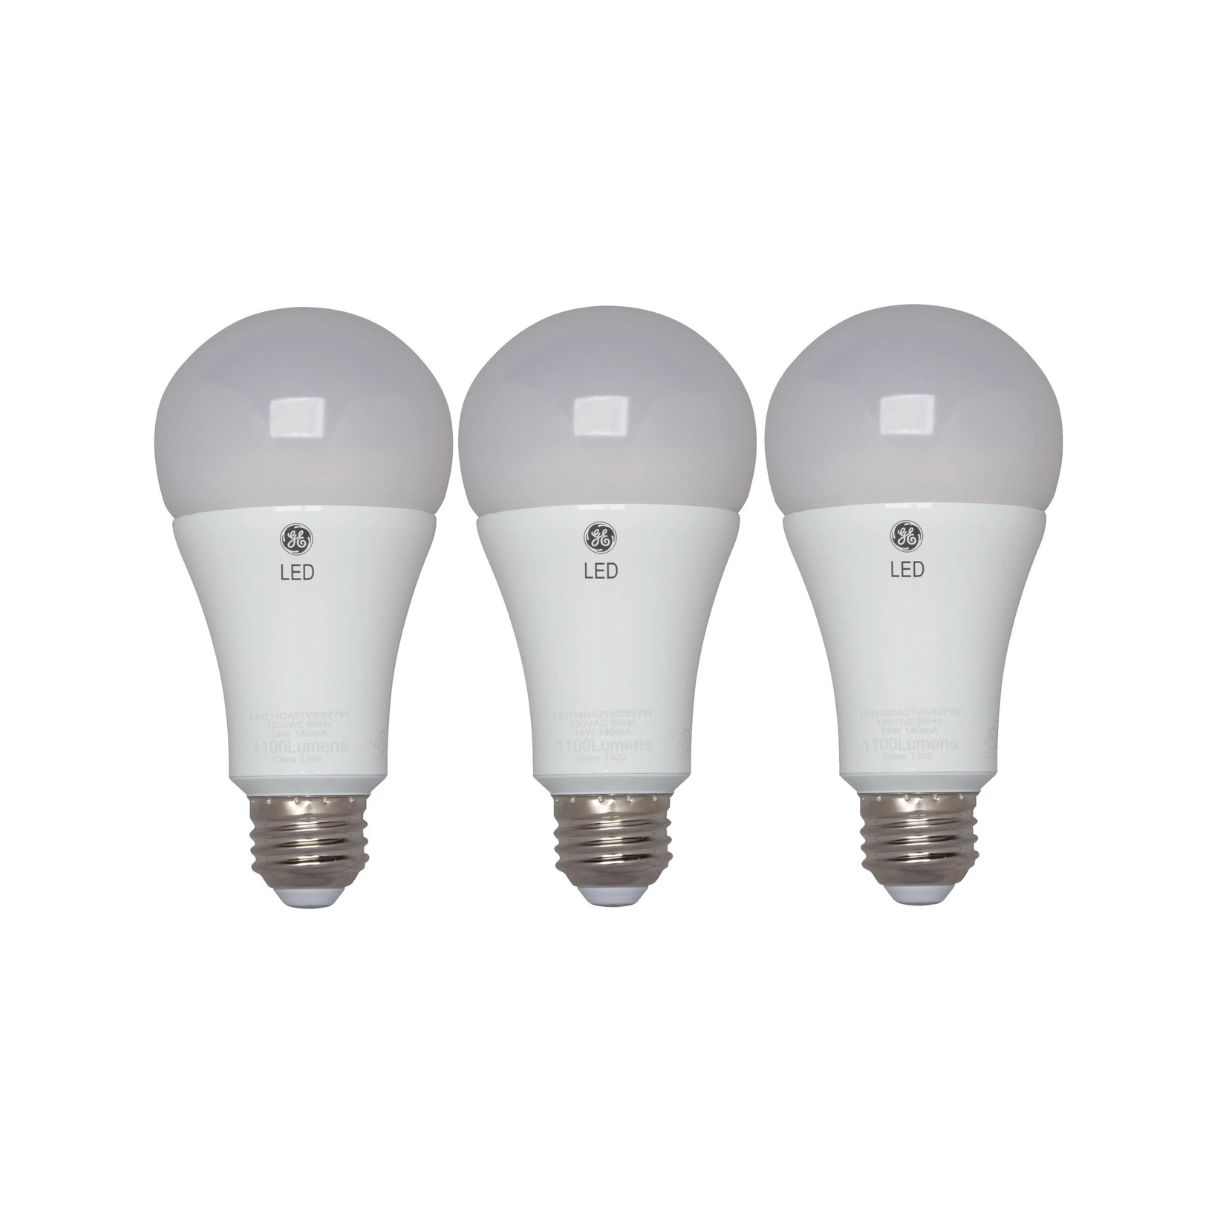
- GE Light Bulb (make sure it’s compatible with your existing socket)
- A smartphone or tablet with Wi-Fi connectivity
- The GE Light Bulb app (available for iOS and Android)
- A stable and reliable Wi-Fi network
Make sure you have these items ready before proceeding to the next steps. It’s important to note that the GE Light Bulb only works with 2.4GHz Wi-Fi networks, so ensure that your network is compatible.
Once you have gathered all the necessary equipment, you’re ready to move on to the next step of the installation process.
Step 2: Connect the GE Light Bulb to the socket
Now that you have all the necessary equipment, it’s time to connect your GE Light Bulb to the socket. Here’s a step-by-step guide:
- Make sure the power to the socket is turned off. This is crucial for your safety.
- Remove any existing bulb from the socket if applicable.
- Take your GE Light Bulb and twist it into the socket firmly but gently. Ensure that the bulb is securely seated in the socket.
- Once the bulb is properly connected, turn on the power to the socket.
- Wait for the GE Light Bulb to illuminate, indicating that it is properly installed and functioning.
It is important to follow these steps carefully to ensure a secure and functional connection between the GE Light Bulb and the socket. Now that you have successfully connected your light bulb, it’s time to move on to the next step of the setup process.
Step 3: Download and open the GE Light Bulb app
Once your GE Light Bulb is connected to the socket, the next step is to download and open the GE Light Bulb app on your smartphone or tablet. Follow these instructions:
- Go to the App Store (for iOS) or the Google Play Store (for Android) on your device.
- Search for the “GE Light Bulb” app and click on the download button.
- Once the app is downloaded, open it by tapping on the app icon.
- Before proceeding further, ensure that your device is connected to a stable Wi-Fi network.
The GE Light Bulb app serves as the control center for your smart lighting system. It allows you to conveniently control your light bulb’s settings, customize lighting scenes, and more.
Once you have successfully downloaded and opened the app, you’re now ready to move on to the next step, which involves connecting the GE Light Bulb to the app.
When setting up a GE light bulb, make sure to follow the manufacturer’s instructions for installation and use. This may include ensuring the power is off before installation and using the correct fixtures for the bulb.
Step 4: Connect the GE Light Bulb to the app
Now that you have the GE Light Bulb app open on your device, it’s time to connect the light bulb to the app. Please follow the steps below:
- Ensure that your smartphone or tablet is connected to the same Wi-Fi network that you want to connect the GE Light Bulb to.
- In the app, navigate to the “Add Device” or “Connect New Device” option. This may be located in the settings menu or on the home screen of the app.
- Follow the on-screen instructions to put your GE Light Bulb into pairing mode. This process may vary depending on the specific model of the light bulb.
- Once the GE Light Bulb is in pairing mode, the app will detect it. Select the bulb from the list of available devices.
- Enter your Wi-Fi network credentials, such as the network name (SSID) and password.
- Wait for the app to establish a connection between the GE Light Bulb and your Wi-Fi network. This may take a few moments.
- Once the connection is established, you’ll receive a confirmation message indicating that the GE Light Bulb is successfully connected to the app.
By following these steps, you should now have your GE Light Bulb successfully connected to the app on your device.
Now that the connection between the GE Light Bulb and the app has been established, it’s time to move on to the next step and set up your desired settings and preferences.
Step 5: Set up desired settings and preferences
With your GE Light Bulb successfully connected to the app, you now have the freedom to customize your lighting experience according to your preferences. Follow these steps to set up your desired settings:
- Open the GE Light Bulb app on your device if it’s not already open.
- Select the GE Light Bulb that you want to configure from the app’s device list.
- Explore the options and menus provided in the app to access various settings and features.
- Adjust the brightness of the bulb by sliding the brightness control bar up or down.
- Change the color temperature of the bulb by selecting the desired temperature option, if your bulb supports it.
- Set up lighting schedules and timers to automate your lighting system, saving energy and enhancing convenience.
- Create customized lighting scenes that suit different moods and activities in your home.
- Consider integrating your GE Light Bulb with a smart home assistant, such as Amazon Alexa or Google Assistant, for voice control.
Take your time to explore all the available settings and features in the app to fully personalize your lighting experience. Don’t hesitate to experiment and find the perfect lighting ambiance for your home.
Once you have set up your desired settings and preferences, you’re now ready to test and enjoy the convenience of your GE Light Bulb.
Step 6: Test and troubleshoot if necessary
After setting up your desired settings and preferences, it’s crucial to test your GE Light Bulb and ensure that everything is working as intended. Here are some steps you can take to test your bulb and troubleshoot any issues:
- Turn the light bulb on and off using the app or voice commands if you have integrated it with a smart home assistant. Make sure the bulb responds promptly.
- Adjust the brightness and color temperature to different levels to ensure that the bulb is functioning correctly.
- Check if any scheduled lighting scenes or timers are working as expected.
- If you encounter any issues, such as connectivity problems or unresponsive controls, try the following troubleshooting steps:
- Restart the app and ensure that your device is connected to a stable Wi-Fi network.
- Power cycle the bulb by turning it off for a few seconds and then turning it back on.
- Reset the bulb using the manufacturer’s instructions and go through the setup process again.
- Ensure that your Wi-Fi network has a strong signal and is within range of the bulb.
- If all else fails, consult the user manual or reach out to the GE customer support for further assistance.
By thoroughly testing your GE Light Bulb and troubleshooting any issues, you can ensure a seamless and enjoyable smart lighting experience.
With the completion of these steps, you have successfully set up and configured your GE Light Bulb. Enjoy the convenience and flexibility of controlling your lighting with ease.
Remember to periodically update the GE Light Bulb app and firmware to ensure you have the latest features and bug fixes.
Conclusion
Congratulations! You have successfully set up your GE Light Bulb and taken the first step towards creating a more convenient and customizable lighting experience in your home. By following the step-by-step process outlined in this guide, you have connected your light bulb to the socket, downloaded the GE Light Bulb app, established a connection between the bulb and the app, customized your settings, and tested the functionality of your smart lighting system.
With the GE Light Bulb app, you have the power to control and personalize your lighting according to your preferences. Whether you want to adjust the brightness, change the color temperature, set up lighting schedules, or create customized scenes, the app provides you with the tools to do so with ease and convenience.
Remember, if you encounter any difficulties or issues during the setup process, don’t hesitate to consult the user manual or seek assistance from the GE customer support team.
Now that your GE Light Bulb is up and running, take the time to explore the possibilities and enjoy the benefits of smart lighting. From enhancing the ambiance of your living spaces to improving energy efficiency, the GE Light Bulb offers endless possibilities to transform the way you illuminate your home.
Thank you for choosing the GE Light Bulb and for taking the time to read this comprehensive setup guide. We hope you enjoy the convenience, flexibility, and customization that smart lighting brings to your everyday life.
Happy lighting!
Frequently Asked Questions about How To Set Up GE Light Bulb
Was this page helpful?
At Storables.com, we guarantee accurate and reliable information. Our content, validated by Expert Board Contributors, is crafted following stringent Editorial Policies. We're committed to providing you with well-researched, expert-backed insights for all your informational needs.


0 thoughts on “How To Set Up GE Light Bulb”