Home>Home Maintenance>How To Shorten A Dryer Vent Hose
Home Maintenance
How To Shorten A Dryer Vent Hose
Modified: March 6, 2024
Learn how to shorten a dryer vent hose for better home maintenance. Save space and improve airflow with our step-by-step guide.
(Many of the links in this article redirect to a specific reviewed product. Your purchase of these products through affiliate links helps to generate commission for Storables.com, at no extra cost. Learn more)
Introduction
Welcome to our comprehensive guide on how to shorten a dryer vent hose. A properly functioning dryer vent system is crucial in maintaining the efficiency and safety of your dryer. Over time, you may find that your dryer vent hose is too long, leading to decreased airflow and potential safety hazards. In this article, we will walk you through the step-by-step process of shortening a dryer vent hose, ensuring optimal performance and safety for your home.
Before we dive into the details, it is important to understand why shortening a dryer vent hose is necessary. A dryer vent hose that is excessively long can impede the airflow, causing your dryer to take longer to dry your clothes. This not only wastes energy but also puts unnecessary strain on the dryer components. Additionally, a long vent hose increases the risk of lint buildup, which can potentially clog the hose and pose a fire hazard. By shortening the vent hose to the appropriate length, you can improve the overall efficiency of your dryer and mitigate potential safety risks.
However, before you get started with shortening your dryer vent hose, it is essential to follow safety precautions to ensure your well-being. Always remember to unplug the dryer from the power source and wear protective gloves to prevent injuries. Additionally, make sure to read and follow the manufacturer’s instructions provided with your dryer, as there may be specific guidelines for vent hose modifications.
Now that we have covered the importance of shortening a dryer vent hose and the safety precautions, let’s take a look at the tools and materials you will need for this project.
Key Takeaways:
- Shortening your dryer vent hose improves airflow, reduces lint buildup, and prevents kinks, making your dryer more efficient and safer. Follow safety precautions and use the right tools for a successful project.
- After shortening the vent hose, secure it properly, test the dryer, and perform regular maintenance to ensure optimal performance and safety. Enjoy a more efficient dryer and a safer home environment!
Read more: How To Connect A Dryer Vent Hose
Why Shorten a Dryer Vent Hose
Shortening a dryer vent hose offers several benefits for both the performance of your dryer and the safety of your home. Let’s explore why it is important to consider shortening your dryer vent hose.
1. Improved Airflow: A dryer vent hose that is too long can impede the airflow, reducing the efficiency of your dryer. When the vent hose is shorter, air can flow more freely from the dryer, allowing for faster drying times. This not only saves you time but also reduces energy consumption, ultimately cutting down on your utility bills.
2. Decreased Lint Buildup: Lint is a common byproduct of drying clothes. Over time, lint can accumulate in the vent hose, obstructing the airflow and increasing the risk of fire. By shortening the vent hose, you reduce the length of the path that lint has to travel, minimizing the chances of buildup and improving the overall safety of your dryer.
3. Prevents kinks and bends: Long dryer vent hoses are prone to kinks and bends, especially if they are not properly installed or supported. These kinks and bends restrict the airflow and can lead to overheating of the dryer. By shortening the vent hose, you can eliminate unnecessary twists and turns, ensuring a smooth and unrestricted airflow.
4. Space-saving: In some cases, a long dryer vent hose may take up valuable space in your laundry room. By shortening the hose, you can reclaim that space and make your laundry area more organized and efficient.
5. Compliance with local building codes: Some local building codes specify the maximum length and requirements for dryer vent hoses. Shortening your vent hose ensures compliance with these codes, preventing any potential legal issues.
Now that we understand the benefits of shortening a dryer vent hose, it’s time to dive into the step-by-step process of how to do it safely and effectively.
Safety Precautions
Before you start shortening your dryer vent hose, it’s crucial to follow these safety precautions to ensure a safe and successful project:
1. Turn off the power: Before you begin any work on your dryer, make sure to unplug it from the power source. This prevents any potential electrical accidents while working with the vent hose.
2. Wear protective gloves: It’s a good idea to wear protective gloves to protect your hands from any sharp edges or debris that may be encountered while handling the vent hose.
3. Read the manufacturer’s instructions: Refer to the manufacturer’s manual or user guide for specific instructions on vent hose modifications. Some dryers may have specific guidelines or recommendations for shortening the hose.
4. Clear the area: Ensure that the area around the dryer and the vent hose is clear of any obstructions or objects that may hinder your work or cause accidents.
5. Work in a well-ventilated area: It is important to work in a well-ventilated area to avoid inhaling any dust or debris that may be present in the vent hose.
6. Use the right tools: Use appropriate tools such as tin snips or a hacksaw to cut the vent hose. Using the correct tools ensures clean and accurate cuts without damaging the hose.
7. Be cautious of sharp edges: After cutting the vent hose, be careful of any sharp edges. Consider using sandpaper or a file to smoothen the edges to prevent injuries or damage to the hose.
8. Secure the vent hose: Once you have shortened the vent hose, make sure to secure it properly to prevent it from becoming loose or detached, which can cause airflow restrictions or potential hazards.
9. Test the dryer: After completing the shortening process and reassembling the vent hose, run a test cycle on your dryer to ensure it is functioning properly. Check for any leaks or abnormalities in the airflow.
By following these safety precautions, you can minimize the risk of accidents or injuries and ensure a smooth and successful project. Now let’s move on to the tools and materials you will need for shortening a dryer vent hose.
Tools and Materials Needed
Before you begin shortening a dryer vent hose, gather the following tools and materials to ensure a smooth and efficient process:
1. Measuring tape: A measuring tape is essential for accurately measuring the desired length of the vent hose.
2. Tin snips or hacksaw: You will need tin snips or a hacksaw to cut the vent hose to the desired length. Make sure to use the appropriate tool based on the material of your vent hose.
3. Screwdriver: A screwdriver will be needed to disconnect and reconnect the vent hose from the dryer, if necessary.
4. Sandpaper or file: To smoothen any sharp edges on the cut end of the vent hose, sandpaper or a file can be used.
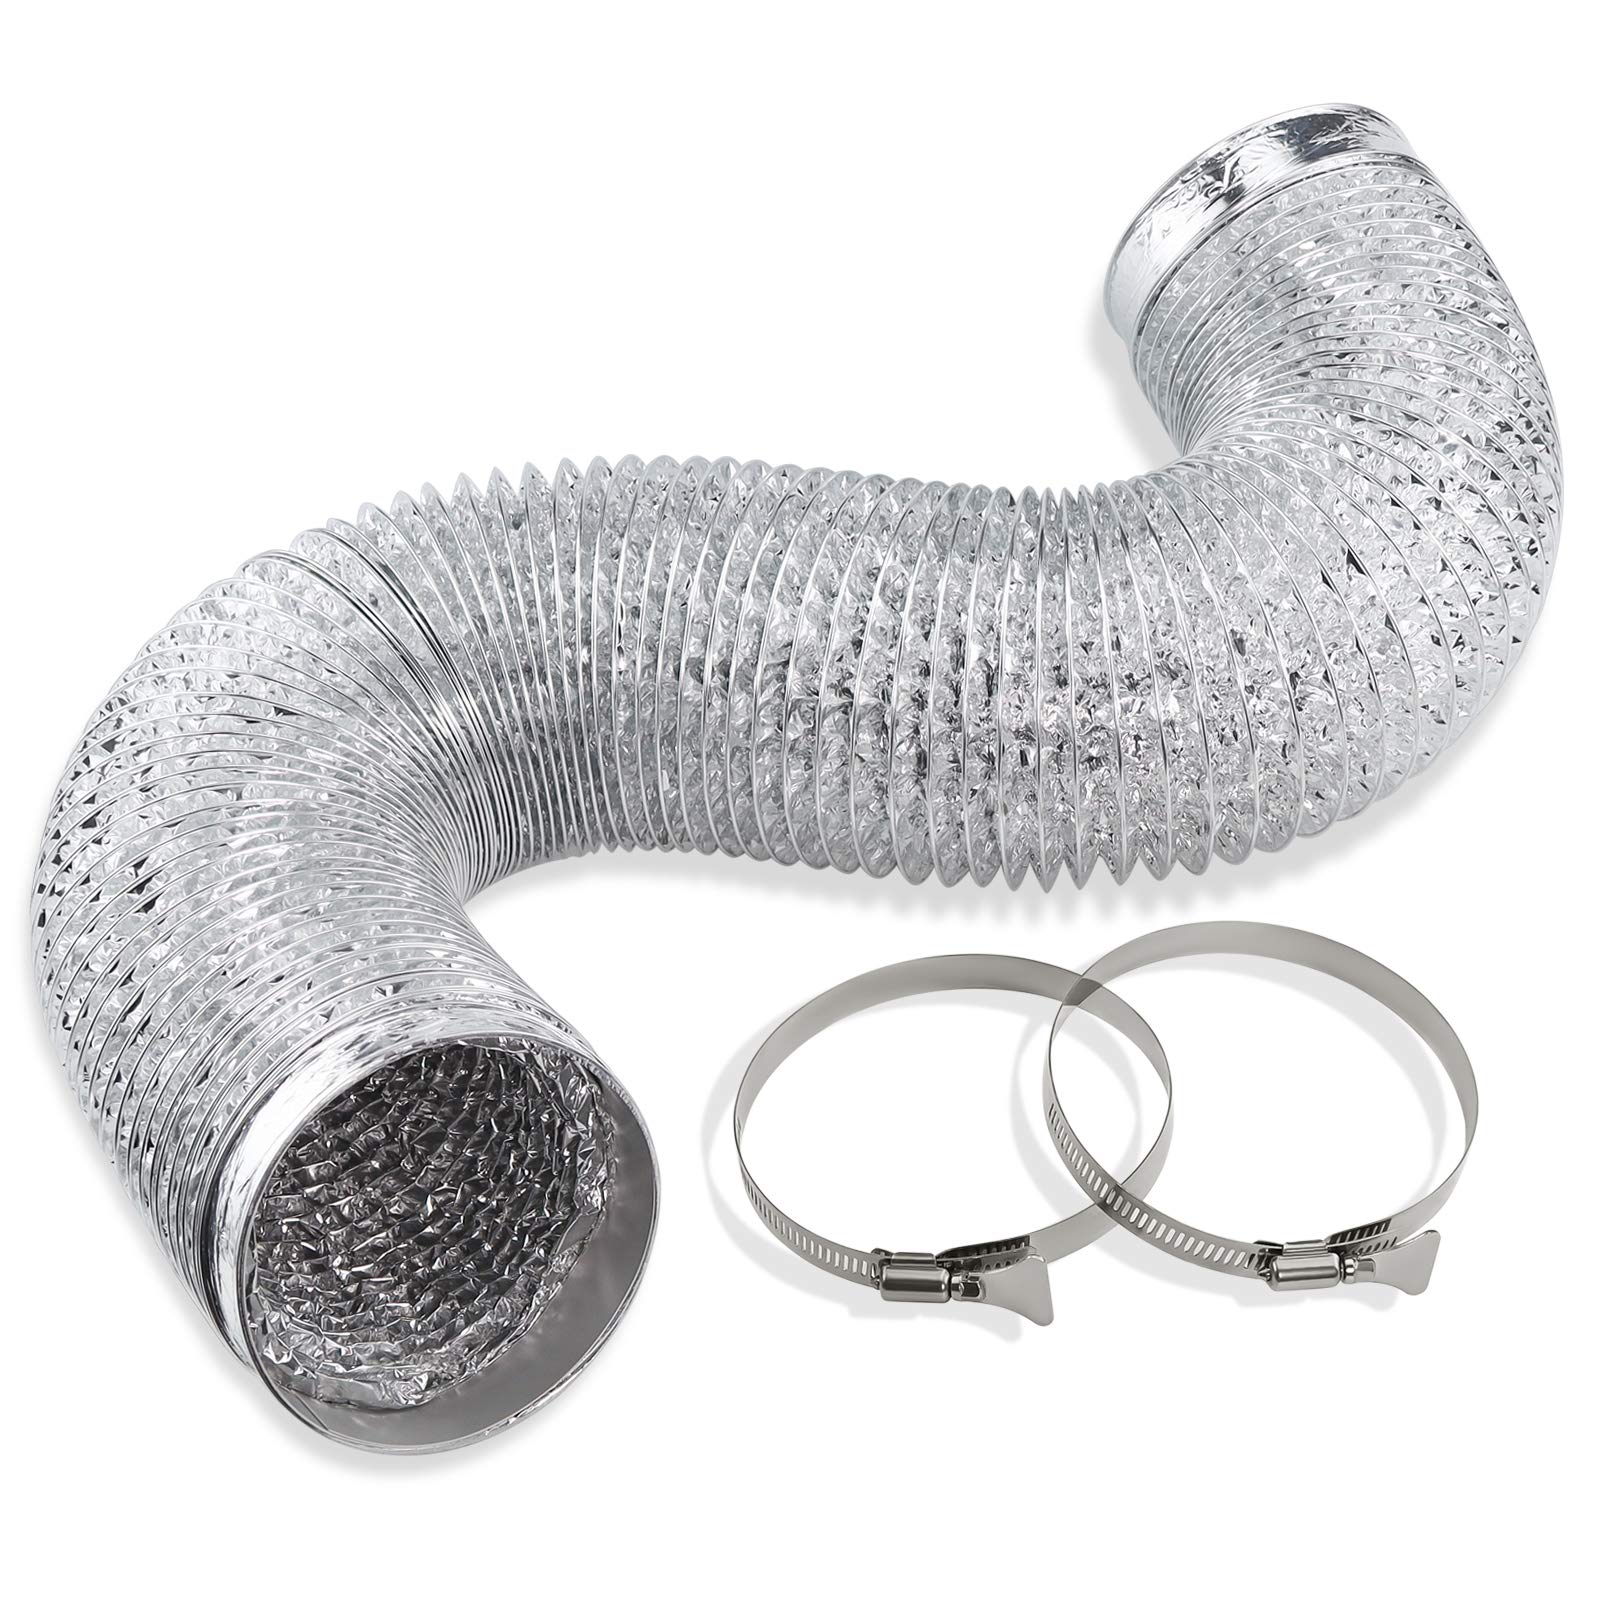
5. Adjustable clamps or zip ties: You will need adjustable clamps or zip ties to secure the vent hose to the dryer and any other connection points. These ensure a tight and secure fit.
6. Duct tape or foil tape: Duct tape or foil tape can be used to seal the joints of the vent hose, providing an additional level of security against air leaks.
7. Safety gloves: It’s always a good idea to wear safety gloves to protect your hands while handling the vent hose and tools.
8. Safety goggles: Safety goggles can provide protection for your eyes from any debris or particles that may be released during the cutting process.
9. Ladder or step stool: If your dryer is located in an elevated area, a ladder or step stool may be required to access the vent hose.
10. Dust mask: A dust mask can help protect your respiratory system from any dust or debris that may be present in the vent hose.
By having these tools and materials on hand, you will be well-prepared to tackle the task of shortening your dryer vent hose. Now that you have everything ready, let’s move on to the step-by-step process of shortening the vent hose.
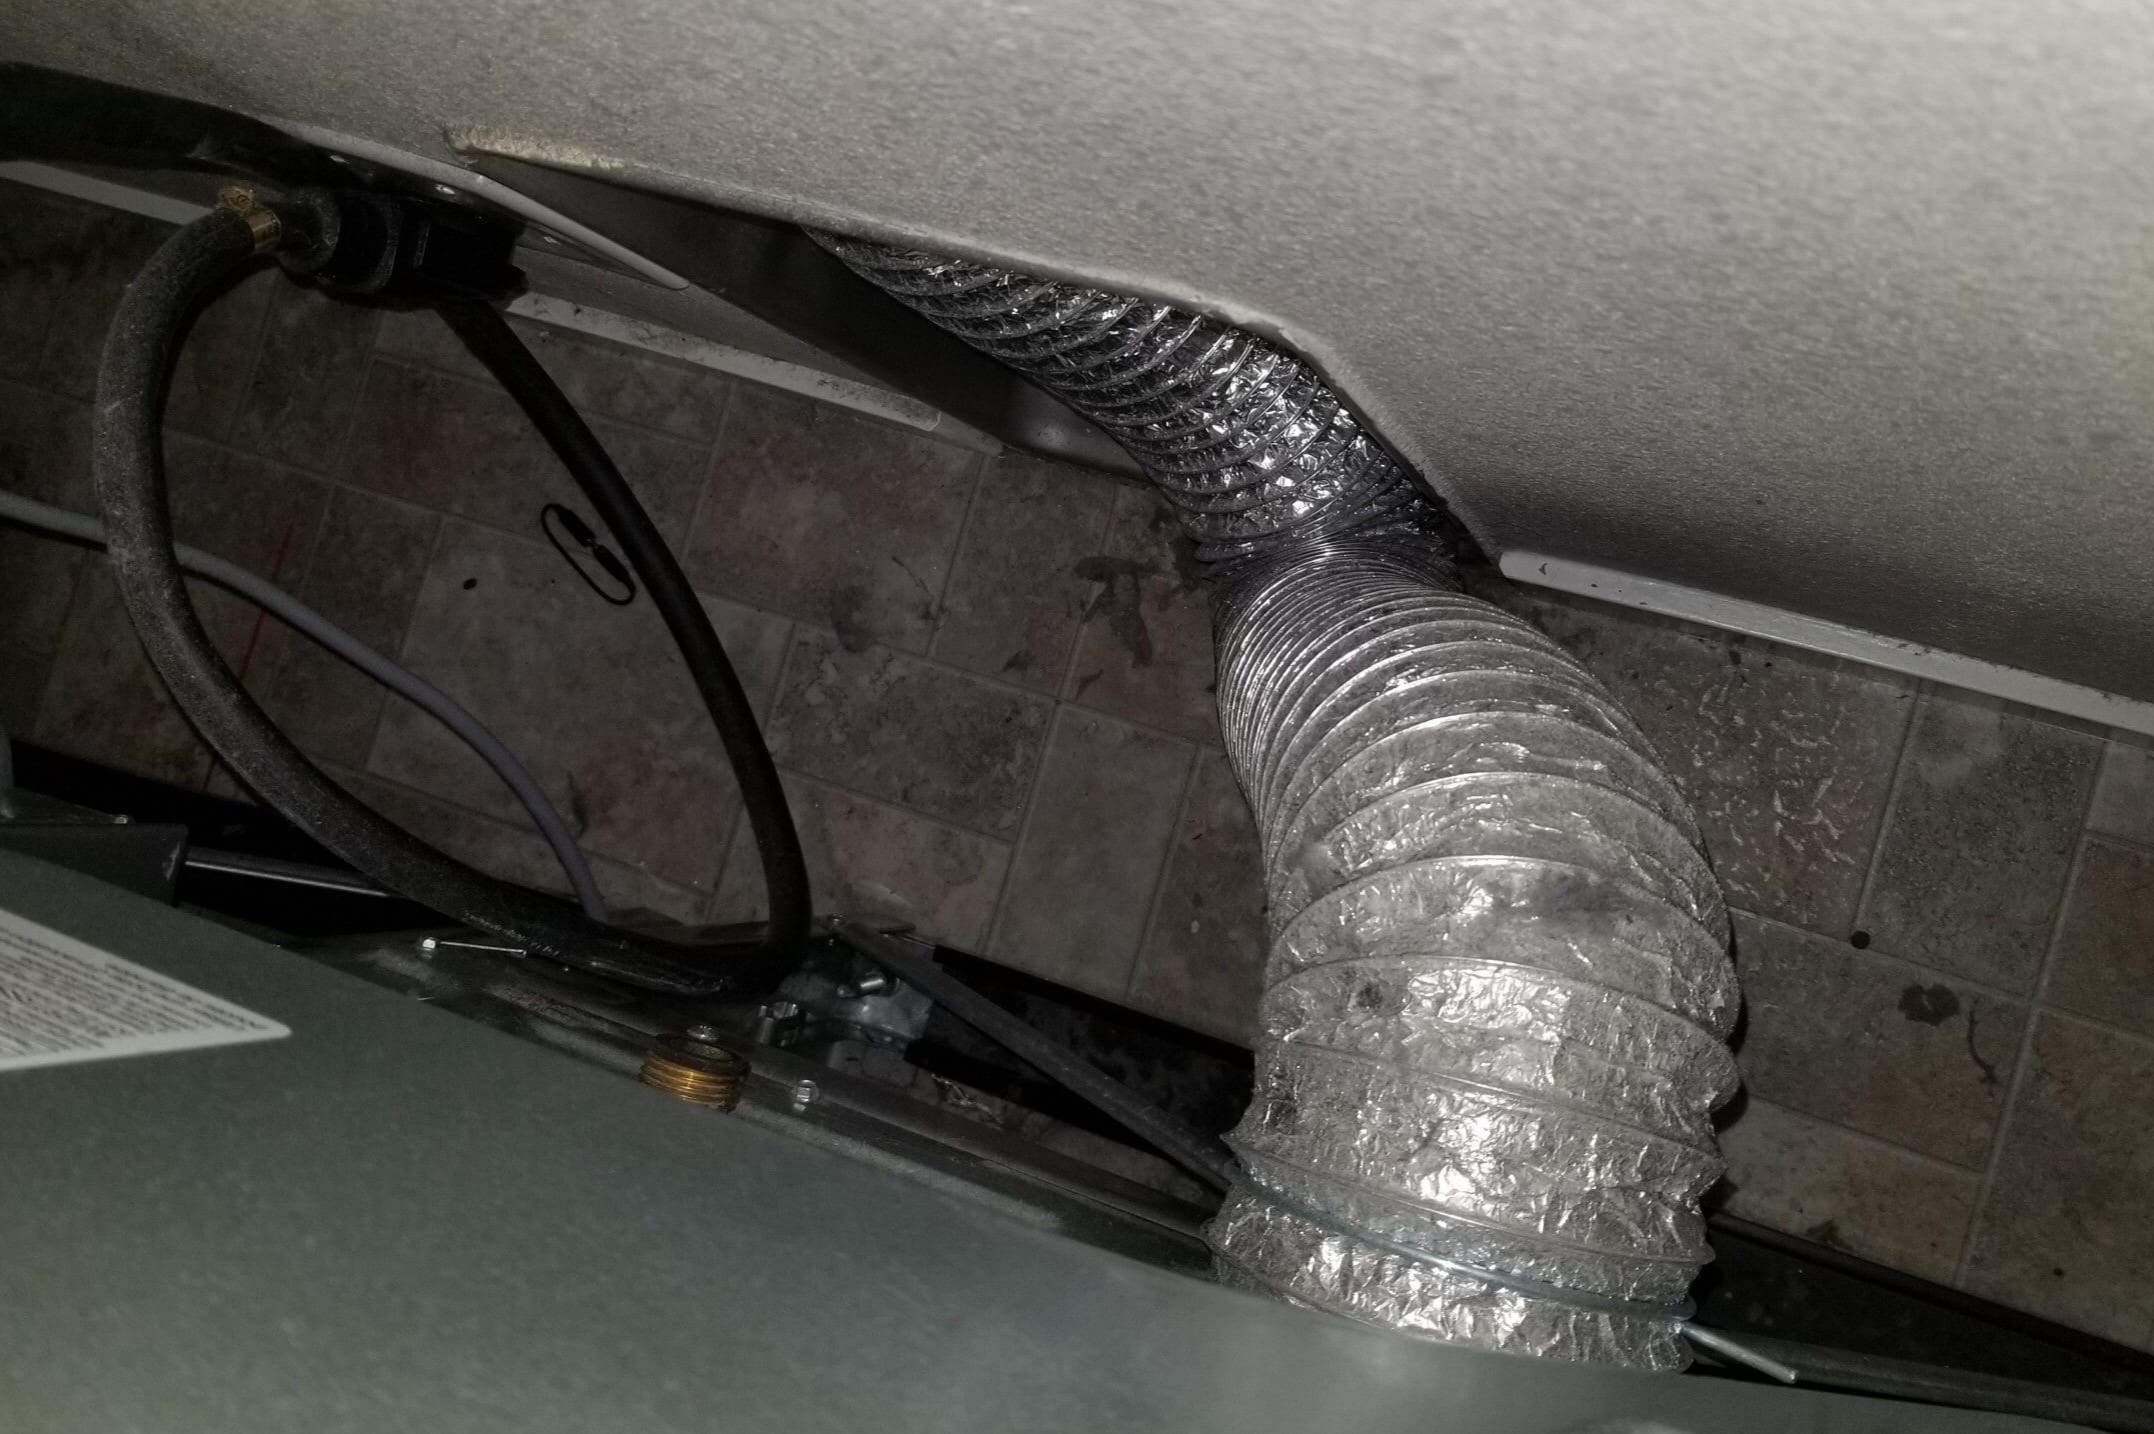
Step 1: Assessing the Current Vent Hose
Before you proceed with shortening your dryer vent hose, it’s important to assess the current vent hose to determine if it needs to be replaced or if it can be shortened.
1.1. Examine the condition: Inspect the current vent hose for any signs of wear, damage, or deterioration. Look for cracks, holes, or excessive lint accumulation. If the vent hose is in poor condition, it is recommended to replace it entirely instead of trying to shorten it.
1.2. Check for obstructions: Make sure there are no obstructions or blockages in the current vent hose. Clear out any lint or debris that may have accumulated to ensure proper airflow.
1.3. Measure the length: Determine the current length of the vent hose to get an idea of how much you need to shorten it. This will help you decide on the desired length and guide the cutting process.
1.4. Note the connections: Take note of how the current vent hose is connected to the dryer and the exterior vent cap. This will help you disassemble and reassemble the vent hose correctly after shortening it.
1.5. Check for any restrictions: Assess if there are any restrictions or limitations within the space where the vent hose is located. Ensure that there is enough room to safely cut and reconnect the vent hose without any hindrances.
By thoroughly assessing the current vent hose, you can determine its overall condition and if it is suitable for modification. If you notice any significant damage or wear, it would be best to replace the vent hose entirely. However, if the hose is in good condition and simply needs to be shortened, you can proceed to the next step: measuring and marking the desired length.
Read more: How To Install Dryer Vent Hose
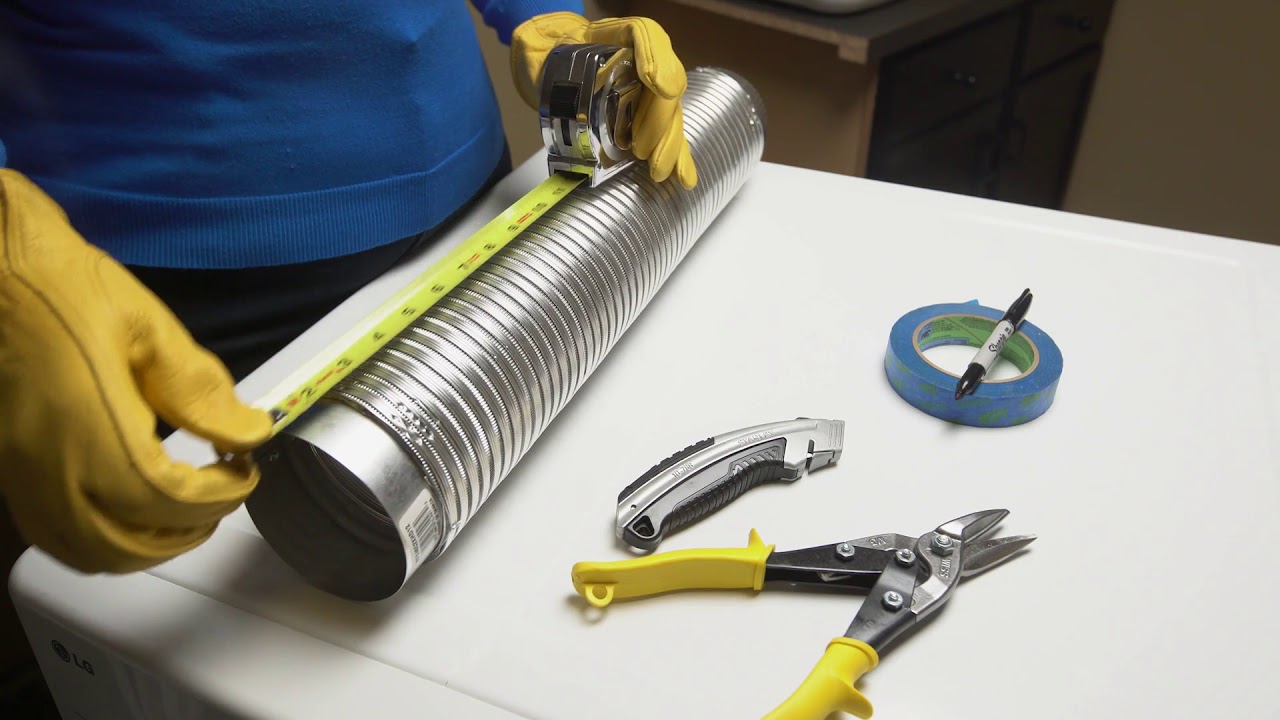
Step 2: Measuring and Marking the Desired Length
Once you have assessed the current vent hose and determined that it can be shortened, the next step is to measure and mark the desired length.
2.1. Determine the desired length: Consider factors such as the distance between your dryer and the exterior vent, the space available for the vent hose, and any local building codes or guidelines regarding vent hose length. Based on these considerations, decide on the appropriate length for your vent hose.
2.2. Measure and mark: Using a measuring tape, measure the distance from the current connection point on the dryer to the desired endpoint. Make sure to account for any connections or bends in the vent hose. Use a pencil or marker to mark the measurement on the hose.
2.3. Double-check the measurements: Take a moment to double-check the accuracy of your measurements. Ensure that the marked point aligns with your desired endpoint and that it matches the length you initially determined.
2.4. Mark the cutting point: To ensure a clean and precise cut, use a straight edge or a piece of masking tape to mark the cutting point on the vent hose. This will serve as a guide during the cutting process.
2.5. Make a second mark: To provide some flexibility and room for adjustments during the cutting process, it’s a good idea to make a second mark on the vent hose a couple of inches away from the initial cutting point. This acts as a backup point in case you need to make any alterations or corrections.
2.6. Take safety precautions: Before proceeding to the next step, ensure you have safety gloves on to protect your hands during the cutting process.
By carefully measuring and marking the desired length, you ensure accuracy and precision while shortening your dryer vent hose. Now that you have determined the cutting points, let’s move on to the next step: disconnecting the vent hose from the dryer.
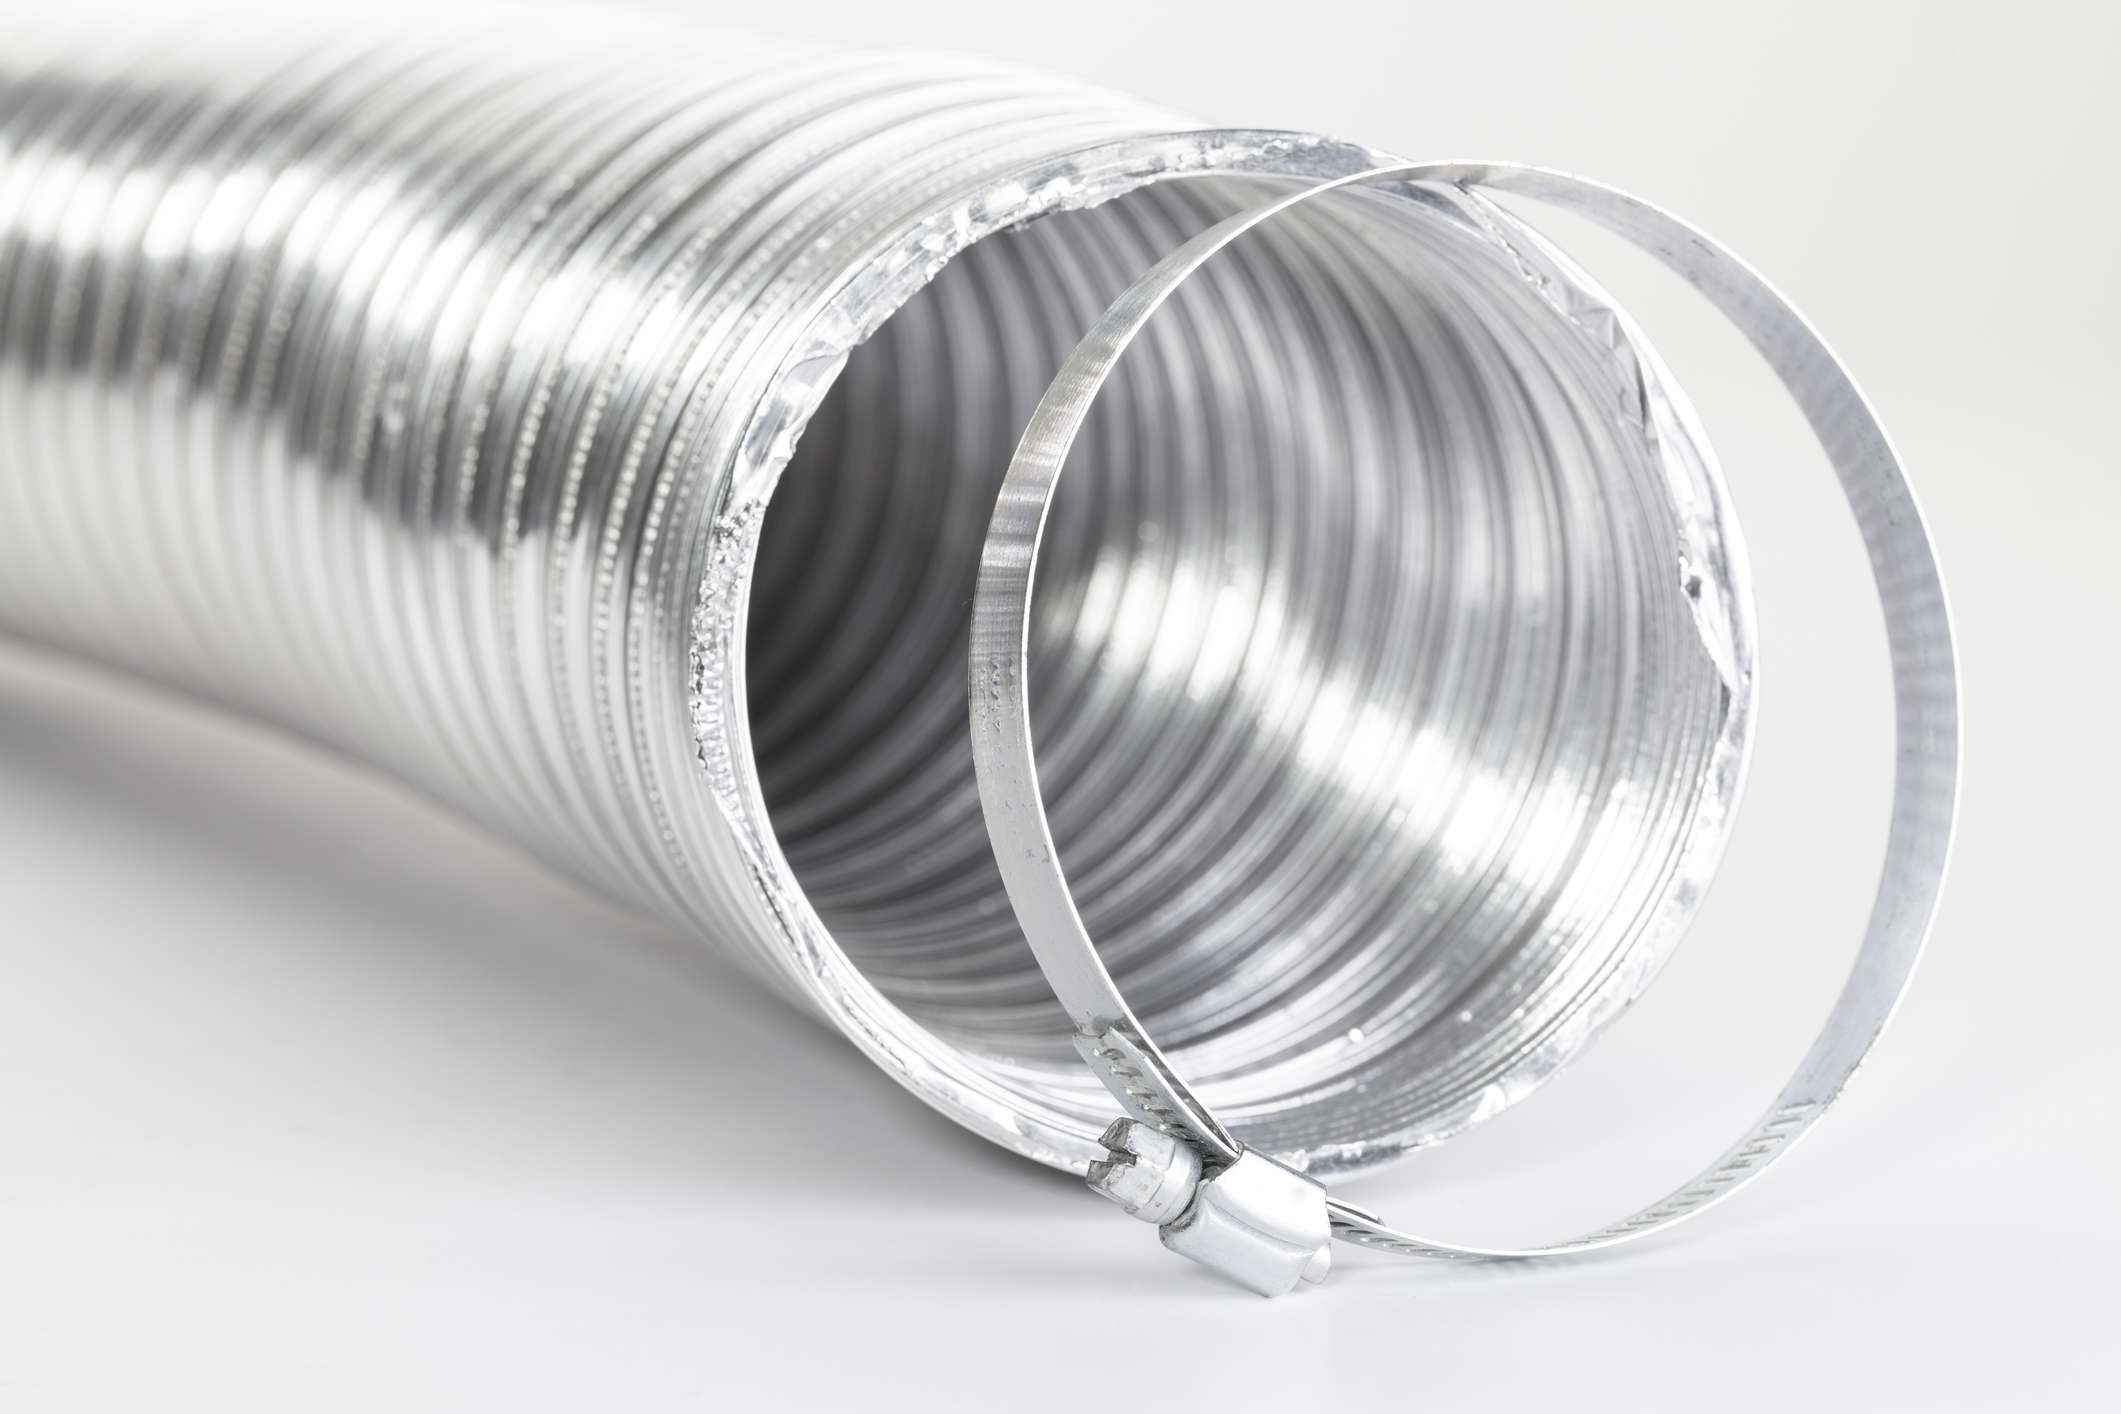
Use a metal snip to cut the dryer vent hose to the desired length. Make sure to measure carefully and wear gloves to protect your hands from sharp edges. Reattach the hose securely to the dryer and vent.
Step 3: Disconnecting the Vent Hose from the Dryer
Now that you have measured and marked the desired length for your vent hose, it’s time to disconnect it from the dryer. Follow these steps to ensure a safe disconnection:
3.1. Turn off the dryer: Before you start working on disconnecting the vent hose, make sure the dryer is turned off and unplugged from the power source. This prevents any accidental start-ups during the disconnection process.
3.2. Locate the connection point: Identify the connection point between the dryer and the vent hose. It is usually located at the back of the dryer or on the side, depending on the dryer model.
3.3. Loosen the clamps: If the vent hose is secured to the dryer using adjustable clamps, use a screwdriver to loosen the clamps. Rotate the screw counterclockwise to loosen the clamp grip, allowing you to detach the vent hose from the dryer.
3.4. Disconnect the vent hose: Once the clamps are loosened, gently pull the vent hose away from the dryer. Be careful not to yank or force it, as this may cause damage to the hose or the dryer connection.
3.5. Inspect the dryer connection: Take a moment to inspect the dryer connection for any lint buildup or debris. Clear out any obstructions using a brush or vacuum cleaner to ensure proper airflow.
3.6. Set aside the removed vent hose: After disconnecting the vent hose, set it aside in a safe place for later use or proper disposal if it is damaged or no longer needed.
By following these steps, you can safely disconnect the vent hose from the dryer. With the hose disconnected, you can now proceed to the next step: cutting the vent hose to the desired length.
Step 4: Cutting the Vent Hose to the Desired Length
With the vent hose safely disconnected from the dryer, it’s time to cut it to the desired length. Follow these steps to ensure a clean and accurate cut:
4.1. Prepare the cutting area: Find a well-ventilated area with ample space to work. Lay the vent hose flat on a stable surface, such as a workbench or a piece of plywood, to provide support during the cutting process.
4.2. Align the cutting point: Align the marked cutting point with the edge of the surface to ensure a straight cut. If using masking tape, make sure the edge of the tape aligns with the marked cutting point.
4.3. Cut the vent hose: Use either tin snips or a hacksaw to cut the vent hose along the marked cutting point. Apply steady pressure and make a clean, straight cut. Take your time and be cautious to avoid any accidental slips or injuries.
4.4. Smooth the edges: After cutting the vent hose, inspect the cut ends for any sharp edges. Use sandpaper or a file to smooth down the edges and remove any burrs or rough spots. This helps prevent injuries and ensures a secure connection.
4.5. Check the length: Double-check the length of the shortened vent hose to ensure it matches your desired measurement. Compare it to the original mark and make any necessary adjustments if needed.
4.6. Clean the vent hose: Use a brush or a vacuum cleaner to remove any debris or loose particles inside the vent hose. This helps maintain proper airflow and prevent lint buildup.
By following these steps, you can safely and accurately cut the vent hose to the desired length. With the vent hose cut, you’re now ready to move on to the next step: attaching the vent hose back to the dryer.
Step 5: Attaching the Vent Hose Back to the Dryer
With the vent hose cut to the desired length, it’s time to reattach it to the dryer. Follow these steps to ensure a secure and proper connection:
5.1. Position the dryer: Move the dryer back into its original position, ensuring that it is level and stable. Make sure there is enough space around the dryer for easy access to the vent hose and proper airflow.
5.2. Locate the vent outlet: Identify the vent outlet on the back of the dryer. It is usually a circular or rectangular opening where the vent hose will be connected.
5.3. Position the vent hose: Align one end of the vent hose with the vent outlet on the back of the dryer. Make sure the hose is fully inserted into the outlet, providing a secure and tight connection.
5.4. Secure the vent hose: Use adjustable clamps or zip ties to secure the vent hose to the dryer. Position the clamps or zip ties over the hose and tighten them to hold the hose in place. Ensure that the connection is snug but not too tight, as overtightening may damage the hose.
5.5. Check the alignment: Verify that the vent hose is properly aligned and that it is not kinked or bent. A straight and unobstructed path allows for optimal airflow efficiency.
5.6. Connect the other end: Depending on your setup, connect the other end of the vent hose to the exterior vent cap or the venting system of your home. Use the same process of aligning, securing, and checking for proper alignment as in the previous steps.
5.7. Double-check the connections: Take a final look at all the connections to ensure they are secure and tight. Wiggle the vent hose gently to make sure it is properly attached and doesn’t come loose.
By following these steps, you can safely and securely reattach the vent hose to the dryer. With the vent hose connected, it’s time to move on to the next step: securing the vent hose properly.
Read more: How To Hide A Dryer Vent Hose
Step 6: Securing the Vent Hose Properly
Now that the vent hose is attached to the dryer and the exterior vent, it’s important to ensure it is properly secured. Properly securing the vent hose helps prevent any potential airflow restrictions or disconnections. Follow these steps to secure the vent hose:
6.1. Inspect the connections: Double-check all the connections to ensure they are tight and secure. Ensure that the vent hose is fully inserted into the dryer vent outlet and the exterior vent cap.
6.2. Use adjustable clamps or zip ties: If you haven’t already, use adjustable clamps or zip ties to secure the vent hose at the dryer vent outlet and the exterior vent cap. Position the clamps or zip ties over the hose and tighten them to provide a secure hold. Ensure that they are tight enough to hold the hose in place, but not overly tight to cause damage.
6.3. Apply duct tape or foil tape: For additional security and to prevent any air leaks, consider using duct tape or foil tape to seal the joints of the vent hose and the connections. Wrap the tape around the joints, making sure they are fully covered and tightly sealed.
6.4. Check for bends or kinks: Inspect the entire length of the vent hose for any potential bends or kinks. Straighten out any obstructions, ensuring a smooth and uninterrupted airflow path. Bends or kinks can restrict airflow and lead to reduced efficiency.
6.5. Avoid excessive length: While securing the vent hose, make sure to avoid any excess length. The shorter the vent hose, the better the airflow and dryer performance. Trim any protruding sections if necessary.
6.6. Provide proper support: If the vent hose extends over a long distance, consider providing additional support along the length using clamps or hangers. Supporting the vent hose prevents it from sagging and minimizes the risk of lint buildup or disconnections.
6.7. Test the connection: After securing the vent hose, run a quick test to ensure it is properly connected and there are no leaks. Turn on the dryer and check for any air leaks, unusual noises, or vibrations. If everything looks and sounds normal, the vent hose is properly secured.
By following these steps, you can ensure that the vent hose is securely and properly connected to the dryer and the exterior vent. A secure vent hose promotes optimal airflow, improves dryer performance, and reduces the risk of potential hazards. With the vent hose secured, it’s time to move on to the final step: testing the dryer and the vent hose.
Step 7: Testing the Dryer and the Vent Hose
After completing the process of shortening and securing the vent hose, it’s important to test the dryer and the vent hose to ensure they are functioning properly. Follow these steps to conduct a thorough test:
7.1. Reconnect the power: Plug the dryer back into the power source and ensure it is properly connected. Make sure the circuit breaker is on and the dryer’s power switch is in the “On” position.
7.2. Set the dryer to a test cycle: Turn on the dryer and set it to a test cycle, such as the “Air Fluff” or “No Heat” option. This test cycle allows you to assess the airflow without the heat function.
7.3. Observe the dryer: While the dryer is running, observe the exhaust airflow from the vent hose. Ensure that there is a steady, strong flow of air coming out of the vent. If you notice weak airflow, there may be an obstruction or a disconnection that needs attention.
7.4. Check for leaks: Examine the connections of the vent hose to the dryer and the exterior vent for any signs of air leaks. Feel around the joints for any noticeable airflow. If you detect any leaks, tighten the clamps or zip ties and reapply duct tape or foil tape as needed.
7.5. Inspect for abnormal noise or vibration: Listen for any unusual noises or vibrations coming from the dryer during the test cycle. Excessive noise or vibration may indicate a problem with the vent hose installation, and it should be addressed promptly.
7.6. Ensure proper dryer performance: Monitor the dryer’s performance during the test cycle. Check if clothes are drying efficiently and in a reasonable amount of time. If you notice any issues, such as prolonged drying times or overheating, it may indicate a problem with the vent hose or dryer that requires further inspection.
7.7. Perform regular maintenance: Once you have confirmed that the dryer and the vent hose are functioning properly, make it a habit to perform regular maintenance. Clean the lint trap after each use and periodically check the vent hose for any lint buildup. Regular maintenance helps ensure optimal performance and reduces the risk of fire hazards.
By conducting a thorough test of the dryer and the vent hose, you can ensure that the shortening process was successful and that both components are working as intended. If any issues arise during the test, it’s recommended to consult a professional to address the problem and ensure the safe operation of your dryer.
Congratulations! You have successfully completed the process of shortening a dryer vent hose. By doing so, you have improved the efficiency of your dryer, reduced the risk of lint buildup, and created a safer and more functional home environment.
ConclusionIn conclusion, shortening a dryer vent hose is an important step in maintaining the efficiency and safety of your dryer. By following the steps outlined in this guide, you can effectively shorten your vent hose and enjoy the benefits of improved airflow and reduced risks.
We started by understanding the importance of shortening a dryer vent hose, including improved airflow, decreased lint buildup, prevention of kinks and bends, space-saving, and compliance with local building codes. We also emphasized the safety precautions to follow throughout the process, ensuring your well-being as you work on your dryer.
Next, we discussed the tools and materials needed for the task, such as a measuring tape, tin snips or hacksaw, screwdriver, sandpaper or file, adjustable clamps or zip ties, duct tape or foil tape, safety gloves, safety goggles, ladder or step stool, and dust mask.
We then proceeded with a step-by-step guide, starting with assessing the current vent hose and measuring the desired length. We covered disconnecting the vent hose from the dryer, cutting the vent hose to the desired length, reattaching the vent hose to the dryer, securing the vent hose properly, and finally, testing the dryer and the vent hose to ensure proper functioning.
In the end, we highlighted the significance of regular maintenance and encouraged you to continue cleaning the lint trap and inspecting the vent hose periodically to maintain optimal dryer performance and prevent potential hazards.
By taking the time to properly shorten and maintain your dryer vent hose, you are ensuring optimal airflow, improved drying efficiency, and reducing the risk of lint buildup and potential fire hazards. Enjoy the benefits of a well-functioning dryer and a safer home environment!
Frequently Asked Questions about How To Shorten A Dryer Vent Hose
Was this page helpful?
At Storables.com, we guarantee accurate and reliable information. Our content, validated by Expert Board Contributors, is crafted following stringent Editorial Policies. We're committed to providing you with well-researched, expert-backed insights for all your informational needs.