
Articles
How To Shred Meat With A Stand Mixer
Modified: September 1, 2024
Learn the easiest and fastest way to shred meat with a stand mixer. Read our informative articles and master the art of shredding meat like a pro!
(Many of the links in this article redirect to a specific reviewed product. Your purchase of these products through affiliate links helps to generate commission for Storables.com, at no extra cost. Learn more)
Introduction
Shredded meat is a versatile and delicious ingredient that can be used in a wide variety of dishes, from tacos and sandwiches to soups and salads. While the traditional method of shredding meat by hand can be time-consuming and labor-intensive, there is a more efficient and effortless way to achieve perfectly shredded meat: using a stand mixer.
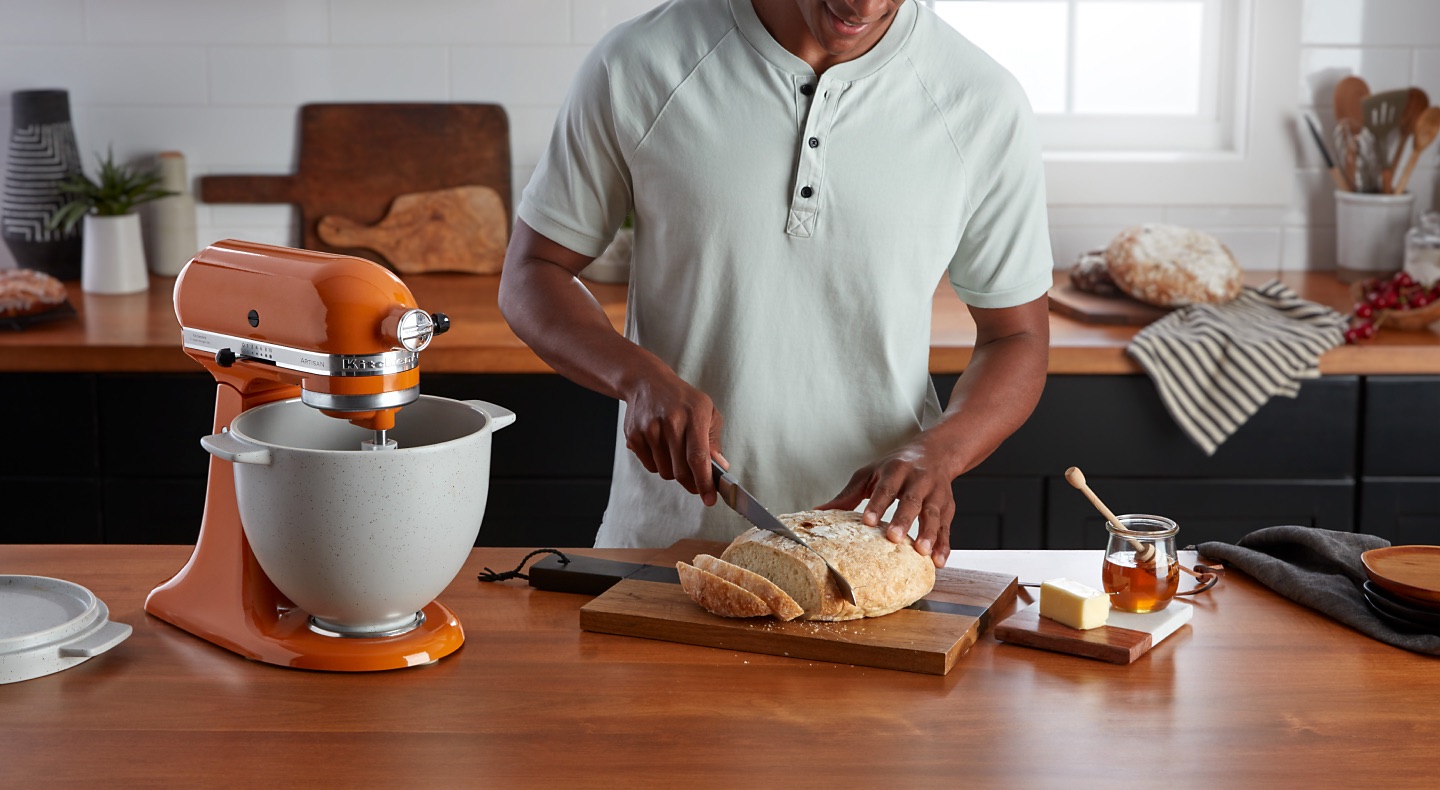
A stand mixer is a powerful kitchen appliance that can be a game-changer when it comes to shredding meat. It saves you time and effort, allowing you to shred large quantities of meat in a fraction of the time it would take to do it manually. Plus, it ensures consistent shredding results, making it the ideal tool for home cooks and professional chefs alike.
In this article, we will guide you through the step-by-step process of shredding meat with a stand mixer. Whether you have leftover cooked meat or want to prepare a tender and juicy roast, we’ve got you covered. So, let’s dive in and discover how to make shredded meat with the help of your trusty stand mixer.
Key Takeaways:
- Effortlessly shred meat with a stand mixer by preparing the meat, setting up the mixer, and adjusting speed and duration for perfect consistency. Say goodbye to labor-intensive hand-shredding!
- Take your culinary creations to the next level by using a stand mixer to achieve consistent, perfectly shredded meat. Save time and effort while unlocking a world of flavorful possibilities in the kitchen.
Read more: How To Shred Chicken In Mixer
Step 1: Prepare the Cooked Meat
The first step in shredding meat with a stand mixer is to ensure that your cooked meat is properly prepared. Here are a few key tips to follow:
- Trim off any excess fat: Before shredding the meat, it’s important to trim off any visible fat. Removing excess fat not only improves the texture and taste of the shredded meat but also prevents the stand mixer from getting clogged or overwhelmed.
- Cool the meat: It’s essential to allow the cooked meat to cool down completely before shredding. This not only makes it easier to handle but also prevents any potential risk of burning yourself.
- Cut the meat into smaller pieces: To make the shredding process more manageable, cut the meat into smaller chunks or strips. This will ensure that the meat is evenly shredded and help prevent the stand mixer from getting overloaded.
By following these preparation steps, you will set yourself up for success and make the shredding process much smoother.
Step 2: Set Up the Stand Mixer
Once your cooked meat is prepared, it’s time to set up your stand mixer for shredding. Here’s what you need to do:
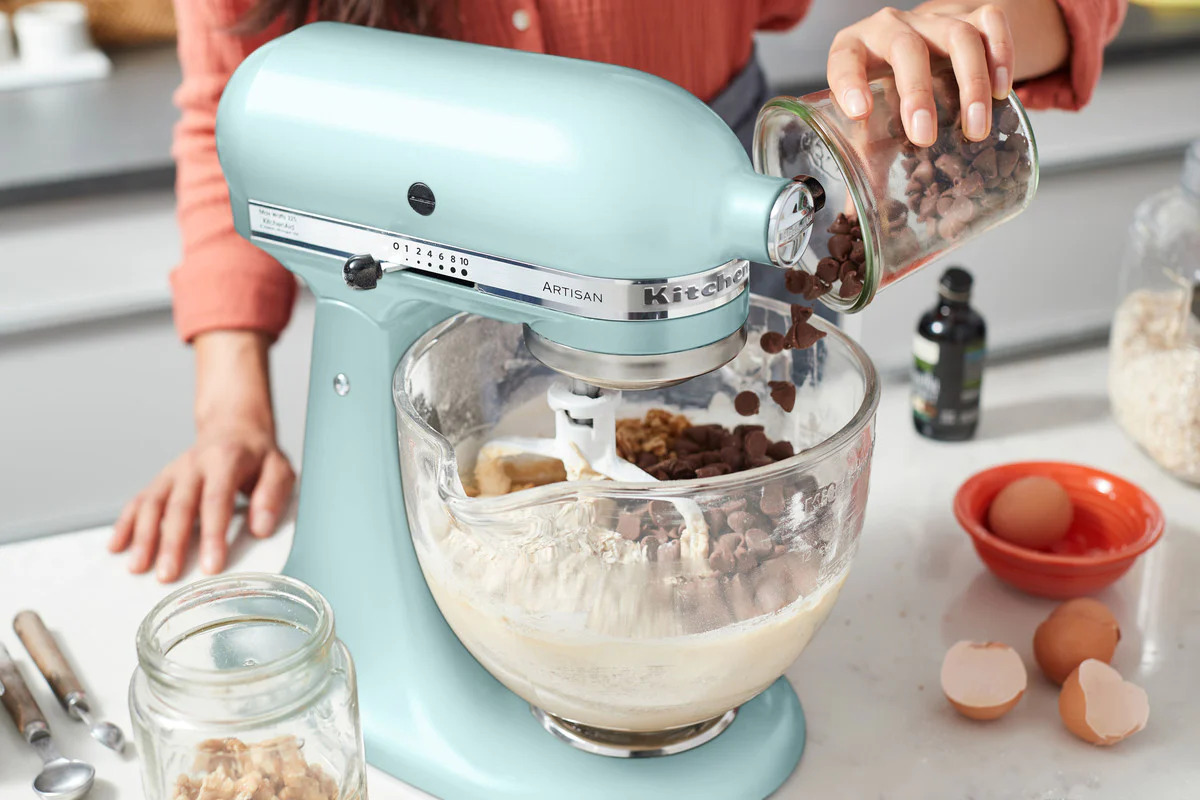
- Attach the appropriate attachment: Most stand mixers come with a paddle or a flat beater attachment. For shredding meat, you’ll want to use the paddle attachment. Make sure it’s securely attached to the stand mixer.
- Place the meat in the mixing bowl: Put the cooled and cut meat into the mixing bowl of the stand mixer. Make sure not to overload the bowl, as this can inhibit proper shredding. It’s best to work in batches if you have a large amount of meat to shred.
- Set the speed: Start the stand mixer at a low speed to avoid any splattering or mess. As you become more comfortable with the shredding process, you can gradually increase the speed if needed.
Once your stand mixer is set up, you’re ready to move on to the next step and start shredding the meat!
Step 3: Start Shredding the Meat
With your stand mixer set up and the meat in the mixing bowl, it’s time to start shredding. Follow these steps:
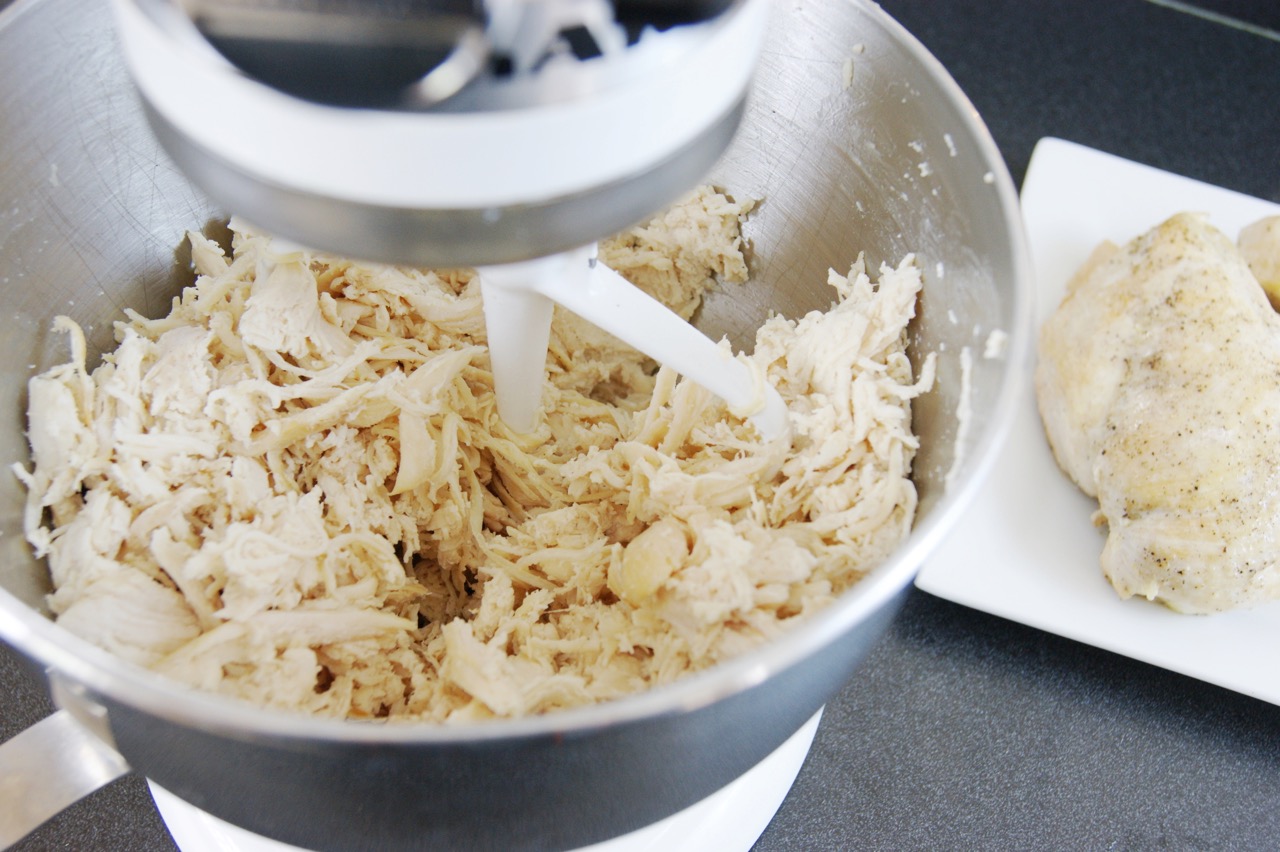
- Turn on the stand mixer: Once the meat is in the mixing bowl, turn on the stand mixer and let it begin to shred the meat. You’ll notice the paddle attachment starting to break down the meat into smaller pieces.
- Let the stand mixer do the work: Allow the stand mixer to run for a few minutes, allowing the paddle attachment to thoroughly shred the meat. You can monitor the progress by checking the consistency of the shredded meat.
It’s important not to overload the stand mixer or let it run for too long, as this can lead to over-shredding and potentially result in a mushy texture. Regularly check the shredded meat to ensure it’s reaching the desired consistency.
Remember, the beauty of using a stand mixer is that it takes the effort out of shredding meat. You can sit back and let the appliance do the hard work while you focus on other tasks in the kitchen.
To shred meat with a stand mixer, use the paddle attachment and mix on low speed until the meat is shredded to your desired consistency. Be careful not to overmix.
Step 4: Adjust Speed and Duration
As you shred the meat with the stand mixer, you may need to make adjustments to the speed and duration to achieve the desired results. Here’s what you should keep in mind:
- Speed settings: If you find that the stand mixer is shredding the meat too quickly or too roughly, you can lower the speed setting. On the other hand, if the shredding process is taking too long, you can increase the speed. Experiment with different speed settings to find what works best for the specific type and texture of the meat you’re shredding.
- Duration of shredding: The time it takes to shred the meat will depend on various factors, including the size and tenderness of the meat, as well as the power of your stand mixer. Keep an eye on the consistency of the shredded meat and stop the mixer once it reaches your desired texture. Avoid over-shredding, as this can result in a mushy consistency.
Regularly check the progress of the meat throughout the shredding process and make adjustments as needed. Remember, practice makes perfect, and you’ll become more accustomed to the optimal speed and duration with each use of the stand mixer.
Read more: How To Shred Chicken In A Stand Mixer
Step 5: Check the Consistency of the Shredded Meat
Checking the consistency of the shredded meat is a crucial step to ensure that it meets your preferences and recipe requirements. Here’s how you can do it:
- Stop the stand mixer: Once you feel that the meat is adequately shredded, stop the stand mixer. Depending on the texture you desire, this can range from finely shredded to more chunky.
- Inspect the shredded meat: Take a close look at the shredded meat in the mixing bowl. Assess if it meets your desired consistency. If necessary, you can use a fork or tongs to break up any larger chunks.
- Test the tenderness: In addition to the texture, evaluate the tenderness of the shredded meat. It should be moist, tender, and easy to chew.
If you’re using the shredded meat for a specific recipe, consider the requirements of that recipe. For example, if you’re making tacos, you may want the meat to be more finely shredded. If you’re preparing pulled pork, you may prefer larger chunks for that distinct pulled texture.
Remember, the beauty of shredding meat with a stand mixer is that you have control over the texture and consistency. Adjust as necessary to achieve your desired results.
Step 6: Repeat the Process if Needed
After checking the consistency of the shredded meat, you may find that it needs further shredding or adjustments. If needed, you can repeat the shredding process with the stand mixer. Here’s what you should consider:
- Assess the consistency: If you feel that the shredded meat is not quite there yet in terms of texture and tenderness, you can repeat the shredding process. Start by stopping the stand mixer and evaluating the shredded meat in the mixing bowl.
- Make adjustments: Based on your assessment, determine if any adjustments need to be made. If the meat needs finer shreds, run the stand mixer for a shorter duration or increase the speed slightly. If you want larger chunks, shred the meat for a shorter time or decrease the speed.
Repeat the process as necessary until you achieve the perfect consistency. It’s all about finding the balance that suits your preferences and the dish you’re preparing.
Remember, practice makes perfect, and with each repetition, you’ll become more adept at using the stand mixer to achieve your desired results.
Conclusion
Shredding meat with a stand mixer is a game-changer in the kitchen. It saves time, effort, and produces consistent results, making it an invaluable tool for any home cook or professional chef. With the step-by-step process outlined in this article, you can confidently shred meat with your stand mixer and elevate your culinary creations.
Remember to properly prepare the cooked meat by trimming excess fat, allowing it to cool, and cutting it into smaller pieces. Set up your stand mixer with the paddle attachment and place the meat in the mixing bowl. Adjust the speed and duration based on your desired texture and tenderness of the shredded meat.
After shredding, it’s important to check the consistency of the meat and make any necessary adjustments. If needed, you can repeat the shredding process to achieve the perfect texture and tenderness.
By following these steps, you can effortlessly shred meat with your stand mixer and unlock a world of possibilities in your kitchen. From tacos and sandwiches to soups and salads, shredded meat adds flavor and versatility to a wide range of dishes.
So why spend extra time and effort shredding meat by hand when you can achieve excellent results with a stand mixer? Give it a try, and you’ll never go back to the old, labor-intensive method again.
Frequently Asked Questions about How To Shred Meat With A Stand Mixer
Was this page helpful?
At Storables.com, we guarantee accurate and reliable information. Our content, validated by Expert Board Contributors, is crafted following stringent Editorial Policies. We're committed to providing you with well-researched, expert-backed insights for all your informational needs.





0 thoughts on “How To Shred Meat With A Stand Mixer”