Articles
How To Clean Stand Mixer
Modified: October 18, 2024
Learn the best techniques and methods for cleaning your stand mixer with these helpful articles. Keep your appliance in top shape and ensure delicious, hygienic baking every time.
(Many of the links in this article redirect to a specific reviewed product. Your purchase of these products through affiliate links helps to generate commission for Storables.com, at no extra cost. Learn more)
Introduction
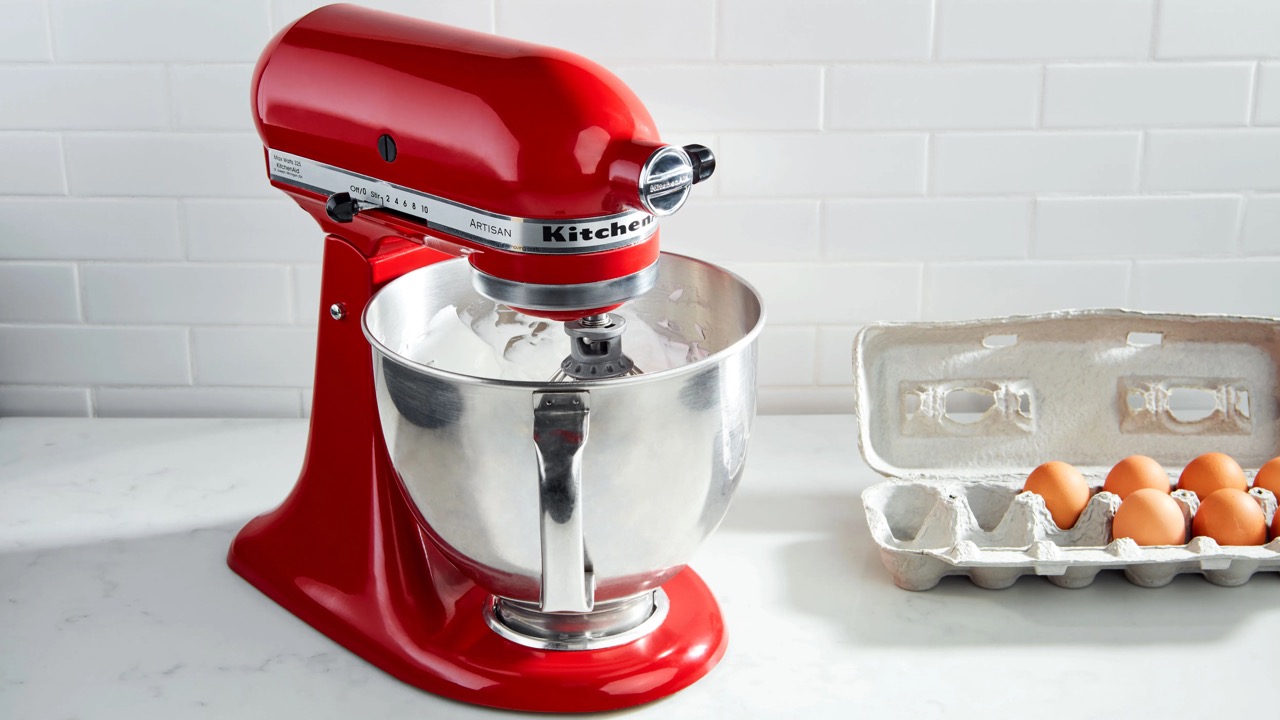
A stand mixer is a versatile kitchen appliance that is used for a variety of tasks such as mixing ingredients, kneading dough, and whipping cream. It’s a valuable tool for any home cook or baker, but like any other kitchen appliance, it requires regular maintenance and cleaning to keep it functioning properly.
Cleaning a stand mixer may seem like a daunting task, especially with its multiple attachments and hard-to-reach areas. However, with a few simple steps and safety precautions, you can easily keep your stand mixer in pristine condition.
In this article, we will guide you through the process of cleaning your stand mixer thoroughly and effectively. We will provide safety precautions to follow, step-by-step instructions for cleaning each part, and tips for drying and reassembling the stand mixer afterwards.
Before we dive into the cleaning process, let’s discuss some important safety precautions to keep in mind. It is essential to always prioritize your safety when cleaning electrical appliances.
Key Takeaways:
- Regularly cleaning and maintaining your stand mixer is essential for its longevity and optimal performance. Follow safety precautions, hand-wash attachments, and ensure thorough drying for a pristine appliance.
- Prioritize safety by unplugging the stand mixer, wearing protective gloves, and avoiding water contact with the motor housing. Hand-wash attachments, wipe down the exterior, and ensure all components are completely dry before reassembling.
Read more: What Is A Mixer
Safety Precautions
When cleaning your stand mixer, it’s crucial to take certain safety precautions to prevent any accidents or damage. Follow these guidelines to ensure a safe and effective cleaning process:
1. Unplug the stand mixer: Before you start cleaning, always unplug the stand mixer from the power source. This will eliminate the risk of electric shock and ensure your safety.
2. Wear protective gloves: To protect your hands from sharp edges or potential chemical reactions, it’s advisable to wear a pair of protective gloves while cleaning.
3. Avoid immersing the motor housing in water: The motor housing of the stand mixer should never come into contact with water as it may cause electrical damage. Only use a slightly damp cloth to clean the exterior of the motor housing.
4. Use mild cleaning solutions: When cleaning the attachments, mixing bowl, and other removable parts, use mild dish soap or a mixture of warm water and vinegar. Avoid using abrasive cleaners or harsh chemicals that could damage the surfaces.
5. Do not submerge power cord or plug in water: Ensure that the power cord and plug remain dry at all times. Submerging them in water can lead to electrical hazards and damage the appliance.
6. Handle attachments with care: When removing or cleaning the attachments, be mindful of their sharp edges. It’s a good idea to take extra caution to avoid accidental cuts or injuries.
7. Follow manufacturer’s instructions: Always refer to the manufacturer’s instructions for specific cleaning guidelines and recommendations for your stand mixer model. These instructions will provide valuable insights into the best practices for cleaning and maintaining your appliance.
By adhering to these safety precautions, you can ensure a secure and efficient cleaning process for your stand mixer. Now, let’s move on to the step-by-step process of cleaning your stand mixer.
Step 1: Unplug the Stand Mixer
The first step in cleaning your stand mixer is to ensure that it is completely disconnected from the power source. This is a crucial safety measure to avoid the risk of electric shock during the cleaning process.
To unplug the stand mixer, gently pull the power cord from the electrical outlet. This will ensure that no power is running through the appliance, making it safe to handle and clean.
Once the stand mixer is unplugged, you can proceed to the next steps of cleaning.
Step 2: Remove Attachments and Accessories
In order to thoroughly clean your stand mixer, you need to remove all attachments and accessories. This includes the mixing bowl, beater attachments, whisk attachments, and any other detachable parts.
Start by turning off the stand mixer and ensuring that it is unplugged from the power source. This will prevent any accidental rotations or movements while removing the attachments.
To remove the mixing bowl, locate the release button or lever on the stand mixer. Press or unlock it, and gently lift the bowl upwards to release it from the stand mixer base. Set the mixing bowl aside for cleaning.
Next, remove the beater attachments and whisk attachments. Depending on your stand mixer model, these may be attached using a twist and lock mechanism or a release button. Follow the manufacturer’s instructions to detach them safely.
If your stand mixer has any additional accessories or attachments, such as a pasta maker or food grinder, remove them as well.
Once all the attachments and accessories have been removed, you are ready to move on to the next step of cleaning.
Step 3: Hand-Wash Attachments and Accessories
Now that you have removed all the attachments and accessories from your stand mixer, it’s time to give them a thorough hand-washing.
Start by filling your sink or a basin with warm water and a few drops of mild dish soap. Submerge the attachments and accessories in the soapy water, ensuring that they are completely covered.
Use a soft sponge or cloth to gently scrub the attachments, removing any residue or food particles. Pay special attention to any hard-to-reach areas or crevices where dirt can accumulate.
For stubborn stains or hardened food debris, you can use a non-abrasive cleaning brush to scrub the attachments more effectively. Be careful not to scratch or damage the surfaces.
Rinse the attachments thoroughly under running water to remove any soap residue. Inspect each attachment to ensure that it is clean and free from any remaining debris.
After rinsing, dry the attachments completely with a clean towel before reassembling or storing them. It’s important to ensure that they are thoroughly dry to prevent the growth of bacteria or mold.
Remember to check the manufacturer’s instructions for any specific cleaning guidelines or recommendations for your attachments. Some attachments may require special care or cleaning techniques.
Once the attachments and accessories are clean and dry, you can proceed to the next step of cleaning your stand mixer.
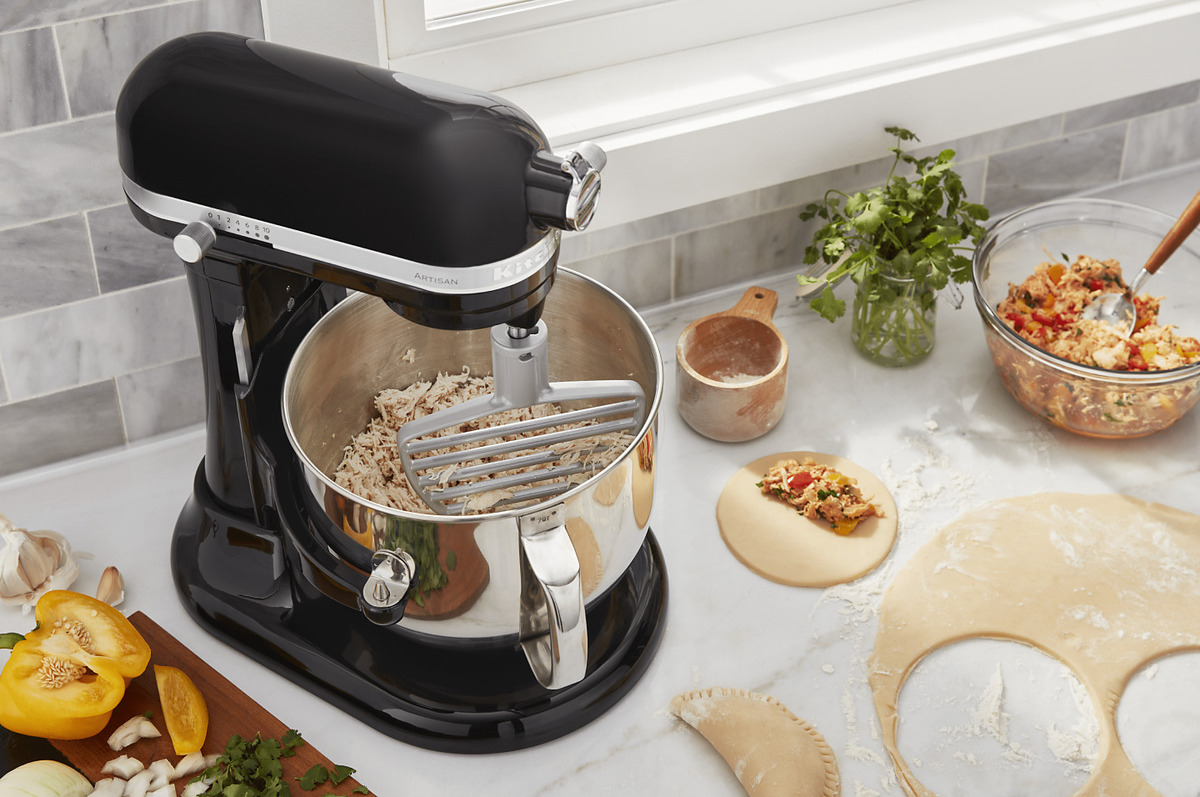
Read more: How To Shred Chicken In Mixer
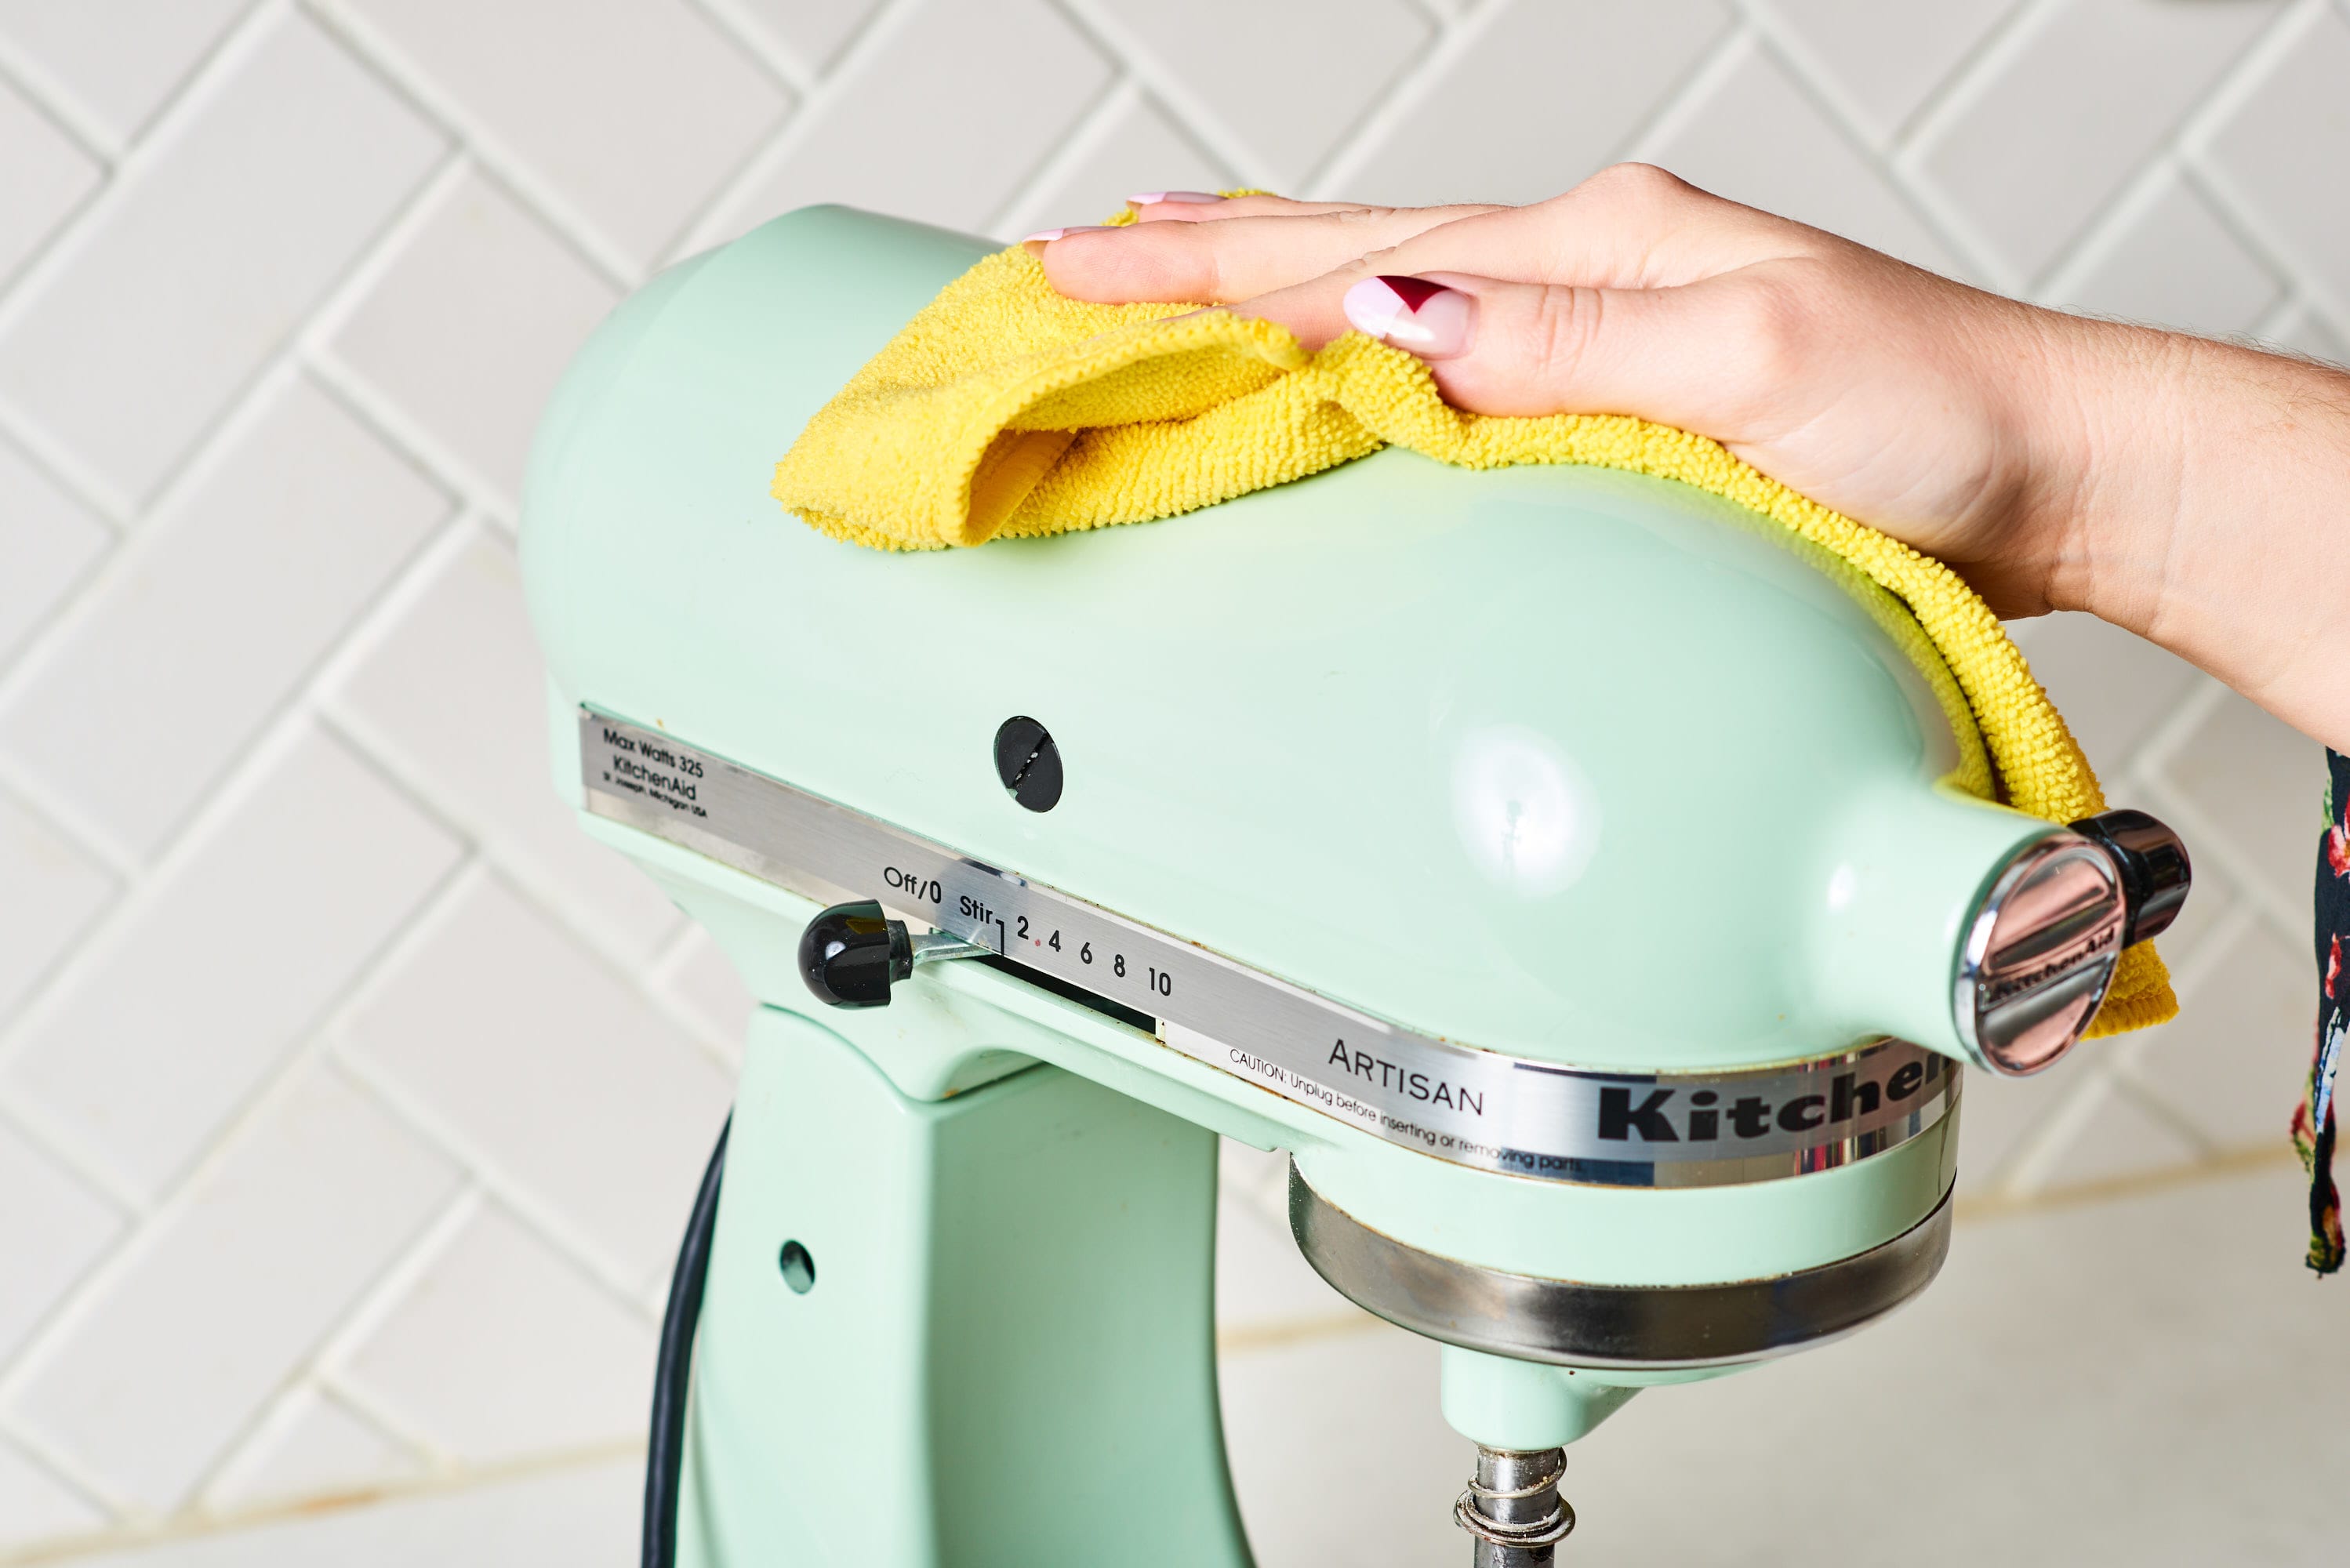
Step 4: Wipe Down the Exterior of the Stand Mixer
After removing and cleaning the attachments and accessories, it’s time to focus on cleaning the exterior of your stand mixer. This step is essential for keeping the appliance looking clean and presentable.
Start by dampening a clean, soft cloth or sponge with warm water. Avoid using excessive water, as the stand mixer’s electrical components should not come into contact with moisture.
Gently wipe down the entire exterior of the stand mixer, including the base, controls, and any other accessible surfaces. Pay close attention to any areas that may have accumulated dirt, grease, or spills.
For stubborn stains or dried-on food residue, you can use a mild dish soap solution or a non-abrasive cleaning spray. Apply the cleaning solution to a cloth or sponge and gently scrub the affected area. Rinse the cloth or sponge and wipe away any soap residue.
Avoid using abrasive cleaners, harsh chemicals, or abrasive scrubbers on the exterior of the stand mixer. These can cause damage to the surface finish and affect the appearance of the appliance.
Once you have wiped down the exterior, use a dry, clean cloth to remove any moisture or excess cleaning solution. Ensure that the stand mixer is completely dry before proceeding to the next step.
Cleaning the exterior of your stand mixer regularly not only keeps it looking clean but also helps prevent the buildup of grime that can affect its performance.
Now that the exterior is clean and dry, it’s time to move on to cleaning the more intricate parts of your stand mixer.
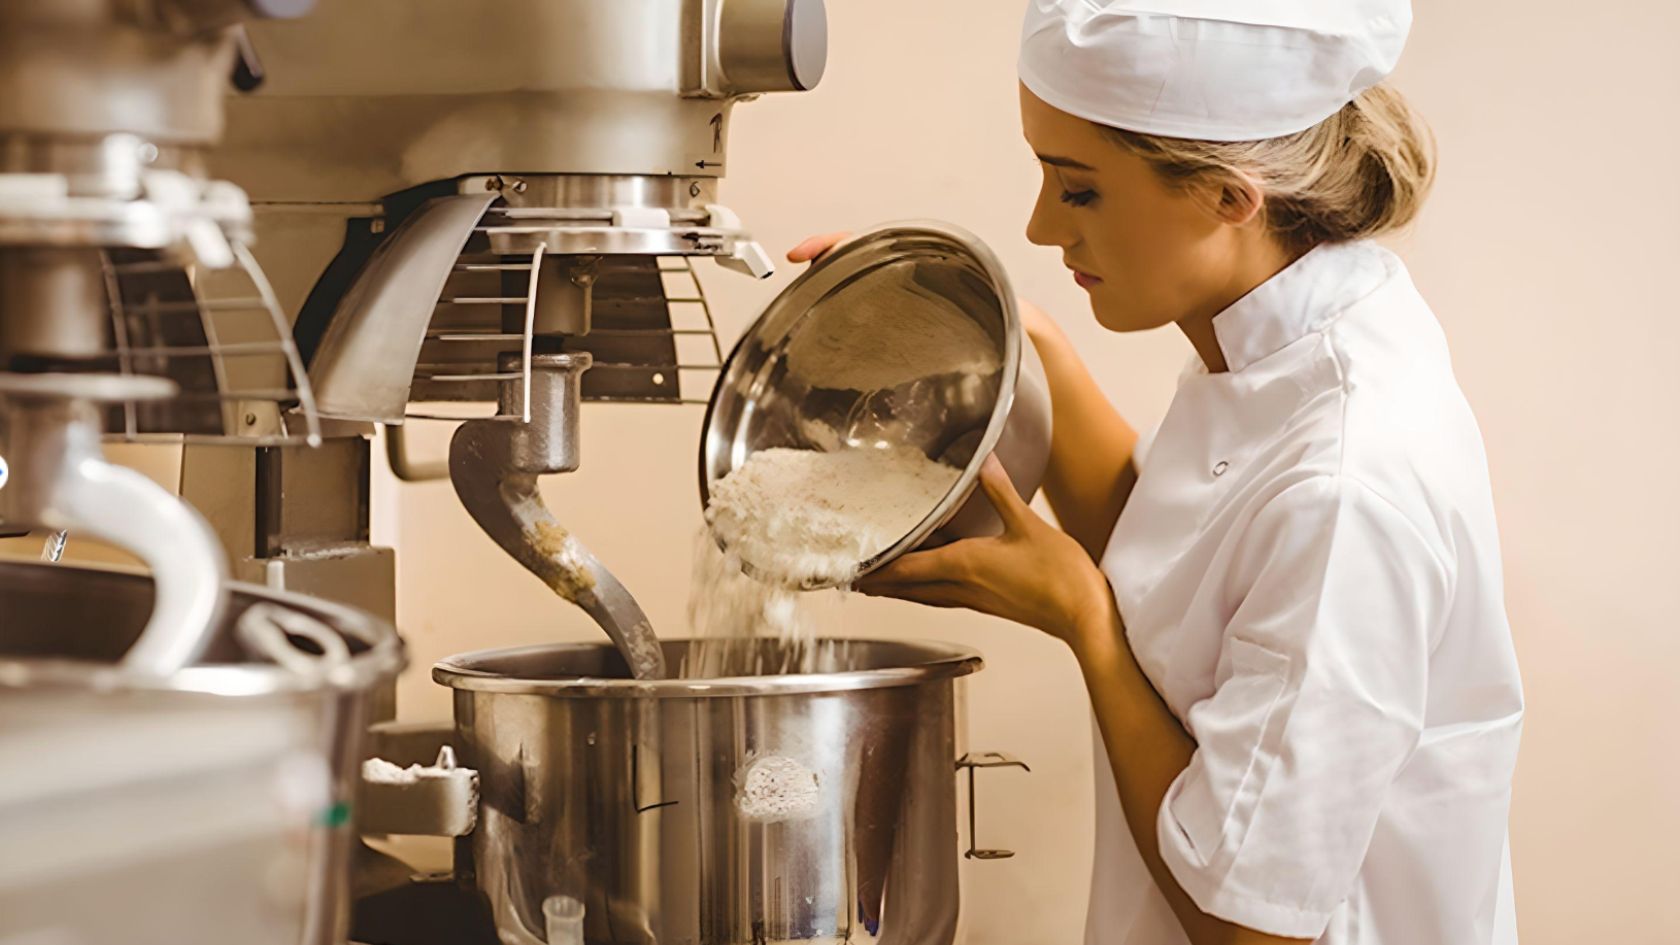
To clean a stand mixer, start by unplugging it and removing any attachments. Wipe the exterior with a damp cloth and mild detergent. For the bowl and attachments, wash with warm soapy water and dry thoroughly. Use a small brush to remove any dried-on food particles.
Step 5: Cleaning the Mixing Bowl
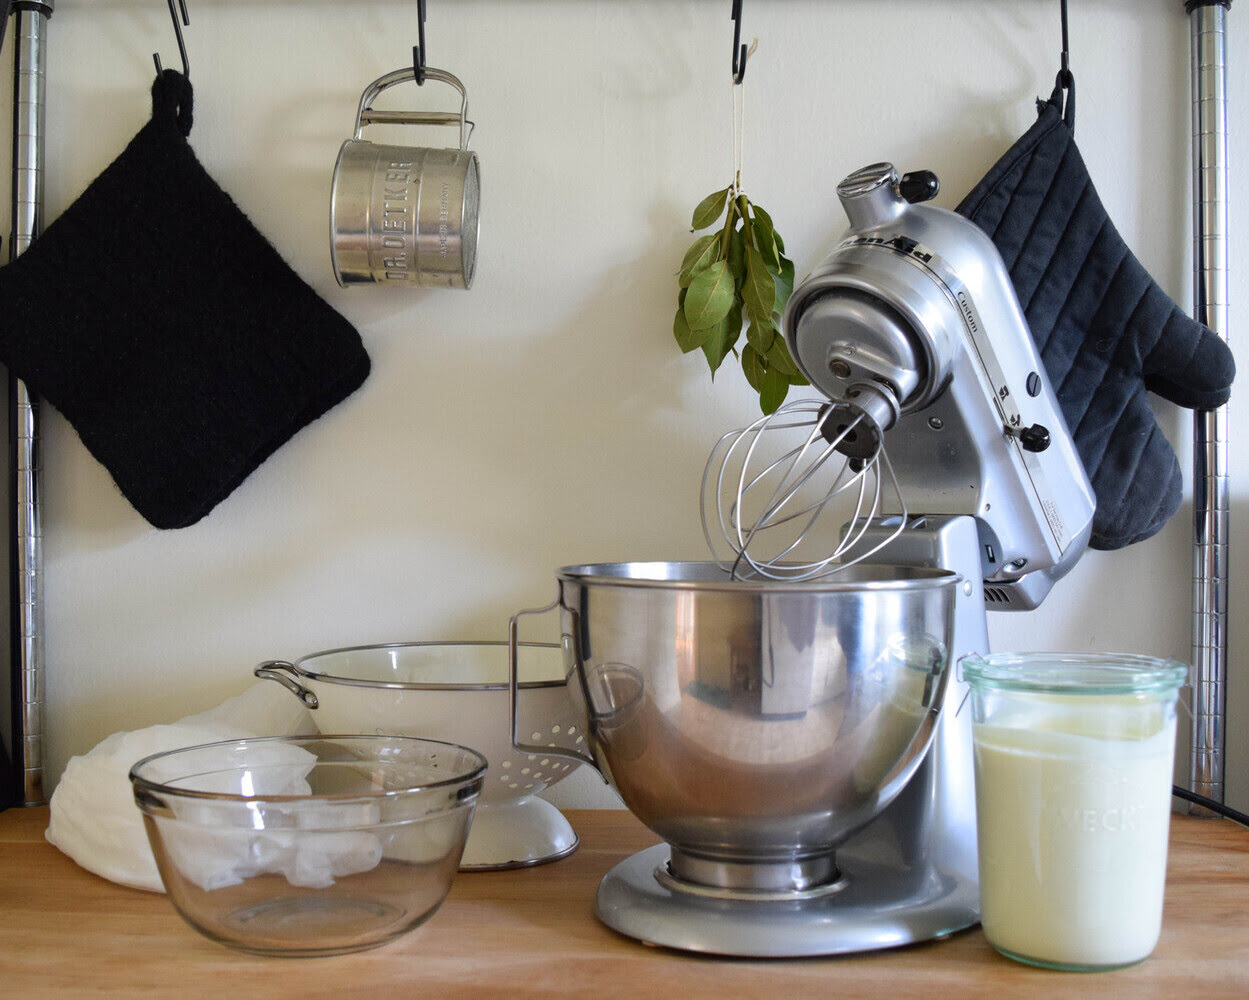
The mixing bowl is an essential part of your stand mixer, and it’s important to keep it clean and free from any residue or stains. Follow these steps to effectively clean the mixing bowl:
1. Fill the mixing bowl with warm soapy water: Start by filling the mixing bowl with warm water and a few drops of mild dish soap. The amount of water should be sufficient to cover the bottom and sides of the bowl.
2. Let it soak: Allow the mixing bowl to soak for a few minutes to loosen any dried-on food particles or stains. This will make it easier to clean.
3. Scrub the bowl: Use a soft sponge or cloth to gently scrub the inside of the bowl. Pay attention to the bottom and the sides where the ingredients tend to accumulate. For stubborn stains, you can use a non-abrasive cleaning brush or a paste made of baking soda and water.
4. Rinse thoroughly: After scrubbing, rinse the mixing bowl with clean water to remove any soap residue. Ensure that all traces of soap are gone.
5. Dry the bowl: Use a clean towel or allow the mixing bowl to air dry completely before storing or reassembling it with the stand mixer. Make sure there is no moisture left, as it can lead to the growth of mold or bacteria.
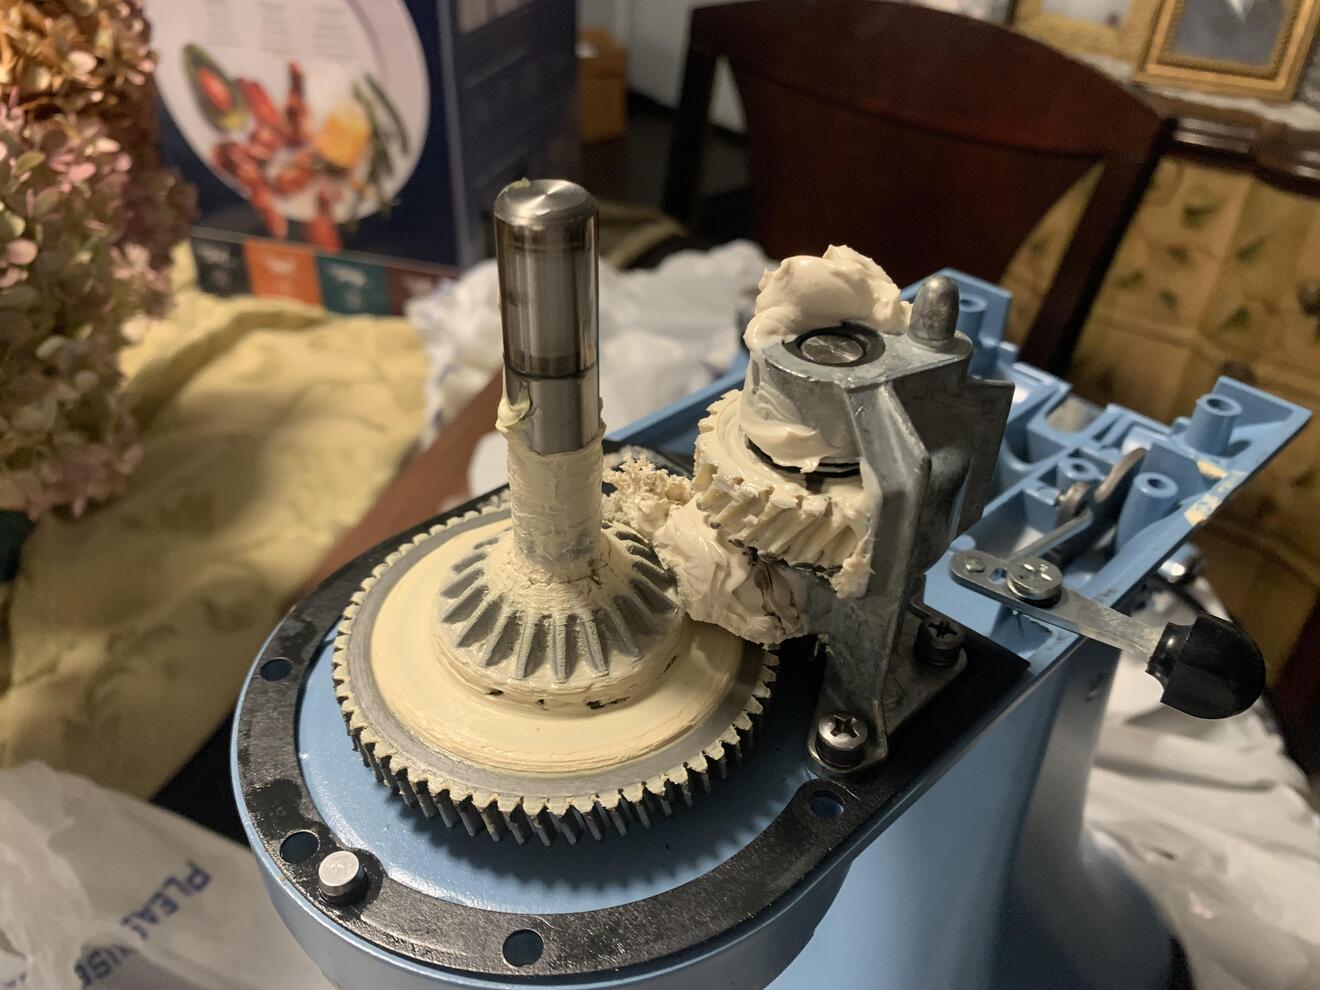
It’s important to note that some stand mixer bowls, especially those made of stainless steel, may develop a patina over time. This is a natural occurrence and does not affect the performance or cleanliness of the bowl. If you prefer, you can use a stainless steel cleaner to restore the shine.
Cleaning the mixing bowl after each use will help maintain its cleanliness and ensure that no residue or flavors from previous recipes transfer to your new creations.
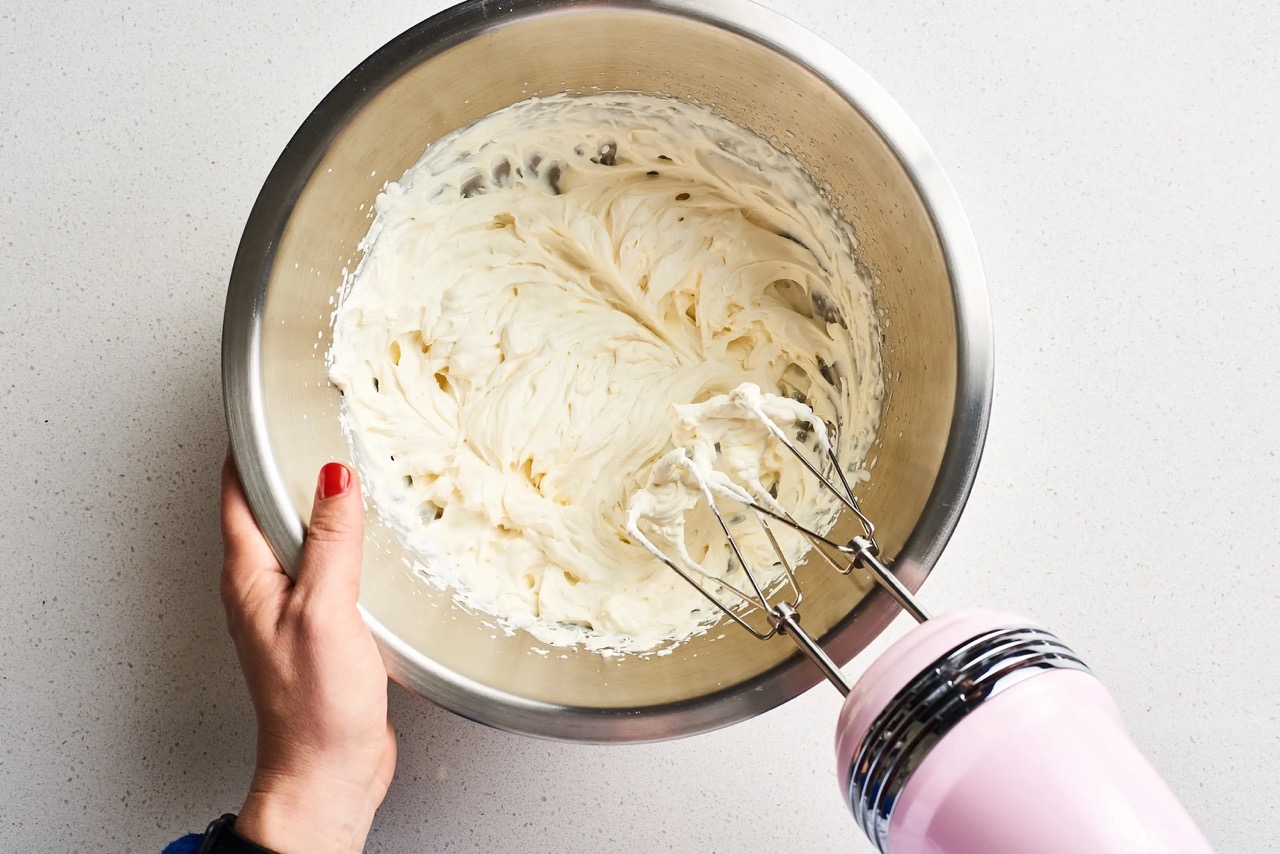
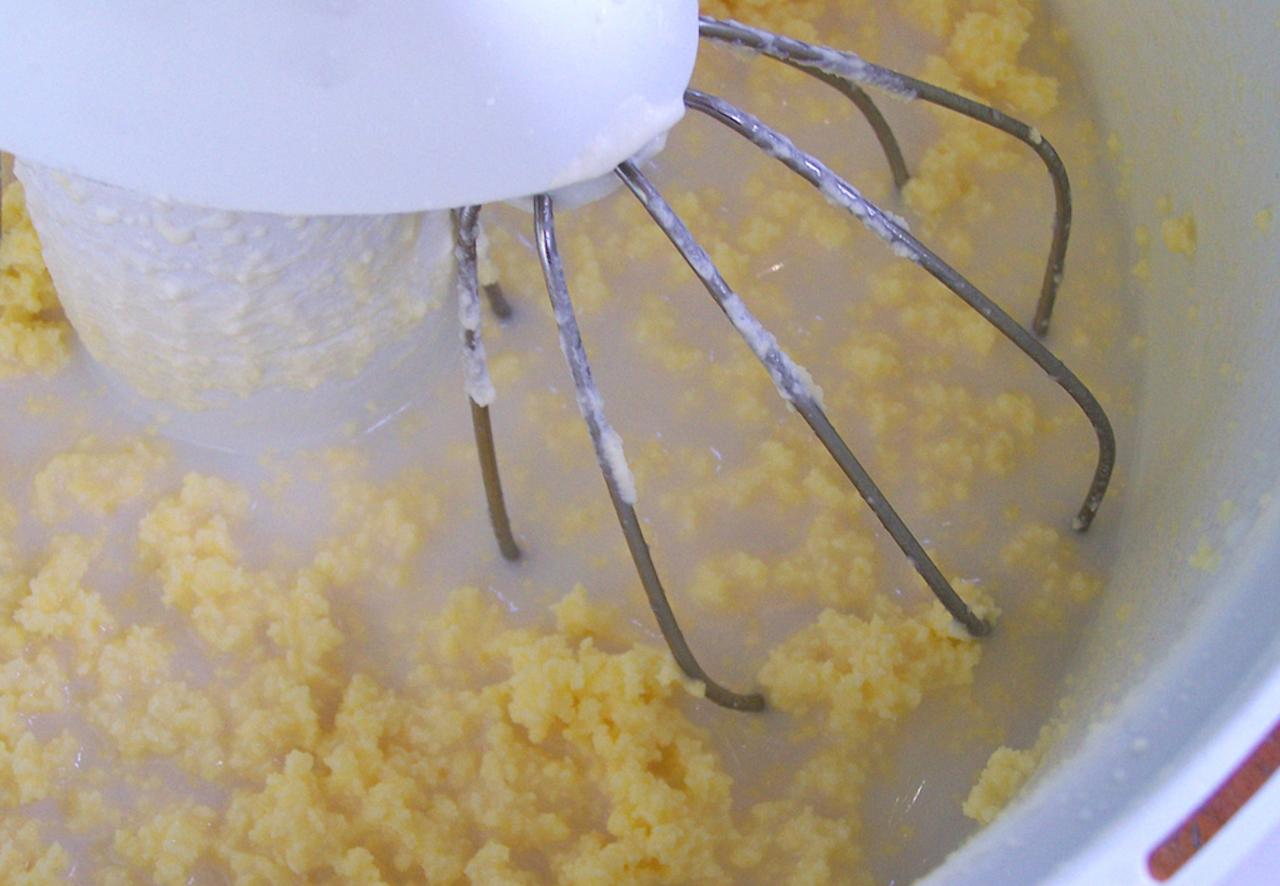
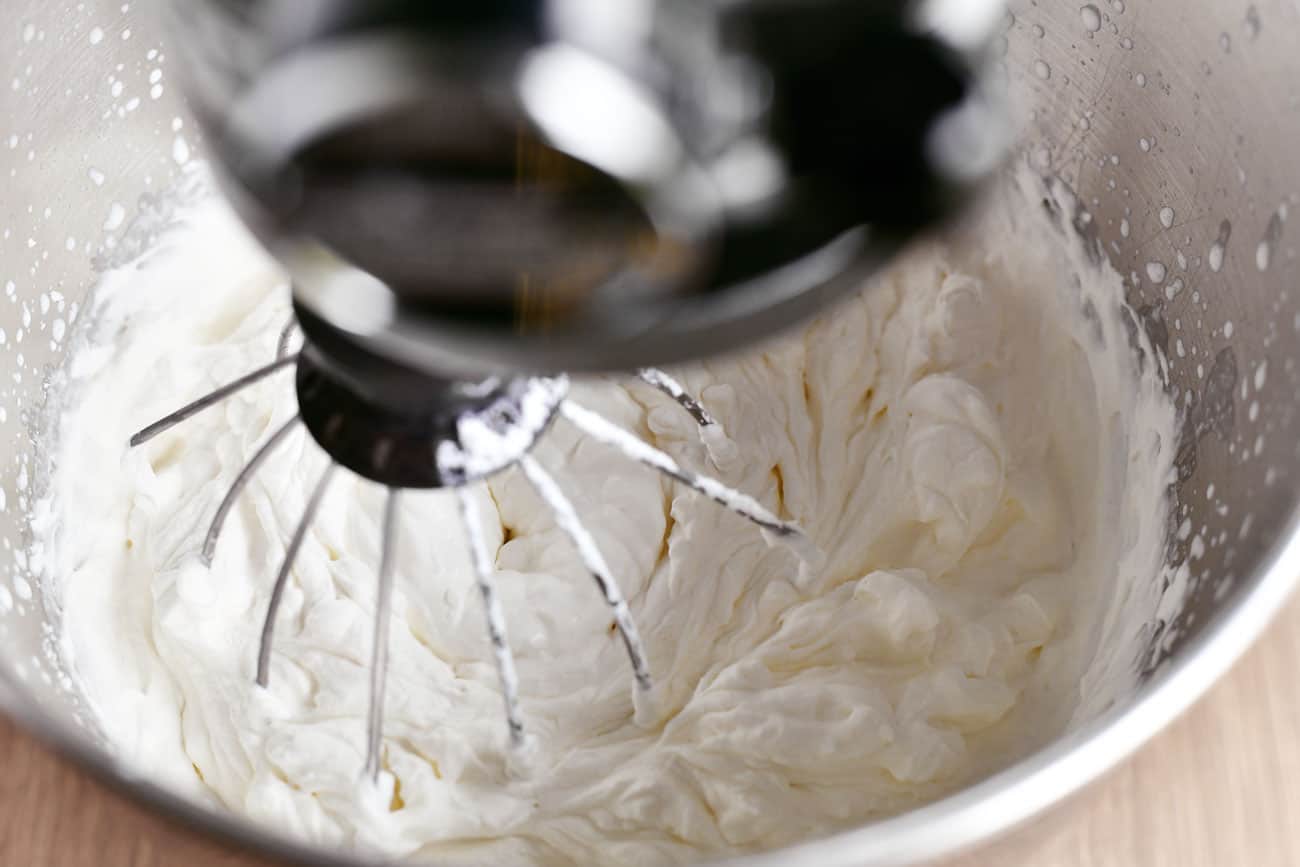
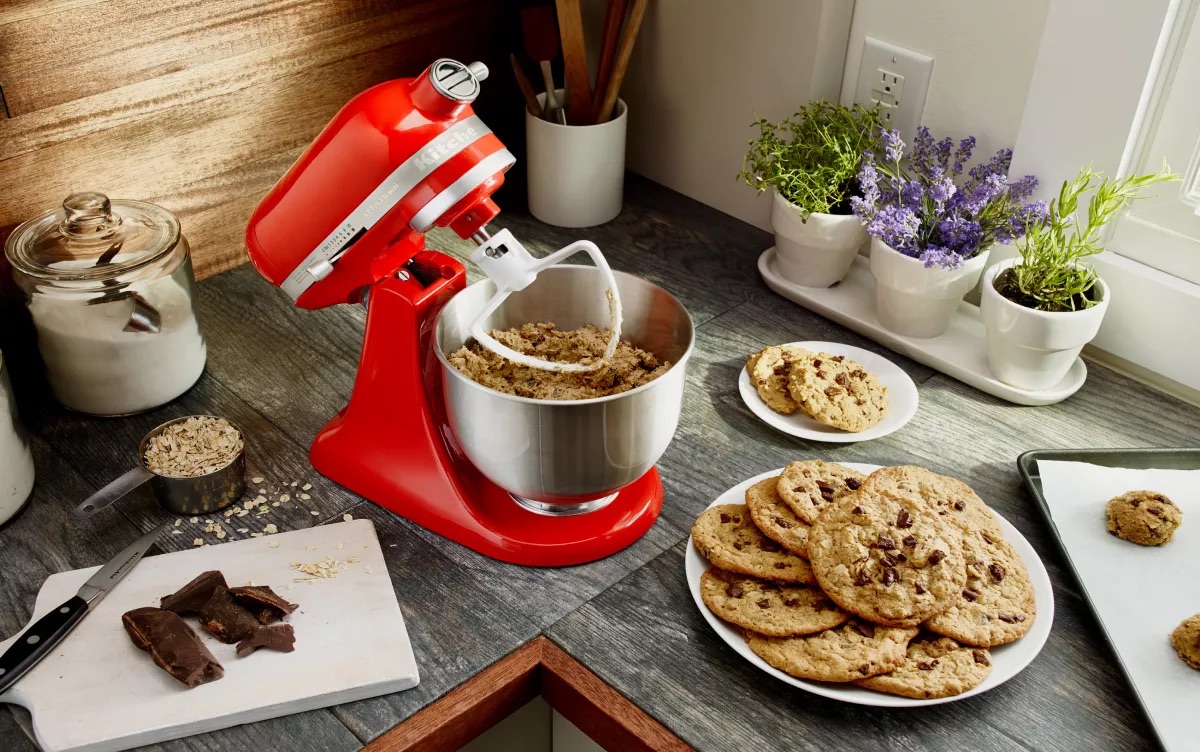
Step 6: Cleaning the Beater and Whisk Attachments
The beater and whisk attachments are crucial components of your stand mixer that come into direct contact with your ingredients. It’s important to clean them thoroughly to remove any buildup or residue. Follow these steps to clean the beater and whisk attachments:
1. Remove excess residue: Before starting the cleaning process, use a spatula or your fingers to remove any excess batter, dough, or other food residue from the beater and whisk attachments. This will make the cleaning process easier.
2. Wash with warm soapy water: Fill your sink or a basin with warm water and a few drops of mild dish soap. Submerge the beater and whisk attachments in the soapy water, ensuring they are fully covered.
3. Scrub gently: Use a soft sponge or cloth to scrub the attachments, paying attention to all surfaces, including the blades or wires. Make sure to remove any remaining residue or stains.
4. Check for hidden food particles: Check the attachment’s crevices or hard-to-reach areas for any hidden food particles. You can use a small brush, such as a toothbrush, to gently scrub these areas.
5. Rinse and dry thoroughly: Rinse the beater and whisk attachments under running water to remove any soap residue. Ensure that all traces of soap are rinsed off. Dry the attachments completely using a clean towel or let them air dry.
6. Reassemble the attachments: Once dry, reattach the beater and whisk to the stand mixer. Ensure that they are securely attached before using your stand mixer for any future baking or cooking projects.
It’s worth noting that some beater and whisk attachments may be dishwasher safe. If your attachments are dishwasher safe, consult the manufacturer’s instructions to determine the appropriate cycle and temperature settings. However, hand washing is generally recommended to ensure the longevity of the attachments’ finish and performance.
By cleaning the beater and whisk attachments thoroughly, you’ll maintain their functionality and prevent any transfer of flavors or residue to your future culinary creations.
Step 7: Cleaning the Stand Mixer Body
The stand mixer body, which includes the motor housing and control panel, also requires regular cleaning to keep it looking its best. Follow these steps to effectively clean the stand mixer body:
1. Use a slightly damp cloth: Start by dampening a soft cloth or sponge with warm water. It’s important to only use a slightly damp cloth to avoid getting moisture into the electrical components of the stand mixer.
2. Wipe the exterior: Gently wipe down the entire exterior of the stand mixer, including the motor housing, control panel, and any other accessible surfaces. Pay close attention to any areas that may be prone to dirt or spills.
3. Focus on stubborn stains: For stubborn stains or dried-on food particles, apply a small amount of mild dish soap to the damp cloth or sponge. Gently rub the stained area in a circular motion until the stain begins to lift.
4. Avoid abrasive cleaners: It’s important to avoid using abrasive cleaners or harsh chemicals on the stand mixer body, as they can damage the surface. Stick to mild dish soap and water for the best results.
5. Dry the stand mixer body: After wiping down the stand mixer body, use a clean, dry cloth to remove any excess moisture. Ensure that the stand mixer is completely dry before proceeding to the next step.
Cleaning the stand mixer body regularly will help maintain its appearance and prevent the buildup of dirt or grime. However, it’s important to note that the control panel and other sensitive areas should not be submerged in water or come into direct contact with liquids. Always use a slightly damp cloth and avoid excessive moisture.
Now that the stand mixer body is clean, let’s move on to the final step of the cleaning process.
Read more: How To Sew A Kitchenaid Mixer Cover
Step 8: Drying and Reassembling the Stand Mixer
After thoroughly cleaning all the components of your stand mixer, it’s important to ensure they are properly dried and reassembled before storing or using the appliance again. Follow these final steps for drying and reassembling your stand mixer:
1. Dry all components: Use a clean towel to dry each component of the stand mixer, including the attachments, mixing bowl, and stand mixer body. Ensure that all parts are completely dry to prevent the growth of mold or bacteria.
2. Air drying: If you prefer, you can also let the components air dry on a clean and dry surface. Make sure to give them ample time to dry before proceeding to the next step.
3. Check for moisture or residue: Before reassembling the stand mixer, double-check that there is no moisture or soap residue on any of the components. Pay attention to hard-to-reach areas and corners where residue may accumulate.
4. Reattach the attachments: Start by attaching the clean and dry mixing bowl to the stand mixer base. Ensure that it is securely locked in place before proceeding to the next step.
5. Attach the beater and whisk: Reattach the clean and dry beater and whisk attachments to the stand mixer. Make sure they are properly secured and aligned with the designated attachment points.
6. Plug in and test: Once all the components are properly reassembled, plug in the stand mixer and test its functionality. Turn it on and run it for a few seconds to ensure that everything is working as expected.
By following these steps, you can ensure that your stand mixer is properly dried, reassembled, and ready for its next use. Regularly cleaning and maintaining your stand mixer will not only prolong its lifespan but also ensure optimal performance for years to come.
Conclusion
Cleaning your stand mixer is an important part of maintaining its performance and longevity. By following the steps outlined in this article, you can keep your stand mixer clean, hygienic, and in pristine condition.
Remember to always prioritize safety by unplugging the stand mixer before cleaning and wearing protective gloves if needed. Take care to avoid immersing the motor housing or power cord in water and use mild cleaning solutions to protect the surfaces.
From removing attachments and hand-washing them to wiping down the exterior and cleaning the mixing bowl, each step plays a crucial role in maintaining the cleanliness and functionality of your stand mixer. Pay attention to any stubborn stains or hidden food particles, and ensure that all components are completely dry before reassembling the stand mixer.
Regular cleaning of your stand mixer will not only help prevent the accumulation of dirt and bacteria but also ensure that your culinary creations are free from any unwanted residue or flavors. It will also contribute to the overall appearance and aesthetic of your stand mixer.
Lastly, always consult the manufacturer’s instructions for specific cleaning guidelines and recommendations for your stand mixer model. They may provide additional insights or product-specific tips that can help you effectively maintain your appliance.
By dedicating a little time and effort to cleaning your stand mixer regularly, you can enjoy its reliable performance and delicious results for many years to come. So, roll up your sleeves, grab a sponge, and give your stand mixer the care it deserves.
Frequently Asked Questions about How To Clean Stand Mixer
Was this page helpful?
At Storables.com, we guarantee accurate and reliable information. Our content, validated by Expert Board Contributors, is crafted following stringent Editorial Policies. We're committed to providing you with well-researched, expert-backed insights for all your informational needs.


0 thoughts on “How To Clean Stand Mixer”