Articles
How To Make Bread With A Stand Mixer
Modified: January 6, 2024
Learn how to make delicious bread using a stand mixer with these helpful articles. Discover tips, techniques, and recipes to perfect your bread-making skills.
(Many of the links in this article redirect to a specific reviewed product. Your purchase of these products through affiliate links helps to generate commission for Storables.com, at no extra cost. Learn more)
Introduction
Bread making is a timeless art that brings warmth and satisfaction to the kitchen. The aroma of freshly-baked bread can fill the home and whisk you away to a place of comfort. While making bread by hand has its charm, using a stand mixer can save you time and effort without compromising on the quality of the final product.
In this article, we’ll walk you through the process of making bread with a stand mixer. Whether you’re a seasoned baker or a novice in the kitchen, it’s a technique that anyone can master with a little practice. So, let’s get started on this delicious, doughy journey!
Before we dive into the specifics, it’s important to note that choosing the right stand mixer is essential. Look for a mixer with a dough hook attachment, as this will ensure proper gluten development and a consistent texture in your bread. Now, let’s gather the ingredients and tools needed for the bread-making process.
Key Takeaways:
- Master the art of bread-making with a stand mixer, saving time and effort while creating delicious, homemade loaves that fill your kitchen with the enticing aroma of freshly baked goodness.
- Experiment with different flours, inclusions, and flavors to personalize your bread, embracing the process and enjoying the journey of creating homemade bread that surpasses anything store-bought.
Choosing the Right Stand Mixer
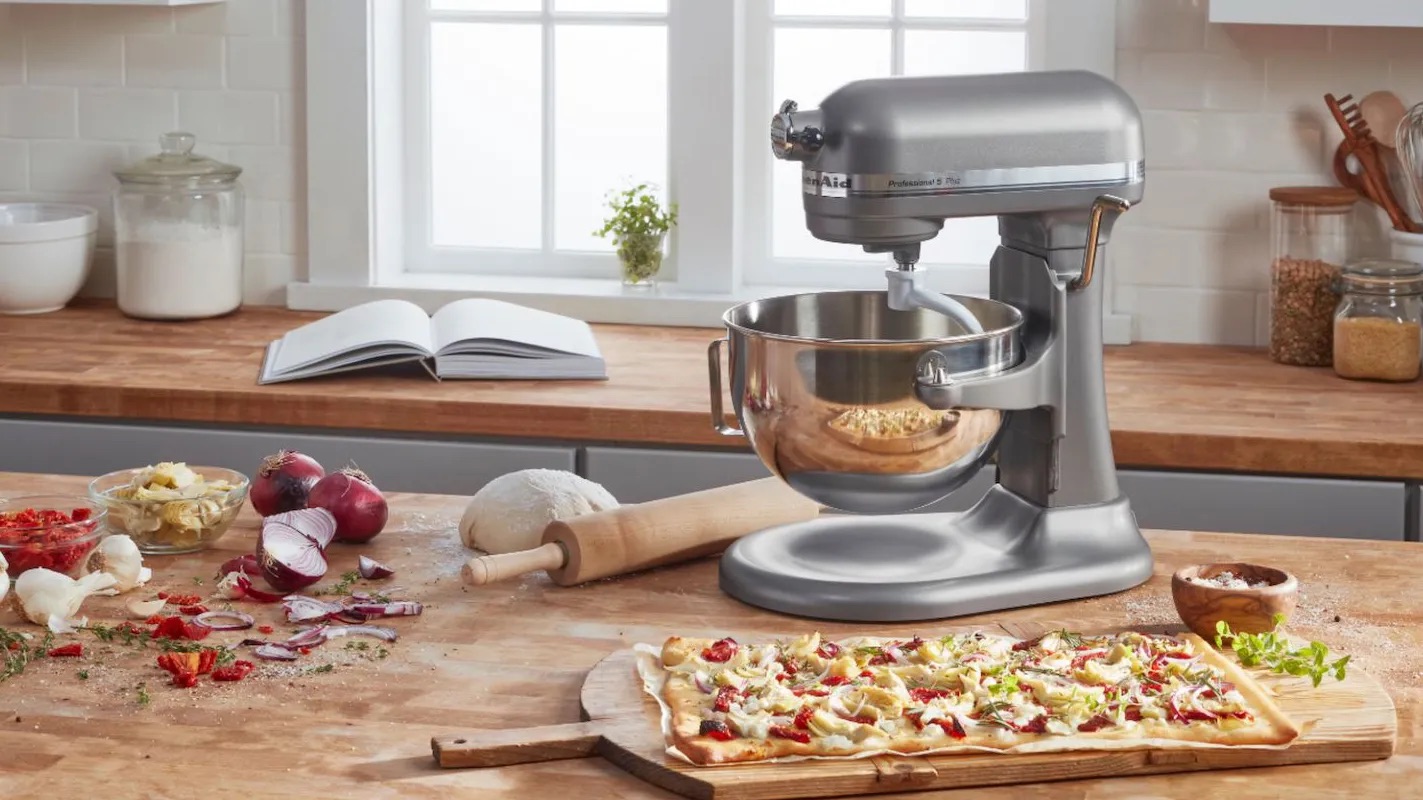
When it comes to selecting a stand mixer for bread-making, there are a few key factors to consider. The right mixer can make all the difference in the quality and ease of your bread-making process.
First and foremost, check the power of the mixer. Look for a model with a motor that can handle heavy doughs. A mixer with at least 500 watts of power is recommended for bread-making purposes. This ensures that the mixer can handle the resistance of the dough as it kneads.
Next, consider the size and capacity of the mixing bowl. A larger bowl allows you to make larger batches of dough, which is especially useful if you often bake bread for gatherings or freeze extra loaves for later. A bowl with a minimum capacity of 4.5 quarts is recommended for bread-making.
Another important feature to look for is a planetary mixing action. This means that the mixing attachment rotates while also moving around the bowl, ensuring that all ingredients are thoroughly mixed. This is crucial for even distribution of the yeast and other ingredients throughout the dough.
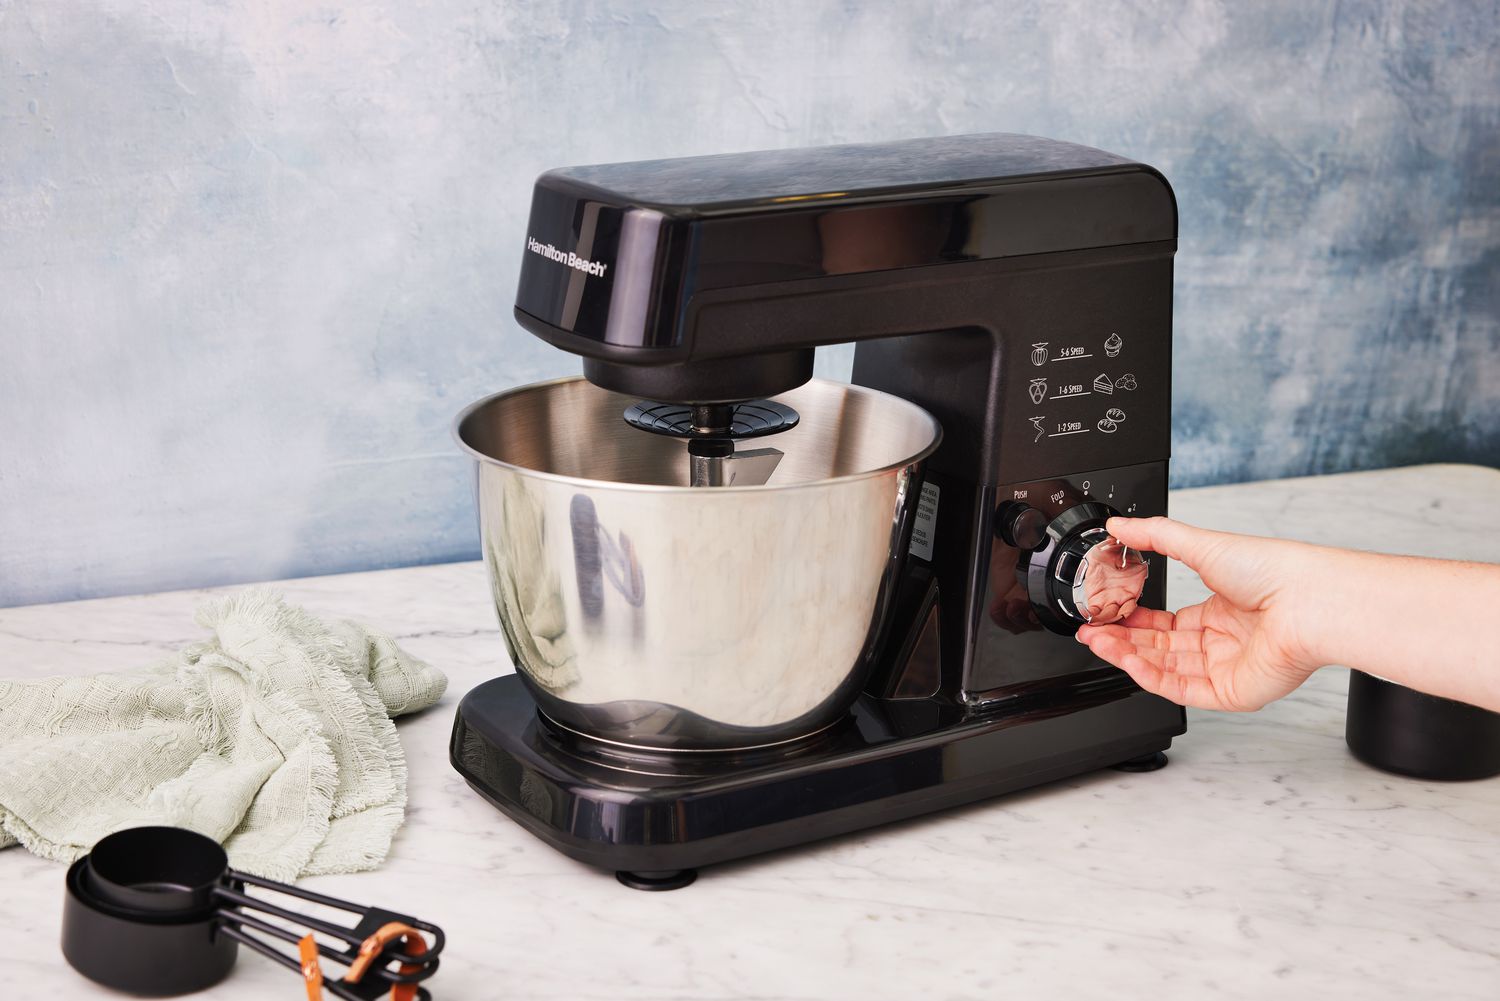
Furthermore, consider the available speed settings on the mixer. Bread dough requires a slow and steady kneading process to develop gluten. Look for a mixer that offers multiple speed options, including a low-speed setting specifically designed for bread-making.
Lastly, take note of any additional attachments that come with the mixer. Some stand mixers offer attachments such as a paddle or whisk, which can be useful for other baking tasks. However, the most important attachment for bread-making is the dough hook, so ensure that it is included with the mixer.
By considering these factors and selecting a stand mixer that meets your needs, you’ll be well-equipped to embark on your bread-making journey. With the right mixer in hand and the ingredients ready, let’s move on to the next step: gathering the necessary ingredients and tools.
Ingredients and Tools
Before we dive into the bread-making process, let’s gather the essential ingredients and tools needed for a successful outcome.
Here’s what you’ll need:
- 4 cups of all-purpose flour
- 2 teaspoons of instant yeast
- 1 ½ teaspoons of salt
- 1 ½ cups of warm water (around 110°F)
- 1 tablespoon of sugar
- Olive oil, for greasing
Additionally, you’ll need the following tools:
- A stand mixer with a dough hook attachment
- A mixing bowl
- A spatula or dough scraper
- A clean kitchen towel or plastic wrap
- A baking sheet or loaf pan
- Parchment paper (if using a baking sheet)
- A bread knife
- A cooling rack
Now that you have everything ready, let’s move on to the step-by-step process of making bread with a stand mixer. We’ll guide you through each stage, from proofing the yeast to baking the bread.
Step 1: Proofing the Yeast
Proofing the yeast is an essential step to ensure that it is active and ready to do its job of leavening the bread. Follow these simple steps to proof the yeast before incorporating it into the dough:
- In a small bowl, combine 1 ½ cups of warm water (around 110°F) with 1 tablespoon of sugar. Stir until the sugar is dissolved.
- Sprinkle 2 teaspoons of instant yeast over the water-sugar mixture. Give it a gentle stir to make sure all the yeast is moistened.
- Let the yeast mixture sit for about 5-10 minutes, or until it becomes frothy and starts to bubble. This is an indication that the yeast is active and ready to be added to the dough.
During this waiting period, the yeast feeds on the sugar, producing carbon dioxide gas that creates the bubbles and foam. This process ensures that the yeast is alive and capable of providing the necessary leavening for the bread.
Once the yeast is proofed and bubbly, you’re ready to move on to the next step: mixing the dough in the stand mixer. Stay tuned for step 2!
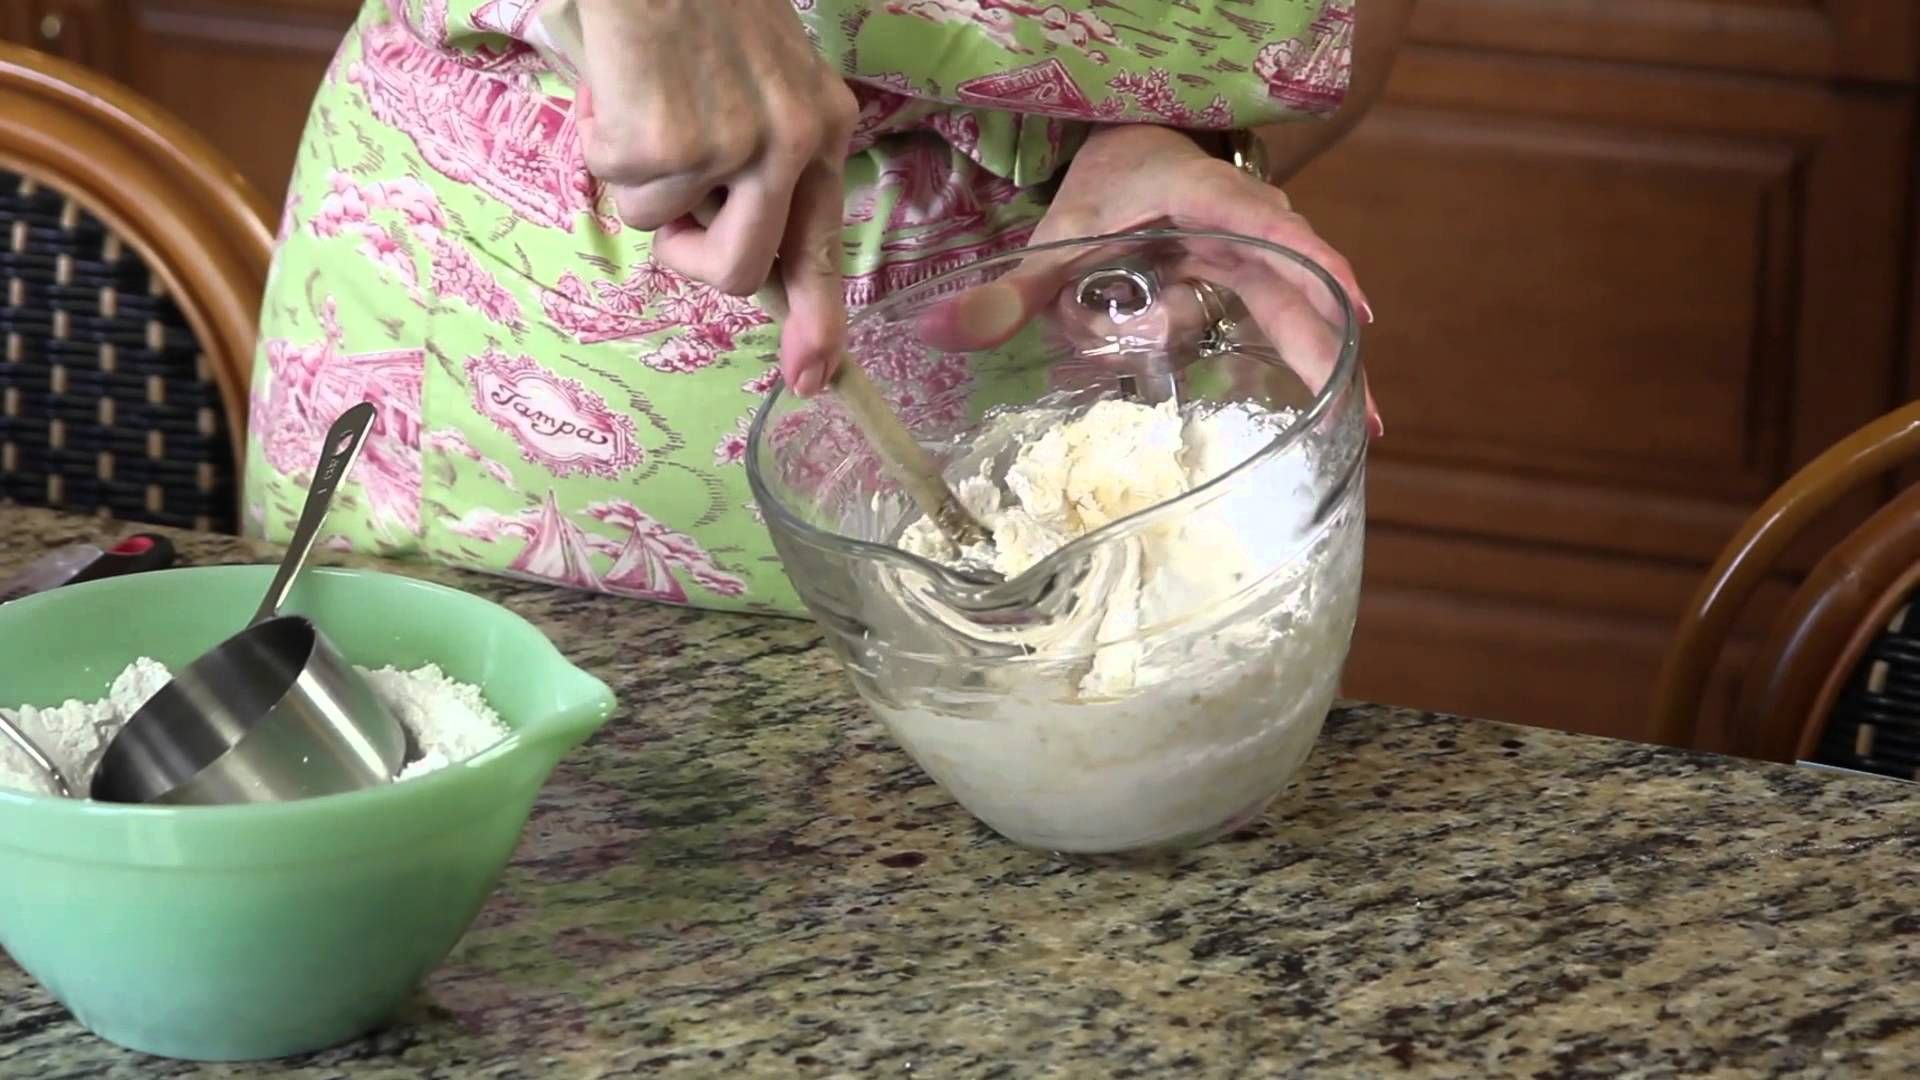
Step 2: Mixing the Dough
Now that the yeast is proofed and ready, it’s time to mix the dough using your stand mixer. Follow these steps to ensure a well-mixed and cohesive dough:
- Attach the dough hook to your stand mixer.
- In the mixing bowl of your stand mixer, combine 4 cups of all-purpose flour and 1 ½ teaspoons of salt. Give it a quick whisk to evenly distribute the salt.
- With the mixer on low speed, gradually pour in the proofed yeast mixture. Let the mixer run for a few seconds to start incorporating the liquid into the flour.
- Continue to add the remaining yeast mixture slowly to the bowl while the mixer is running on low speed. This allows the liquids to be absorbed gradually, resulting in a more manageable dough consistency.
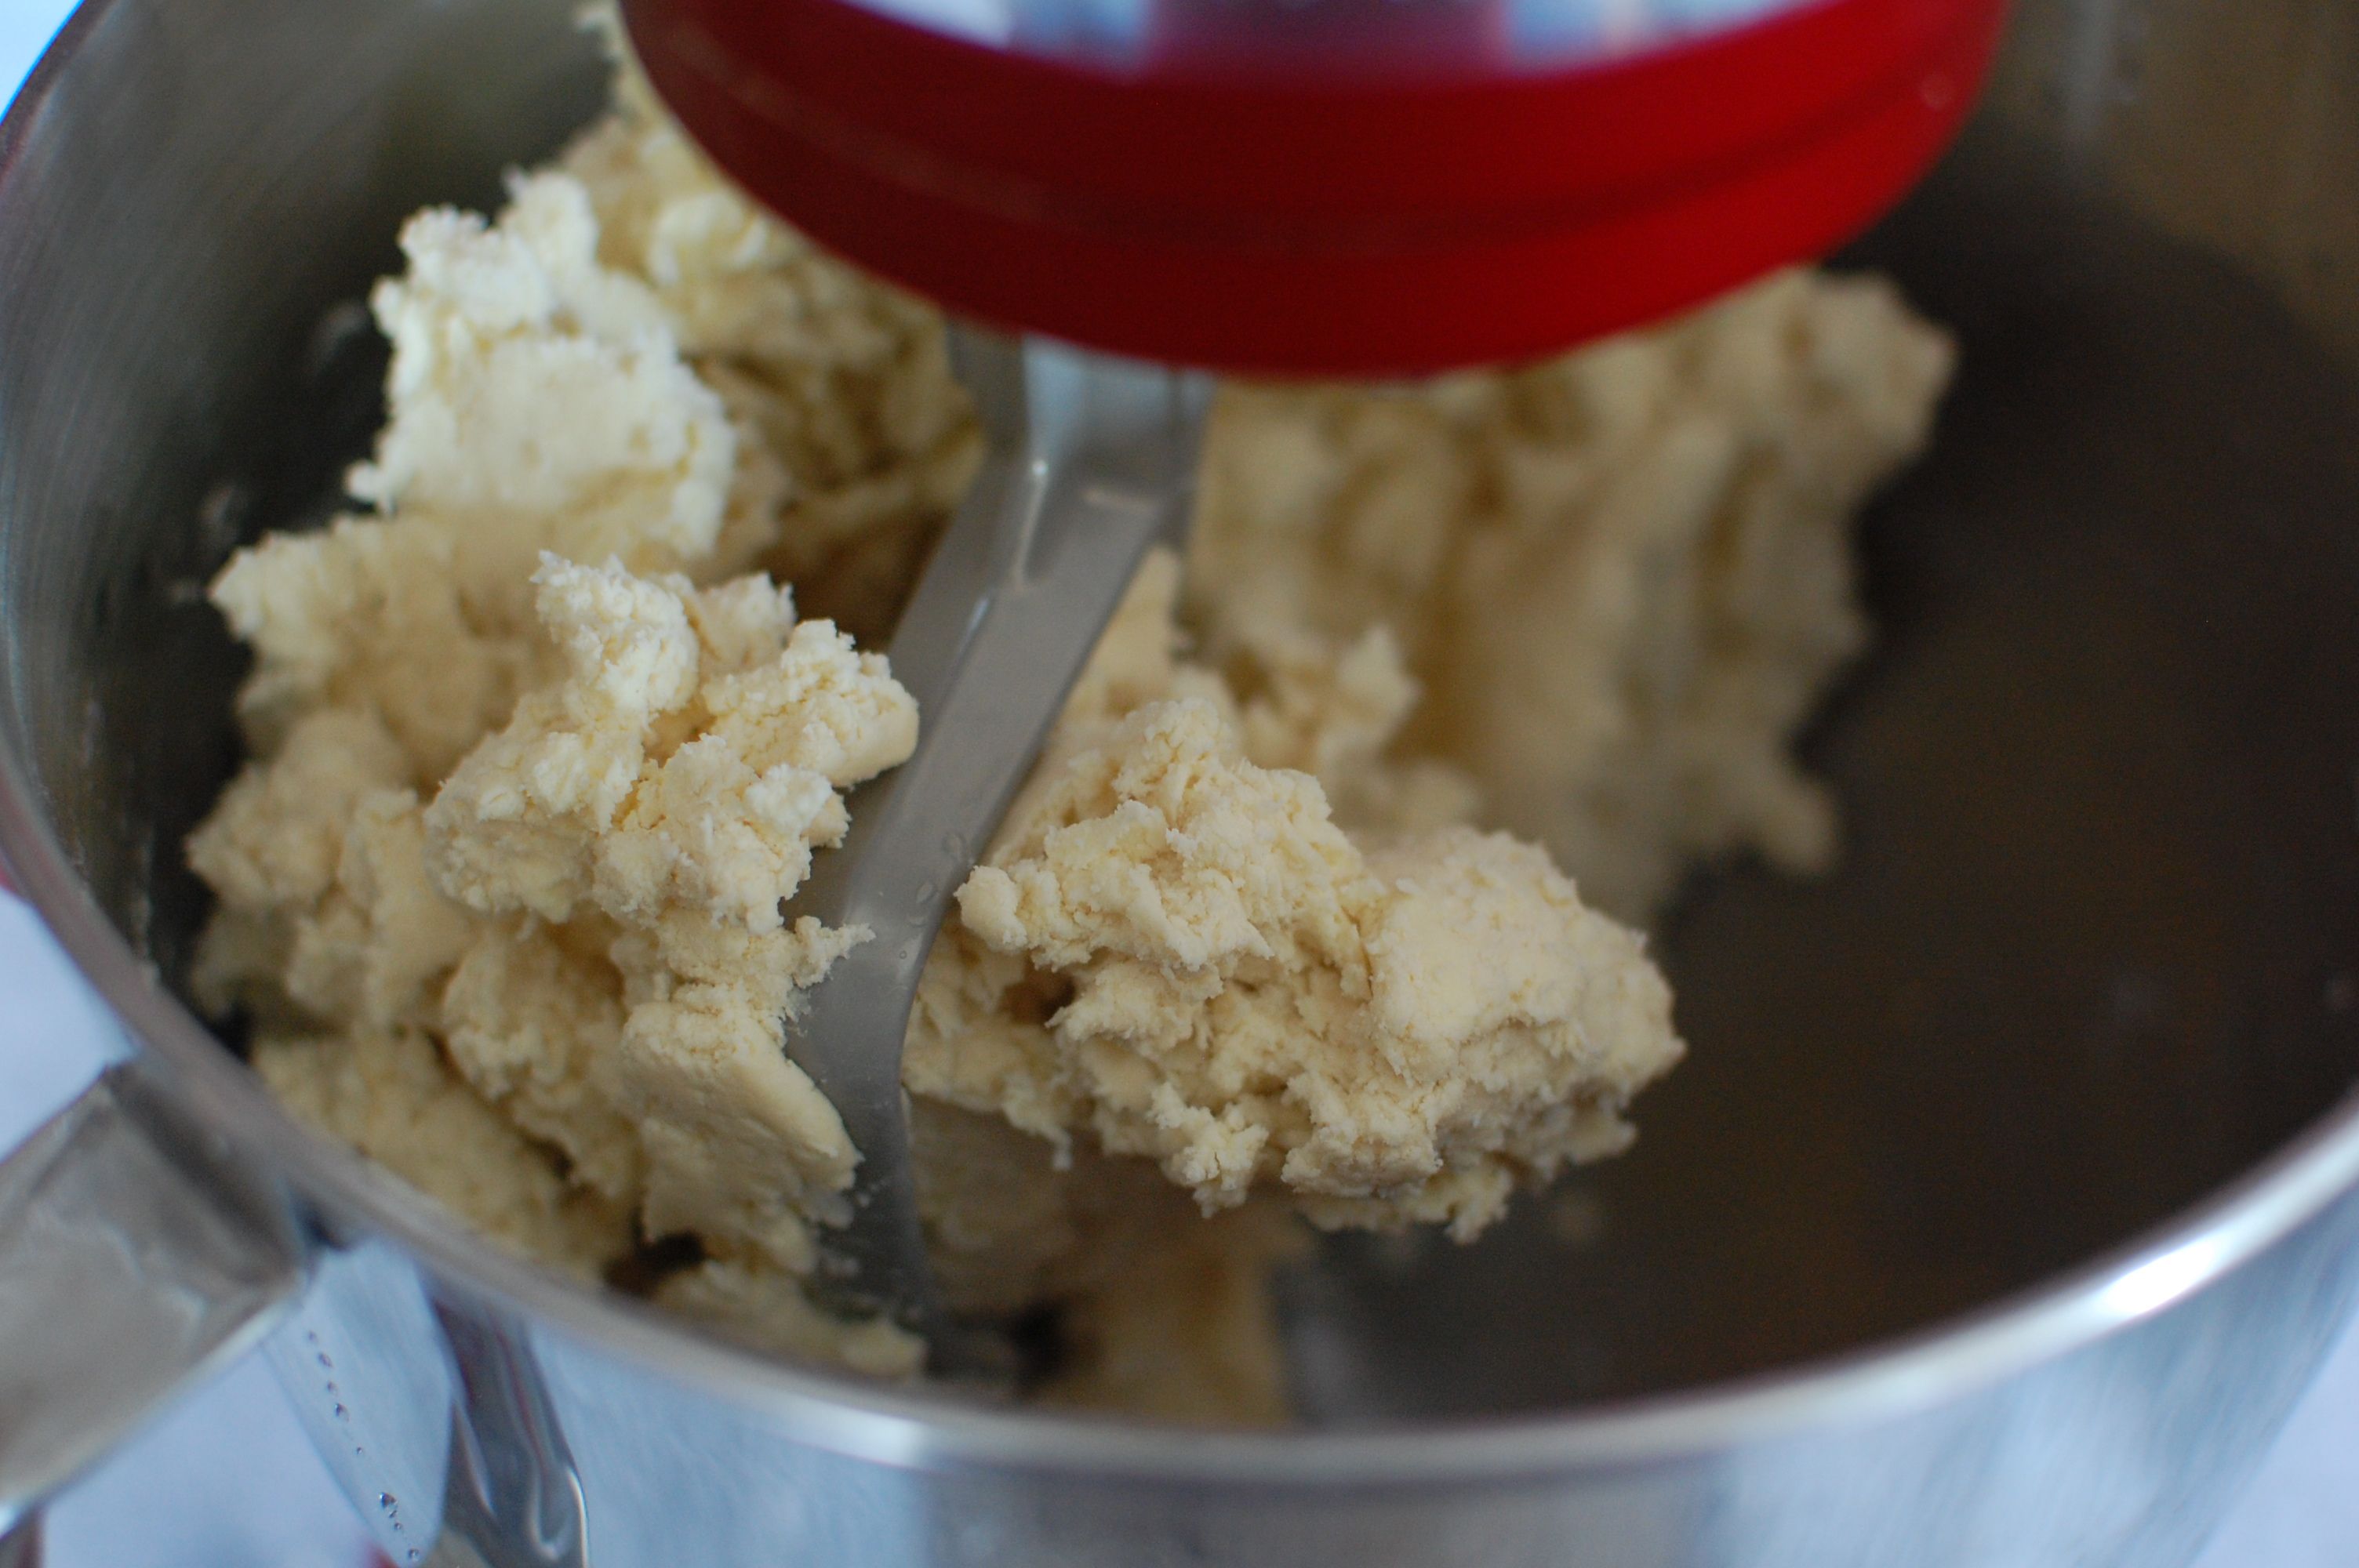
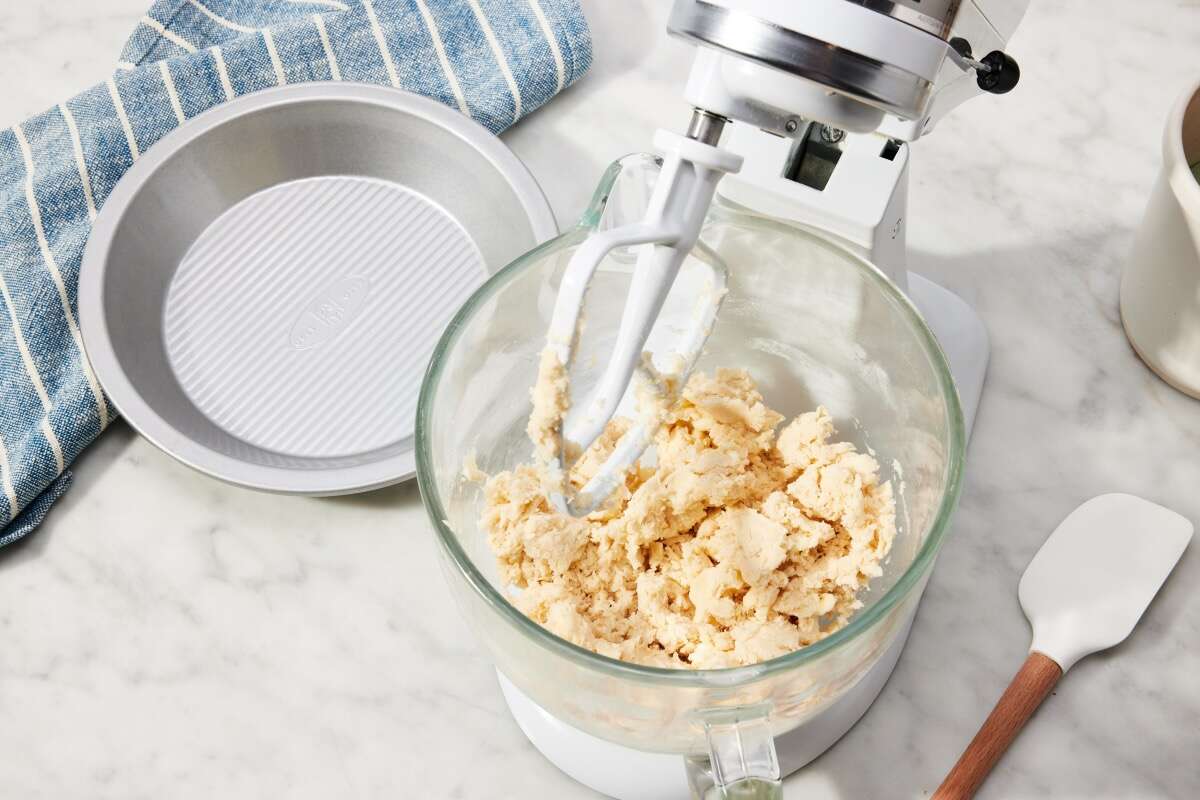
- Mix the dough on low speed for about 2-3 minutes, or until the dough forms a rough ball and starts to pull away from the sides of the bowl. This indicates that the gluten strands are developing.
- If the dough appears too dry and crumbly, add a little water (around 1 tablespoon at a time) to moisten the dough. Conversely, if the dough is too sticky, add a little flour (around 1 tablespoon at a time) to achieve the right consistency.
- Once the dough is mixed and has reached a smooth and elastic texture, it’s time to move on to the next step: kneading the dough.
Mixing the dough in the stand mixer allows for thorough incorporation of the ingredients and proper gluten development. This step sets the foundation for a beautifully textured loaf of bread. Get ready to put those stand mixer skills to work!
Read more: How To Make Cookies Without A Mixer
Step 3: Kneading the Dough
Kneading the dough is a crucial step in bread-making, as it helps develop the gluten and gives the bread structure and texture. Follow these steps to properly knead the dough using your stand mixer:
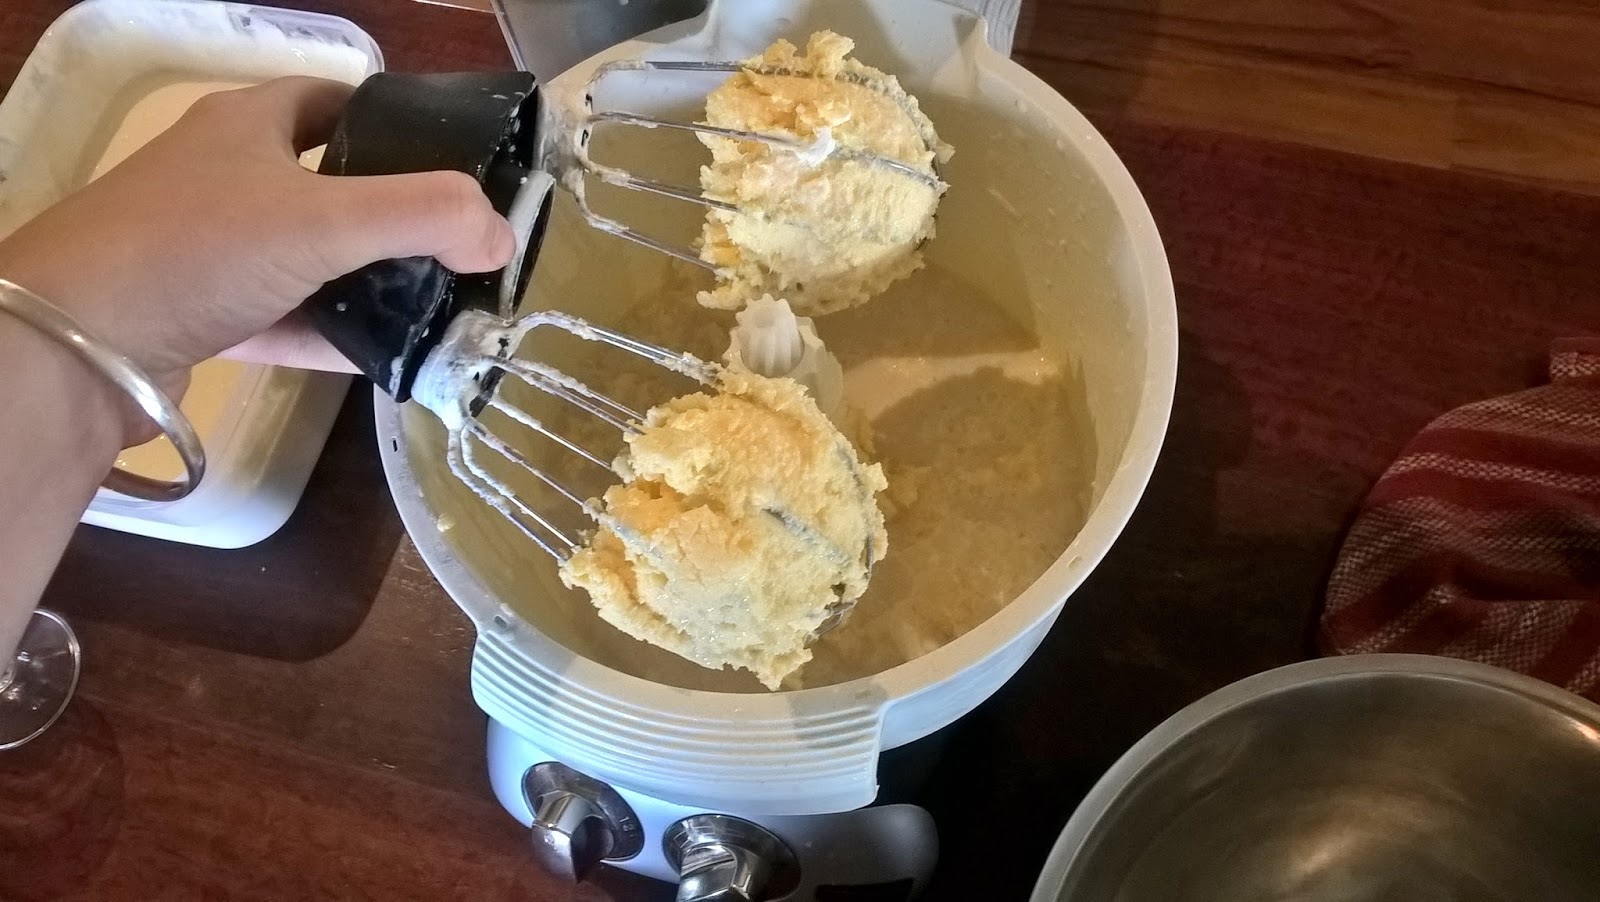
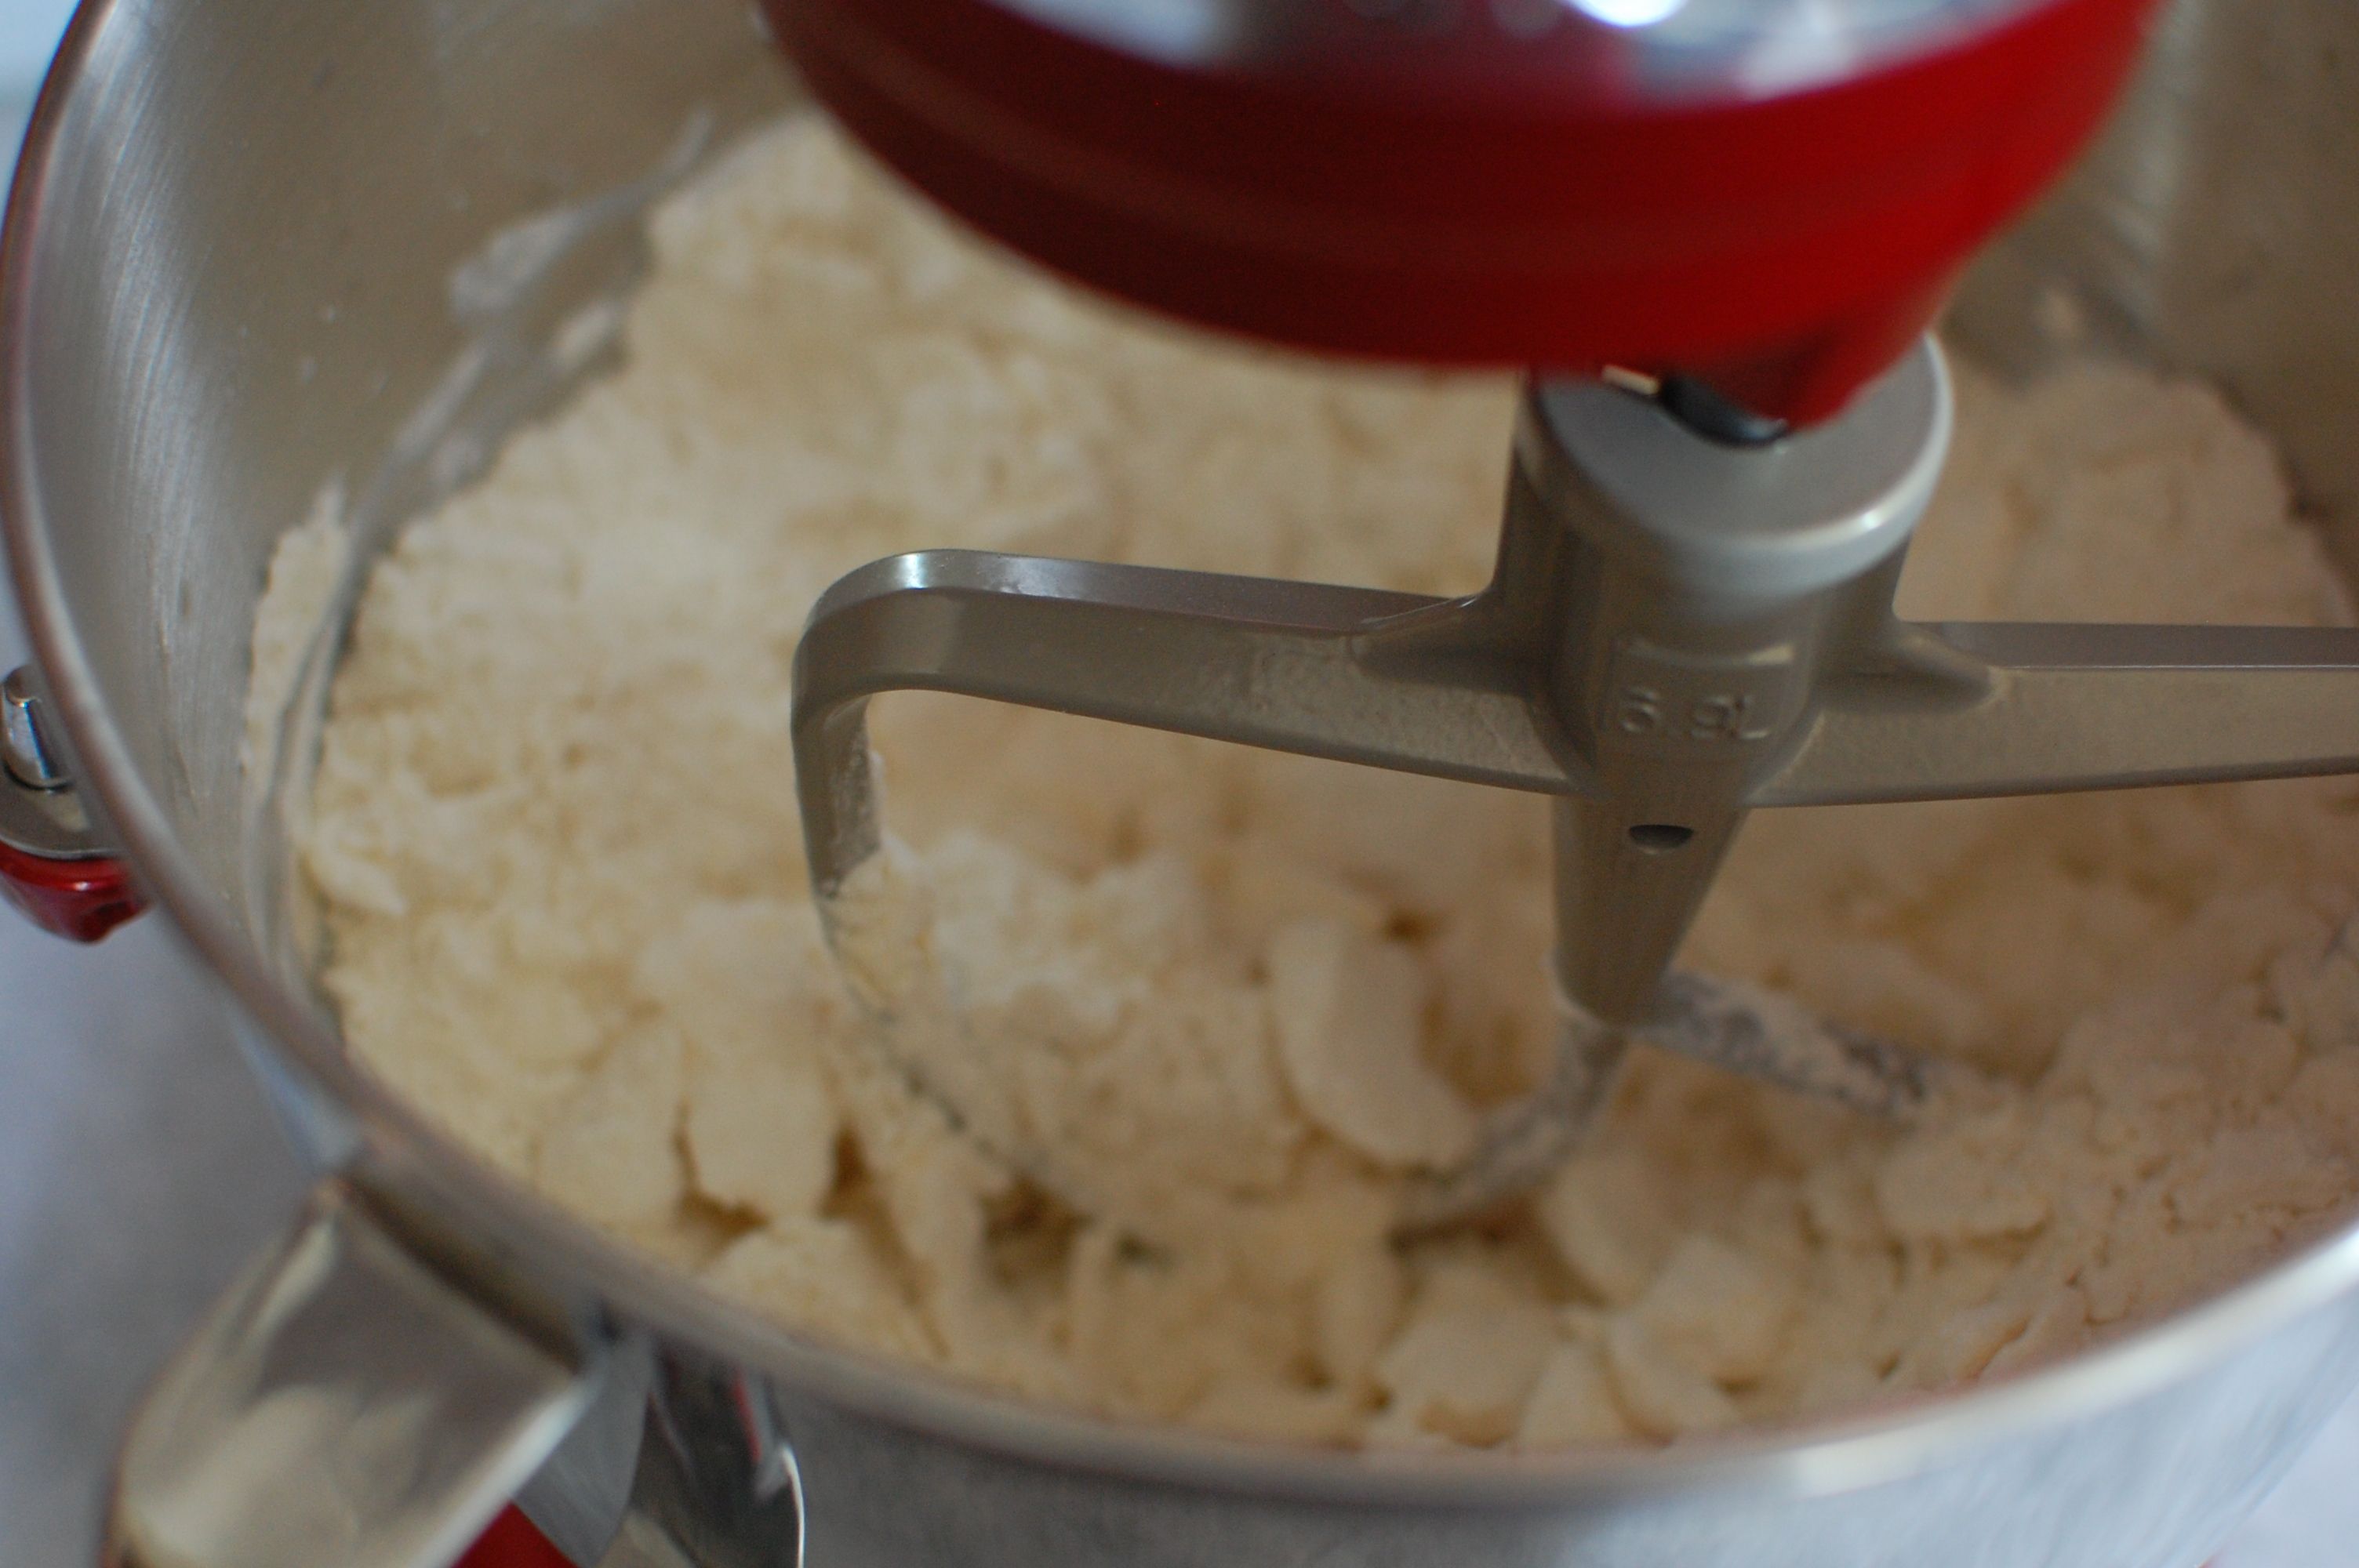
- With the dough in the mixing bowl, increase the mixer speed to medium-low
- Let the stand mixer knead the dough for about 6-8 minutes. This process allows the dough to become smooth, elastic, and springy.
- Occasionally, stop the mixer and scrape down the sides of the bowl using a spatula or dough scraper. This helps incorporate any dry flour or dough stuck to the sides and ensures even mixing.
- If the dough looks too dry and is not coming together, add a small amount of water (about 1 tablespoon at a time) and continue kneading until the dough comes together.
- If the dough appears too sticky and is not pulling away from the sides of the bowl, add a small amount of flour (about 1 tablespoon at a time) and continue kneading until the dough reaches the desired consistency.
Proper kneading ensures that gluten strands stretch and align, creating a network that traps carbon dioxide released by the yeast. This in turn helps the bread rise and develop its characteristic texture.
Once the dough is properly kneaded and has reached the desired texture, it’s time to move on to the next step: the first rising. Stay tuned for step 4!
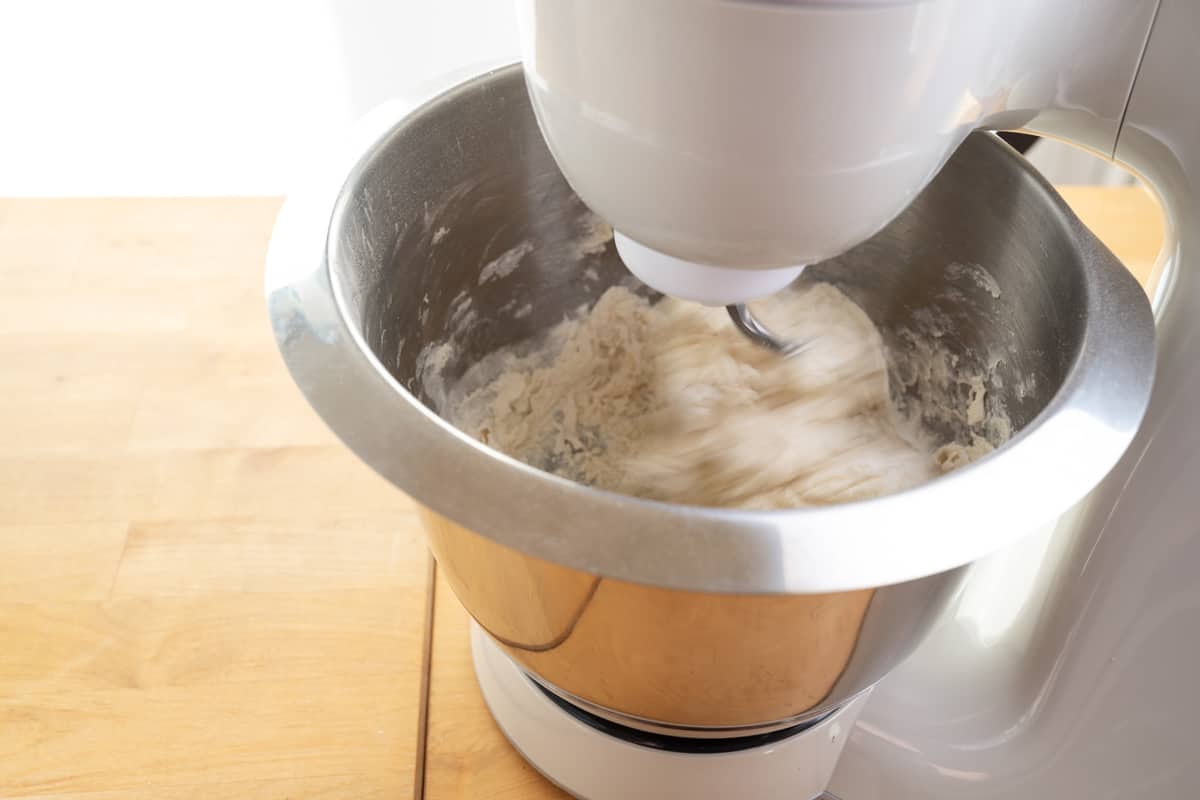
When using a stand mixer to make bread, start with the lowest speed to mix the ingredients, then gradually increase to knead the dough. This helps prevent the dough from flying out of the bowl.
Step 4: First Rising
After kneading the dough, it’s time to let it rise and double in size. This first rising allows the yeast to ferment and release carbon dioxide, giving the bread its airy texture. Follow these steps for the first rising:
- Lightly grease a clean mixing bowl with olive oil to prevent the dough from sticking.
- Shape the kneaded dough into a smooth ball and place it in the greased bowl. Turn the dough over once to coat it lightly with oil.
- Cover the bowl with a clean kitchen towel or plastic wrap to create a warm and draft-free environment for the dough.
- Place the bowl in a warm area, such as the turned-off oven or a sunny spot in your kitchen.
- Allow the dough to rise for about 1 to 1.5 hours, or until it has doubled in size.
During the first rising, the yeast continues to feed on the carbohydrates in the flour, producing carbon dioxide gas that causes the dough to expand. The warm environment helps to speed up this process and promotes yeast activity.
Once the dough has doubled in size, it’s time to move on to the next step: shaping the loaf. Get ready to shape your dough into a beautiful and delicious loaf of bread. Stay tuned for step 5!
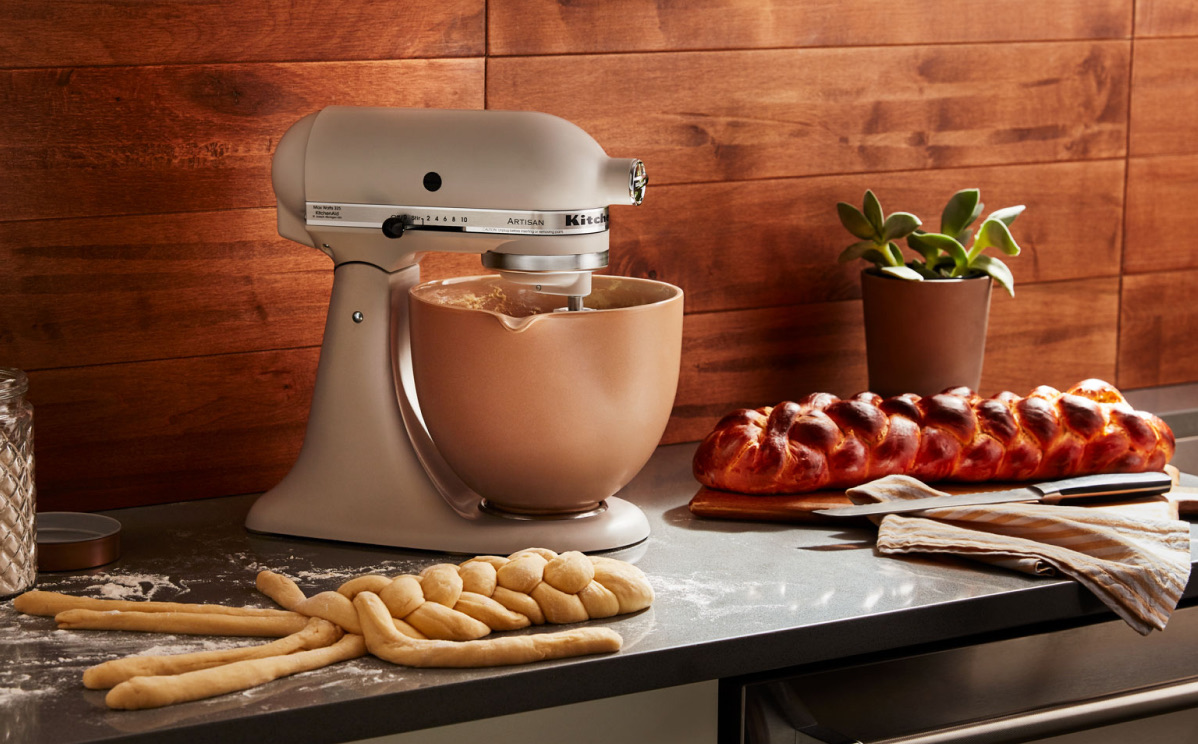
Step 5: Shaping the Loaf
Shaping the loaf is an important step in bread-making as it helps create an appealing appearance and structure for the final product. Follow these steps to shape your dough into a beautiful loaf:
- Transfer the risen dough onto a clean and lightly floured surface.
- Gently press down on the dough to deflate any air pockets that may have formed during the rising process.
- Starting from one side, fold the edges of the dough towards the center, creating a rectangle shape.
- Next, tightly roll the dough from one end to the other, applying gentle pressure to seal the seam as you go.
- Pinch the seam tightly to ensure it stays closed, and fold in the ends of the dough slightly to create a neat shape.
- Place the shaped loaf onto a baking sheet lined with parchment paper or into a greased loaf pan, seam-side down.
Shaping the loaf creates surface tension and gives the bread structure as it rises and bakes. It helps to create an even crumb and prevents the loaf from spreading out too much.
Once you have shaped your loaf, it’s time to move on to the next step: the second rising. Get ready to give your bread its final rise before it goes into the oven. Stay tuned for step 6!
Step 6: Second Rising
After shaping the loaf, it’s time for the second rising. This is the final rise before the bread goes into the oven. Follow these steps for the second rising:
- Cover the shaped loaf with a clean kitchen towel or plastic wrap to protect it from drying out.
- Place the loaf in a warm, draft-free area to allow it to rise for the second time.
- Let the dough rise for about 45 minutes to 1 hour, or until it has noticeably increased in size.
During the second rising, the yeast continues to ferment, releasing more carbon dioxide, and causing the dough to rise further. This stage gives the bread its final proofing and allows the flavors to develop.
Be mindful not to let the dough rise for too long, as it can over-proof and collapse during baking. Keep an eye on the dough and look for a visibly increased volume before proceeding to the next step.
Once the dough has completed its second rising, it’s almost time to enjoy freshly baked bread. But first, let’s move on to the next step: baking the bread. Get ready for the home stretch of this bread-making adventure!
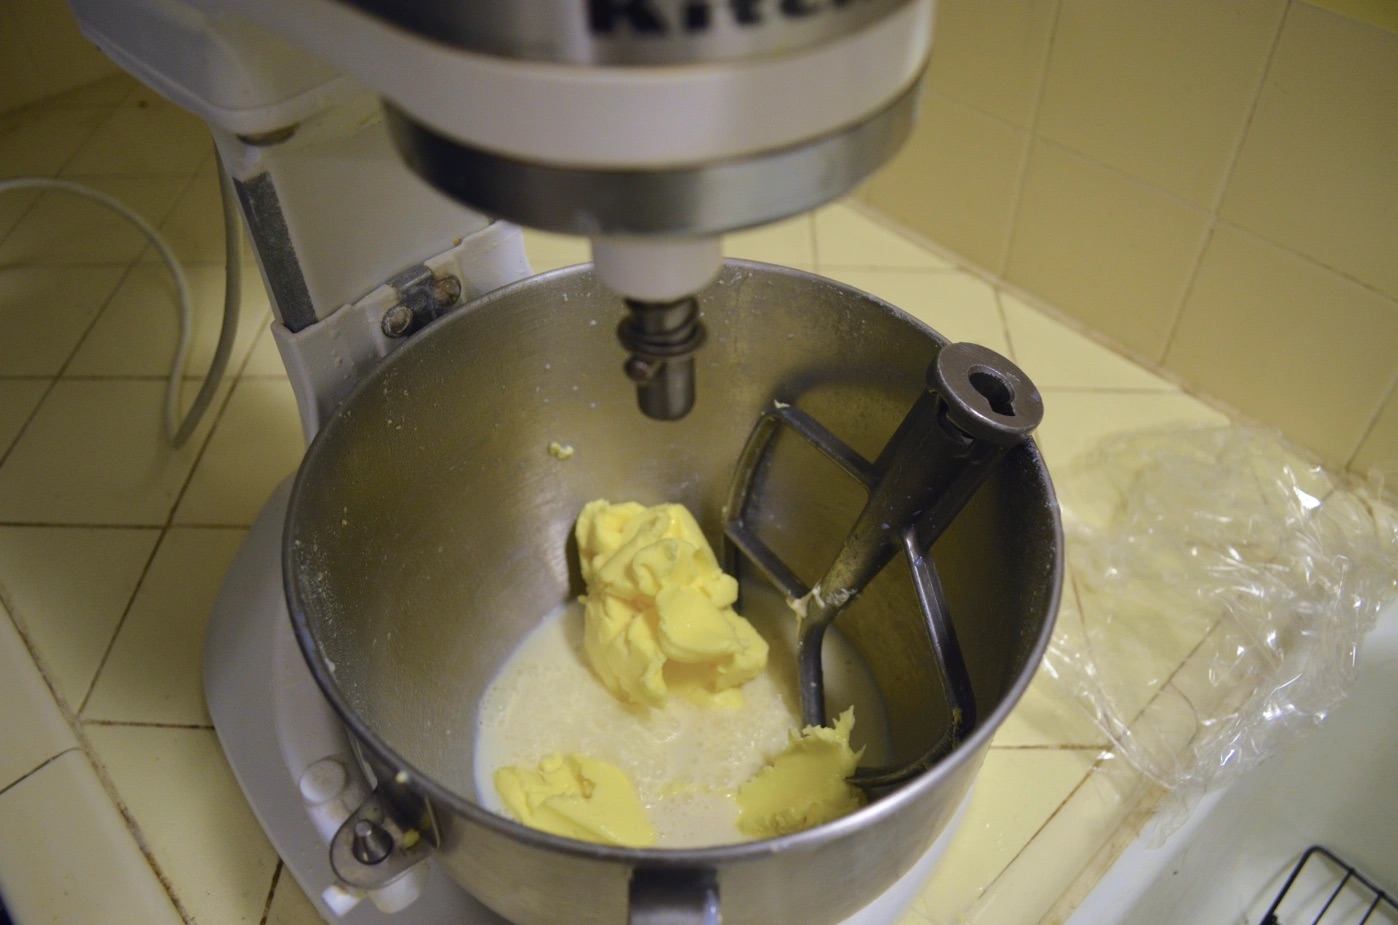
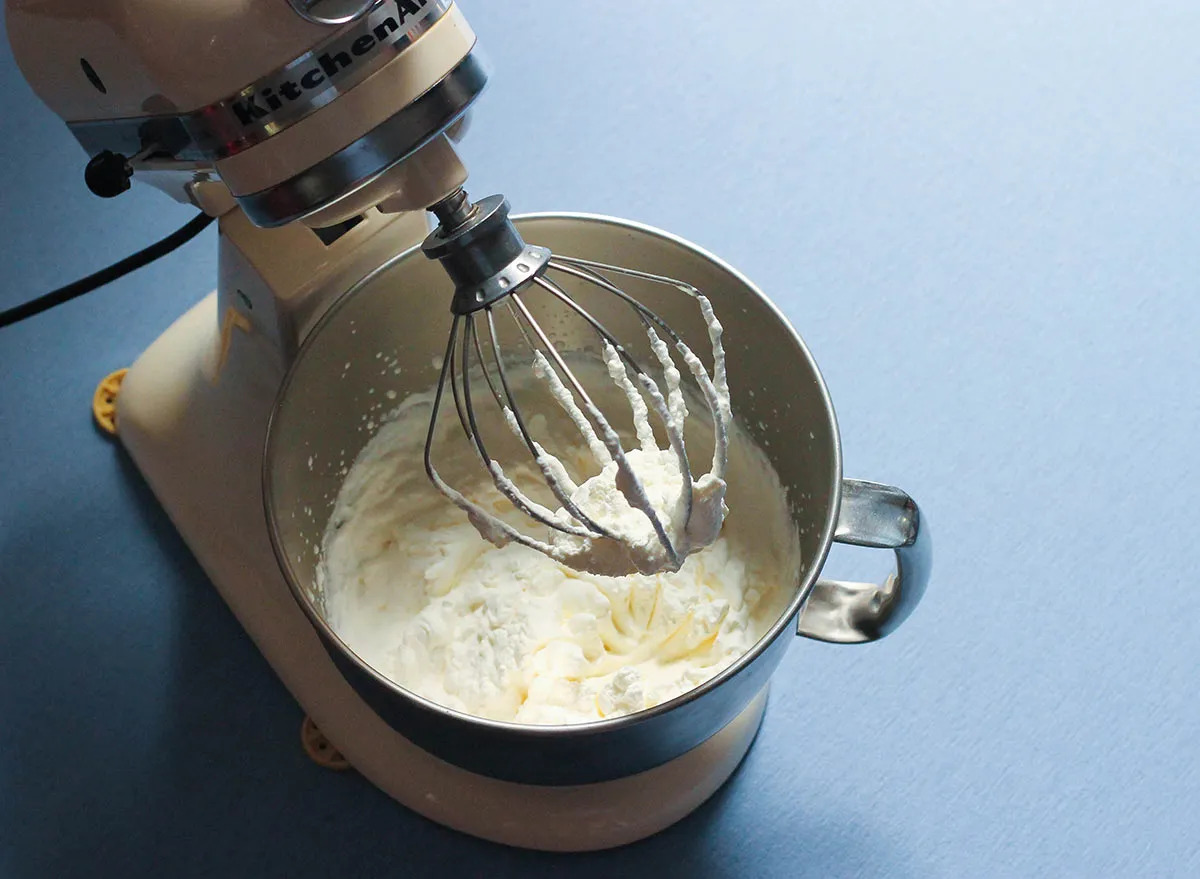
Read more: How To Make Butter In A Stand Mixer
Step 7: Baking the Bread
Now that your dough has risen and is ready to be transformed into a delicious loaf of bread, it’s time to bake it to perfection. Follow these steps for baking your bread:
- Preheat your oven to 425°F (220°C) and place a baking sheet or loaf pan on the middle rack.
- If using a baking sheet, line it with parchment paper for easy removal of the bread after baking.
- Remove the towel or plastic wrap covering the risen dough. If using a loaf pan, carefully transfer the loaf from the pan onto the preheated baking sheet.
- Optionally, you can lightly brush the loaf with water or egg wash for a shiny crust and added flavor.
- Place the baking sheet with the loaf into the preheated oven and bake for about 30-35 minutes, or until the bread is golden brown and sounds hollow when tapped on the bottom.
- If using an instant-read thermometer, the internal temperature of the bread should read around 190-200°F (88-93°C) when it’s fully baked.
- Once baked, transfer the bread to a cooling rack and let it cool completely before slicing. This allows the interior to set and prevents it from becoming gummy.
While the bread is baking, your kitchen will fill with the enticing aroma of freshly baked bread. Be patient and resist the temptation to slice into it immediately – the waiting time will be well worth it!
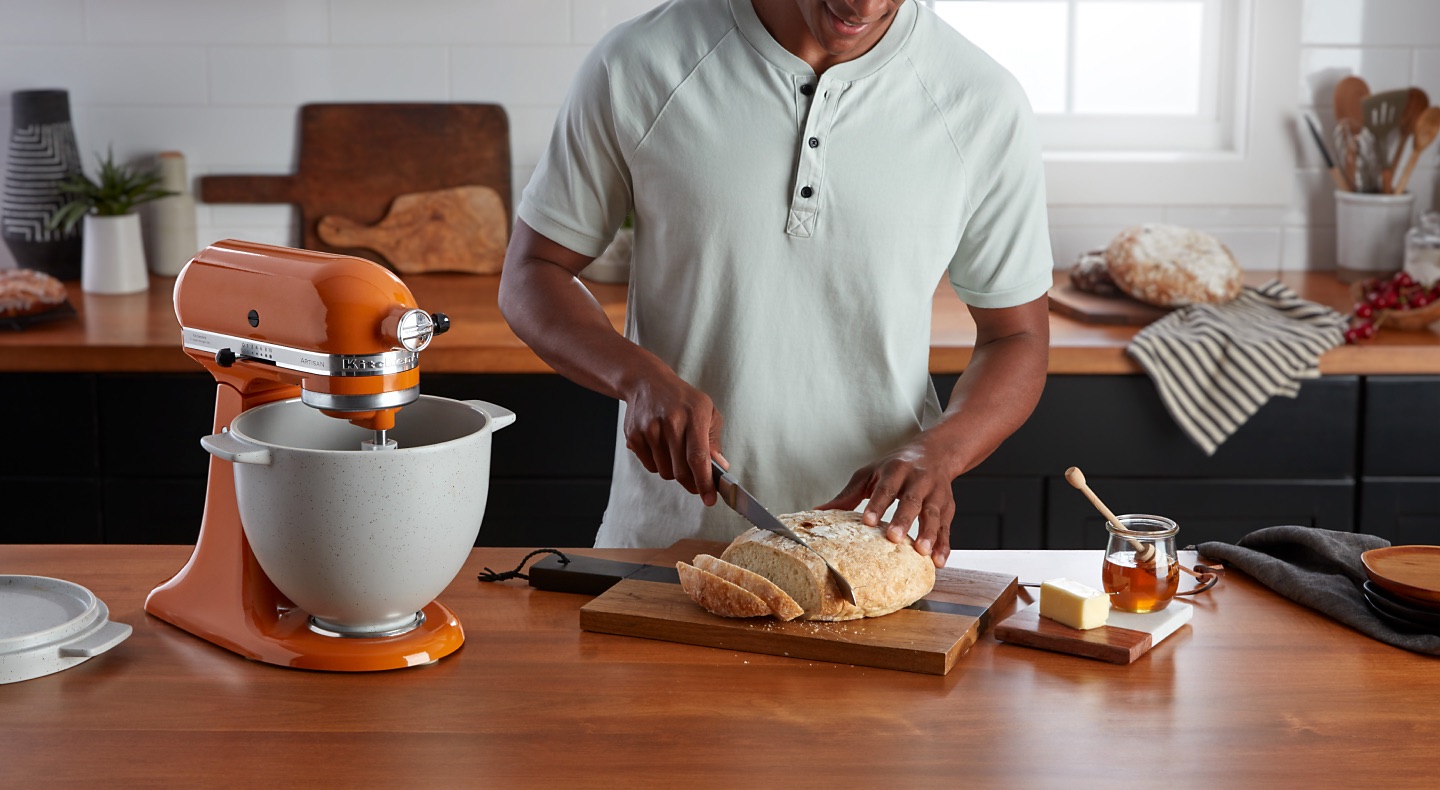
Now that your bread is freshly baked and cooled, it’s time to enjoy the fruits of your labor. Slice into the loaf, slather on some butter, and savor the delicious taste and texture of your homemade bread.
Congratulations on successfully baking bread with your stand mixer! You have mastered the art of bread-making and can now enjoy the satisfaction of creating your very own loaves of bread from scratch.
Remember, practice makes perfect, so don’t be afraid to experiment with different recipes, flavors, and techniques. Happy baking!
Step 8: Cooling and Storing
After the bread has been baked to golden perfection, it’s important to properly cool and store it to maintain its freshness and flavor. Follow these steps for cooling and storing your homemade bread:
- Once the bread is out of the oven, transfer it to a cooling rack. Allowing air to circulate around the loaf will prevent the bottom from becoming soggy.
- Let the bread cool completely at room temperature. This usually takes about 1 to 2 hours, depending on the size of the loaf.
- Resist the temptation to slice into the bread while it’s still warm. Cutting into it too soon can cause the loaf to become gummy and lose its structure.
- Once the bread has cooled completely, you can slice it to your desired thickness. A serrated bread knife works well for achieving clean and even slices.
- To store the bread, wrap it tightly in plastic wrap or aluminum foil to prevent moisture loss. Alternatively, you can place it in a bread bag or airtight container.
- Store the bread at room temperature for up to 2-3 days. However, homemade bread does not contain preservatives, so it is best enjoyed within the first couple of days for optimal freshness.
- If you have a large loaf or want to extend its shelf life, you can freeze the bread. Slice it before freezing and place parchment paper between the slices for easy separation.
- To thaw frozen bread, simply remove the desired number of slices and let them come to room temperature. You can toast the slices or refresh them in a preheated oven for a few minutes if desired.
Properly cooling and storing your bread will help prolong its shelf life and maintain its flavor and texture. Enjoy the satisfaction of homemade bread for days to come!
Now that you’ve completed all the steps, you can confidently make bread using your stand mixer. Each time you bake, you’ll refine your skills and experiment with different variations and flavors, delighting your family and friends with your delicious homemade loaves of bread.
Happy baking and enjoy the wonderful world of homemade bread!
Conclusion
Congratulations! You have now mastered the art of making bread with a stand mixer. By following the steps outlined in this guide, you can create delicious, homemade loaves of bread that will fill your kitchen with the enticing aroma of freshly baked goodness.
Using a stand mixer simplifies the bread-making process, saving you time and effort while still producing excellent results. From choosing the right stand mixer to proofing the yeast, mixing and kneading the dough, to shaping, rising, baking, and finally cooling and storing the bread – each step plays a vital role in creating a perfect loaf.
Experimenting with different flours, adding inclusions like herbs or seeds, and even creating unique flavor combinations will allow you to personalize your bread. Let your creativity flow as you discover new and delicious bread recipes to delight your family and friends.
Remember, practice is key. Each time you bake bread, you’ll refine your skills and gain a better understanding of the dough’s behavior. Embrace the process and enjoy the journey of creating homemade bread that surpasses anything store-bought.
So, what are you waiting for? Get your stand mixer ready, gather your ingredients and tools, and embark on a bread-making adventure. Whether you choose to make classic white bread, hearty whole wheat, or artisanal sourdough, the satisfaction of slicing into a freshly baked loaf will be unmatched.
Enjoy the warmth, comfort, and pure joy that comes from making your own bread. Let the delicious aroma fill your home, and share the love and goodness of homemade bread with those around you. Happy baking!
Frequently Asked Questions about How To Make Bread With A Stand Mixer
Was this page helpful?
At Storables.com, we guarantee accurate and reliable information. Our content, validated by Expert Board Contributors, is crafted following stringent Editorial Policies. We're committed to providing you with well-researched, expert-backed insights for all your informational needs.

0 thoughts on “How To Make Bread With A Stand Mixer”