Articles
How To Solder Galvanized Steel Gutters
Modified: December 7, 2023
Learn the essential techniques and tools needed to successfully solder galvanized steel gutters with our informative articles. Start your project today!
(Many of the links in this article redirect to a specific reviewed product. Your purchase of these products through affiliate links helps to generate commission for Storables.com, at no extra cost. Learn more)
Introduction
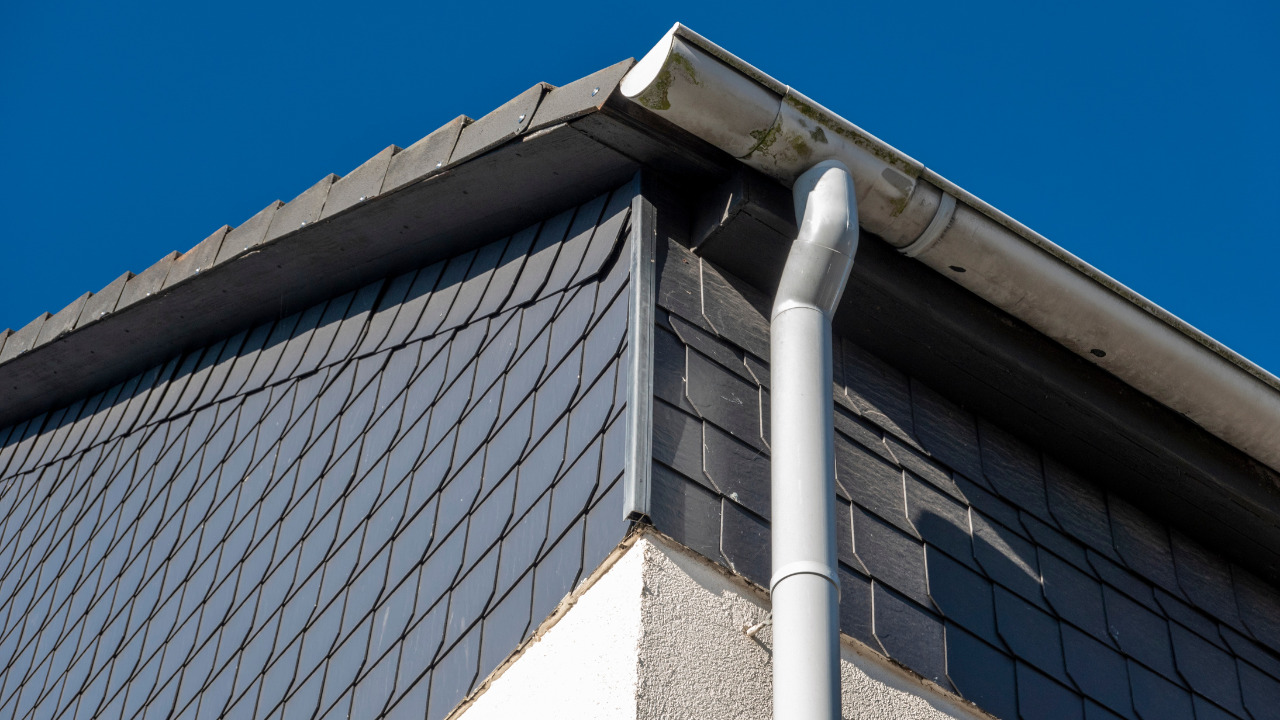
When it comes to gutter systems, galvanized steel gutters are known for their durability and longevity. However, over time, these gutters may experience wear and tear, leading to leaks and other issues. Soldering galvanized steel gutters can be an effective solution to repair damaged sections and ensure proper water drainage.
Soldering is a technique that involves joining metals together using a filler metal, known as solder, which has a lower melting point than the base metal. When heated, the solder flows between the two surfaces, creating a strong and watertight bond. In the case of galvanized steel gutters, soldering is an excellent method to repair small holes, cracks, or gaps.
While soldering galvanized steel gutters may seem challenging, with the right tools, materials, and technique, it can be a straightforward process. This article will provide a step-by-step guide on how to solder galvanized steel gutters, ensuring a successful repair and preventing further damage.
Key Takeaways:
- Soldering galvanized steel gutters is a practical and effective method for repairing damaged sections and ensuring proper water drainage. Prioritize safety, gather the necessary tools and materials, and follow the step-by-step guide for successful soldering.
- The key steps to soldering galvanized steel gutters include cleaning the surface, applying flux, preparing the soldering iron, heating the gutter, applying the solder, and cooling and inspecting the soldered joint. Attention to detail and careful execution will result in a secure and durable solder joint.
Read more: How To Solder Glass Together
Safety Precautions
Before you begin soldering galvanized steel gutters, it is essential to prioritize your safety. The following safety precautions should be followed:
- Wear protective gear: Put on safety goggles, gloves, and a dust mask to protect your eyes, hands, and respiratory system from any potential hazards.
- Work in a well-ventilated area: Soldering can release fumes, so make sure you are in a space with proper ventilation. Open windows or doors, or use fans to improve air circulation.
- Use heat-resistant materials: Ensure your work surfaces, such as a heat-resistant mat or soldering station, can withstand high temperatures to prevent accidents and damage.
- Maintain a clear workspace: Remove any flammable materials or debris from your workspace to eliminate the risk of fire.
- Keep a fire extinguisher nearby: In case of emergencies, have a fire extinguisher readily accessible and know how to use it.
- Work with a partner: Having a second person around can provide assistance if needed, increasing safety during the soldering process.
By following these safety precautions, you can ensure a secure working environment and minimize the possibility of accidents or injuries while soldering galvanized steel gutters.
Tools and Materials Needed
Before you start soldering galvanized steel gutters, gather the following tools and materials:
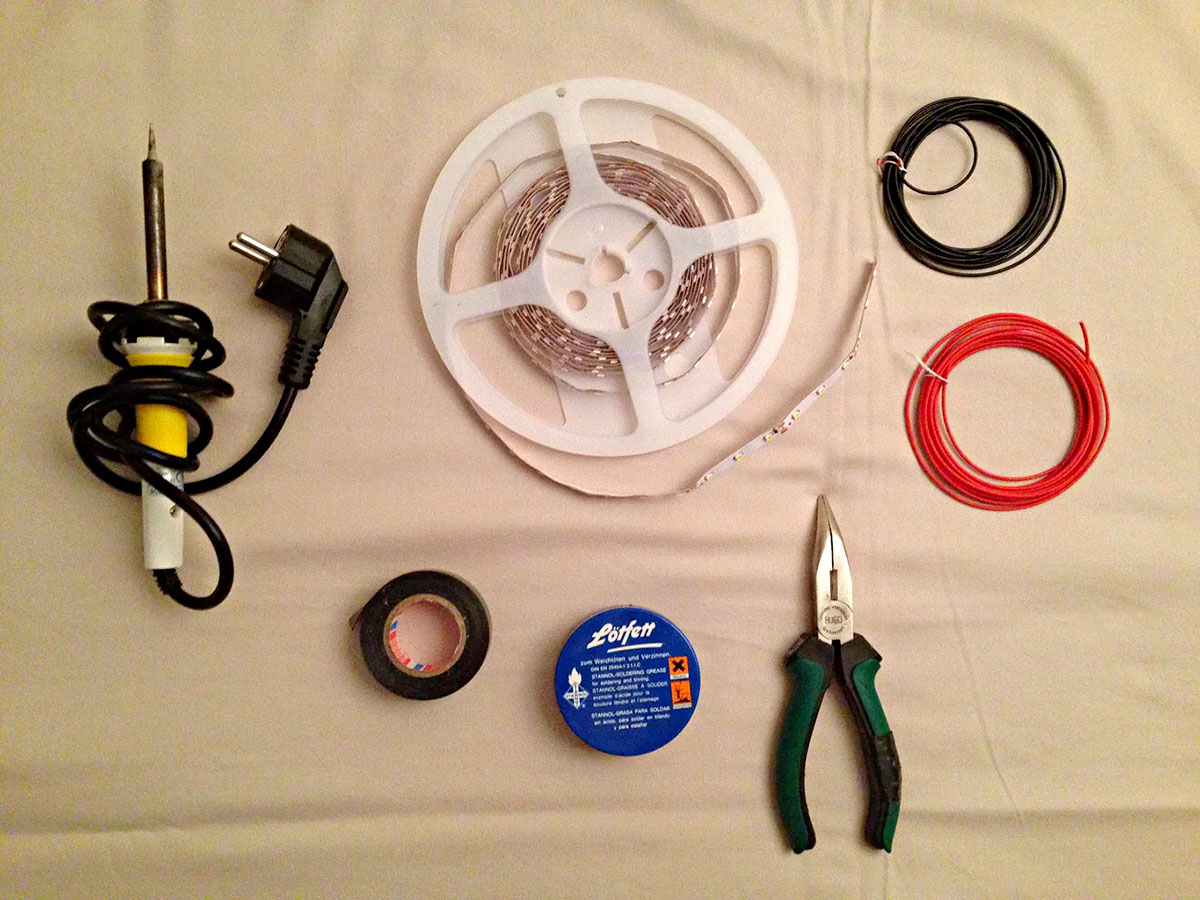
Tools:
- Soldering iron or soldering gun
- Wire brush or sandpaper
- Flux brush
- Sheet metal shears or hacksaw
- Clamps or vise grips
- Heat-resistant gloves
- Propane torch (optional, for larger repairs)
- Fire extinguisher
- Measuring tape or ruler
- Pencil or marker
Materials:
- Galvanized steel gutter sections
- Solder (lead-free solder is recommended)
- Flux for soldering galvanized steel
- Rag or cloth
- Denatured alcohol or acetone
- Safety goggles
- Dust mask
- Heat-resistant mat or soldering station
- Protective gloves
Gathering these tools and materials beforehand will ensure that you have everything you need for the soldering process, making the repair of your galvanized steel gutters much easier and efficient.
Read more: How To Solder Stained Glass
Step 1: Cleaning the Surface
The first step in soldering galvanized steel gutters is to ensure that the surface is clean and free of any dirt, debris, or rust. Cleaning the surface is crucial to achieve a strong and secure solder joint. Follow these steps:
- Remove any loose debris: Use a wire brush or sandpaper to gently remove any loose debris or dirt from the areas you plan to solder. Be careful not to scratch or damage the surface of the galvanized steel gutter.
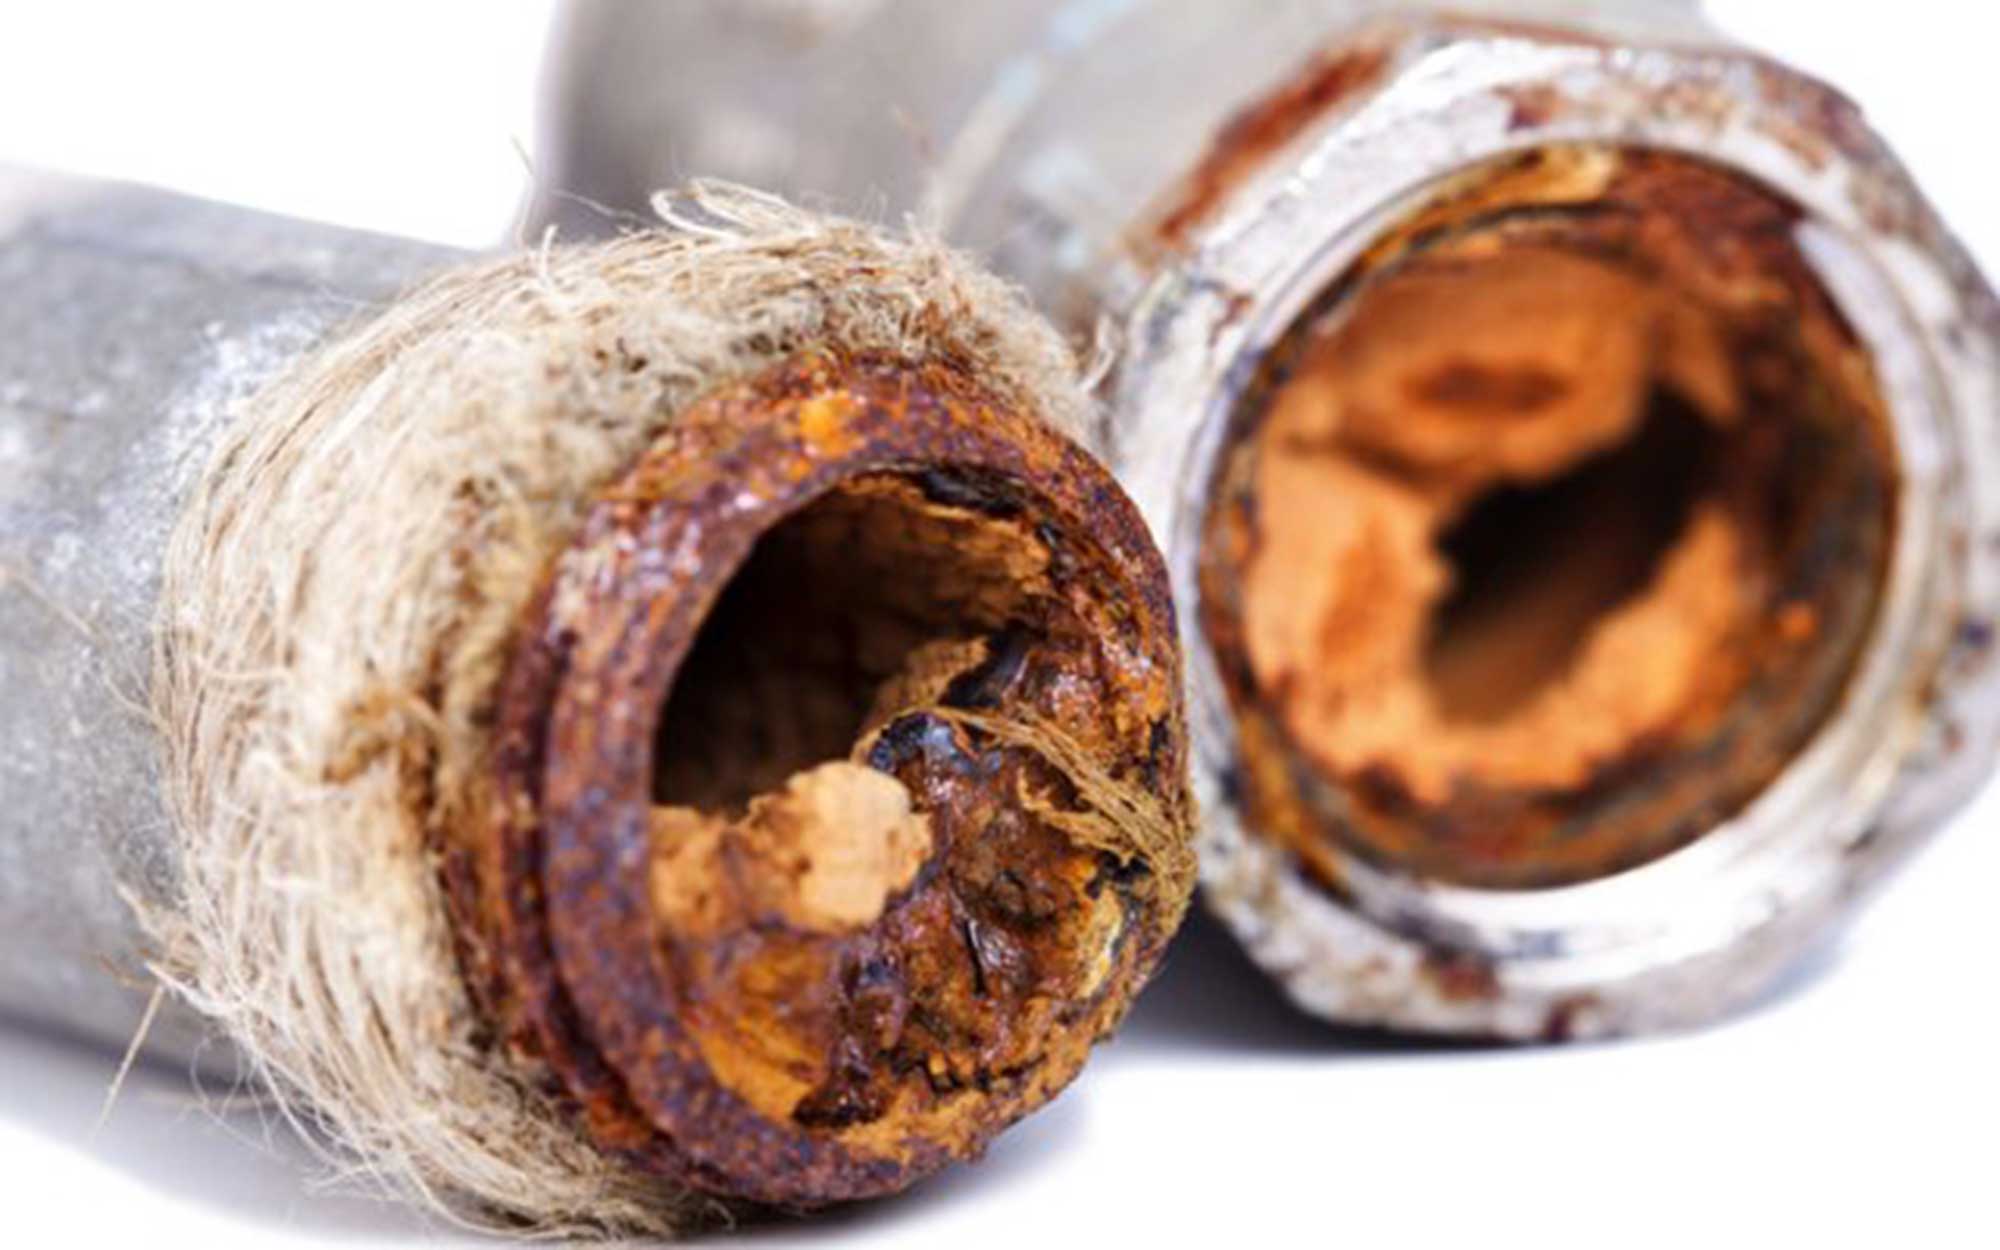
- Remove rust or oxidation: If you notice any rust or oxidation on the surface of the galvanized steel gutter, use sandpaper or a wire brush to remove it. The goal is to create a clean and smooth surface for the solder to adhere to.
- Wipe down with a cloth and solvent: Dampen a cloth with denatured alcohol or acetone and wipe down the cleaned surface. This will remove any remaining dirt, grease, or residue, ensuring optimal soldering conditions.
By thoroughly cleaning the surface of the galvanized steel gutter, you create an ideal foundation for the solder to bond effectively. It is important to take the time to complete this step to ensure the quality of the solder joint.
Step 2: Applying Flux
After cleaning the surface of the galvanized steel gutter, the next step is to apply flux. Flux is a chemical substance used to remove any oxidation and promote the flow of solder, ensuring a strong and secure bond. Follow these steps to apply flux:
- Select the appropriate flux: Use a flux that is specifically designed for soldering galvanized steel. This type of flux will effectively remove any oxidation and prepare the surface for soldering.
- Apply flux to the joint: Dip a flux brush into the flux and evenly apply it to the joint area where you will be soldering. Make sure to cover the entire surface with a thin layer of flux.
- Allow the flux to dry: Let the flux dry for a few minutes. The drying time will depend on the specific flux you are using, so refer to the manufacturer’s instructions. The flux will change from a wet consistency to a tacky or powdery finish.
Applying flux is crucial because it helps remove any residual oxidation and promotes the proper flow of solder. The flux acts as a cleaning agent, ensuring a secure and long-lasting solder joint between the galvanized steel gutters.
Step 3: Preparing the Soldering Iron
Before you can start soldering the galvanized steel gutters, it is important to properly prepare the soldering iron. Follow these steps:
- Ensure the soldering iron is clean: Clean the tip of the soldering iron by wiping it with a damp cloth. This will remove any residue or oxidation that may affect the soldering process.
- Heat up the soldering iron: Plug in the soldering iron and allow it to heat up to the recommended temperature for soldering galvanized steel. Typically, a temperature between 400-450 degrees Fahrenheit (200-230 degrees Celsius) is suitable. Refer to the manufacturer’s instructions for the specific temperature recommendations.
- Tin the soldering iron: Apply a small amount of solder to the tip of the soldering iron. This process, known as tinning, helps protect the tip and improves heat conduction.
Preparing the soldering iron ensures that it is clean, heated to the appropriate temperature, and properly tinned. This will help facilitate a smooth and steady soldering process, resulting in a strong and secure bond between the galvanized steel gutters.
When soldering galvanized steel gutters, make sure to use a flux specifically designed for galvanized steel to ensure proper adhesion and a strong bond.
Step 4: Heating the Gutter
Once the soldering iron is prepared, it’s time to heat the galvanized steel gutter. Heating the gutter will help facilitate the flow of solder and create a secure bond. Follow these steps:
- Position the gutter: Place the galvanized steel gutter on a stable surface, ensuring it is securely positioned. If necessary, use clamps or vise grips to hold the gutter in place.
- Heat the joint area: Using the soldering iron, carefully apply heat to the joint area where you have applied flux. Move the soldering iron back and forth along the joint, evenly heating the area.
- Observe the color change: As the joint area heats up, you may notice a color change in the galvanized steel gutter. It will turn a dull gray or pale yellow color, indicating that it is reaching the desired soldering temperature.
Heating the galvanized steel gutter is a critical step in the soldering process. It softens the metal and prepares it for the application of solder. Take your time to ensure that the entire joint area is evenly heated before proceeding to the next step.
Read more: How To Solder Copper Plumbing
Step 5: Applying the Solder
After heating the galvanized steel gutter, you are ready to apply the solder. This step involves melting the solder and applying it to the joint to create a strong and watertight bond. Follow these steps:
- Prepare the solder: Cut a length of solder that is appropriate for the size of the joint you are soldering. Lead-free solder is recommended for this process.
- Hold the soldering iron and solder: Hold the soldering iron in one hand and the solder wire in the other hand. Position them close to the joint area but be cautious not to touch any hot surfaces.
- Melt the solder: Touch the tip of the soldering iron to the joint area. Once the joint reaches the proper temperature, gently touch the solder wire to the joint. The heat from the soldering iron will melt the solder, allowing it to flow into the joint.
- Apply the solder: As the solder melts, move it along the joint area. Use a steady and controlled motion to ensure the solder evenly coats the joint. Continue adding solder until the entire joint is covered and a smooth bead of solder is formed.
- Remove the soldering iron and allow the solder to cool: Once the joint is soldered, remove the soldering iron. Allow the solder to cool and solidify before moving on to the next step.
Applying the solder requires a steady hand and careful attention to detail. The goal is to create a secure and durable bond between the galvanized steel gutters. Take your time and ensure that the solder is applied evenly and covers the entire joint area.
Step 6: Cooling and Inspecting the Soldered Joint
After applying the solder, it is crucial to allow the joint to cool and solidify before inspecting the quality of the soldered connection. Follow these steps:
- Let the joint cool: Resist the temptation to touch or disturb the soldered joint immediately after soldering. Allow it to cool naturally for a few minutes.
- Inspect the joint: Once the soldered joint has cooled, carefully examine it for any signs of defects or imperfections. Look for a smooth and shiny appearance, indicating a well-formed solder bead.
- Check for leaks or gaps: Run your fingers along the joint to check for any leaks or gaps. A properly soldered joint should be secure and watertight.
- Make any necessary touch-ups: If you notice any areas with insufficient solder or small gaps, reheat the joint with the soldering iron and add additional solder as needed. Ensure the joint is covered adequately and the solder is evenly distributed.
- Clean up any excess solder and flux: Use a clean cloth or rag to wipe away any excess flux or solder that may be present around the soldered joint. This will provide a neat and professional finish.
Cooling and inspecting the soldered joint is essential to ensure its integrity and effectiveness. By carefully examining the joint and making any necessary touch-ups, you can ensure a strong and reliable connection between the galvanized steel gutters.
Conclusion
Soldering galvanized steel gutters is a practical and effective method for repairing damaged sections and ensuring proper water drainage. By following the step-by-step guide outlined in this article, you can successfully solder galvanized steel gutters and extend their lifespan.
Remember to prioritize safety by wearing protective gear, working in a well-ventilated area, and maintaining a clear workspace. Gathering the necessary tools and materials, such as a soldering iron, flux, solder, and cleaning supplies, ensures a smooth soldering process.
The key steps to soldering galvanized steel gutters include cleaning the surface, applying flux, preparing the soldering iron, heating the gutter, applying the solder, and cooling and inspecting the soldered joint. Taking your time and paying attention to detail during each step will result in a secure and durable solder joint.
After inspecting and making any necessary touch-ups, ensure proper cleaning of excess solder and flux for a clean finish. By following these steps, you can repair your galvanized steel gutters and enjoy a watertight system that protects your home from water damage.
Remember to always check local regulations and seek professional advice if needed. With practice and careful execution, you can become proficient in soldering galvanized steel gutters and maintain a functional and reliable gutter system for years to come.
Frequently Asked Questions about How To Solder Galvanized Steel Gutters
Was this page helpful?
At Storables.com, we guarantee accurate and reliable information. Our content, validated by Expert Board Contributors, is crafted following stringent Editorial Policies. We're committed to providing you with well-researched, expert-backed insights for all your informational needs.

0 thoughts on “How To Solder Galvanized Steel Gutters”