Articles
How To Install Shiplap On A Ceiling
Modified: October 19, 2024
Looking for step-by-step articles on how to install shiplap on a ceiling? Our comprehensive guide will help you achieve a stunning look in no time.
(Many of the links in this article redirect to a specific reviewed product. Your purchase of these products through affiliate links helps to generate commission for Storables.com, at no extra cost. Learn more)
Introduction
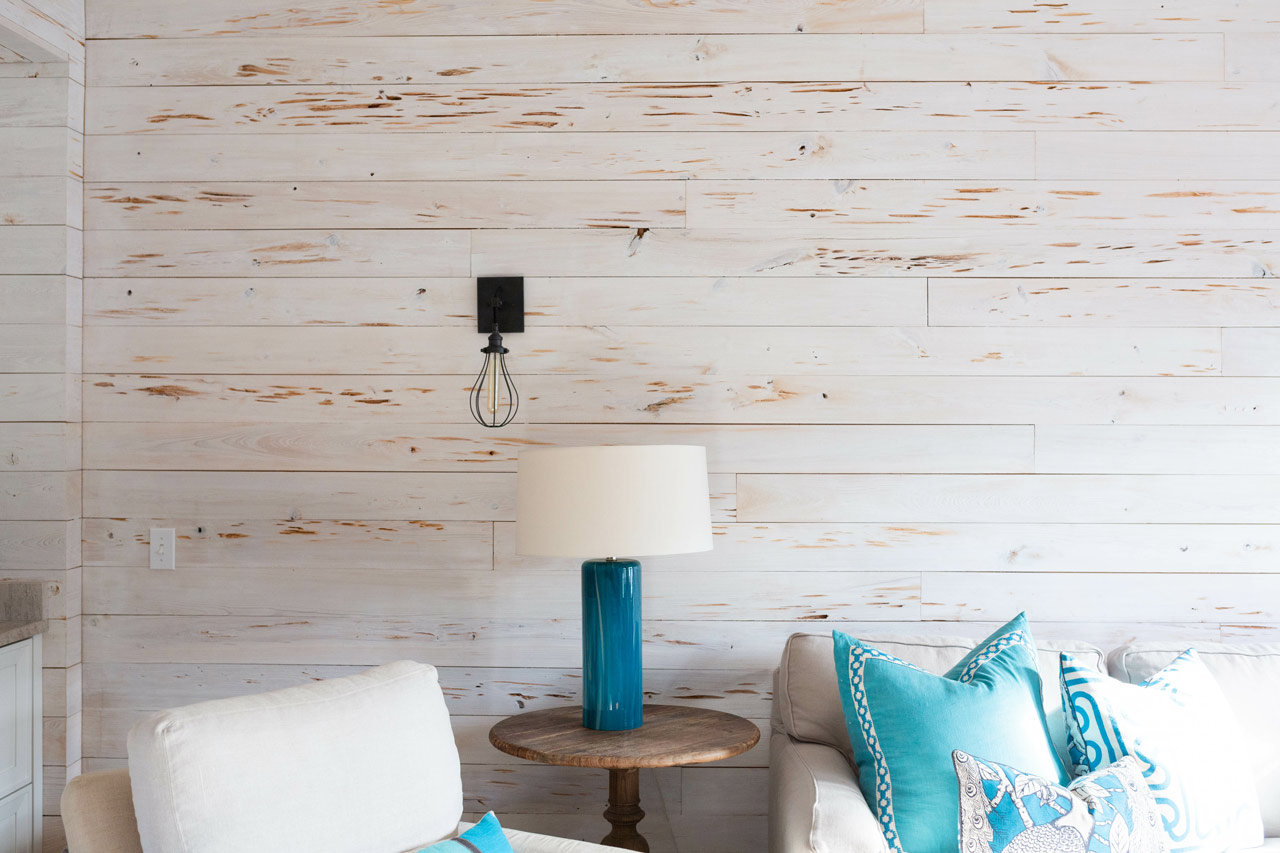
Welcome to the ultimate guide on how to install shiplap on a ceiling! Shiplap has become increasingly popular in interior design, adding a touch of rustic charm and texture to any space. Whether you’re looking to create a cozy farmhouse feel or a coastal-inspired retreat, installing shiplap on your ceiling can transform the look and feel of a room.
Shiplap is a type of wooden board that features horizontal grooves known as “rabbets.” These grooves allow the boards to overlap and fit seamlessly together, creating a clean and distinctive look. While shiplap is most commonly used for walls, it can also be installed on ceilings to add character and visual interest.
In this guide, we’ll take you through the step-by-step process of installing shiplap on a ceiling, from gathering materials to adding the finishing touches. So, if you’re ready to embark on a DIY project that will elevate the style of your space, let’s dive in!
Key Takeaways:
- Elevate your space with a DIY shiplap ceiling, adding rustic charm and character to any room. Follow the step-by-step guide for a visually pleasing and charming addition to your home.
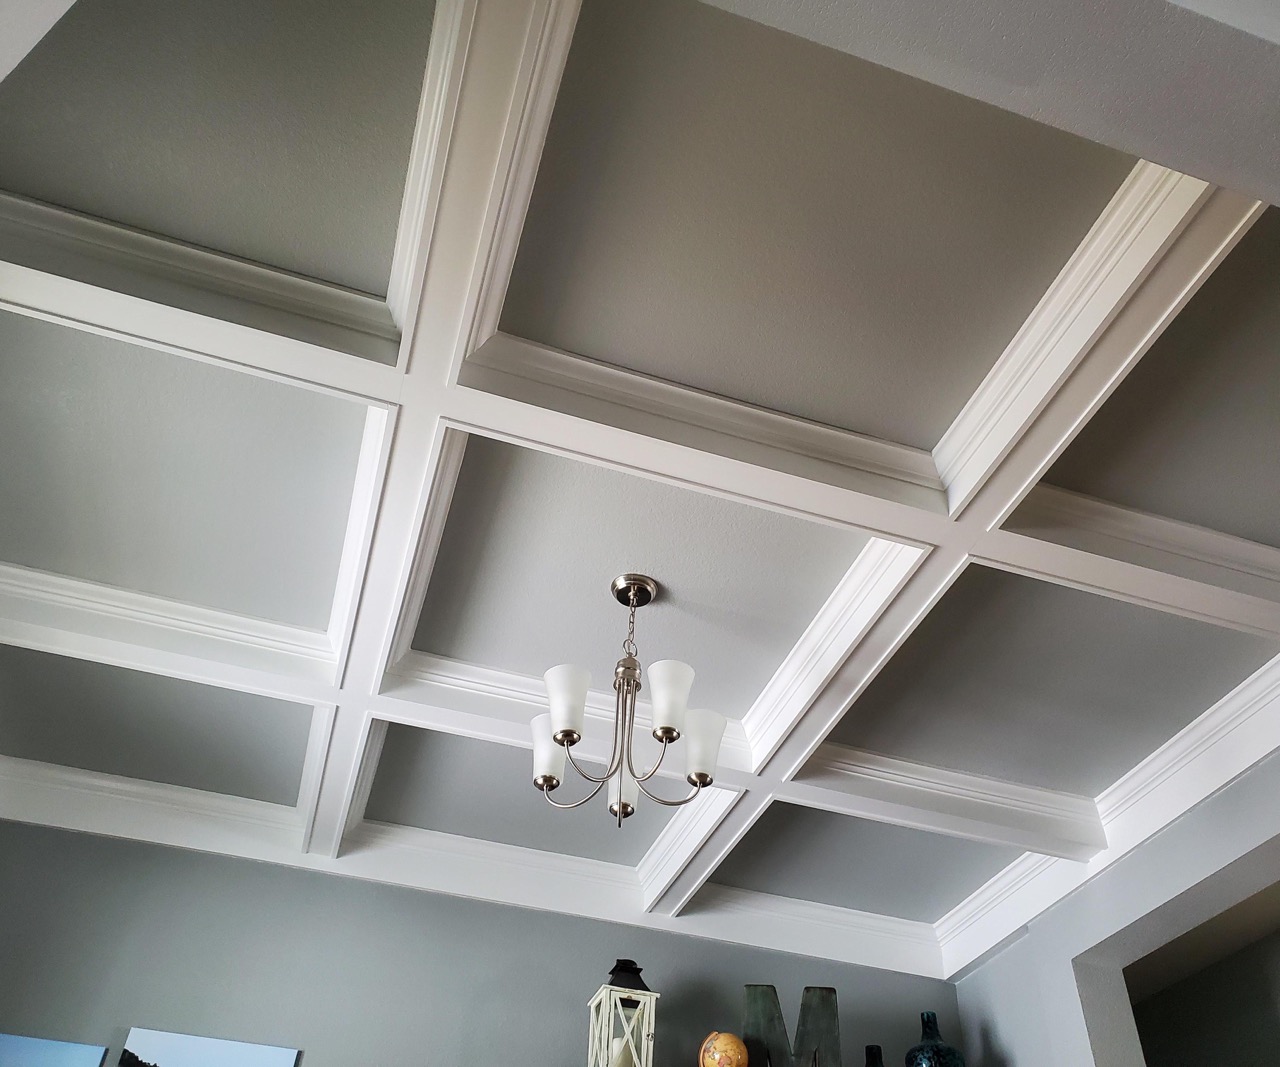
- Transform your ordinary ceiling into a stunning focal point with shiplap. Enjoy the cozy and captivating atmosphere it brings to your space, creating a conversation starter and a source of pride.
Read more: How To Install Exterior Shiplap Siding
Step 1: Gather Materials
Before you begin the installation process, it’s essential to gather all the necessary materials. Here’s a list of items you’ll need:
- Shiplap boards
- Furring strips
- Measuring tape
- Pencil
- Saw (circular saw or miter saw)
- Nail gun or hammer
- Level
- Sandpaper
- Wood filler
- Primer
- Paint
- Paintbrush or paint roller
When it comes to shiplap boards, you can choose between real wood or engineered shiplap, depending on your budget and preferences. Real wood shiplap offers an authentic and natural look, while engineered shiplap is more affordable and easier to install. Furring strips are thin strips of wood that will serve as the base for attaching the shiplap boards to the ceiling.
Measure the area of your ceiling to determine the amount of shiplap and furring strips needed. It’s crucial to account for any openings, such as light fixtures or vents, when calculating your measurements.
Once you have gathered all the materials, you’re ready to move on to the next step: measuring and preparing the ceiling.
Step 2: Measure and Prepare Ceiling
Before you start installing shiplap on your ceiling, it’s important to measure the area accurately and prepare the surface. Here’s how:
1. Clear the area: Remove any furniture or fixtures from the room or cover them with a drop cloth to protect them from dust and debris.
2. Clean the ceiling: Use a broom or vacuum to remove any dust and cobwebs from the ceiling. Ensure that the surface is clean and smooth before proceeding.
3. Measure the ceiling: Use a measuring tape to determine the dimensions of your ceiling. Measure the length and width of the area where you plan to install the shiplap. Multiply these measurements to calculate the square footage.
4. Mark the stud locations: Use a stud finder to locate the ceiling joists or studs. Mark their positions on the ceiling with a pencil or masking tape. This will serve as a guide for attaching the furring strips later on.
5. Plan the layout: Consider the orientation and design of the shiplap boards before installing them. Decide whether you want the boards to run parallel or perpendicular to the longest wall in the room. Planning the layout in advance will ensure a cohesive and visually pleasing result.
6. Estimate the number of boards: Based on your measurements, calculate the number of shiplap boards you’ll need. It’s advisable to purchase an extra 10% of boards to account for any mistakes or cutting errors.
7. Prepare the boards: If your shiplap boards are not pre-primed or pre-painted, you may choose to do so before installation. This will save time and effort later on. Additionally, acclimate the boards to the room’s temperature and humidity by leaving them in the space for 48 hours before installation.
Once you have completed these steps, you’re ready to move on to the next phase of the installation process: installing furring strips.
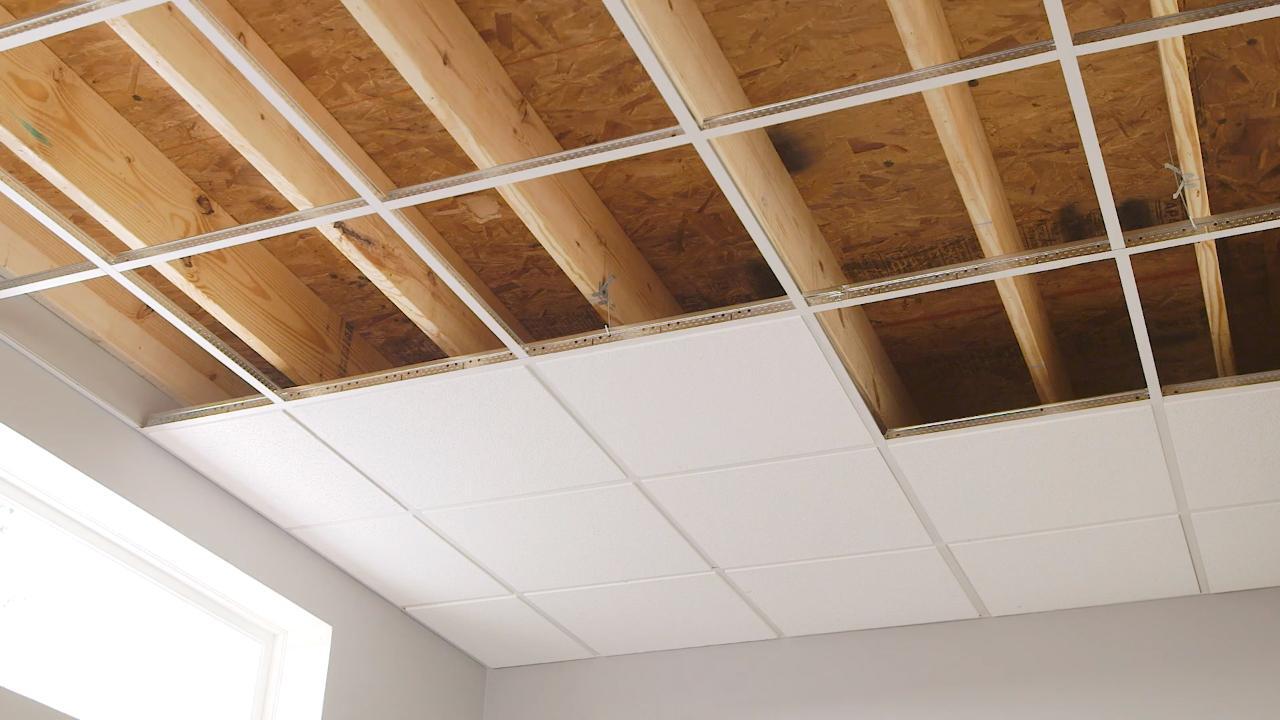
Step 3: Install Furring Strips
Now that you have measured and prepared the ceiling, it’s time to install the furring strips. These strips will provide a solid base for attaching the shiplap boards. Follow these steps:
1. Cut the furring strips: Measure the length of the ceiling joists or studs marked in the previous step. Cut the furring strips to match the measurements using a saw.
2. Attach the furring strips: Place the furring strips on the ceiling, aligning them with the marked stud locations. Use a nail gun or hammer to attach the strips securely to the ceiling. Ensure they are level and evenly spaced, typically around 16 inches apart.
3. Secure the furring strips: Drive nails or screws through the furring strips and into the ceiling joists or studs. This will ensure a sturdy and stable base for the shiplap installation.
4. Continue across the ceiling: Repeat the process of attaching furring strips until you have covered the entire ceiling area. Remember to double-check the levelness and alignment of the furring strips as you progress.
5. Cut notches for obstacles: If there are any obstacles on your ceiling, such as light fixtures or vents, you may need to notch the furring strips to accommodate them. Measure the dimensions of the obstacles and carefully cut corresponding notches in the furring strips using a saw.
Installing furring strips is a crucial step in the process as they provide the foundational framework for the shiplap installation. Once the furring strips are securely in place, you can move on to the next step: cutting and fitting the shiplap boards.
Step 4: Cut and Fit Shiplap Boards
With the furring strips securely installed, it’s time to cut and fit the shiplap boards onto the ceiling. Here’s how:
1. Measure and mark the boards: Measure the length of the ceiling to determine the length of each shiplap board. Use a measuring tape and pencil to mark the measurements directly on the boards.
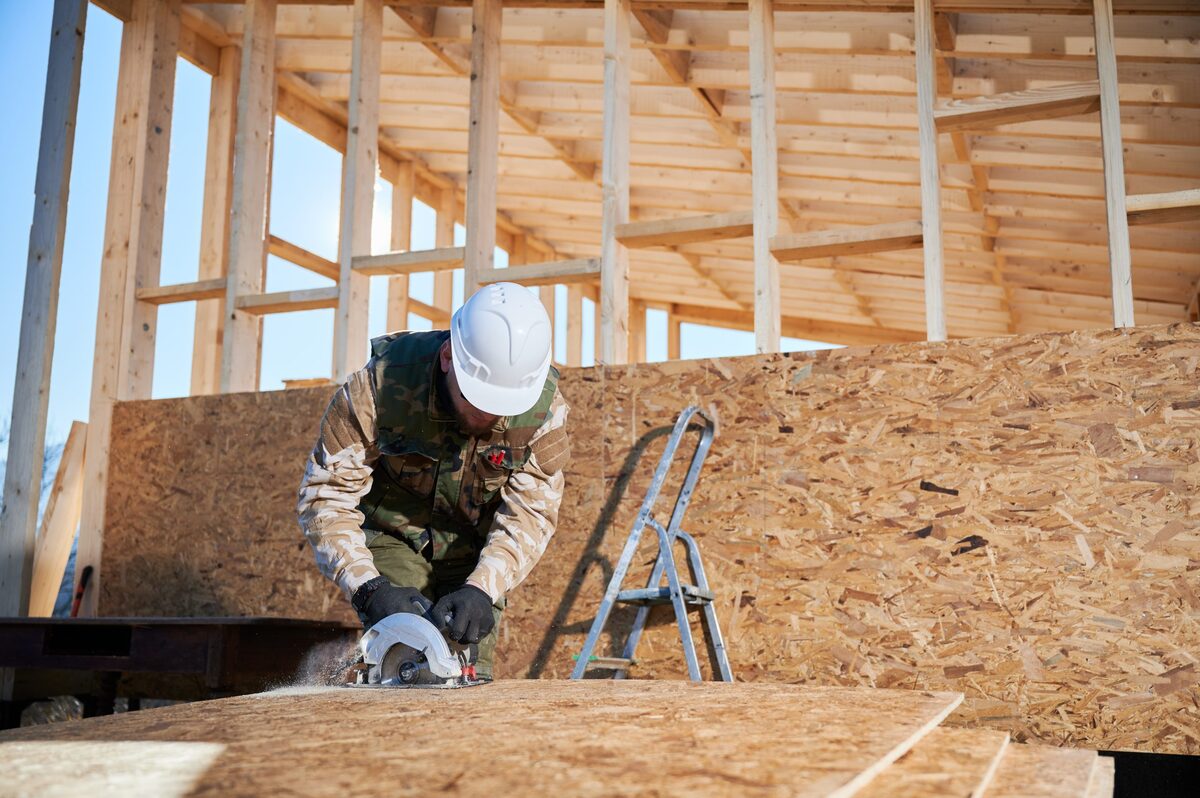
2. Cut the shiplap boards: Using a saw (circular saw or miter saw), carefully cut the shiplap boards according to the marked measurements. Make sure to wear appropriate safety gear, such as goggles and gloves, while cutting.
3. Dry fit the boards: Before attaching the shiplap boards permanently, do a dry fit by placing them on the ceiling without any adhesive or nails. This will allow you to check the fit and make any necessary adjustments or cuts.
4. Start at one end: Begin the installation at one corner or end of the ceiling. Apply construction adhesive to the back of the first shiplap board. Make sure to follow the manufacturer’s instructions and guidelines for the adhesive.
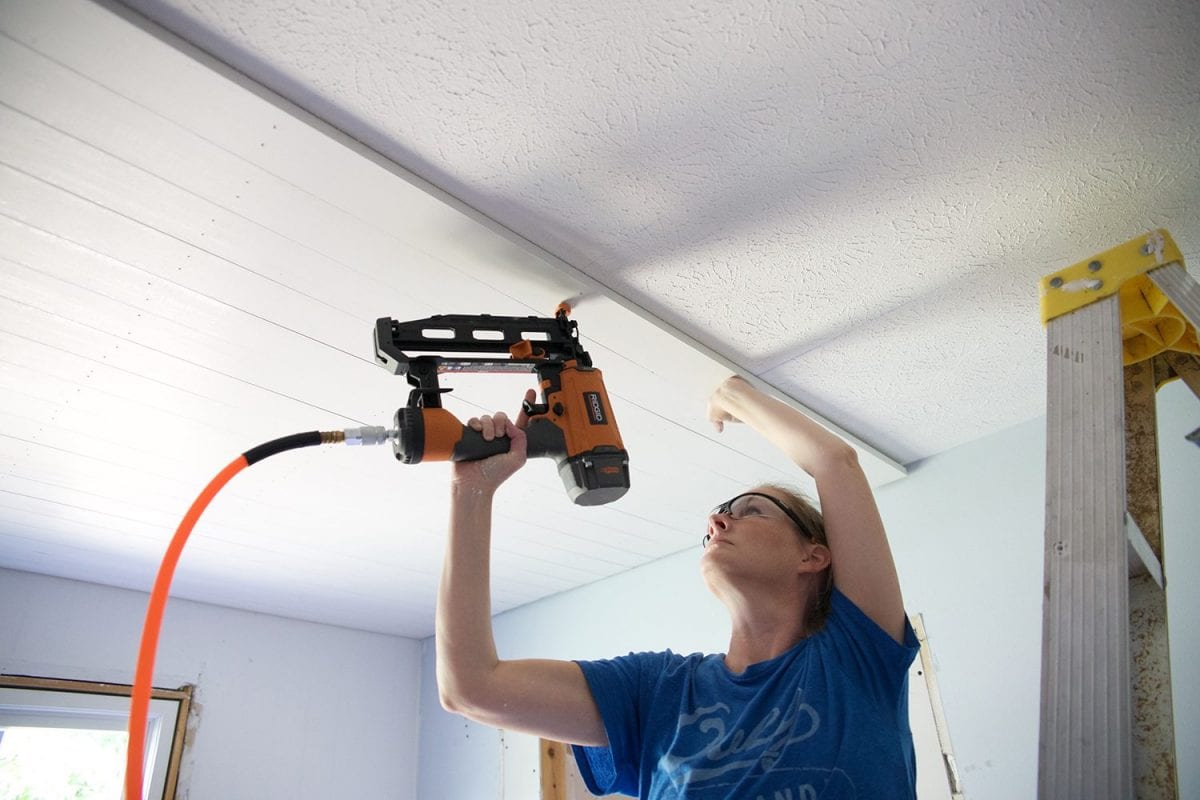
5. Place the first board: Align the first board with the furring strips and press it firmly onto the ceiling. Use a nail gun or hammer to secure the board in place by nailing it through the grooved edge into each furring strip.
6. Continue with the next boards: Apply adhesive to the back of the next shiplap board and fit it tightly against the previous one. Nail it into place like the first board, ensuring that the boards are tightly joined together with minimal gaps.
7. Cut boards to fit: As you reach the end of a row or encounter obstacles, you may need to cut the shiplap boards to fit. Measure and mark the boards accordingly, and then use a saw to make the necessary cuts.
8. Stagger the boards: For a more visually appealing result, consider staggering the boards as you progress across the ceiling. This will create an alternating pattern and eliminate long, continuous seams.
Take your time to ensure each shiplap board is accurately cut and fit, creating a seamless and cohesive look. Once all the boards are installed, you can move on to the next step: attaching the shiplap to the ceiling.
Before installing shiplap on a ceiling, make sure to measure and mark the joists for proper placement. Use a stud finder to locate the joists and mark them with a pencil for easy reference during installation.
Step 5: Attach Shiplap to Ceiling
Now that you have cut and fitted the shiplap boards, it’s time to attach them securely to the ceiling. Properly fastening the boards will ensure a durable and long-lasting installation. Follow these steps:
1. Apply construction adhesive: Apply a thin, even layer of construction adhesive to the back of each shiplap board. This adhesive will provide extra strength and help prevent the boards from warping or shifting over time.
2. Position the board: Place the adhesive-coated shiplap board onto the furring strips, aligning it with the previously installed boards. Press firmly to ensure a strong bond between the board and the ceiling.
3. Nail or screw the board: Use a nail gun or hammer to drive nails (or screws, if preferred) through the shiplap board and into the furring strips. Place the nails or screws along the grooved edge of the board, where they will be hidden once the next board is installed.
4. Continue with the next boards: Apply adhesive to the back of the next shiplap board and fit it tightly against the previous one. Make sure the boards are evenly aligned and have minimal gaps. Repeat the process of nailing or screwing the board into place.
5. Repeat until complete: Continue this process, board by board, until you have covered the entire ceiling area. Take care to maintain the same spacing and alignment throughout the installation.
6. Check for levelness: As you progress, periodically use a level to ensure that the boards are installed horizontally. This will help maintain a visually pleasing and balanced appearance.
By attaching the shiplap boards securely to the ceiling, you create a strong and stable installation that will stand the test of time. Once all the boards are attached, you can move on to the next step: filling nail holes and sanding.
Step 6: Fill Nail Holes and Sand
After attaching the shiplap boards to the ceiling, it’s time to fill in any nail holes and sand the surface. This will ensure a smooth and seamless finish. Follow these steps:
1. Fill nail holes: Using wood filler or putty, fill each nail hole in the shiplap boards. Apply the filler with a putty knife, pressing it firmly into the holes. Smooth out the surface of the filler, removing any excess material with the putty knife.
2. Allow the filler to dry: Follow the manufacturer’s instructions to determine the drying time of the filler. Ensure that the filler is completely dry and hardened before proceeding to the next step.
3. Sand the surface: Once the filler is dry, use sandpaper to gently sand the surface of the shiplap boards. Sand in a consistent back-and-forth motion, applying light pressure. This step will smooth out any roughness or imperfections in the wood and the filler.
4. Clean up the dust: After sanding, use a clean cloth or vacuum to remove any dust or debris from the surface and surrounding area. This will prepare the surface for priming and painting.
By filling nail holes and sanding the surface, you ensure that your shiplap ceiling has a professional and polished appearance. The next step will involve priming and painting, so make sure the surface is clean and smooth.
Step 7: Prime and Paint Shiplap
Priming and painting the shiplap boards will add the final touch to your ceiling, enhancing its appearance and protecting the wood. Follow these steps to achieve a beautiful finish:
1. Prepare the surface: Ensure that the surface is clean and free of any dust or debris from the previous steps. Use a damp cloth or vacuum to remove any remaining particles.
2. Apply primer: Using a paintbrush or roller, apply a coat of primer to the shiplap boards. Priming will create a smooth and even base for the paint to adhere to, as well as improve its durability. Allow the primer to dry according to the manufacturer’s instructions.
3. Choose your paint: Select a paint color that complements the overall design and style of your space. Consider whether you want a matte, satin, or glossy finish. Opt for a paint specifically formulated for use on wood surfaces.
4. Apply the paint: Using a paintbrush or roller, apply the paint evenly to the primed shiplap boards. Start from one end and work your way across, ensuring consistent coverage. Apply additional coats as needed, allowing each coat to dry before applying the next.
5. Follow drying times: Pay attention to the drying times specified by the paint manufacturer. It’s important to allow sufficient drying time between coats and before any further handling or placing of furniture in the room.
6. Clean up: Properly clean your paintbrushes, rollers, and any other painting tools according to the manufacturer’s recommendations. Dispose of any paint cans or waste materials responsibly.
By priming and painting the shiplap boards, you can customize the look of your ceiling and add a finishing touch that complements your style and decor. The final step will involve some finishing touches to complete the project.
Step 8: Finishing Touches
With the shiplap ceiling installed, primed, and painted, it’s time to add the finishing touches to complete the project. These final steps will enhance the overall look and ensure a polished result. Follow these suggestions:
1. Inspect for touch-ups: Carefully inspect the painted shiplap boards to identify any areas that may need touch-ups. Look for uneven paint coverage, drips, or any missed spots. Use a small paintbrush to correct these imperfections for a seamless finish.
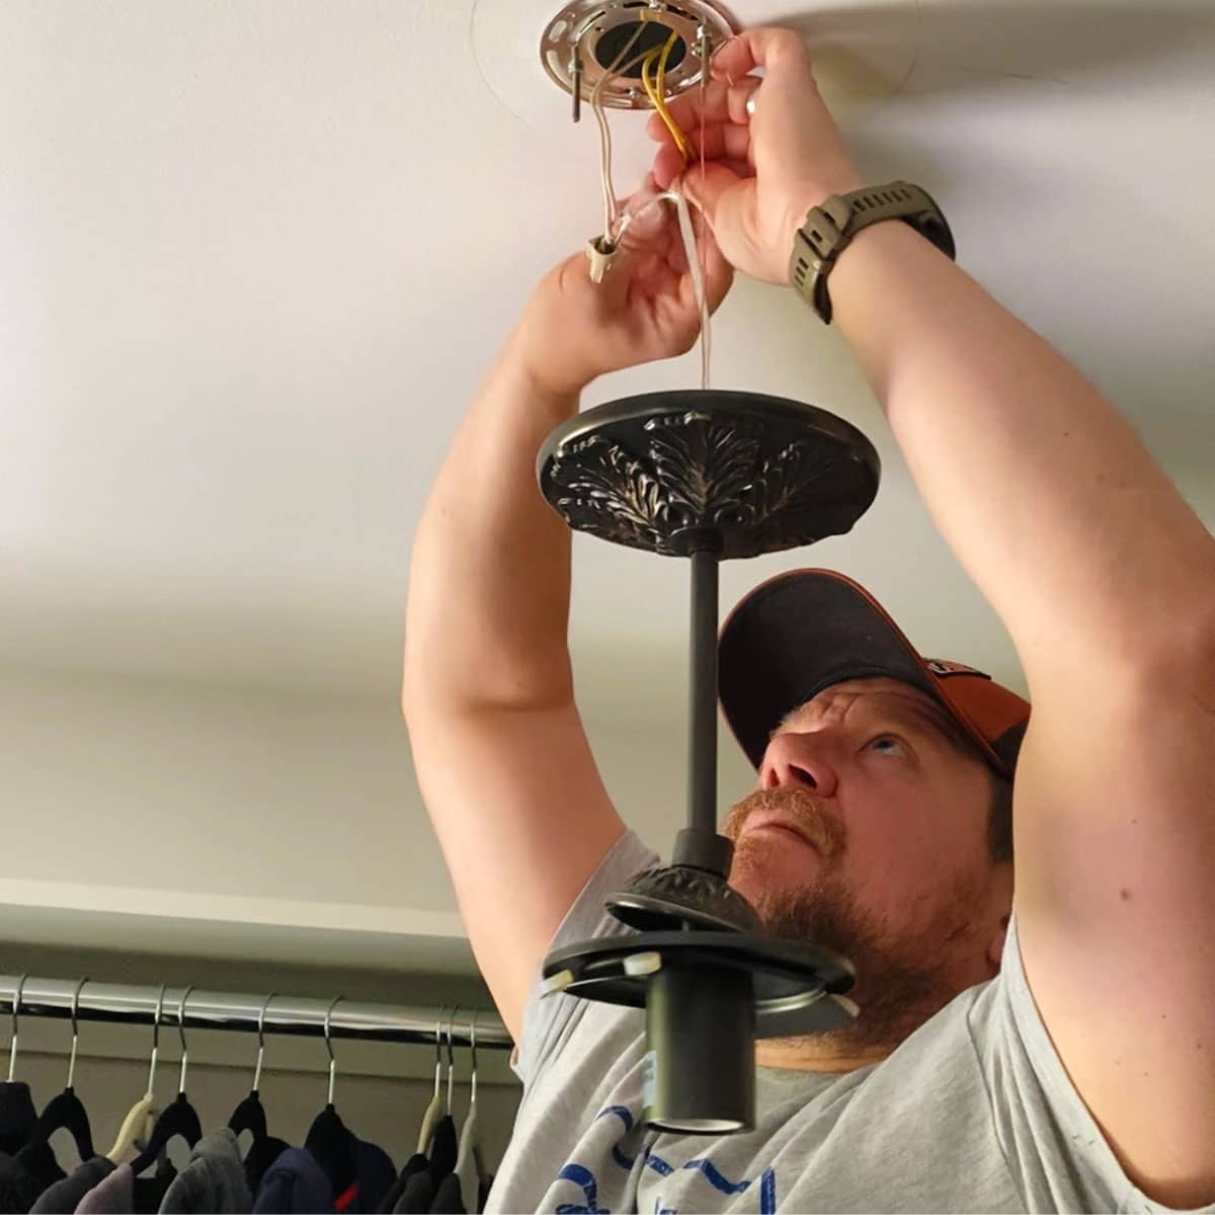
2. Decorate the space: Once the ceiling is complete, take the opportunity to decorate and style the room. Consider adding complementary decor elements such as lighting fixtures, wall art, or furniture pieces that will further enhance the ambiance of the space.
3. Seal the ceiling (optional): If you desire added protection and a slight sheen to the painted shiplap, you can consider applying a clear sealant or topcoat. This will help protect the paint finish from moisture, stains, and everyday wear and tear.
4. Enjoy your new shiplap ceiling: Take a step back and admire the transformation you’ve achieved with your DIY shiplap ceiling! Enjoy the cozy and captivating atmosphere it adds to your space. Bask in the satisfaction of a project well done.
Remember, the finishing touches are important for completing the overall aesthetic of the room. Pay attention to minor details and make any necessary adjustments to achieve the desired outcome.
By following these steps and adding the finishing touches, you can successfully install shiplap on your ceiling and create a stunning focal point in your space. Enjoy the beauty and character that shiplap brings to your home!
Read more: How To Install Ceiling Speakers
Conclusion
Congratulations! You have successfully completed the installation of shiplap on your ceiling. By following the step-by-step guide in this article, you have created a visually pleasing and charming addition to your space. The warmth and texture of shiplap have transformed your ordinary ceiling into a focal point that adds character and style.
Throughout this guide, you learned how to gather the necessary materials, measure and prepare the ceiling, install furring strips, cut and fit shiplap boards, attach them securely, fill nail holes and sand the surface, prime and paint the shiplap, and add those final finishing touches. Each step brought you closer to accomplishing your desired outcome.
Installing shiplap on a ceiling is a DIY project that can elevate the look and feel of any room. It has the power to create a cozy farmhouse aesthetic, a coastal-inspired retreat, or any other style you’re aiming for. The versatility of shiplap allows you to customize your space according to your unique taste and preferences.
Remember to pay attention to the details, take your time during each step, and follow proper safety precautions. By doing so, you ensure a professional and polished finish that will stand the test of time.
Now that your shiplap ceiling is complete, take a moment to appreciate the transformation you achieved. Step back and embrace the inviting atmosphere it brings to the room. Whether it’s in your living area, bedroom, or any other space, the shiplap ceiling will surely be a conversation starter and a source of pride.
Thank you for following this comprehensive guide on how to install shiplap on a ceiling. We hope you enjoyed the process and are thrilled with the end result. Happy shiplap-ing!
Frequently Asked Questions about How To Install Shiplap On A Ceiling
Was this page helpful?
At Storables.com, we guarantee accurate and reliable information. Our content, validated by Expert Board Contributors, is crafted following stringent Editorial Policies. We're committed to providing you with well-researched, expert-backed insights for all your informational needs.


0 thoughts on “How To Install Shiplap On A Ceiling”