Furniture
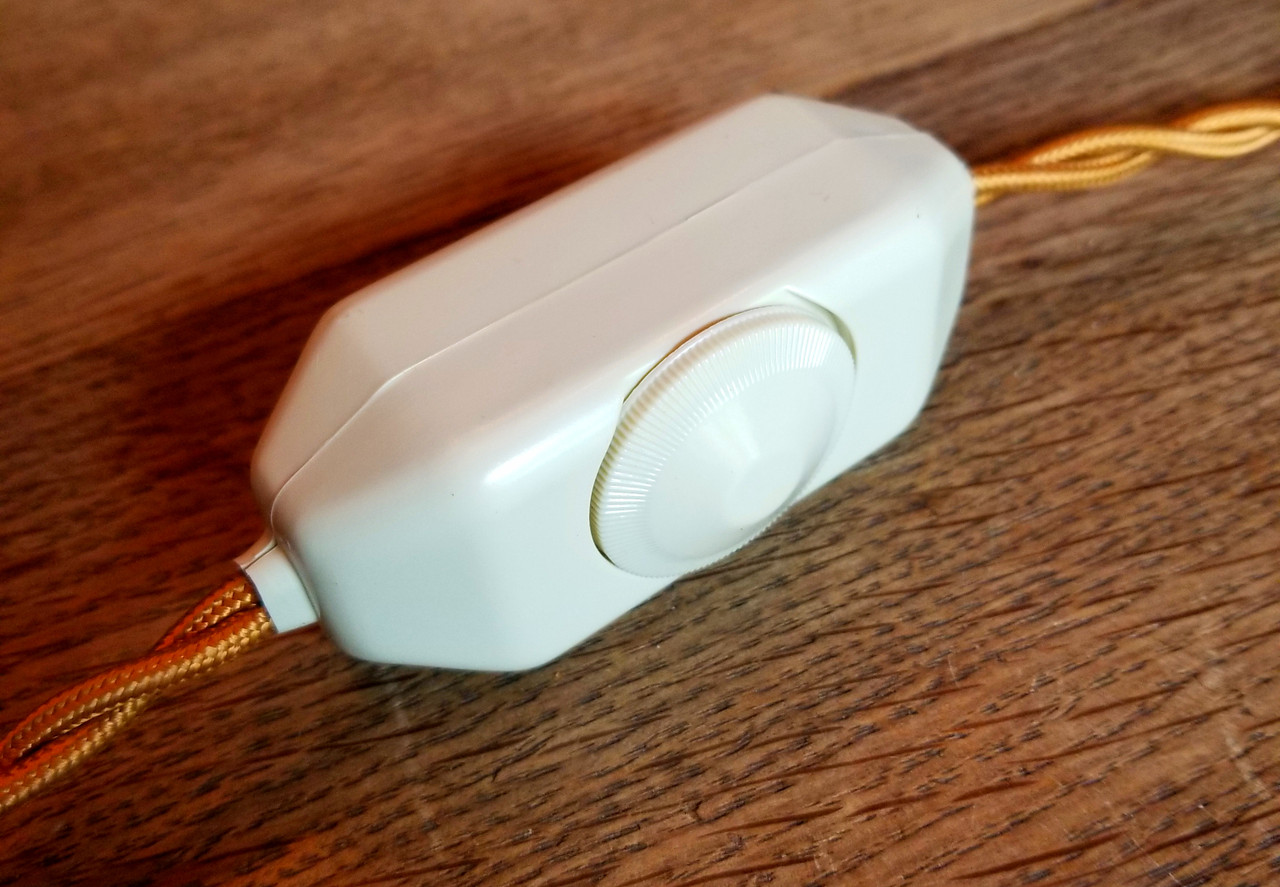
How To Splice A Lamp Cord
Modified: October 20, 2024
Learn how to splice a lamp cord easily with our step-by-step guide. Enhance your furniture's functionality in no time with this simple DIY technique.
(Many of the links in this article redirect to a specific reviewed product. Your purchase of these products through affiliate links helps to generate commission for Storables.com, at no extra cost. Learn more)
Introduction
Splicing a lamp cord may sound like a daunting task, but with the right tools and a little knowledge, it can be a straightforward process. Whether you need to replace a damaged cord or want to customize the length of your lamp’s cord, splicing allows you to do so without having to buy a completely new cord. In this article, we will guide you through the step-by-step process of how to splice a lamp cord.
Before we dive into the process, let’s first make sure you have all the necessary tools and materials on hand.
Key Takeaways:
- Splicing a lamp cord is a manageable DIY project with the right tools and knowledge. It allows for customization and repair without the need for a completely new cord.
- Prioritize safety and thorough testing when splicing a lamp cord. Seek professional assistance if uncertain about any step to ensure a secure and functional connection.
Read more: How To Splice Extension Cord
Tools and Materials Needed
Before you begin splicing a lamp cord, gather the following tools and materials:
- Wire cutters
- Wire strippers
- Electrical tape
- Replacement plug or socket, if needed
- Heat shrink tubing, optional
- Marker or labeling tape
- Scissors
Having these tools and materials readily available will make the splicing process smoother and more efficient.
Step 1: Gather necessary supplies
Before you start splicing a lamp cord, it’s essential to gather all the necessary supplies. This will ensure that you have everything you need on hand and can complete the job without interruptions. Here are the supplies you will need:
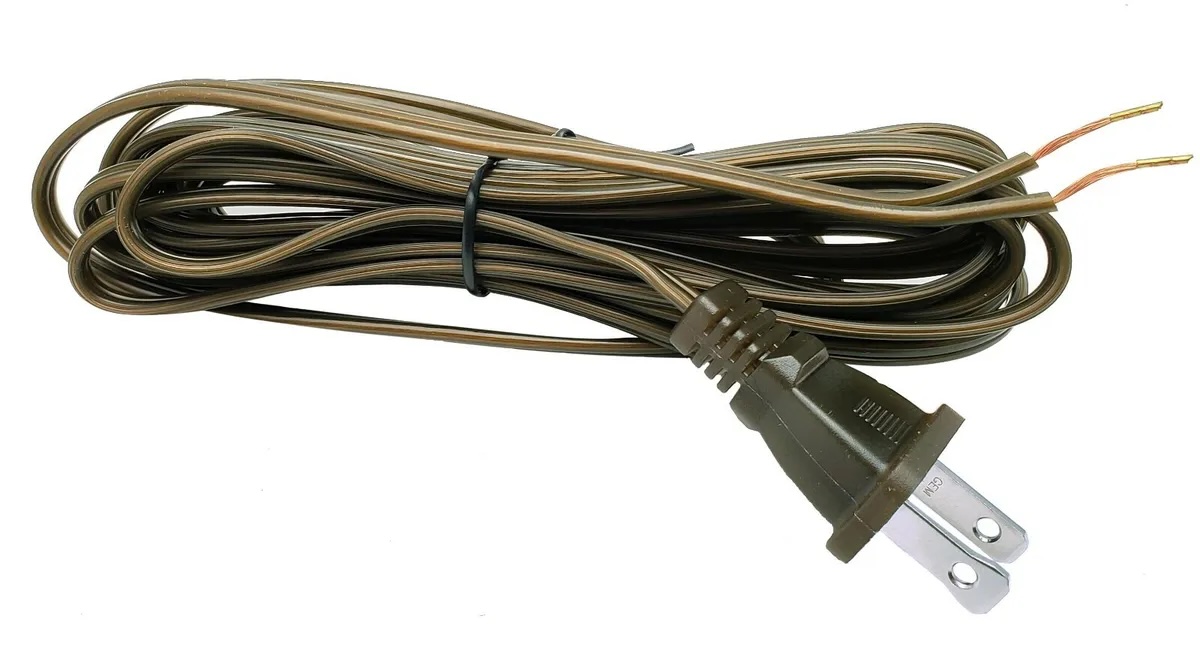
- Lamp cord: Determine the length of cord you need for your lamp and make sure you have a suitable replacement cord available. Choose a cord that matches the specifications of your lamp and has the appropriate wire gauge.
- Wire cutters: You will need a pair of wire cutters to cut the cord to the desired length. Make sure your wire cutters are in good working condition and can handle cutting through the lamp cord.
- Wire strippers: To splice the lamp cord, you will need to expose the wires. A pair of wire strippers will come in handy for this task. Choose wire strippers that are appropriate for the gauge of your lamp cord.
- Electrical tape: Electrical tape will be used to secure the connection between the spliced wires. It provides insulation and helps prevent any exposed wires from coming into contact with each other, reducing the risk of electrical shock.
- Replacement plug or socket (if needed): If you are replacing a damaged cord or need to install a new plug or socket, make sure you have the necessary replacement part available. Choose a plug or socket that matches the type and rating of your lamp.
- Heat shrink tubing (optional): Heat shrink tubing can be used as an additional layer of insulation for the spliced wires. While not necessary, it can provide extra protection and a neater appearance. If you choose to use heat shrink tubing, make sure you have the appropriate size for your wires.
- Marker or labeling tape: It is useful to mark the wires with a marker or use labeling tape to indicate their polarity. This will ensure that you connect the wires correctly, reducing the risk of wiring errors.
- Scissors: You will need a pair of scissors to cut the electrical tape and heat shrink tubing (if used). Make sure they are sharp and suitable for cutting through these materials.
Once you have gathered all the necessary supplies, you are ready to move on to the next step: cutting the lamp cord.
Step 2: Cut the lamp cord
Now that you have gathered all the necessary supplies, it’s time to cut the lamp cord to the desired length. Follow these steps:
- Unplug the lamp: Before working on the lamp cord, make sure the lamp is unplugged from the power source. This will ensure your safety and prevent any accidental electrical shocks.
- Measure and mark: Determine the length you want for your lamp cord. Measure and mark the desired length using a measuring tape or ruler. Make sure to leave some extra length for splicing and connecting the wires.
- Cut the cord: Using a pair of wire cutters, carefully cut through the lamp cord at the marked point. Ensure a clean and straight cut to make the splicing process easier.
Be cautious when handling sharp tools like wire cutters and ensure your fingers are away from the cutting area to avoid any accidents or injuries. Once you have cut the cord, proceed to the next step: stripping the wire ends.
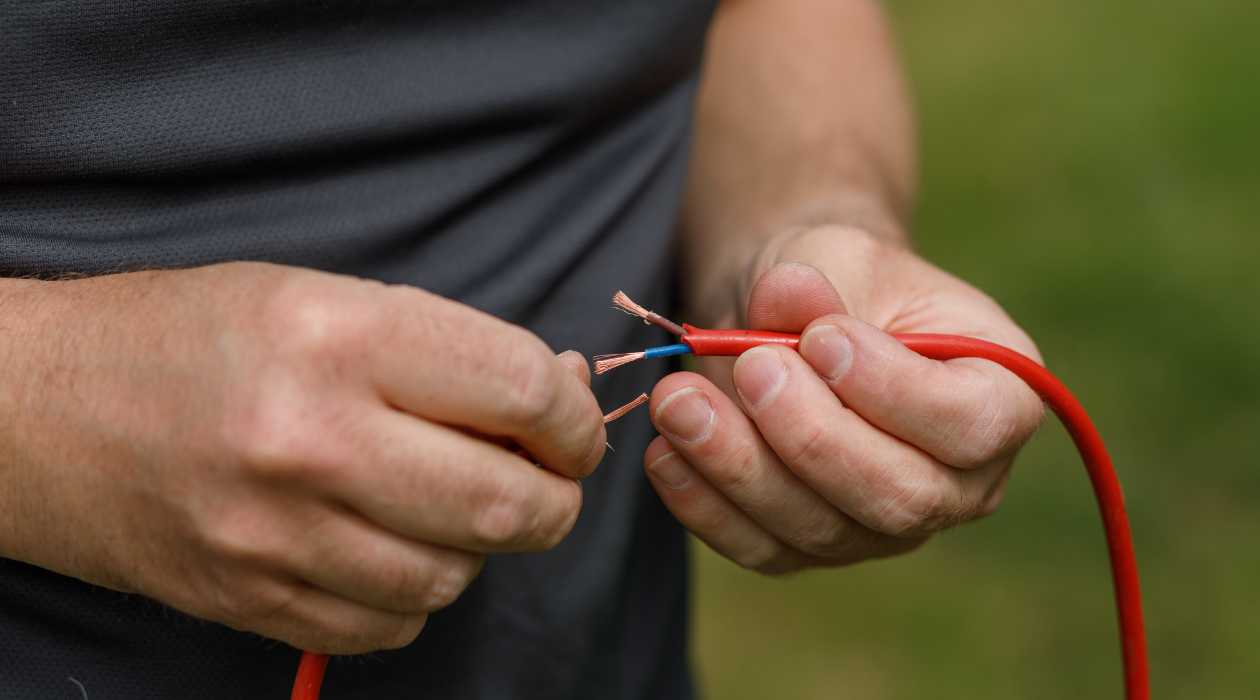
Step 3: Strip the wire ends
After cutting the lamp cord to the desired length, the next step is to strip the wire ends. This process entails removing a small portion of the outer insulation to expose the inner wires. You will need wire strippers for this task. Follow these steps:
- Identify the insulation: Take a close look at the cut end of the lamp cord. You’ll notice that it has two or three wires inside, each wrapped in its own color-coded insulation. The insulation is usually made of rubber, plastic, or fabric, depending on the type of cord.
- Select the appropriate gauge: Look for the wire gauge markings on your wire strippers and choose the corresponding setting that matches the size of the lamp cord. This will ensure that you strip the insulation without damaging the wires.
- Position the wire strippers: Slide the wire strippers over one of the wire ends, so that it is positioned right where the insulation ends and the wire begins. Make sure the strippers are aligned properly to avoid cutting into the wire.
- Apply gentle pressure: Squeeze the wire strippers gently, holding them securely in place. Apply enough pressure to grip the insulation but not too much that it cuts into the wire. Twist the wire strippers in a circular motion to score the insulation.
- Remove the insulation: Once the insulation is scored, pull the wire strippers away from the cord while keeping a firm grip. The insulation should slide off, exposing the bare wire underneath. Repeat this process for each wire in the cord.
Take your time when stripping the wire ends to ensure accuracy and avoid damaging the wires. Once you have stripped the wire ends, move on to the next step: separating the wires.
Read also: 8 Best Electrical Cord Splice for 2025
Step 4: Separate the wires
Now that you have stripped the wire ends of the lamp cord, it’s time to separate the individual wires from each other. This will make it easier to splice and connect them later on. Follow these steps:
- Inspect the wire ends: Take a close look at the exposed wires. Most lamp cords have two or three wires, each with a different color-coded insulation. Identify the wires and familiarize yourself with their color-coding.
- Gently tug the wires: To separate the wires, gently tug on each wire individually. This will help loosen any spots where the wires are twisted or stuck together.
- Smooth out the wires: Once the wires are separated, use your fingers to straighten them out and smooth any tangles or kinks. This will make it easier to work with them during the splicing process.
Separating the wires ensures that they are ready for the next step: twisting the exposed wires together for a secure connection.
When splicing a lamp cord, always make sure to match the wire colors (e.g. black to black, white to white) and use wire connectors to secure the connections. Test the lamp before using it to ensure the splice is secure.
Step 5: Twist the exposed wires
With the wires separated, the next step is to twist the exposed ends together to create a secure connection. This twisting process creates a strong bond between the wires and ensures the electrical continuity. Follow these steps:
- Pair the wires: Identify the corresponding wires that need to be connected. For instance, if you have two wires, one with a black insulation and the other with a white insulation, pair them together.
- Align the wires: Hold the paired wires parallel to each other, ensuring that their stripped ends are aligned evenly.
- Twist the wires: Grip the paired wires tightly with your fingers, and begin twisting them together in a clockwise direction. Continue twisting until the exposed ends are tightly wound around each other, creating a secure connection.
- Inspect the connection: After twisting the wires, visually inspect the connection to ensure it is tight and secure. There should be no exposed wire ends or loose connections.
Twisting the exposed wires together ensures a solid electrical connection. The next step is to secure the twisted wires with electrical tape for added protection.
Step 6: Secure the wires with electrical tape
Once you have twisted the exposed wires together, it’s important to secure them with electrical tape. This step provides insulation and prevents the wires from coming into contact with each other, reducing the risk of electrical hazards. Follow these steps to secure the wires:
- Prepare the tape: Cut a strip of electrical tape that is long enough to wrap around the twisted wire connection at least two or three times. You want to ensure a secure and tight hold.
- Position the tape: Place the strip of electrical tape over the twisted wire connection, ensuring that it covers the entire exposed area of the wires. Make sure the tape extends beyond the edge of the wire insulation.
- Wrap the tape: Starting from one end, wrap the tape tightly around the twisted wires, covering the exposed area completely. Overlap the tape as you wrap it to ensure a secure hold.
- Secure the ends: Once you have wrapped the entire twisted wire connection, press the ends of the tape firmly to secure it in place. Smooth down any wrinkles or unevenness in the tape for a clean and neat finish.
By securing the exposed wires with electrical tape, you not only protect the connection but also provide a professional and finished look to your spliced lamp cord. The next step is to test the connection to ensure its functionality.
Step 7: Test the connection
After securing the twisted wire connection with electrical tape, it’s crucial to test the connection to ensure everything is working properly. Testing will verify that the spliced lamp cord operates safely and efficiently. Follow these steps to test the connection:
- Plug in the lamp: Insert the plug of the lamp cord into a power outlet.
- Turn on the lamp: Switch on the lamp and check if it is functioning correctly. The light should turn on without any flickering or sputtering.
- Check for stability: Gently tug on the spliced area of the cord to ensure the connection is secure. There should be no movement or disconnection.
- Inspect for any issues: Examine the spliced area, looking for any signs of overheating, burning smells, or sparks. If you notice any of these issues, immediately unplug the lamp and revisit the splicing process.
If the lamp functions properly, stays stable, and shows no signs of issues, you can proceed to the final step: installing the spliced cord in your lamp.
Note: If there are any concerns or doubts about the connection, it’s best to consult a professional electrician to ensure the safety of the spliced lamp cord.
Read more: How To Replace A Lamp Cord
Step 8: Install the spliced cord
With the spliced lamp cord successfully tested and deemed safe, it’s time to install it in your lamp. Follow these steps to complete the installation:
- Unplug the lamp: Ensure the lamp is not connected to any power source before proceeding with the installation.
- Prepare the lamp: Depending on the type of lamp you have, you may need to disassemble certain parts to access the cord connection point. Refer to the manufacturer’s instructions or consult a guide specific to your lamp if needed.
- Disconnect the old cord: If you are replacing a damaged cord, disconnect the old cord from the socket or plug. Follow any instructions provided by the manufacturer or refer to the guide for your particular lamp.
- Connect the spliced cord: Take the spliced end of the cord and connect it to the socket or plug, following the appropriate instructions or guide. Ensure the connection is secure and tight.
- Reassemble the lamp: If you had to disassemble any parts of the lamp, now is the time to put them back together. Make sure everything is in its proper place and tightly secured.
- Test the lamp again: After reassembling, plug in the lamp and test it again to confirm that it is functioning correctly. Check for stability and any issues that may arise.
Once you have completed these steps and confirmed that the lamp is working as intended, you have successfully installed the spliced cord in your lamp. Enjoy your newly customized lamp!
Remember, if you are unsure about any part of the installation process, it is always recommended to seek the guidance of a professional electrician to ensure your safety and the proper functioning of your lamp.
Conclusion
Splicing a lamp cord may seem like a daunting task at first, but with the right tools and knowledge, it can be a straightforward process. By following the step-by-step guide outlined in this article, you can successfully splice a lamp cord and customize its length or replace a damaged cord.
Begin by gathering the necessary tools and materials, including wire cutters, wire strippers, electrical tape, and potentially a replacement plug or socket. Measure and cut the lamp cord to the desired length, ensuring a clean and straight cut. Strip the wire ends carefully, exposing the inner wires, and separate them for easier splicing.
Twist the exposed wires together, ensuring a secure connection, and secure them with electrical tape to provide insulation and prevent any contact between the wires. Test the connection by plugging in the lamp, turning it on, and checking for stability and functionality.
Once the connection is confirmed, proceed to install the spliced cord in your lamp, following the manufacturer’s instructions and reassembling the lamp if necessary. Test the lamp once again to ensure it is working properly and enjoy your newly spliced lamp cord.
While splicing a lamp cord can be done by individuals with some knowledge of electrical work, it’s always important to prioritize safety. If you are uncertain about any step or encounter any issues, consult a professional electrician for assistance. Remember, electrical work carries inherent risks, and it’s better to seek help when in doubt.
By successfully splicing a lamp cord, you have the opportunity to customize your lighting solutions and extend the lifespan of your lamps. So go ahead, get creative, and transform your lamps with a customized spliced cord!
Frequently Asked Questions about How To Splice A Lamp Cord
Was this page helpful?
At Storables.com, we guarantee accurate and reliable information. Our content, validated by Expert Board Contributors, is crafted following stringent Editorial Policies. We're committed to providing you with well-researched, expert-backed insights for all your informational needs.