
Articles
How To Start Finger Knitting A Blanket
Modified: February 17, 2024
Learn the art of finger knitting with our step-by-step guide. Discover how to create a cozy blanket using this easy technique. Check out our articles for more tips and tricks.
(Many of the links in this article redirect to a specific reviewed product. Your purchase of these products through affiliate links helps to generate commission for Storables.com, at no extra cost. Learn more)
Introduction
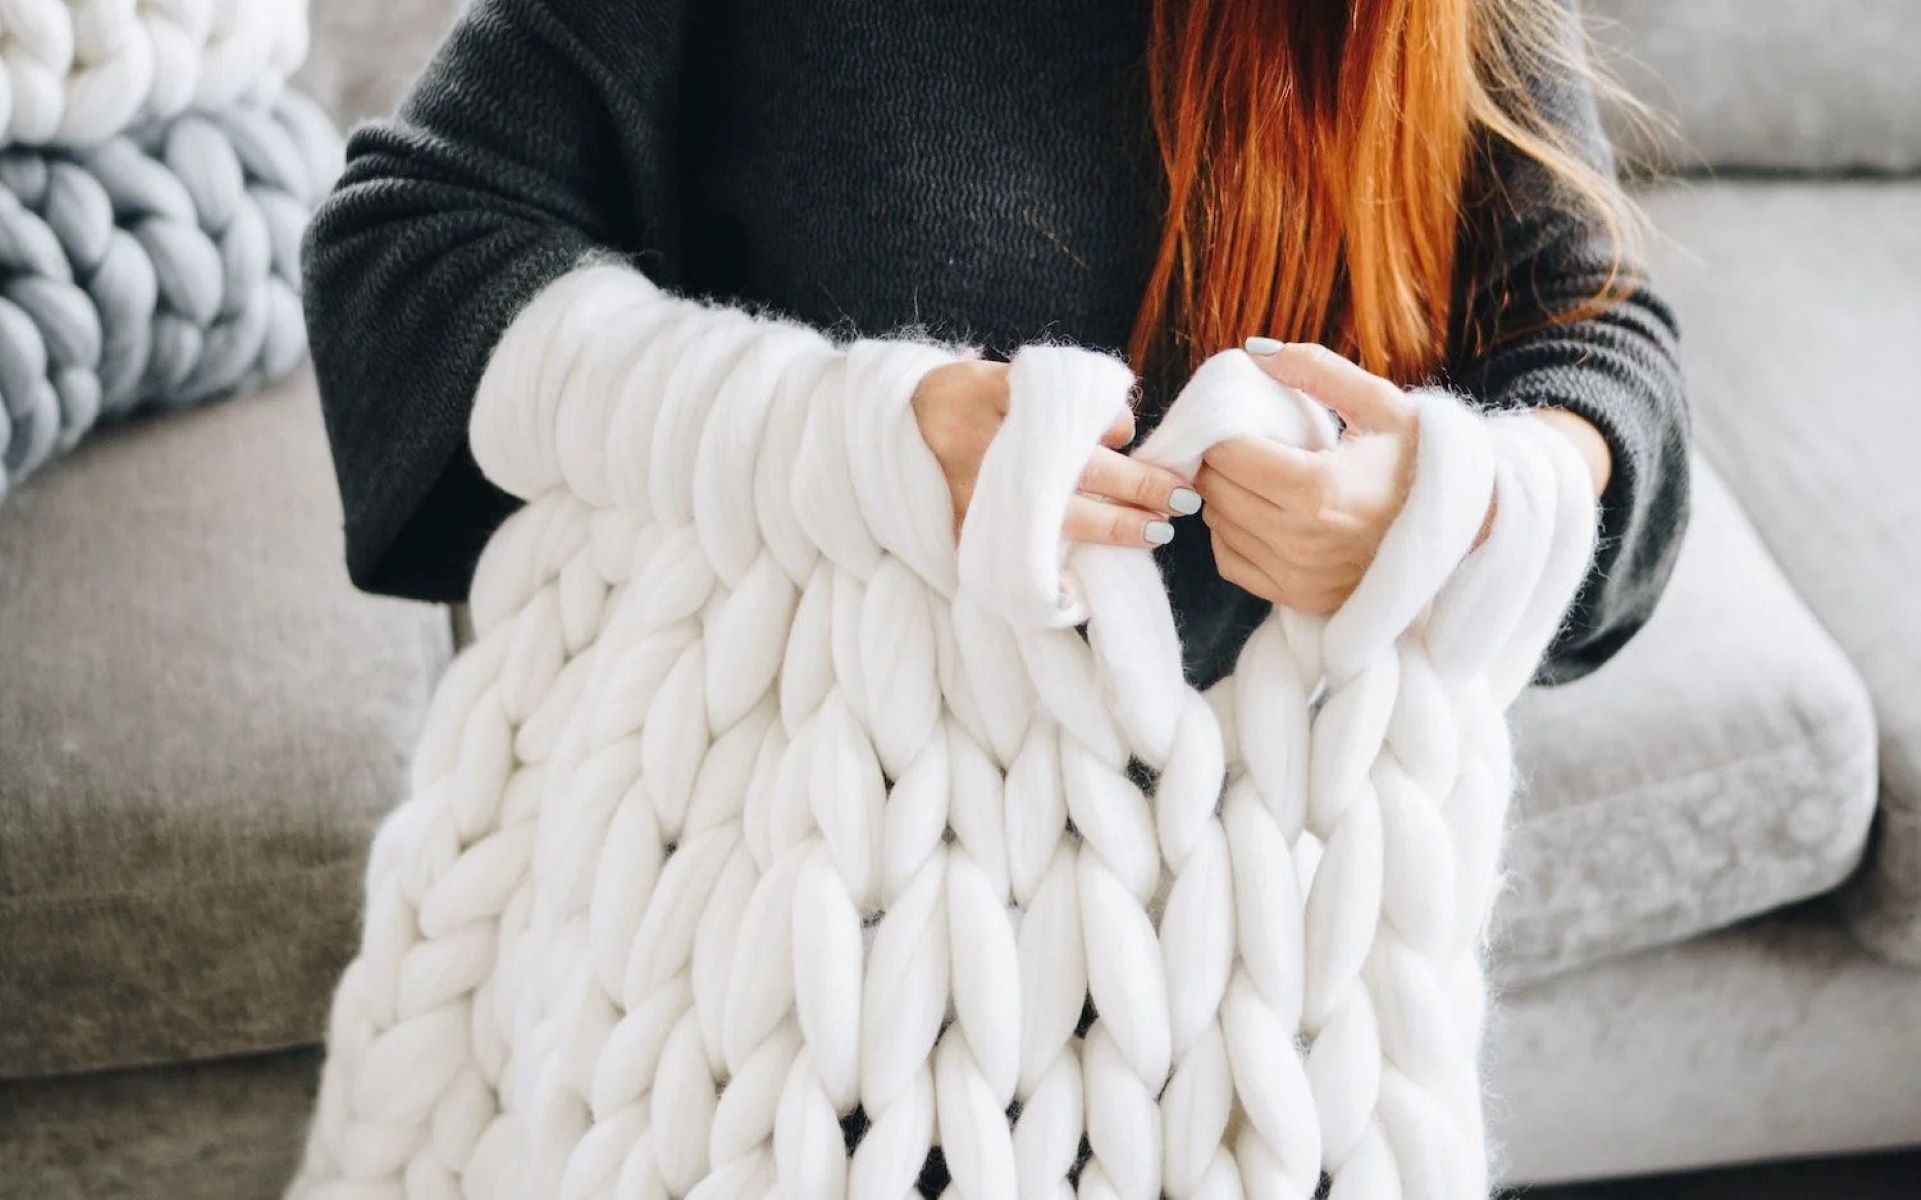
Are you looking for a creative and cozy project to take on? Why not try finger knitting and make yourself a beautiful blanket? Finger knitting is a fun and easy technique that allows you to create intricate patterns and designs using just your hands and some yarn.
Whether you’re a beginner or an experienced knitter, finger knitting is a great way to unleash your creativity and produce stunning results. In this article, we will guide you through the step-by-step process of finger knitting a blanket.
Before we dive into the details, let’s talk about the materials you will need for this project.
Key Takeaways:
- Finger knitting a blanket is a fun and creative way to unleash your creativity and produce stunning results using just your hands and some yarn. It’s a rewarding and enjoyable experience for knitters of all levels.
- With finger knitting, you can create a cozy and functional blanket while also enjoying the therapeutic and meditative benefits of the repetitive knitting motion. Experiment with different stitch patterns and colors to make your blanket unique and eye-catching.
Read more: How To Make A Finger Knit Blanket
Materials Needed
Before you begin finger knitting your blanket, gather the following materials:
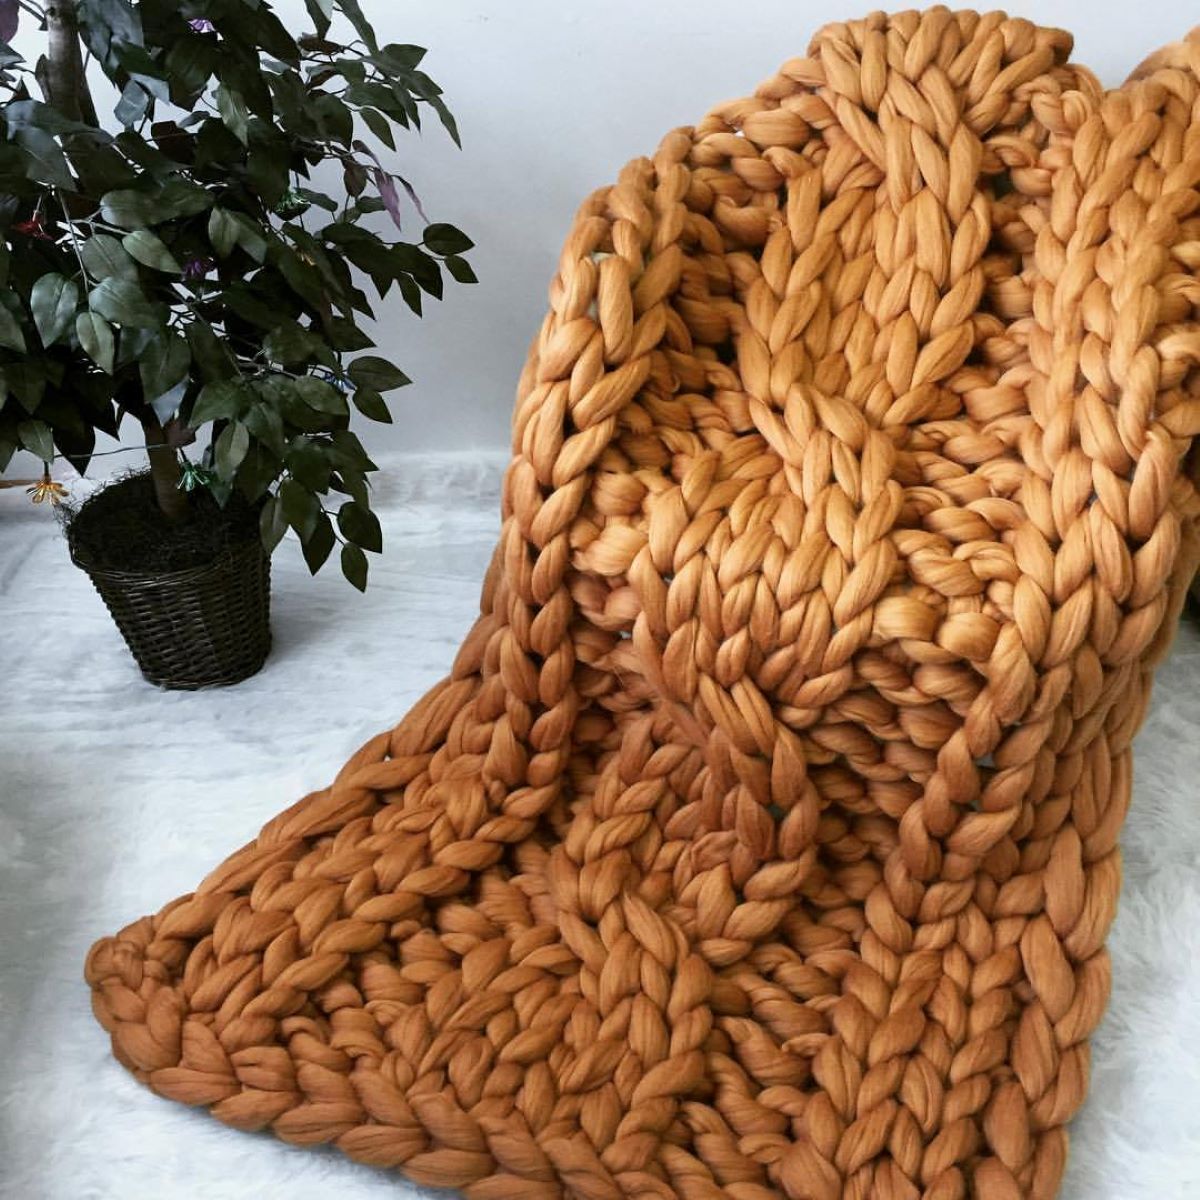
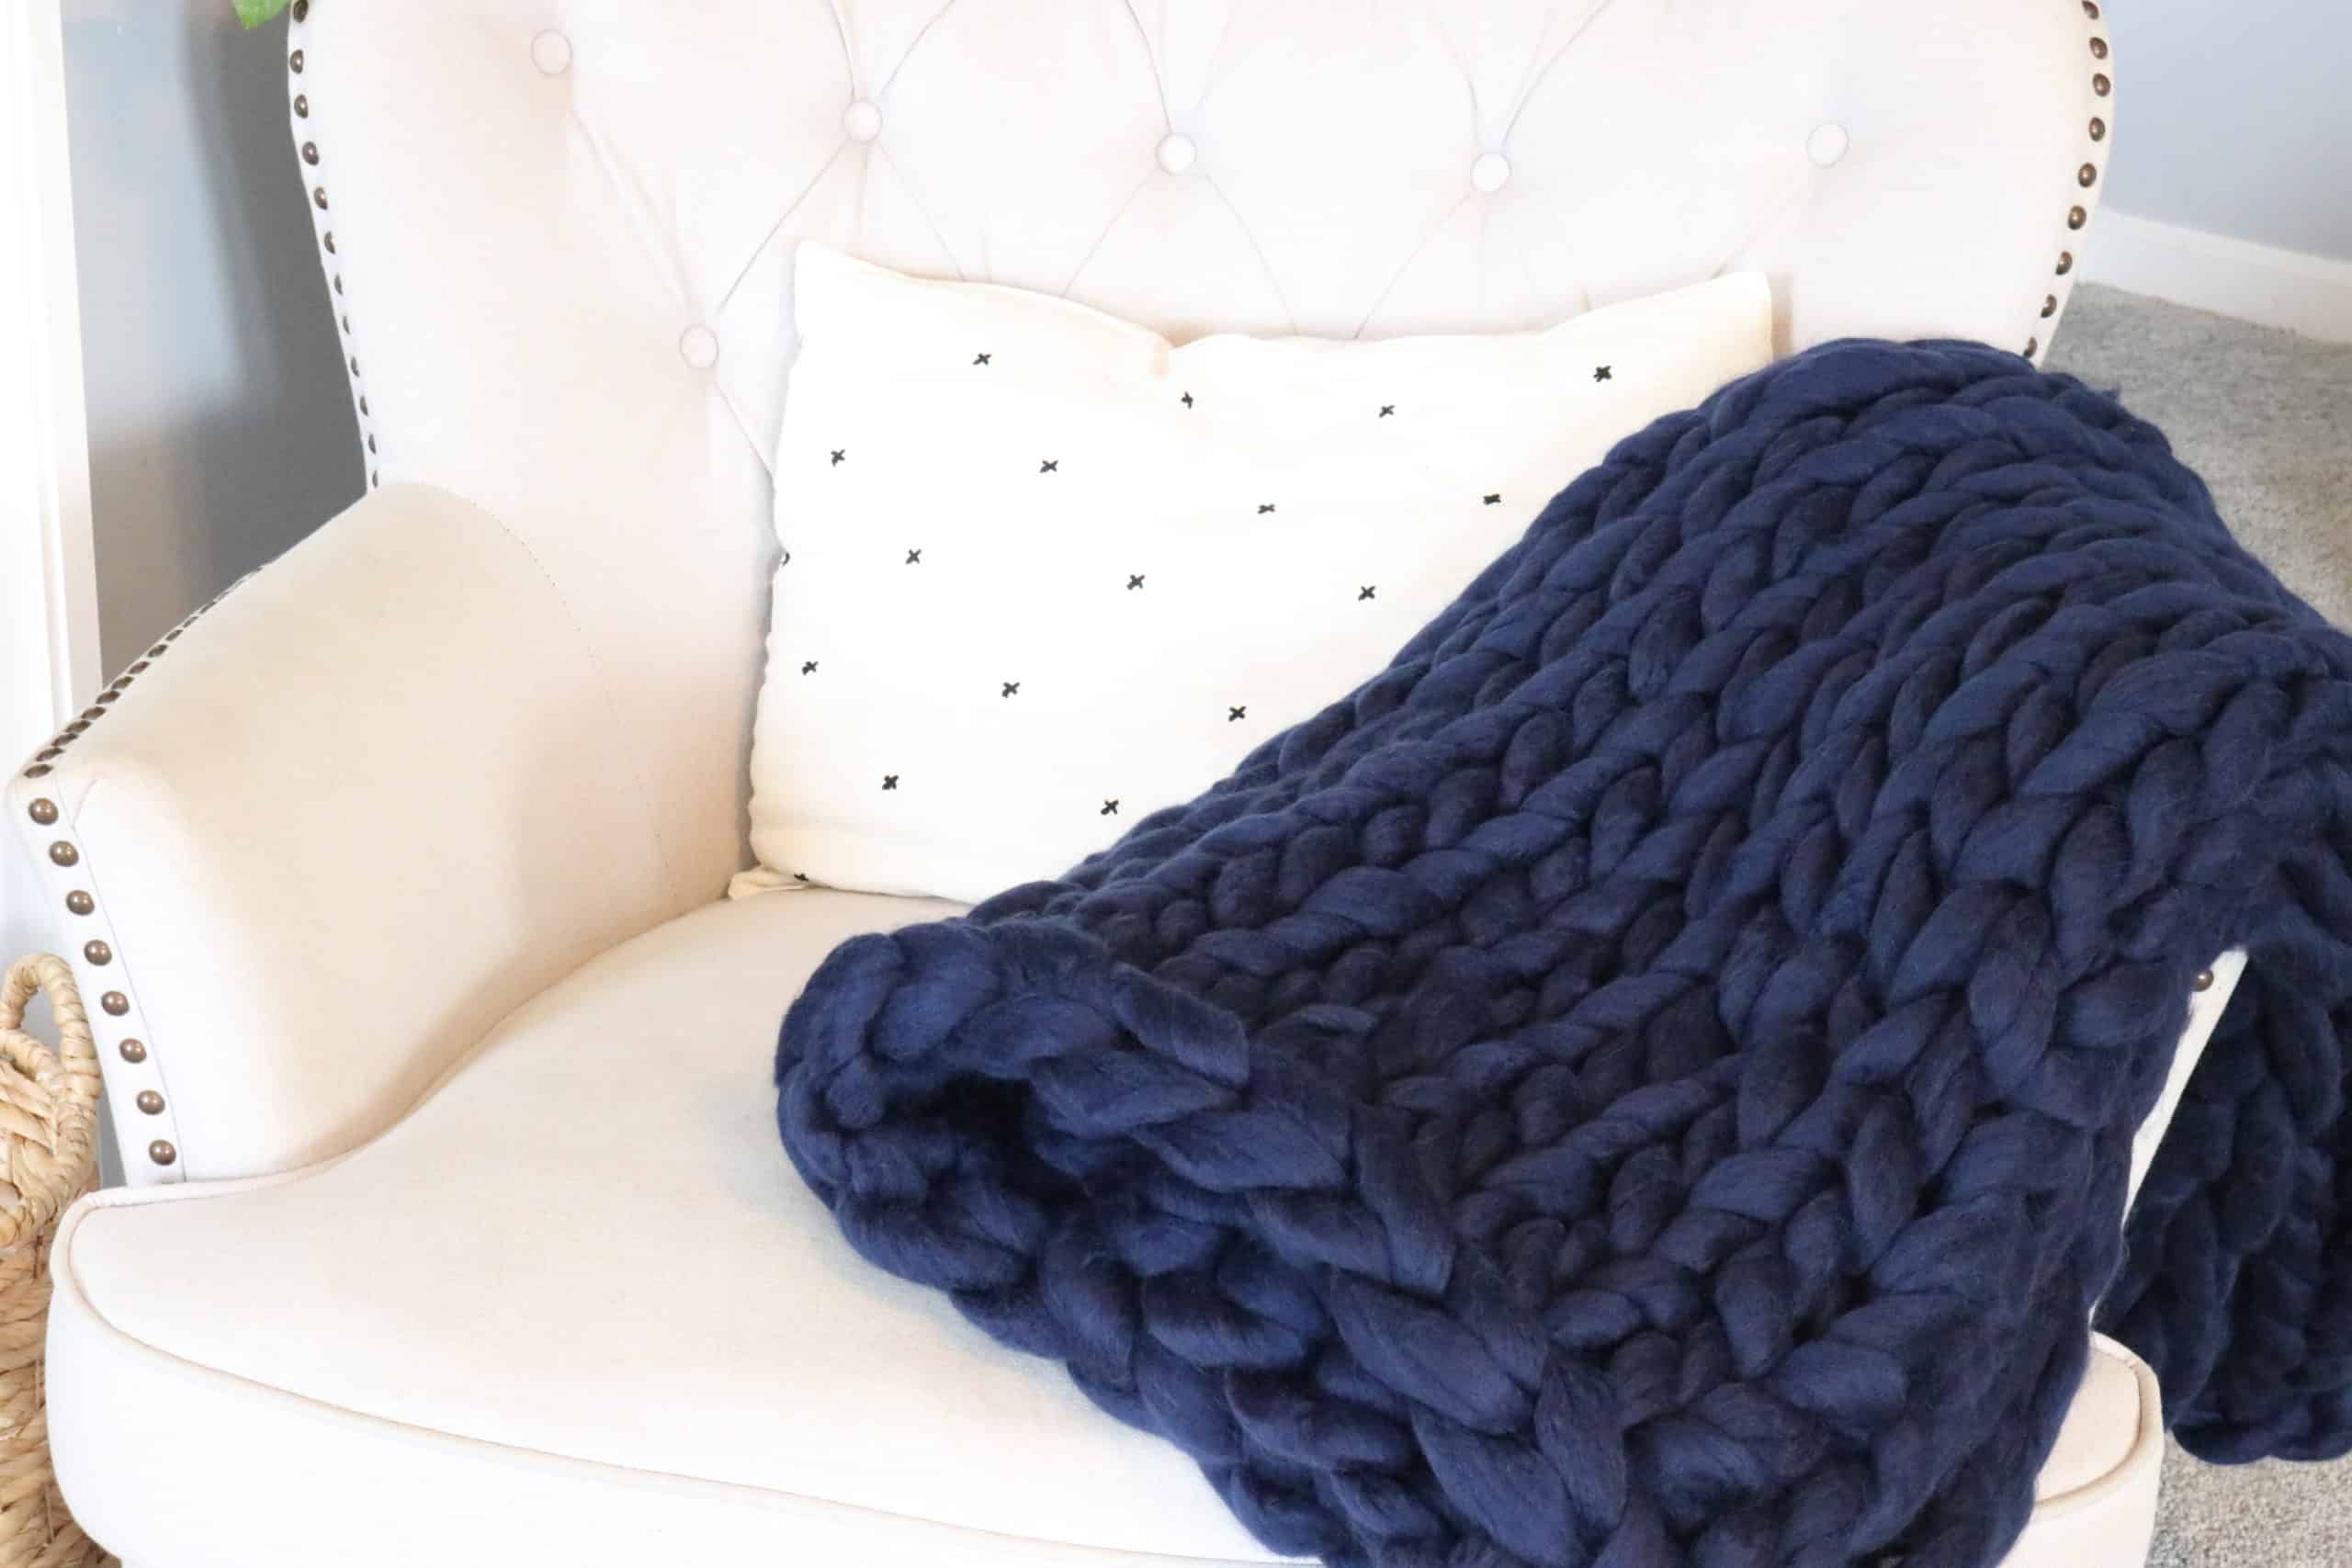
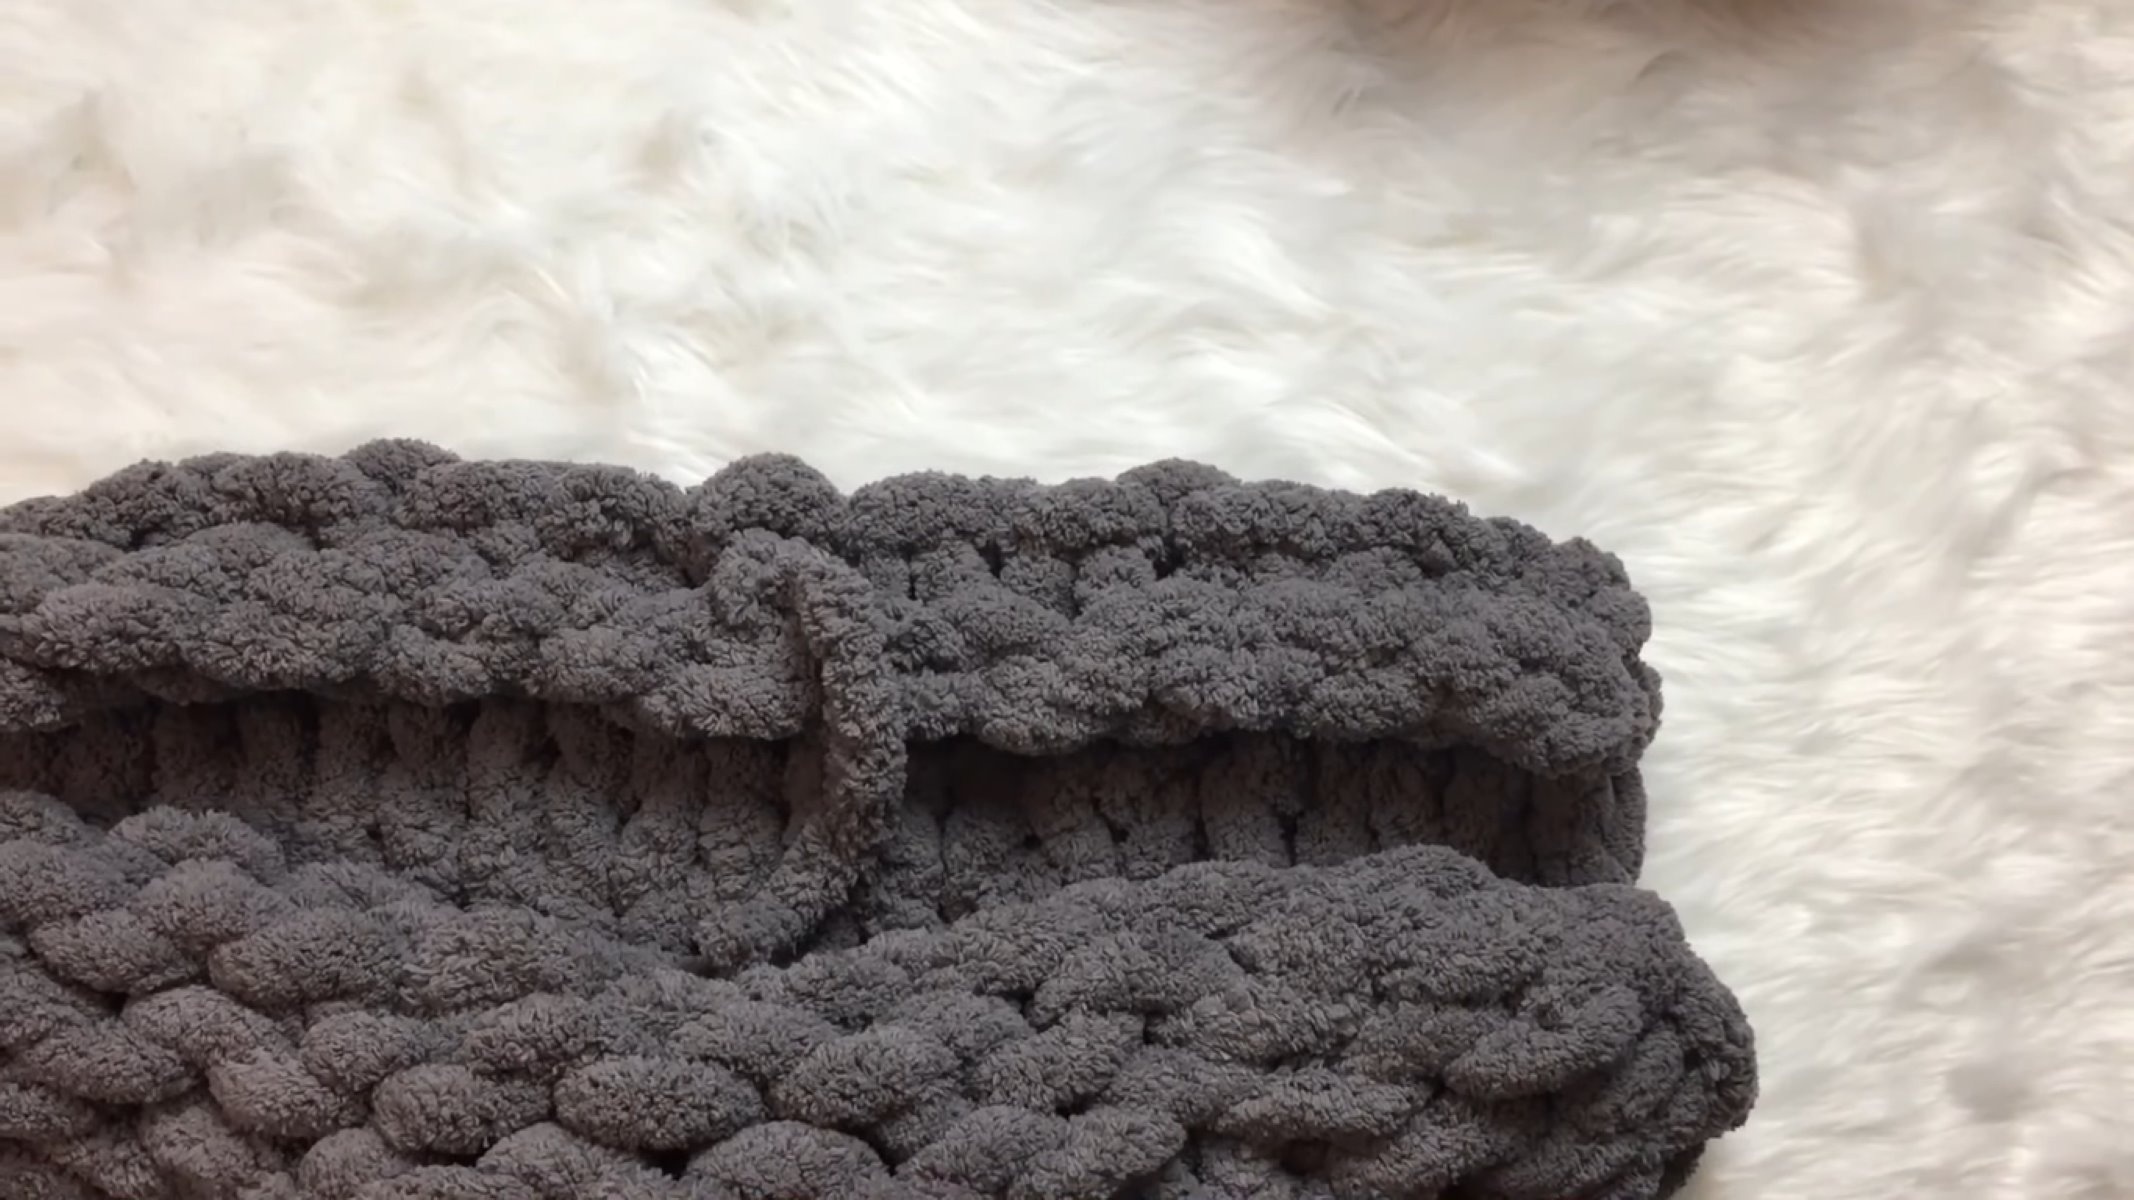
- Chunky yarn: Choose a soft and thick yarn that will provide warmth and coziness to your blanket. You can select a single color or opt for multiple colors to create a vibrant and eye-catching design.
- Scissors: You’ll need a pair of scissors to cut the yarn when necessary.
- Tapestry needle: A tapestry needle will come in handy for weaving in any loose ends and finishing off your blanket.
- Measuring tape (optional): If you want to ensure that your blanket is a specific size, a measuring tape can be helpful to keep track of your progress.
Once you have gathered all the necessary materials, you’re ready to begin finger knitting your blanket. Let’s move on to the next step – casting on.
Step 1: Casting On
The first step in finger knitting your blanket is to cast on. Casting on creates the foundation row of stitches on your fingers.
To cast on, follow these steps:
- Hold the end of the yarn between your thumb and your palm, leaving a tail of about 6 inches.
- Make a loop with the yarn, crossing the working yarn over the tail.
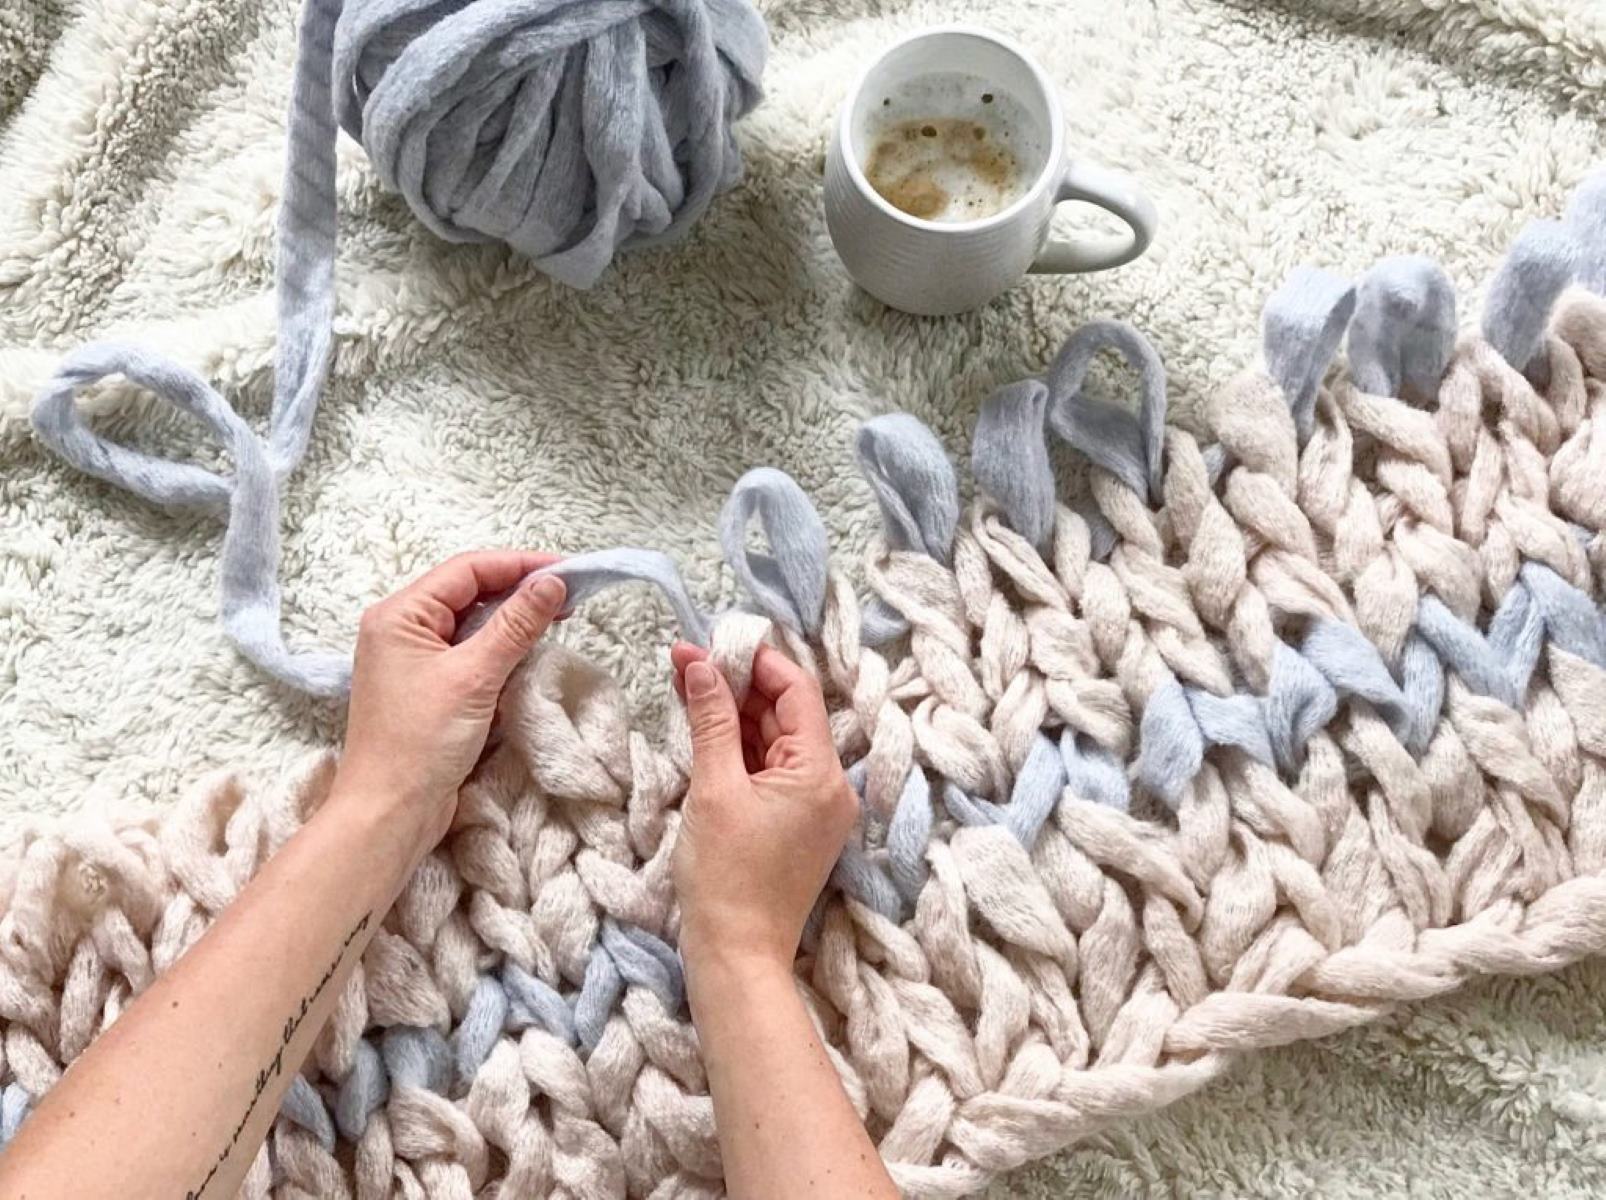
- Insert your index finger and middle finger through the loop, then grab the working yarn and pull it through the loop.
- Slide the loop onto your fingers, just below your knuckles. This loop will be your first stitch.
- Repeat steps 2-4 until you have cast on the desired number of stitches for your blanket. For a larger blanket, you may want to cast on more stitches, while a smaller blanket will require fewer stitches.
Once you have cast on your stitches, you’re ready to move on to the next step – knitting rows.
Step 2: Knitting Rows
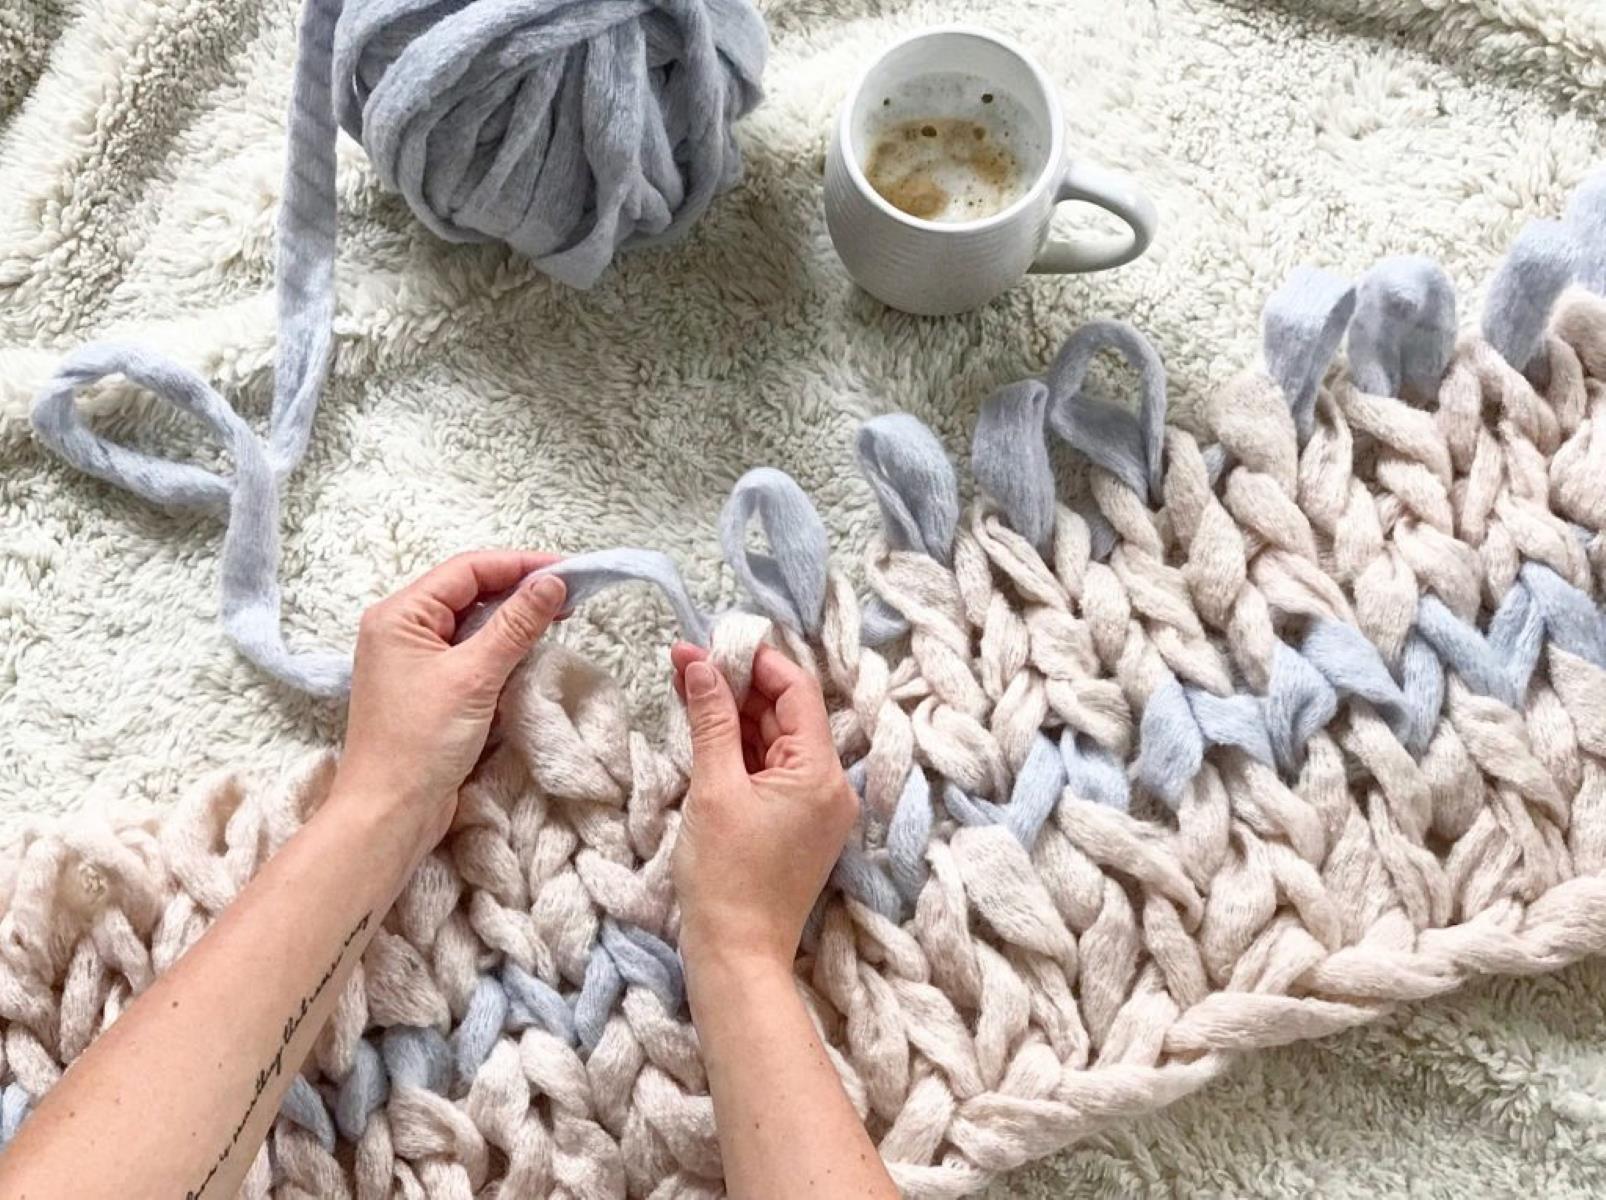
Now that you have cast on your stitches, it’s time to start knitting rows. This is where your blanket will really start to take shape.
To knit rows in finger knitting, follow these steps:
- Hold the working yarn with your non-dominant hand, allowing it to hang loosely behind your hand.
- Take the first loop on your index finger and pull it over your finger, releasing it from your hand. This loop will now be on your middle finger.
- Repeat this process, pulling the loop from your middle finger over to your index finger.
- Continue moving the loops from finger to finger until you reach the end of the row.
- Once you reach the end, flip your hand over and start knitting the next row in the opposite direction. This will create a stockinette stitch pattern.
- Continue knitting rows in this manner, repeating steps 2-5, until your blanket reaches the desired length.
Remember to keep a gentle tension on the yarn as you knit to ensure that the stitches are even and consistent throughout your blanket.
If you’re looking to add some visual interest to your blanket, you can also experiment with different stitch patterns, such as ribbing or seed stitch. This will give your blanket a textured and unique look.
Once you have completed knitting all the necessary rows, it’s time to move on to the next step – changing colors (optional).
When starting to finger knit a blanket, use chunky or bulky yarn for a quicker and cozier result. Start with a slip knot and work in rows to create the desired width. Keep your tension consistent for a uniform look.
Step 3: Changing Colors (Optional)
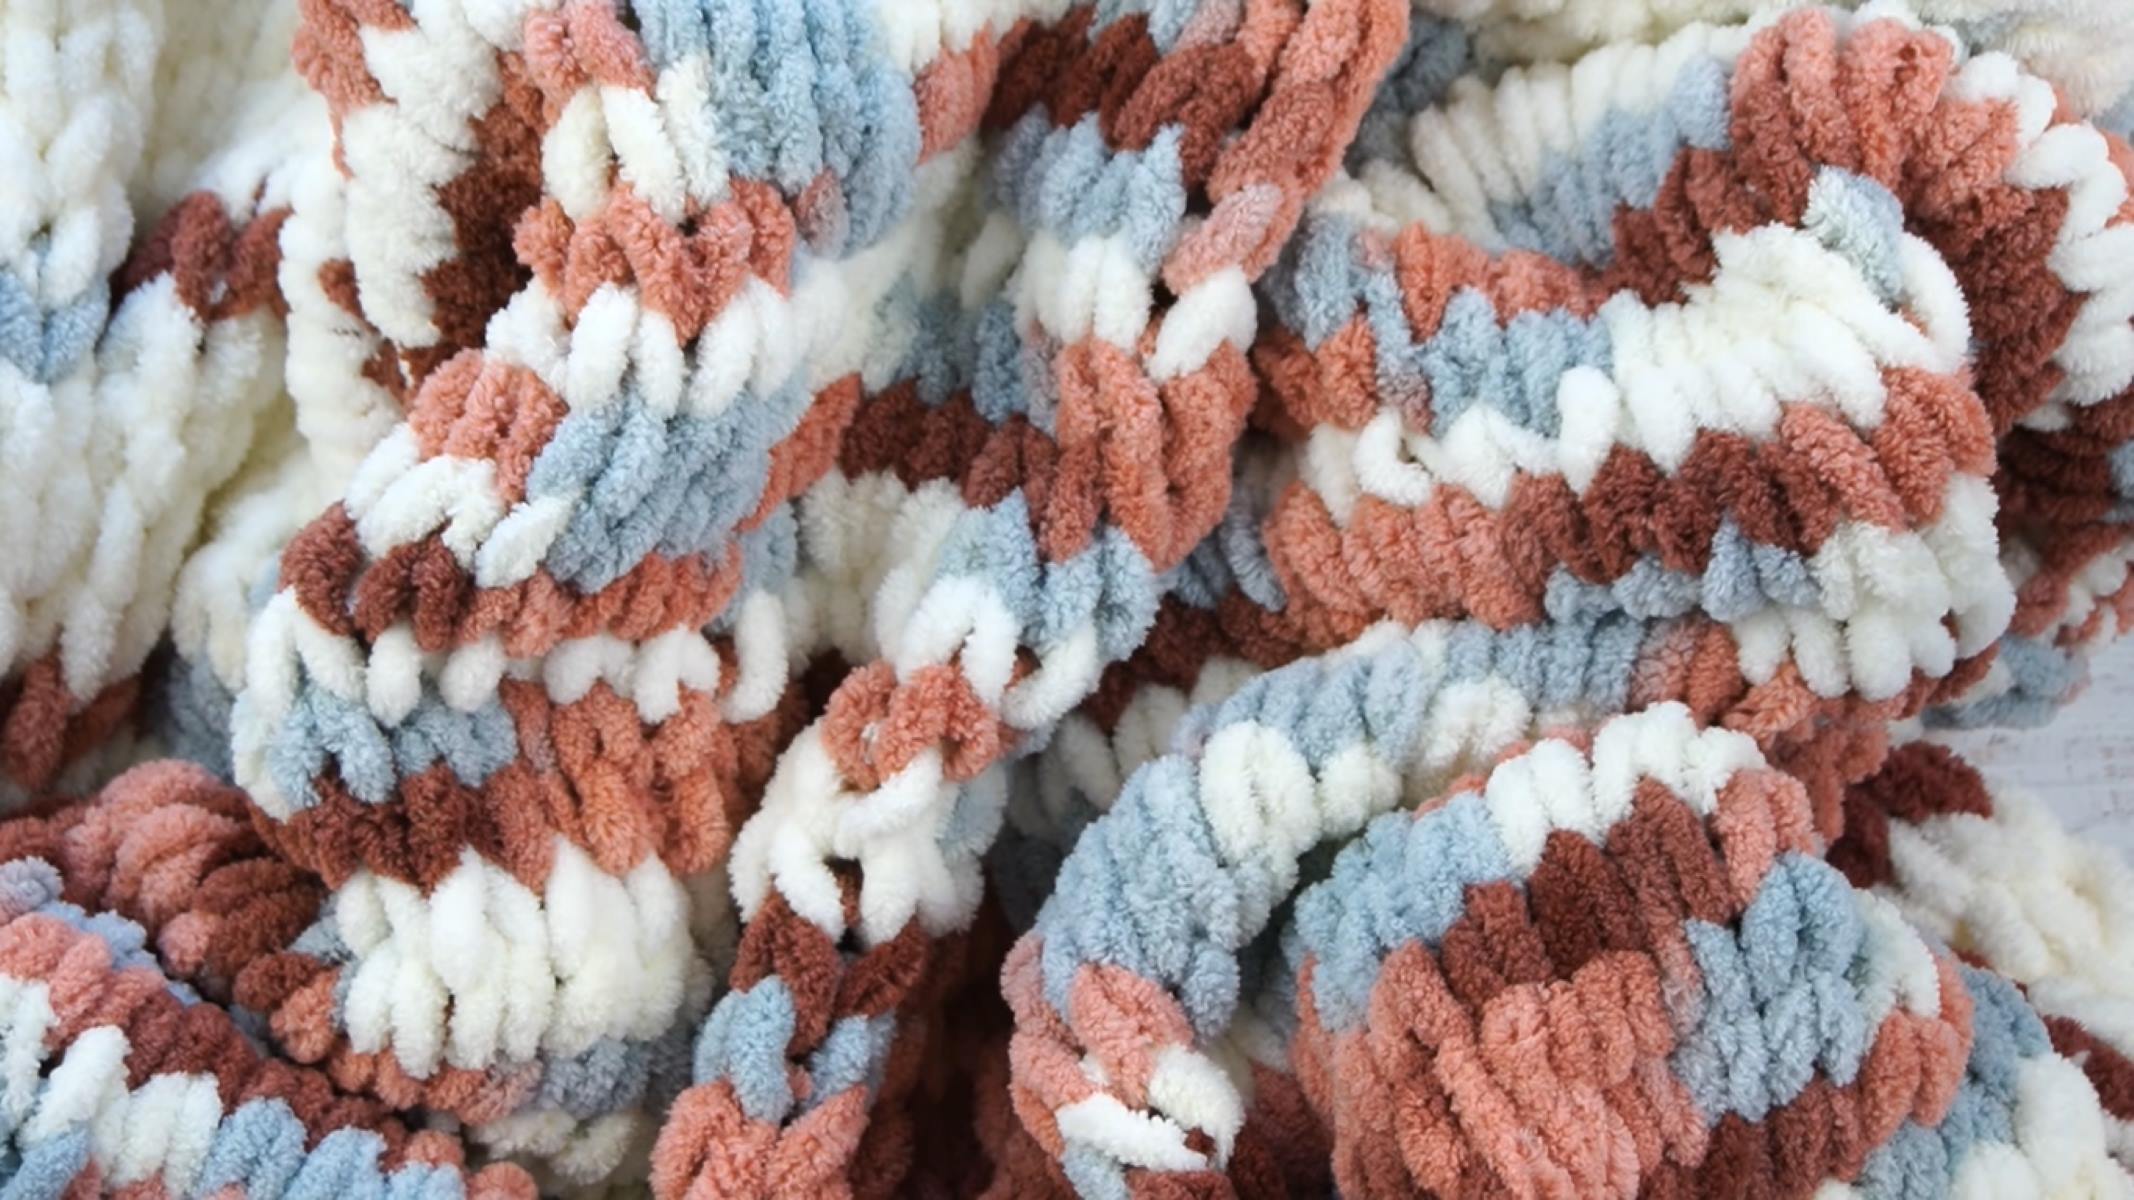
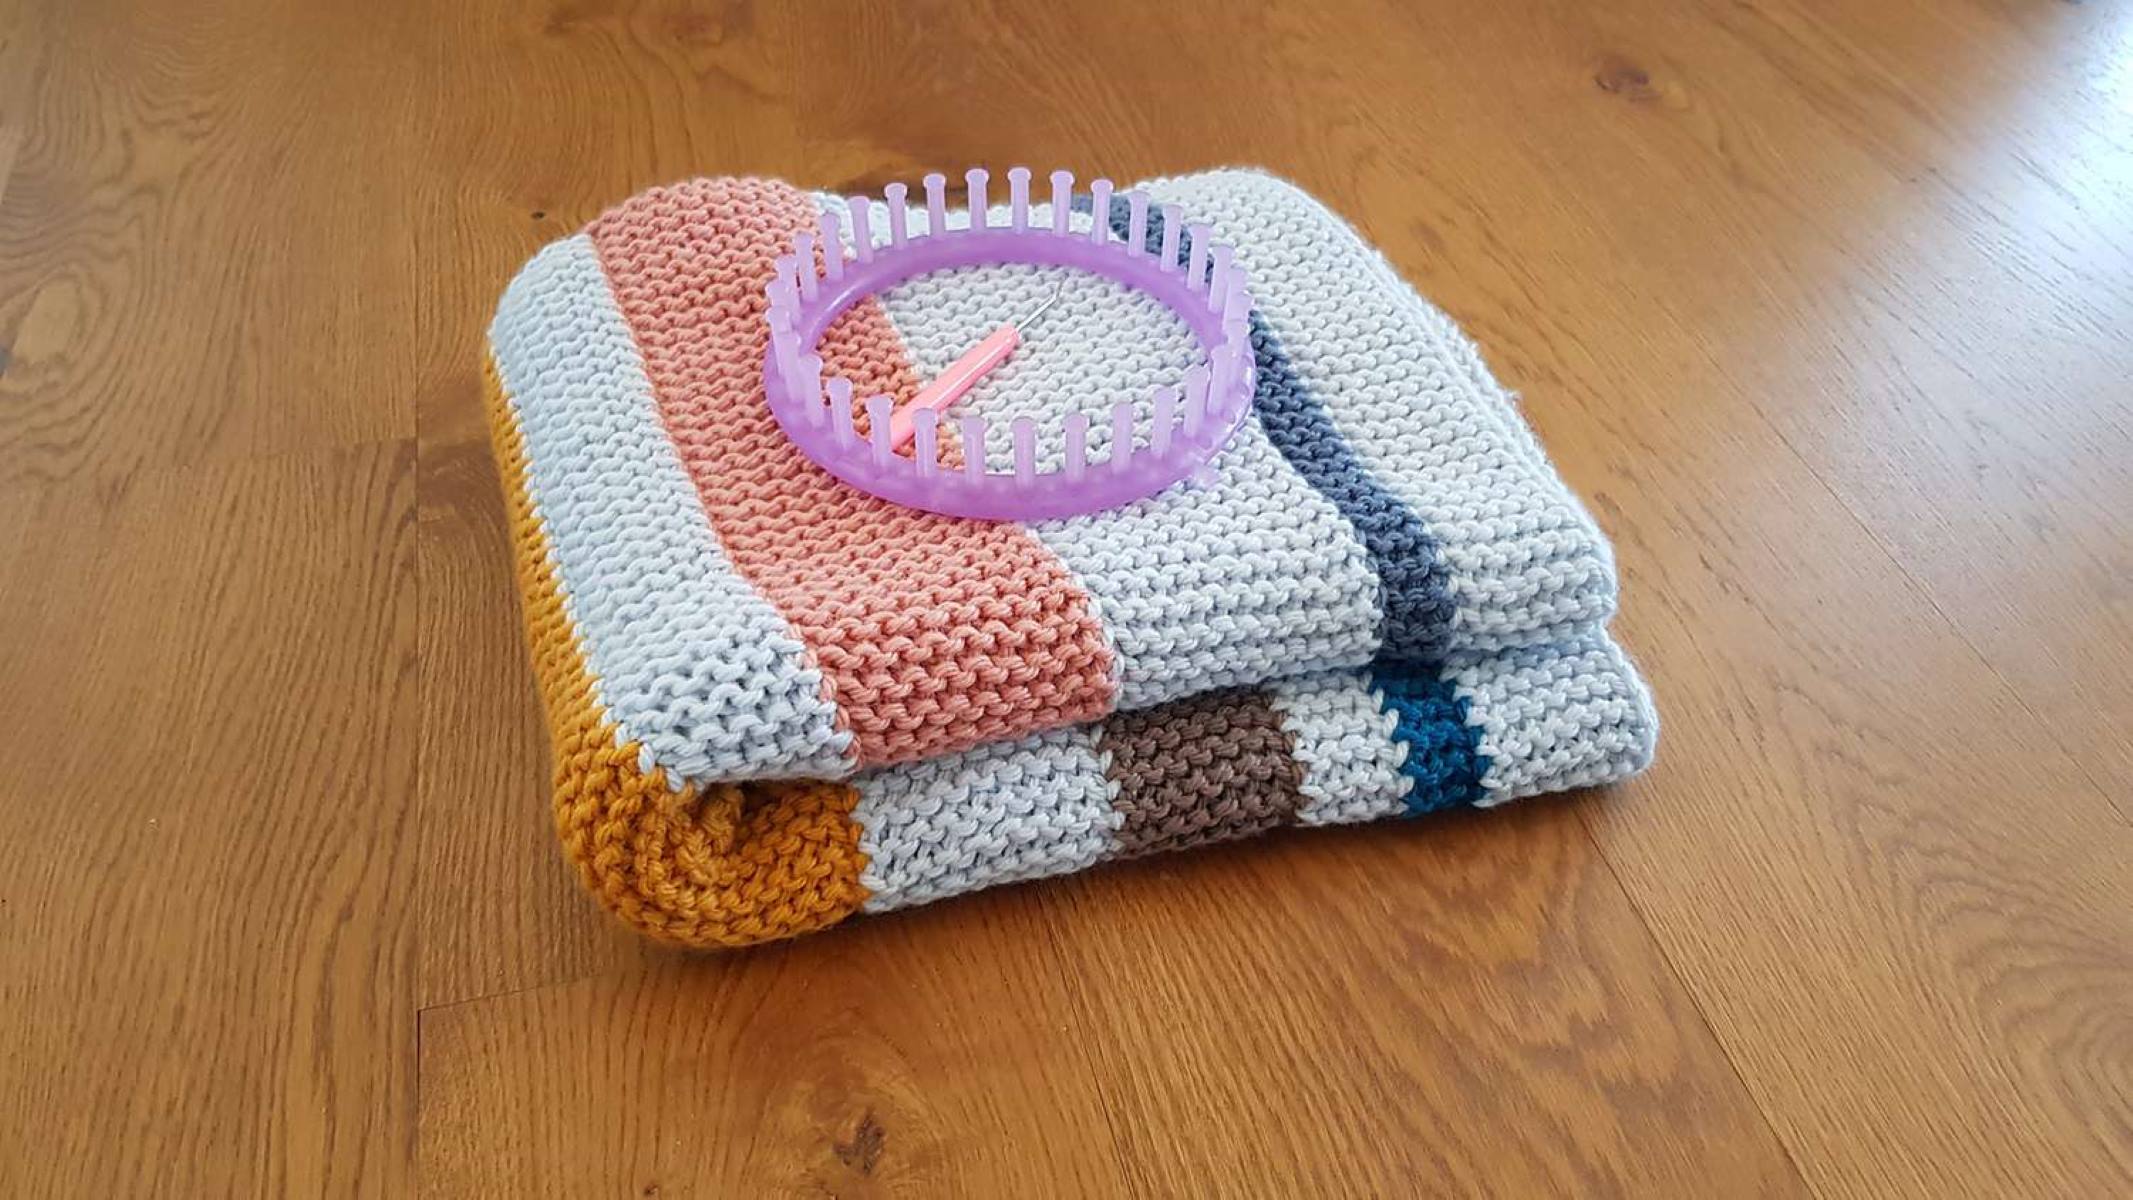
If you want to add some variety and visual appeal to your finger-knitted blanket, you can choose to change colors at certain points. This step is optional and entirely up to your preference and creative vision.
To change colors while finger knitting, follow these steps:
- When you’re ready to switch to a new color, take the old color’s yarn and hold it alongside the new color’s yarn, leaving a tail of the old color.
- Take the new color’s yarn and form a loop, pulling the old color’s yarn through the loop.
- Slide the loop onto your fingers, just below your knuckles, along with the other loops.
- Continue knitting rows with the new color, following the instructions from Step 2.
By changing colors strategically, you can create patterns, stripes, or gradients in your blanket, adding depth and visual interest.
Remember to leave a tail of each color when changing, as you will need to weave in those ends later to secure the colors in place.
Once you have finished finger knitting your blanket and have achieved the desired color pattern, it’s time to move on to the next step – increasing or decreasing stitches (optional).
Read more: How To Start Knitting A Baby Blanket
Step 4: Increasing or Decreasing Stitches (Optional)
If you want to add shaping or adjust the size of your finger-knitted blanket, you can choose to increase or decrease stitches. This step is optional and depends on your desired outcome.
Here are the steps to increase or decrease stitches while finger knitting:
- To increase stitches:
- Identify the stitch where you want to increase and insert your finger through it.
- Pull the working yarn through the stitch, creating a new loop on your finger.
- Continue knitting rows with the increased stitches, following the instructions from Step 2.
- To decrease stitches:
- Identify the two stitches you want to decrease and remove them from your fingers.
- Combine the two stitches into one by pulling the first stitch over the second stitch.
- Continue knitting rows with the decreased stitches, following the instructions from Step 2.
Increasing or decreasing stitches can create shaping in your blanket, such as adding a tapered edge or creating a wider or narrower section. Experimenting with these techniques allows you to customize your blanket according to your preferences.
Once you’ve completed increasing or decreasing stitches (if desired), it’s time to move on to the final step – binding off.
Step 5: Binding Off
After completing the desired number of rows and any optional increases or decreases, it’s time to bind off your finger-knitted blanket. Binding off creates a neat and finished edge, securing your stitches in place.
Here’s how to bind off:
- Knit the first two stitches as usual.
- Take the first stitch and lift it over the second stitch and off your finger, dropping it.
- Knit the next stitch.
- Lift the second stitch over the third stitch and off your finger.
- Continue this process of knitting a stitch and lifting the previous stitch over until you have reached the end of the row.
- Cut the yarn, leaving a tail of about 6 inches.
- Thread the tail through a tapestry needle, and starting from one end, weave the needle through the loops of the remaining stitches on your fingers.
- Remove your fingers from the loops, gently pulling the yarn to tighten the stitches together.
- Weave in any loose ends, making sure they are secure and not visible on the front or back of the blanket.
Once you have finished binding off and weaving in the ends, your finger-knitted blanket is complete and ready to be enjoyed!
Wrap yourself up in its cozy warmth or gift it to a loved one. Finger knitting a blanket is not only a satisfying and creative project but also a practical and stylish way to add a unique touch to your home.
Congratulations on completing your finger-knitted blanket and embracing the art of finger knitting!
Remember to have fun and explore different patterns, colors, and techniques to create your own personalized finger-knitted projects in the future.
Happy finger knitting!
Conclusion
Starting and finger knitting a blanket is a rewarding and enjoyable experience. It allows you to unleash your creativity, while also providing a cozy and functional item for yourself or your loved ones.
Throughout this article, we have covered the step-by-step process of finger knitting a blanket, from casting on to binding off. We have explored optional techniques such as changing colors and increasing or decreasing stitches to add variety and customization to your project.
Remember to choose a soft and chunky yarn for maximum comfort and warmth. Feel free to experiment with different stitch patterns and color combinations to create a unique and eye-catching blanket.
Finger knitting a blanket is not only a practical skill, but also a way to relax and unwind. The repetitive motion of knitting can be therapeutic and meditative, allowing you to destress while creating something beautiful.
So gather your materials, find a cozy spot, and let your fingers do the knitting. Before you know it, you’ll have a stunning handcrafted blanket that will bring warmth and joy to your home.
Now that you know how to start finger knitting a blanket, it’s time to get started on your own project. Whether you’re a beginner or experienced knitter, finger knitting offers an accessible and enjoyable way to create beautiful, personalized blankets.
So go ahead, embrace your creativity, and get ready to enjoy the cozy comfort of a finger-knitted blanket. Happy knitting!
Frequently Asked Questions about How To Start Finger Knitting A Blanket
Was this page helpful?
At Storables.com, we guarantee accurate and reliable information. Our content, validated by Expert Board Contributors, is crafted following stringent Editorial Policies. We're committed to providing you with well-researched, expert-backed insights for all your informational needs.


0 thoughts on “How To Start Finger Knitting A Blanket”