Articles
How To Wash A Knitted Blanket
Modified: February 28, 2024
Learn the best way to wash your knitted blanket with these helpful articles. Keep your blanket soft and cozy for years to come.
(Many of the links in this article redirect to a specific reviewed product. Your purchase of these products through affiliate links helps to generate commission for Storables.com, at no extra cost. Learn more)
Introduction
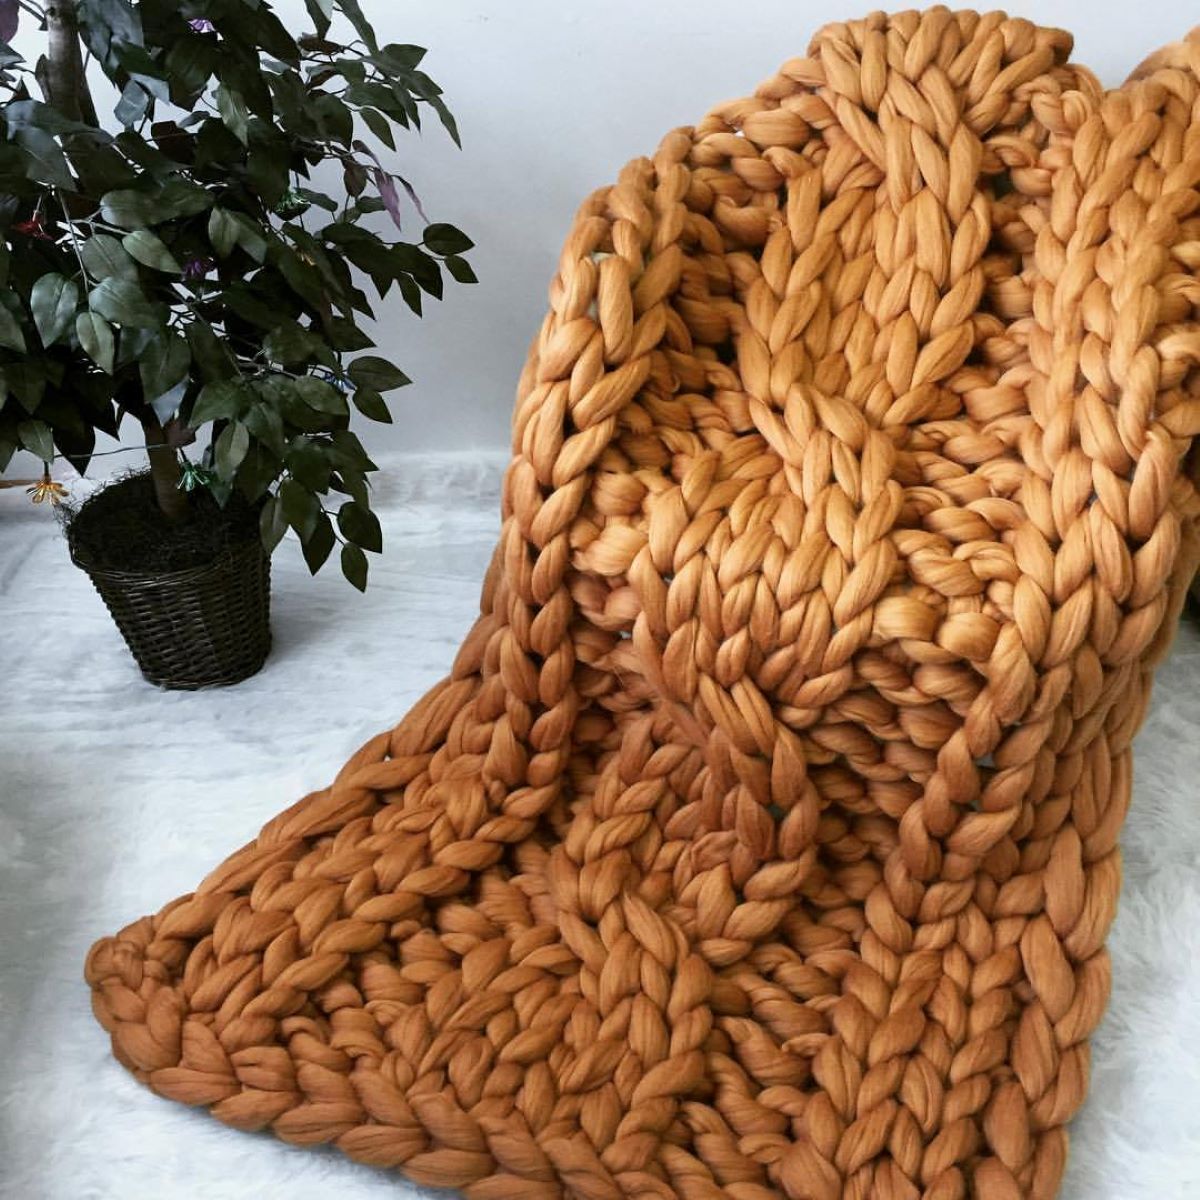
Welcome to the ultimate guide on how to wash a knitted blanket. Knitted blankets are cozy and versatile, making them a popular choice for keeping warm and adding a touch of comfort to any space. However, due to their delicate nature, it is essential to take proper care when cleaning them to ensure they retain their texture and shape.
In this article, we will walk you through the step-by-step process of washing a knitted blanket, whether you opt for hand-washing or machine-washing. We will also provide some useful tips to help you properly dry and store your knitted blankets, ensuring they stay in pristine condition for years to come.
Before we dive into the practical steps, let’s discuss some essential materials you will need to have on hand:
- Mild detergent or wool wash
- Clean and absorbent towels
- A large basin or sink
- A washing machine (if machine-washing)
- A mesh laundry bag (if machine-washing)
- A flat surface or a drying rack
Now that you have gathered the necessary materials, let’s proceed to the first step of preparing the knitted blanket for washing.
Key Takeaways:
- Properly caring for your knitted blanket involves gentle washing, thorough drying, and thoughtful storage to maintain its softness and coziness for years to come.
- Whether hand-washing or machine-washing, the key to preserving your knitted blanket is to use mild detergent, avoid wringing or twisting, and air dry it on a flat surface away from direct sunlight.
Read more: How To Finish Knitting A Blanket
Materials needed
Before you begin the process of washing your knitted blanket, it’s important to gather all the necessary materials. Here’s a list of items that you’ll need:
- Mild detergent or wool wash: Choose a detergent specifically designed for delicate fabrics or wool. Avoid using harsh chemicals or bleach, as they can damage the fibers of the knitted blanket.
- Clean and absorbent towels: You’ll need these to help soak up excess water and protect the delicate fibers of the blanket during the drying process.
- A large basin or sink: This will be used for hand-washing your knitted blanket. Ensure that it is clean and has enough space to accommodate the blanket comfortably.
- A washing machine (if machine-washing): If you prefer to machine-wash your knitted blanket, make sure you have access to a washing machine that provides a gentle cycle option.
- A mesh laundry bag (if machine-washing): To protect the knitted blanket from getting tangled or snagged in the washing machine, it is highly recommended to place it inside a mesh laundry bag.
- A flat surface or drying rack: After washing, the knitted blanket needs to be laid flat to dry. A clean, flat surface or a drying rack will provide the support needed to maintain the shape of the blanket as it dries.
Having these materials prepared in advance will ensure a smooth process and help protect the integrity of your knitted blanket. Once you have gathered all the necessary items, you’re ready to move on to the next step: preparing the knitted blanket for washing.
Step 1: Preparing the knitted blanket
Before you begin washing your knitted blanket, it’s important to prepare it properly to ensure the best possible results. Follow these steps to prepare your knitted blanket:
- Check for any stains or spots: Inspect your knitted blanket for any stains or spots that require special attention. If you spot any, pretreat them with a stain remover before washing.
- Detach any removable accessories: If your knitted blanket has any removable accessories like pompoms or decorative buttons, detach them before washing. This will prevent them from getting damaged or causing tangling during the washing process.
- Secure loose threads: Take a close look at your knitted blanket and identify any loose threads. Use a needle and matching thread to secure them or weave them back into the fabric gently. This will help prevent further unraveling during washing.
- Gently shake or brush off any loose debris: Prior to washing, give your knitted blanket a gentle shake or use a soft-bristled brush to remove any loose dirt, dust, or pet hair. This will help prevent them from settling further into the fabric during the washing process.
- Turn the blanket inside out: Turning the knitted blanket inside out before washing can help preserve its color and texture. It will also protect the outer surface of the blanket from friction and potential snagging.
- Secure the edges: If your knitted blanket has delicate edges or fringes, consider securing them using safety pins or by hand-stitching. This will prevent them from tangling or fraying during washing.
By following these steps, you’ll ensure that your knitted blanket is ready for the washing process. Next, we’ll discuss the different washing methods you can choose from: hand-washing and machine-washing.
Step 2: Choosing the right washing method
When it comes to washing a knitted blanket, you have two primary options: hand-washing or machine-washing. The decision on which method to choose depends on various factors, such as the type of yarn, the size of the blanket, and personal preference. Let’s explore both methods:
Hand-washing:
Hand-washing is the most gentle method for washing knitted blankets. It allows you to have more control over the process and reduces the risk of damaging the delicate fibers. Here’s how to hand-wash your knitted blanket:
- Fill a clean basin or sink with lukewarm water.
- Add a small amount of mild detergent or wool wash to the water. Avoid using too much detergent, as it can be difficult to rinse out completely.
- Place the knitted blanket in the water and gently agitate it for a few minutes to ensure even distribution of the detergent.
- Let the blanket soak in the soapy water for about 10-15 minutes, allowing the detergent to penetrate the fibers and dislodge any dirt or grime.
- Gently squeeze and press the blanket without wringing or twisting to remove excess water.
- Drain the soapy water and refill the basin or sink with clean lukewarm water for rinsing.
- Place the blanket in the clean water and gently agitate it to remove any remaining detergent.
- Repeat the rinsing process if necessary until the water runs clear and does not contain any soap residue.
- Gently squeeze out any excess water from the blanket without wringing or twisting.
Read more: How To Start Knitting A Baby Blanket
Machine-washing:
Machine-washing is a convenient option for cleaning larger knitted blankets. However, it is important to note that not all knitted blankets are suitable for machine-washing, especially delicate or loosely knitted ones. If your blanket is machine-washable, follow these steps:
- Place the knitted blanket inside a mesh laundry bag to protect it from getting tangled.
- Select a gentle or delicate cycle on your washing machine, using cold water and a small amount of mild detergent or wool wash.
- Start the washing machine and allow it to complete the cycle.
- Once the cycle is finished, remove the knitted blanket from the mesh bag.
Keep in mind that machine-washing may cause more wear and tear on the knitted blanket compared to hand-washing. So it’s crucial to carefully read the care instructions and consider the type of yarn and construction before opting for this method.
Now that you’ve learned about the two washing methods, it’s time to proceed to the next steps: hand-washing the knitted blanket and machine-washing the knitted blanket (choose the appropriate section based on your preferred method).
Step 3: Hand-washing the knitted blanket
If you’ve chosen to hand-wash your knitted blanket, follow these steps to ensure a thorough yet gentle cleaning process:
- Fill a clean basin or sink with lukewarm water. Make sure the water is not too hot, as it can cause the fibers to shrink or lose their shape.
- Add a small amount of mild detergent or wool wash to the water. Use a gentle, pH-neutral detergent that is specifically formulated for delicate fabrics.
- Submerge the knitted blanket into the soapy water and gently agitate it. Allow the blanket to soak for about 10-15 minutes, allowing the detergent to penetrate the fibers and remove any dirt or grime.
- After soaking, gently squeeze and press the blanket without wringing or twisting to remove excess water. Be gentle to avoid stretching or distorting the fibers.
- Drain the soapy water and refill the basin or sink with clean lukewarm water for rinsing.
- Place the knitted blanket in the clean water and gently agitate it to remove any remaining detergent.
- Repeat the rinsing process if necessary until the water runs clear and does not contain any soap residue.
- Gently squeeze out any excess water from the blanket, being careful not to wring or twist it. Avoid putting excessive pressure on the fibers, as this can lead to damage.
- Transfer the knitted blanket onto a clean and absorbent towel. Roll up the towel with the blanket inside to gently press out more moisture. Repeat this process with dry towels until the blanket feels damp rather than wet.
- Finally, lay the knitted blanket flat on a clean and dry surface, such as a flat table or drying rack. Reshape the blanket if necessary and allow it to air dry completely. Avoid direct sunlight and heat sources, as they can cause the fibers to become brittle or fade.
By following these steps, you can effectively hand-wash your knitted blanket while minimizing the risk of damage. Once your knitted blanket is completely dry, you can proceed to the final touches and storage tips, which will be covered in the next section.
Step 4: Machine-washing the knitted blanket
If you’ve decided to machine-wash your knitted blanket, follow these steps to ensure a safe and effective cleaning process:
- Place the knitted blanket inside a mesh laundry bag. This will help protect it from getting tangled or stretched during the washing cycle.
- Check the care label on your knitted blanket for any specific instructions regarding water temperature or detergent recommendations. Always follow the manufacturer’s guidelines to ensure the best results.
- Select a gentle or delicate cycle on your washing machine. Use cold water to prevent excessive shrinkage or damage to the fibers. Avoid using hot water, as it can cause the fibers to shrink or lose their shape.
- Add a small amount of mild detergent or wool wash to the machine. Use a gentle, pH-neutral detergent that is specifically formulated for delicate fabrics.
- Start the washing machine and allow it to complete the cycle. Make sure that the blanket is the only item in the machine to prevent any tangling or potential damage.
- Once the cycle is finished, remove the knitted blanket from the mesh bag and gently squeeze out any excess water. Avoid wringing or twisting the blanket, as this can lead to stretching or misshaping of the fibers.
- Transfer the knitted blanket onto a clean and absorbent towel. Roll up the towel with the blanket inside to gently press out more moisture. Repeat this process with dry towels until the blanket feels damp rather than wet.
- Finally, lay the knitted blanket flat on a clean and dry surface, such as a flat table or drying rack. Reshape the blanket if necessary and allow it to air dry completely. Avoid direct sunlight and heat sources, as they can cause the fibers to become brittle or fade.
It’s important to note that not all knitted blankets are suitable for machine-washing. Always check the care instructions and consider the type of yarn and construction before deciding to use the machine-washing method. If the care label advises against machine-washing, stick with hand-washing to ensure the longevity of your knitted blanket.
Once your knitted blanket is completely dry, it’s time to move on to the final steps: adding the finishing touches and learning some storage tips to keep your knitted blanket in optimal condition.
Step 5: Drying the knitted blanket
Properly drying your knitted blanket is crucial to avoid damage and maintain its shape and softness. Follow these steps to ensure the best drying process:
- After washing your knitted blanket, gently squeeze out excess water without wringing or twisting the fabric. Avoid putting excessive pressure on the fibers, as this can lead to stretching or misshaping.
- Lay a clean and absorbent towel on a flat surface, such as a table or drying rack. Place the damp knitted blanket on top of the towel and gently roll it up, allowing the towel to absorb more moisture. Repeat this process with dry towels if needed, until the blanket feels damp rather than wet.
- Unroll the blanket from the towel and carefully reshape it if necessary. Smooth out any wrinkles or folds to maintain its original form.
- Choose a well-ventilated area to air-dry the knitted blanket. Lay it flat on a clean and dry surface, making sure it is evenly spread out to promote even drying.
- Avoid direct sunlight or heat sources, as they can cause the fibers to become brittle or fade. Instead, place the blanket in a shaded area or indoors away from direct heat vents.
- Occasionally flip the blanket over during the drying process to allow both sides to dry evenly.
- Allow the knitted blanket to air dry completely. This may take a few hours or even overnight, depending on the thickness and size of the blanket. Be patient and avoid rushing the process.
By following these steps, you’ll ensure that your knitted blanket dries properly without losing its shape or softness. Once the blanket is fully dry, it’s time to proceed to the final step: adding the finishing touches and learning some storage tips.
Read more: How To Hand-Knit A Chunky Blanket
Step 6: Final touches and storage tips
After your knitted blanket is clean and dry, it’s time to add the final touches and learn some storage tips to keep it in pristine condition:
1. Inspect for any post-washing issues:
Take a close look at the blanket and check for any loose threads, snags, or misshapen areas that may have occurred during the washing process. If you notice any issues, gently fix them using a needle and matching thread. This will ensure that your blanket looks its best.
2. Give your blanket a gentle brush or shake:
Once the knitted blanket is completely dry, give it a gentle shake or use a soft-bristled brush to fluff up the fibers and restore its natural texture. This will help to rejuvenate the appearance of the blanket.
3. Fold or roll the blanket for storage:
When it comes to storing your knitted blanket, folding or rolling it is a matter of personal preference. Choose the method that works best for you, making sure to avoid sharp creases that can weaken the fibers. If you’re concerned about maintaining the shape of the blanket, consider rolling it gently and securing it with a ribbon or fabric tie.
Read more: How To Make A Finger Knit Blanket
4. Store in a clean and dry space:
Find a cool, dry, and well-ventilated space to store your knitted blanket. Avoid areas where it may be exposed to excessive moisture, heat, or direct sunlight, as these can damage the fibers over time. A linen closet, a drawer, or a storage container are all suitable options.
5. Use moth repellents:
To protect your knitted blanket from moth damage, consider placing moth repellents such as cedar blocks, lavender sachets, or mothballs in the storage area. These natural or chemical deterrents can help keep pesky insects away from your precious blanket.
6. Air out periodically:
Even when stored properly, it’s a good idea to air out your knitted blanket periodically to prevent any musty odors or moisture build-up. Simply unfold or unroll the blanket and let it breathe for a few hours before returning it to storage.
By following these final touches and storage tips, you can ensure that your knitted blanket remains fresh, clean, and in excellent condition for future use.
With this comprehensive guide, you now have all the knowledge you need to confidently wash and care for your knitted blanket. Remember to always check the care instructions and consider the specific needs of your blanket when selecting the washing method. With proper care, your knitted blanket will continue to provide warmth, comfort, and coziness for years to come.
Conclusion
Knitted blankets are not only cozy and warm, but they also add a touch of comfort and style to any space. To keep your knitted blanket in excellent condition, it’s important to know how to properly wash and care for it.
In this comprehensive guide, we have covered the step-by-step process of washing a knitted blanket, whether you choose to hand-wash or machine-wash. We have discussed how to prepare the blanket, select the right washing method, and properly dry it to maintain its texture and shape.
When hand-washing your knitted blanket, remember to use a mild detergent or wool wash, gently agitate the blanket, and rinse it thoroughly to remove any soap residue. For machine-washing, use a mesh laundry bag to protect the blanket and select a gentle cycle with cold water.
After washing, the drying process is crucial. Squeeze out excess water without wringing or twisting, then lay the blanket flat on a clean surface and allow it to air dry completely. Avoid direct sunlight or heat sources that can damage the fibers.
Lastly, we discussed the final touches and storage tips to keep your knitted blanket in optimal condition. Inspect and fix any post-washing issues, give the blanket a gentle shake or brush, fold or roll it for storage, and store it in a clean and dry space away from moisture and sunlight. Consider using moth repellents and periodically airing out the blanket to maintain its freshness.
By following these guidelines and taking proper care of your knitted blanket, you can ensure that it stays soft, cozy, and beautiful for years to come. Remember to always check the care instructions specific to your blanket and consider its unique requirements when washing and storing it.
Now, it’s time to enjoy the warmth and comfort of your clean and refreshed knitted blanket. Snuggle up and embrace the joy it brings to your life!
Frequently Asked Questions about How To Wash A Knitted Blanket
Was this page helpful?
At Storables.com, we guarantee accurate and reliable information. Our content, validated by Expert Board Contributors, is crafted following stringent Editorial Policies. We're committed to providing you with well-researched, expert-backed insights for all your informational needs.