
Articles
How To Make A Hand Knit Blanket
Modified: January 6, 2024
Learn how to make a cozy hand-knit blanket with our informative articles. Discover helpful tips and step-by-step instructions to create a beautiful and warm homemade blanket.
(Many of the links in this article redirect to a specific reviewed product. Your purchase of these products through affiliate links helps to generate commission for Storables.com, at no extra cost. Learn more)
Introduction
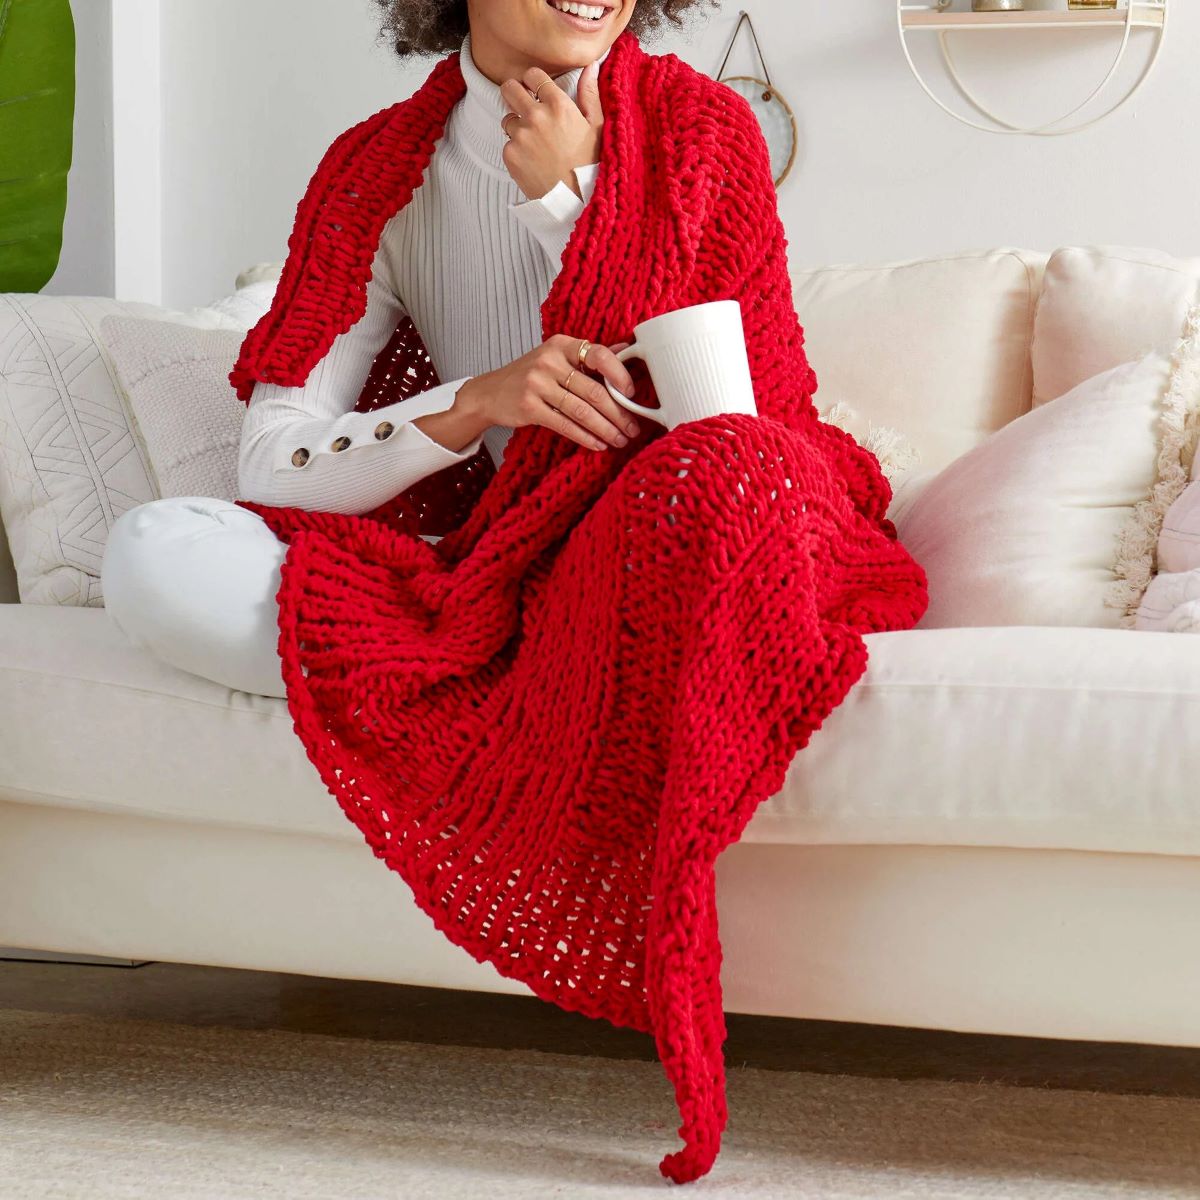
Hand knitting a blanket is not only a creative and fulfilling endeavor, but also a practical way to create a cozy and personalized piece for yourself or as a thoughtful gift for someone special. The process of creating a hand-knit blanket allows you to showcase your individuality, as you can choose from a wide variety of yarns, colors, and patterns to bring your vision to life.
In this article, we will guide you through the step-by-step process of making a hand-knit blanket from scratch. From choosing the right yarn and needles to adding the finishing touches, you will gain the knowledge and confidence necessary to embark on this rewarding project.
Whether you are an experienced knitter or a beginner, this article will provide you with valuable tips and techniques to help you create a beautiful and functional blanket that you can cherish for years to come. So, gather your knitting supplies, find a comfortable spot, and let’s dive into the wonderful world of hand knitting!
Key Takeaways:
- Choosing the right yarn and knitting needles, mastering casting on and binding off stitches, and adding optional color changes and fringe are essential steps in creating a personalized and cozy hand-knit blanket.
- Completing a hand-knit blanket is not just a craft, but an opportunity to express creativity, challenge skills, and create a unique masterpiece that brings warmth and comfort for years to come.
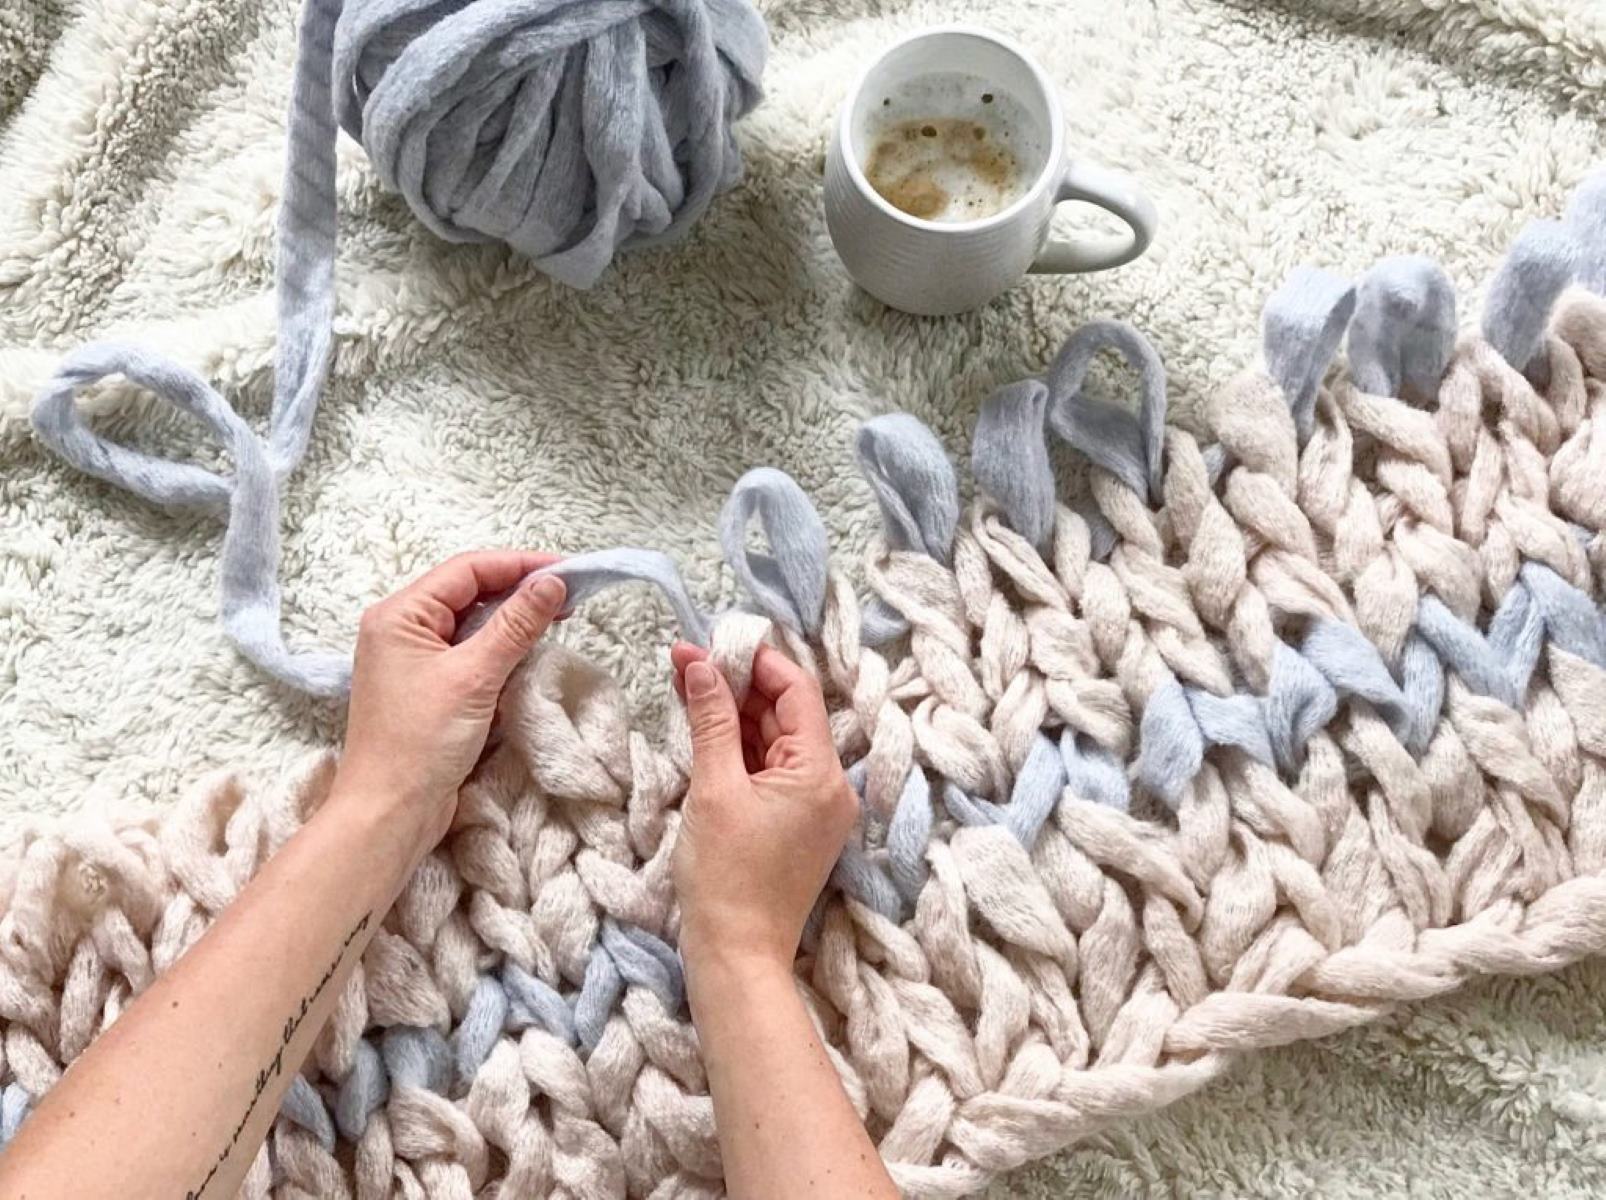
Read more: How To Hand-Knit A Chunky Blanket
Choosing the Right Yarn
When it comes to knitting a blanket, choosing the right yarn is crucial. It not only affects the overall look and feel of your finished project but also impacts its durability and ease of care. Here are some key factors to consider when selecting yarn for your hand-knit blanket:
- Type of Yarn: There is a wide variety of yarns available, including wool, acrylic, cotton, and blends. Each type has its own unique characteristics, such as warmth, softness, and moisture-wicking properties. Consider the climate and intended use of the blanket when choosing the yarn type.
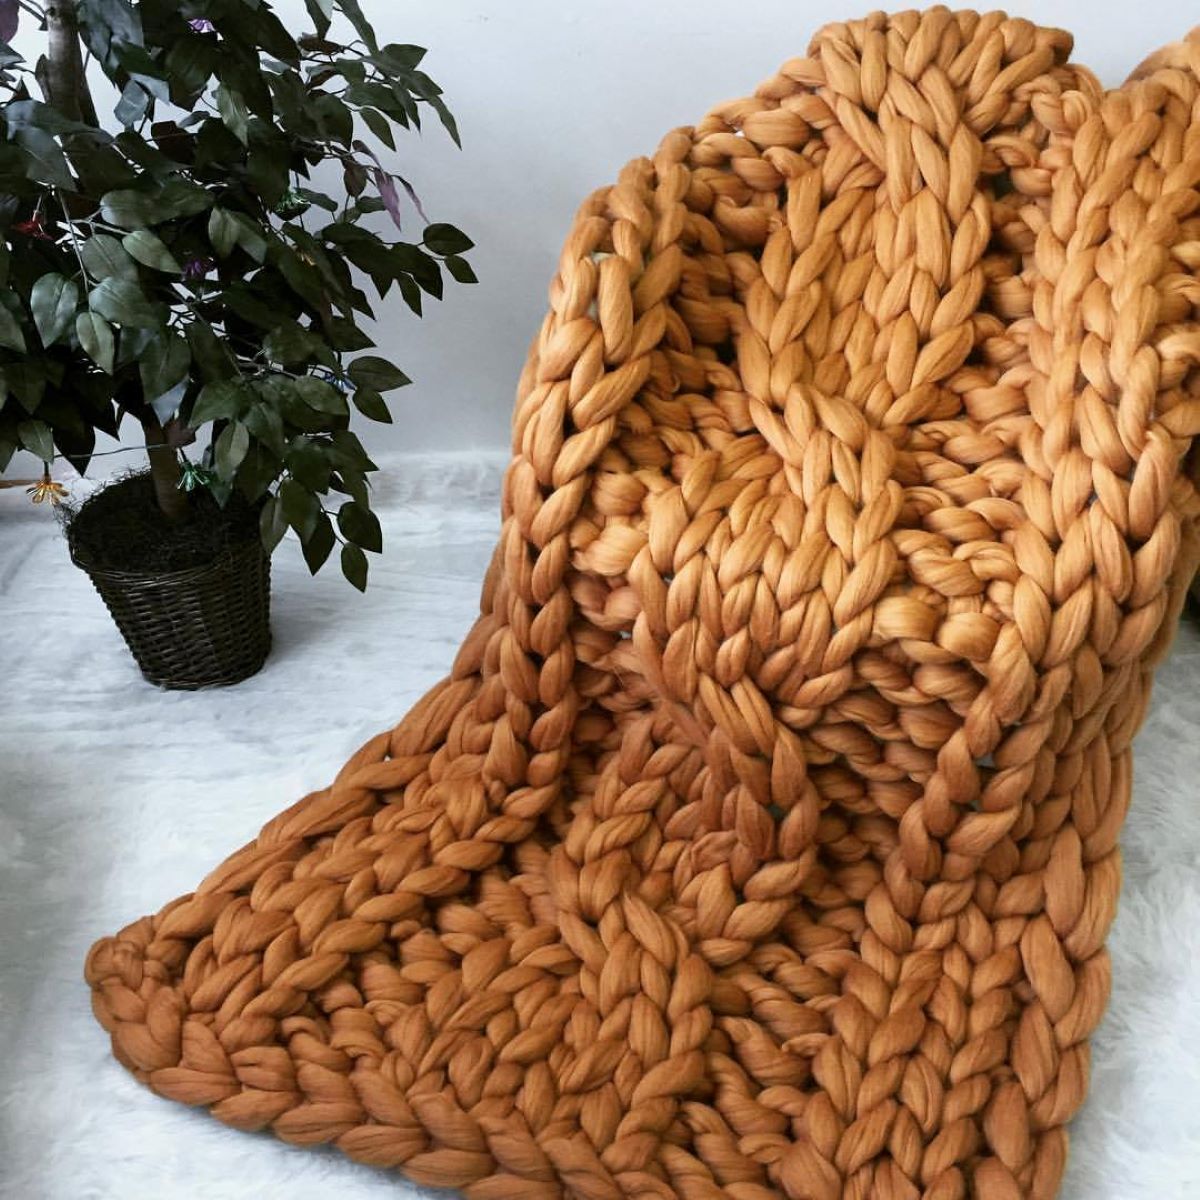
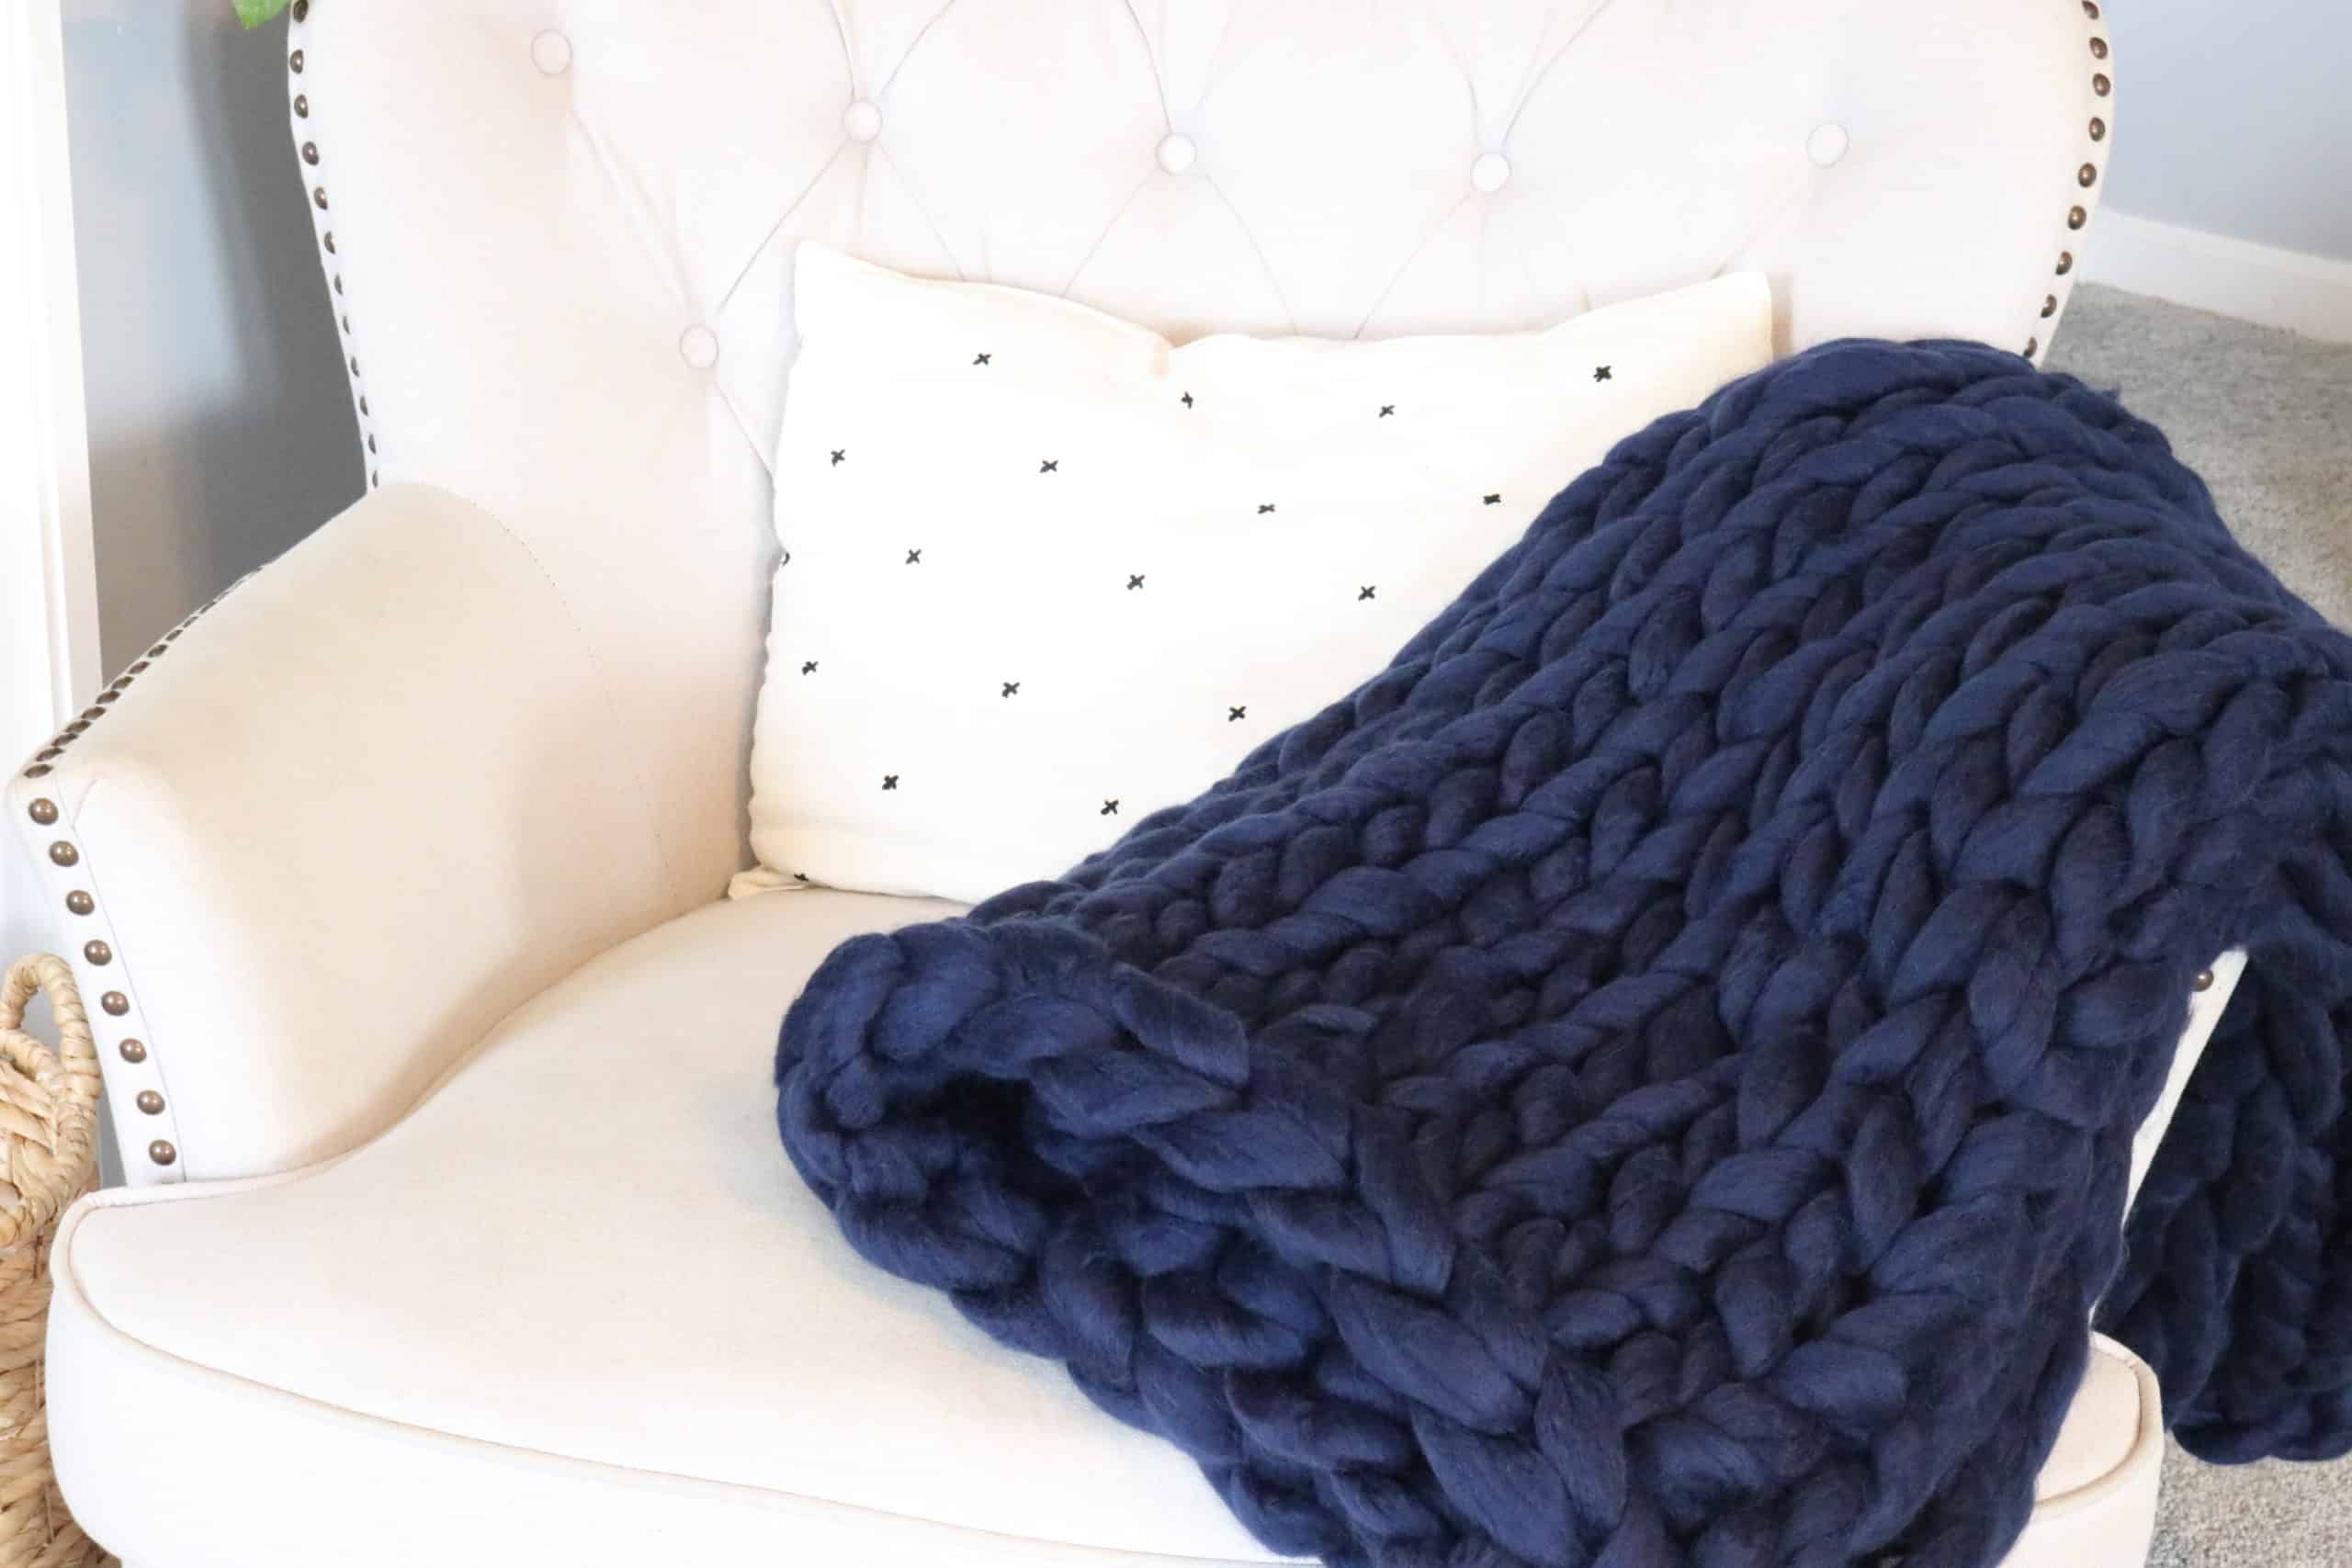
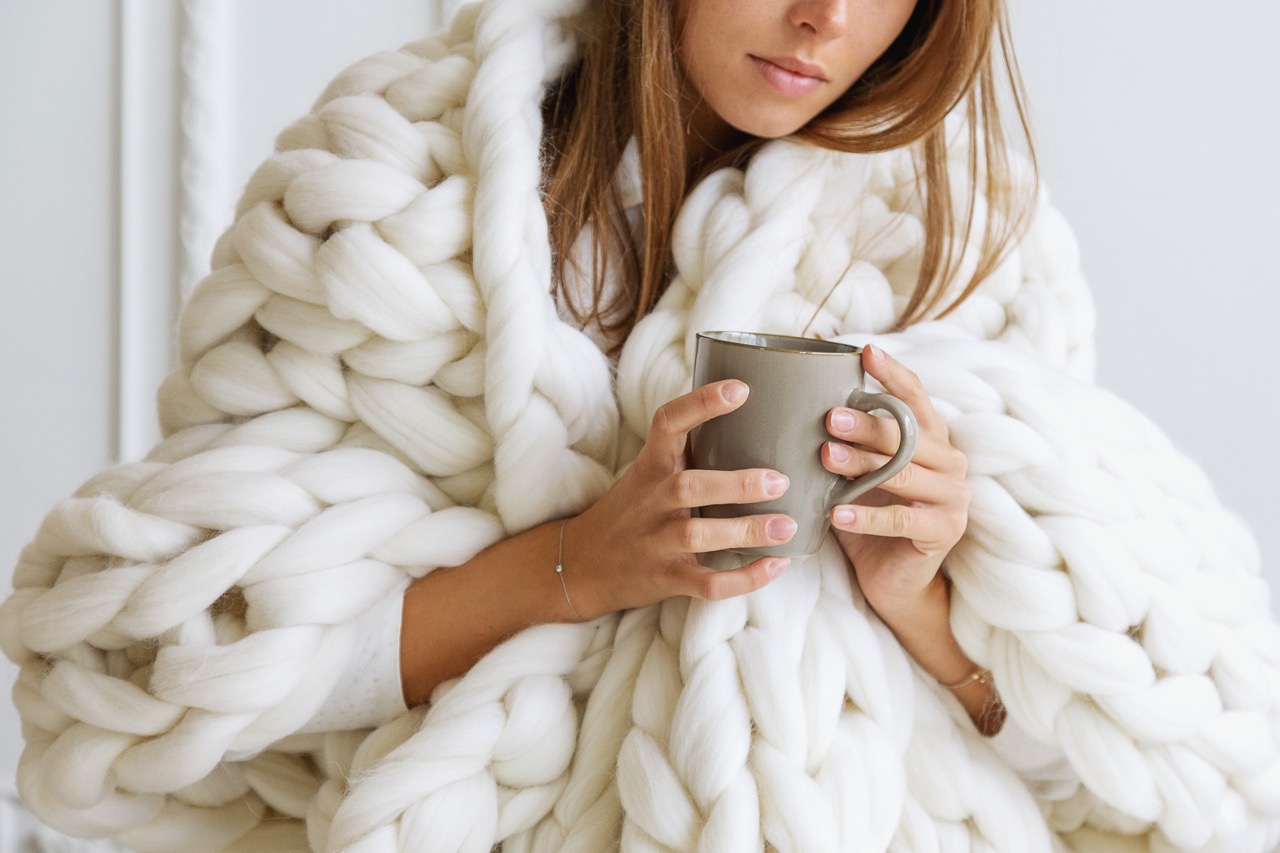
- Weight of Yarn: Yarn comes in different weights, categorized by number or name. Bulkier weights, such as chunky or super bulky, will produce a thicker and warmer blanket, while lighter weights, like fingering or sport, will result in a lighter and more delicate blanket. Choose a weight that suits your desired outcome.
- Color: Yarn comes in an endless array of colors, so let your creativity shine! Whether you prefer bold and vibrant shades or subtle and neutral tones, consider your personal style and the intended recipient’s preferences.
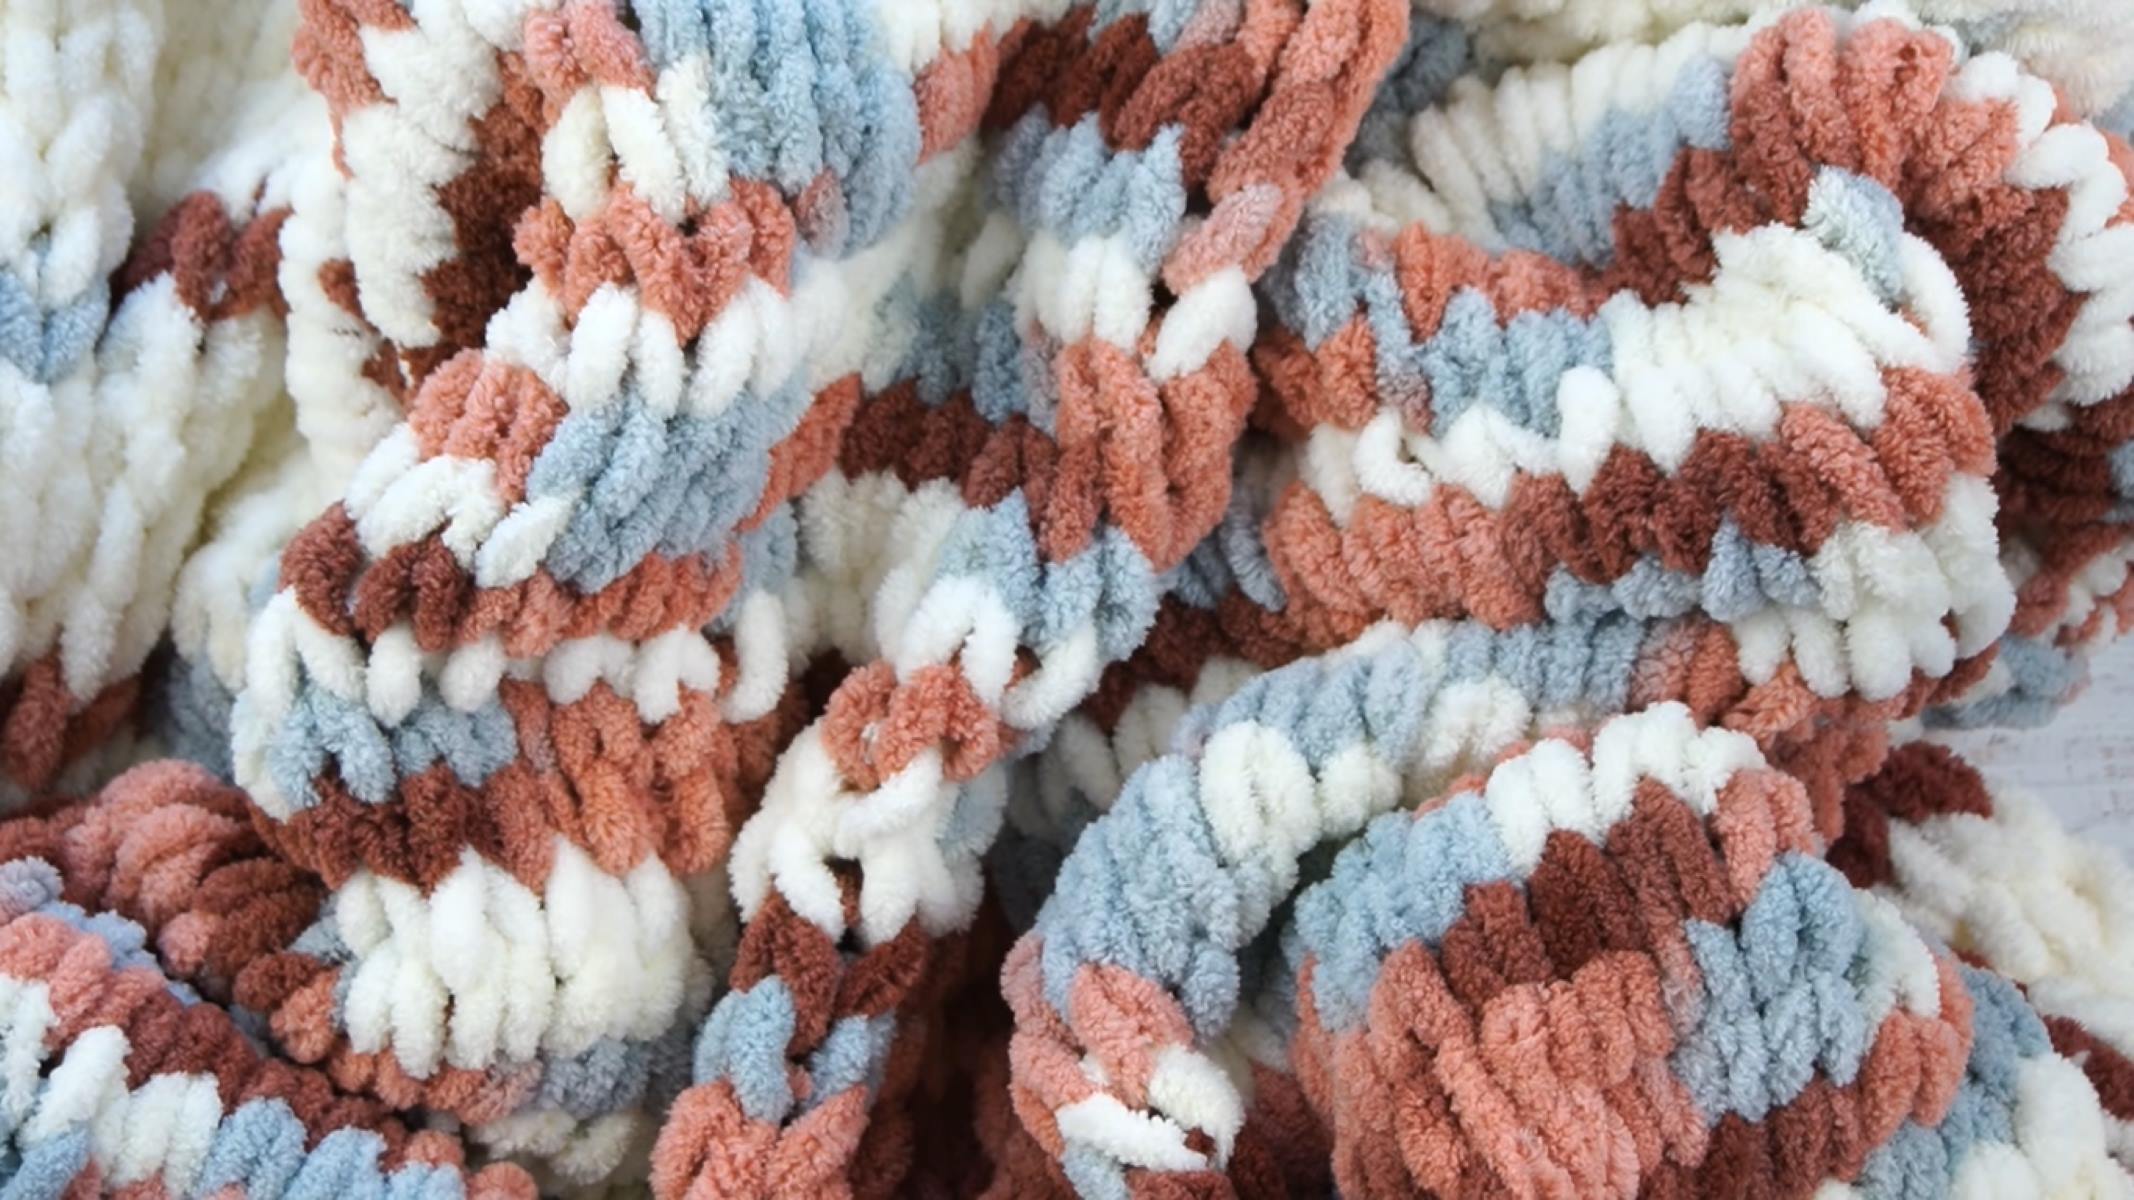
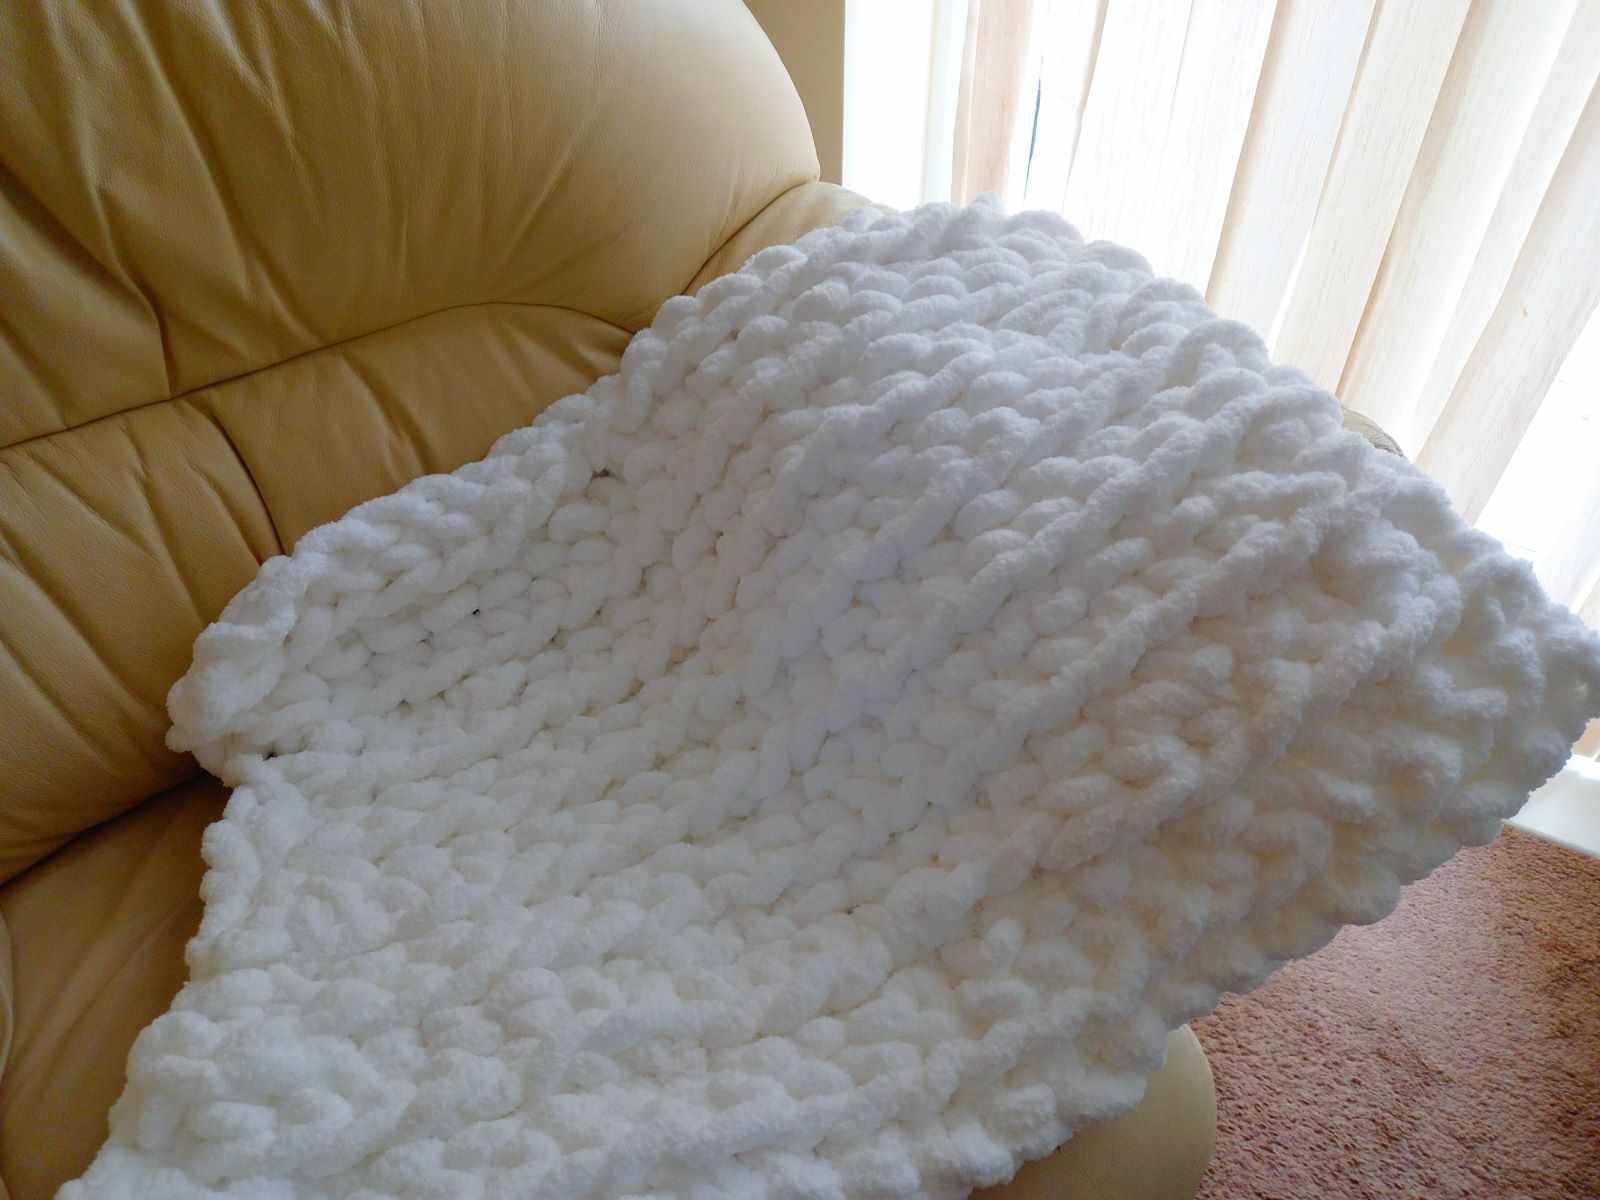
- Texture: Some yarns have interesting textures, such as boucle, mohair, or chenille. These textures can add dimension and visual interest to your blanket. However, keep in mind that highly textured yarns may be more challenging to work with, especially for beginners.
- Budget: Yarn prices can vary significantly. Determine your budget and look for yarns within that range. Remember, a beautiful and high-quality blanket can be created using budget-friendly yarns.
It’s also a good idea to visit a local yarn store or browse online to see and feel different yarn options. Take note of the recommended needle size and gauge listed on the yarn label, as this information will help you choose compatible knitting needles for your project.
By carefully considering these factors, you can select the perfect yarn that aligns with your vision for the blanket and ensures a successful knitting experience. Now that you have chosen your yarn, it’s time to move on to the next step: selecting the appropriate knitting needles.
Selecting the Appropriate Knitting Needles
Choosing the right knitting needles is essential for a smooth and enjoyable knitting experience. The right needles can help you achieve the desired gauge and ensure that your stitches are consistent throughout the blanket. Here are some factors to consider when selecting knitting needles for your hand-knit blanket:
- Material: Knitting needles are available in various materials, including metal, bamboo, wood, and plastic. Each material has its own unique characteristics. Metal needles are durable and provide a smooth knitting experience. Bamboo and wood needles are lightweight and have a warm feel, making them a popular choice for some knitters. Plastic needles are budget-friendly and lightweight, but they may not be as durable as other options.
- Size: Knitting needles are labeled with numbers or sizes. The size refers to the diameter of the needles. The appropriate needle size for your blanket will depend on the yarn weight you have chosen. Be sure to check the yarn label for the recommended needle size and select needles that match.
- Type: There are two main types of knitting needles: straight needles and circular needles. Straight needles are commonly used for smaller projects and are ideal for knitting back and forth in rows. Circular needles, on the other hand, have a flexible cable connecting the two needles and can be used for both flat and circular knitting. Circular needles are especially useful for larger blankets, as they can hold a large number of stitches and distribute the weight more evenly.
- Length: If you opt for straight needles, the length will depend on the width of your blanket. The longer the needles, the more stitches they can hold. For larger blankets, longer needles are recommended to accommodate the width. When using circular needles, choose a length that comfortably holds all the stitches without crowding.
It is important to note that your knitting style and personal preference may also influence your needle selection. While some knitters prefer the speed and smoothness of metal needles, others enjoy the warmth and comfort of wooden or bamboo needles. Experimenting with different needle types and materials may help you discover the perfect fit for your knitting style.
Once you have chosen the right knitting needles, you are ready to begin knitting your hand-knit blanket. In the next section, we will guide you through the process of casting on stitches, which is the first step in starting your project.
Casting On Stitches
Casting on stitches is the first step in starting your hand-knit blanket. It creates the foundation row of stitches on your knitting needles. There are several methods you can use to cast on stitches, so let’s explore a basic and widely-used method called the long-tail cast-on:
- Hold the end of the yarn in your right hand, leaving a long tail that is approximately three times the width of your blanket.
- Create a slipknot by making a loop with the yarn, crossing the tail end over the working end.
- Insert the knitting needle into the loop of the slipknot and tighten it by pulling both ends of the yarn.
- Hold the slipknot on the needle in your right hand and the working end of the yarn in your left hand.
- With your left hand, bring the working end of the yarn between your thumb and index finger to make a “V” shape.
- Insert the needle from left to right under the yarn strand that is between your thumb and index finger.
- Loop the working yarn over the needle and pull it through the loop on your thumb.
- Drop the loop off your thumb and tighten the new stitch on the needle.
- Repeat steps 5-8, making sure to keep the tension of the yarn consistent throughout.
- You can estimate the number of stitches you will need for your blanket based on the desired width. If you are following a pattern, refer to the instructions for the recommended number of cast-on stitches.
Once you have cast on all the required stitches, you are ready to start knitting the first row of your blanket. The cast-on row acts as the foundation for your project, and the next section will guide you through the process of knitting that first row.
Remember, casting on stitches may require some practice to perfect your technique. Don’t be discouraged if your first attempts don’t turn out perfectly. With time and patience, you will become more comfortable with this essential knitting skill.
Knitting the First Row
After casting on your stitches, it’s time to begin knitting the first row of your hand-knit blanket. This initial row sets the foundation for the rest of your project and establishes the basic knitting pattern. Here’s how to knit the first row:
- Hold the knitting needle with the cast-on stitches in your right hand, and the empty needle in your left hand.
- Insert the right needle into the first stitch on the left needle, entering from left to right.
- With the yarn held in your right hand, behind the needles, bring it over the right needle, towards the front of your work. This is called “yarn over”.
- Using the right needle, pull the yarn through the stitch, creating a new stitch on the right needle.
- Drop the stitch from the left needle, allowing it to rest on the right needle.
- Repeat steps 2-5 for each stitch until you have knit all the stitches on the left needle. The completed stitches will now be on the right needle.
- Continue knitting each stitch in the same manner until you reach the end of the row.
- Take a moment to admire your progress! The first row can be a bit slow as you adjust to the rhythm and movements, but it will become easier with practice.
It is important to maintain consistent tension while knitting, ensuring that your stitches are not too tight or too loose. You want the fabric to be even and cohesive. If you find that your stitches are too tight, try loosening your grip on the yarn, and if they are too loose, try tightening your tension slightly.
Now that you have successfully knit the first row, you are ready to continue with the knitting pattern to create your hand-knit blanket. In the next section, we will guide you through the process of continuing the knitting pattern.
Remember to take your time and enjoy the process. Knitting can be a relaxing and therapeutic activity, allowing you to create something beautiful with your own hands.
Read more: How To Make A Knitted Blanket
Continuing the Knitting Pattern
Now that you have knit the first row of your hand-knit blanket, it’s time to continue with the knitting pattern. Following the pattern ensures that you create a consistent and visually appealing blanket. Here are some key points to keep in mind as you continue knitting:
- Read the Pattern: Carefully read and understand the knitting pattern before you begin. It will provide instructions on how to create the desired stitch pattern, including any necessary increases or decreases.
- Keep Track of Rows: Use stitch markers or a row counter to keep track of your progress and ensure accuracy. This is especially important if the pattern has a specific stitch count or if you need to repeat certain rows.
- Follow the Stitch Pattern: Pay close attention to the instructions for the stitch pattern. It may specify different stitches, like knit, purl, or a combination, to create a textured or intricate design.
- Maintain Even Tension: Consistent tension is essential for a uniform appearance. Avoid pulling the yarn too tightly or loosely, as it can distort the stitches and affect the overall look of your blanket.
- Count Stitches: Periodically count your stitches to ensure you haven’t accidentally added or dropped stitches. This will help you catch any mistakes early on and fix them before they become more challenging to correct.
- Take Breaks: Knitting for prolonged periods can strain your hands and wrists. Take frequent breaks to rest and stretch your muscles, ensuring a comfortable and enjoyable knitting experience.
As you continue knitting, you will see your blanket taking shape. The repetitive nature of the pattern can be soothing and meditative. Embrace the process and enjoy the journey of creating something beautiful stitch by stitch.
If you encounter any difficulties or have questions about the pattern, don’t hesitate to seek help from knitting communities or forums. There are many experienced knitters who are happy to assist you and provide guidance.
Next, we will explore an optional step that you can incorporate into your blanket – changing yarn colors to add visual interest and variety to your project.
Remember, knitting is a creative outlet, so feel free to experiment and make the pattern your own. Whether you follow a pattern exactly or modify it to suit your taste, the end result will be a unique and personalized hand-knit blanket.
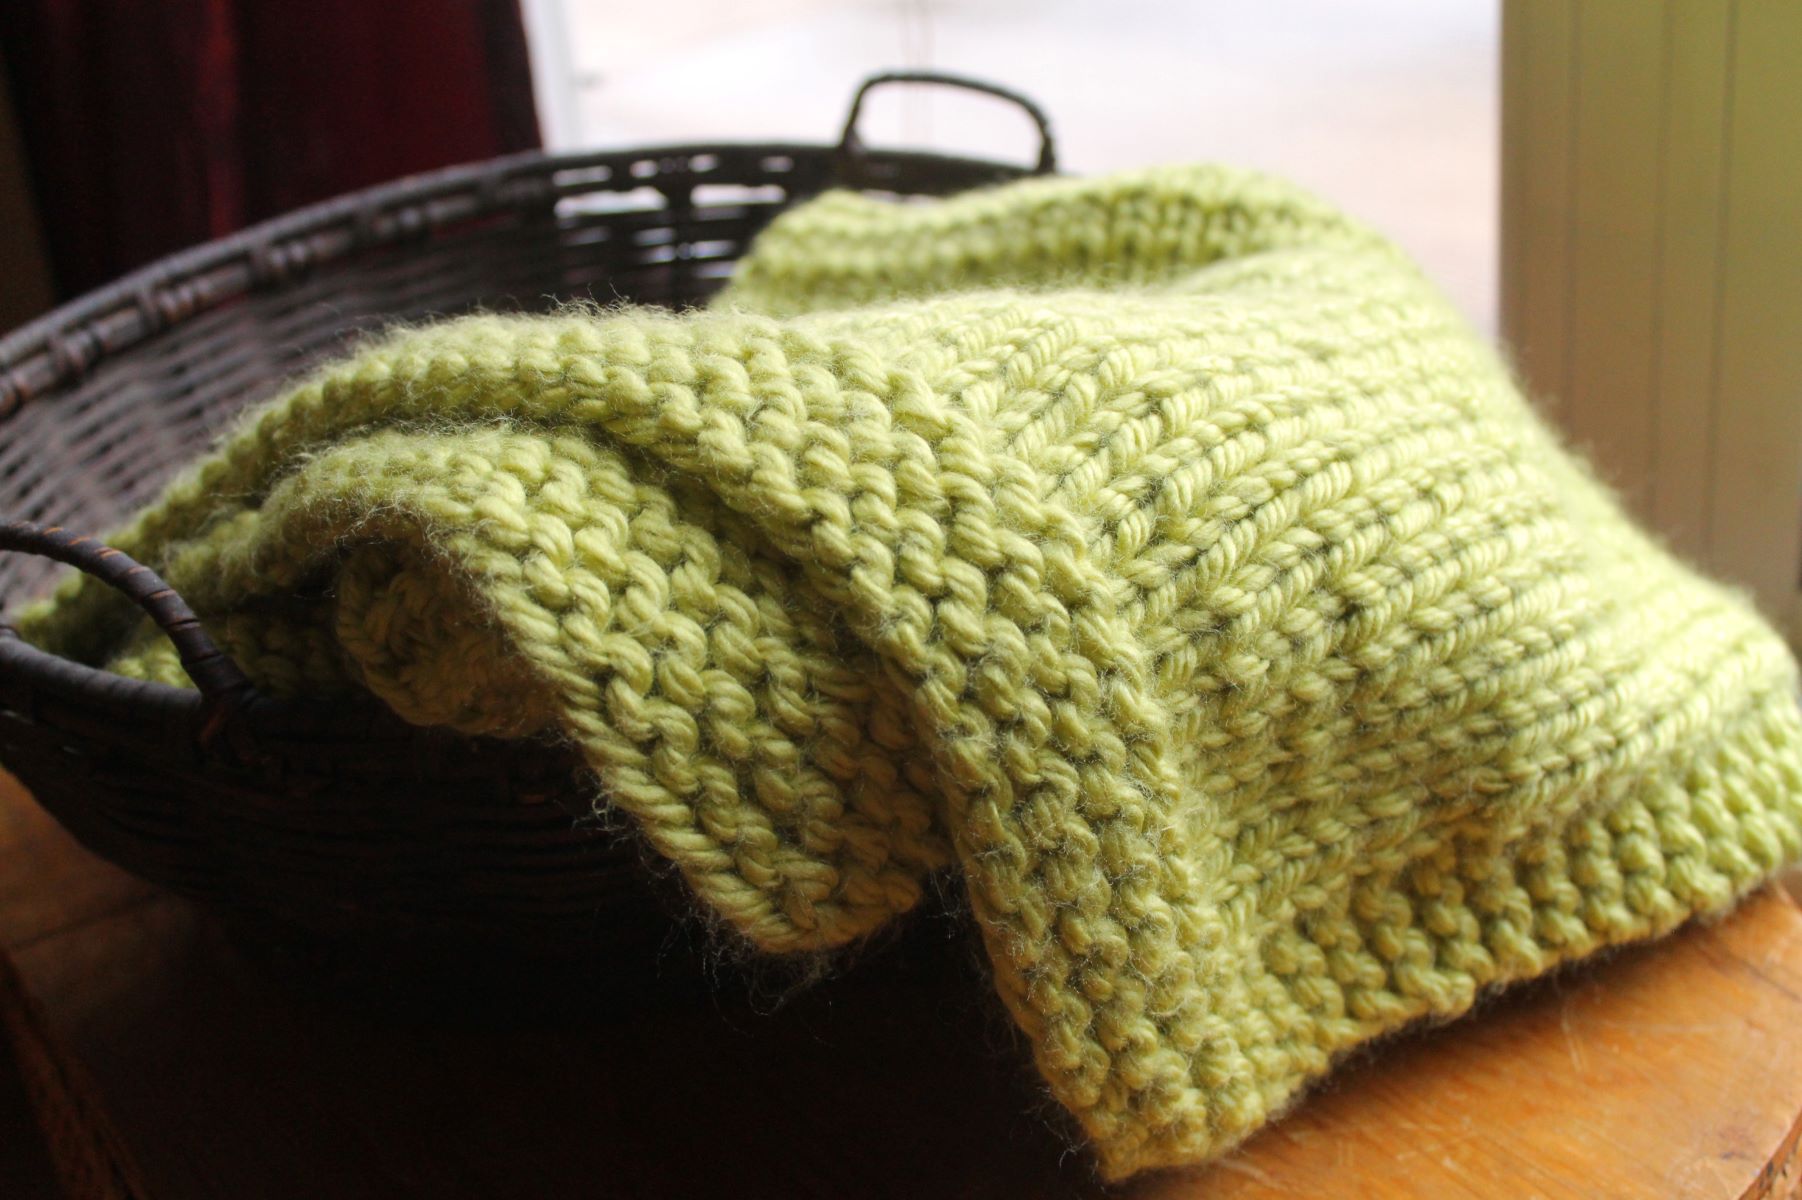
When making a hand knit blanket, be sure to choose a soft and durable yarn to ensure the blanket is comfortable and long-lasting.
Changing Yarn Colors (optional)
If you want to add a pop of color or create interesting color combinations in your hand-knit blanket, changing yarn colors can be a fun and creative option. Here’s how you can seamlessly transition from one yarn color to another:
- When you reach the last stitch of the row before you want to change colors, complete the stitch with the old yarn.
- Drop the old yarn and pick up the new yarn, leaving a tail of the new yarn that is long enough to weave in later.
- Hold the old and new yarns together and make sure they are on the same side of your work.
- Complete the next stitch using the new yarn, knitting it or purling it as indicated by the pattern.
- Continue knitting with the new yarn, carrying the old yarn along the edge as you go.
- When you have knitted a few rows with the new yarn, gently tug on the old yarn to tighten it and anchor it to the fabric.
- Continue knitting with the new yarn until you reach the desired length or the next color change.
It’s important to note that when changing colors, it’s best to do so at the beginning of a row. This creates a neater and more seamless color transition.
If you are working with multiple colors and want to create stripes or a specific color pattern, you can alternate between the colors according to the pattern instructions. Make sure to carry the unused yarn up the side of your work, twisting it with the working yarn to prevent long floats.
Remember to weave in the loose ends of the yarns once you finish knitting your blanket. This ensures that the yarns are securely fastened and prevents them from unraveling.
Changing yarn colors can add visual interest and make your hand-knit blanket truly unique. Have fun experimenting with different color combinations to create a blanket that reflects your personal style and creativity.
In the next section, we will explore an optional step that you can add to your blanket for a decorative touch – adding fringe.
Remember, making a hand-knit blanket is an opportunity to embrace your imagination and infuse your own personal touch. So, don’t be afraid to get creative and let your personality shine through!
Adding Fringe (optional)
If you want to add extra flair and a touch of bohemian charm to your hand-knit blanket, you can consider adding fringe. Fringe not only enhances the aesthetic appeal of the blanket but also provides a decorative and playful element. Here’s a simple method to add fringe to your blanket:
- Decide on the length of the fringe you want. Cut a piece of yarn double the desired length, as you will fold it in half when attaching it to the blanket.
- Insert your crochet hook into the edge stitch of your blanket.
- Fold the yarn piece in half to create a loop.
- Place the folded loop on the crochet hook and pull it through the stitch, forming a small loop on the edge of your blanket.
- Thread the loose ends of the fringe through the loop and pull them tight to secure the fringe to the blanket.
- Repeat this process across the edge of your blanket, spacing the fringes evenly or according to your desired aesthetic.
- Once you have attached all the fringe, trim the ends to your desired length. You can opt for a straight cut or create a diagonal or V-shaped cut for added visual interest.
Adding fringe can be a creative opportunity to play with different colors or textures. You can use yarn that matches your blanket or create contrast by using a different color. Additionally, you can mix different types of yarn to add depth and dimension to the fringe.
Keep in mind that while fringe adds a decorative element, it is essential to consider the practicality of the blanket’s use and care. If you plan to frequently wash the blanket, shorter fringe may be more practical to avoid entanglement or damage.
With the addition of fringe, your hand-knit blanket will have an extra touch of personality and style. It’s a beautiful finishing detail that can elevate your project to the next level.
In the next section, we will cover the final step of knitting your hand-knit blanket – binding off stitches.
Remember, adding fringe is optional, so feel free to customize your blanket according to your own preferences and creative vision!
Binding Off Stitches
Binding off, also known as casting off, is the final step in completing your hand-knit blanket. It creates a neat and secure edge, preventing the stitches from unraveling. Here’s how to bind off your stitches:
- Knit the first two stitches of the row as you normally would.
- Using the tip of the left needle, gently lift the first stitch over the second stitch and off the right needle, essentially passing it over and dropping it.
- Knit the next stitch on the left needle.
- Lift the second stitch on the right needle over the third stitch and off the right needle.
- Continue this process of knitting a stitch and then passing the previous stitch over it until you reach the last stitch.
- When you have one stitch remaining on your right needle, cut the working yarn, leaving a tail of yarn that is long enough to weave in later.
- Thread the tail of yarn through the last stitch and pull it tight, securing the stitch.
Once you have bound off all your stitches, take a moment to inspect your work and ensure that the edge is even and tidy. If there are any loose or uneven stitches, you can gently adjust them using a crochet hook or a knitting needle.
Binding off creates a finished edge that complements the rest of your blanket. It prepares your project for the final step – adding any finishing touches and caring for your completed hand-knit blanket.
Now that your blanket is complete, let’s move on to the finishing touches and care instructions in the next section.
Remember, binding off is an essential step in completing your hand-knit blanket and ensuring that the stitches remain secure. Take your time and enjoy the satisfaction of finishing your beautiful creation!
Read more: How To Hand Knit A Blanket With Thin Yarn
Finishing Touches and Care Instructions
With your hand-knit blanket complete, it’s time to add the finishing touches and learn how to care for your precious creation. Here are some important steps to consider:
Blocking: Blocking is the process of gently reshaping your blanket to even out the stitches and give it a polished look. Depending on the type of yarn you used, blocking can be done by wetting your blanket and carefully stretching it to the desired dimensions. Follow the specific blocking instructions for your chosen yarn to ensure the best results.
Weaving in Ends: To create a neat and professional finish, weave in any loose ends of yarn that remain from joining new colors or binding off. Use a tapestry needle to thread the ends of yarn through the stitches on the wrong side of the blanket, being careful to secure them without causing puckering or distortion in the fabric.
Labeling: Consider attaching a small tag or label to your completed blanket. This can include your name, the date of completion, and any other relevant information. It adds a personal touch and serves as a reminder of your hard work and dedication.
Care Instructions: To keep your hand-knit blanket in optimal condition, follow these care instructions:
- Read the yarn label for specific washing and drying instructions. Different yarn types may have different care requirements.
- Hand washing is often recommended for delicate or woolen blankets. Use a gentle detergent, lukewarm water, and avoid agitating or twisting the fabric.
- If machine washing is permitted, place the blanket in a mesh laundry bag to protect it from snagging or stretching. Use a delicate or wool cycle with cold water.
- Avoid using harsh detergents, bleach, or fabric softeners, as they can damage the fibers or alter the appearance of your blanket.
- Allow your hand-knit blanket to air dry on a flat surface, away from direct sunlight or heat sources. Avoid hanging it, as this can cause the fabric to stretch.
- If necessary, gently reshape the blanket while it is damp to restore its original dimensions.
- Store your hand-knit blanket in a clean, dry place, away from pets and potential snags. You can fold it neatly or roll it to prevent creasing.
Following these care instructions will help maintain the beauty and longevity of your hand-knit blanket, ensuring that it continues to bring comfort and warmth for years to come.
Now that your hand-knit blanket is complete and you are equipped with the knowledge to care for it, take a moment to admire your hard work and enjoy the cozy embrace of your creation. Congratulations on a job well done!
Conclusion
Congratulations on completing your hand-knit blanket! Through the process of choosing the right yarn, selecting appropriate knitting needles, casting on stitches, knitting rows, adding optional color changes and fringe, binding off, and applying finishing touches, you have created a beautiful and personalized masterpiece.
Knitting a blanket is not just a craft; it’s an opportunity to express your creativity, challenge your skills, and create something special with your own hands. The time and effort you put into each stitch are evident in the final result.
As you snuggle under your hand-knit blanket or present it as a heartfelt gift, remember the joy and fulfillment that comes from completing a knitting project. Embrace the imperfections and unique qualities that make your blanket truly one-of-a-kind.
Don’t be afraid to embark on more projects, explore new patterns, and experiment with different stitches and techniques. The world of knitting offers endless possibilities for creativity and self-expression.
Lastly, remember to cherish and care for your hand-knit blanket. Follow the recommended care instructions, store it with love, and bring it out whenever you need warmth and comfort. Let it be a reminder of your skills, patience, and dedication.
Thank you for joining us on this knitting adventure. We hope this article has provided you with the knowledge and inspiration to continue your knitting journey and create more beautiful hand-knit creations in the future. Happy knitting!
Frequently Asked Questions about How To Make A Hand Knit Blanket
Was this page helpful?
At Storables.com, we guarantee accurate and reliable information. Our content, validated by Expert Board Contributors, is crafted following stringent Editorial Policies. We're committed to providing you with well-researched, expert-backed insights for all your informational needs.
