Home>Articles>How To Stencil A Concrete Patio For A Low-Cost Outdoor Refresh
Articles
How To Stencil A Concrete Patio For A Low-Cost Outdoor Refresh
Modified: November 1, 2024
Learn how to stencil your concrete patio with our helpful articles. Refresh your outdoor space on a budget with this low-cost project.
(Many of the links in this article redirect to a specific reviewed product. Your purchase of these products through affiliate links helps to generate commission for Storables.com, at no extra cost. Learn more)
Introduction
Are you looking to give your outdoor space a fresh new look without breaking the bank? Stenciling a concrete patio might be the perfect solution. This budget-friendly project allows you to transform a dull and drab patio into a stylish and inviting area for outdoor entertaining and relaxation.
Stenciling a concrete patio is a DIY project that can be easily accomplished with the right materials and a little bit of patience. Whether you’re a seasoned DIYer or a novice looking to take on a new challenge, this article will guide you through the step-by-step process of stenciling your concrete patio.
By adding a stenciled design to your concrete patio, you can create a unique and personalized look that reflects your style and taste. From geometric patterns to intricate motifs, the options are endless when it comes to choosing a stencil design. Not only will this project enhance the aesthetic appeal of your outdoor space, but it will also add value to your home.
Before you get started, it’s important to gather all the necessary materials. This will ensure that you have everything you need to successfully complete the project. From the concrete cleaner to the stencil and paint, each item plays a vital role in achieving a professional-looking finish.
In the following steps, we will walk you through the process of preparing your concrete patio, selecting a stencil design, applying the stencil, painting the design, removing the stencil, cleaning up, and sealing the stenciled patio. By following these steps, you’ll be well on your way to transforming your concrete patio into a stunning focal point in your outdoor space.
So, let’s grab our materials and get started on this exciting DIY project of stenciling a concrete patio. Get ready to unleash your creativity and revamp your outdoor space with a low-cost outdoor refresh!
Key Takeaways:
- Transform your outdoor space with a budget-friendly concrete patio stencil project, adding a personalized touch and enhancing your home’s value.
- Unleash your creativity by choosing a unique stencil design, following precise application steps, and sealing for long-lasting protection and beauty.
Read more: How To Stain An Outdoor Concrete Patio
Step 1: Gather the necessary materials
Before you begin stenciling your concrete patio, it’s important to make sure you have all the necessary materials. Having everything you need on hand will make the process smoother and more efficient. Here’s a list of materials you will need:
- Concrete cleaner: Start off by thoroughly cleaning your concrete patio. This will ensure that the surface is free from dirt, debris, and any previous coatings that may interfere with the adhesion of the stencil.
- Stencil: Choose a stencil design that suits your style and preferences. Stencils are available in various patterns and sizes, allowing you to create a unique look for your patio.
- Stencil adhesive: Select a stencil adhesive that is suitable for outdoor use. This adhesive will help keep the stencil in place while you paint, ensuring clean and precise lines.
- Painter’s tape: Use painter’s tape to secure the edges of the stencil and mask off any areas that you don’t want to paint. This will help create sharp and defined stencil designs.
- Paint: Choose a high-quality concrete paint that is specifically formulated for outdoor use. Opt for a paint color that complements your overall outdoor aesthetic.
- Paint roller or stencil brush: Depending on the size of your stencil design, you can either use a paint roller or a stencil brush to apply the paint. A paint roller is ideal for larger designs, while a stencil brush is better suited for intricate patterns.
- Paint tray: Pour your paint into a paint tray to make it easier to load your roller or brush and remove excess paint before applying it to the stencil.
- Plastic sheeting or drop cloths: Use plastic sheeting or drop cloths to protect the surrounding area from paint spills and splatters.
- Sealer: After you’ve completed the stencil design and the paint has dried, apply a concrete sealer to protect the finish and ensure longevity.
- Paintbrush or roller for sealer: Use a paintbrush or roller to apply the sealer evenly to the stenciled patio surface.
By gathering all of these materials before you start the project, you’ll have everything you need to complete each step efficiently. It’s always a good idea to double-check your supplies to ensure you have everything on hand. This will prevent any unnecessary interruptions or delays during the process.
Now that you have your materials ready, it’s time to move on to the next step: preparing your concrete patio for the stencil application.
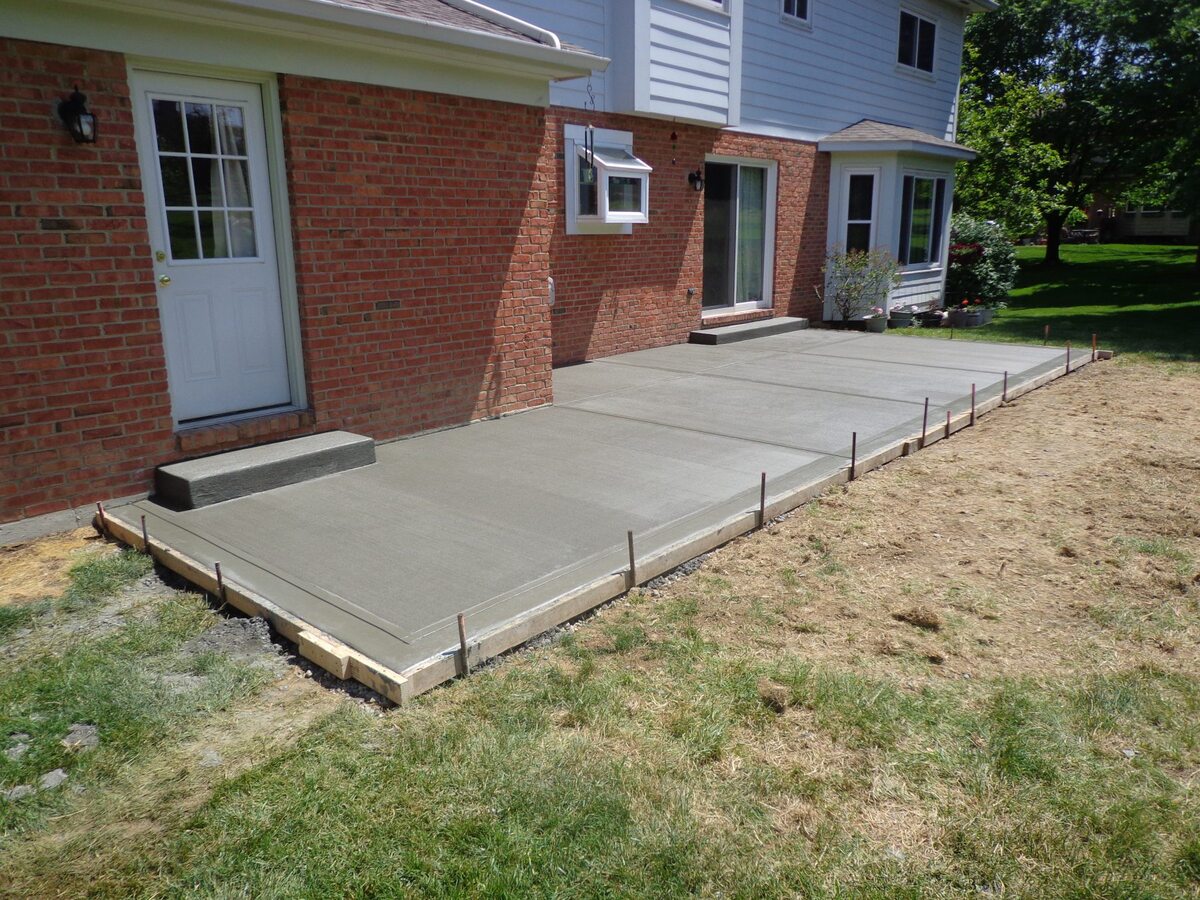
Step 2: Prepare the concrete patio
Now that you have gathered all the necessary materials, it’s time to prepare your concrete patio for the stencil application. This step is crucial as it ensures proper adhesion of the stencil and a smooth surface for painting. Follow these steps to prepare your concrete patio:
- Clean the patio: Start by sweeping the patio to remove any loose dirt and debris. Next, use a concrete cleaner to thoroughly clean the surface. Follow the instructions on the cleaner and use a scrub brush or pressure washer to remove any stains or stubborn grime. Rinse the patio with clean water and allow it to dry completely.
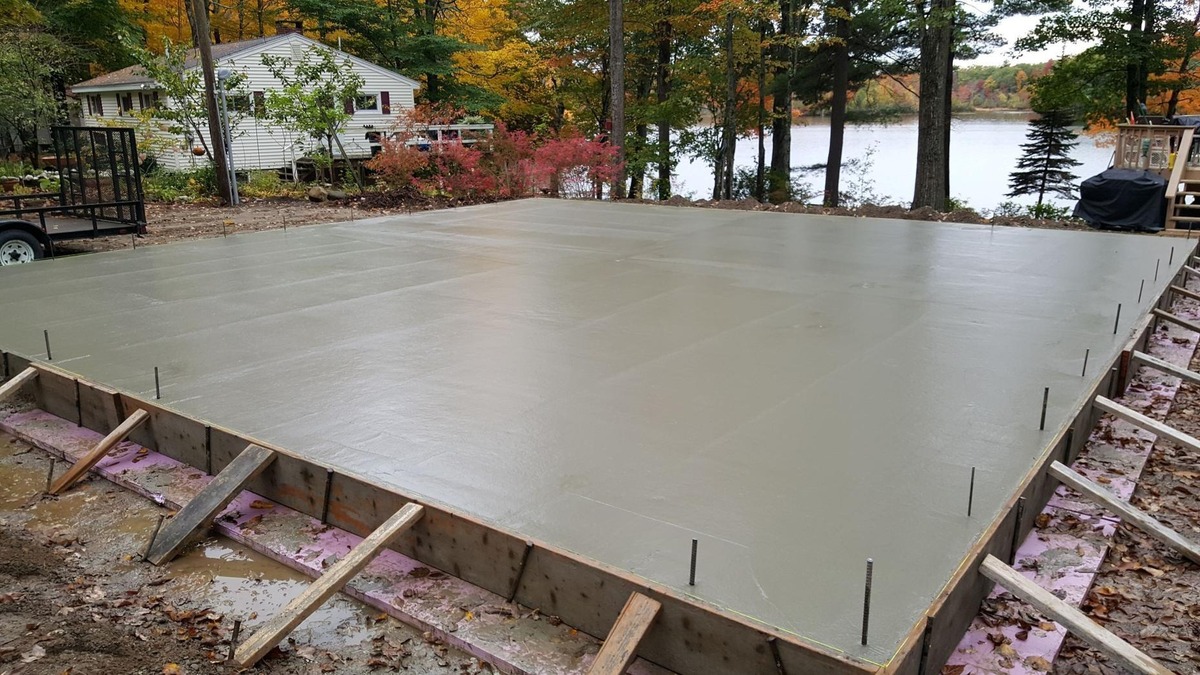
- Repair any cracks or damages: Inspect the patio for any cracks, chips, or other damages. Repair them using a concrete patching compound and a trowel. Follow the manufacturer’s instructions for mixing and applying the compound. Smooth the patch so that it is level with the surrounding concrete surface.
- Etch the concrete: If your concrete patio is smooth and has a shiny surface, it’s important to etch it to create a rough texture that will improve paint adhesion. Use an etching solution or muriatic acid according to the manufacturer’s instructions. Wear protective gloves, goggles, and clothing when working with these chemicals. Apply the solution evenly over the entire surface of the patio and scrub it in with a stiff bristle brush. Rinse thoroughly with clean water and allow the patio to dry.
- Tape off and protect areas: Use painter’s tape to protect any areas that you don’t want to paint, such as the edges of the patio or any nearby plants or furniture. Lay down plastic sheeting or drop cloths to protect the surrounding areas from paint splatters or spills.
By properly preparing your concrete patio, you create an ideal surface for the stencil application. Cleaning the patio ensures that the stencil adheres properly, while repairing any damages ensures a smooth and even finish. Etching the concrete creates a rough texture that improves paint adhesion, and taping off and protecting areas prevents any unwanted paint on adjacent surfaces.
Once you have completed the preparation process, you are ready to move on to the next step: choosing a stencil design for your concrete patio.
Step 3: Choose a stencil design
Choosing the right stencil design is an important step in the process of stenciling your concrete patio. The design you select will determine the overall look and feel of your outdoor space. Here are some tips to help you choose the perfect stencil design:
- Consider your personal style: Think about your personal preferences and the overall aesthetic you want to achieve in your outdoor space. Do you prefer a modern and geometric design or a more intricate and traditional pattern? Consider the existing elements in your outdoor area and choose a stencil design that complements them.
- Think about the scale: Consider the size of your patio and the scale of the stencil design. For smaller patios, it’s best to choose a smaller and more detailed design. Larger patios can accommodate larger and bolder stencil designs.
- Research inspiration: Look for inspiration online or in design magazines. Explore different stencil patterns and motifs to find one that speaks to you. Save or bookmark your favorite designs to refer back to when making a decision.
- Customize your design: If you can’t find a stencil design that perfectly matches your vision, consider customizing one. You can create your own stencil using a stencil cutting tool or enlist the help of a professional stencil maker to bring your design to life.
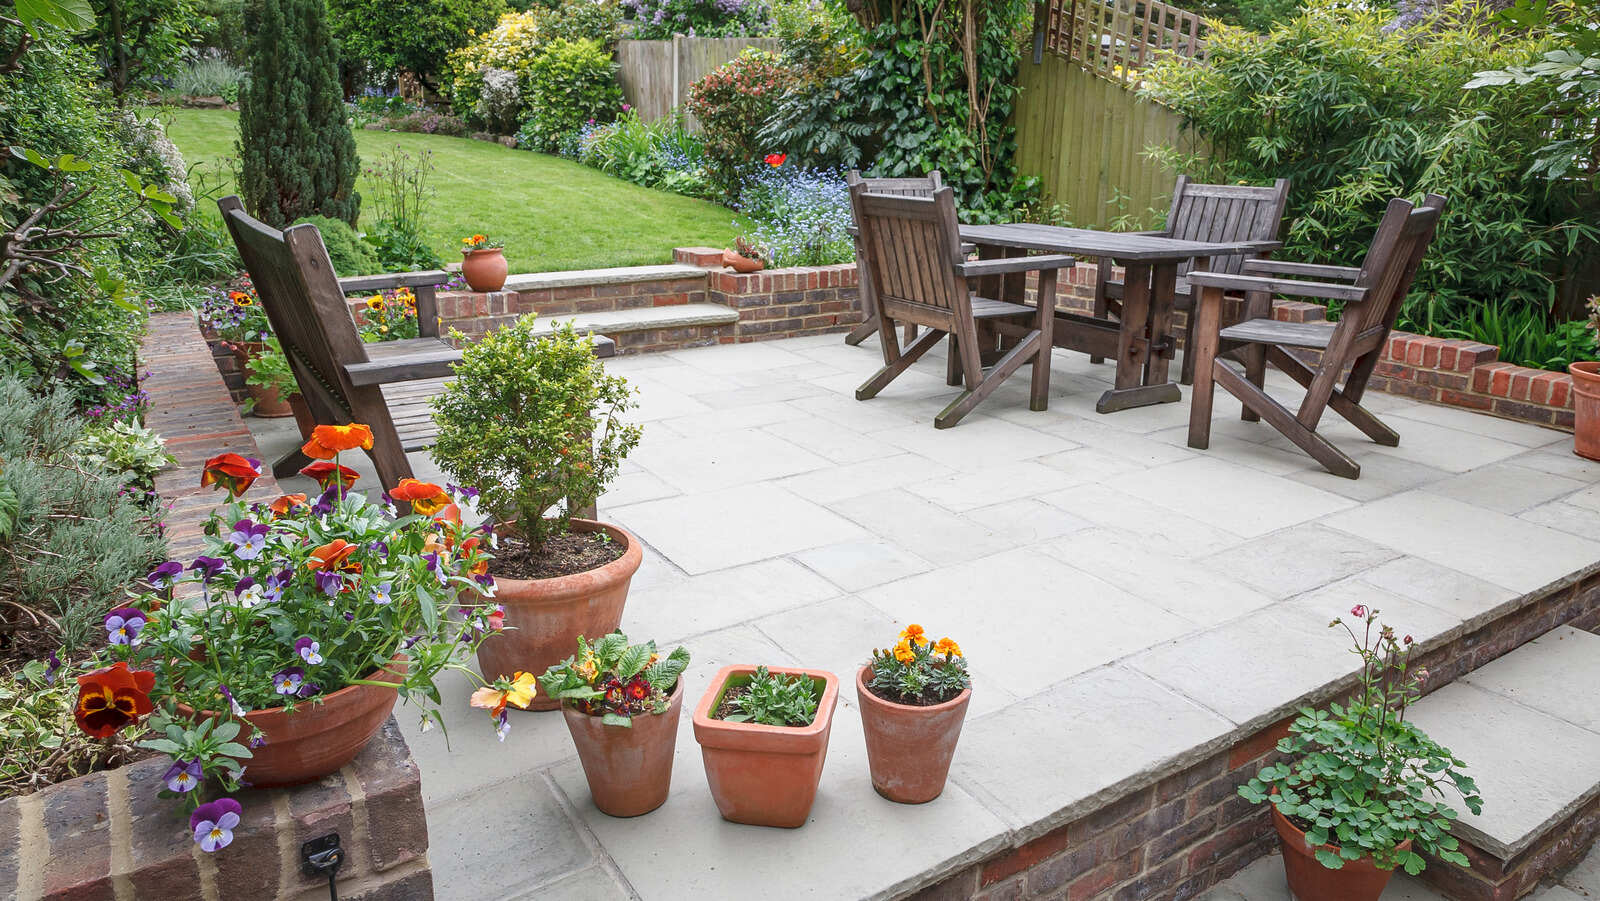
- Consider the surroundings: Take into account the surrounding elements and landscaping in your outdoor space. Choose a stencil design that complements the plants, furniture, and other features in the area. Consider the color scheme as well, ensuring that the stencil design will harmonize with the existing color palette.
Remember, the stencil design you choose will be a focal point in your outdoor space, so take your time to find the perfect one. Consider your personal style, the scale of your patio, and your surroundings to make an informed decision.
Once you have chosen your stencil design, it’s time to move on to the next step: applying the stencil to your concrete patio.
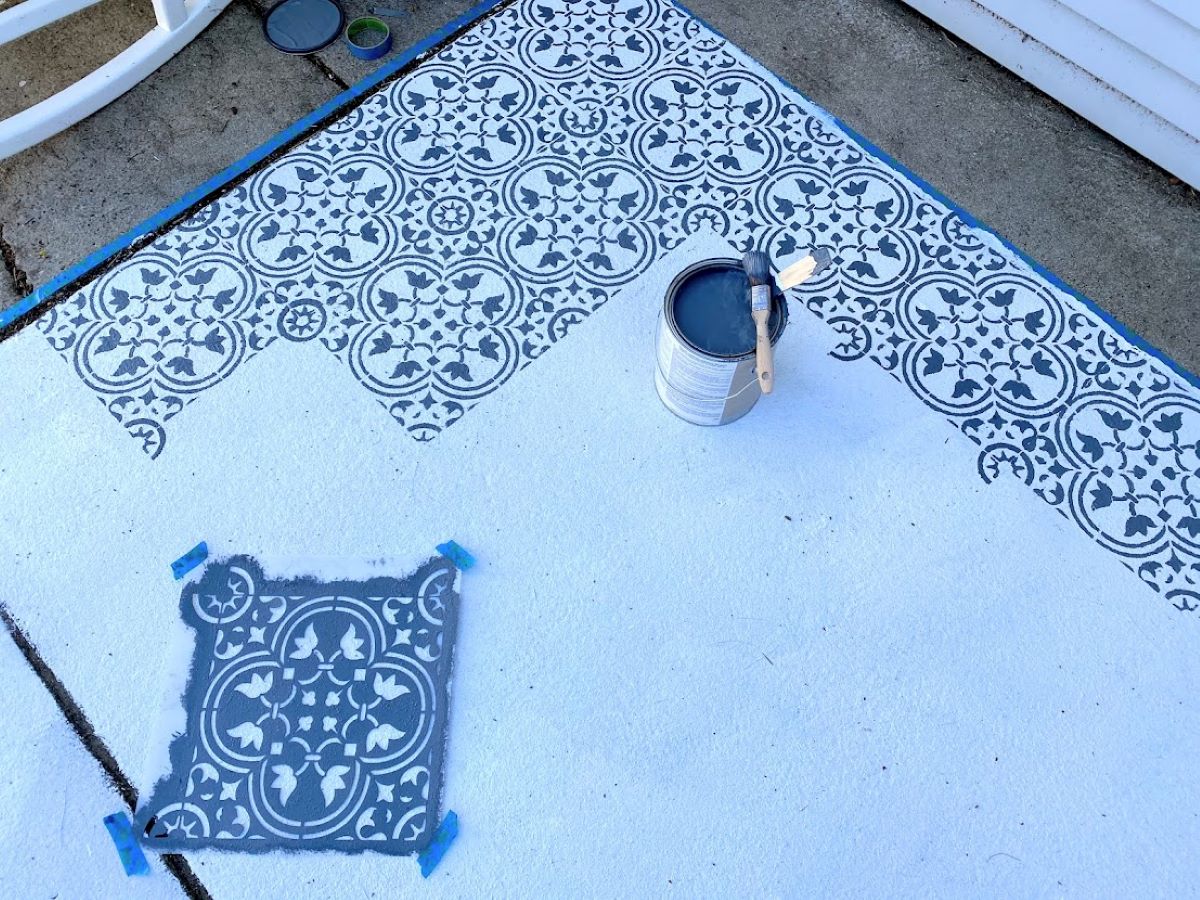
Step 4: Apply the stencil to the patio
With your chosen stencil design in hand, it’s time to start applying it to your concrete patio. This step requires careful placement and secure attachment of the stencil to ensure clean and precise results. Follow these steps to apply the stencil to your patio:
- Position the stencil: Carefully position the stencil on the desired area of your patio. You can use painter’s tape to temporarily hold the stencil in place while you work.
- Secure the stencil: Once the stencil is in position, use stencil adhesive to secure it to the concrete. Apply a thin, even layer of adhesive to the back of the stencil and press it firmly onto the patio surface. Ensure that all edges of the stencil are properly adhered.
- Smooth out the stencil: Use a stencil brush or a soft cloth to smooth out any wrinkles or air bubbles that may have formed under the stencil. This will ensure that the paint does not bleed or seep under the edges of the stencil.
It’s important to take your time during this step to ensure that the stencil is properly positioned and secured. Smooth out any imperfections to achieve clean and crisp stencil lines.
Now that the stencil is securely in place, you are ready to move on to the next step: painting the stencil design onto your concrete patio.
When stenciling a concrete patio, make sure to thoroughly clean and prep the surface before applying the stencil. Use a high-quality concrete paint and seal the finished design for long-lasting results.
Step 5: Paint the stencil design
Now that your stencil is securely in place on the concrete patio, it’s time to add color and bring your stencil design to life. This step requires precision and attention to detail to achieve a professional-looking finish. Follow these steps to paint the stencil design onto your concrete patio:
- Pour paint into a paint tray: Pour your chosen paint color into a paint tray. Make sure the paint tray is large enough to accommodate your paint roller or stencil brush.
- Load your paint roller or brush: Depending on the size of your stencil design, you can either use a paint roller or a stencil brush. If using a roller, dip it into the paint and roll off any excess onto the tray’s ridges. If using a stencil brush, dip the tips of the bristles into the paint, then dab off any excess onto a paper towel.
- Apply paint to the stencil: Start from the center of the stencil and work your way outwards. Use light and even pressure to apply the paint, making sure not to overload the brush or roller. If using a roller, roll it over the stencil in a gentle and smooth motion. If using a stencil brush, lightly dab the brush over the stencil openings.
- Build up the paint layers: Depending on the opacity of your paint and the desired color intensity, you may need to apply multiple thin layers of paint. Allow each layer to dry before applying the next to prevent smudging or smearing.
- Remove excess paint: After each layer of paint, use a clean cloth or paper towel to carefully remove any excess paint that may have seeped under the stencil. This will help maintain sharp stencil lines and a clean overall appearance.
- Let the paint dry: Once you have finished painting the entire stencil design, allow the paint to dry completely. Follow the manufacturer’s instructions for the recommended drying time.
Remember to use light and even pressure when applying the paint to prevent bleeding or smudging. Take your time and be patient to ensure that each stencil element is painted evenly and accurately.
Once the paint has dried, you are ready to move on to the next step: removing the stencil and cleaning up.
Step 6: Remove the stencil and clean up
With the stencil design painted onto your concrete patio and the paint fully dried, it’s time to remove the stencil and clean up any residual materials. This step is crucial for achieving a clean and professional finish. Follow these steps to remove the stencil and complete the clean-up process:
- Peel off the stencil: Gently peel off the stencil from one corner, ensuring that the paint is fully dried to prevent smudging. Slowly and carefully lift the stencil away from the concrete surface. If you encounter any resistance, use a craft knife or a small spatula to lift stubborn areas gently.
- Inspect the design: Once the stencil is removed, inspect the painted design to ensure that all the lines and details are crisp and clean. If you notice any imperfections or areas that require touch-ups, wait for the paint to completely dry before making any necessary adjustments.
- Clean up any paint smudges or spills: Use a damp cloth or paper towel to immediately clean up any paint smudges or spills on the patio surface or surrounding areas. If the paint has already dried, gently scrape it off with a plastic scraper or a craft knife.
- Remove painter’s tape: If you used painter’s tape to mask off any areas, carefully remove it at a 45-degree angle. This will help prevent any paint from peeling off with the tape and ensure clean and sharp edges.
- Dispose of waste materials: Properly dispose of the used stencil, paint cans, and any other waste materials according to your local regulations. Keep the environment in mind and choose the appropriate disposal methods.
By removing the stencil carefully and cleaning up any residual paint or materials, you’ll achieve a polished and professional look for your stenciled concrete patio. Take your time and pay attention to detail during this step to ensure the best possible outcome.
Now that you’ve completed the stencil removal and clean-up process, it’s time to move on to the final step: sealing the stenciled patio for long-lasting protection and durability.
Step 7: Seal the stenciled patio
Once you have completed stenciling your concrete patio and the paint has fully dried, it’s important to seal the surface. Sealing not only enhances the longevity of the stencil design but also protects the concrete from weathering and staining. Follow these steps to seal your stenciled patio:
- Choose the right sealer: Select a concrete sealer that is suitable for outdoor use and compatible with the type of paint you have used. There are various options available, including acrylic sealers and penetrating sealers. Read the manufacturer’s instructions carefully to ensure proper application.
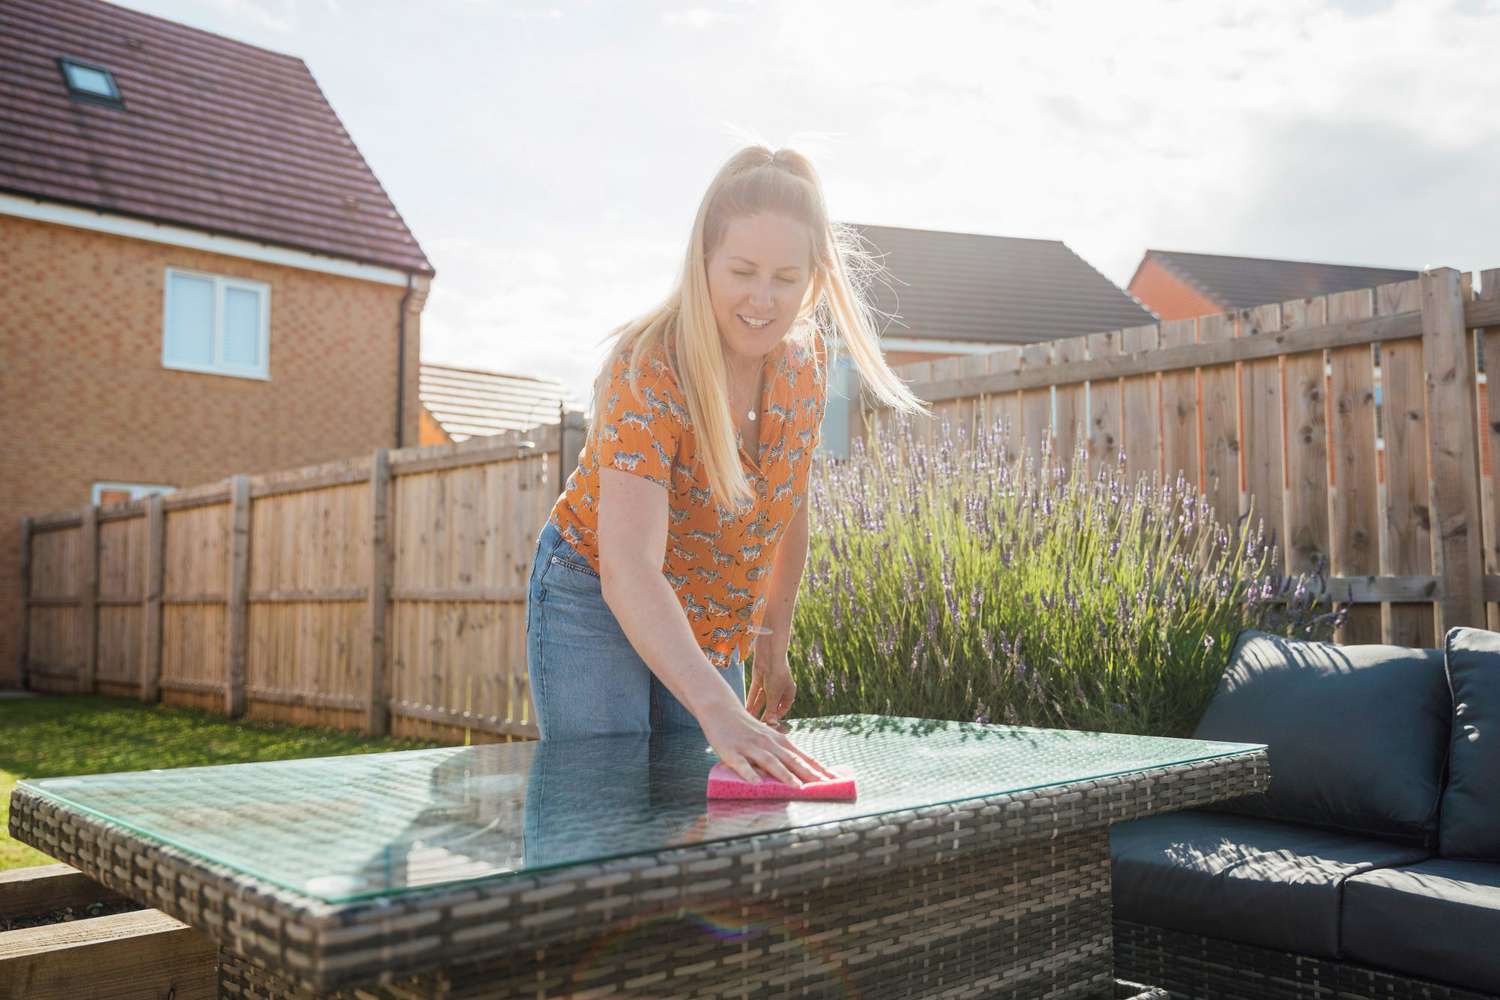
- Clean the patio surface: Before applying the sealer, make sure the patio surface is clean and free from any dust, dirt, or debris. Sweep or use a leaf blower to remove any loose particles. If necessary, wash the patio with a mild detergent and water, and allow it to dry completely.
- Apply the sealer: Use a paintbrush or roller to apply the sealer to the entire stenciled patio surface. Work in small sections, moving from one side to another, to ensure even coverage. Follow the manufacturer’s instructions regarding the number of coats needed and drying time between coats.
- Allow the sealer to dry: After applying the sealer, allow it to dry completely. This can take anywhere from a few hours to a couple of days, depending on the type of sealer and environmental conditions. Avoid walking on or placing any furniture or objects on the patio until the sealer has fully cured.
Sealing your stenciled patio provides protection against UV rays, moisture, and regular wear and tear. It also enhances the colors of the stencil design and adds a subtle sheen to the surface. Additionally, a sealer makes cleaning and maintenance easier as it prevents stains from penetrating the concrete.
Remember to follow the manufacturer’s instructions and safety precautions listed on the sealer packaging. Sealing the patio is the final step in the stenciling process and ensures that your newly transformed outdoor space remains beautiful and well-protected for years to come.
Congratulations! You have successfully stenciled and sealed your concrete patio, giving it a refreshed and visually appealing look. Now, all that’s left is to sit back, relax, and enjoy your transformed outdoor space!
Conclusion
Stenciling a concrete patio is a cost-effective way to revitalize your outdoor space and create a unique and personalized touch. By following the step-by-step process outlined in this guide, you can transform a dull and drab patio into a stunning focal point that reflects your style and taste.
Throughout this article, we discussed the importance of gathering the necessary materials, preparing the concrete patio, choosing a stencil design, applying the stencil, painting the design, removing the stencil, and sealing the stenciled patio. These steps, when executed properly, can result in a professional-looking finish that will enhance the aesthetic appeal and value of your home.
When choosing a stencil design, consider your personal style, the scale of your patio, and the surroundings. Take the time to research and find inspiration, and don’t hesitate to customize a stencil design to make it truly unique.
During the stenciling process, ensure that the stencil is properly positioned, secured, and correctly painted to produce crisp and clean lines. Attention to detail and patience are key factors in achieving a visually pleasing result.
After the paint has dried, carefully remove the stencil and clean up any residual paint or materials. Dispose of waste properly and take into consideration the environment when discarding materials.
Lastly, seal the stenciled patio with a high-quality concrete sealer to protect the surface, enhance the colors, and make maintenance easier. Following these steps and proper maintenance will ensure the longevity and durability of your stenciled patio.
Remember, this DIY project is not only a low-cost outdoor refresh but also an opportunity to unleash your creativity and add a personal touch to your outdoor space. So, grab your materials, choose a stencil design, and get ready to transform your concrete patio into a stunning focal point that you can enjoy for years to come.
Frequently Asked Questions about How To Stencil A Concrete Patio For A Low-Cost Outdoor Refresh
Was this page helpful?
At Storables.com, we guarantee accurate and reliable information. Our content, validated by Expert Board Contributors, is crafted following stringent Editorial Policies. We're committed to providing you with well-researched, expert-backed insights for all your informational needs.


0 thoughts on “How To Stencil A Concrete Patio For A Low-Cost Outdoor Refresh”