Articles
How To Babyproof Stairs
Modified: December 7, 2023
Learn how to babyproof your stairs with these insightful articles. Keep your little one safe and secure.
(Many of the links in this article redirect to a specific reviewed product. Your purchase of these products through affiliate links helps to generate commission for Storables.com, at no extra cost. Learn more)
Introduction
When you have a baby or a toddler in the house, ensuring their safety becomes a top priority. One area that requires particular attention is the stairs. Stairs can present a significant danger to young children who are still learning to walk or crawl.
In this article, we will guide you through the process of babyproofing your stairs to create a safe environment for your little one. By following these steps, you can minimize the risk of accidents and give yourself peace of mind.
Before we begin, it is important to note that every home is unique, and different staircases may have specific considerations. Take the time to assess your individual situation and tailor the babyproofing steps accordingly.
Now, let’s dive into the process of babyproofing your stairs and make your home a safer place for your little explorer!
Key Takeaways:
- Babyproofing your stairs involves assessing risks, installing gates, securing handrails, adding toe guards, covering sharp edges, and supervising your child. It’s a comprehensive process to ensure a safe environment for your little one.
- Regular maintenance and adjustments are crucial as your child grows. Stay proactive, educate your child about stair safety, and create a secure and enjoyable space for them to confidently navigate the stairs.
Read more: How To Layout Stairs
Step 1: Assessing the Risks
The first step in babyproofing your stairs is to assess the potential risks. Carefully examine your stairs to identify any hazards that could pose a danger to your child. Here are some aspects to consider:
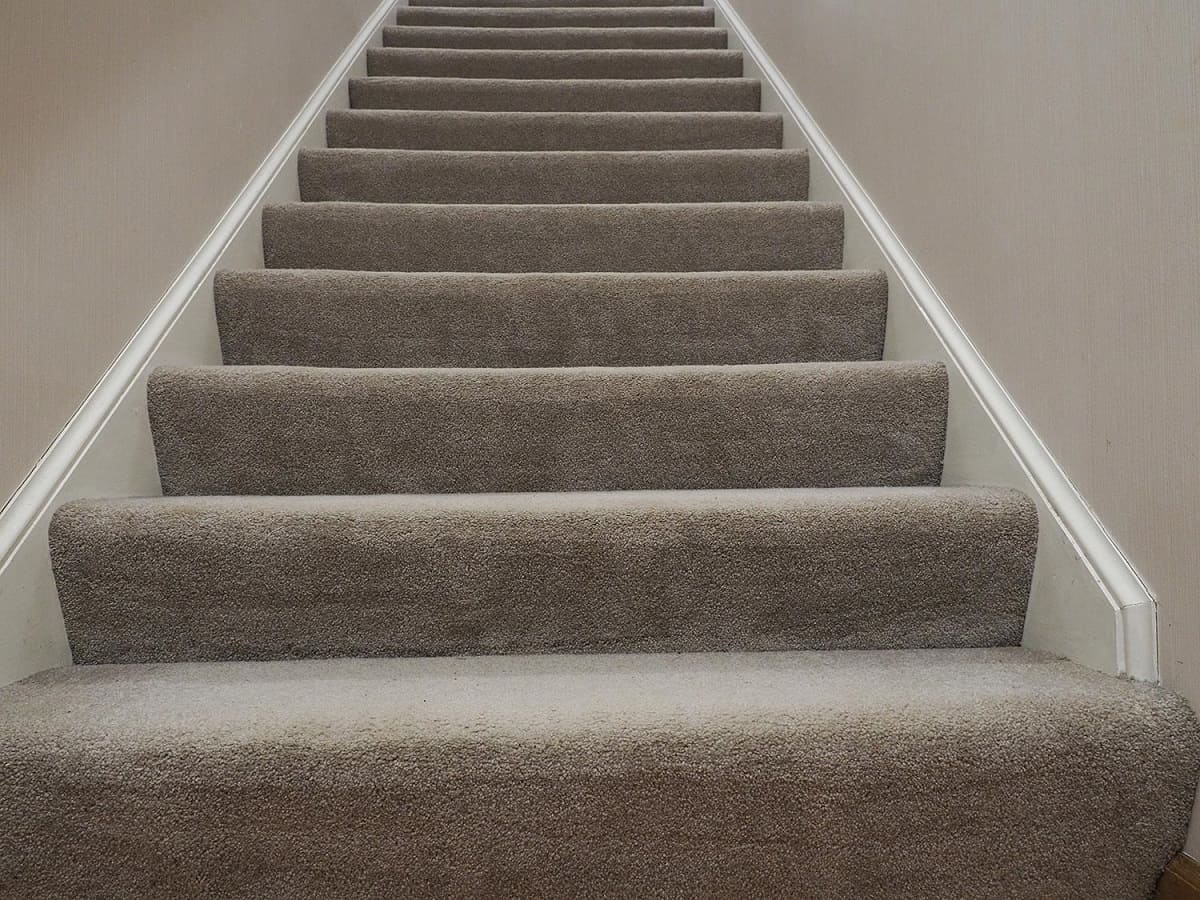
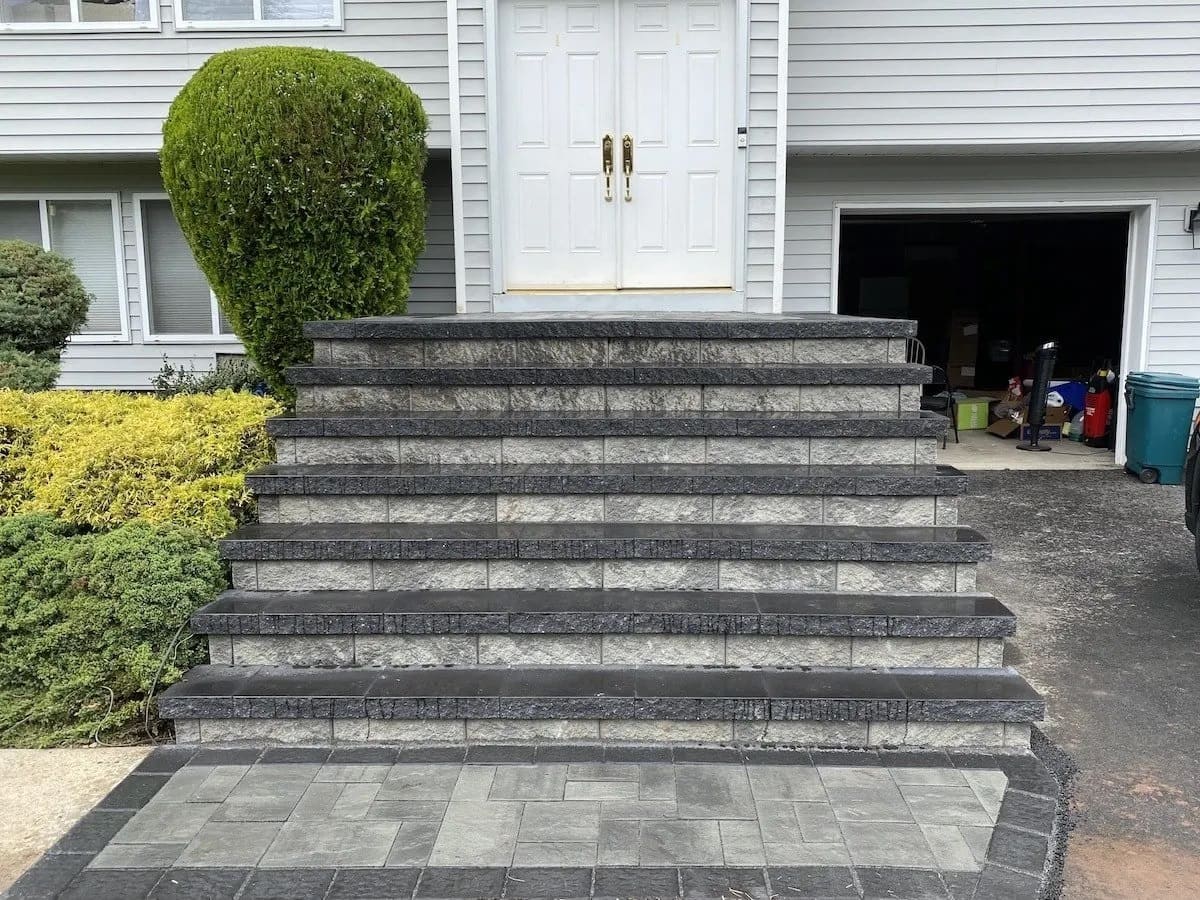
- Height and Steepness: Take note of how high your stairs are and how steep the incline is. Steep stairs can be challenging for young children to navigate.
- Spacing between Railings: Check if the gaps between the railings are wide enough for your child to fit through. If they are, additional measures will be needed to secure the space.
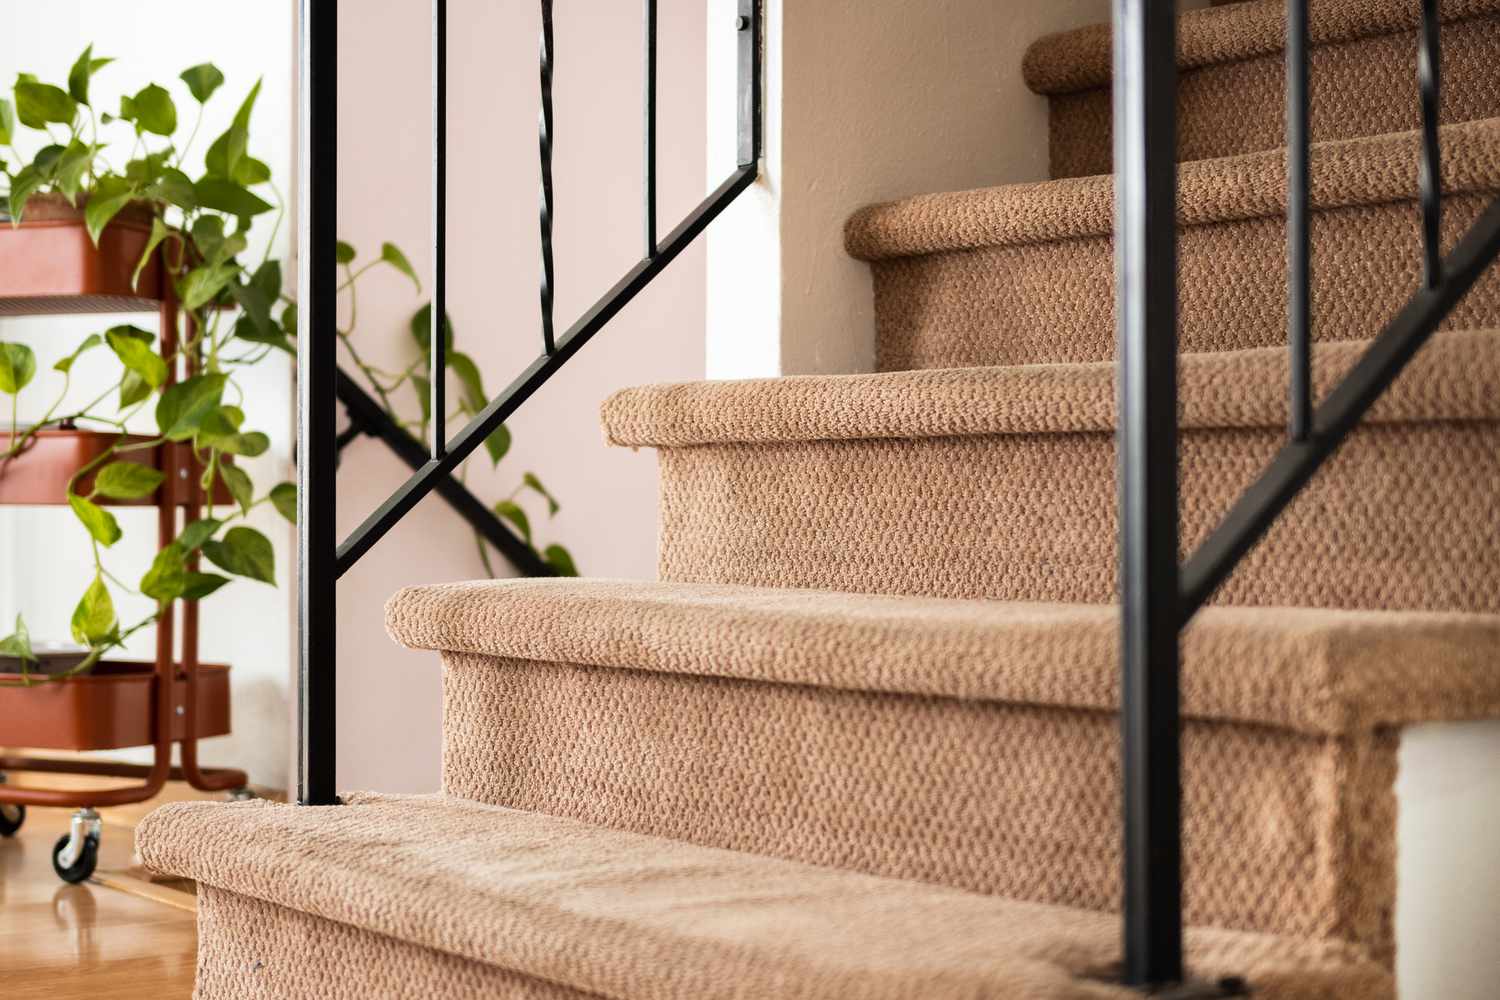
- Coverings and Surfaces: Assess the condition of your stairs’ coverings and surfaces. Loose or worn-out carpeting, slippery surfaces, or protruding nails can pose a tripping hazard.
- Exposure to Other Rooms: Consider the areas that the stairs lead to. Are there any dangerous objects or rooms that you want to prevent your child from accessing?
- Lighting: Adequate lighting is crucial to ensure safe navigation, especially during nighttime or low-light situations. Check if there are any areas that need additional lighting.
By carefully evaluating these factors, you can gain a better understanding of the specific hazards that need to be addressed when babyproofing your stairs.
Once you have identified the risks, you can proceed to the next step, which is installing baby gates to restrict your child’s access to the stairs.
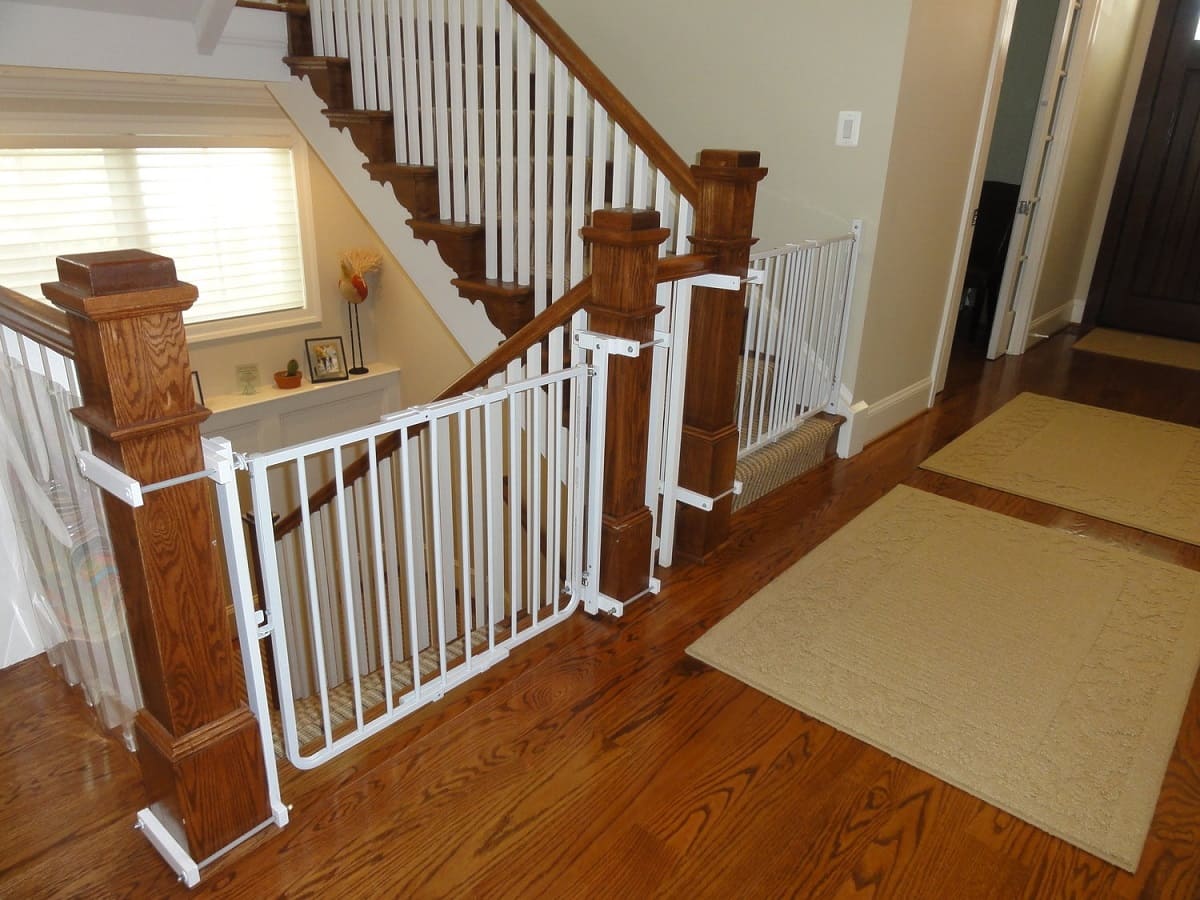
Step 2: Installing Baby Gates
Installing baby gates is essential to prevent your child from accidentally climbing or falling down the stairs. There are different types of baby gates available, so choose one that suits your staircase and preferences. Here’s how to install a baby gate:
- Measurements: Measure the width of your stairway to ensure you purchase a gate that fits properly. It’s important to choose a gate that can be securely installed without any gaps where your child could squeeze through.
- Check the Material: Look for baby gates made from sturdy materials like metal or wood. Avoid gates with mesh or plastic, as they may not provide enough durability or stability.
- Hardware Mounted Gates: These gates are the most secure option as they are mounted to the walls or banisters with screws. Follow the manufacturer’s instructions for proper installation, making sure the gate is level and tightly secured.
- Pressure Mounted Gates: These gates are held in place by pressure against the walls or banisters. They are easier to install and remove, but keep in mind that they may not be as sturdy as hardware-mounted gates.
- Extra Wide or Irregular Staircases: If you have an extra wide or irregular staircase, you may need to purchase a specialized gate or consider using multiple gates to cover the entire area.
- Gate Opening: Make sure the gate has a childproof lock or latch that can be easily operated by adults but is challenging for young children to open. Remember to always keep the gate closed when not in use.
Installing baby gates at the top and bottom of the stairs provides an extra layer of protection to keep your child safe. It is important to regularly check the gates for any signs of wear or damage and ensure they are still securely in place.
Now that you have installed the baby gates, let’s move on to the next step: securing the handrails.
Step 3: Securing Handrails
Securing the handrails is an essential step in babyproofing the stairs. Children can easily lose their balance or grip while climbing or descending the stairs, so it is vital to make sure the handrails are safe and sturdy. Here’s how you can secure the handrails:
- Check for Loose or Wobbly Handrails: Carefully examine the handrails to ensure they are tightly anchored to the wall or staircase. If you notice any looseness or wobbliness, it is important to fix them before your child attempts to use them for support.
- Tighten Screws and Bolts: Use a screwdriver or wrench to tighten any loose screws or bolts in the handrail brackets. This will provide added stability and prevent accidents.
- Add Reinforcement Brackets: If you find that the handrails need additional support, consider installing reinforcement brackets. These brackets can be attached to the wall or staircase to provide extra strength to the handrail.
- Ensure Proper Height: Check that the handrails are at an appropriate height for your child. Ideally, they should be within easy reach for them to hold onto while using the stairs.
- Smooth and Rounded Edges: Make sure the handrails have smooth and rounded edges to prevent any risk of injury to your child. Sand down any rough spots or apply child-safe padding to cover any sharp corners.
By securing the handrails, you provide a reliable support system for your child as they navigate the stairs. Regularly inspect the handrails to ensure they remain secure and free from any damage.
With the handrails secured, let’s move on to the next step: adding toe guards.
Step 4: Adding Toe Guards
Adding toe guards is an important step in babyproofing your stairs as it helps prevent your child’s tiny feet from slipping through the gaps between the steps (also known as risers). Here’s how you can add toe guards:
- Measurements: Measure the height and width of the risers to determine the size of toe guards you will need. Make sure to leave a small gap at the bottom of each riser to allow for proper ventilation.
- Choose the Material: Toe guards are commonly made from materials like plexiglass, mesh, or plastic. Opt for a durable and sturdy material that can withstand the wear and tear of daily use.
- Install Toe Guards: Attach the toe guards to the underside of the steps using adhesive, screws, or cable ties, depending on the material and design of the guards. Ensure they are securely in place to prevent any accidental removal.
- Smooth and Secure Edges: Check that the edges of the toe guards are smooth and free from any sharp or jagged edges. Sand down any rough spots to minimize the risk of injury.
Adding toe guards not only prevents your child from getting their feet stuck between the stairs but also adds an extra layer of safety to your staircase. Regularly inspect the toe guards to ensure they are intact and properly secured.
Now that we have added toe guards, let’s move on to the next step: covering sharp edges.
Install safety gates at the top and bottom of the stairs to prevent your baby from accessing them. Make sure the gates are securely mounted and meet safety standards.
Read more: How To Caulk Stairs
Step 5: Covering Sharp Edges
Covering sharp edges is an important step in babyproofing your stairs to prevent any injuries in case your child accidentally bumps into them. Here’s how you can cover sharp edges:
- Identify Sharp Edges: Inspect your staircase carefully to identify any sharp edges or corners that could potentially harm your child. This includes edges of the steps, corners of the handrails, or any other exposed sharp edges.
- Choose Childproofing Materials: There are various childproofing materials available, such as edge bumpers, foam padding, or corner protectors. Select a material that is soft, cushiony, and specifically designed to cover and protect sharp edges.
- Attach the Covers: Carefully affix the covers to the sharp edges, ensuring they are securely in place. Follow the manufacturer’s instructions for proper installation and use adhesive or tape designed specifically for childproofing.
- Test the Covers: Once the covers are installed, gently test them to make sure they are firmly attached and cannot be easily removed by your child.
By covering sharp edges, you create a safer environment for your child to explore and play around the stairs. Regularly check the covers to ensure they are still securely in place and replace any damaged or worn-out covers.
With the sharp edges covered, let’s move on to the next step: installing non-slip treads.
Step 6: Installing Non-Slip Treads
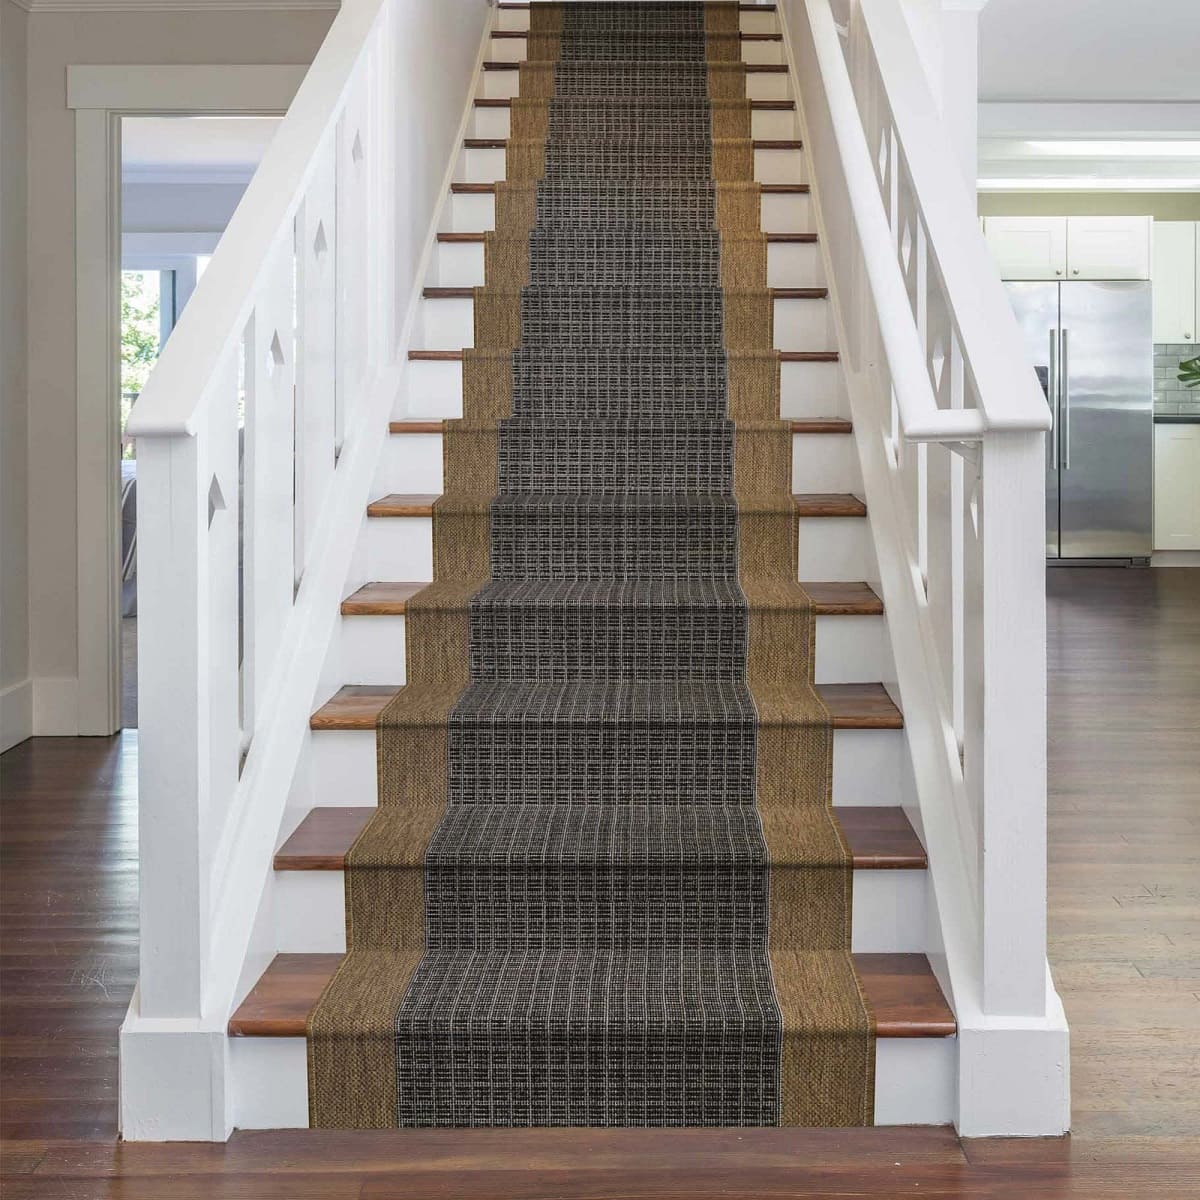
Installing non-slip treads is an effective way to enhance the traction on your stairs, reducing the risk of slips and falls for your child. Here’s how you can install non-slip treads:
- Measurements: Measure the width and depth of each step to determine the size of the non-slip treads you will need. Ensure that the treads cover the entire surface of the steps.
- Choose Non-Slip Tread Material: Non-slip treads are available in various materials such as rubber, adhesive grip tape, or carpet. Select a material that provides good traction and is durable enough to withstand heavy foot traffic.
- Clean and Prepare the Steps: Thoroughly clean the steps, removing any dust, dirt, or debris. This will ensure proper adhesion of the non-slip treads and prevent them from peeling off over time. If necessary, sand down any rough spots on the steps.
- Apply the Non-Slip Treads: Follow the manufacturer’s instructions for applying the non-slip treads. Typically, this involves peeling off the backing and carefully pressing the treads onto the steps, starting from the bottom and working your way up.
- Smooth Out Air Bubbles: Once the treads are applied, smooth out any air bubbles or wrinkles using a roller or similar flat, smooth object. This will ensure proper adhesion and a neat appearance.
By installing non-slip treads, you create a secure walking surface for your child on the stairs, reducing the risk of slips and falls. Regularly inspect the treads to ensure they are still in good condition and replace any worn-out or damaged treads.
Now that we have installed non-slip treads, let’s move on to the next step: removing tripping hazards.
Step 7: Removing Tripping Hazards
Removing tripping hazards is crucial in creating a safe environment on your stairs for your child. By eliminating obstacles and hazards, you can reduce the risk of trips and falls. Here’s how you can remove tripping hazards:
- Clear the Staircase: Remove any clutter, toys, or objects that may be lying on the stairs. These items can easily cause trips and falls if stepped on.
- Secure Loose Carpeting: If you have carpeted stairs, make sure the carpeting is securely fastened to the steps. Loose or frayed carpeting can create uneven surfaces that pose a tripping hazard.
- Repair Uneven Steps: If you notice any uneven steps or loose boards, fix them immediately to create a level surface. This will help prevent your child from tripping or stumbling while using the stairs.
- Check for Extending Objects: Examine the area around the stairs for any objects that extend into the staircase pathway, such as furniture or decorations. Move these objects away from the stairs to create a clear path.
- Ensure Adequate Lighting: Poor lighting can contribute to accidents on the stairs. Ensure that the staircase is well-lit, especially during nighttime or low-light conditions. Install additional lighting, if necessary, to improve visibility.
By removing tripping hazards, you provide a safer environment for your child to navigate the stairs. Regularly check the staircase for any new hazards or objects that may appear, and promptly address them to maintain a hazard-free space.
With the tripping hazards removed, let’s move on to the final step: supervising and teaching safety.
Step 8: Supervising and Teaching Safety
The final step in babyproofing your stairs is to ensure proper supervision and educate your child about stair safety. Ongoing supervision and teaching are essential to minimize the risk of accidents. Here’s what you can do:
- Supervise Your Child: Always keep a close eye on your child when they are near the stairs. Never leave them unattended, especially when they are young and still learning to navigate the stairs.
- Teach Safe Stair Use: As your child grows older, begin teaching them about stair safety. Show them how to hold onto the handrails, use the stairs one step at a time, and be cautious while going up or down.
- Model Safe Behavior: Children often learn by observing their parents or caregivers. Make sure to model safe stair behavior by using the stairs carefully and following all safety guidelines yourself.
- Reinforce House Rules: Establish clear house rules regarding stair usage. For example, teach your child that running or playing on the stairs is not allowed to minimize the risk of accidents.
- Communicate Dangers: Explain to your child the potential dangers of falling or tripping on the stairs, emphasizing the importance of caution and being aware of their surroundings.
- Practice Stair Safety Drills: Conduct regular stair safety drills with your child, simulating scenarios such as emergency situations or unexpected obstacles. This will help them develop a sense of preparedness and quick thinking on the stairs.
By supervising your child and actively teaching stair safety, you empower them with the knowledge and skills needed to navigate the stairs confidently and securely. Remember, consistent reinforcement and positive reinforcement are key to instilling safe habits.
Congratulations! You have completed all the steps to babyproof your stairs. By implementing these measures and maintaining vigilance, you can create a safe and secure staircase environment for your child, providing them with the freedom to explore while minimizing the risk of accidents.
Always remember that each child develops at their own pace, so continue to assess the appropriateness of the safety measures as your child grows and becomes more independent. Stay proactive and adaptable in ensuring a safe home for your little one.
Read more: How To Construct Stairs
Conclusion
Babyproofing your stairs is a crucial step in creating a safe environment for your child. By implementing the steps outlined in this guide, you can significantly reduce the risk of accidents and provide peace of mind for both you and your little one.
Start by assessing the risks and identifying potential hazards on your staircase. Install sturdy and secure baby gates at the top and bottom of the stairs to restrict access. Secure the handrails to provide additional support, and add toe guards to prevent your child’s feet from slipping through the gaps.
Cover sharp edges to minimize the risk of injury, and install non-slip treads for improved traction on the steps. Remove any tripping hazards and ensure adequate lighting to enhance stair safety. Lastly, supervise your child and teach them about proper stair usage to further reduce the risk of accidents.
Remember, babyproofing requires regular inspections and maintenance. As your child grows and develops, adjust the safety measures accordingly to meet their changing needs. Stay attentive, educate your child about stair safety, and encourage safe habits.
Creating a safe staircase environment is an investment in your child’s well-being and allows them to confidently explore their surroundings. By following these steps and staying proactive, you can provide a secure and enjoyable space for your child to navigate the stairs with confidence.
So take action today, and make babyproofing your stairs a top priority in your home. Your child’s safety is worth every effort.
Now that you've tackled babyproofing those stairs, why not ensure every nook of your house is safe? Next up, consider the bathroom—specifically, the toilet area. We've got a fantastic piece on innovative safety rails that are perfect for preventing slips and falls. These aren't just practical; they're stylish too! Ideal for keeping everyone in the family safe, especially the little ones and seniors, these safety rails are a must-read. Don't miss out on creating a safer home environment!
Frequently Asked Questions about How To Babyproof Stairs
Was this page helpful?
At Storables.com, we guarantee accurate and reliable information. Our content, validated by Expert Board Contributors, is crafted following stringent Editorial Policies. We're committed to providing you with well-researched, expert-backed insights for all your informational needs.

0 thoughts on “How To Babyproof Stairs”