Articles
How To Construct Stairs
Modified: December 7, 2023
Discover step-by-step articles on how to construct stairs, from planning and measuring to assembling and finishing, ensuring a sturdy and safe staircase for your home.
(Many of the links in this article redirect to a specific reviewed product. Your purchase of these products through affiliate links helps to generate commission for Storables.com, at no extra cost. Learn more)
Introduction
Constructing stairs may seem like a daunting task, but with careful planning and the right tools, it is a rewarding project that can enhance the functionality and aesthetics of your space. Whether you are adding stairs to a new construction or renovating an existing staircase, this comprehensive guide will provide you with the necessary steps to successfully build your own stairs.
Stairs not only serve the practical purpose of providing access between different levels, but they can also make a striking architectural statement. From traditional wooden staircases to modern metal designs, the options are vast, allowing you to choose a style that suits your personal taste and complements the overall design of your home.
Before you embark on your stair construction journey, it is essential to have a clear plan in place. This includes taking accurate measurements, selecting the appropriate materials, and gathering the necessary tools. With proper planning and attention to detail, you can ensure that your staircase will be safe, sturdy, and visually appealing.
In this guide, we will walk through the step-by-step process of constructing stairs, offering valuable tips and expert advice along the way. So, roll up your sleeves, put on your safety gear, and let’s dive into the world of stair construction!
Key Takeaways:
- Proper planning and precise measurements are essential for building safe and visually appealing stairs that fit perfectly into the available space.
- Gathering the right materials and tools, along with attention to detail during construction, ensures a smooth and efficient process in creating a sturdy and attractive staircase.
Read more: How To Layout Stairs
Planning and Measurements
Before you start building your stairs, it is crucial to carefully plan the layout and take accurate measurements. Proper planning will ensure that the stairs fit perfectly into the available space and adhere to safety regulations. Here are the essential steps to consider during the planning phase:
- Determine the purpose: Consider the purpose of the stairs, whether they are for interior or exterior use, and their intended traffic flow. This will help you decide on the appropriate materials and design.
- Check building codes and regulations: Familiarize yourself with the local building codes and regulations in your area. This includes requirements for the rise, run, height, and width of the stairs, as well as handrail specifications.
- Measure the available space: Measure the height, width, and depth of the area where the stairs will be installed. Ensure that there is enough headroom and clearance for comfortable and safe passage.
- Determine the stair dimensions: Calculate the rise (vertical distance between each step) and run (horizontal depth of each step). These measurements will help you determine the number of steps required and the overall size of the staircase.
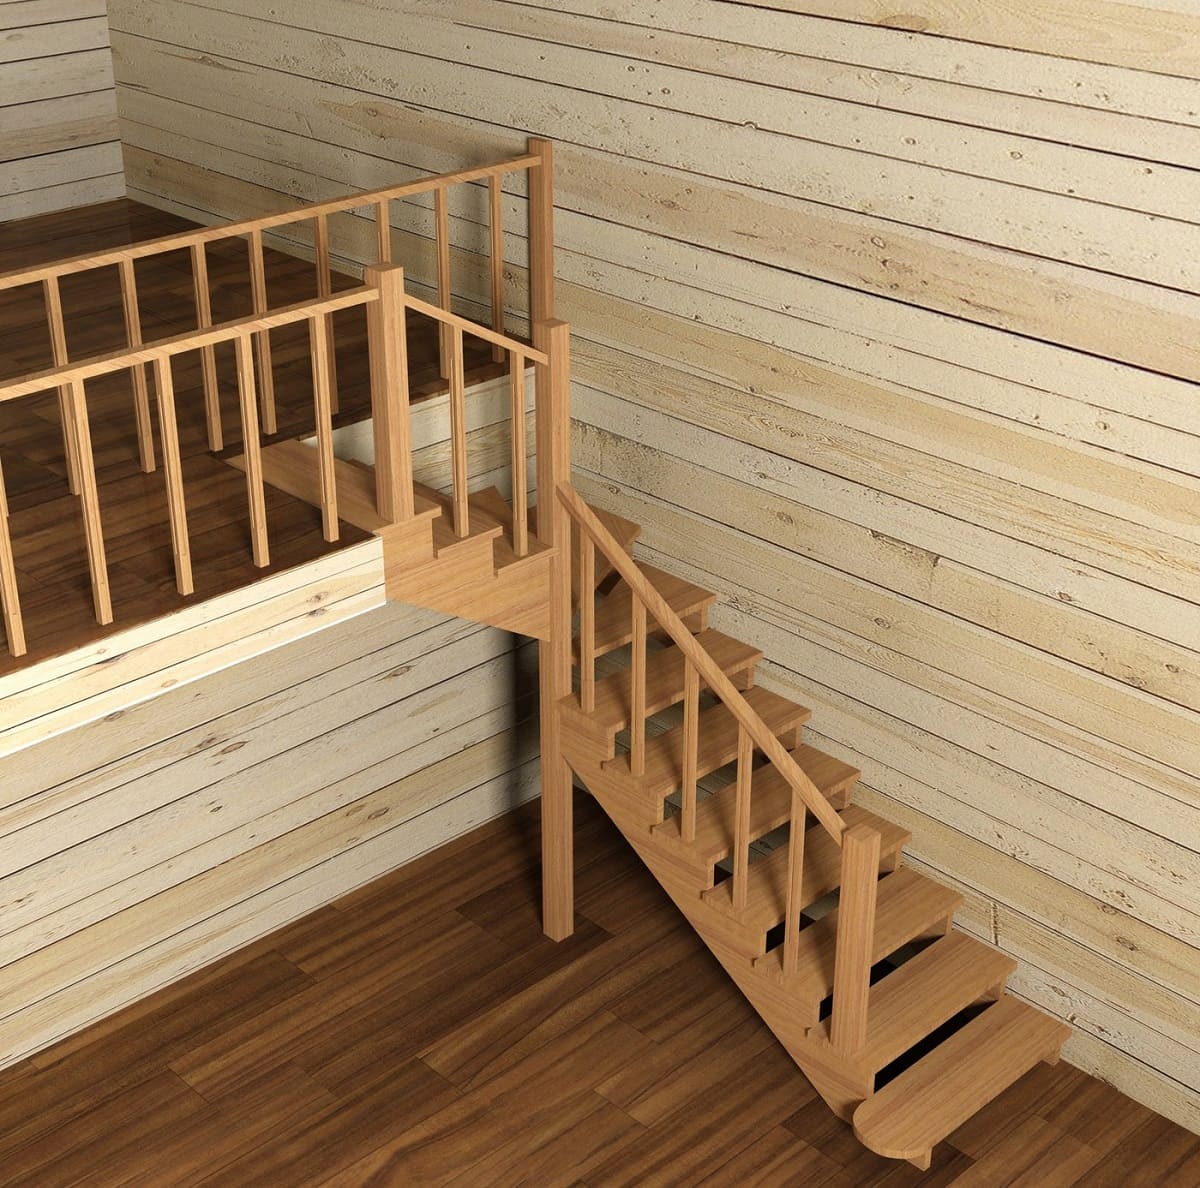
- Design the staircase: Based on the measurements, decide on the design of your staircase. Choose between straight, L-shaped, U-shaped, or spiral staircases, depending on the available space and personal preference.
- Create a plan: Use graph paper or specialized software to create a detailed plan of your staircase. This will include the number of steps, the dimensions of each step, and the overall layout of the staircase.
By thoroughly planning and taking accurate measurements, you can ensure that your staircase fits perfectly into the designated area and meets all safety requirements. This will provide a solid foundation for the construction process and make the rest of the project much smoother and more efficient.
Gathering Materials and Tools
Once you have completed the planning and measurements phase, it’s time to gather all the necessary materials and tools for building your stairs. Having the right materials and tools at hand will streamline the construction process and ensure that you have everything you need to create a sturdy and visually appealing staircase. Here are the essential materials and tools you’ll need:
Materials:
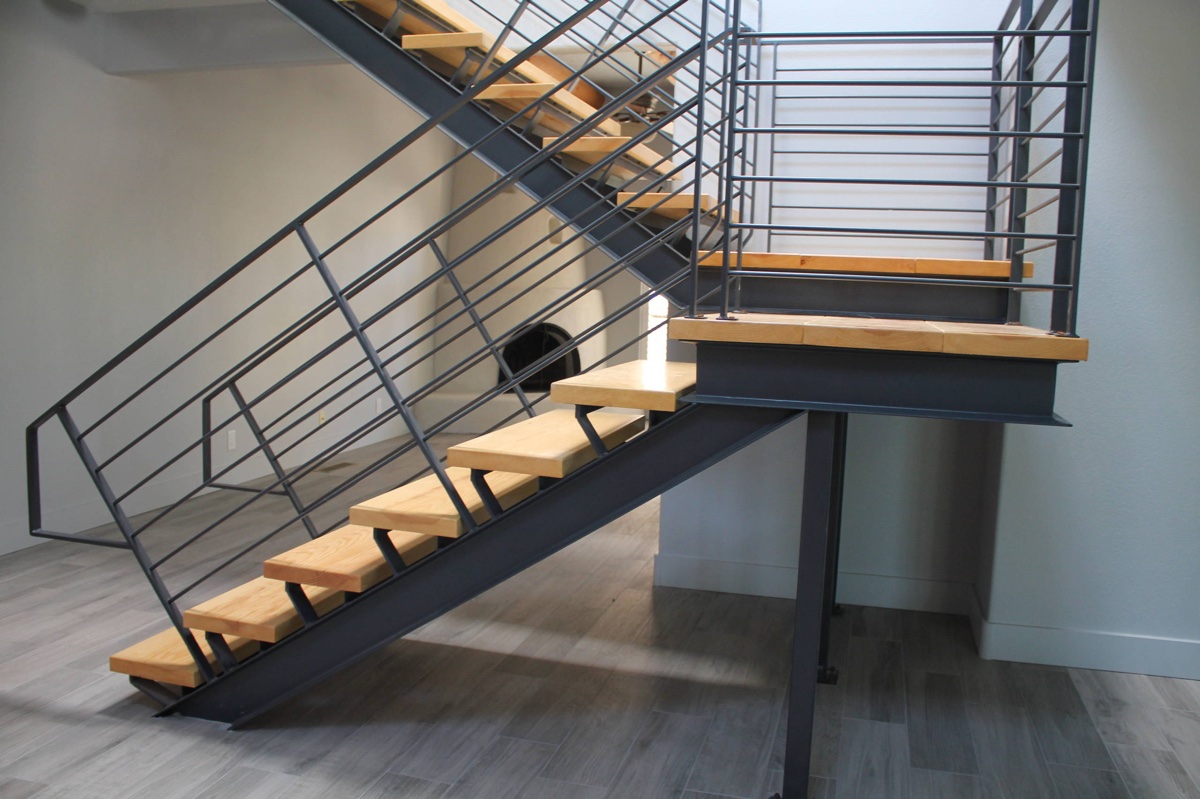
- Stair Stringers: These are the structural supports that hold the treads and risers in place. You can choose between pre-cut stringers or cut them yourself from pressure-treated lumber or engineered wood.
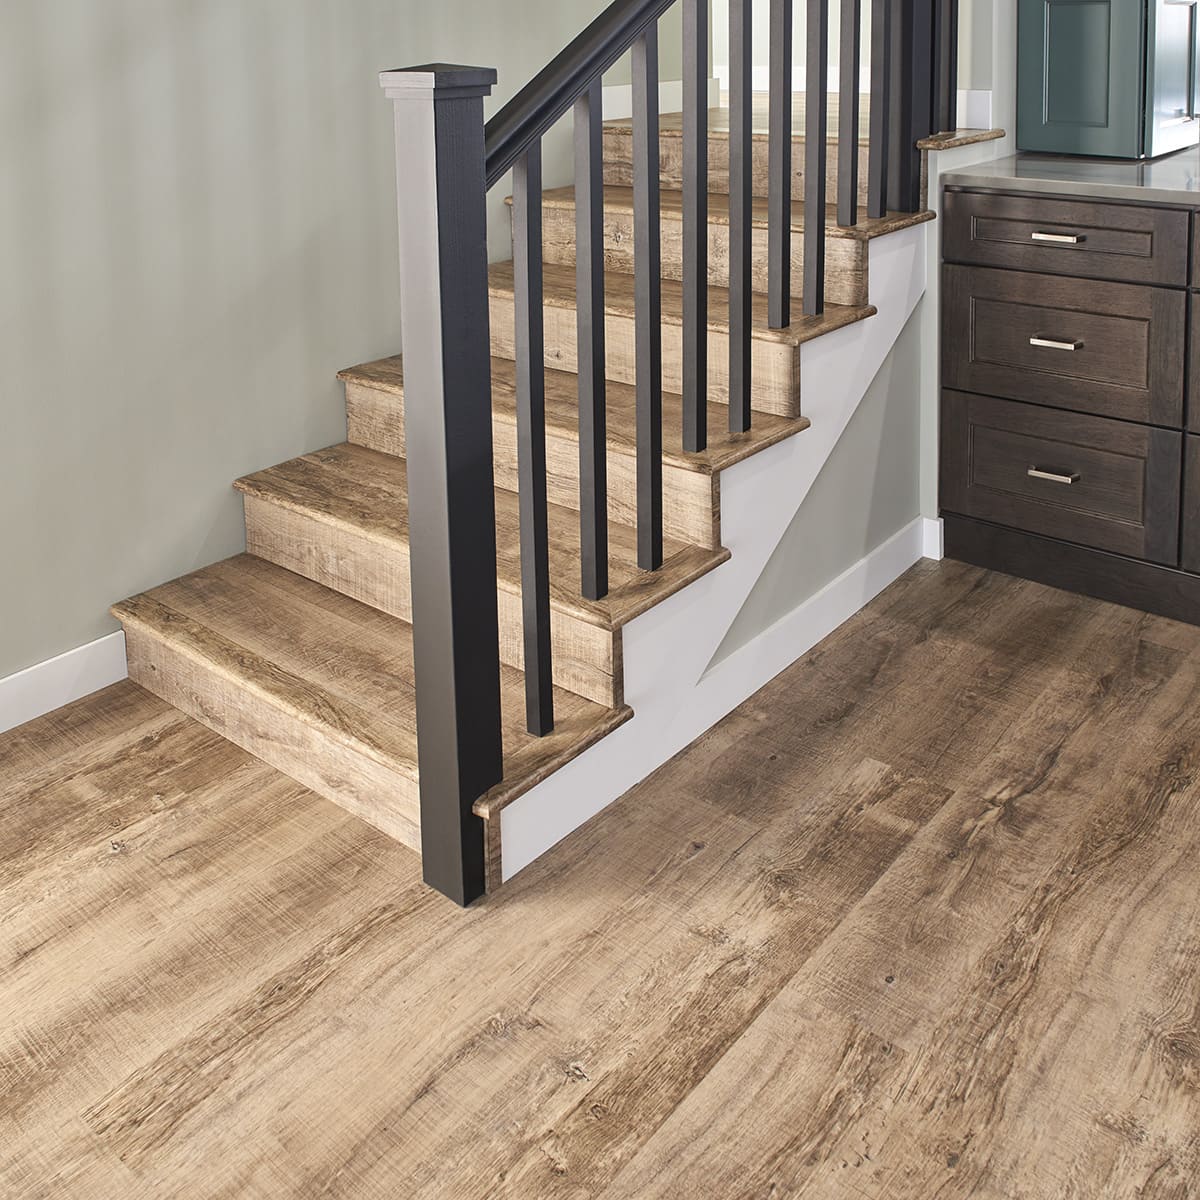
- Stair Treads: These are the horizontal surfaces that you step on. They can be made from various materials such as wood, laminate, or metal. Make sure they are durable and slip-resistant.
- Stair Risers: These are the vertical components that connect the treads and provide stability. They can be made from the same material as the treads or left open, depending on your design preference.
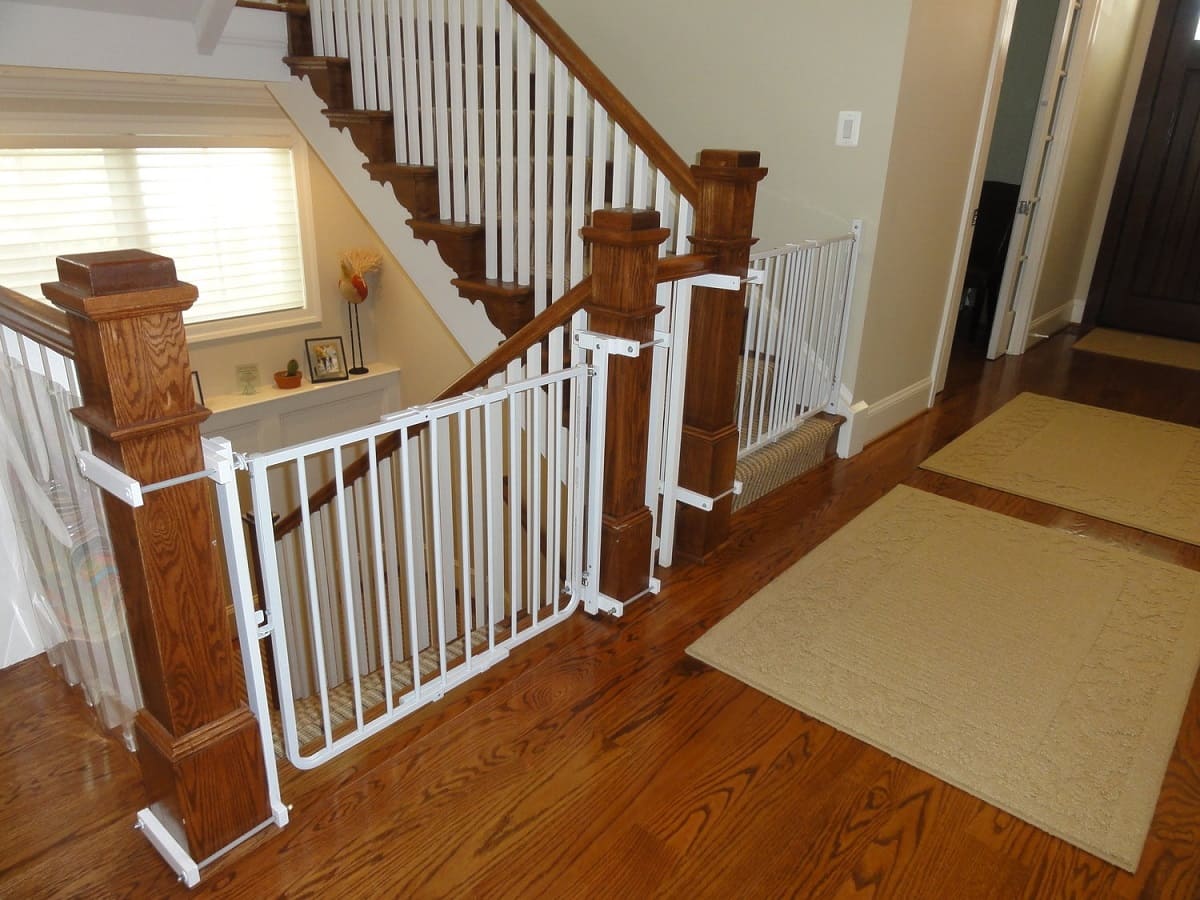
- Handrail: The handrail provides support and safety while ascending or descending the stairs. It can be made from wood, metal, or a combination of both.
- Balusters: These are the vertical posts that support the handrail. They can be made from wood, metal, or glass and come in various designs and styles.
- Newel Posts: These are the larger posts that support the handrail at the bottom and top of the staircase. They are typically more decorative and can be made from wood or metal.
- Hardware: You will need screws, nails, brackets, and other hardware to attach the different components securely.
- Finishes and Paint: Depending on the material of your choice, you may need paint, stain, or clear finish to protect and enhance the appearance of the stairs.
Tools:
- Tape measure: Use a quality tape measure to take accurate measurements.
- Saw: A circular saw or a handsaw will be needed for cutting the stringers, treads, and risers to the required dimensions.
- Drill: A power drill with various bits will be essential for drilling pilot holes and attaching the components.
- Level: A bubble level is crucial for ensuring that the stairs are level and plumb.
- Screwdriver: Have a Phillips and a flat-head screwdriver handy for assembling and securing the components.
- Chisel: A chisel will be necessary for fine-tuning the fit of the components.
- Nail gun: If using a nail gun, make sure you have the appropriate nails for the job.
- Safety Gear: Don’t forget to wear safety glasses, gloves, and ear protection to protect yourself during the construction process.
By gathering all the necessary materials and tools, you will be well-prepared to start constructing your stairs. Having everything organized and readily available will save you time and ensure a smooth building process.
Read more: How To Caulk Stairs
Building the Stair Stringers
One of the most critical components of building stairs is constructing the stair stringers. These are the structural supports that provide stability and hold the treads and risers in place. Building your own stair stringers allows for customization and ensures a precise fit for your specific staircase design. Here is a step-by-step guide on how to build stair stringers:
- Measure and mark: Measure the total rise (vertical height) and total run (horizontal distance) of the staircase. Mark the location of each step, starting from the top and working down.
- Calculate the number of steps: Divide the total rise by the desired height of each step to determine the number of steps needed.
- Determine the tread size: Divide the total run by the number of steps to determine the size of each tread. Make sure the tread size is consistent for all steps.
- Calculate the horizontal run: Measure the horizontal distance from the front of one tread to the front of the next tread. This will give you the horizontal run for each step.
- Find the stringer dimensions: Use a framing square and the measurements from steps 3 and 4 to determine the dimensions for the stair stringers.
- Mark and cut the stringers: Transfer the dimensions from step 5 onto a piece of lumber, making sure to mark the top and bottom cut lines. Use a circular saw or handsaw to carefully cut along the lines.
- Add the riser cuts: Measure and mark the location of each riser on the stringer. Use a circular saw or handsaw to make the necessary cuts for the risers.
- Test the fit: Place the stringers in position on the deck or landing and check the fit. Make any adjustments as needed to ensure that the stringers are level, plumb, and properly aligned.
- Secure the stringers: Attach the stringers to the deck or landing using construction adhesive and bolts or screws. Make sure they are securely fastened and properly aligned.
Building the stair stringers requires precision and attention to detail. It is important to double-check all measurements and cuts to ensure a proper fit. By following these steps, you can construct custom stair stringers that will provide a solid foundation for the rest of your staircase construction.
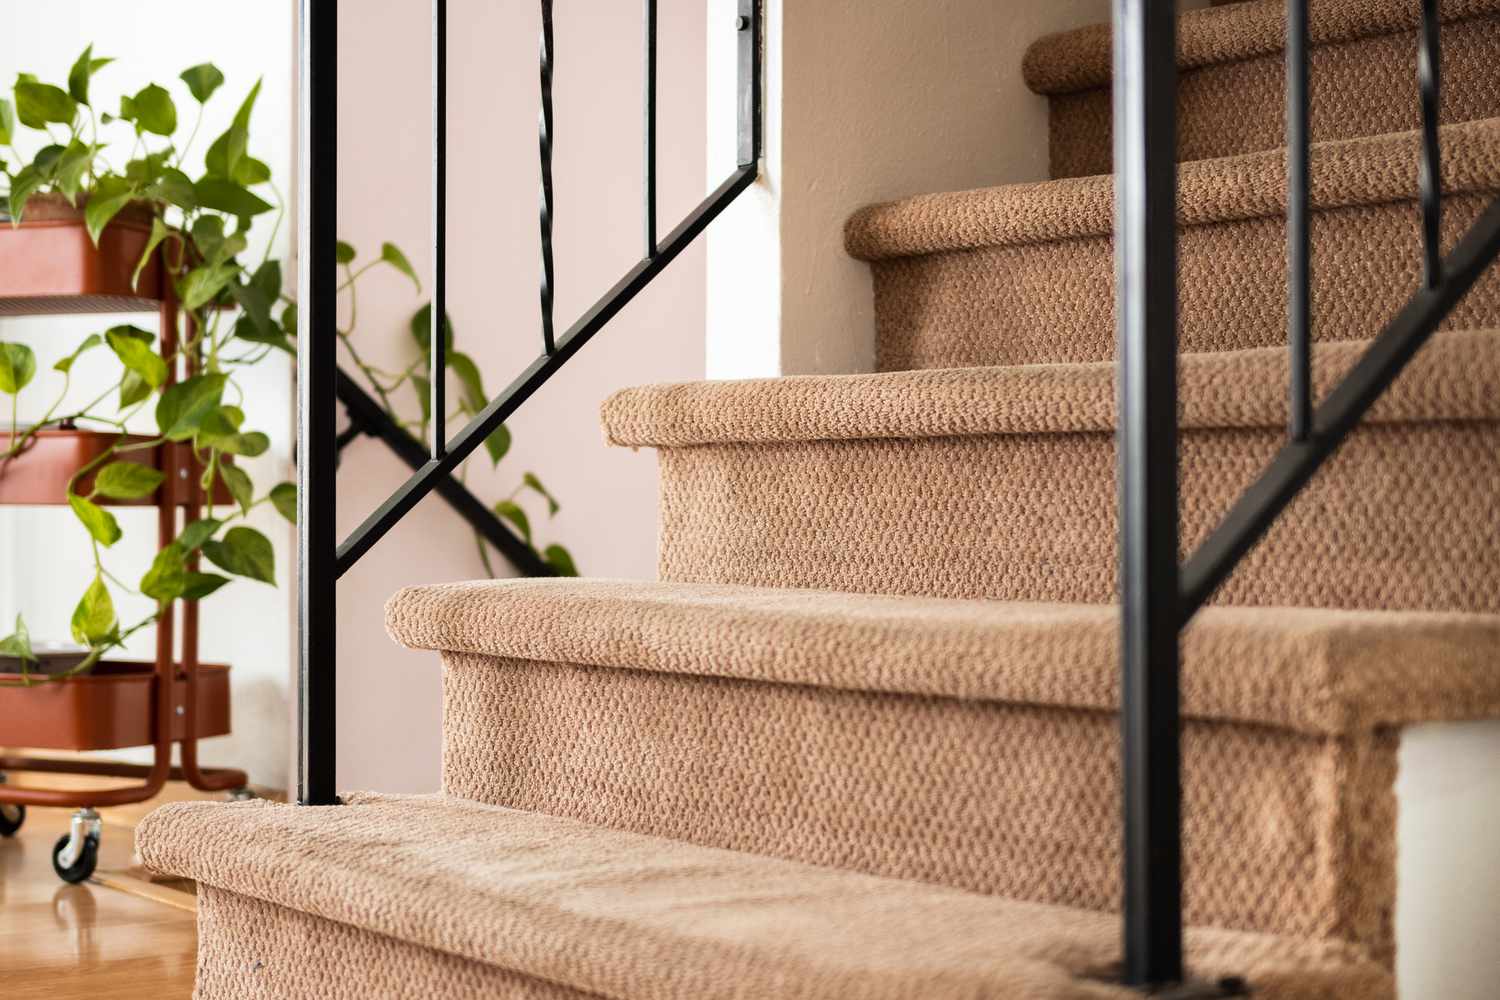
Installing the Stair Treads
Once you have built the stair stringers, the next step in the stair construction process is to install the stair treads. The treads are the horizontal surfaces that you step on when using the stairs, and they play a crucial role in providing stability and support. Here is a step-by-step guide on how to install the stair treads:
- Prepare the treads: If your treads are made of wood, sand them to remove any rough edges or imperfections. If using other materials such as laminate or metal, ensure they are cut to the appropriate size.
- Apply construction adhesive: Apply a bead of construction adhesive to the top surface of each stair stringer. This will help secure the treads in place and prevent any squeaking or movement.
- Position the treads: Starting from the bottom step, place each tread on top of the adhesive and line it up with the front edge of the stringer. Press down firmly to ensure a strong bond with the adhesive.
- Check for level: Use a level to ensure that each tread is level both horizontally and vertically. Make any necessary adjustments by adding or removing adhesive under the treads.
- Secure the treads: Depending on the material of the treads, use screws or nails to secure them to the stringers. Make sure to countersink the screws or nails and fill the holes with wood filler or appropriate filler for other materials.
- Repeat for all treads: Continue installing the treads in the same manner, working your way up the staircase. Take your time to ensure each tread is positioned correctly and securely fastened.
- Check for stability: Once all the treads are installed, carefully test the stability of the staircase. Step on each tread and check for any movement or squeaking. Make any necessary adjustments to ensure a solid and stable structure.
Installing the stair treads is a crucial step in the stair construction process. It is important to ensure that the treads are level, securely fastened, and provide a stable surface for safe usage. By following these steps, you can achieve a professional and safe installation of the stair treads.
When constructing stairs, ensure that the riser height and tread depth are consistent for safety and comfort. Use a level to ensure each step is even.
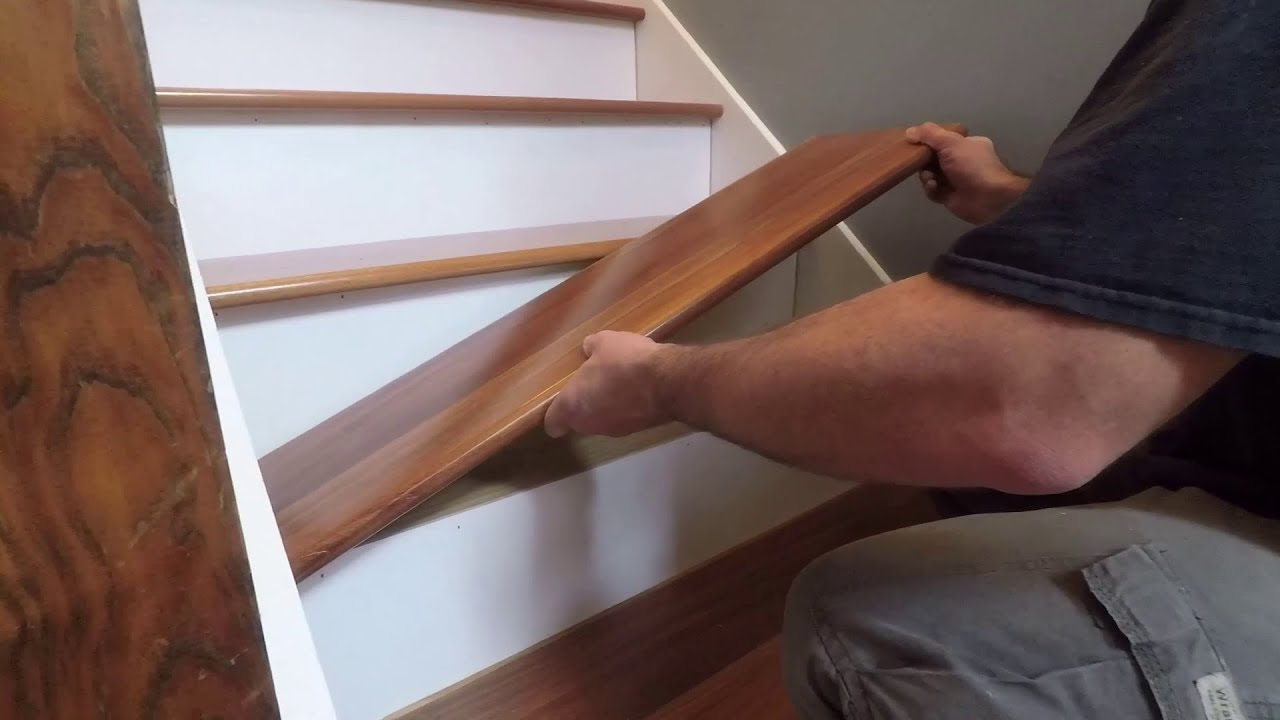
Attaching the Handrail
Attaching the handrail is the next step in completing your staircase construction project. The handrail provides support and guidance, ensuring safe navigation up and down the stairs. Here is a step-by-step guide on how to attach the handrail:
- Measure and mark the handrail position: Measure the desired height of the handrail and mark it on the newel posts or walls at the top and bottom of the staircase. Use a level to ensure the marks are level and aligned.
- Prepare the handrail: If you are using a wooden handrail, prepare it by sanding it smooth and removing any sharp edges. If you prefer a stained or painted finish, do this before attaching it to the staircase.
- Attach the newel posts: If your staircase design includes newel posts, secure them in place at the top and bottom of the staircase. Use screws or bolts to firmly anchor the newel posts to the floor or wall, ensuring they are plumb and sturdy.
- Measure and mark the handrail length: Measure the distance between the top and bottom newel posts. Add a few inches to allow for overhang on each end. Mark the handrail accordingly.
- Attach the handrail brackets: Install handrail brackets on the wall or newel posts at the marked positions. Use a level to ensure they are perfectly horizontal.
- Attach the handrail: Place the handrail on top of the brackets, aligning it with the marks on the newel posts. Drill pilot holes through the brackets and into the handrail, then secure it in place with screws.
- Check for stability: Once the handrail is attached, check for stability by applying pressure to various points along the handrail. Make sure it is secure and does not move or wobble.
- Finish the handrail: If using a wood handrail, apply a protective finish such as varnish or polyurethane to enhance its durability and appearance. Allow sufficient drying time before regular use.
Attaching the handrail is a crucial step in completing your staircase construction. It provides safety and adds a finishing touch to your stairs. By following these steps and using the appropriate tools, you can secure the handrail in place and create a functional and aesthetically pleasing staircase.
Sanding and Finishing
Once the main construction of your staircase is complete, it’s time to focus on the final touches that will give your stairs a polished and professional look. Sanding and finishing play a crucial role in enhancing the appearance and longevity of your staircase. Here is a step-by-step guide on how to sand and finish your stairs:
- Sanding the surfaces: Start by sanding all the wooden components of your staircase, including the treads, risers, and handrail. Use a medium-grit sandpaper to remove any rough edges, imperfections, or splinters. Sand with the grain of the wood for a smooth finish.
- Fill any holes or gaps: If there are any nail holes or gaps in the wood, use wood filler to fill them in. Allow the filler to dry completely, and then sand it down to a smooth and even surface.
- Apply a first coat of finish: Choose the appropriate finish for your staircase, such as stain, paint, or clear varnish. Apply a thin and even coat to all the wooden components using a brush or a paint sprayer. Follow the manufacturer’s instructions for drying time.
- Sand the first coat: Once the first coat is completely dry, lightly sand the surfaces with a fine-grit sandpaper. This will smooth out any raised fibers or imperfections, ensuring a flawless finish. Remove the sanding dust with a damp cloth.
- Apply additional coats: Depending on the type of finish, you may need to apply multiple coats for optimal results. Follow the manufacturer’s instructions for drying time between coats. Sand lightly between coats to achieve a smooth and glossy finish.
- Protect the stair edges: To protect the edges of the treads from wear and tear, you can add stair nosing or edge trim. This will also add a decorative element to your staircase.
- Reattach any hardware: Once the finish is completely dry, reattach any hardware such as balusters, handrail brackets, or newel posts. Ensure that they are secure and properly aligned.
- Final inspection: Perform a final inspection of your staircase to ensure that all surfaces are smooth, the finish is even, and the components are securely in place. Make any necessary touch-ups or adjustments before fully utilizing the stairs.
By properly sanding and finishing your stairs, you can achieve a professional and polished look while protecting the wood from everyday wear and tear. Take your time during this step to ensure that the finish is smooth and flawless, resulting in a beautiful and long-lasting staircase.
Read more: How To Upgrade Stairs
Conclusion
Congratulations! You have successfully completed the construction of your stairs. By following the step-by-step guide and utilizing the proper materials and tools, you have created a functional, safe, and visually appealing staircase. Here are some key takeaways from this guide:
- Planning and measurements are crucial to ensure that your stairs fit perfectly into the available space and meet safety regulations.
- Gathering the right materials and tools ensures a smooth and efficient construction process.
- Building the stair stringers provides a solid foundation for the rest of the staircase.
- Installing the stair treads creates the actual walking surfaces and should be done with precision and attention to detail.
- Attaching the handrail adds safety and guidance, providing support while ascending or descending the stairs.
- Sanding and finishing gives your stairs a polished, professional look and protects the wood from wear and tear.
Throughout the construction process, it is important to prioritize safety. Always wear the appropriate safety gear, double-check measurements and cuts, and ensure that all components are securely fastened. Regular maintenance and periodic inspections will help keep your stairs in optimal condition for years to come.
Remember, building stairs requires a combination of skill, patience, and attention to detail. If you feel unsure about any step or lack the necessary expertise, it is always wise to consult with a professional contractor or carpenter. They can provide guidance, ensure compliance with building codes, and offer valuable insights to achieve the best possible results.
Now, take a step back and admire your craftsmanship. Your newly constructed stairs will not only serve as a functional element in your home but also make a lasting impression on anyone who uses them. Enjoy the beauty and convenience of your newly built staircase!
Frequently Asked Questions about How To Construct Stairs
Was this page helpful?
At Storables.com, we guarantee accurate and reliable information. Our content, validated by Expert Board Contributors, is crafted following stringent Editorial Policies. We're committed to providing you with well-researched, expert-backed insights for all your informational needs.

0 thoughts on “How To Construct Stairs”