Home>Articles>What Kind Of Flour Do You Use In A Bread Machine

Articles
What Kind Of Flour Do You Use In A Bread Machine
Modified: March 2, 2024
Looking for articles on what kind of flour to use in a bread machine? Find helpful tips and advice for choosing the right flour to make delicious homemade bread with your bread machine.
(Many of the links in this article redirect to a specific reviewed product. Your purchase of these products through affiliate links helps to generate commission for Storables.com, at no extra cost. Learn more)
Introduction
When it comes to making bread in a bread machine, one of the key factors that determines the success of your loaf is the type of flour you use. The flour you choose can greatly affect the texture, taste, and overall quality of your bread. In this article, we will explore the different types of flour that are commonly used in bread machines, and how they can impact your baking results.
Whether you are an experienced bread baker or a novice in the kitchen, understanding the differences between various types of flour is essential. Each type of flour has distinct characteristics that influence the final outcome of your bread. From all-purpose flour to gluten-free alternatives, there is a wide array of options to consider.
By choosing the right type of flour for your bread machine, you can achieve the desired texture, rise, and flavor in your baked goods. So, let’s take a closer look at the different types of flour that are commonly used in bread machines.
Key Takeaways:
- Choose the right flour for your bread machine to achieve the perfect texture and flavor. All-purpose flour is versatile, while bread flour creates a chewy texture. Whole wheat flour adds nutrition, and gluten-free options cater to dietary needs.
- Experiment with rye flour for a unique, robust flavor in your bread. Combine rye flour with other flours for a lighter texture. Follow specific guidelines for each flour type to achieve the best results in your bread machine.
Read more: What Kind Of Paint Do You Use On Stucco
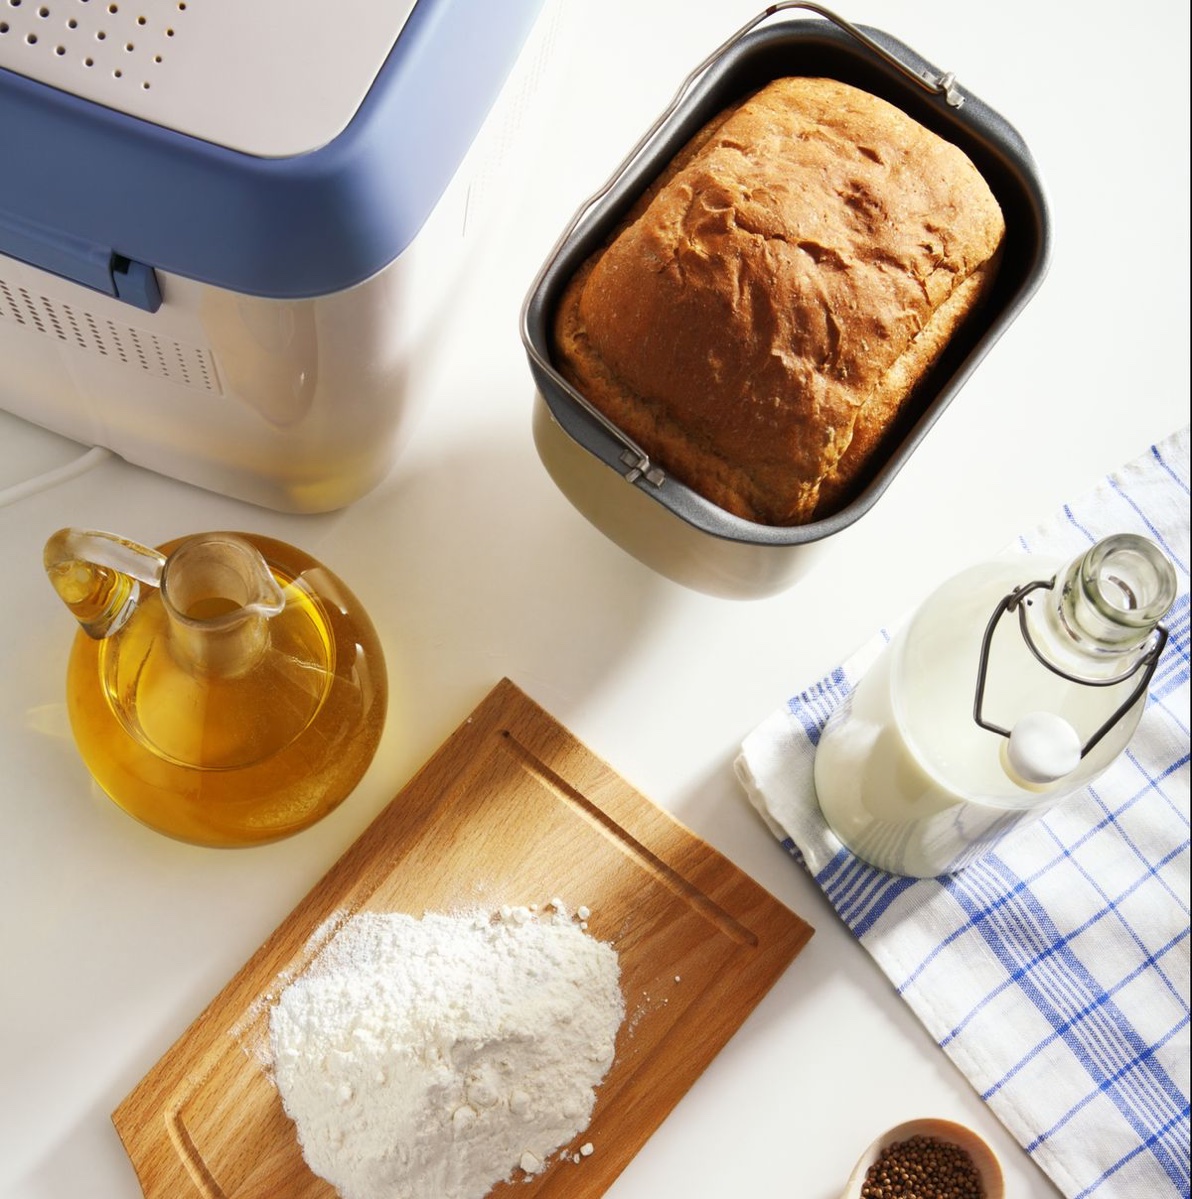
Types of Flour for Bread Machines
1. All-Purpose Flour: All-purpose flour is the most common type of flour used in bread machines. It is a versatile option that can be used for a wide range of bread recipes. This flour is made from a blend of hard and soft wheat, creating a balanced texture in the final product. All-purpose flour is ideal for producing bread with a medium to light texture.
2. Bread Flour: Bread flour is another popular choice for bread machine baking. It is made from hard wheat varieties that have a higher protein content compared to all-purpose flour. The higher protein content gives bread flour its characteristic chewiness and structure. It is best suited for recipes that require a strong and sturdy dough, such as artisan loaves and sandwich bread.
3. Whole Wheat Flour: For those seeking a healthier option, whole wheat flour is an excellent choice. Whole wheat flour is made from grinding the entire wheat kernel, including the bran, germ, and endosperm. This results in a flour that is higher in fiber and nutrients compared to refined flours. When using whole wheat flour in a bread machine, it is important to add vital wheat gluten or another dough enhancer to help improve the rise and texture of the loaf.
4. Gluten-Free Flour: People with gluten intolerance or celiac disease can still enjoy delicious homemade bread with gluten-free flours. There are various gluten-free flour blends available that can be used in bread machines. These blends are typically made from a combination of rice flour, tapioca flour, potato starch, and other gluten-free ingredients. Keep in mind that gluten-free bread might have a slightly different texture and rise compared to traditional bread made with gluten-containing flours.
5. Rye Flour: Rye flour adds a unique flavor and denseness to bread. It has a distinct earthy and slightly tangy taste that is cherished in many traditional bread recipes. Rye flour can be used on its own or combined with other flours to create a delicious rye bread. It is important to note that rye flour has less gluten than wheat flour, so it may require the addition of vital wheat gluten or another type of gluten enhancer to achieve a good rise.
These are just a few examples of the types of flour commonly used in bread machines. Experimenting with different flours and flour combinations can yield a wide variety of bread flavors and textures. Remember to follow the specific guidelines provided by your bread machine manufacturer for best results when using different types of flour.
All-Purpose Flour
All-purpose flour is a versatile and widely used flour in bread machines. It is made from a combination of hard and soft wheat, which gives it a balanced texture and consistency. This type of flour is commonly found in most households and is readily available in grocery stores.
When using all-purpose flour in a bread machine, you can expect to achieve a loaf with a medium texture and a mild flavor. The gluten content in all-purpose flour is moderate, which provides structure and helps the bread rise. However, it is important to note that all-purpose flour has a lower protein content compared to bread flour, which can affect the overall structure and rise of the bread.
All-purpose flour is a great option for various bread recipes, including white bread, dinner rolls, and even some sweet breads. It is suitable for those who prefer a lighter and softer texture in their bread. Additionally, all-purpose flour can be combined with other flours, such as whole wheat or rye flour, for a more complex flavor profile.
When using all-purpose flour in a bread machine, it is recommended to follow the specific measurements and instructions provided in your bread machine’s manual. This will ensure that you achieve the best results and a well-risen loaf.
If you find that your bread made with all-purpose flour is not rising as desired, you can try adding vital wheat gluten to enhance the gluten content. Vital wheat gluten is a natural protein derived from wheat flour and can help strengthen the dough and improve the rise. Simply add one to two tablespoons of vital wheat gluten per cup of all-purpose flour to your bread machine recipe.
Overall, all-purpose flour is a versatile option that can produce delicious and reliable results in your bread machine. It is a pantry staple that most people already have on hand, making it a convenient choice for everyday bread baking. Whether you are making a basic white loaf or experimenting with different flavors and additions, all-purpose flour can be your go-to option for successful bread machine baking.
Bread Flour
Bread flour is a high-protein flour that is specifically designed for baking bread. It is made from hard wheat varieties that have a higher gluten content compared to all-purpose flour. The gluten in bread flour gives bread its structure, elasticity, and chewiness.
When using bread flour in a bread machine, you can expect to achieve a loaf with a strong and sturdy texture. The higher protein content in bread flour helps to develop the gluten network, resulting in a well-risen bread with a good crumb structure. This makes bread flour ideal for producing yeast-based breads, such as sandwich bread, bagels, and artisan loaves.
In addition to its high protein content, bread flour also has a higher moisture absorption rate. This means that it can absorb more liquid during the kneading process, resulting in a more hydrated and elastic dough. This hydration contributes to a better rise and a lighter texture in the final bread.
It is important to note that bread flour may not be the best choice for recipes that require a delicate and tender texture, such as cakes or pastries. Its high gluten content can lead to a dense and chewy result in these types of baked goods. For bread machine baking, it is recommended to use bread flour specifically formulated for bread machines, as they often have a slightly different protein content and formulation compared to regular bread flour.
When using bread flour in your bread machine, it is essential to carefully measure the ingredients and follow the specific instructions provided by your bread machine’s manufacturer. Bread flour requires a well-developed gluten network for optimal results, so kneading and proofing times may vary depending on your machine’s settings.
Overall, bread flour is the go-to choice for those who want to achieve a hearty and chewy loaf of bread. Its high protein content and gluten development properties make it perfect for bread machine baking. Whether you are making a classic white bread or experimenting with different grains and flavors, bread flour can take your homemade bread to the next level.
When using a bread machine, it’s best to use bread flour or all-purpose flour with a high protein content for better gluten development and a higher rise in your bread. Avoid using cake or pastry flour as they have lower protein content and may result in a denser loaf.
Whole Wheat Flour
Whole wheat flour is an excellent choice for those looking to add a healthy and nutty flavor to their bread. Unlike refined flours, which are stripped of the bran and germ, whole wheat flour is made by grinding the entire wheat kernel, which retains all the natural nutrients and fiber.
When using whole wheat flour in a bread machine, it is important to note that it behaves differently compared to all-purpose or bread flour. Whole wheat flour has a higher fiber content and a lower gluten content, which can affect the texture, rise, and overall structure of the bread.
To achieve a successful whole wheat bread in a bread machine, it is recommended to add vital wheat gluten or another type of dough enhancer to improve gluten development and texture. This helps compensate for the lower gluten content in whole wheat flour, resulting in a lighter and more airy loaf.
It is also worth mentioning that whole wheat flour tends to absorb more liquid than refined flours. Therefore, you may need to adjust the liquid-to-flour ratio in your recipe to achieve the right consistency. It is advisable to start with the recommended amount of liquid and gradually adjust as needed while monitoring the dough during the kneading process. The dough should be slightly tacky but not overly wet or sticky.
Whole wheat flour can be used on its own or combined with other flours, such as all-purpose or bread flour, for a more balanced flavor and texture. Experimenting with different ratios can help you find the perfect combination that suits your taste preferences and desired bread texture.
Baking with whole wheat flour adds nutritional value to your bread, as it is rich in fiber, vitamins, and minerals. It has a slightly denser texture compared to breads made with refined flours, which many people find satisfying and filling.
When using whole wheat flour in your bread machine, be sure to follow the specific instructions provided by your machine’s manufacturer. Each bread machine may have different settings and recommended techniques for whole wheat baking, such as longer proofing times or additional kneading cycles.
Overall, whole wheat flour is a fantastic option for those looking to incorporate more whole grains into their diet. It adds a distinct flavor and texture to your bread, along with the health benefits of whole grains. With the right adjustments and techniques, you can achieve delicious and wholesome whole wheat bread in your bread machine.
Read more: What Kind Of Nails Do You Use For Siding
Gluten-Free Flour
For individuals with gluten intolerance or celiac disease, gluten-free flour is a great alternative to traditional wheat flours. Gluten-free flours are made from grains, legumes, or other plant sources that do not contain gluten.
There are various gluten-free flour blends available in the market that are specifically formulated for baking. These blends are often made from a combination of rice flour, tapioca flour, potato starch, and other gluten-free ingredients. They are designed to mimic the texture and structure of wheat flour when used in baking.
When baking gluten-free bread in a bread machine, it is essential to follow a specific gluten-free bread recipe that incorporates the appropriate ratios and ingredients. Gluten-free flours require different measures and techniques than gluten-containing flours to achieve a successful rise and texture.
Gluten-free breads made with gluten-free flours may have a slightly different texture compared to traditional breads. They are typically denser and may not rise as much. However, with the right combination of ingredients and the proper use of rising agents, such as yeast or baking powder, you can still achieve delicious gluten-free bread in your bread machine.
It is worth noting that gluten-free flours can vary in their performance and taste. Some blends may result in a grittier texture or a slightly different flavor profile. Therefore, it is important to experiment with different brands and blends to find the one that works best for your preferences and dietary needs.
When using gluten-free flour in a bread machine, abide by the specific instructions provided by your machine’s manufacturer for gluten-free baking. This may involve adjustments to the mixing and kneading times, as well as the addition of other ingredients, such as xanthan gum or guar gum, to improve the texture and structure of the bread.
Gluten-free breads can be just as delicious as their gluten-containing counterparts and offer a safe and satisfying option for those with gluten intolerance. With a good gluten-free flour blend and the right techniques, you can enjoy homemade gluten-free bread that is soft, flavorful, and perfect for your dietary needs.
Rye Flour
Rye flour is a popular choice for bread making, particularly in European countries where rye bread is a staple. It offers a unique flavor profile with a slightly tangy and earthy taste that is distinct from breads made with wheat flour.
When using rye flour in a bread machine, it is important to note that rye flour behaves differently compared to wheat flours. Rye flour has lower gluten content, which can result in a denser and heavier loaf if used on its own. To achieve a lighter and more well-risen bread, it is recommended to combine rye flour with other flours, such as all-purpose or bread flour.
Rye flour can be used in varying proportions in bread recipes depending on the desired flavor and texture. You can experiment with different ratios of rye to other flours to find the combination that suits your preference. The addition of rye flour can add complexity and depth to your bread, providing a hearty and flavorful outcome.
To enhance the rise and structure of bread made with rye flour, it is often beneficial to add vital wheat gluten or another dough enhancer, as rye flour has a lower gluten content compared to wheat flours. This will help to improve the texture and rise of the final loaf.
It is important to note that rye flour can absorb more liquid than wheat flours, so you may need to adjust the liquid-to-flour ratio in your recipe. Start with the recommended amount of liquid and gradually adjust as needed during the kneading process. The dough should be soft and slightly sticky but manageable.
When using rye flour in a bread machine, it is advisable to follow the specific instructions provided by your machine’s manufacturer for rye flour baking. Some machines may have specific settings or recommendations for rye bread, such as longer kneading and rising times.
Rye bread made with rye flour offers a unique flavor and can be enjoyed in various forms, from classic rye loaves to seeded rye bread or pumpernickel. It is a popular choice for hearty sandwiches, open-faced sandwiches, and as an accompaniment to soups and stews.
Overall, rye flour adds a wonderful depth of flavor to your bread and offers a different experience from traditional wheat breads. With the right combinations of flours and techniques, you can create delicious and satisfying rye bread in your bread machine.
Conclusion
Choosing the right type of flour for your bread machine is critical to achieving the perfect loaf of bread. Whether you prefer a light and fluffy white bread or a hearty and flavorful whole wheat or rye bread, understanding the characteristics of different flours is essential in achieving the desired results.
All-purpose flour is a versatile option that works well for a variety of bread recipes. It provides a balanced texture and mild flavor, making it suitable for everyday bread baking. Bread flour, on the other hand, is ideal for those looking to achieve a strong and chewy texture in their bread. It has a higher protein content and gluten development properties that give bread its structure and rise.
For a healthier alternative, whole wheat flour can be used to add nuttiness and increased nutritional benefits to your bread. However, the lower gluten content of whole wheat flour requires additional adjustments and the addition of vital wheat gluten to achieve a good rise.
If you have gluten intolerance or celiac disease, gluten-free flour blends can be used to create delicious breads without the harmful effects of gluten. These blends often require specific recipes and techniques to achieve optimal texture and rise.
Rye flour offers a distinct and robust flavor profile that is well-loved in traditional European breads. Combining rye flour with other flours can help achieve a lighter texture while maintaining the unique taste.
Ultimately, the type of flour you choose for your bread machine will depend on your personal preferences and dietary needs. Experimenting with different flours and flour combinations can yield a wide variety of bread flavors and textures. It is important to follow the specific guidelines and measurements provided by your bread machine manufacturer to achieve the best results.
So, whether you are baking a classic white loaf, a hearty whole wheat bread, or an artisan rye creation, the choice of flour is a crucial element in the success of your bread machine baking. Choose wisely, follow the instructions, and enjoy the delicious aroma and taste of homemade bread straight from your bread machine.
Frequently Asked Questions about What Kind Of Flour Do You Use In A Bread Machine
Was this page helpful?
At Storables.com, we guarantee accurate and reliable information. Our content, validated by Expert Board Contributors, is crafted following stringent Editorial Policies. We're committed to providing you with well-researched, expert-backed insights for all your informational needs.


0 thoughts on “What Kind Of Flour Do You Use In A Bread Machine”