Articles
How To Store Canna Bulbs For The Winter
Modified: January 19, 2024
Learn how to store canna bulbs during the winter season with our informative articles. Keep your bulbs safe and ready for the next growing season.
(Many of the links in this article redirect to a specific reviewed product. Your purchase of these products through affiliate links helps to generate commission for Storables.com, at no extra cost. Learn more)
Introduction
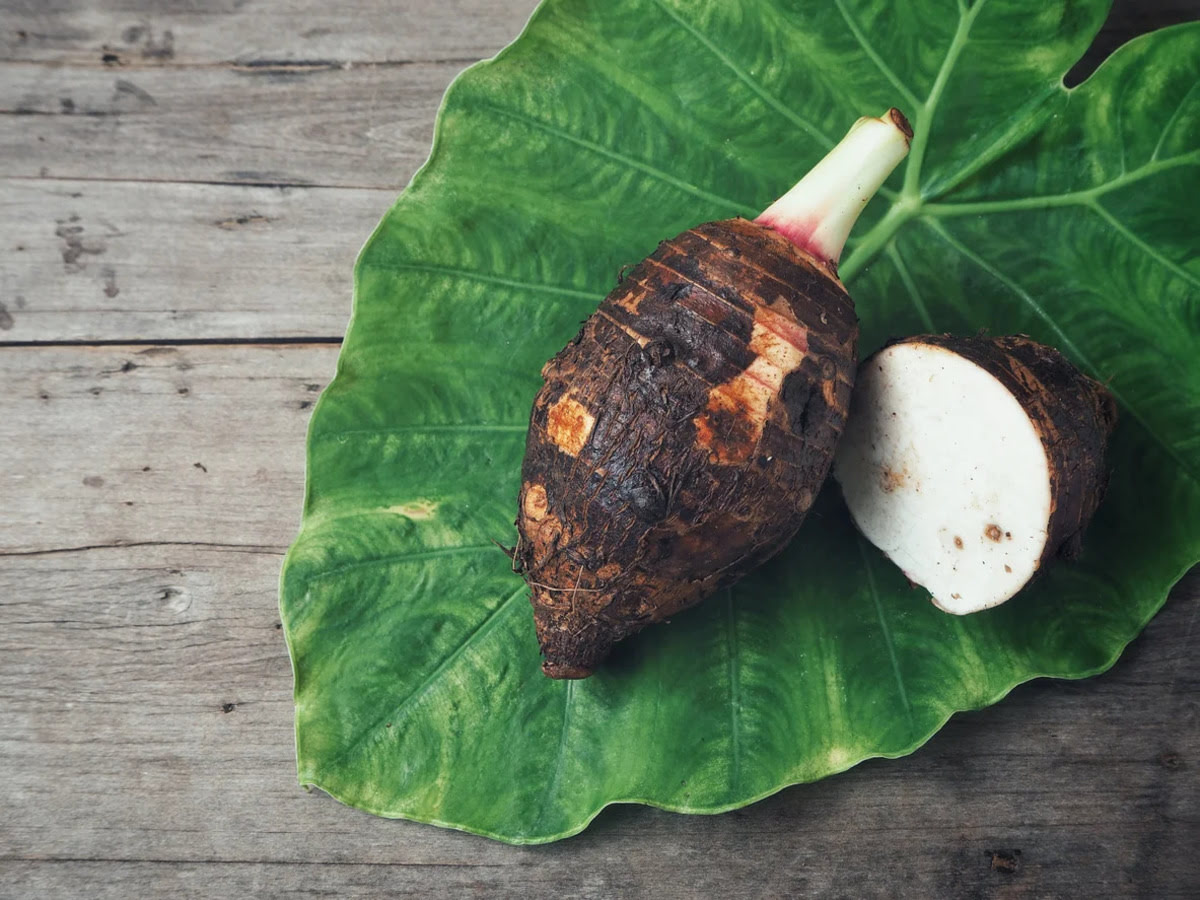
As the winter months approach, many gardeners find themselves faced with the task of storing their canna bulbs to protect them from the harsh weather conditions. Canna bulbs, also known as canna lilies, are a popular choice for adding vibrant splashes of color to gardens and landscapes. These tropical plants produce stunning flowers in a variety of bold hues, making them a sought-after addition to any garden.
Storing canna bulbs properly during the winter is essential to ensure their survival and healthy re-emergence in the spring. By following the right steps and providing the necessary care, you can ensure that your canna bulbs remain dormant and protected until the warmer months return.
In this article, we will guide you through the process of storing canna bulbs for the winter. We’ll cover everything from choosing the right time to prepare the bulbs for storage, selecting the proper storage container, and ensuring they are stored in a suitable location.
Whether you are a seasoned gardener or a beginner enthusiast, this comprehensive guide will equip you with the knowledge to successfully store your canna bulbs and ensure their longevity for years to come.
Key Takeaways:
- Preserve the beauty of canna bulbs by storing them properly during winter. Choose the right time to dig them up, prepare them for storage, and select a suitable container and location to ensure their successful re-emergence in spring.
- Regularly check on stored canna bulbs to maintain their health and vitality. Inspect for damage, adjust moisture levels, and prepare for replanting in the spring to enjoy vibrant blooms and lush foliage.
Read more: How To Store Canna Bulbs
Choosing the Right Time to Store Canna Bulbs
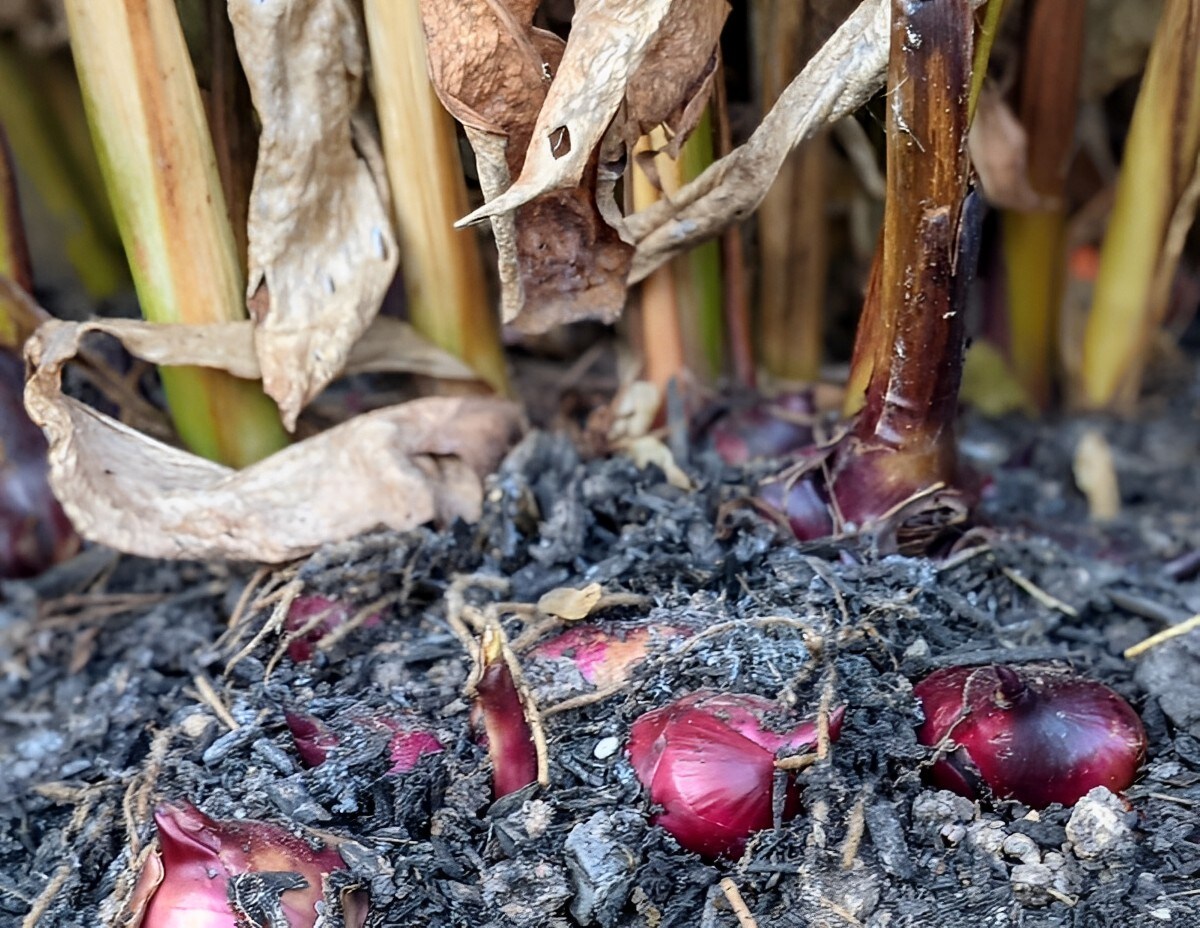
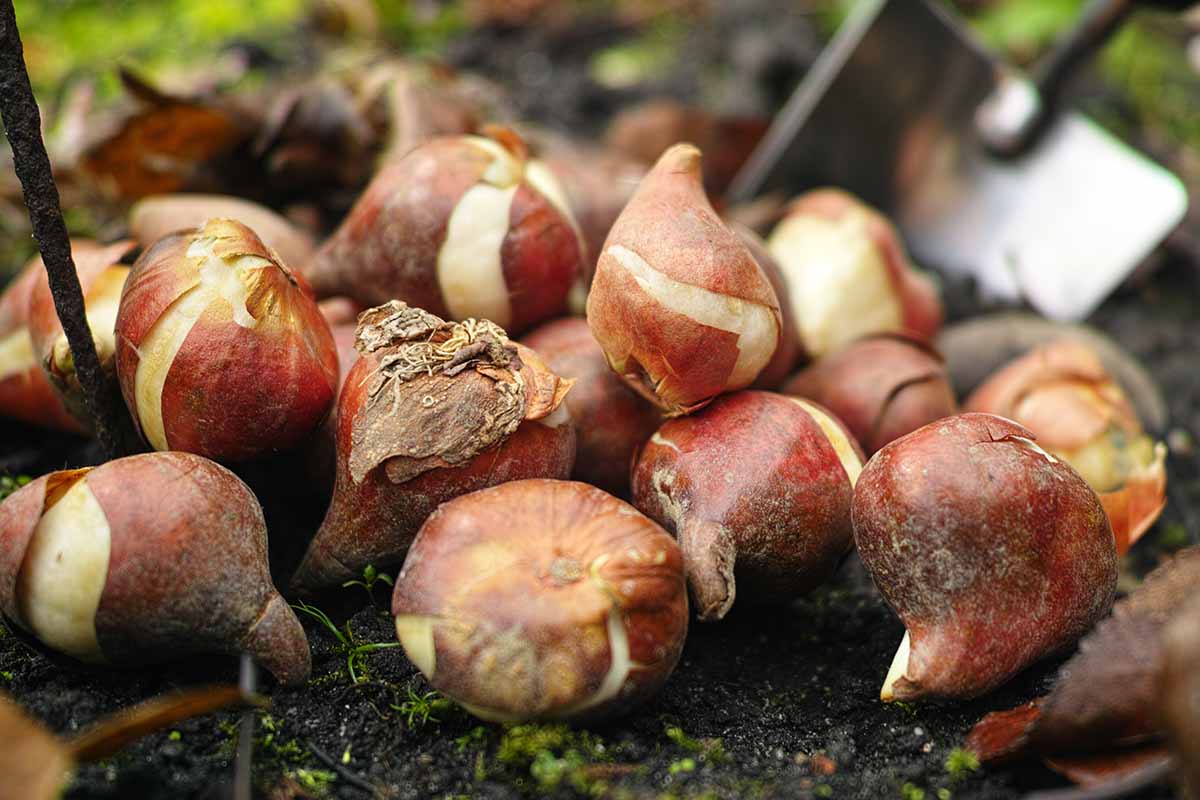
Timing is crucial when it comes to storing canna bulbs. The ideal time to dig up and store your canna bulbs is after the first frost of the season. This is typically when the foliage turns brown and dies back naturally. Waiting for the first frost ensures that the bulbs have had enough time to mature and store up nutrients for the dormant period.
Before digging up the bulbs, it’s important to cut back the foliage to about 6 inches above the ground. This will make it easier to identify and handle the bulbs during the storage process. It’s also essential to allow the bulbs to dry out for a few days before storing them. This drying time helps prevent any moisture from being trapped and causing rot during storage.
It’s worth mentioning that if you live in a region with mild winters, you may choose to leave the canna bulbs in the ground and provide them with some winter protection. However, if you experience freezing temperatures or harsh winter conditions, it’s best to dig up the bulbs and store them indoors. This ensures their safety and increases their chances of thriving when replanted in the spring.
By choosing the right time to dig up your canna bulbs, you are setting the foundation for a successful storage process and ensuring the bulbs’ health during their dormancy period.
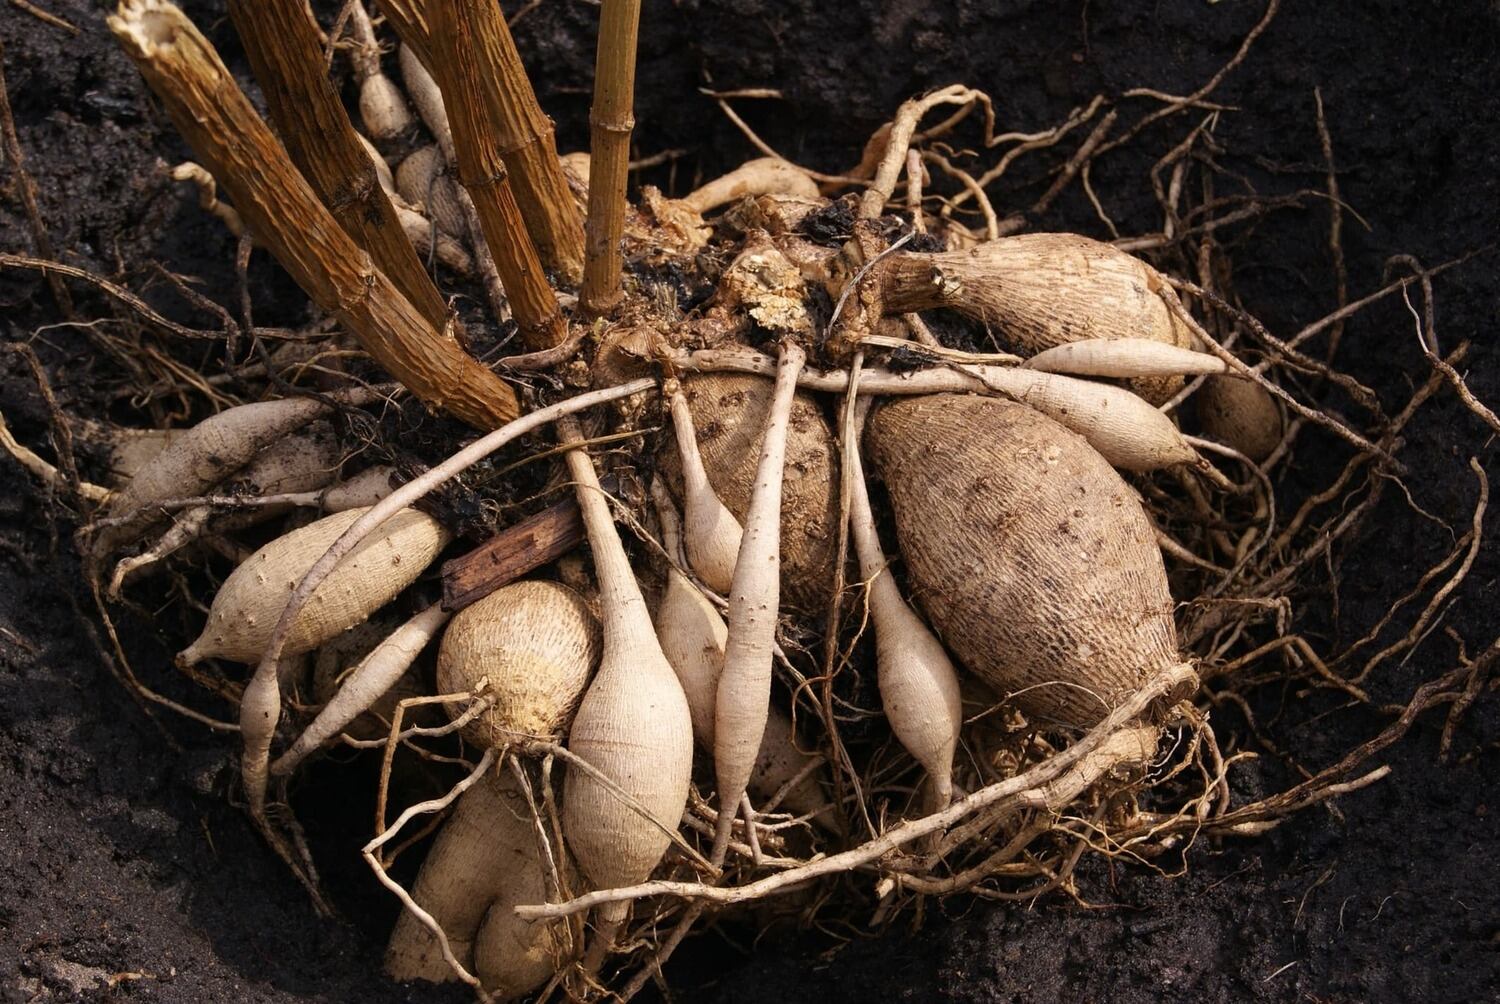
Preparing Canna Bulbs for Storage
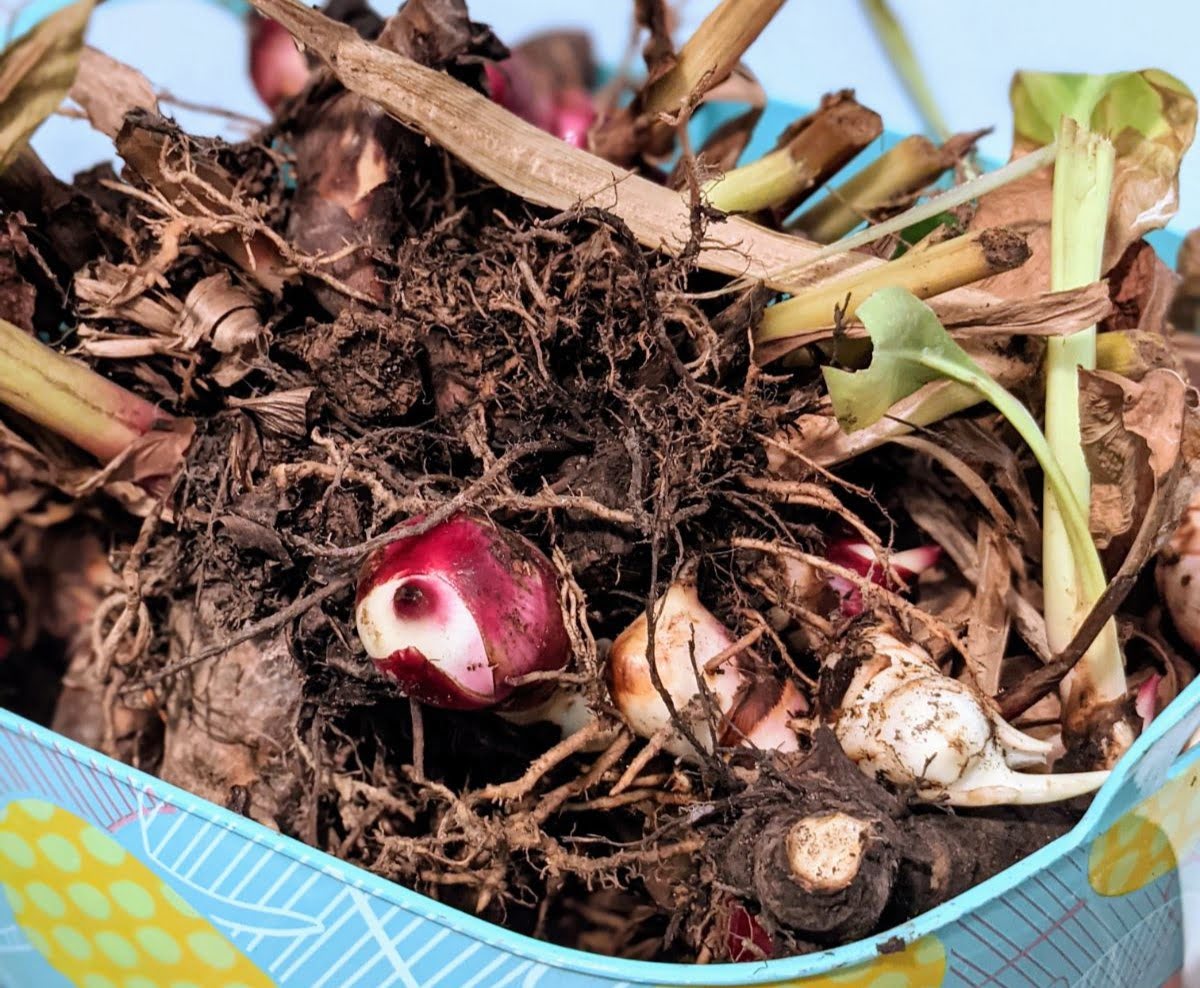
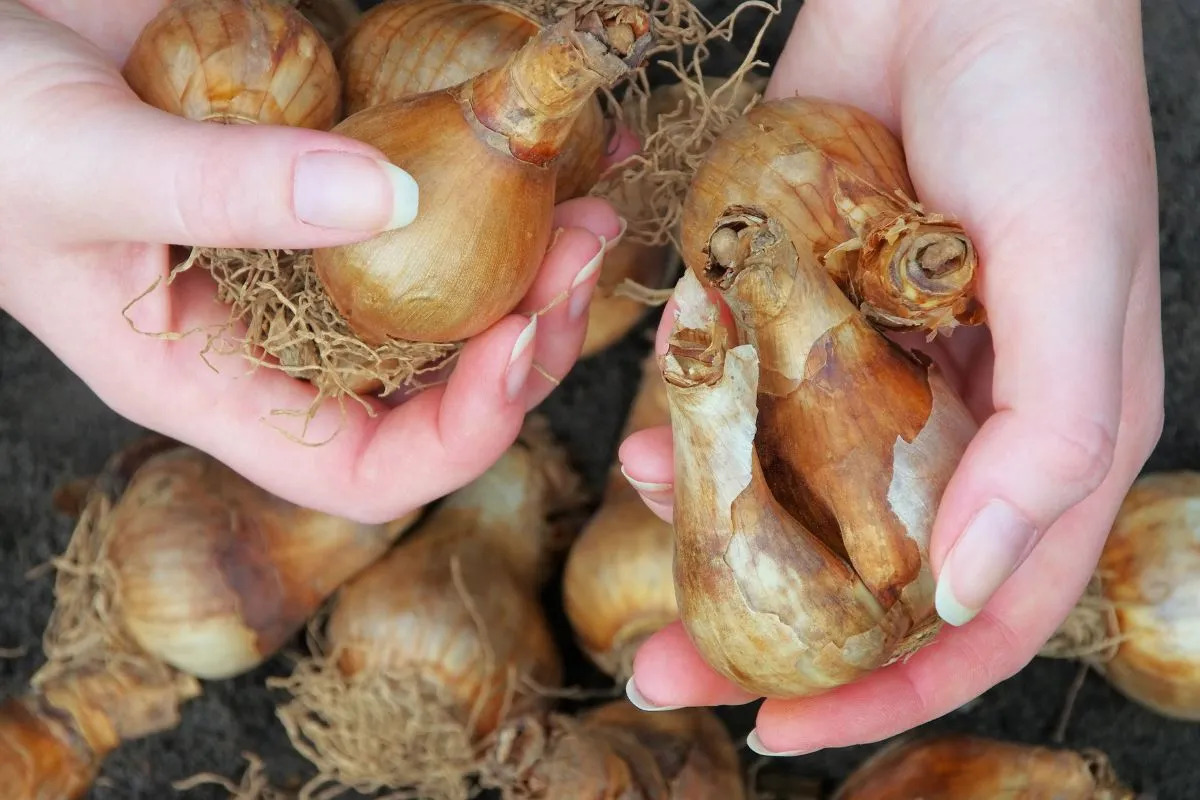
Once you have dug up your canna bulbs, it’s important to properly prepare them for storage. Preparing the bulbs ensures their health and vitality while in dormancy and sets the stage for successful re-emergence in the spring.
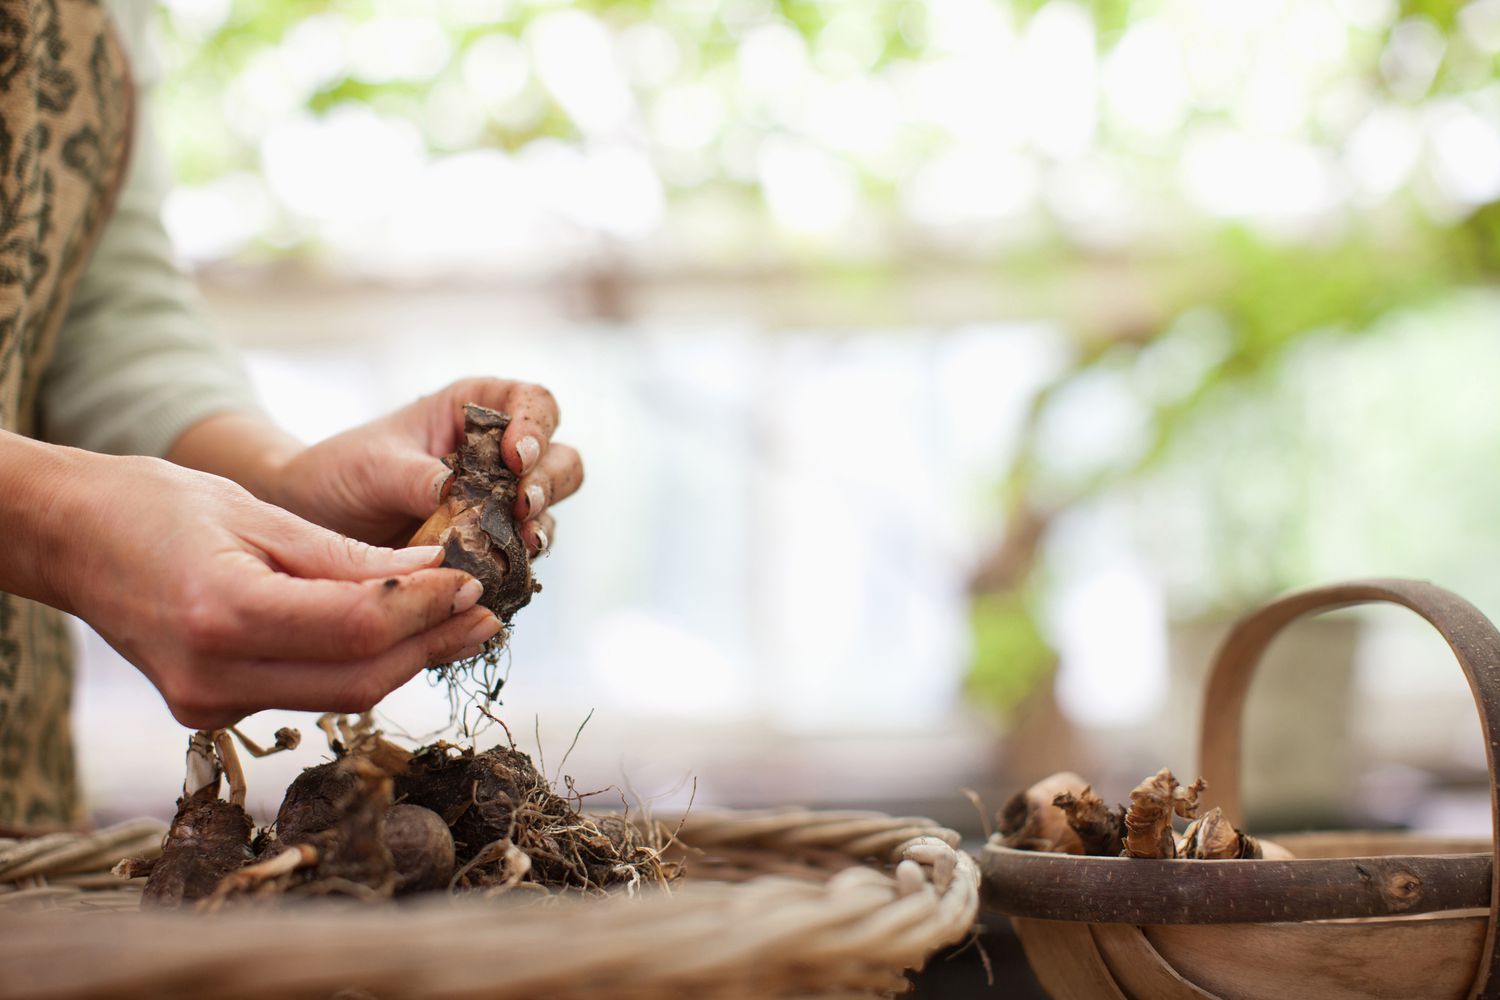
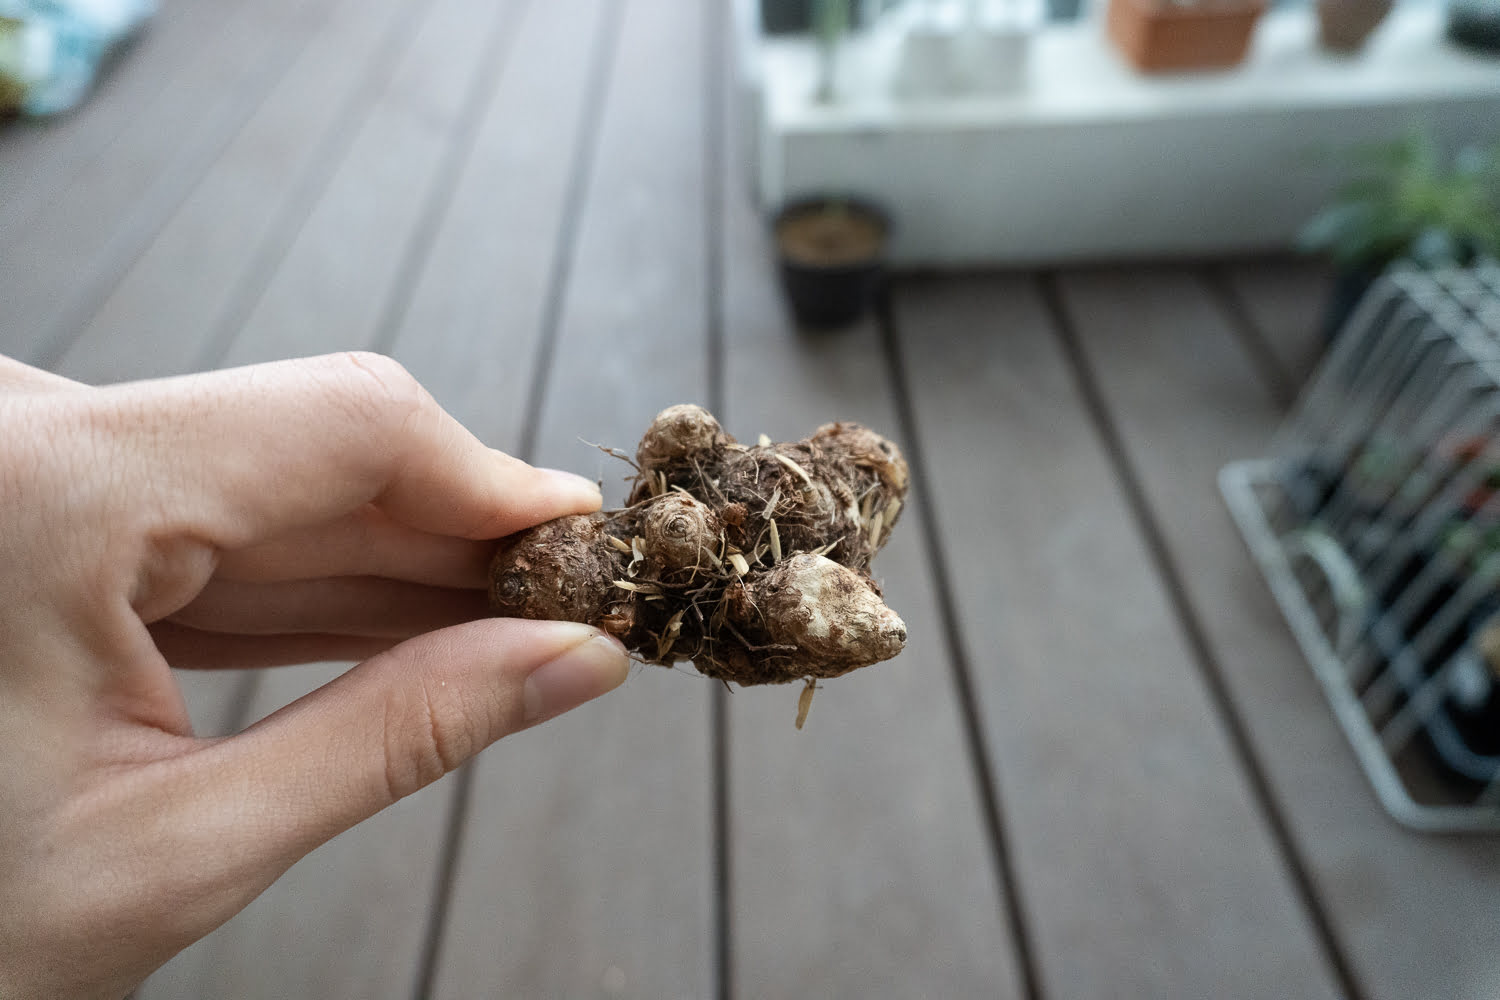
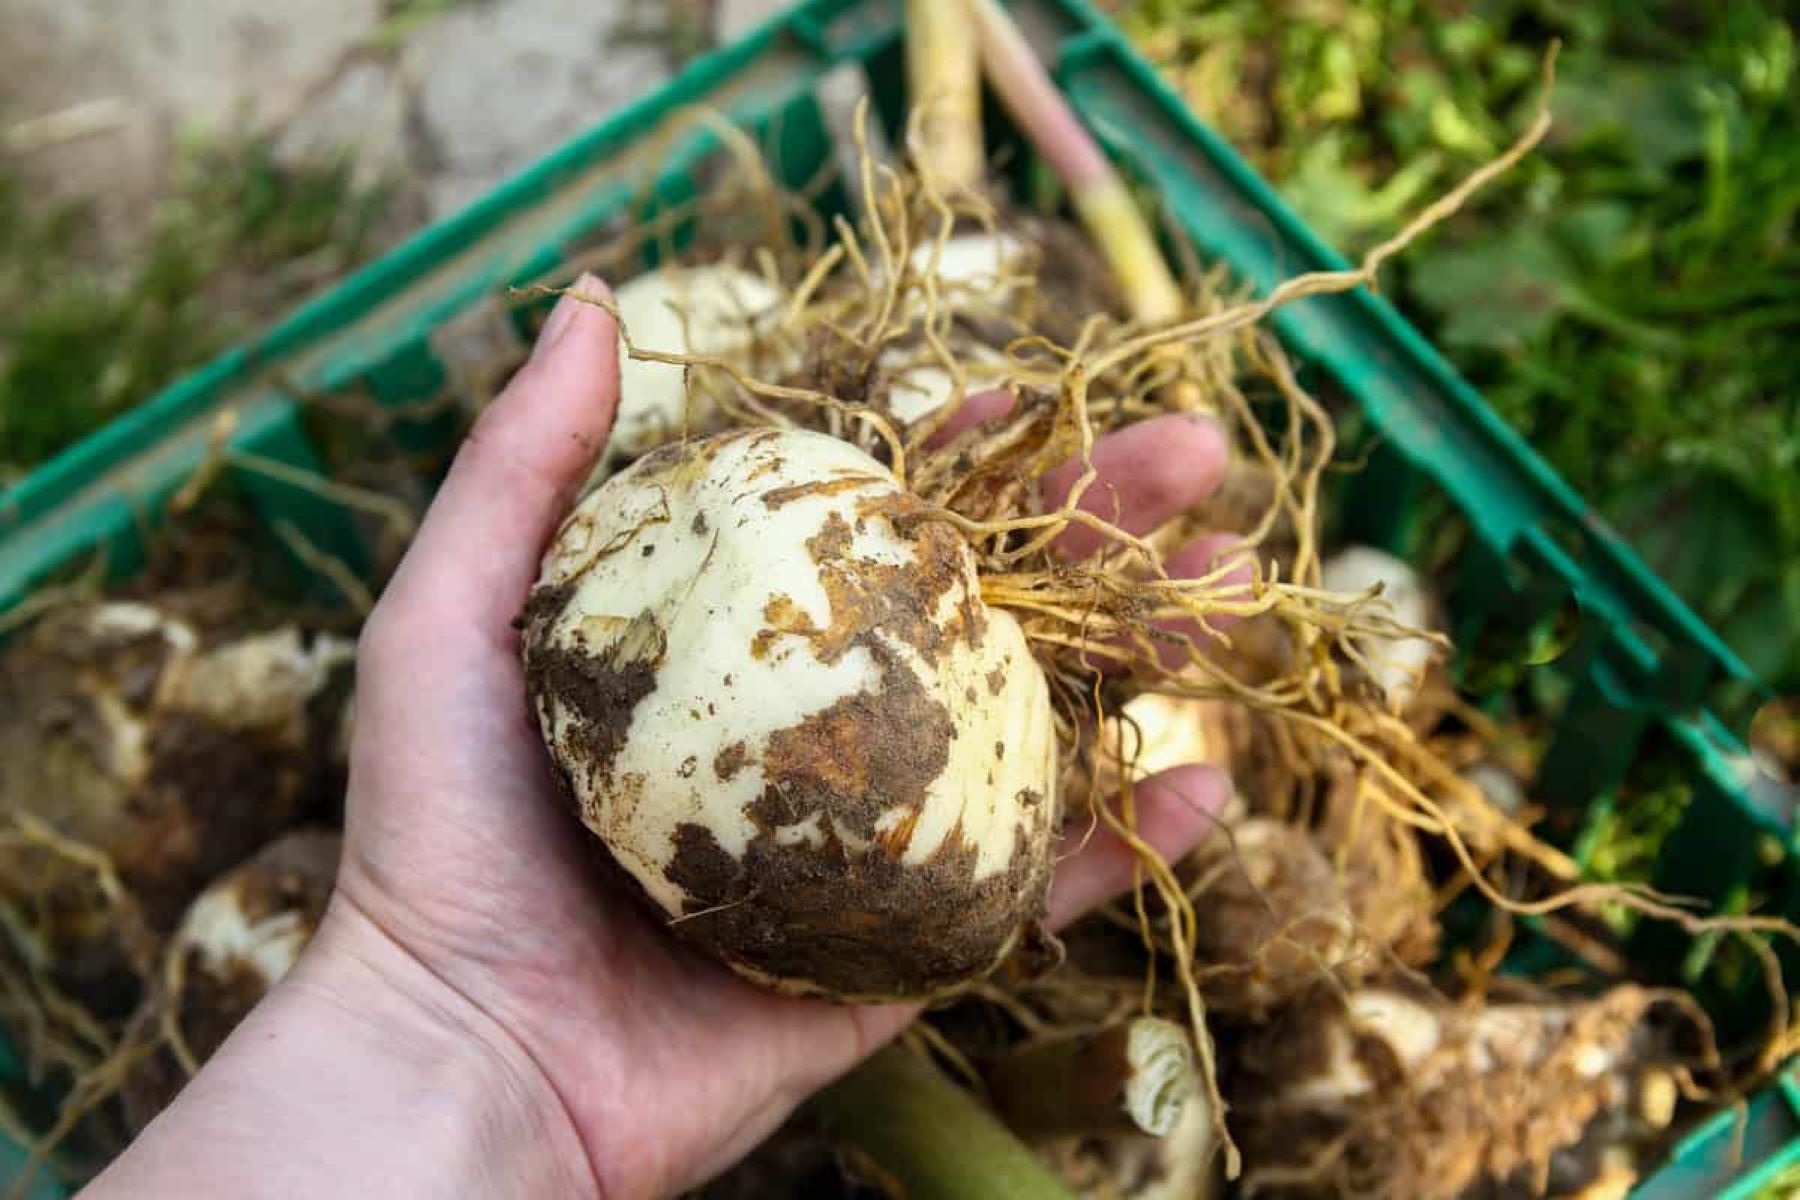
The first step in preparing canna bulbs for storage is to gently remove excess soil from the bulbs. You can do this by gently brushing off the soil or using a soft brush. Be careful not to damage the bulbs or remove any healthy scales during this process.
After removing the soil, it’s essential to inspect the bulbs for any signs of damage or disease. Discard any bulbs that appear soft, mushy, or show signs of rot or disease. Removing these damaged bulbs will prevent the spread of disease and ensure that only healthy bulbs are stored.
Next, it’s crucial to cure the bulbs before placing them in storage. Curing involves allowing the bulbs to further dry out to prevent moisture buildup during the storage period. One method of curing is to let the bulbs sit in a cool and dry area for about a week. Another option is to dust the bulbs with a fungicide to prevent fungal growth during storage.
Once cured, it’s time to prepare the bulbs for their storage containers. Many gardeners choose to dust the bulbs with a protective powder, such as sulfur or a fungicide, before placing them in their storage containers. This provides an additional layer of protection against fungal growth and other pests that may be present.
Lastly, label your canna bulbs before storing them. Use a permanent marker to write the variety name or any other relevant information on the bulb or storage container. This will make it easier to identify the bulbs when it’s time to replant them in the spring.
By following these steps to prepare your canna bulbs for storage, you are ensuring their health and preserving their quality during the winter months.
Selecting the Proper Storage Container
Choosing the right storage container for your canna bulbs is crucial to their well-being during the winter months. The ideal storage container should provide protection from moisture, light, and extreme temperatures, while allowing for proper air circulation.
One option for storing canna bulbs is using a wooden crate or a cardboard box. These containers are breathable and provide adequate air circulation, preventing the build-up of excess moisture. Make sure the container is clean and dry before placing the bulbs inside.
Another option is to use mesh or paper bags for storage. These bags allow for air circulation while preventing moisture build-up. When using bags, ensure they are clean and are in good condition to prevent any tearing or damage to the bulbs.
Regardless of the container you choose, it’s important to line it with a layer of dry and clean material such as peat moss, sawdust, or vermiculite. This layer helps absorb excess moisture and provides additional insulation for the bulbs during storage.
Avoid using plastic containers or sealed bags for storing canna bulbs, as these can trap moisture and lead to rot or mold development. Additionally, opaque containers or bags are preferred over transparent ones as they block out light, which can stimulate premature growth and reduce dormancy.
Remember to choose a container that is large enough to hold all the bulbs comfortably without overcrowding them. Overcrowding can lead to damage and increased risk of disease or rot. Leave some space between the bulbs to allow for air circulation.
Once you have selected the proper storage container, place the prepared canna bulbs inside and close the lid or seal the bag securely. Store the container in a cool and dry location, away from direct sunlight and extreme temperatures.
By choosing the right storage container for your canna bulbs, you are providing them with the optimal conditions to remain dormant and healthy until spring arrives.
After digging up your canna bulbs in the fall, let them dry for a few days, then store them in a cool, dry place like a basement or garage in a paper bag filled with peat moss or vermiculite to prevent them from drying out. Check on them periodically to make sure they are not rotting or drying out.
Storing Canna Bulbs in a Cool and Dry Location
The success of storing canna bulbs during the winter largely depends on providing them with the right environment. A cool and dry location is essential to prevent rot, mold, and other issues that may arise from excess moisture or extreme temperatures.
When selecting a storage location, aim for a place that maintains a temperature between 40 to 50 degrees Fahrenheit (4 to 10 degrees Celsius). This temperature range ensures that the bulbs remain dormant and prevents early sprouting or freezing damage.
An ideal location for storing canna bulbs is a basement or a cellar since these areas generally offer stable temperatures throughout the winter. If you don’t have access to a basement, a cool and dark area in the garage or a shed can work as well. Just make sure the space is well-ventilated to prevent the build-up of excess moisture.
Avoid storing the bulbs in areas that experience extreme temperature fluctuations or are prone to high humidity. These conditions can lead to bulb damage, rot, or fungal growth.
When placing the bulbs in the storage location, make sure they are not in direct contact with the floor or walls. You can elevate them on a small rack or stack them on shelves, ensuring proper air circulation around each bulb.
If your storage location is prone to high humidity, you can take additional steps to absorb excess moisture. Placing a moisture-absorbing material, such as silica gel packets or a container of charcoal, near the bulbs can help maintain a dry environment.
Regularly check the storage area throughout the winter to ensure that the temperature and humidity levels remain within the desired range. If you notice any signs of moisture or decay, make adjustments accordingly. Additionally, be mindful of any pests that may find their way into the storage area and take necessary precautions to prevent infestation.
By storing your canna bulbs in a cool and dry location, you are creating the optimal conditions for their dormancy and ensuring their well-being until it’s time for replanting in the spring.
Read more: How To Store Cannas Over Winter
Checking on Stored Canna Bulbs Periodically
While canna bulbs are in storage during the winter months, it’s important to periodically check on them to ensure their condition and make any necessary adjustments. Regular inspections can help identify any signs of rot, disease, or moisture build-up, allowing you to take prompt action and preserve the health of your bulbs.
Plan to check on your stored canna bulbs every few weeks throughout the winter. During each inspection, carefully examine the bulbs for any signs of softness, mold, or discoloration. If you notice any bulbs that appear damaged or diseased, remove them immediately to prevent the spread of rot to healthy bulbs.
In addition to visual inspections, check the moisture levels in the storage container. Excess moisture can lead to rot or mold, while overly dry conditions can cause the bulbs to dry out and become unviable. Adjust the storage environment as needed to maintain the proper moisture balance.
If you notice any signs of condensation or excess moisture, consider removing the bulbs temporarily and allowing them to air out in a dry area for a few hours. Once they have dried, you can return them to the storage container with fresh bedding material.
Ensure that the storage location continues to maintain the desired temperature range of 40 to 50 degrees Fahrenheit (4 to 10 degrees Celsius). If there are drastic temperature fluctuations, consider moving the bulbs to a more suitable location to protect them from damage.
Remember to label your canna bulbs with their respective variety names if you haven’t already done so. This will help you keep track of the different cultivars and make replanting easier in the spring.
By regularly checking on your stored canna bulbs, you can identify and address any issues that may arise, ensuring the health and vitality of the bulbs throughout the winter.
Replanting Canna Bulbs in the Spring
As the winter finally gives way to the warmer temperatures of spring, it’s time to prepare for the exciting task of replanting your canna bulbs. Following a few simple steps will help ensure a successful transition from storage to the garden, leading to beautiful blooms and lush foliage throughout the growing season.
Start by selecting the ideal location for your canna bulbs in the garden. Canna lilies thrive in full sun to partial shade, so choose an area with at least 6 hours of direct sunlight each day. The soil should be well-draining, enriched with organic matter, and slightly acidic to neutral pH.
Before planting, prepare the soil by removing any weeds or debris and loosening it with a garden fork or tiller. Incorporate compost or well-rotted manure to improve soil fertility and drainage.
Retrieve your stored canna bulbs from their storage container and inspect them for any signs of damage or disease. Healthy bulbs will appear firm and plump, with no soft spots or discoloration. If there are any damaged bulbs, dispose of them to prevent the spread of disease.
Plant the canna bulbs with the eyes facing upwards, burying them about 2 to 4 inches deep in the soil. Space the bulbs at least 12 to 18 inches apart to allow for their vigorous growth and development. After planting, gently water the area to settle the soil.
Throughout the growing season, provide regular watering to keep the soil evenly moist, but not waterlogged. Canna lilies appreciate a consistent water supply but are susceptible to root rot if the soil remains consistently wet. Apply mulch around the plants to help conserve moisture, suppress weeds, and regulate soil temperature.
Fertilize the canna bulbs with a balanced, slow-release fertilizer according to the package instructions. This will provide the necessary nutrients to support healthy growth and vibrant blooms. Avoid over-fertilizing, as it can lead to excessive leaf growth at the expense of flower production.
Throughout the season, be mindful of any signs of pests or diseases. Common issues include spider mites, aphids, and fungal infections. Promptly address any problems with appropriate organic or chemical treatments to protect the health of the plants.
Canna lilies may require staking as they grow taller to provide support against strong winds or heavy flowerheads. Use stakes or cages to prevent the plants from bending or breaking under their own weight.
Enjoy the beauty of your canna lilies as they grow and bloom throughout the spring and summer months. Regular deadheading of spent flowers will encourage continuous blooming and enhance the overall appearance of the plants.
In colder climates where winters are harsh, you may need to repeat the process of storing canna bulbs during the following winter season to ensure their survival.
By following these steps for replanting canna bulbs, you’ll be rewarded with a stunning display of colorful flowers and lush foliage, bringing joy and beauty to your garden.
Conclusion
Storing canna bulbs for the winter is an essential practice for ensuring the longevity and health of these beautiful plants. By carefully choosing the right time to dig up the bulbs, preparing them for storage, selecting suitable storage containers, and storing them in a cool and dry location, you can protect the bulbs from the harsh winter elements.
It’s important to periodically check on the stored bulbs, inspecting them for any signs of damage or disease, and making any necessary adjustments to maintain the optimal storage conditions. By taking these steps, you are increasing the chances of successful re-emergence and blooming in the following spring.
When the time comes to replant the canna bulbs, choose a sunny location with well-draining soil, and provide them with proper care throughout the growing season. Regular watering, fertilization, and pest control will help the plants thrive and produce vibrant flowers.
Storing canna bulbs can be a rewarding experience, allowing you to preserve the beauty of these tropical plants and enjoy their blooms year after year. With proper storage techniques and diligent care, your canna bulbs will continue to bring color and joy to your garden for seasons to come.
Remember that every gardener may have their unique approaches and regional factors to consider. Adapt the storage and care techniques to the specific needs of your canna bulbs and your climate. By dedicating the time and effort to store canna bulbs properly, you will be rewarded with a flourishing and vibrant garden in the upcoming growing season.
Frequently Asked Questions about How To Store Canna Bulbs For The Winter
Was this page helpful?
At Storables.com, we guarantee accurate and reliable information. Our content, validated by Expert Board Contributors, is crafted following stringent Editorial Policies. We're committed to providing you with well-researched, expert-backed insights for all your informational needs.

0 thoughts on “How To Store Canna Bulbs For The Winter”