Home>Articles>How To Store Christmas Lights Without Tangling
Articles
How To Store Christmas Lights Without Tangling
Modified: January 7, 2024
Looking for articles on how to store your Christmas lights without tangling? Find the best tips and tricks in this comprehensive guide.
(Many of the links in this article redirect to a specific reviewed product. Your purchase of these products through affiliate links helps to generate commission for Storables.com, at no extra cost. Learn more)
Introduction
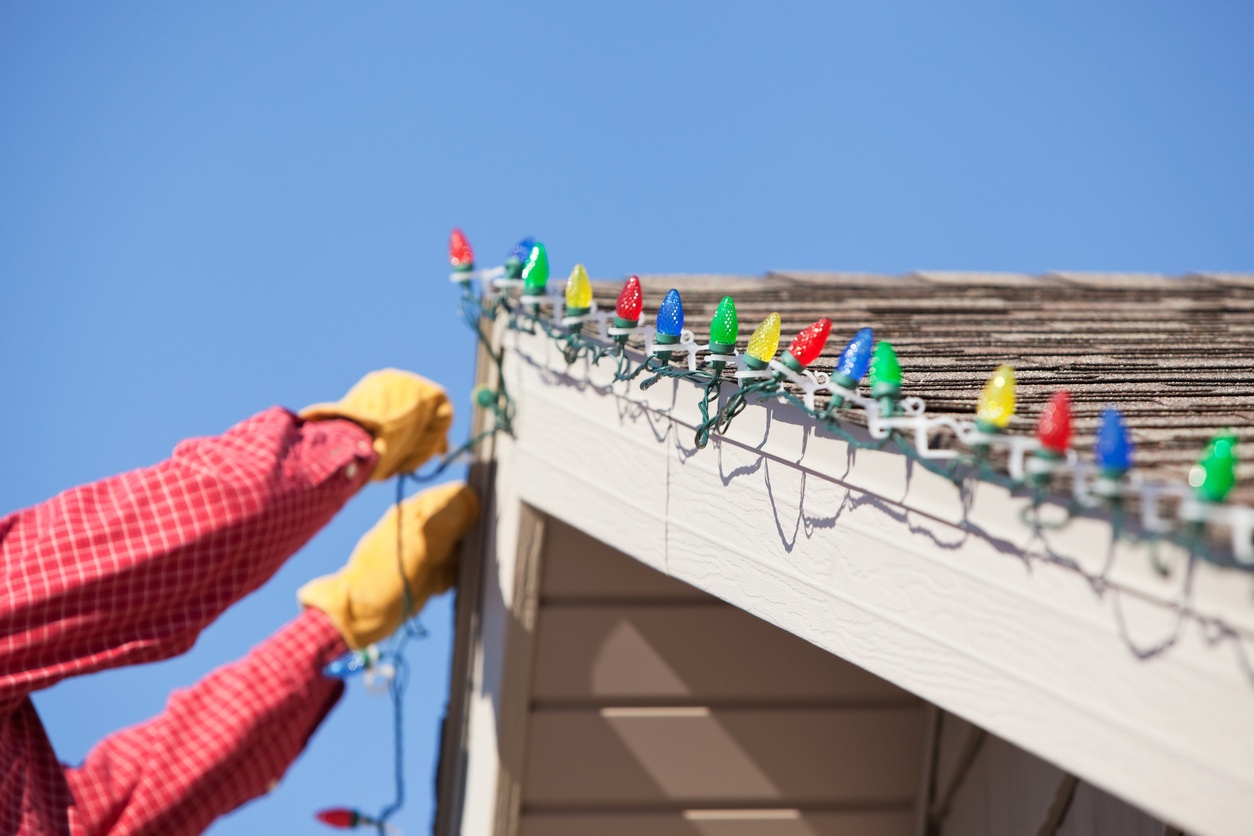
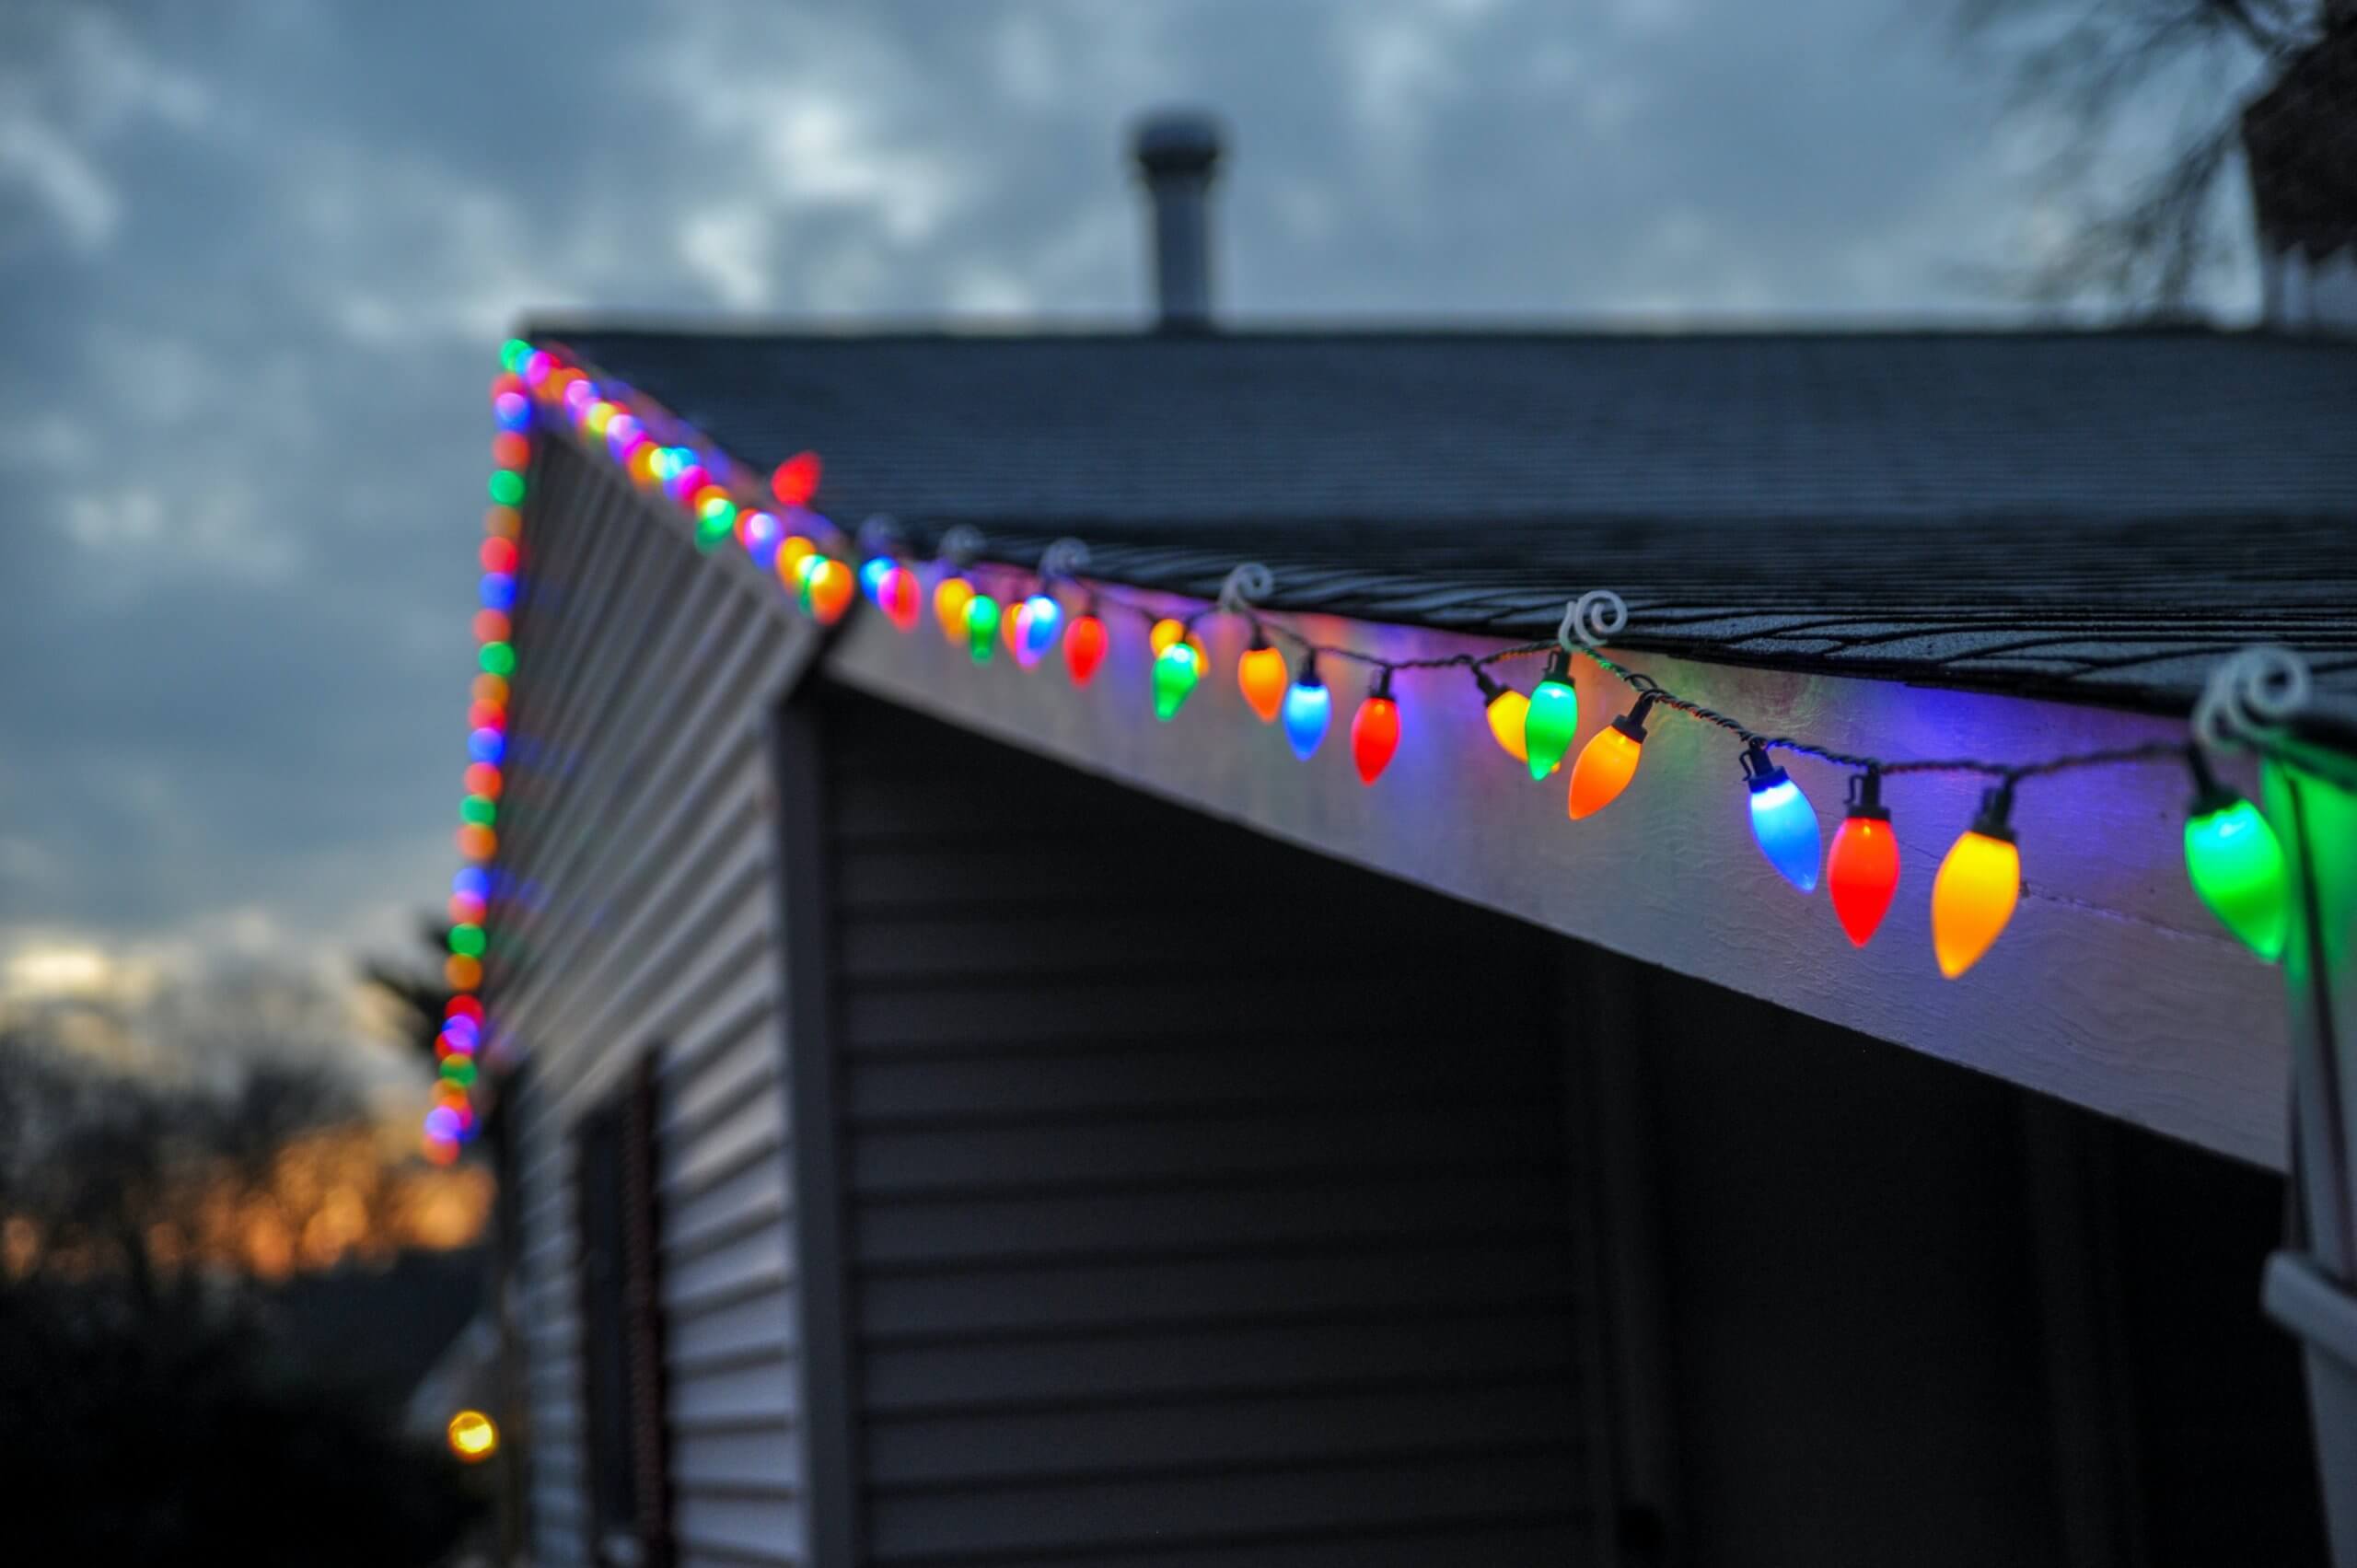
As the holiday season comes to an end, it’s time to take down the festive decorations and store them away until next year. One of the most dreaded tasks is untangling and storing Christmas lights. We’ve all been there – struggling with a tangled mess of lights, feeling frustrated and wasting precious time.
But fear not! In this article, we’ll show you how to store your Christmas lights without tangling them. With a few simple steps and some smart organization techniques, you can ensure that your lights are ready to shine bright next holiday season.
So let’s get started!
Key Takeaways:
- Efficiently store Christmas lights by untangling, wrapping, and labeling them with simple supplies like cardboard, hangers, and plastic bags. Keep them organized for hassle-free setup next holiday season.
- Consider specialized Christmas light storage solutions to streamline the process and protect your lights from damage. Invest in light storage bags, boxes, reels, or hangable options for convenient and space-saving storage.
Step 1: Gather Supplies
Before you begin the process of storing your Christmas lights, it’s important to gather all the necessary supplies. Having everything you need at hand will make the process smoother and more efficient.
Here are the supplies you’ll need:
- Packing tape or twist ties
- Cardboard or Christmas light storage reel
- Hangers
- Plastic bags or Ziploc
- Permanent marker or labels
Packing tape or twist ties will help secure the lights and prevent them from getting tangled. Cardboard can be used to wrap the lights around, or you can invest in a Christmas light storage reel for a more convenient storage solution. Hangers are useful for hanging longer strands of lights, and plastic bags or Ziploc bags will keep your lights protected from dust and moisture. Lastly, a permanent marker or labels will help you label your storage containers for easy identification.
Once you have gathered all the necessary supplies, you’re ready to move on to the next step.
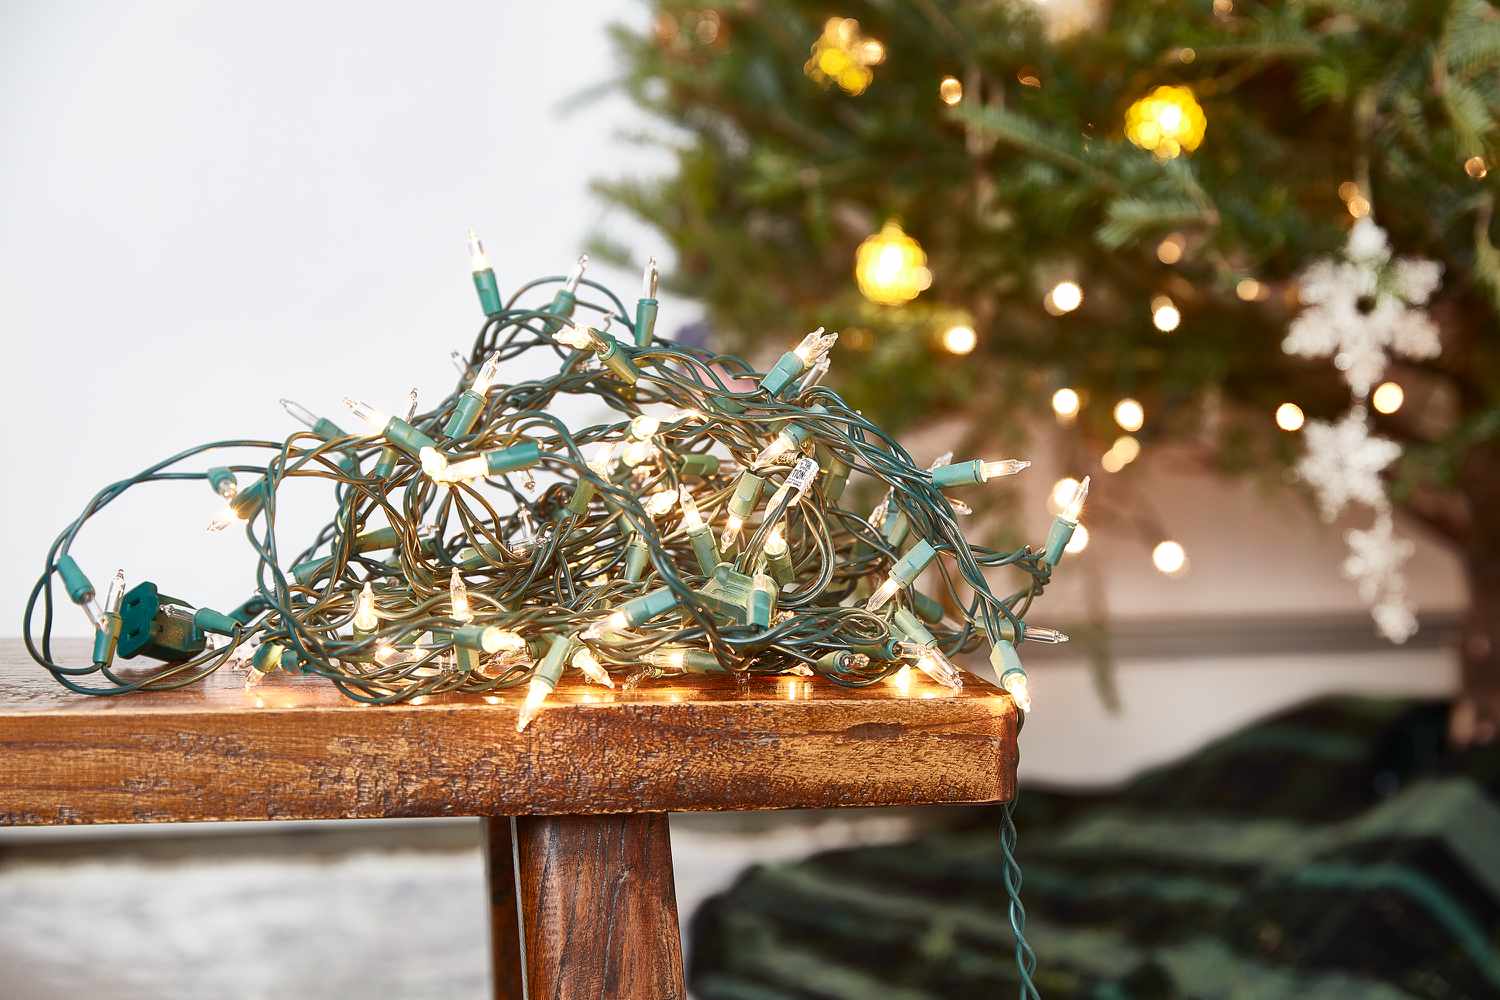
Step 2: Untangle and Straighten Lights
Now that you have all the supplies ready, it’s time to tackle the tangled mess of Christmas lights. Before storing them, it’s important to untangle and straighten each strand to ensure an organized storage and easy setup for the next holiday season.
Here’s how you can untangle and straighten your Christmas lights:
- Find a clear and spacious area to work in. Lay the lights on a flat surface, such as a table or the floor.
- Begin by gently untangling any knots or tangles in the lights. Slowly work your way through the strand, being careful not to pull too hard and risk damaging the lights.
- If you encounter any broken or non-working bulbs, replace them before moving forward. This will ensure that your lights are in good working condition for the next use.
- Once the lights are untangled, take the time to straighten them out. This can be done by holding the strand at one end and running your fingers along the length to remove any kinks or bends.
Remember to handle the lights with care to avoid any damage. Taking the time to untangle and straighten the lights now will save you a lot of frustration when it’s time to set them up next holiday season.
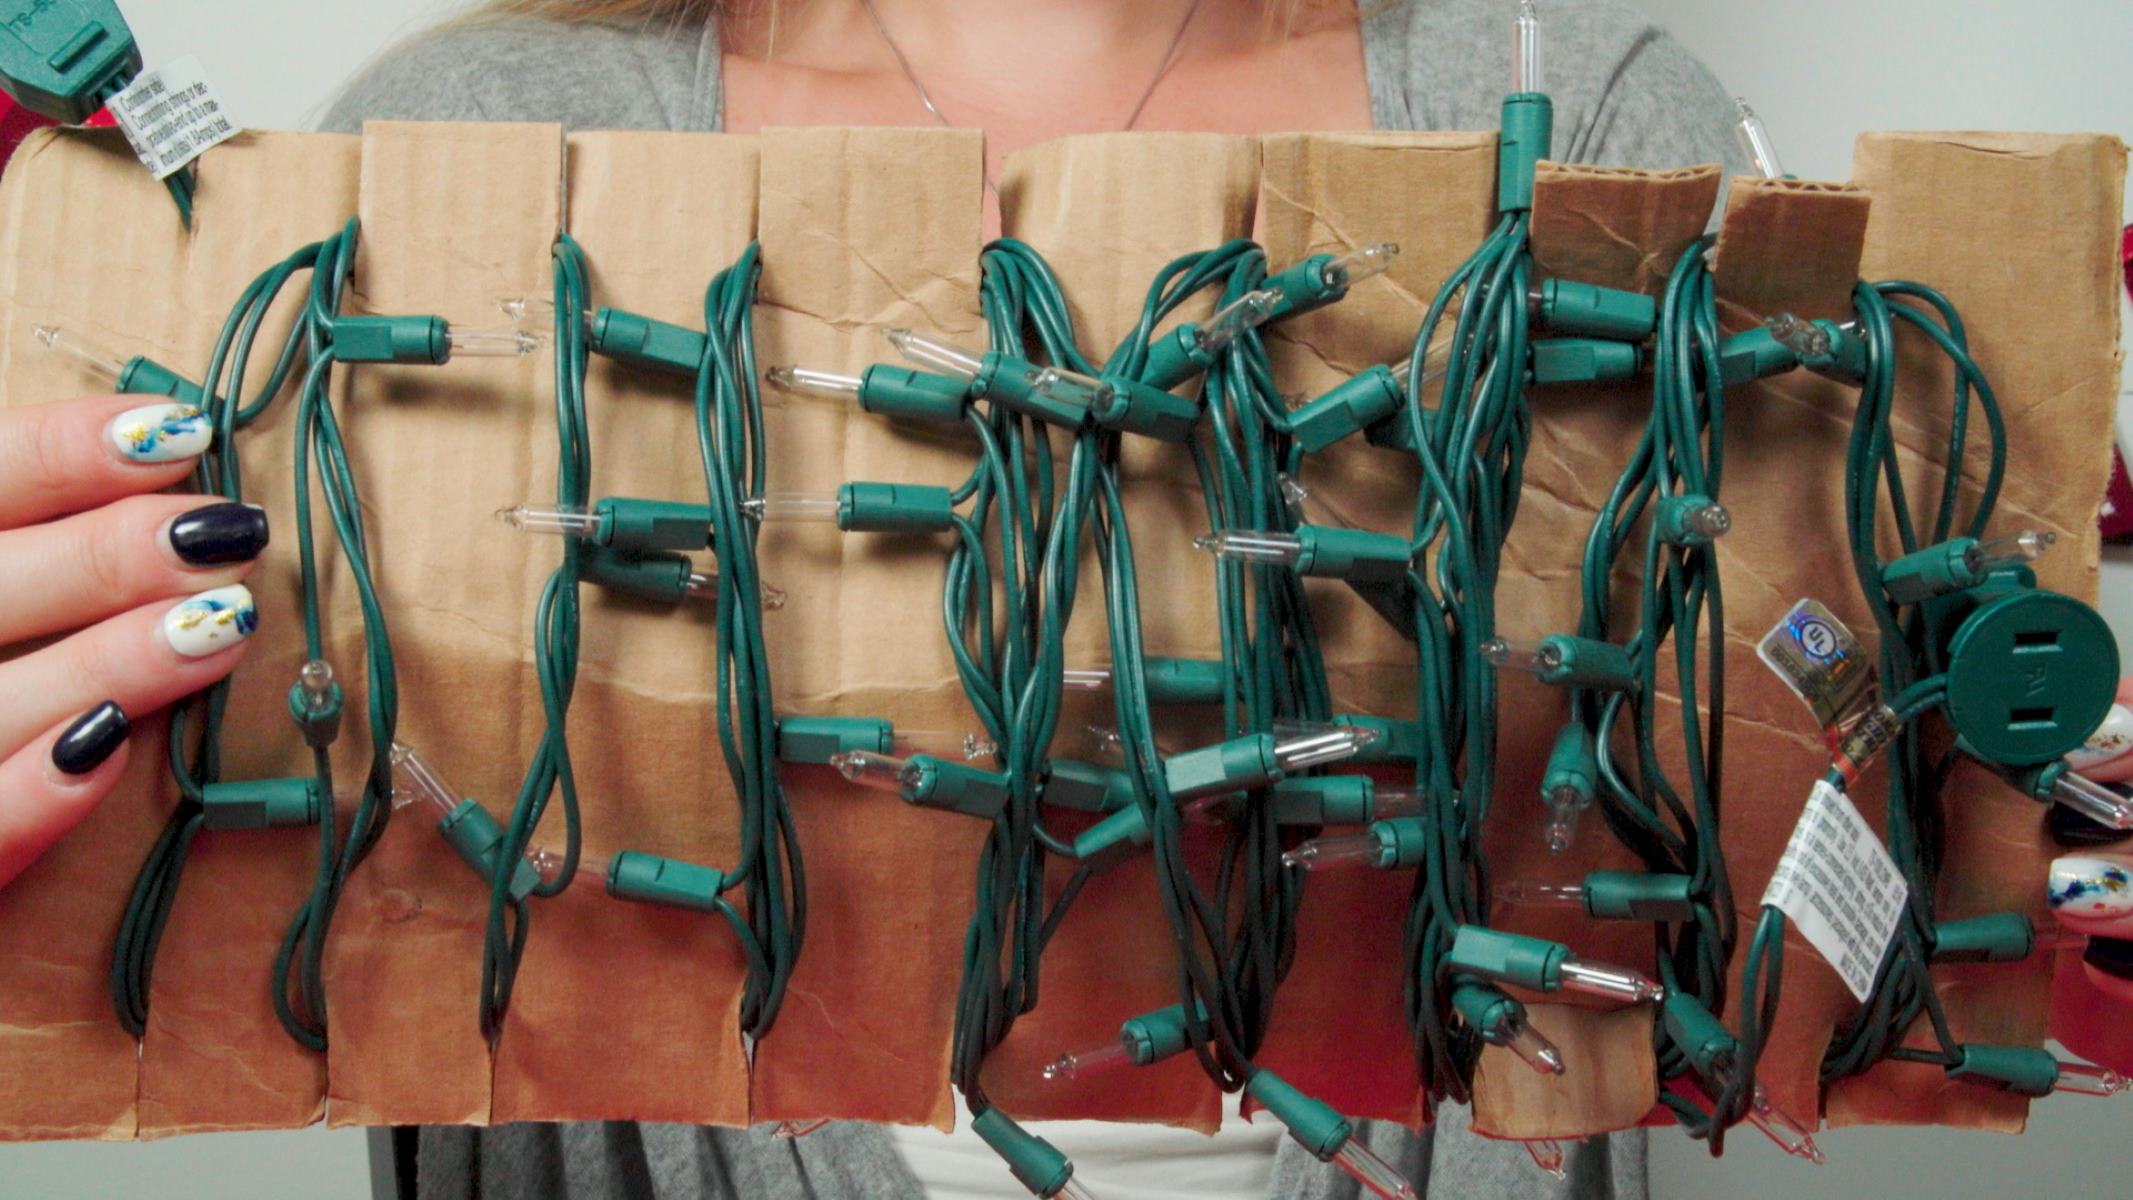
Step 3: Wrap Lights Around a Cardboard
Wrapping your Christmas lights around a cardboard is a simple yet effective way to keep them organized and prevent tangling. This method works well for shorter strands of lights or if you don’t have a dedicated storage reel.
Follow these steps to wrap your lights around a cardboard:
- Take a piece of sturdy cardboard that is slightly longer than the length of your lights.
- Starting from one end of the cardboard, secure the plug end of the lights to the edge of the cardboard using packing tape or twist ties.
- Begin wrapping the lights around the cardboard in a neat and even manner. Make sure to keep the lights taut and smooth as you go.
- Continue wrapping until you reach the other end of the cardboard.
- To secure the lights and prevent them from unwinding, use another piece of packing tape or twist tie at the other edge of the cardboard.
Once your lights are wrapped around the cardboard, they are ready for storage. This method not only keeps your lights organized, but it also makes it easier to unroll and set up the lights when the time comes.
If you have longer strands of lights or want a more convenient storage solution, you might consider using a Christmas light storage reel, which we’ll discuss in the next step.
Step 4: Use a Christmas Light Storage Reel
If you have longer strands of lights or prefer a more convenient storage solution, using a Christmas light storage reel is a great option. These reels are specially designed to keep your lights organized, tangle-free, and easy to store.
Follow these steps to use a Christmas light storage reel:
- Purchase a Christmas light storage reel that suits the length of your lights. These reels are available in various sizes and can accommodate different lengths of strands.
- Start by detangling and straightening your lights, as mentioned in step 2.
- Insert the plug end of the lights into the slot provided on the reel. Ensure that it is securely in place.
- Begin winding the lights around the reel in a neat and even manner. Move from one end to the other, making sure that the lights are taut and free from any tangles or twists.
- Once you reach the other end of the reel, secure the lights by hooking the end onto a designated slot or using any clips or hooks provided on the reel.
The Christmas light storage reel provides a compact and efficient way to store your lights. It not only keeps them organized but also protects them from damage during storage. When it’s time to use the lights again, simply unwind them from the reel and they’ll be ready to go.
Whether you choose to use a cardboard or a Christmas light storage reel, both methods offer effective ways to keep your lights neatly organized and prevent tangles.
Wrap Christmas lights around a piece of cardboard to keep them tangle-free. Cut a notch at the end to secure the plug and start wrapping from there.
Read more: How To Hang Christmas Lights Without Ladder
Step 5: Wrap Lights Around a Hanger
If you want an alternative method to store your Christmas lights, wrapping them around a hanger can be a space-saving and convenient option. This method works well for shorter strands of lights or if you have limited storage space.
Follow these steps to wrap your lights around a hanger:
- Grab a sturdy hanger, such as a plastic or metal one, that can support the weight of the lights.
- Start by detangling and straightening your lights, as mentioned in step 2.
- Secure the plug end of the lights to the hook or top part of the hanger using a twist tie or a small piece of string.
- Begin wrapping the lights around the hanger in a neat and organized manner. Make sure to keep the lights taut and evenly spaced as you go.
- Continue wrapping until you reach the end of the lights.
- Secure the loose end of the lights to the hanger using another twist tie or string.
By wrapping your lights around a hanger, you not only keep them tangle-free but also save space. You can easily hang the hanger in a closet or on a hook for convenient storage. Additionally, this method allows for easy access to the lights when you’re ready to use them again.
Remember to store any additional hangers in a designated storage container to keep them organized and readily available for future use.
Step 6: Store Lights in Plastic Bags or Ziploc
To provide an extra layer of protection for your Christmas lights, it’s a good idea to store them in plastic bags or Ziploc bags. This step will help prevent dust, moisture, and potential damage during storage.
Follow these steps to store your lights in plastic bags or Ziploc:
- After wrapping your lights using one of the previous methods (cardboard, light storage reel, or hanger), clear any excess tangles and ensure the lights are neatly organized.
- Take a plastic bag or Ziploc bag that is large enough to hold the lights. You can use individual bags for each strand or group multiple strands together in a larger bag.
- Carefully place the lights inside the bag and seal it tightly. Be sure to remove any excess air from the bag to minimize the risk of moisture accumulation.
- For added protection, you can place a small packet of silica gel or a moisture-absorbing sachet inside the bag to help prevent any moisture-related issues.
- Label the bag with the contents, such as the length or color of the lights, using a permanent marker or a label. This will make it easier to identify and locate specific strands when you need them in the future.
Storing your lights in plastic bags or Ziploc bags not only protects them from dust and moisture but also keeps them organized and easy to find. It’s a simple yet effective way to prolong the life of your Christmas lights and ensure they stay in good condition until the next holiday season.
Step 7: Label and Organize Storage Containers
Once you have wrapped and stored your Christmas lights, it’s essential to label and organize your storage containers. Proper labeling and organization will make it easier for you to locate specific lights and decorations when you need them next year.
Follow these steps to label and organize your storage containers:
- Choose durable and stackable storage containers that are appropriate for your storage space. Clear plastic containers are a great option as they allow you to see the contents without opening them.
- Assign a specific storage container for your Christmas lights and another for your decorations. This will help separate and organize the different elements of your holiday décor.
- Label each container using a permanent marker or labels. Clearly write “Christmas Lights” on the container designated for storing lights. For decoration containers, you can be more specific by labeling them with the type of decorations they contain, such as “Tree Ornaments” or “Garland.”
- If you have multiple strands of lights, consider organizing them further by color, length, or theme. Place similar lights together in separate compartments or smaller containers within the main storage container.
- Create an inventory list or digital catalog of your stored items to keep track of what you have. You can use a spreadsheet or note-taking app to record the contents of each container. This will help you easily locate specific items in the future.
By labeling and organizing your storage containers, you’ll save time and effort when it’s time to set up your holiday decorations. You’ll have a clear idea of where each item is stored, allowing for a smoother and more efficient decorating process.
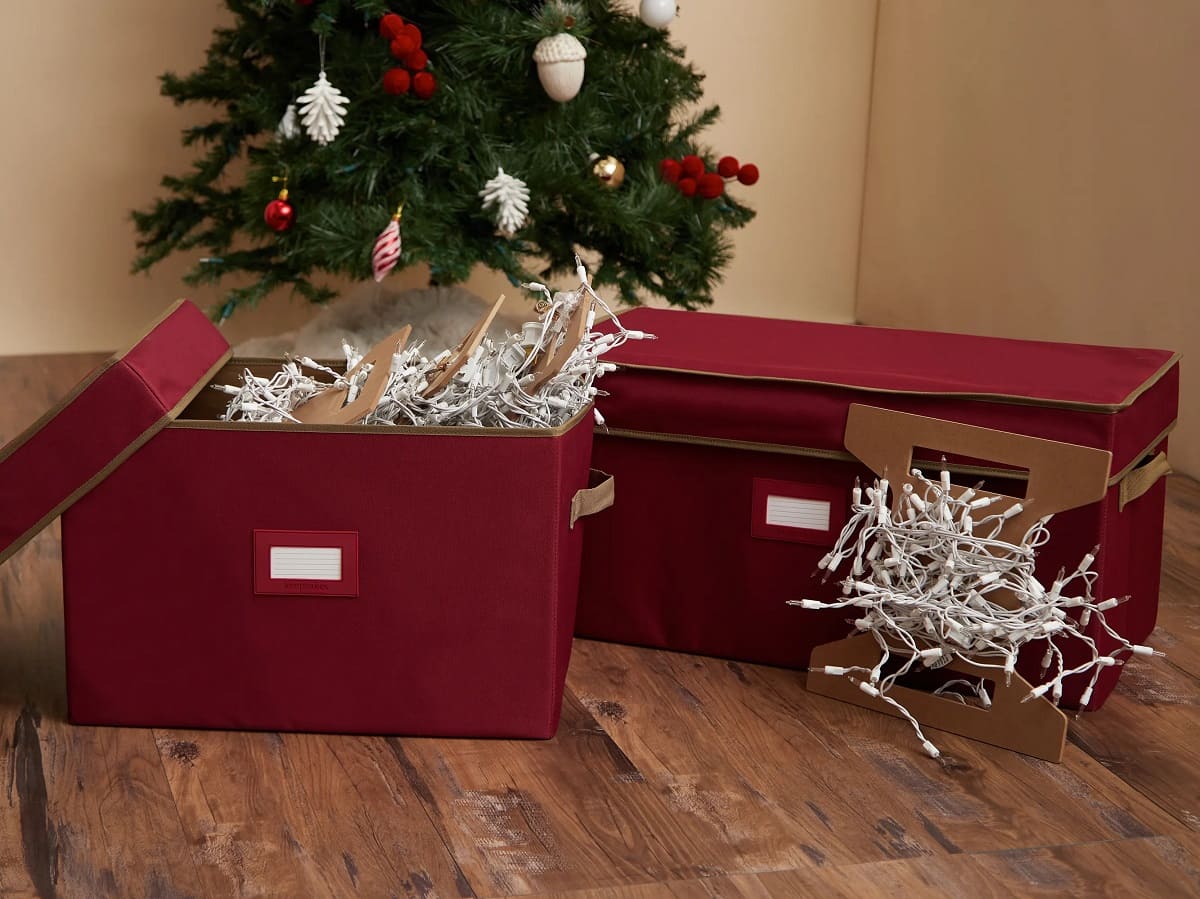
Step 8: Consider Using Christmas Light Storage Solutions
If you want to take your Christmas light storage to the next level, consider investing in specialized Christmas light storage solutions. These innovative products are designed to address the specific needs of storing and organizing your lights, making the process even more efficient and hassle-free.
Here are some popular Christmas light storage solutions to consider:
- Light Storage Bags: Light storage bags are specifically designed to keep your lights organized and tangle-free. These bags often have separate compartments or reels to organize individual strands and protect them from damage.
- Light Storage Boxes: Similar to regular storage boxes, light storage boxes come with dividers or compartments to separate and organize individual strands of lights. They are durable and often stackable, making them a great option for long-term storage.
- Light Storage Reels: If you prefer a more compact and space-saving option, consider using light storage reels. These reels allow you to neatly wind your lights, keeping them tangle-free and easy to store. Some reels even come with built-in handles or hooks for added convenience.
- Hangable Light Storage Bags: Hangable light storage bags are designed to be hung in a closet or on a hook, maximizing storage space in your home. These bags often have individual compartments or hooks to keep lights organized and easily accessible.
When considering a Christmas light storage solution, take into account the size and number of strands you have, as well as the available storage space in your home. Choose a solution that suits your specific needs and preferences.
By utilizing Christmas light storage solutions, you can streamline the storage process and ensure your lights are well-organized, protected, and ready for use in the next holiday season.
With these steps and tips, storing your Christmas lights without tangling them becomes a breeze. By investing a little time and effort into proper storage techniques, you’ll save yourself from the frustration of untangling lights next year and ensure that your festive decorations are always in top-notch shape. Happy storing!
Frequently Asked Questions about How To Store Christmas Lights Without Tangling
Was this page helpful?
At Storables.com, we guarantee accurate and reliable information. Our content, validated by Expert Board Contributors, is crafted following stringent Editorial Policies. We're committed to providing you with well-researched, expert-backed insights for all your informational needs.


0 thoughts on “How To Store Christmas Lights Without Tangling”