
Articles
How To Store Dehydrated Food In Mason Jars
Modified: October 21, 2024
Learn how to properly store dehydrated food in mason jars with these helpful articles. Find step-by-step guides and tips to preserve the freshness and quality of your favorite dehydrated snacks.
(Many of the links in this article redirect to a specific reviewed product. Your purchase of these products through affiliate links helps to generate commission for Storables.com, at no extra cost. Learn more)
Introduction
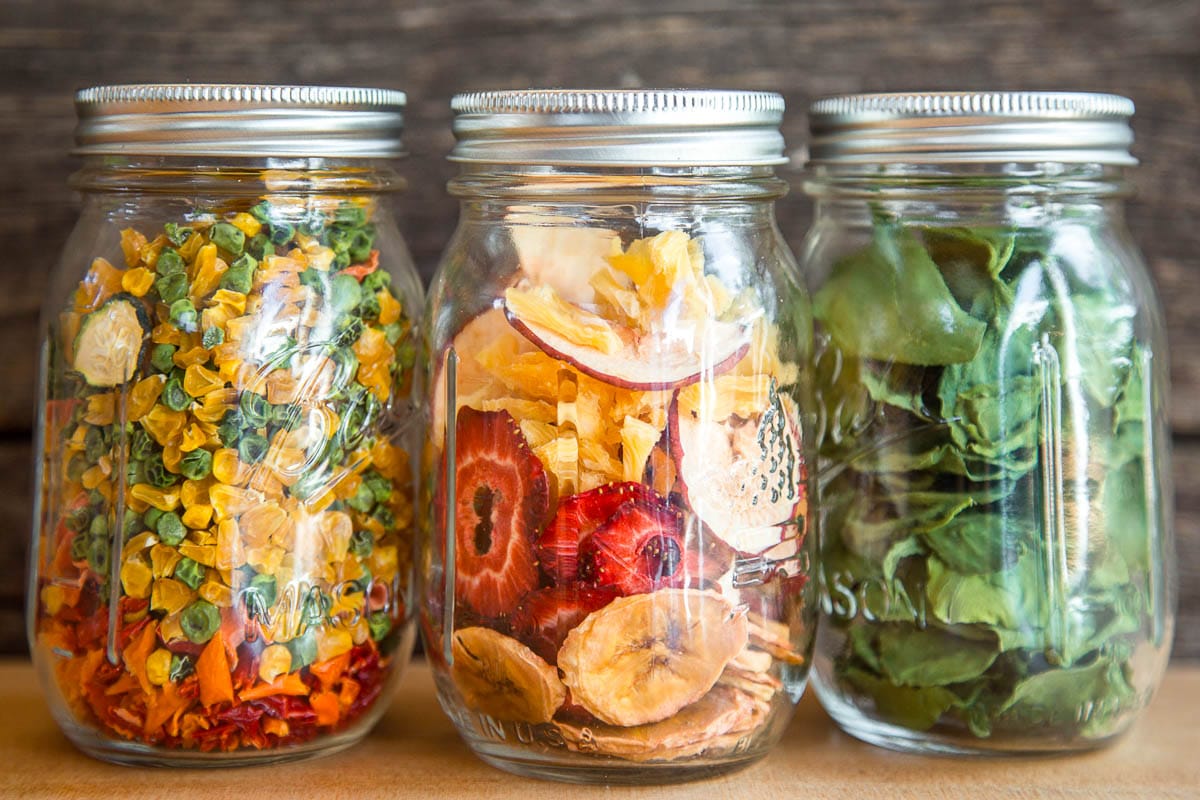
Dehydrating food is a popular method for preserving the shelf life of various food items. It is an effective way to remove moisture from fruits, vegetables, and meats, extending their lifespan and retaining their nutritional value. One of the key factors in successful food dehydration is proper storage. Mason jars, with their airtight lids and sturdy construction, are an excellent choice for storing dehydrated food. In this article, we will explore how to store dehydrated food in mason jars effectively.
Using mason jars for food storage offers several advantages. Firstly, they are made of glass, which is non-reactive and won’t absorb odors or flavors from the stored food. Secondly, their airtight seal helps to keep moisture out, preventing spoilage and maintaining the freshness of the dehydrated food. Lastly, mason jars are reusable, eco-friendly, and readily available.
Before we dive into the storage process, selecting the right mason jars is essential. Let’s explore considerations for choosing the appropriate jars.
Key Takeaways:
- Properly storing dehydrated food in mason jars ensures long-term freshness and nutritional value. Choose the right jars, remove air, and monitor storage conditions for optimal results.
- Utilize dehydrated food by rehydrating as needed, portioning carefully, and getting creative with cooking methods and flavor enhancements. Store leftovers properly for short-term use.
Read more: How To Store Cooked Beans In Mason Jars
Choosing the Right Mason Jars
When it comes to selecting mason jars for storing dehydrated food, there are a few factors to consider. Here are some points to keep in mind:
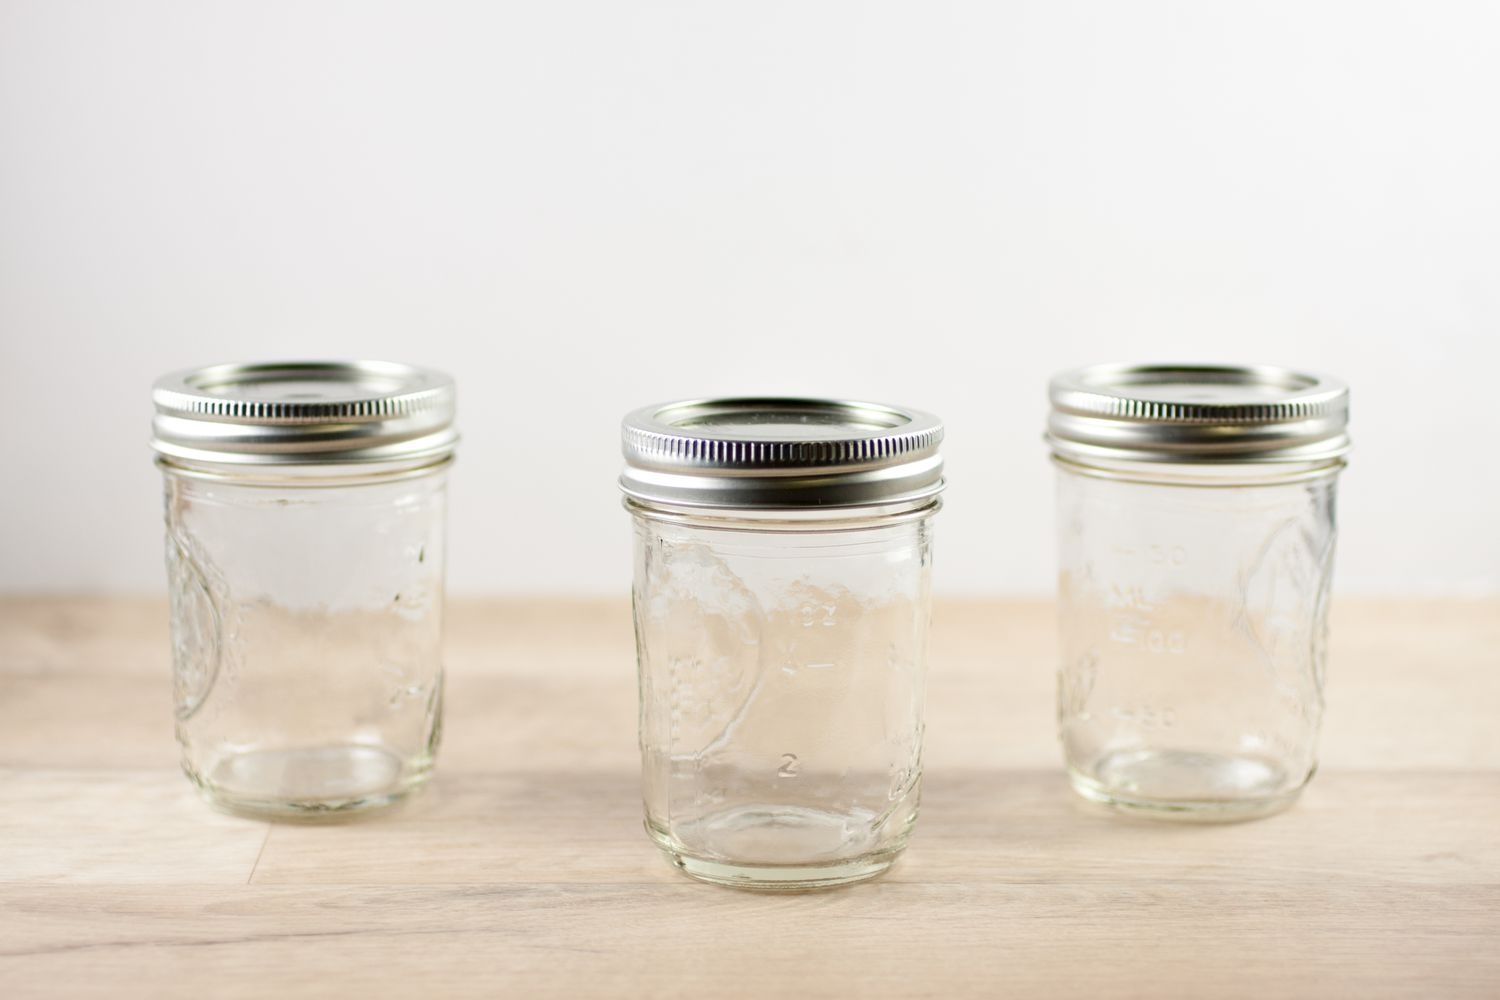
1. Size: Mason jars come in various sizes, ranging from half-pint to half-gallon. Consider the quantity of food you plan to store and choose jars that can accommodate your needs. It’s better to have multiple jars of smaller sizes than a single large jar, as it will be easier to manage and consume the stored food.
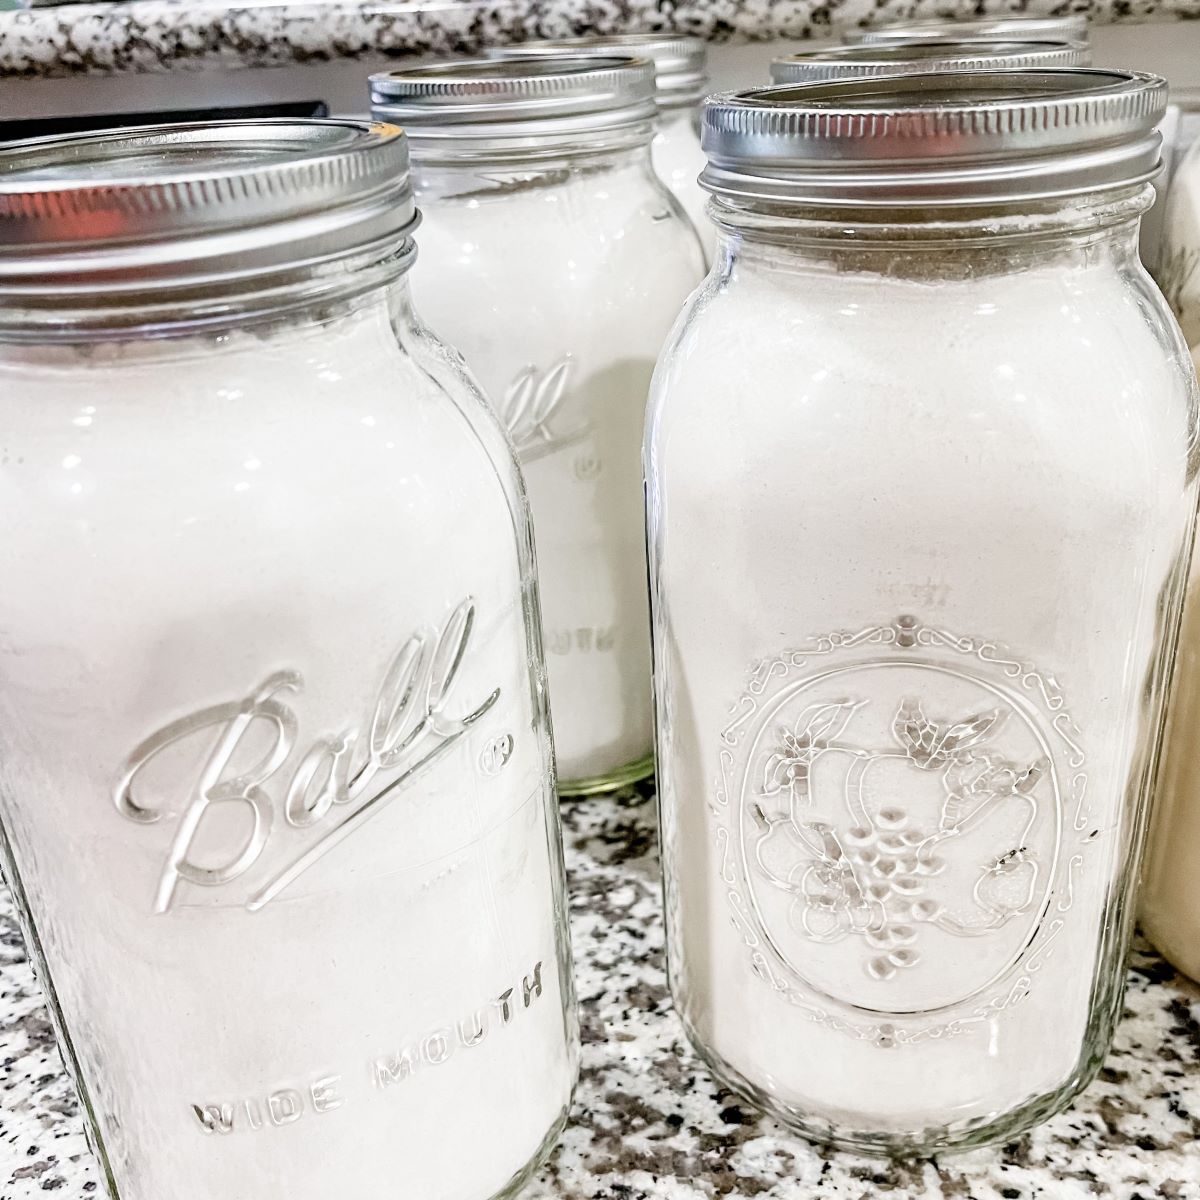
2. Wide-mouth vs. Regular-mouth: Mason jars are available in two types of mouth openings: wide-mouth and regular-mouth. Wide-mouth jars are easier to fill and clean, especially when dealing with chunky dehydrated foods like fruits or vegetables. Regular-mouth jars are suitable for powdery or finely chopped dehydrated foods, as the smaller opening helps with controlled pouring.
3. Quality: Choose high-quality mason jars from reputable brands to ensure durability and longevity. Look for jars made from thick and sturdy glass that can withstand the pressure of vacuum sealing and storage.
4. Sealing Lids: Mason jars typically come with two-part sealing lids – a flat metal lid and a screw-on band. Ensure that the lids are in good condition and fit tightly on the jar. Consider purchasing extra lids to replace any damaged or worn out ones.
Once you have selected the appropriate mason jars, it’s time to prepare the dehydrated food for storage.
Preparing the Food for Storage
Before storing dehydrated food in mason jars, it’s important to ensure that the food is properly prepared. Here are some steps to follow:
1. Cool the Food: Allow the dehydrated food to cool completely before storing it. This helps to prevent condensation inside the jars, which can lead to spoilage. Leave the food to cool at room temperature for at least 24 hours.
2. Check for Moisture: Ensure that the dehydrated food is thoroughly dried. Any residual moisture can lead to mold growth and spoilage during storage. Check for any signs of moisture or softness in the food before placing it in the jars.
3. Break into Smaller Pieces: If the dehydrated food is in large chunks or pieces, consider breaking it into smaller and more manageable sizes. This will make it easier to fill the mason jars and portion out the food when needed.
4. Remove Excess Air: Gently shake the dehydrated food to remove any excess air pockets. This helps to reduce the risk of oxidation and maintains the quality of the stored food.
By following these preparation steps, you’ll ensure that the dehydrated food is in prime condition for storage. Next, we’ll explore the process of filling the mason jars.
Filling the Mason Jars
Now that the dehydrated food is prepared, it’s time to fill the mason jars. Follow these steps for efficient and organized filling:
1. Clean the Jars: Start by washing the mason jars and lids with warm, soapy water. Rinse them thoroughly to remove any soap residue. This ensures that the jars are clean and ready for storing food.
2. Add Food in Layers: Begin by adding a layer of dehydrated food to the bottom of the jar. Use a funnel or spoon to carefully pour or place the food to avoid spillage. Continue adding food in layers, leaving a small gap at the top for easier sealing.
3. Avoid Overpacking: Resist the temptation to cram as much food as possible into the jars. Overpacking can lead to uneven moisture distribution and difficulty in removing portions when needed. Leave some space for the food to move freely and allow for proper sealing.
4. Keep Varieties Separate: If you are storing different types of dehydrated food, consider keeping them separate. This makes it easier to access specific items without having to search through a mixed jar. You can use multiple jars or insert dividers within a larger jar to create sections.
5. Label and Date: Once a jar is filled, label it with the contents and the date of storage. This helps you keep track of what’s inside and ensures you use the oldest food first.
By filling the mason jars in an organized manner, you’ll be able to efficiently store and manage your dehydrated food. Next, we’ll explore how to remove air from the jars for better preservation.
Removing Air from the Jars
After filling the mason jars with dehydrated food, it’s crucial to remove as much air as possible from the jars. Removing air helps to prevent oxidation, reduce the risk of spoilage, and maintain the quality of the stored food. Here are a few methods to effectively remove air from the jars:
1. Use a Vacuum Sealer: If you have a vacuum sealer specifically designed for jars, it can be a convenient and efficient tool for air removal. Simply attach the sealer to the jar lid and allow it to extract the air, creating a vacuum seal. Follow the manufacturer’s instructions for proper usage.
2. Manual Vacuum Method: If you don’t have a vacuum sealer, you can manually remove air from the jars using a handheld vacuum pump. Place the pump on the jar lid, pump out the air, and quickly tighten the lid to create a vacuum seal. This method may not achieve the same level of vacuum as a machine, but it still helps to remove excess air.
3. Tap and Settle: Another simple method is to tap the filled jar gently on a countertop. This helps the food settle, removing any trapped air pockets. Repeat the tapping process a few times, and you will notice that the food settles down, creating more space in the jar.
4. Use Oxygen Absorbers: Oxygen absorbers are small packets that contain iron powder and are designed to remove oxygen from the air inside the jars. Simply place one or more oxygen absorbers in each jar before sealing. They will absorb any remaining oxygen, maintaining the freshness of the food.
Remember, the goal is to minimize the amount of air in the jars to optimize the storage conditions for your dehydrated food. Once you have removed the air, it’s time to seal the mason jars securely.
Store dehydrated food in mason jars by ensuring they are completely cooled before sealing, using oxygen absorbers to extend shelf life, and storing in a cool, dark place to maintain quality.
Read more: How To Store Dry Beans In Mason Jars
Sealing the Mason Jars
Properly sealing the mason jars is crucial for maintaining the freshness and longevity of the dehydrated food. Here are the steps to ensure a secure seal:
1. Clean the Jar Rims: Before sealing the jars, ensure that the rims are clean and free from any food debris. Any residue can prevent a proper seal and lead to spoilage. Use a clean, damp cloth to wipe the rims before proceeding.
2. Place the Lid: Take a flat metal lid and position it on top of the jar rim. Ensure that it is centered and sits flat without any wrinkles or misalignment. The rubber gasket on the lid creates the airtight seal necessary for storage.
3. Apply the Screw-On Band: After placing the lid, take the screw-on band and secure it onto the jar. Start by loosely tightening the band, then use your fingers to screw it on firmly. Avoid over-tightening, as this may cause the lid to buckle or compromise the seal.
4. Check the Seal: Once the jars are sealed, it’s essential to check the seal to ensure it is secure. Gently press down on the center of each lid. If it is properly sealed, it should not flex or make any popping sounds. A strong vacuum seal will keep the lid in place and protect the food inside.
5. Store Immediately: It’s important to store the sealed mason jars promptly after sealing to minimize exposure to air and moisture. Place the jars in a cool, dark, and dry place away from direct sunlight and extreme temperature fluctuations.
By following these steps, you will achieve a secure and airtight seal on your mason jars, ensuring the longevity and quality of the stored dehydrated food. In the next section, we will explore the proper storage conditions for the jars.
Storing the Mason Jars
When it comes to storing mason jars filled with dehydrated food, it’s important to consider the following factors to ensure optimal shelf life and quality:
1. Cool and Dark Location: Find a storage area that is cool, dark, and dry. Excess heat and sunlight can degrade the quality of the food, while moisture can lead to spoilage. A pantry or basement shelf is ideal for storing mason jars.
2. Consistent Temperature: Aim for a consistent temperature in the storage area. Fluctuations in temperature can cause moisture condensation inside the jars, which can lead to spoilage or degradation of the food. Avoid areas prone to temperature extremes, such as near radiators or ovens.
3. Avoid Exposure to Air: Once the mason jars are sealed and stored, it’s important to minimize their exposure to air. Lightly screw on the lids if necessary to create a tight seal. This helps to maintain the freshness and quality of the food over time.
4. Rotate and Use FIFO Method: To ensure that you use the oldest dehydrated food first, practice the “First In, First Out” (FIFO) method. Arrange the jars in a way that allows easy access to the older ones, and consistently rotate your stock to avoid any items being forgotten or left unused for extended periods.
5. Check for Spoilage: Periodically check the stored mason jars for any signs of spoilage, such as mold, moisture, or foul odors. If you notice any abnormalities, discard the affected jars immediately to prevent contamination of other jars.
By following these storage guidelines, you can ensure that your dehydrated food stays fresh, flavorful, and safe to consume for an extended period. In the next section, we will discuss monitoring the storage conditions to maintain the quality of the food.
Monitoring the Storage Conditions
Monitoring the storage conditions of your mason jars filled with dehydrated food is essential to maintain their quality and safety. Here are some tips for effectively monitoring the storage conditions:
1. Regular Inspections: Set a schedule for regular inspections of the stored mason jars. Check for any signs of spoilage, such as mold growth, unusual odors, or damaged lids. It’s important to catch any issues early to prevent contamination of other jars.
2. Temperature and Humidity: Keep an eye on the temperature and humidity levels in the storage area. If possible, use a thermometer and hygrometer to monitor these factors. Aim for a cool and dry environment, as high temperatures and excessive moisture can lead to food spoilage.
3. Pest Control: Ensure that the storage area is free from pests such as insects or rodents. Regularly inspect the surroundings and take necessary measures to prevent infestations. Store the mason jars in sealed containers or on shelves to protect them from any potential pest damage.
4. Labeling and Rotation: Check the labels on the mason jars to confirm the content and date of storage. Maintain a system for rotating your stock and using the oldest food first. This practice helps to ensure that none of the dehydrated food goes unused and avoids any waste.
5. Shelf Life Awareness: Familiarize yourself with the shelf life of different dehydrated food items. While most dehydrated foods have a long shelf life, it’s still important to be aware of their recommended storage duration. Consume the food within the specified time frame for the best flavor and quality.
By actively monitoring the storage conditions of your mason jars, you can ensure that the dehydrated food remains safe and in optimal condition for an extended period. In the next section, we will discuss how to properly utilize the dehydrated food from the mason jars.
Using Dehydrated Food from Mason Jars
When it’s time to use the dehydrated food stored in your mason jars, there are several steps you can follow to ensure the best results. Here’s how to effectively utilize the dehydrated food:
1. Preparation: Before using the dehydrated food, it’s important to rehydrate it if necessary. Not all dehydrated foods require rehydration, but for items like fruits, vegetables, or meats, you may need to soak them in water or broth to restore their texture and flavor.
2. Portioning: Consider portioning out the dehydrated food before rehydrating it. This way, you can avoid excess waste by only preparing the amount needed for each meal. Proper portioning also allows for easy measurement when following recipes.
3. Cooking Methods: Dehydrated food can be incorporated into various recipes and cooking methods. You can add rehydrated fruits to smoothies, use vegetables in soups and stews, or incorporate dehydrated meat into casseroles or stir-fries. The possibilities are endless, so get creative with your culinary endeavors.
4. Flavor Enhancement: While dehydrated food retains its nutritional value, it may benefit from additional seasoning or flavor enhancement. Experiment with herbs, spices, and sauces to enhance the taste of the dishes you create. This will ensure that your meals are flavorful and enjoyable.
5. Storage After Use: If you have leftover rehydrated food, store it properly in airtight containers and refrigerate it. Keep in mind that the rehydrated food will have a shorter shelf life compared to the dehydrated version, so consume it within a few days to maintain its quality.
By following these steps, you can effectively utilize the dehydrated food stored in your mason jars, adding variety and nutrition to your meals. In the final section, we will summarize the key points and emphasize the importance of proper storage and usage of dehydrated food.
Read more: How To Store Mason Jars
Conclusion
Storing dehydrated food in mason jars is an excellent way to preserve its freshness and extend its shelf life. By choosing the right jars, preparing the food properly, filling the jars with care, removing air, and sealing them tightly, you can ensure that your dehydrated food remains in optimal condition for an extended period.
Monitoring the storage conditions, such as temperature, humidity, and pest control, is essential to maintain the quality and safety of the stored food. Regular inspections and proper rotation of stock help ensure that the oldest food gets consumed first, minimizing waste.
When it’s time to use the dehydrated food, rehydrate it as necessary and follow proper portioning and cooking methods. Enhance the flavor with herbs, spices, and sauces, and store any leftovers in airtight containers in the refrigerator for short-term use.
By following these guidelines, you can enjoy the benefits of dehydrated food, including long-term storage, preserved nutritional value, and the convenience of having a variety of ingredients readily available for your meals.
Remember, the key to successful storage and usage of dehydrated food lies in proper preparation, sealed mason jars, controlled storage conditions, and regular monitoring. With these steps in place, you can confidently enjoy the benefits of your dehydrated food for months or even years to come.
Frequently Asked Questions about How To Store Dehydrated Food In Mason Jars
Was this page helpful?
At Storables.com, we guarantee accurate and reliable information. Our content, validated by Expert Board Contributors, is crafted following stringent Editorial Policies. We're committed to providing you with well-researched, expert-backed insights for all your informational needs.




0 thoughts on “How To Store Dehydrated Food In Mason Jars”