
Articles
How To Store Flour In Mason Jars
Modified: August 28, 2024
Discover the best way to store flour in mason jars with our informative articles. Keep your flour fresh and organized for all your baking needs.
(Many of the links in this article redirect to a specific reviewed product. Your purchase of these products through affiliate links helps to generate commission for Storables.com, at no extra cost. Learn more)
Introduction
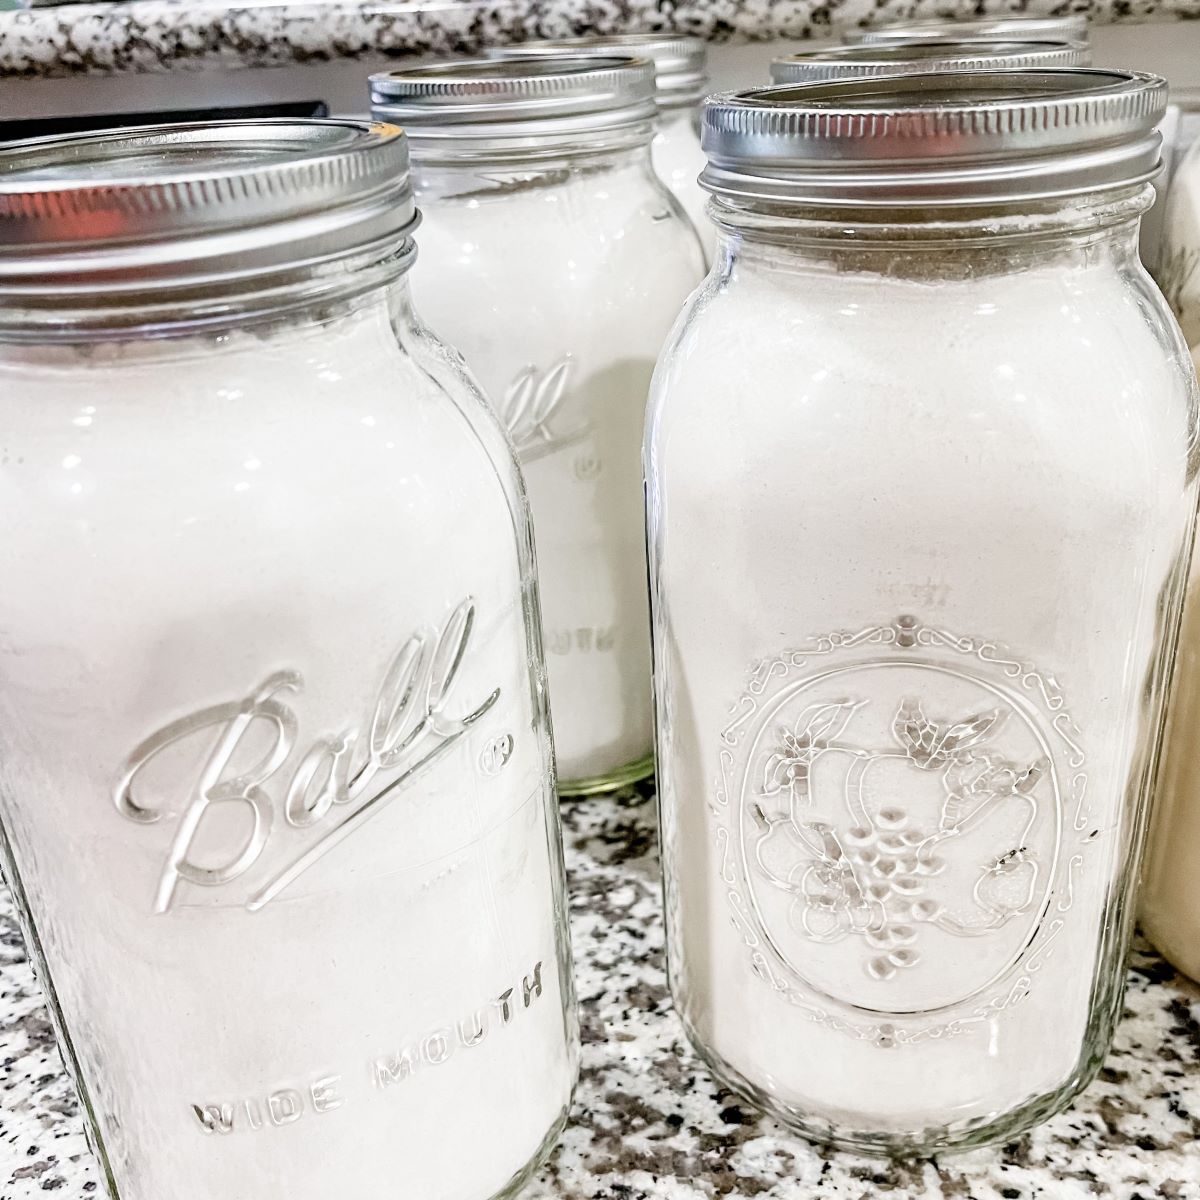
Storing flour properly is essential to maintaining its freshness and quality over time. While many people opt for storing flour in its original packaging, using mason jars can be a more practical and effective solution. Mason jars not only provide an airtight seal to keep out moisture and pests but also allow for easy identification and organization of different types of flour.
In this article, we will explore the benefits of storing flour in mason jars, how to choose suitable jars, the process of cleaning and sterilizing them, and step-by-step instructions for filling, sealing, and labeling the jars. Additionally, we will provide some tips to ensure that your flour stays fresh and usable for a longer period.
So, if you’re ready to take your flour storage game to the next level, let’s dive in!
Key Takeaways:
- Upgrade your flour storage game by using mason jars for improved freshness, easy identification, and space-saving organization. Say goodbye to messy spills and hello to longer shelf life!
- Choose the right mason jars, clean and sterilize them, prepare your flour, fill the jars with care, seal and label them, and store in a cool, dark place for optimal flour freshness.
Read more: How To Store Mason Jars
Benefits of Storing Flour in Mason Jars
Storing flour in mason jars offers several advantages compared to keeping it in its original packaging. Let’s explore the benefits:
- Improved freshness: Mason jars provide an airtight seal, preventing air and moisture from getting into the flour. This helps to maintain its freshness for a longer period. The seal also keeps out pests, such as insects and rodents, that may damage the flour.
- Easy identification: Clear glass mason jars allow you to see the contents at a glance. This makes it easier to identify different types of flour without the need to open each container. You can label the jars with the specific flour type, ensuring quick and effortless access when needed.
- Space-saving: Mason jars are stackable, which helps to maximize storage space. Unlike bulky bags or boxes that take up a lot of room, mason jars can be neatly organized and stored on shelves or in a pantry, saving valuable kitchen space.
- Reduced mess: Using mason jars eliminates the risk of flour spilling or tearing open bags, which can create a messy and difficult-to-clean situation. With mason jars, you can pour and measure flour with ease, minimizing spills and keeping your kitchen tidy.
- Durable and reusable: Mason jars are made of sturdy glass that can withstand regular use and the rigors of storage. They are designed to be reused, making them an eco-friendly choice for flour storage. By using mason jars instead of single-use plastic bags, you contribute to reducing waste.
- Longer shelf life: Properly stored flour can maintain its quality and usability for an extended period, thanks to the airtight seal provided by mason jars. This allows you to buy flour in bulk, taking advantage of better prices without worrying about it going stale or spoiling quickly.
With these benefits in mind, it’s clear why storing flour in mason jars is a smart choice for any home baker, cooking enthusiast, or anyone who wants to keep their pantry organized and their ingredients fresh.
Choosing the Right Mason Jars
When it comes to choosing mason jars for storing flour, there are a few factors to consider. Here are some tips to help you select the right ones:
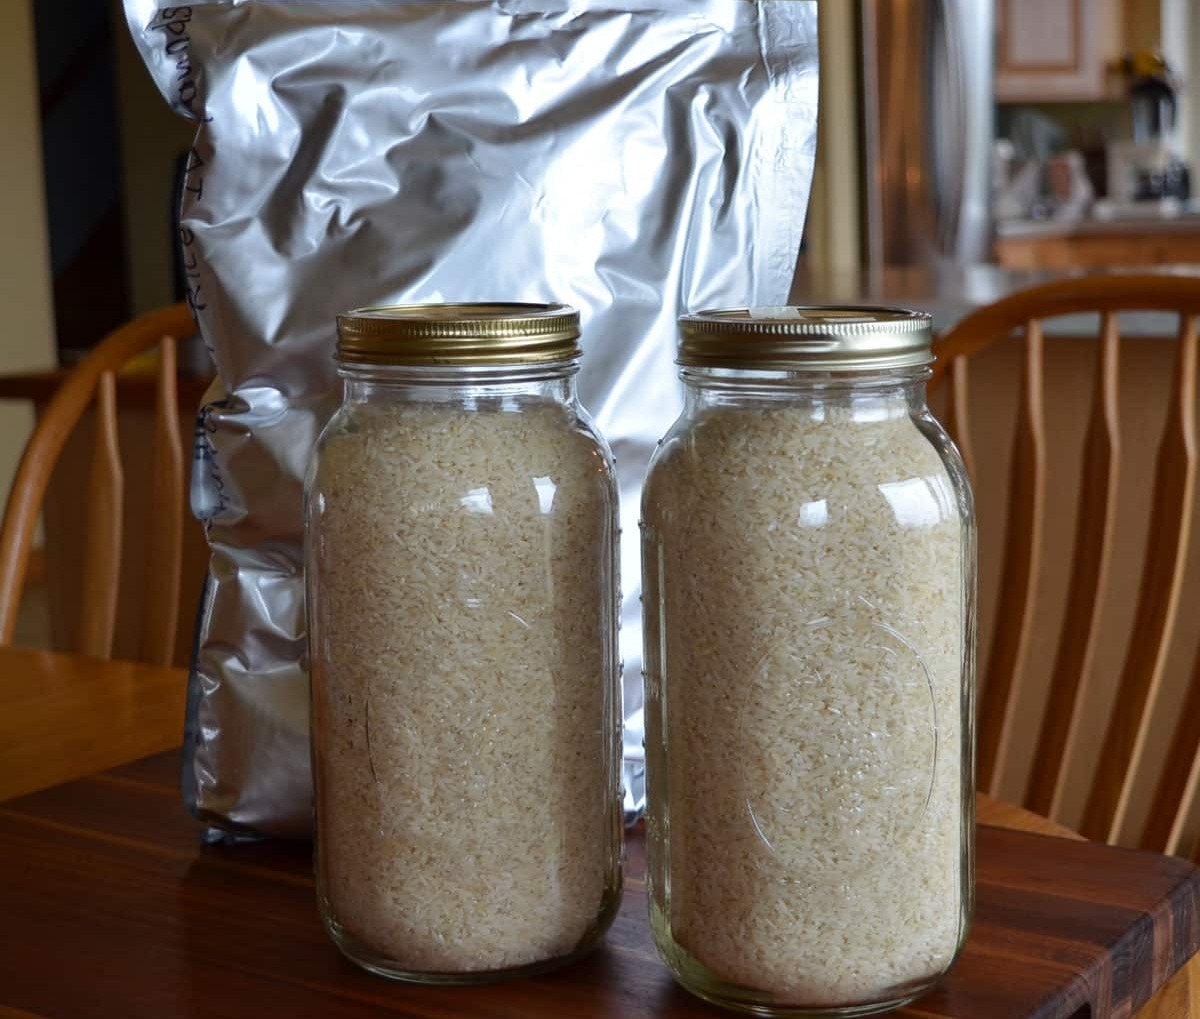
- Size: Consider the quantity of flour you plan to store. Mason jars come in various sizes, ranging from small half-pint jars to larger quart or half-gallon jars. Choose a size that can accommodate your flour needs without leaving too much empty space in the jar. This helps to minimize air exposure and maintain freshness.
- Type: Opt for regular-mouth mason jars rather than wide-mouth jars. Regular-mouth jars provide a better seal, ensuring that air and moisture are kept out effectively. The narrower opening also makes it easier to pour and dispense flour while minimizing spills.
- Material: Glass mason jars are the best choice for storing flour. Glass is non-reactive, ensuring that the quality and flavor of the flour are preserved. It is also sturdy and easy to clean. Avoid plastic jars or containers, as they may absorb odors or impact the quality of the flour over time.
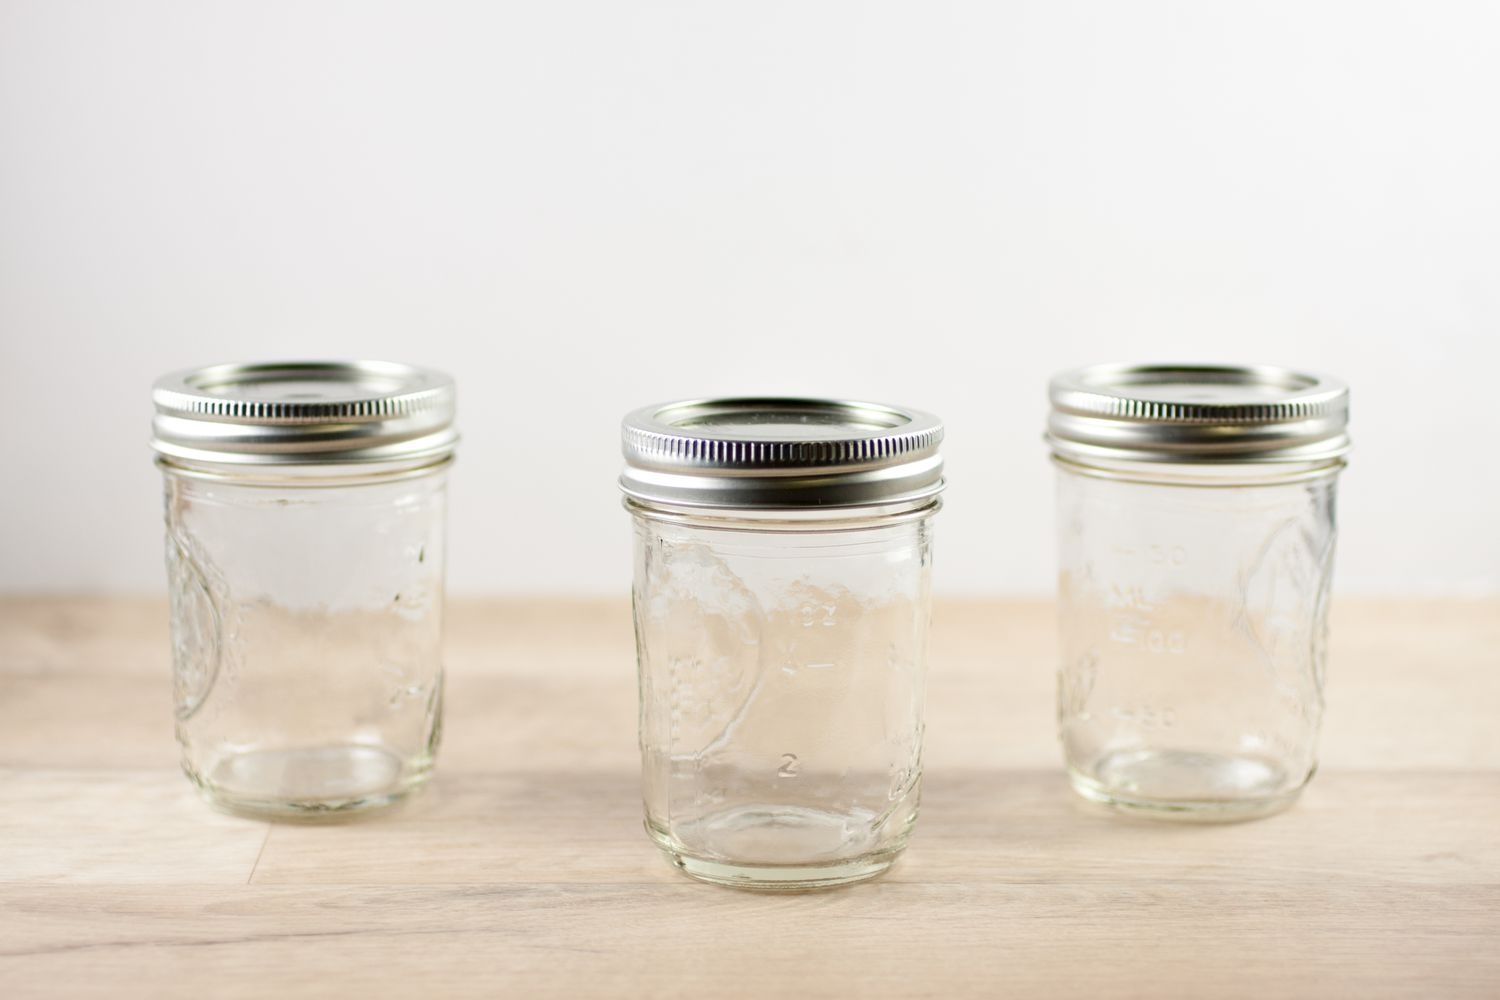
- Sealability: Check for mason jars with reliable sealing mechanisms. Look for jars with two-piece lids, consisting of a flat metal disc and a screw-on band. This combination creates a tight seal, keeping your flour fresh and protected.
- Clear glass: Opt for mason jars made of clear glass. This allows you to easily see the contents, making it convenient to identify different types of flour at a glance. Additionally, clear glass jars give a visually appealing look to your pantry or kitchen shelves.
Remember to consider your specific needs and storage space when choosing mason jars. It’s also a good idea to purchase a few extra jars to have on hand for future use or in case of breakage.
By selecting the right mason jars, you can ensure that your flour is stored in an efficient and visually pleasing manner, while maintaining its quality and freshness for an extended period.
Cleaning and Sterilizing Mason Jars
Before using mason jars to store flour, it’s crucial to clean and sterilize them properly to ensure that they are free from any contaminants. Follow these steps to clean and sterilize your mason jars:
- Disassemble the jars: Separate the metal lid and screw-on band from the glass jar.
- Wash with warm soapy water: Fill a sink or basin with warm water and add a few drops of dish soap. Place the glass jars, lids, and screw-on bands into the soapy water. Use a sponge or brush to scrub away any dirt or residue. Pay special attention to the rim and threads of the jars where flour could potentially be trapped.
- Rinse thoroughly: Rinse the jars, lids, and screw-on bands with warm water to remove any soap residue.
- Sterilization: Once the jars are clean, you need to sterilize them to eliminate any bacteria or microorganisms. There are a few ways to sterilize mason jars:
- Boiling method: Place the jars, lids, and screw-on bands in a large pot filled with water. Bring the water to a boil and let it boil for about 10 minutes. Carefully remove the jars from the boiling water using tongs and allow them to cool on a clean towel.
- Oven method: Preheat the oven to 250°F (121°C). Place the jars, lids, and screw-on bands on a baking sheet and put them in the oven for about 15 minutes. Remove them from the oven and let them cool on a heat-resistant surface.
- Dishwasher method: If your mason jars are dishwasher-safe, you can place them, along with the lids and screw-on bands, in the dishwasher and run a high-temperature cycle.
- Dry thoroughly: Once the jars are sterilized and cooled, make sure they are completely dry before using them for flour storage. Moisture can lead to the growth of mold or bacteria, which can spoil the flour.
Remember to handle the clean and sterilized jars with clean hands or use clean utensils to avoid introducing any contaminants.
By properly cleaning and sterilizing your mason jars, you ensure a hygienic storage environment for your flour, allowing it to stay fresh and safe for use over an extended period.
Preparing the Flour for Storage
Before transferring the flour to the mason jars, it’s important to ensure that the flour is prepared correctly. This involves certain steps to improve its longevity and maintain its quality while in storage:
- Sifting: If your flour appears clumpy or has small particles, it’s a good idea to sift it before storing. Sifting helps to remove any impurities and aerate the flour, ensuring a smoother texture.
- Removing foreign objects: Inspect the flour for any foreign objects like bugs, debris, or packaging materials. It’s crucial to remove these objects to prevent contamination and spoilage.
- Drying: If your flour feels damp or moist, spread it out on a baking sheet and let it air dry for a few hours. Moisture can lead to the growth of mold or bacteria, impacting the quality of the flour. Ensure that the flour is completely dry before storing it.
- Using a food-grade container: If your flour came in a paper or plastic bag, transfer it to a food-grade storage container or a clean, airtight bag that is suitable for food storage. This helps to protect the flour from moisture and odors.
- Note the expiration date: Take note of the expiration date or the date of purchase on your flour. This will help you keep track of its freshness and ensure that you use up older flour first.
By preparing the flour properly, you are setting the foundation for long-lasting and high-quality storage. It’s worth the extra effort to ensure that your flour remains fresh and ready to use whenever you need it.
Store flour in mason jars by making sure they are clean and completely dry before filling them. Use a funnel to easily transfer the flour into the jars and label them with the type of flour and the date of purchase. Keep the jars in a cool, dark place to maintain freshness.
Read more: How To Store Blueberries In Mason Jars
Filling the Mason Jars with Flour
Now that your mason jars are clean and dry, it’s time to fill them with flour. Follow these steps to ensure an efficient and mess-free filling process:
- Prepare a clean work area: Find a spacious and clean area to work on. This will make it easier to handle the jars and pour the flour without spills or accidents.
- Use a funnel: Place a funnel in the mouth of each mason jar. The funnel will help guide the flour into the jar, minimizing spills and ensuring a neat transfer.
- Measure the amount of flour: Use a measuring cup or kitchen scale to measure out the desired amount of flour for each jar. Fill the jars to a level that leaves a small space at the top, usually about 1 inch, to allow for proper sealing.
- Pour the flour: Slowly pour the measured flour into the funnel, allowing it to flow into the jar. Take your time to avoid overfilling and to ensure an even distribution of flour in the jar.
- Tap the jar gently: After pouring the flour, tap the jar gently on the countertop a few times to help settle the flour and remove any air pockets. This will ensure that the jar is evenly filled and the flour is compacted.
- Remove the funnel: Carefully remove the funnel from the jar without disturbing the flour. Use a clean cloth or paper towel to wipe off any excess flour from the rim of the jar.
- Repeat for each jar: Repeat the process for each mason jar until all the flour is transferred and the jars are filled.
By following these steps, you can fill your mason jars with flour efficiently and neatly. Taking the time to pour the flour carefully and tap the jars to remove air pockets ensures a well-packed and organized storage solution.
Sealing and Labeling the Mason Jars
After filling the mason jars with flour, it’s crucial to seal them properly to maintain their freshness and prevent any contamination. Additionally, labeling the jars will make it easier to identify the contents. Follow these steps to seal and label your mason jars:
- Clean the rims: Before sealing, make sure the rims of the jars are clean and free from any flour particles or moisture. This will ensure a proper seal.
- Place the metal disc: Take the metal disc from the jar lid and center it on the rim of the jar.
- Secure with the screw-on band: Take the screw-on band and place it over the metal disc. Twist it clockwise until it is securely tightened. This will create an airtight seal.
- Label the jars: Use labels or stickers to clearly identify the contents of each mason jar. Write the type of flour and, if desired, any additional information such as the date of storage or expiration date. Alternatively, you can use a label maker for a more professional and uniform look.
- Attach the label: Place the label or sticker on the side or lid of the mason jar. Ensure it is securely adhered and easily visible.
- Optional: Decorate the jars: If desired, you can further personalize your mason jars by decorating them with ribbons, tags, or other decorative elements. This adds a touch of creativity and can make your pantry or storage area more visually appealing.
By properly sealing and labeling your mason jars, you create airtight storage containers for your flour and make it easy to identify different types of flour at a glance. The sealed jars will keep your flour fresh and protected, while the labels ensure convenience and organization.
Storing Mason Jars of Flour
Now that your mason jars of flour are properly sealed and labeled, it’s time to store them in a suitable location. Follow these tips to ensure optimal storage conditions for your flour:
- Choose a cool and dark area: Find a cool, dry, and dark place to store your mason jars of flour. Exposure to heat, sunlight, and humidity can accelerate the deterioration of flour quality, so it’s best to keep them away from direct sunlight, stovetops, or areas prone to moisture.
- Avoid temperature fluctuations: Fluctuations in temperature can cause condensation, leading to moisture in the jars. Try to find a storage area with consistent temperatures to maintain the quality of the flour.
- Organize the jars: Arrange the mason jars of flour in an organized manner, either by type of flour or by expiration date. This makes it easier to locate and use the specific flour you need without disturbing other jars.
- Keep away from strong odors: Flour can easily absorb strong odors, which can affect its taste and quality. Store the mason jars away from pungent spices, cleaning chemicals, or any other materials with strong odors.
- Check for pests: Regularly inspect the storage area and jars for any signs of pests, such as insects or rodents. Properly sealing the jars should prevent pest infestations, but it’s always a good idea to stay vigilant.
- Rotate your stock: To maintain the highest quality flour, it’s recommended to use the oldest jars of flour first and rotate your stock. This ensures that you are consuming the flour before it reaches its expiration date.
By following these storage tips, you can prolong the freshness and usability of your flour. Storing mason jars of flour in a cool, dark, and organized environment helps to maintain their quality for an extended period, ensuring that you always have a fresh supply of flour on hand for your culinary adventures.
Tips for Properly Storing Flour
In addition to using mason jars for storing flour, there are a few additional tips that can help ensure the longevity and quality of your stored flour. Consider these tips for properly storing flour:
- Use airtight containers: Whether you choose mason jars or other airtight containers, make sure they have a secure seal to keep out moisture and pests.
- Store in a cool location: Heat can cause flour to spoil more quickly, so find a cool spot in your pantry or cupboard away from direct sunlight and sources of heat.
- Keep away from strong odors: Flour can easily absorb strong odors, which can impact its flavor and quality. Store flour away from strong-smelling substances like spices or cleaning products.
- Avoid temperature fluctuations: Rapid temperature changes can lead to condensation, which can make the flour damp and clumpy. Choose a storage space with consistent temperatures.
- Rotate your stock: To ensure freshness, use the oldest containers of flour first and replenish your stock. This helps to prevent flour from going past its expiration date.
- Monitor for pests: Regularly inspect your storage area and containers for any signs of pests. Avoidance of pests is essential to prevent contamination and spoilage.
- Label and date: Clearly label your flour containers with the type of flour and the date of storage. This helps you keep track of freshness and easily identify different types of flour.
- Consider freezing for long-term storage: If you need to store flour for an extended period, consider freezing it. Freezing can help preserve the flour’s quality and extend its shelf life. Ensure the flour is stored in airtight containers or freezer bags to prevent moisture absorption.
- Keep it dry: Moisture is the enemy of flour storage. Ensure the flour and storage containers are completely dry before sealing. Avoid storing flour in humid areas or near appliances that generate moisture, such as dishwashers or refrigerators.
By implementing these tips, you can extend the shelf life of your flour and maintain its freshness and quality. With proper storage techniques, you can ensure that your flour is always ready to use for your culinary endeavors.
Read more: How To Store Cucumbers In Mason Jars
Conclusion
Properly storing flour is essential for maintaining its freshness, flavor, and usability over time. Mason jars provide an excellent solution for storing flour, offering airtight seals, easy identification, and space-saving organization. By following the steps outlined in this article, you can ensure that your flour stays fresh, free from pests, and easily accessible.
In choosing the right mason jars, opt for sizes that accommodate your needs, select regular-mouth jars for better sealing, and prioritize glass jars for durability and non-reactivity. Cleaning and sterilizing the jars before use is essential to create a hygienic storage environment.
Preparing the flour by sifting, removing foreign objects, and ensuring dryness enhances its quality and longevity. Filling the mason jars with the flour, tapping to remove air pockets, and sealing them properly further protect the flour from moisture and contaminants.
Labeling the jars helps you quickly identify the contents, and storing them in a cool, dark, and organized space ensures optimal conditions for long-term storage. Additional tips, such as rotating your stock, monitoring for pests, and avoiding temperature fluctuations, contribute to maintaining the quality and usability of the flour.
By following these guidelines, you can take your flour storage to the next level, ensuring that your flour stays fresh, flavorful, and ready to use whenever you need it. So, grab your mason jars, clean them thoroughly, fill them with flour, seal them tightly, and enjoy the benefits of organized and efficient flour storage!
Ready to elevate your kitchen organization game? Dive into our detailed guide on flour storage and learn which containers are best for keeping your baking essentials fresh and within reach. If you're a fan of mason jars, our article on mason jars reviews freezer-safe options that promise durability and style for any pantry. For those who like to keep a tidy kitchen, don’t miss our insights on food storage solutions that will revolutionize how you store everything from snacks to staples.
Frequently Asked Questions about How To Store Flour In Mason Jars
Was this page helpful?
At Storables.com, we guarantee accurate and reliable information. Our content, validated by Expert Board Contributors, is crafted following stringent Editorial Policies. We're committed to providing you with well-researched, expert-backed insights for all your informational needs.





0 thoughts on “How To Store Flour In Mason Jars”