Articles
How To Store Frozen Yogurt Bark
Modified: December 7, 2023
Want to learn the best way to store frozen yogurt bark? Read our informative articles to discover tips and tricks for keeping your delicious treat fresh and tasty.
(Many of the links in this article redirect to a specific reviewed product. Your purchase of these products through affiliate links helps to generate commission for Storables.com, at no extra cost. Learn more)
Introduction
When it comes to healthy and delicious treats, frozen yogurt bark tops the list. This delightful dessert is simple to make, packed with nutrients, and customizable to suit your taste preferences. Whether you’re looking for a refreshing snack or a guilt-free indulgence, frozen yogurt bark is the perfect choice.
Not only is frozen yogurt bark incredibly delicious, but it’s also a great way to incorporate more fruits, nuts, and other wholesome ingredients into your diet. This frozen treat is easy to prepare at home, allowing you to experiment with various flavors and textures. Plus, it’s a hit with both kids and adults, making it a versatile choice for any occasion.
In this article, we’ll walk you through the step-by-step process of making and storing frozen yogurt bark. You’ll learn all the tricks and tips to ensure that your frozen yogurt bark stays fresh and delicious for days to come. So let’s get started!
Key Takeaways:
- Create your own customized frozen yogurt bark by experimenting with flavors, textures, and toppings. Enjoy a guilt-free, wholesome treat that satisfies your cravings in a healthier way.
- Store your homemade frozen yogurt bark properly to maintain its freshness and quality. With the right storage techniques, you can enjoy this delightful treat for weeks to come.
Read more: How To Store Yogurt Bark
Ingredients
To make the perfect batch of frozen yogurt bark, you’ll need the following ingredients:
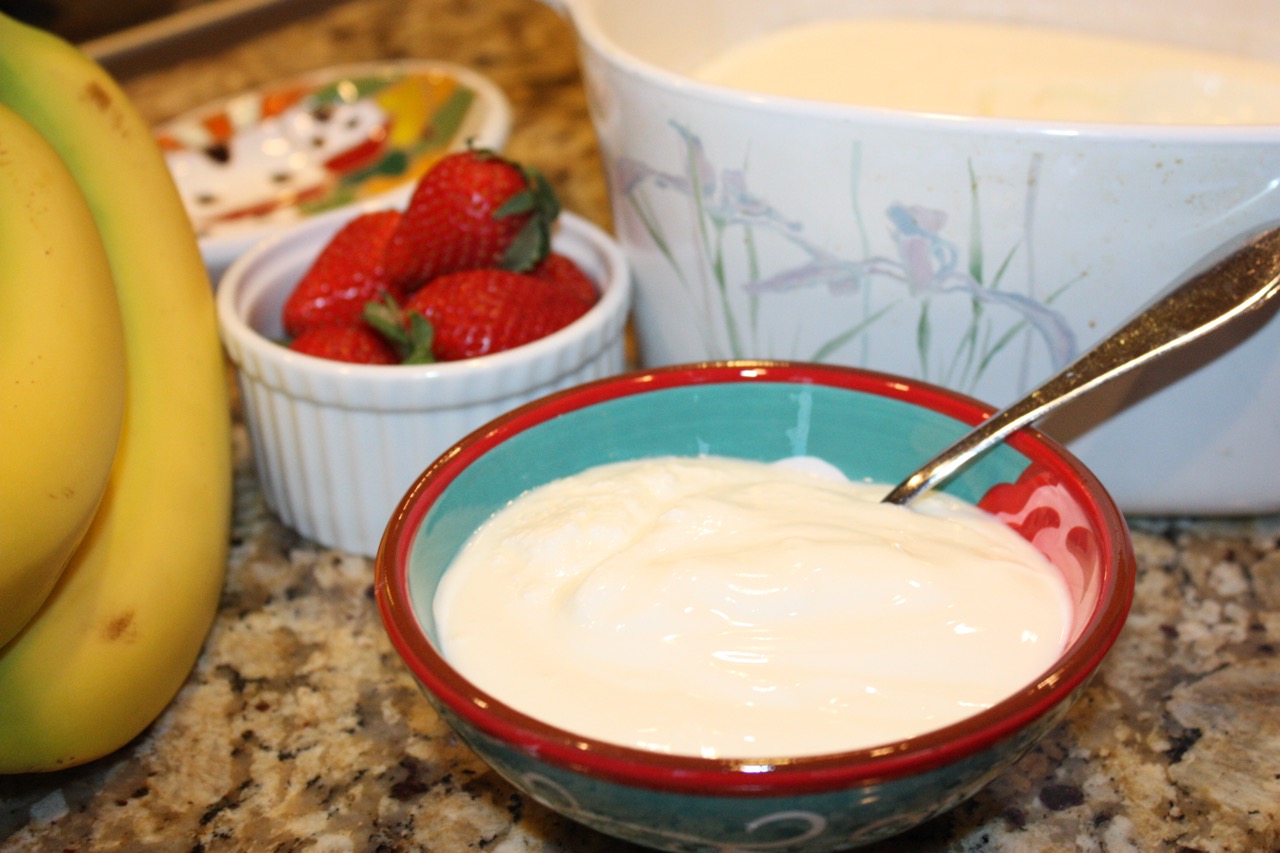
- 2 cups of Greek yogurt (you can use either plain or flavored yogurt)
- 2 tablespoons of honey or maple syrup (optional, for sweetness)
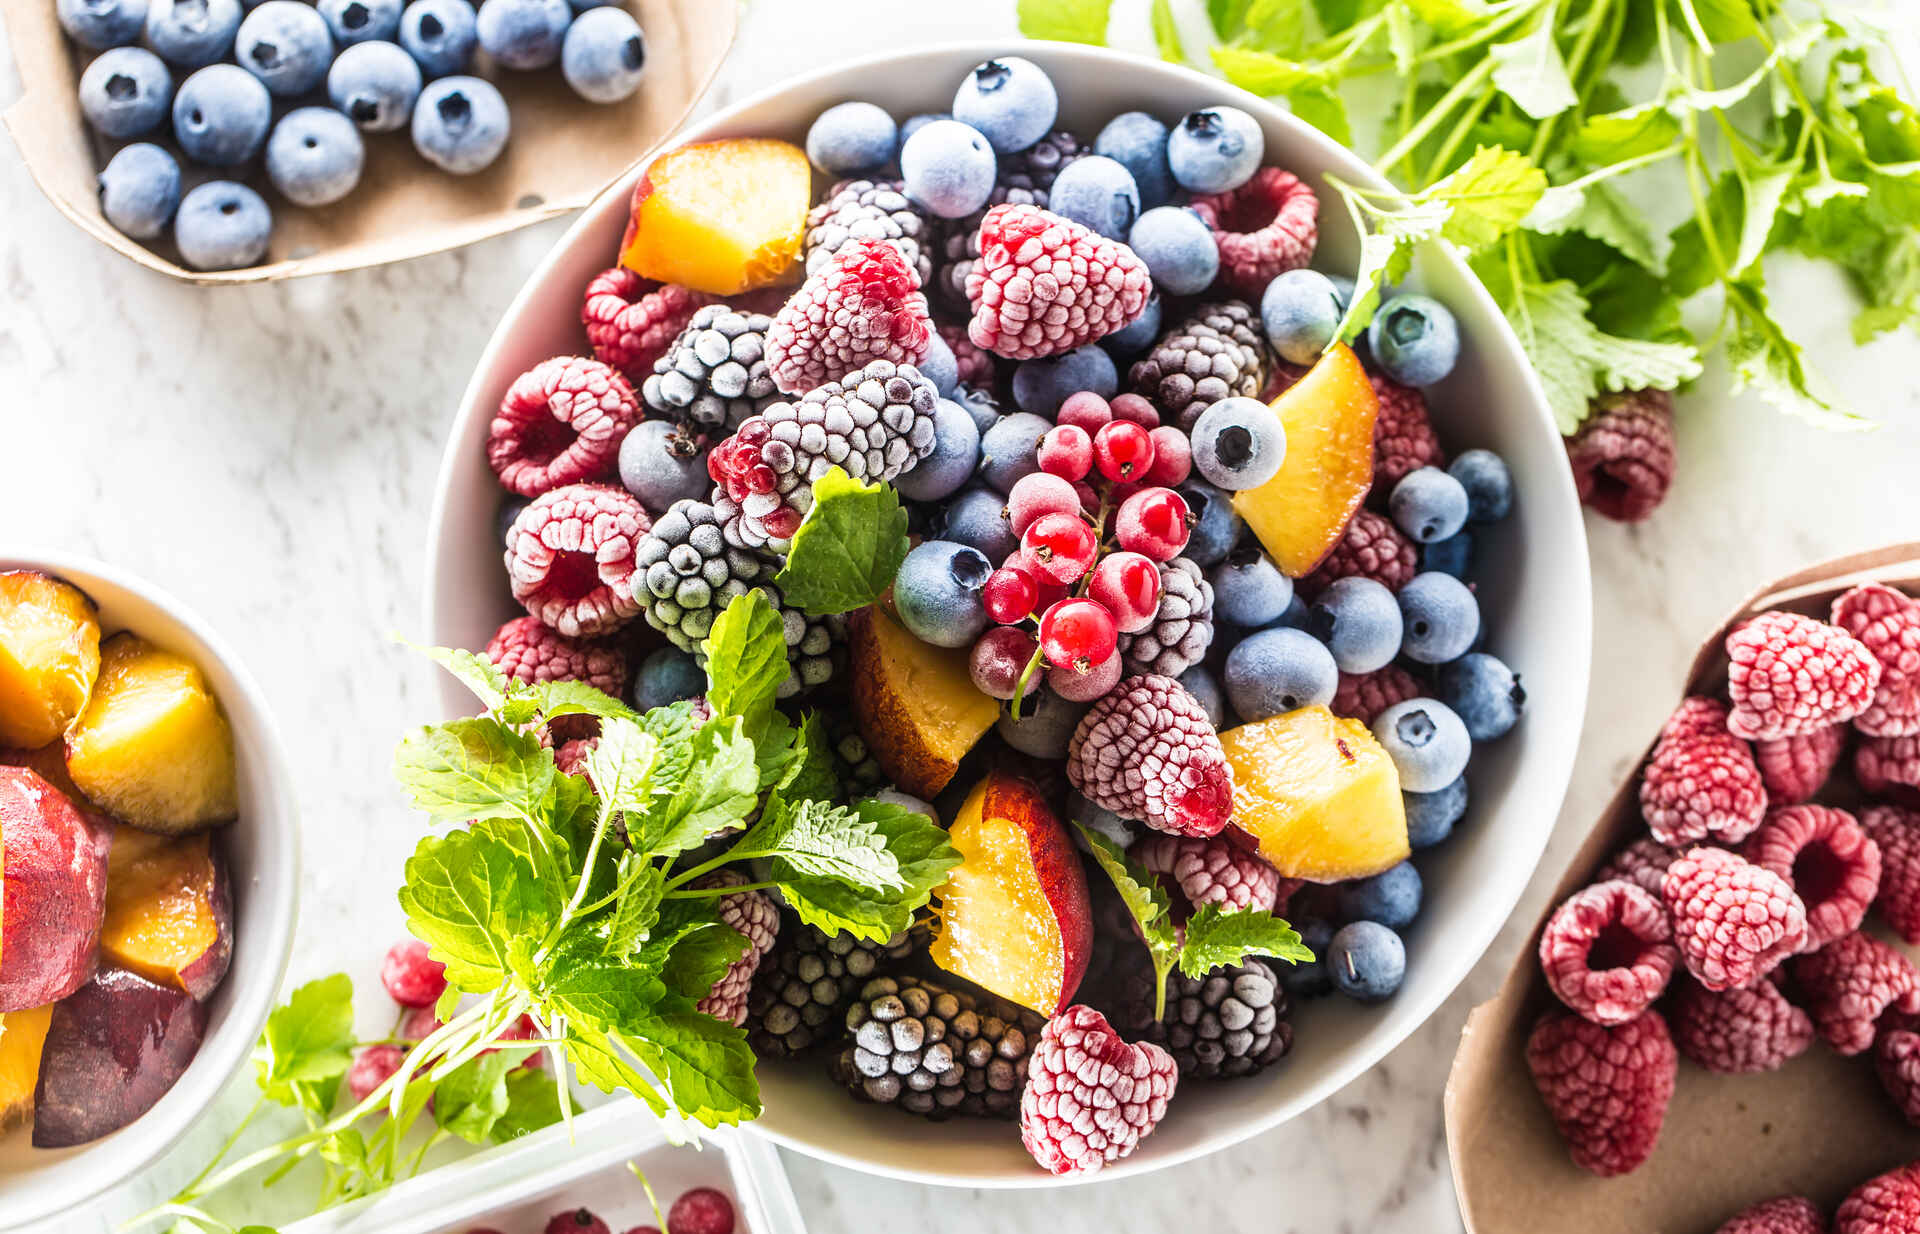
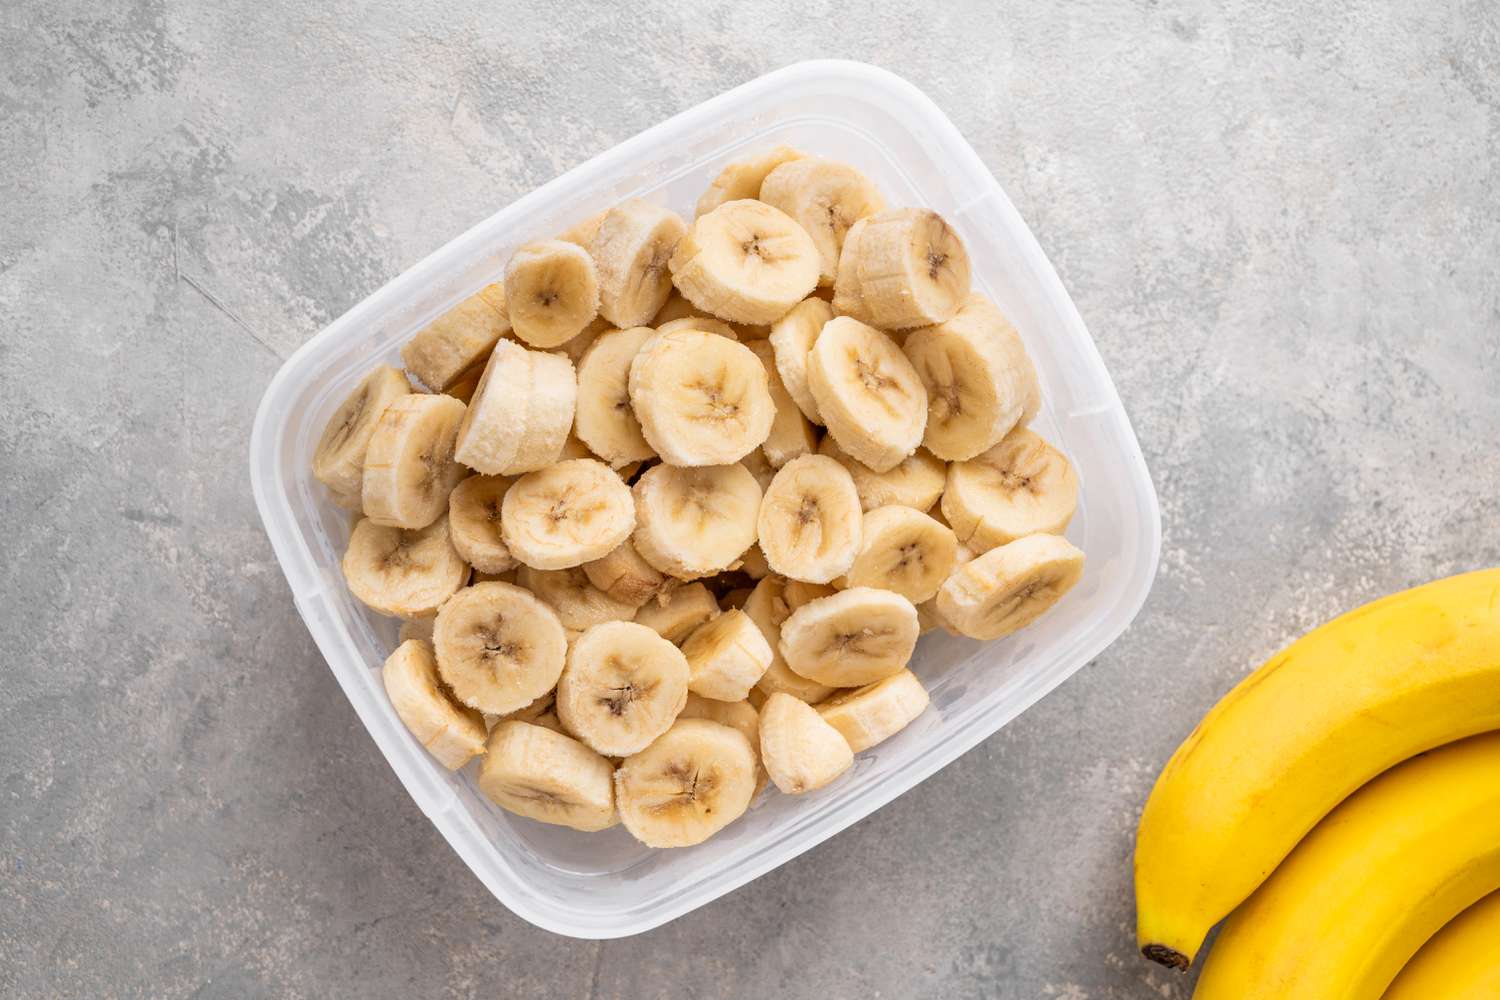
- 1/2 cup of your favorite toppings (such as fresh berries, sliced fruits, nuts, coconut flakes, chocolate chips, granola, or seeds)
Feel free to customize the ingredients to your liking. You can choose different flavors of yogurt or mix and match various toppings to create a unique and delightful frozen treat.
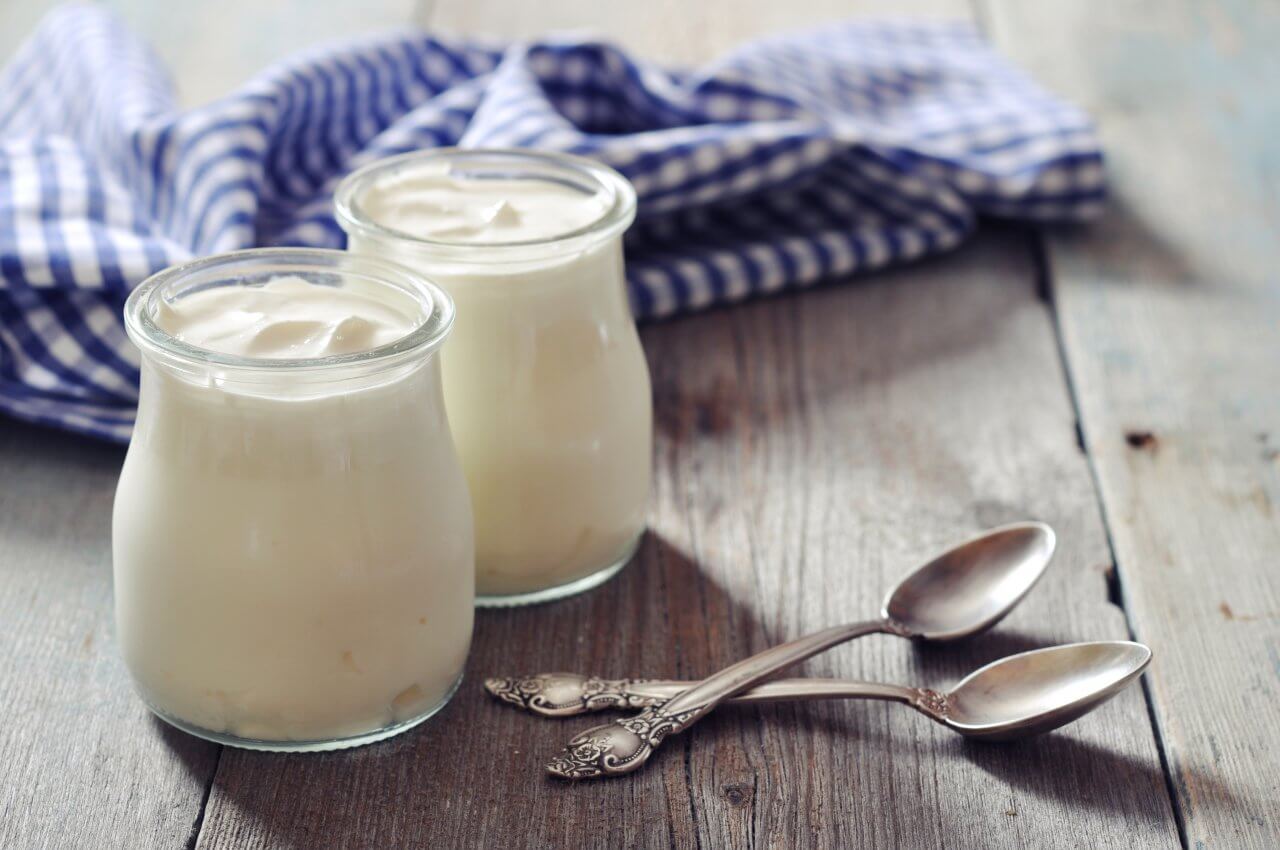
Note: Make sure the yogurt you use is thick and creamy. Greek yogurt works best for making frozen yogurt bark as it freezes well and has a tangy taste that complements the toppings.
Equipment
To make frozen yogurt bark, you’ll need the following equipment:
- Baking sheet or tray
- Parchment paper or silicone mat
- Mixing bowl
- Spatula or spoon for spreading the yogurt
- Knife or kitchen shears for cutting the bark into pieces
- Airtight container or freezer bags for storage
These basic kitchen tools are all you need to create the perfect frozen yogurt bark. Make sure to choose a baking sheet or tray that fits in your freezer and is large enough to spread the yogurt mixture evenly.
Parchment paper or a silicone mat is essential to line the baking sheet. This prevents the yogurt from sticking and makes it easier to remove the frozen bark once it’s ready.
Lastly, having an airtight container or freezer bags on hand will allow you to store the frozen yogurt bark properly to maintain its freshness and taste.
Step 1: Preparing the Yogurt Mixture
To start making frozen yogurt bark, follow these simple steps:
- Take the Greek yogurt out of the refrigerator and let it sit at room temperature for a few minutes. This will make it easier to mix.
- In a mixing bowl, combine the Greek yogurt with honey or maple syrup (if desired) and stir well until the sweetener is fully incorporated. This will add a touch of sweetness to the yogurt mixture. You can adjust the amount of sweetener according to your taste preferences.
- Optional: If you want to add flavors to the yogurt, you can mix in a teaspoon of vanilla extract, cocoa powder, or any other extract of your choice. This step allows you to get creative and experiment with different flavor combinations.
- Once the yogurt mixture is well-mixed and any additional flavors are added, it’s time to spread it onto the prepared baking sheet or tray. Use a spatula or the back of a spoon to spread the yogurt mixture evenly, making sure to create a smooth and level layer.
- Now is the perfect time to taste-test your yogurt mixture. If you feel that more sweetness or flavoring is needed, you can drizzle some honey or sprinkle a little cinnamon on top.
Once you’ve completed these steps, you’re ready to move on to the next exciting step of adding the toppings to your frozen yogurt bark!
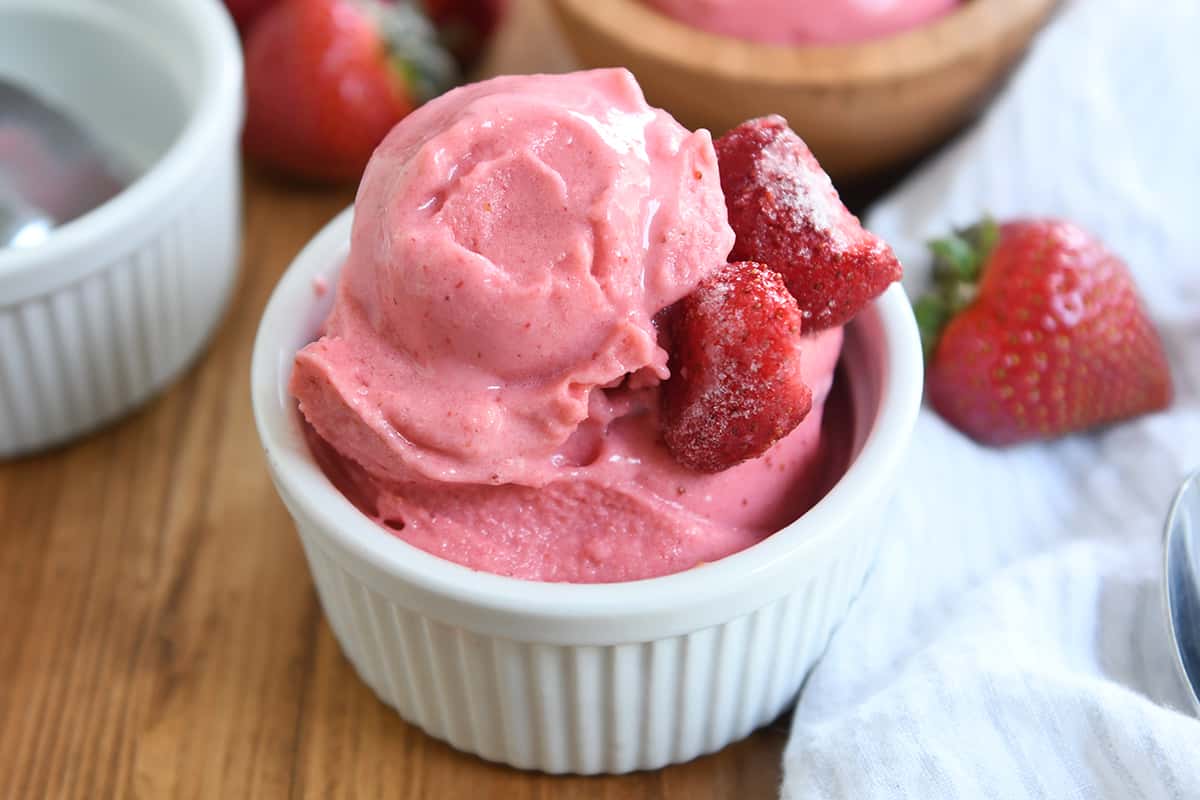
Store frozen yogurt bark in an airtight container or resealable plastic bag in the freezer. Layer the bark with parchment paper to prevent sticking. This will keep it fresh and prevent freezer burn.
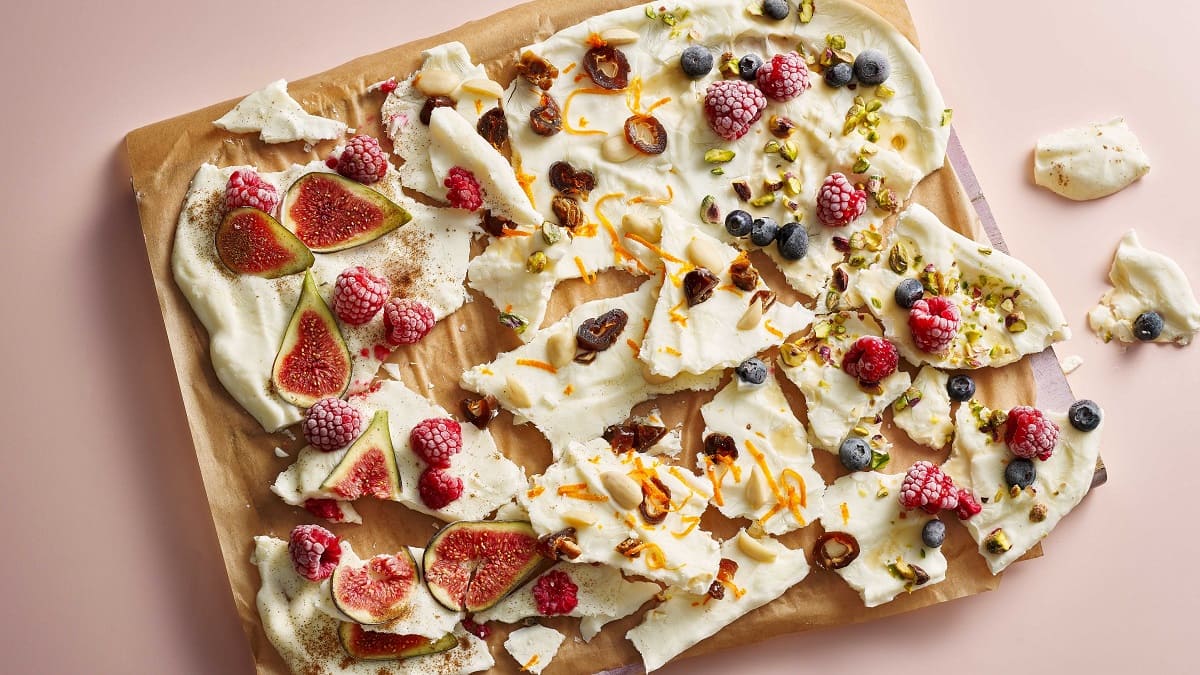
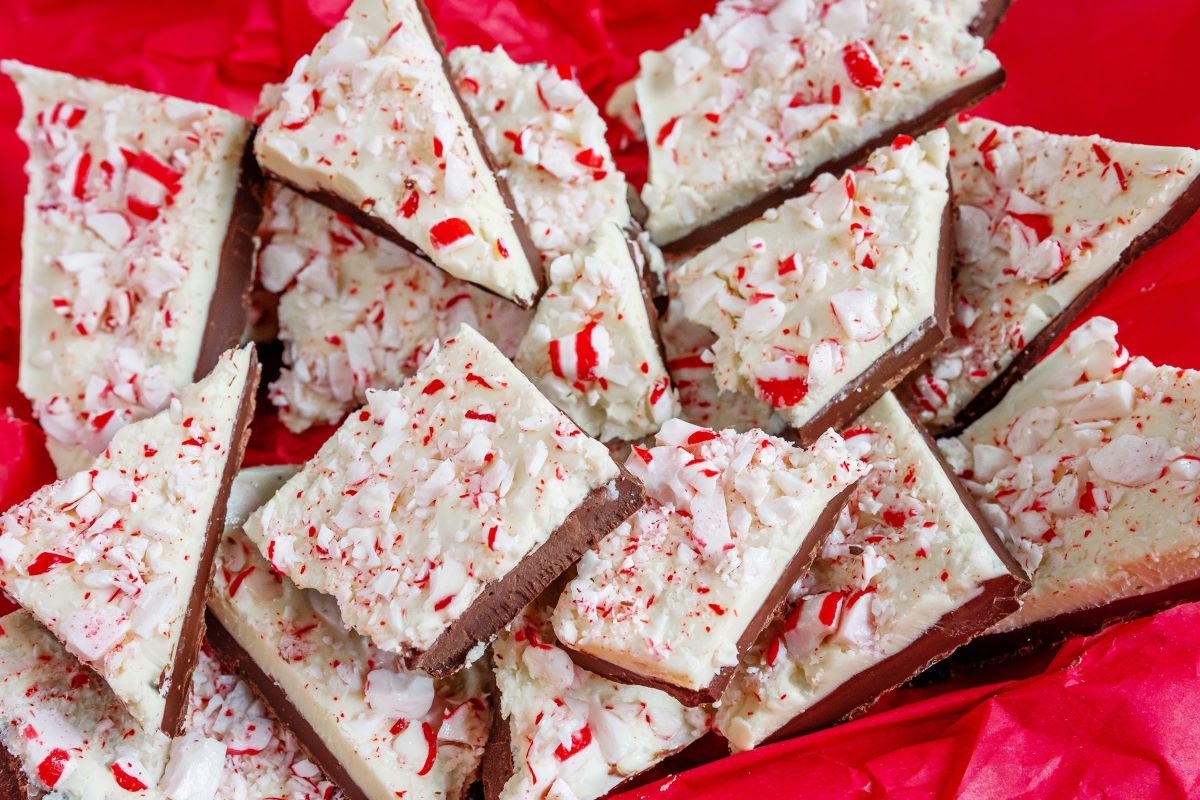
Step 2: Adding the Toppings
Adding toppings to your frozen yogurt bark is where you can get creative and customize your dessert to your liking. Here’s how to do it:
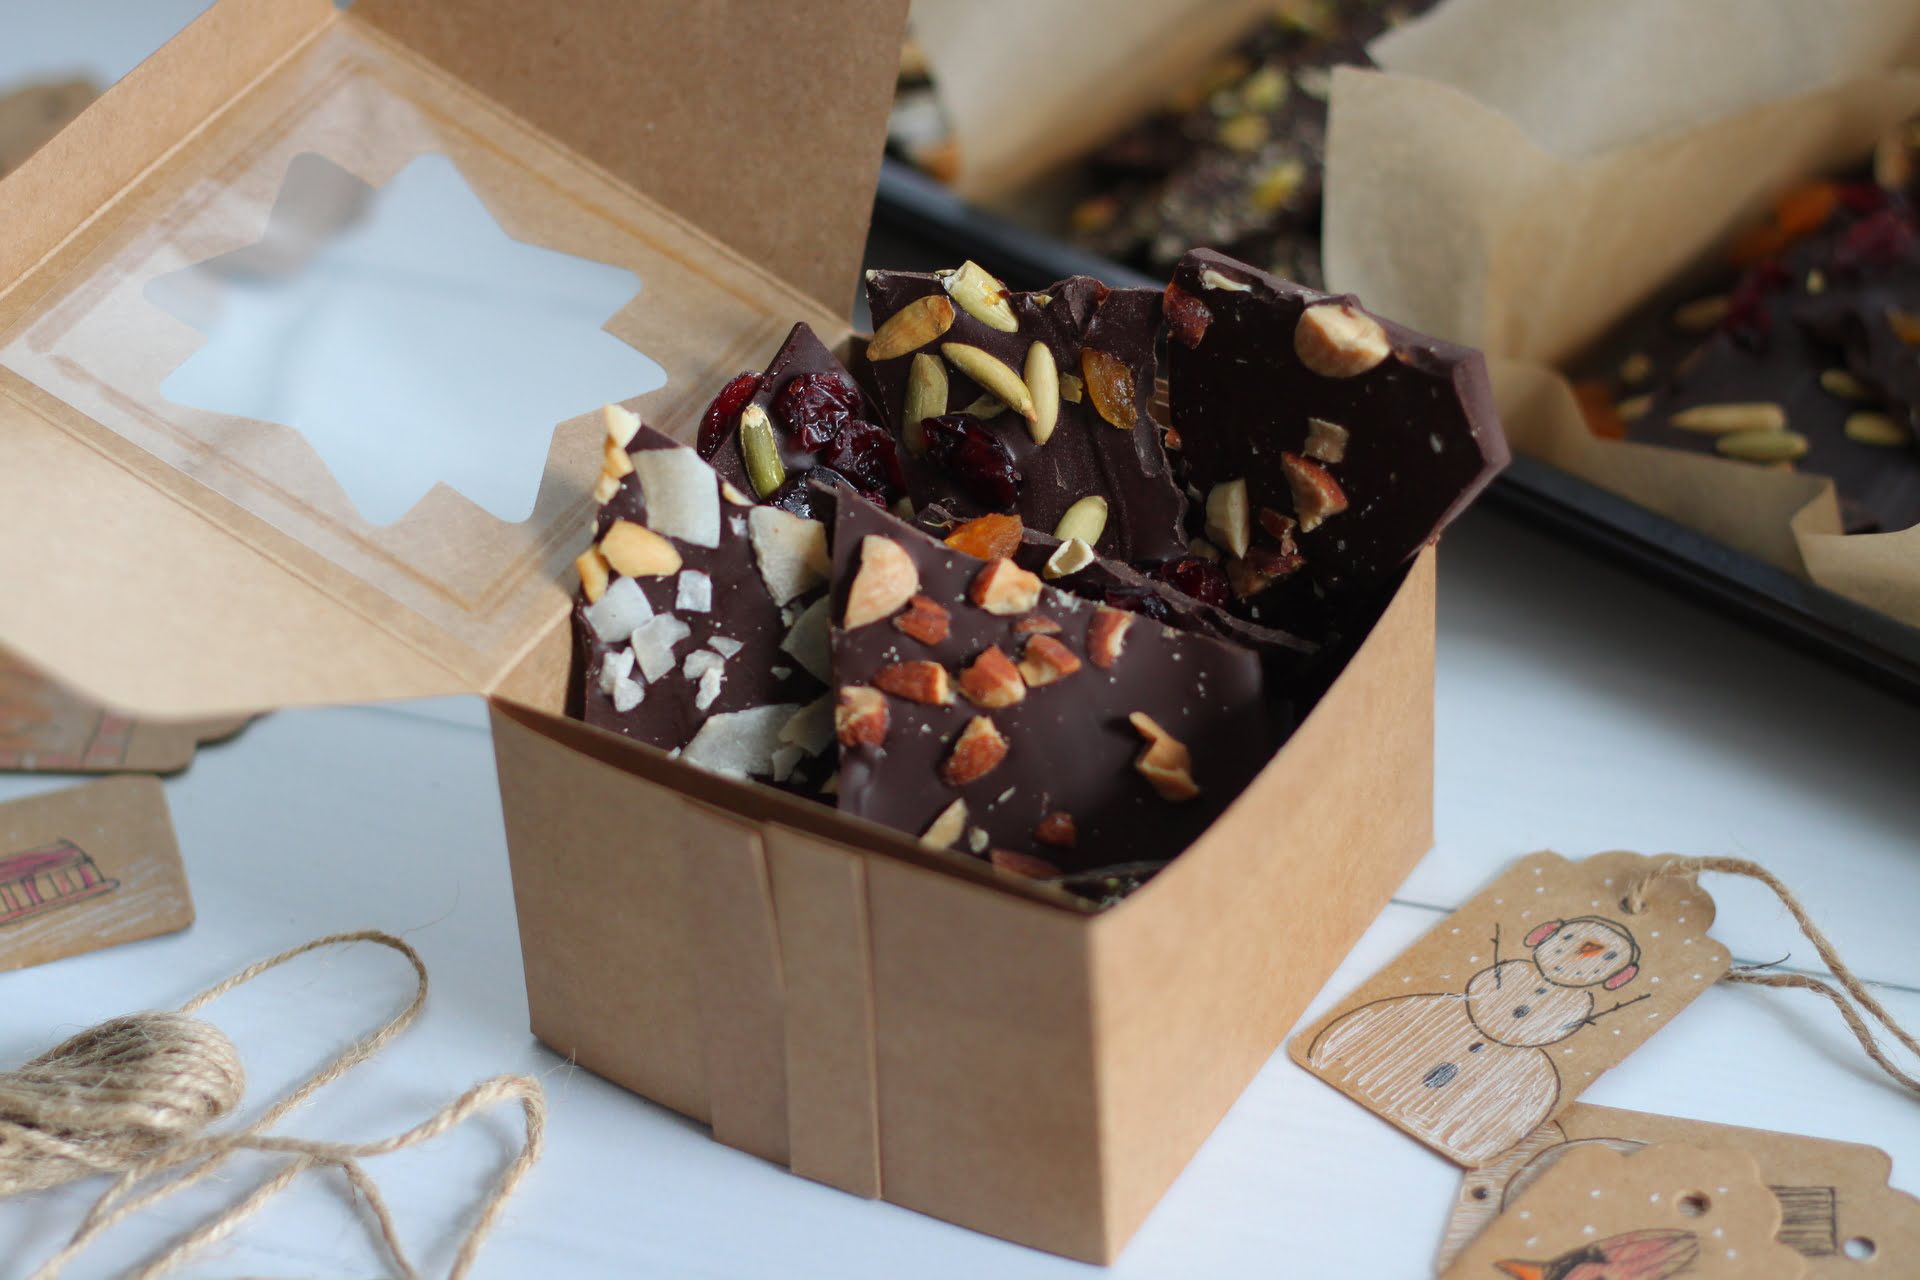
- Start by selecting your favorite toppings. You can choose from fresh fruits like berries, sliced fruits, or even tropical options like mango or pineapple. Nuts, such as almonds, walnuts, or pecans, add a satisfying crunch. Other options include coconut flakes, chocolate chips, granola, or seeds like chia or flaxseed.
- Sprinkle or arrange the toppings on top of the yogurt mixture. Be generous with the toppings to ensure that each bite is bursting with flavor and texture.
- Experiment with different combinations or create sections with different toppings. This way, you can enjoy a variety of flavors in each piece of frozen yogurt bark.
- Gently press down on the toppings so that they adhere to the yogurt mixture. This will prevent them from falling off when the bark is frozen and ready to be eaten.
Remember, the toppings are not only for visual appeal but also provide a delightful contrast to the creamy yogurt base. Feel free to get creative with your combinations and make the frozen yogurt bark uniquely yours!
Once you’ve added the toppings, it’s time to move on to the next step and freeze the yogurt bark to perfection!
Read more: How To Store Frozen Yogurt
Step 3: Freezing the Yogurt Bark
After adding the toppings to your frozen yogurt bark, it’s time to freeze it to achieve that perfect, refreshing texture. Follow these steps:
- Carefully place the baking sheet or tray with the yogurt mixture and toppings into the freezer. Make sure it’s placed on a flat surface to ensure an even freeze.
- Allow the yogurt bark to freeze for a minimum of 3 hours, or until it is completely solid. For best results, it’s recommended to freeze it overnight.
- During the freezing process, the yogurt mixture will firm up and the toppings will become nicely embedded in the bark.
It’s important to note that the freezing time may vary depending on your freezer’s temperature and the thickness of the yogurt mixture. It’s always a good idea to check the bark periodically to ensure it has reached the desired level of firmness.
Once the frozen yogurt bark is solid and ready to be enjoyed, you can proceed to the final step of storing it properly to preserve its quality and freshness.
Step 4: Storing the Frozen Yogurt Bark
Storing your frozen yogurt bark properly is crucial to maintain its freshness and prevent freezer burn. Follow these steps to ensure your frozen treat stays delicious:
- Once the yogurt bark is completely frozen, remove it from the freezer.
- Using a knife or kitchen shears, carefully cut the frozen bark into desired-sized pieces. You can make them as small or as large as you prefer.
- Prepare an airtight container or freezer bags that are suitable for freezing. These containers will help protect the bark from absorbing any odors and prevent the formation of ice crystals.
- Place the cut pieces of frozen yogurt bark into the container or bags, ensuring they are not touching one another. This prevents them from sticking together and makes it easier to grab a portion whenever you want to enjoy a piece.
- Seal the container or bags tightly to prevent any air from entering. If using bags, it’s helpful to gently squeeze out any excess air before sealing.
- Label the container or bags with the date to keep track of storage time.
- Return the frozen yogurt bark to the freezer and store them for up to 2 to 3 months. However, it’s best to consume them within the first month for optimal texture and flavor.
Now, whenever you’re craving a delightful and healthy frozen treat, you can simply grab a piece of frozen yogurt bark from the freezer and enjoy it straight away!
Remember to keep the frozen yogurt bark stored at a consistent temperature to ensure it stays fresh and delicious. Avoid frequent thawing and refreezing, as it can affect the texture and quality of the bark.
By following these storage guidelines, you can enjoy your homemade frozen yogurt bark for weeks to come!
Conclusion
Frozen yogurt bark is a delectable and nutritious treat that you can enjoy guilt-free. With its endless flavor combinations and easy-to-make nature, it’s a dessert that will bring both satisfaction and health benefits to your taste buds.
By following the step-by-step guide in this article, you now have the knowledge and confidence to create your own customized frozen yogurt bark. From preparing the yogurt mixture to adding your favorite toppings and freezing it to perfection, every step is designed to help you achieve a delicious and visually appealing dessert.
Remember to experiment with different flavors, textures, and toppings to create an endless array of frozen yogurt bark variations. It’s a fantastic opportunity to get creative in the kitchen and satisfy your cravings in a healthier way.
Once you have mastered the art of making frozen yogurt bark, you can easily store it in your freezer for whenever the craving strikes. Properly storing your bark ensures that it maintains its freshness and quality, allowing you to enjoy a delightful treat whenever you desire.
So go ahead, gather your ingredients, gather your equipment, and embark on your frozen yogurt bark journey. Get ready to indulge in a frozen dessert that not only delights your taste buds but also nourishes your body with its wholesome ingredients.
Enjoy the creamy, refreshing goodness of frozen yogurt bark and let yourself savor each bite knowing that you’ve created a healthy and satisfying treat that’s perfect for any occasion. Your taste buds will thank you!
Frequently Asked Questions about How To Store Frozen Yogurt Bark
Was this page helpful?
At Storables.com, we guarantee accurate and reliable information. Our content, validated by Expert Board Contributors, is crafted following stringent Editorial Policies. We're committed to providing you with well-researched, expert-backed insights for all your informational needs.


0 thoughts on “How To Store Frozen Yogurt Bark”