Home>Articles>How To Make Frozen Yogurt Without An Ice Cream Maker
Articles
How To Make Frozen Yogurt Without An Ice Cream Maker
Modified: February 27, 2024
Learn how to make delicious frozen yogurt without the need for an ice cream maker. Check out our informative articles for easy, homemade recipes and tips.
(Many of the links in this article redirect to a specific reviewed product. Your purchase of these products through affiliate links helps to generate commission for Storables.com, at no extra cost. Learn more)
Introduction
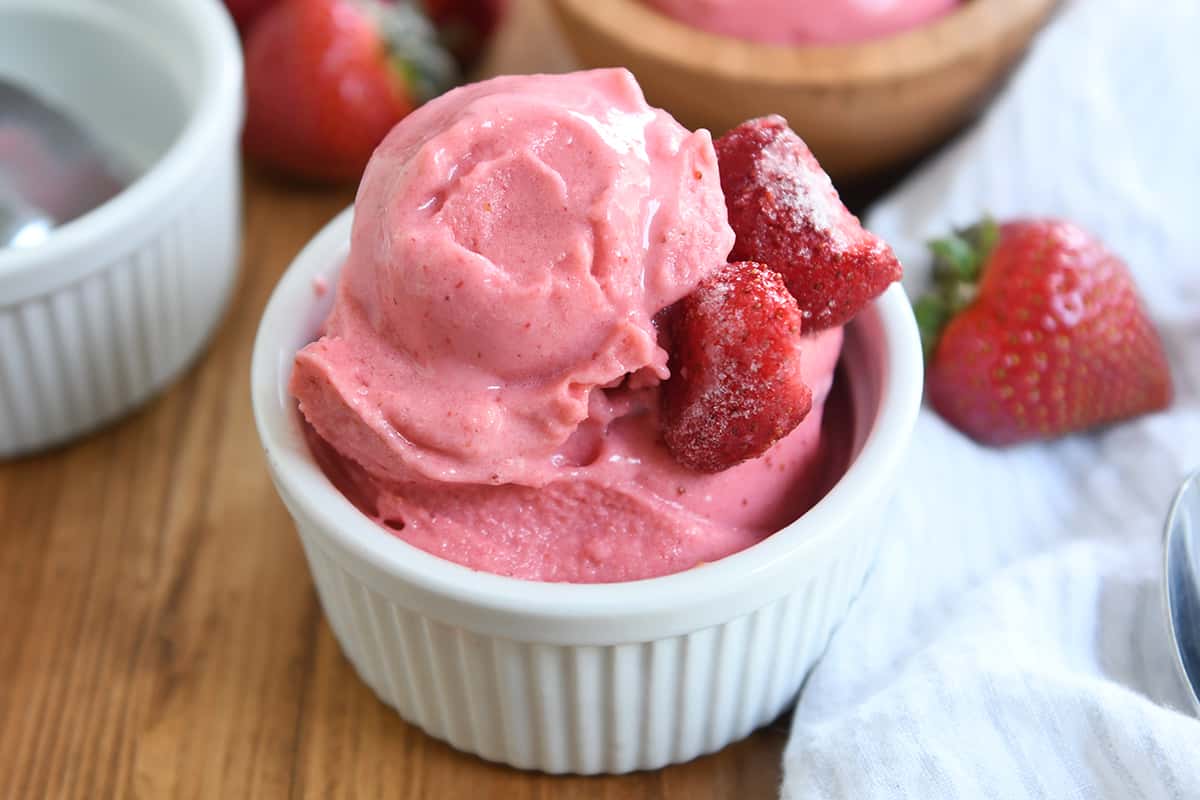
Frozen yogurt is a delicious and refreshing treat, perfect for those hot summer days or whenever you’re in the mood for a light and creamy dessert. While many people assume that you need an ice cream maker to make frozen yogurt, that’s not actually the case! In fact, you can create your own homemade frozen yogurt without any special equipment. In this article, we will guide you through the step-by-step process of making frozen yogurt without an ice cream maker.
There are a few advantages to making frozen yogurt at home. Firstly, you have complete control over the ingredients, allowing you to create a healthier version by using fresh fruits, low-fat yogurt, and less sugar. Additionally, by making it yourself, you can experiment with different flavors and mix-ins to tailor the frozen yogurt to your personal taste preferences.
So, let’s dive in and discover how easy it is to make your own creamy and delicious frozen yogurt without the need for an ice cream maker!
Key Takeaways:
- Enjoy homemade frozen yogurt without an ice cream maker by controlling ingredients, experimenting with flavors, and customizing mix-ins. Indulge in a guilt-free, refreshing treat with endless flavor possibilities.
- Create creamy and delicious frozen yogurt at home with just a few basic ingredients and some patience. Experiment, customize, and savor the satisfaction of enjoying your own unique frozen yogurt creations.
Ingredients
Making homemade frozen yogurt requires just a few simple ingredients that you may already have in your kitchen. Here’s what you’ll need:
- 2 cups of plain yogurt (Greek yogurt works well)
- 1/2 cup of sugar (adjust according to your preference)
- 1 teaspoon of vanilla extract
- Assorted fruits, such as berries, peaches, or mangoes (fresh or frozen)
- Optional mix-ins, such as chocolate chips, nuts, or crushed cookies
Note: You can substitute the sugar with a natural sweetener like honey or maple syrup if you prefer. You can also use flavored yogurt instead of plain yogurt for added flavor variations.
Now that you have your ingredients ready, let’s move on to the step-by-step process of making frozen yogurt without an ice cream maker.
Step 1: Prepare the Yogurt Base
The first step in making frozen yogurt without an ice cream maker is to prepare the yogurt base. Start by taking your plain yogurt and placing it in a large mixing bowl. If you prefer a thicker consistency, you can use Greek yogurt instead.
Next, add the sugar to the yogurt and whisk together until the sugar is fully dissolved. The amount of sugar you use can be adjusted according to your desired level of sweetness. If you prefer a healthier option, you can reduce the amount of sugar or use a natural sweetener like honey or maple syrup.
After the sugar is dissolved, add the vanilla extract to the mixture. This will give your frozen yogurt a delightful aroma and flavor. Feel free to experiment with different extracts, such as almond or mint, to create unique flavor combinations.
Once all the ingredients are combined, give the mixture a final whisk to ensure everything is well incorporated. Your yogurt base is now ready and it’s time to move on to the next step.
Step 2: Chilling the Yogurt Mixture
After preparing the yogurt base, it’s important to let the mixture chill before moving on to the next step. Chilling the yogurt base helps to enhance the flavor and ensures a smoother texture when it comes time to freeze it.
Transfer the yogurt mixture into a container with a lid or cover it with plastic wrap. Place it in the refrigerator and let it chill for at least 2 hours, or preferably overnight. This allows the flavors to meld together and for the sugar to fully dissolve, resulting in a creamy and delicious frozen yogurt.
During the chilling process, the mixture may slightly thicken, which is completely normal. You may notice that the texture becomes more like a custard rather than the initial liquid consistency.
Make sure to periodically check on the mixture while it’s chilling and give it a gentle stir to prevent any separation or overly thickening. This will help ensure a smooth and consistent texture in the final product.
Once the yogurt mixture has thoroughly chilled, it’s time to move on to the exciting step of adding flavors and mix-ins to create a personalized frozen yogurt masterpiece!
To make frozen yogurt without an ice cream maker, mix together yogurt, sweetener, and flavorings. Then, freeze the mixture in a shallow container, stirring every 30 minutes until it reaches the desired consistency. Enjoy!
Step 3: Adding Flavors and Mix-ins
Now that your yogurt base has chilled and developed its rich flavors, it’s time to take it a step further by adding your preferred flavors and mix-ins. This is where you get to personalize your frozen yogurt and make it truly unique.
Start by selecting your desired fruits to add to the yogurt mixture. Fresh fruits like berries, peaches, or mangoes work wonderfully, but you can also use frozen fruits if they’re not in season or more convenient for you. Wash the fruits and chop them into small pieces. If using frozen fruit, make sure to thaw them before adding them to the mixture.
Add the fruits to your chilled yogurt base and gently fold them in until they’re evenly distributed throughout the mixture. The amount of fruit you add can vary depending on your preference. Feel free to get creative and mix different fruits together to create your own signature flavor.
In addition to fruits, you can also incorporate a variety of mix-ins to add texture and additional flavors. Some popular mix-in options include chocolate chips, nuts, shredded coconut, or crushed cookies. Just sprinkle the mix-ins into the yogurt base and lightly stir until they’re well distributed.
Remember to be mindful of the quantity of mix-ins you add. While they can enhance the taste and add fun textures, adding too many can overpower the yogurt base. Keep a good balance between the yogurt and the mix-ins for the best flavor experience.
Once you’re satisfied with your chosen flavors and mix-ins, it’s time to move on to the next crucial step – freezing the yogurt.
Read more: How To Make Ice Cream In Ice Cream Machine
Step 4: Freezing the Yogurt
After adding your desired flavors and mix-ins to the yogurt base, it’s time to freeze it and transform it into creamy frozen yogurt. While an ice cream maker isn’t necessary, regular freezing methods can be utilized to achieve the desired texture.
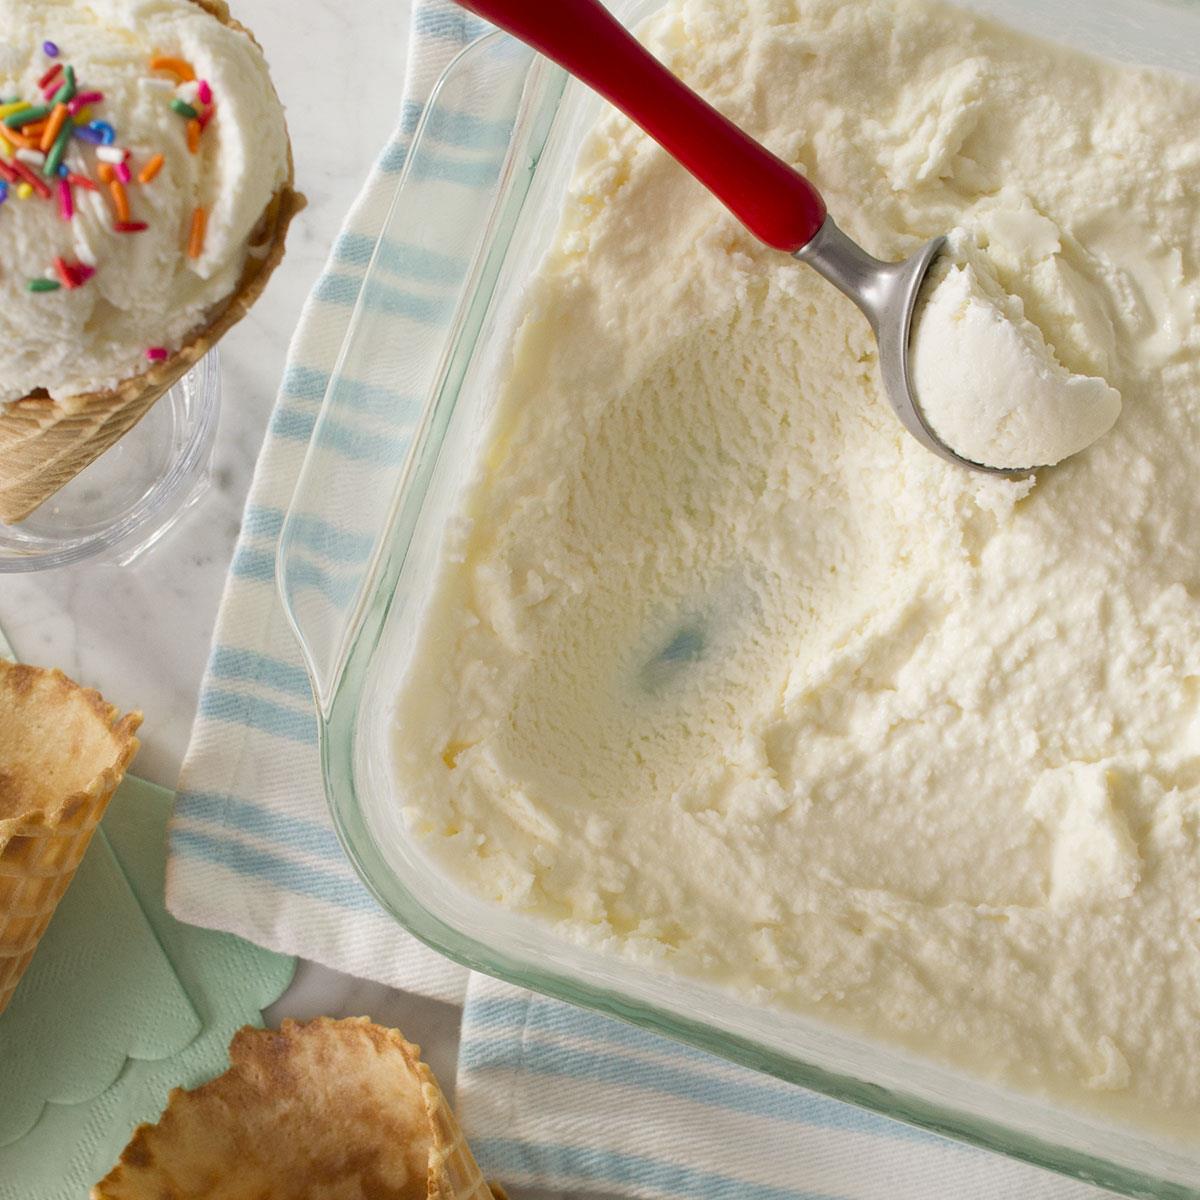
The simplest way to freeze the yogurt is by using a shallow container or a loaf pan. Pour the yogurt mixture into the container, ensuring that it’s spread evenly. Cover the container with a lid or plastic wrap to prevent ice crystals from forming on the surface.
Place the container in the freezer and let it freeze for about two hours. During this time, the yogurt will start to solidify. After two hours, take a fork or a spoon and give the mixture a quick stir. This helps to break up any ice crystals that may have started to form and ensure a smoother consistency.
Continue to check on the frozen yogurt every 30 minutes to an hour, giving it a gentle stir each time. Breaking up the ice crystals and redistributing the mixture will result in a smoother and creamier final product.
The total freezing time will depend on your desired texture. If you prefer a softer serve consistency, you can scoop the yogurt after a few hours. For a firmer texture, allow it to freeze for longer, ideally up to four hours or overnight.
Once the frozen yogurt has reached your desired consistency, it’s time to move on to the exciting final step – scooping and serving!
Step 5: Scooping and Serving
Congratulations! You’ve successfully made your own delicious frozen yogurt without an ice cream maker. Now it’s time to enjoy the fruits of your labor by scooping and serving your homemade creation.
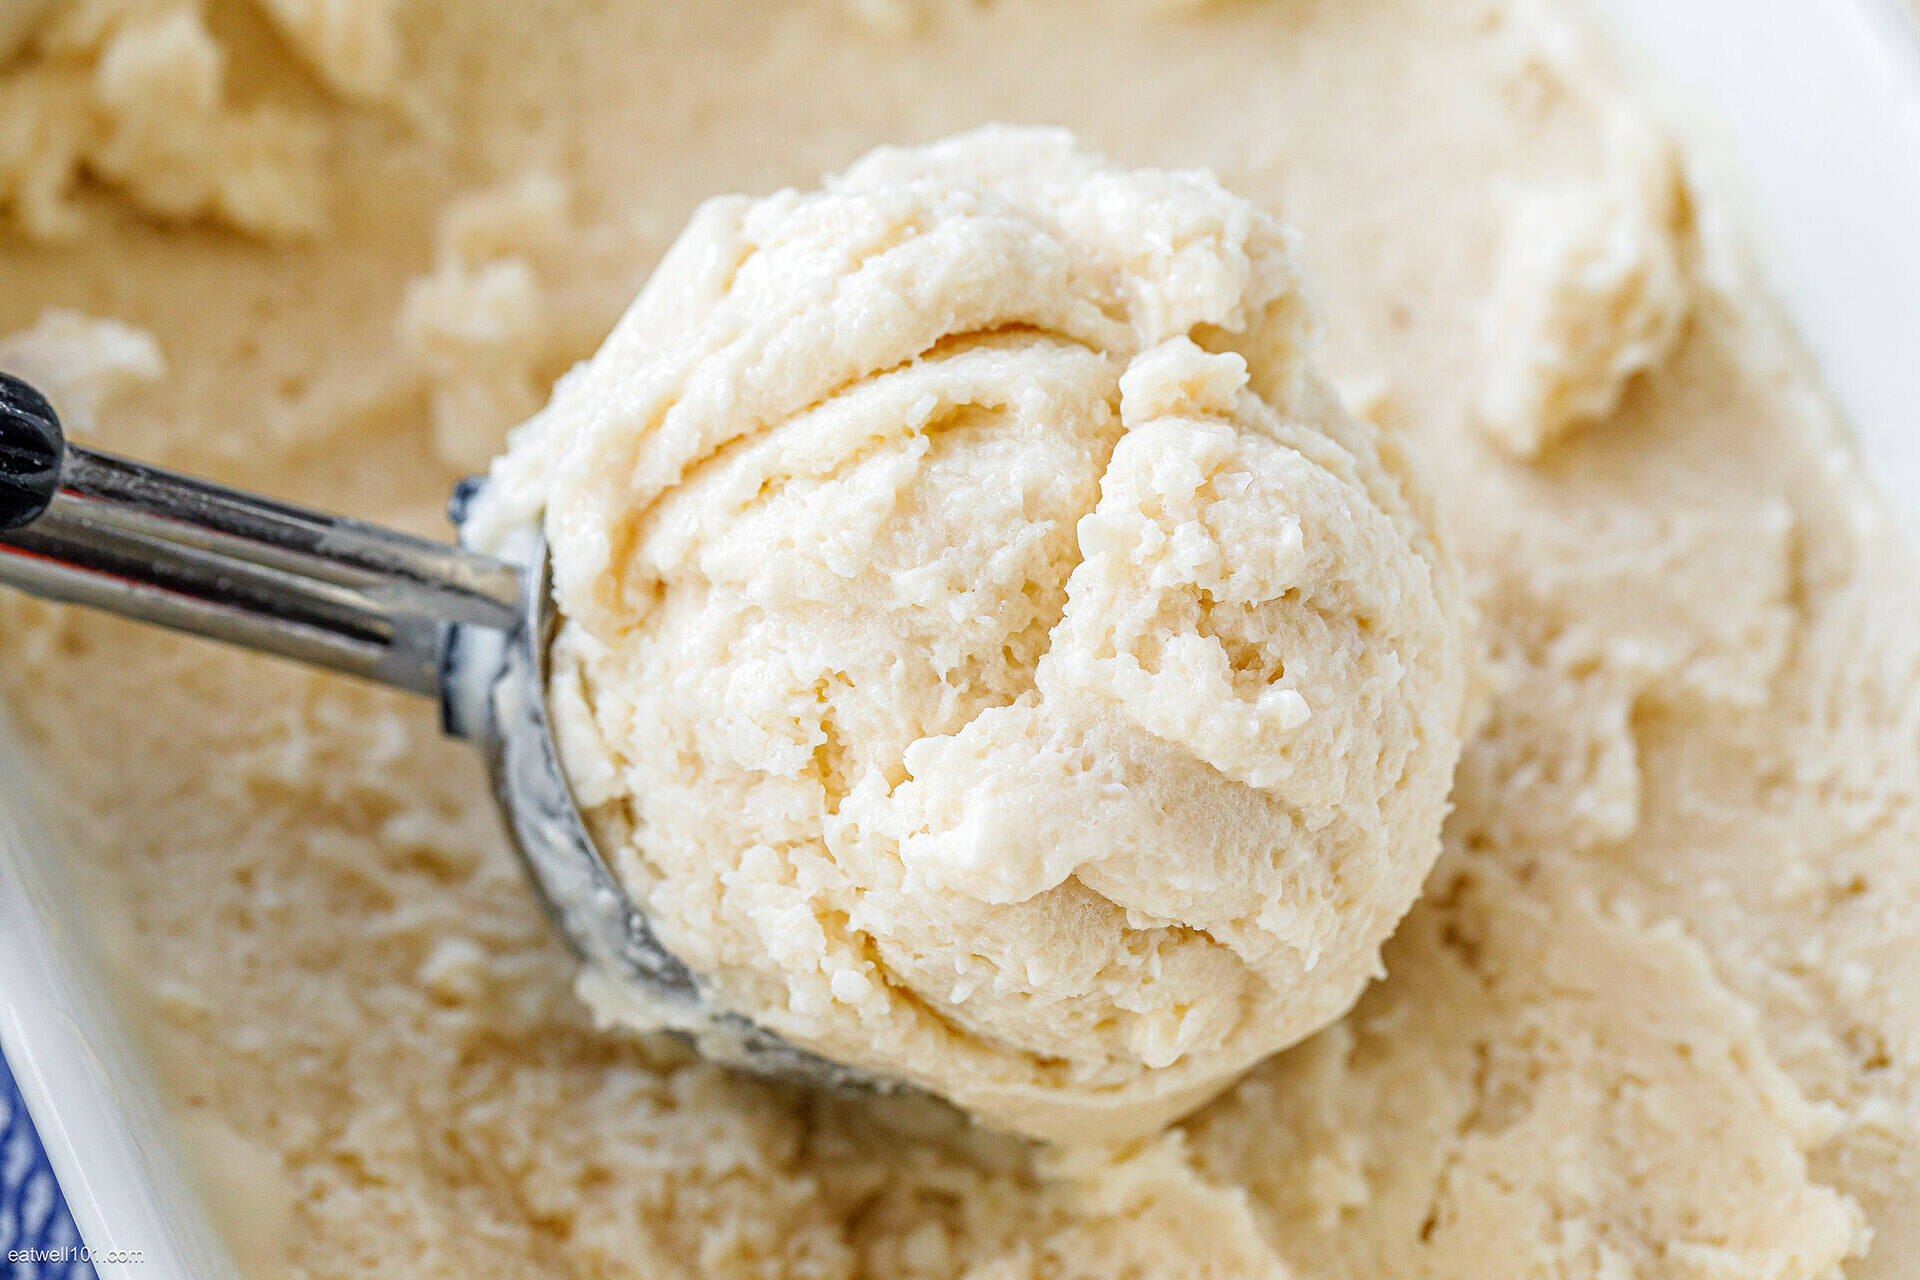
Remove the container of frozen yogurt from the freezer and let it sit at room temperature for a few minutes to soften slightly. This will make it easier to scoop. If the frozen yogurt is too hard, you can microwave it for a few seconds or let it sit at room temperature for a bit longer.
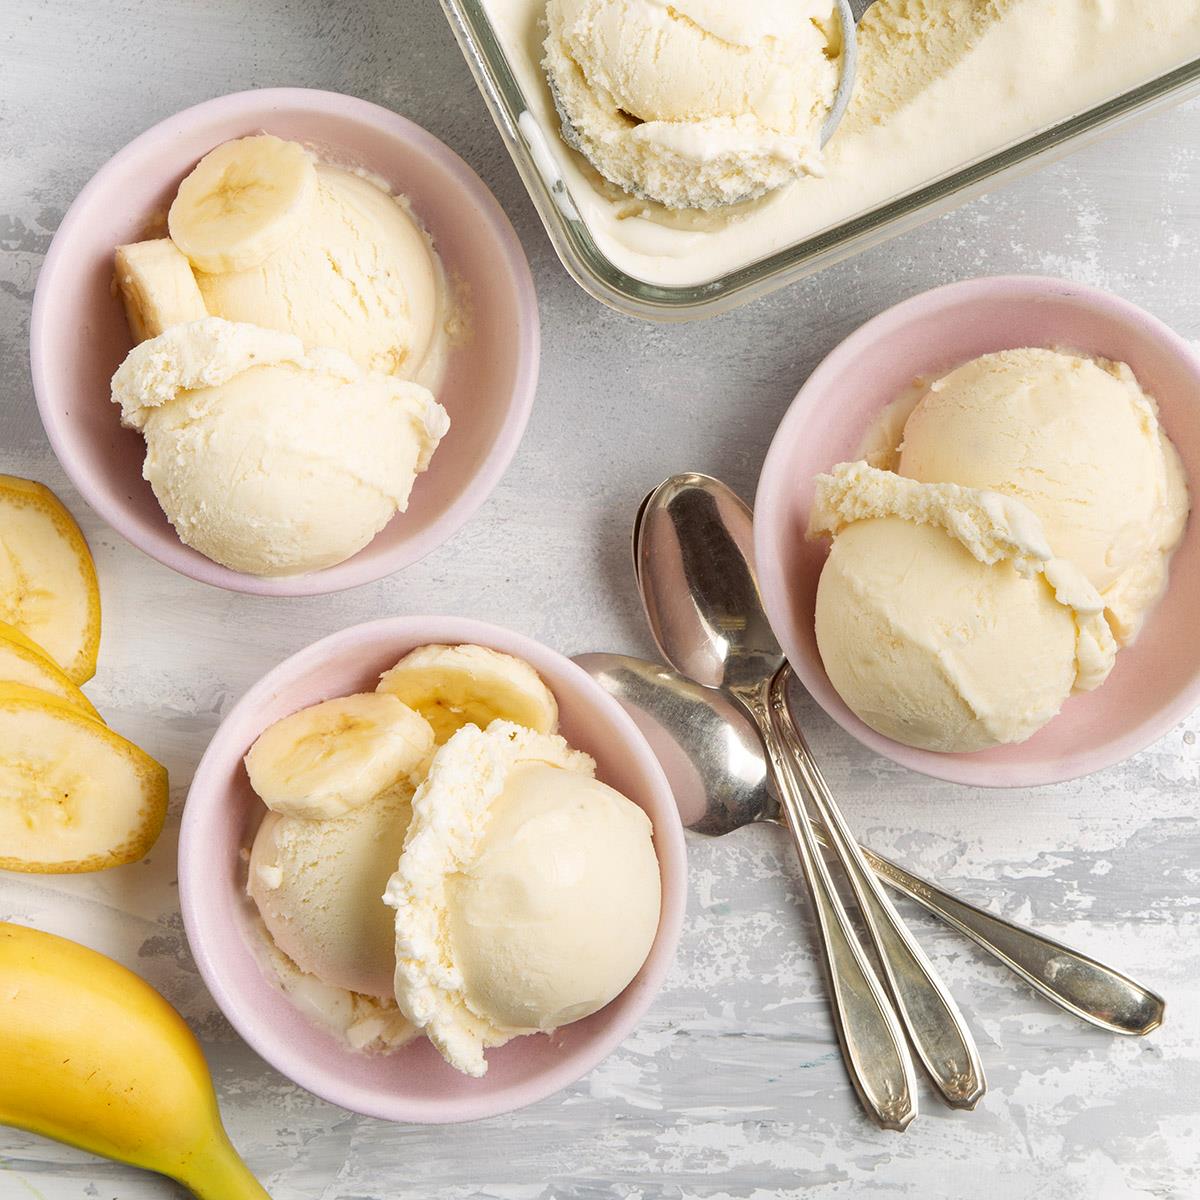
Take an ice cream scoop or a spoon and scoop out generous portions of your frozen yogurt into bowls or cones. You can also get creative and serve it in dessert dishes or even make frozen yogurt sandwiches using cookies or wafers as the base.
For an extra touch, garnish your frozen yogurt with fresh fruit slices, a drizzle of honey or chocolate sauce, or a sprinkling of your favorite toppings. This adds an enticing visual appeal and enhances the overall flavor experience.
And now, it’s time to savor the fruit of your efforts by indulging in your homemade frozen yogurt. Enjoy the creamy, refreshing flavors and the satisfaction of knowing you created this delightful treat from scratch.
Remember, homemade frozen yogurt is best enjoyed immediately after it’s scooped. If you have any leftovers, you can store them in an airtight container in the freezer for up to one week. However, the texture may become slightly icy, so it’s best to consume it as soon as possible.
Now that you know how to make frozen yogurt without an ice cream maker, you can explore endless flavor combinations and enjoy this delightful treat whenever the craving strikes. Gather your ingredients, follow the steps, and let your creativity shine as you create your own unique frozen yogurt creations.
Happy scooping and enjoy your homemade frozen yogurt!
Conclusion
Making frozen yogurt at home without an ice cream maker is a simple and rewarding process. With just a few basic ingredients and some patience, you can create a creamy and delicious dessert that rivals store-bought options. Not only does making your own frozen yogurt allow for control over the ingredients and flavors, but it also gives you the opportunity to experiment and customize according to your preferences.
Throughout this article, we’ve guided you through the step-by-step process of making homemade frozen yogurt without an ice cream maker. From preparing the yogurt base to adding flavors and mix-ins, and finally freezing and serving, each step is crucial in achieving the perfect texture and taste.
By choosing fresh fruits, adjusting the sweetness level, and incorporating your favorite mix-ins, you can create countless flavor combinations that suit your palate. The possibilities are endless, and the satisfaction of enjoying a homemade frozen yogurt creation is unmatched.
So, the next time you crave a refreshing and guilt-free dessert, don’t hesitate to try making your own frozen yogurt. Whether you’re hosting a gathering, enjoying a moment of indulgence, or simply satisfying a sweet tooth, this homemade treat will surely impress and delight.
Remember, practice makes perfect, so don’t be afraid to experiment and get creative with different ingredients and variations. With time, you’ll refine your technique and develop your signature frozen yogurt recipe that will have your friends and family coming back for more.
Now, gather your ingredients, follow the steps, and embark on your delicious frozen yogurt journey. Enjoy the rewards of your efforts and relish in the joy of savoring a dessert that you’ve made with your own hands.
Happy frozen yogurt making!
Frequently Asked Questions about How To Make Frozen Yogurt Without An Ice Cream Maker
Was this page helpful?
At Storables.com, we guarantee accurate and reliable information. Our content, validated by Expert Board Contributors, is crafted following stringent Editorial Policies. We're committed to providing you with well-researched, expert-backed insights for all your informational needs.


0 thoughts on “How To Make Frozen Yogurt Without An Ice Cream Maker”