Articles
How To Store Homemade Ice Cream
Modified: October 20, 2024
Discover the best way to store homemade ice cream and keep it fresh for longer with these helpful articles. Preserve the taste and texture of your delicious creations with expert tips and tricks.
(Many of the links in this article redirect to a specific reviewed product. Your purchase of these products through affiliate links helps to generate commission for Storables.com, at no extra cost. Learn more)
Introduction
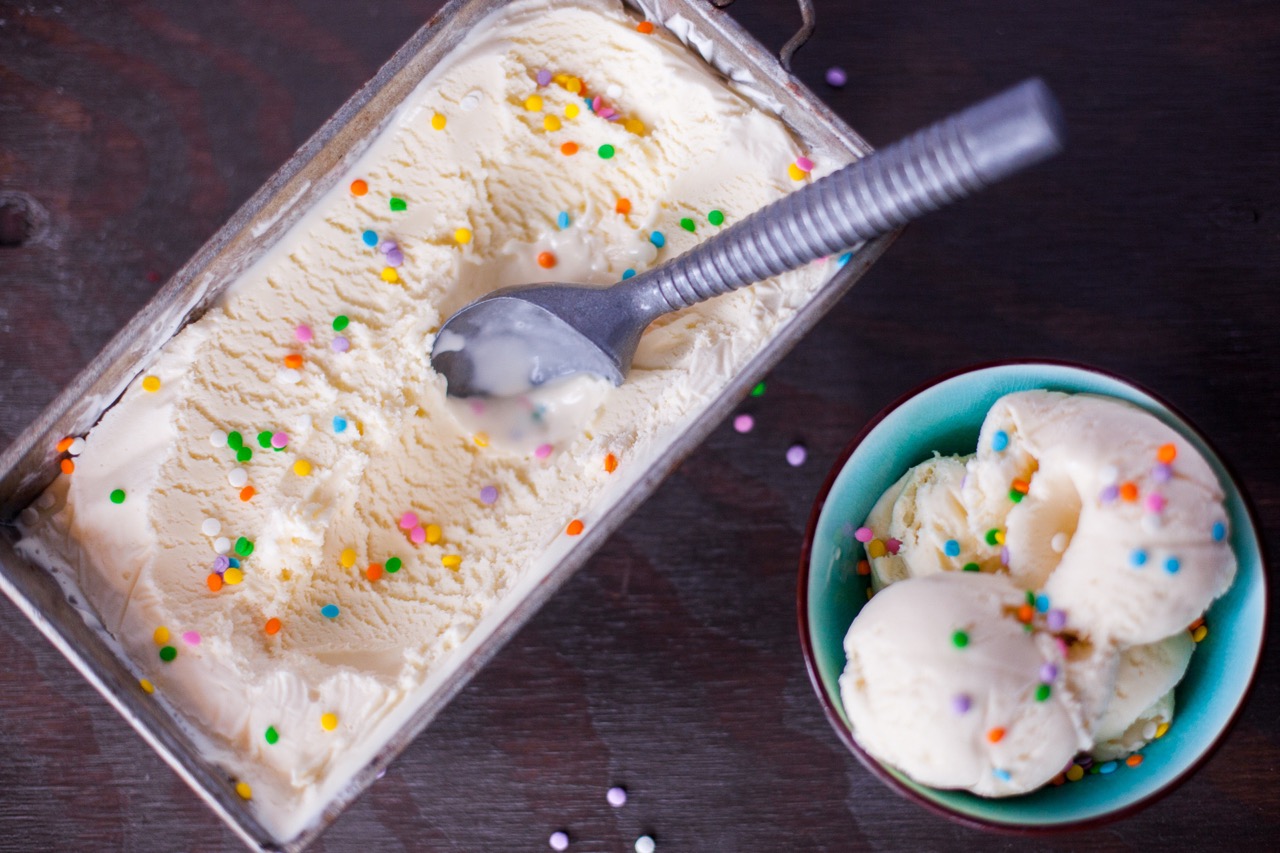
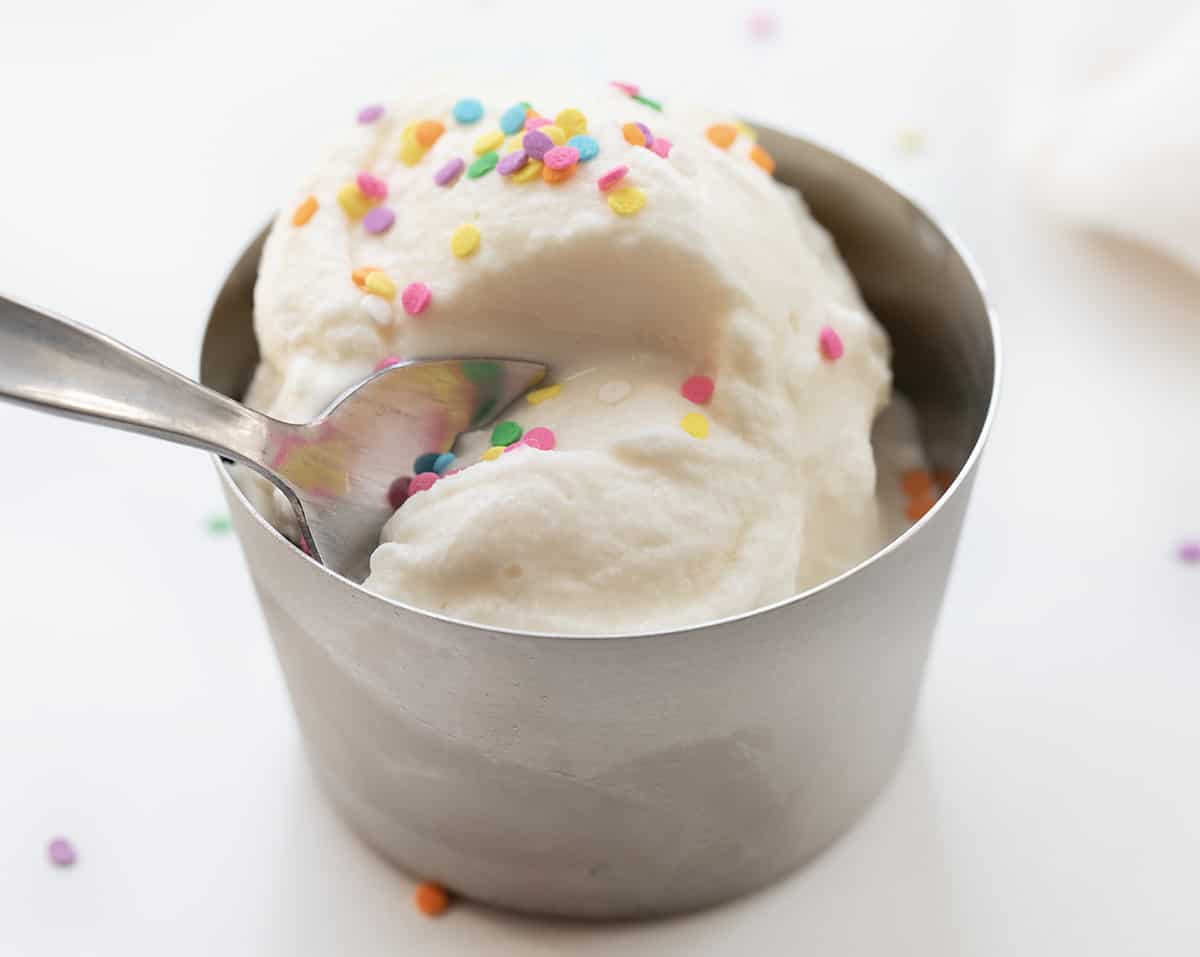
There’s nothing quite like the indulgent joy of homemade ice cream. Whether you’ve crafted a creamy vanilla base, infused it with your favorite flavors, or added chunks of delicious mix-ins, your homemade creation deserves the best care to ensure it maintains its flavor and texture. Properly storing your homemade ice cream is crucial to prevent it from becoming icy, developing freezer burn, or losing its original taste.
In this article, we will explore the essential steps to store your homemade ice cream effectively. From choosing the right containers to finding the optimal storage temperature, we will provide you with all the tips you need to keep your frozen masterpiece in perfect condition. So, let’s dive in and discover how to store your homemade ice cream like a pro!
Key Takeaways:
- Store homemade ice cream in shallow, airtight containers to prevent ice crystals and maintain a smooth texture. Keep it at -18°C to preserve its creamy consistency and avoid flavor contamination.
- Label and date your ice cream containers, and follow proper thawing techniques for optimal serving. Prevent freezer burn and enjoy your homemade ice cream at its peak freshness.
Freezing Homemade Ice Cream
Before diving into the specifics of storage, let’s take a moment to understand the importance of the freezing process itself. Properly freezing your homemade ice cream is the first step towards preserving its flavor and preventing any unwanted texture changes.
Once you’ve prepared your ice cream base and added any desired mix-ins, it’s important to let it cool completely before freezing. This allows the flavors to meld and prevents any ice crystals from forming during the freezing process.
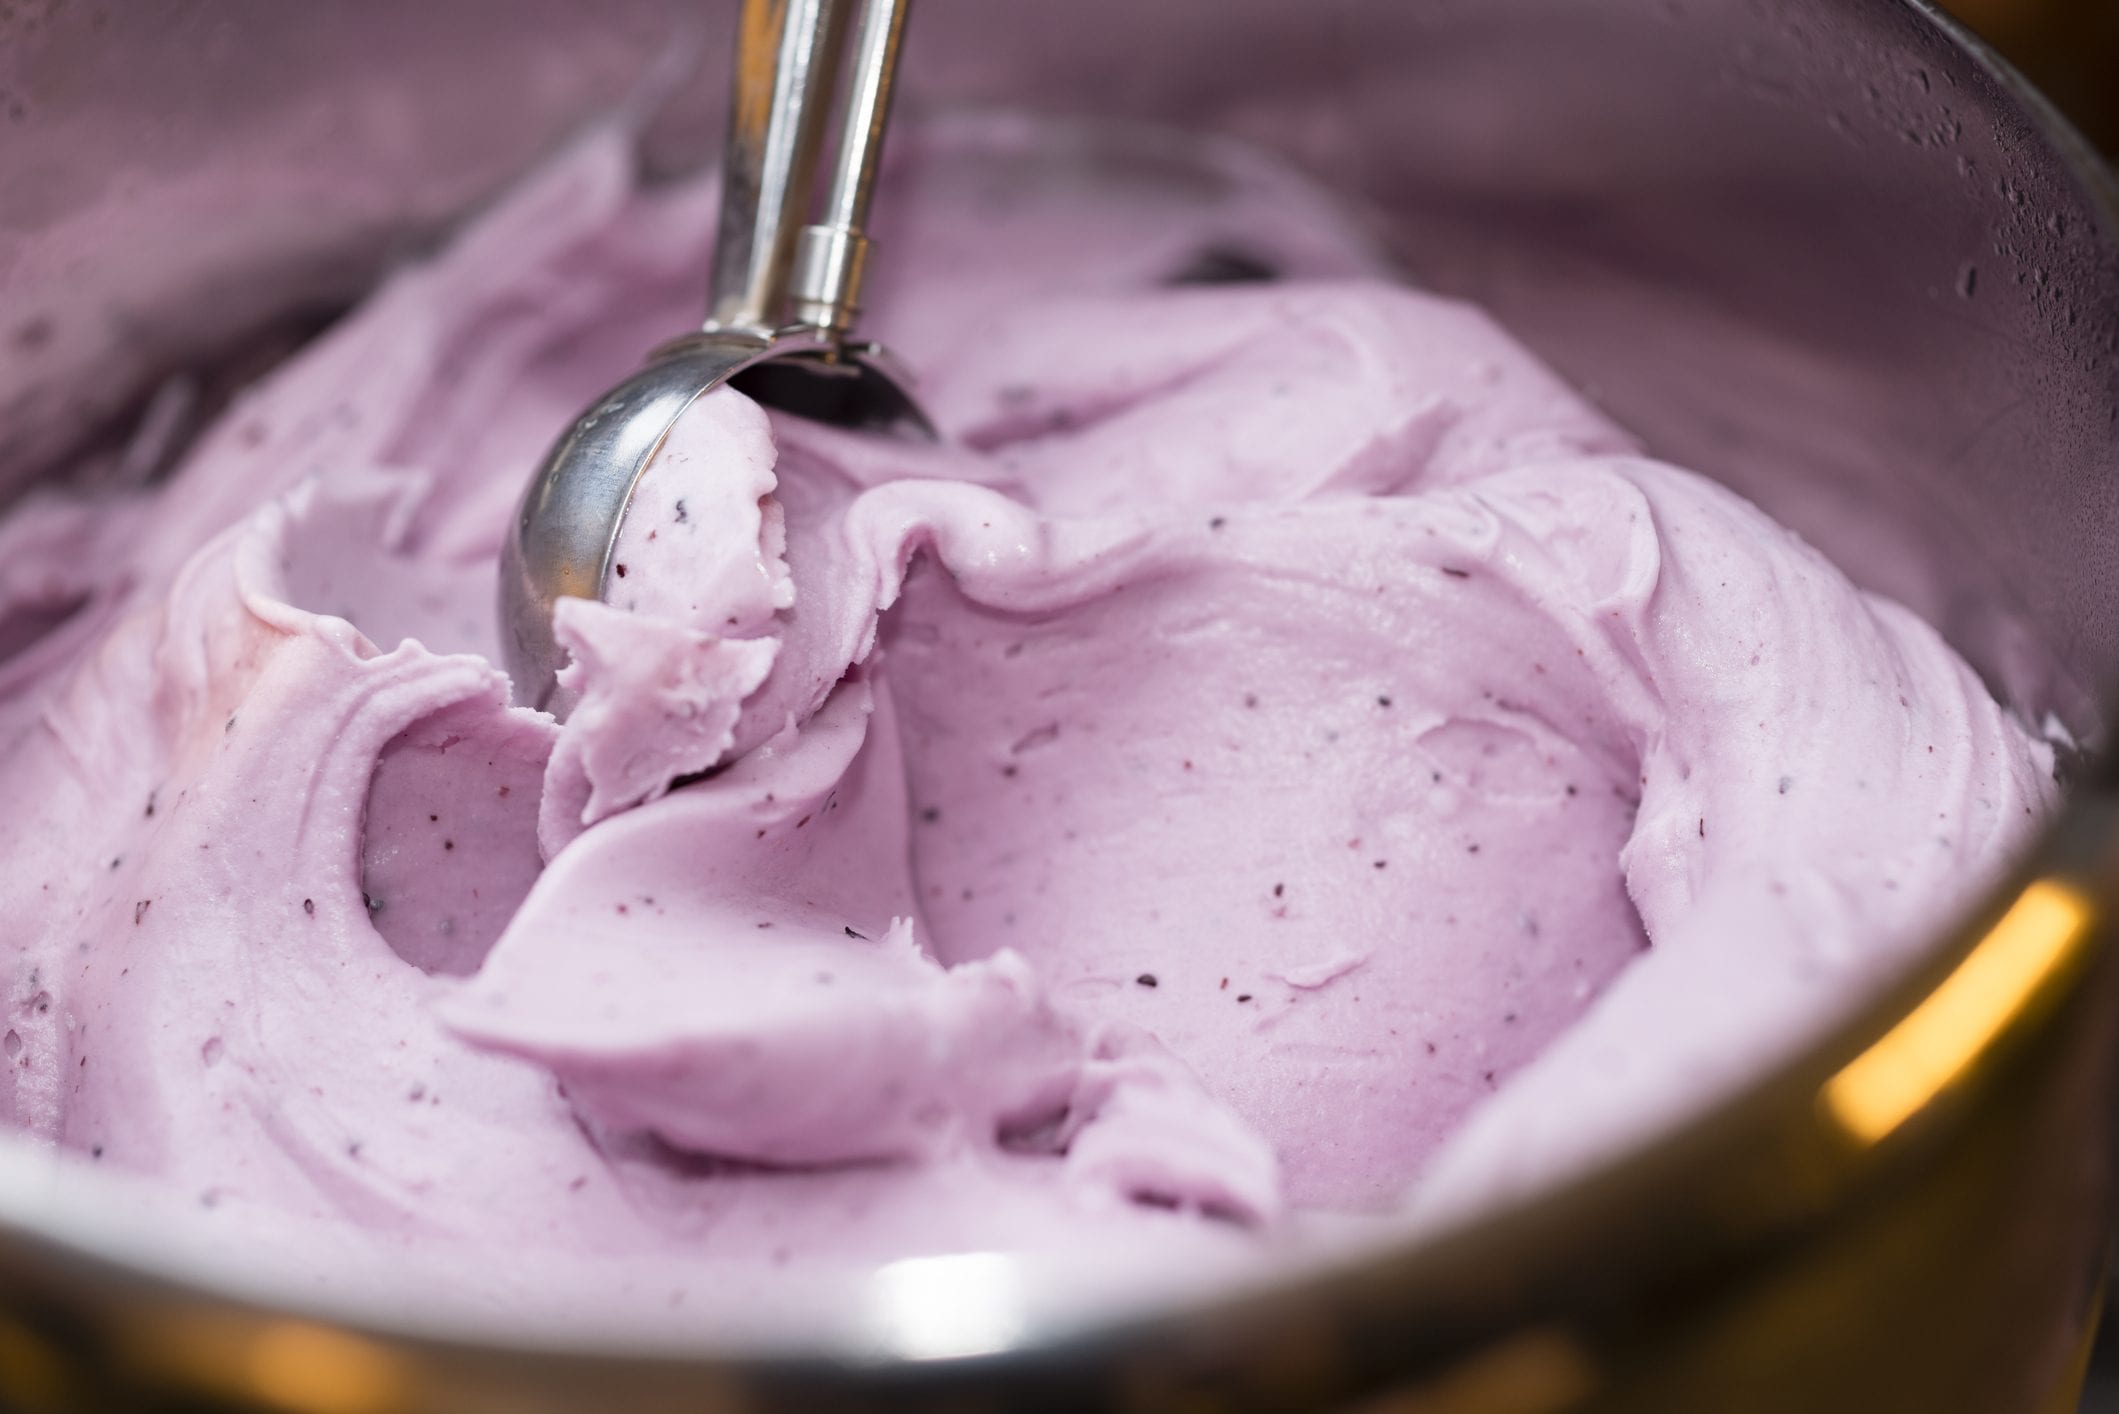
When it comes to freezing your ice cream, there are a few options. One popular method is to use an ice cream maker, which churns the mixture while simultaneously freezing it. This process helps incorporate air into the mixture, resulting in a smoother and creamier texture.
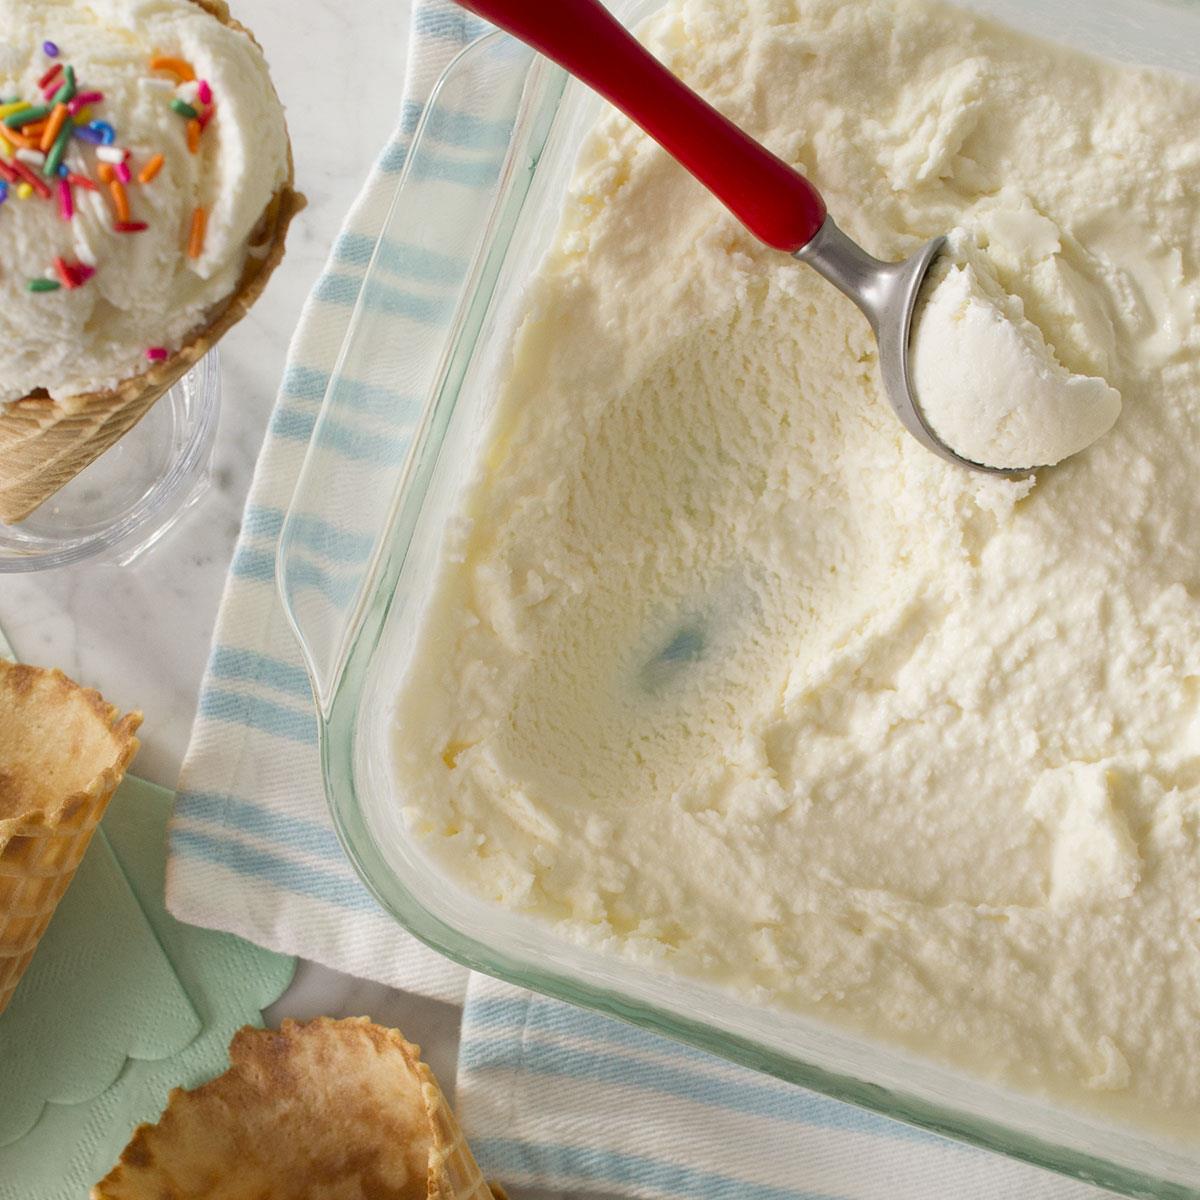
If you don’t have an ice cream maker, don’t worry! You can still achieve great results by pouring your ice cream base into a shallow, airtight container. This allows for faster freezing and makes it easier to scoop the ice cream later on. Alternatively, you can use individual serving containers for convenience.
Regardless of the method you choose, ensure that your ice cream is well-covered and sealed to prevent any contact with air. This will prevent the formation of ice crystals and maintain the smooth texture of your frozen treat.
Now that we’ve covered the basics of freezing homemade ice cream, let’s explore the next crucial step: choosing the right containers for optimal storage.
Choosing the Right Containers
When it comes to storing homemade ice cream, selecting the right containers is key to preserving its flavor and preventing any potential damage. Here are a few factors to consider when choosing containers for your frozen treat:
- Material: Opt for containers made of food-grade, BPA-free plastic or stainless steel. These materials are safe for storing food and will not contaminate the flavors of your ice cream.
- Size: Choose containers that are the appropriate size for the amount of ice cream you are storing. Leaving extra space in the container can lead to the formation of ice crystals, while overcrowding the container can result in a loss of texture.
- Airtightness: Ensure that the containers you choose have a tight-sealing lid or cover. This will prevent air from getting in and help maintain the freshness and texture of your ice cream.
- Shape: Consider using shallow containers rather than deep ones. Shallow containers allow for faster freezing and make it easier to scoop out the desired amount of ice cream later on.
If you’re in a pinch and don’t have suitable containers on hand, you can also use resealable plastic bags. Just make sure to remove as much air as possible from the bag before sealing it tightly.
Remember, it’s always a good idea to have a variety of sizes and shapes of containers on hand to accommodate different batch sizes and storage needs.
Now that you’ve chosen the right containers, let’s move on to the next crucial aspect of storing homemade ice cream: maintaining the proper storage temperature.
Proper Storage Temperature
To ensure that your homemade ice cream stays delicious and creamy, it is essential to store it at the proper temperature. Freezing your ice cream at the right temperature will prevent it from melting, developing ice crystals, and losing its original texture and taste.
The ideal storage temperature for homemade ice cream is around -18°C or 0°F. This temperature keeps the ice cream frozen without being too cold, allowing it to maintain its creamy consistency. It is important to note that every freezer may have slight temperature variations, so it’s a good idea to use a freezer thermometer to ensure accuracy.
When storing your homemade ice cream, avoid placing it on the freezer door or near the freezer’s vents. These areas experience temperature fluctuations when the freezer is opened or closed, which can lead to melting and refreezing, compromising the texture and taste of the ice cream.
If you have a chest freezer, make sure to place your ice cream on a stable shelf in the main compartment. Avoid storing it directly on the bottom, as this area tends to have colder temperatures and can cause the ice cream to become too hard.
For those using a refrigerator-freezer combo, the freezer compartment may not reach the optimal temperature for ice cream storage. In this case, consider adjusting the freezer temperature to its coldest setting or placing the ice cream in the back part of the freezer where it tends to be colder.
By storing your homemade ice cream at the proper temperature, you can ensure that it maintains its delicious taste and creamy texture, ready to be enjoyed whenever you have a craving for a frozen treat.
Next, we’ll explore some essential tips for avoiding freezer burn, a common issue when improperly storing ice cream.
Avoiding Freezer Burn
Freezer burn is the enemy of all frozen treats, including homemade ice cream. It occurs when moisture in the ice cream evaporates and condenses on its surface, forming ice crystals. This can result in a dry and grainy texture, as well as a loss of flavor. Luckily, there are several steps you can take to prevent freezer burn and keep your homemade ice cream in prime condition:
- Proper Packaging: Ensure your ice cream is well-protected by using airtight containers or wrapping it tightly with plastic wrap. This will prevent air exposure and moisture loss, decreasing the chances of freezer burn.
- Remove Excess Air: When using containers, press a piece of plastic wrap directly onto the surface of the ice cream before sealing the lid. This helps create a barrier between the ice cream and air, reducing the risk of freezer burn.
- Keep Freezer Temperature Consistent: Avoid repeated temperature fluctuations by keeping the freezer door closed as much as possible. Frequent opening and closing can lead to shifts in temperature, which can contribute to freezer burn.
- Avoid Overstocking: Leaving adequate space around the containers allows for proper air circulation in the freezer. Avoid overcrowding, as this can obstruct air flow and lead to uneven freezing and freezer burn.
- Quick Freeze: After churning or preparing your ice cream, make sure to freeze it promptly. The faster it freezes, the smaller the ice crystals that form, reducing the chances of freezer burn.
By following these precautions, you can significantly reduce the risk of freezer burn and keep your homemade ice cream tasting fresh and flavorful for longer.
Now that we’ve covered the importance of avoiding freezer burn, let’s discuss another crucial aspect of storing homemade ice cream: preventing flavor contamination.
Store homemade ice cream in an airtight container to prevent freezer burn. Press a piece of wax paper directly onto the surface before sealing to create a barrier against ice crystals.
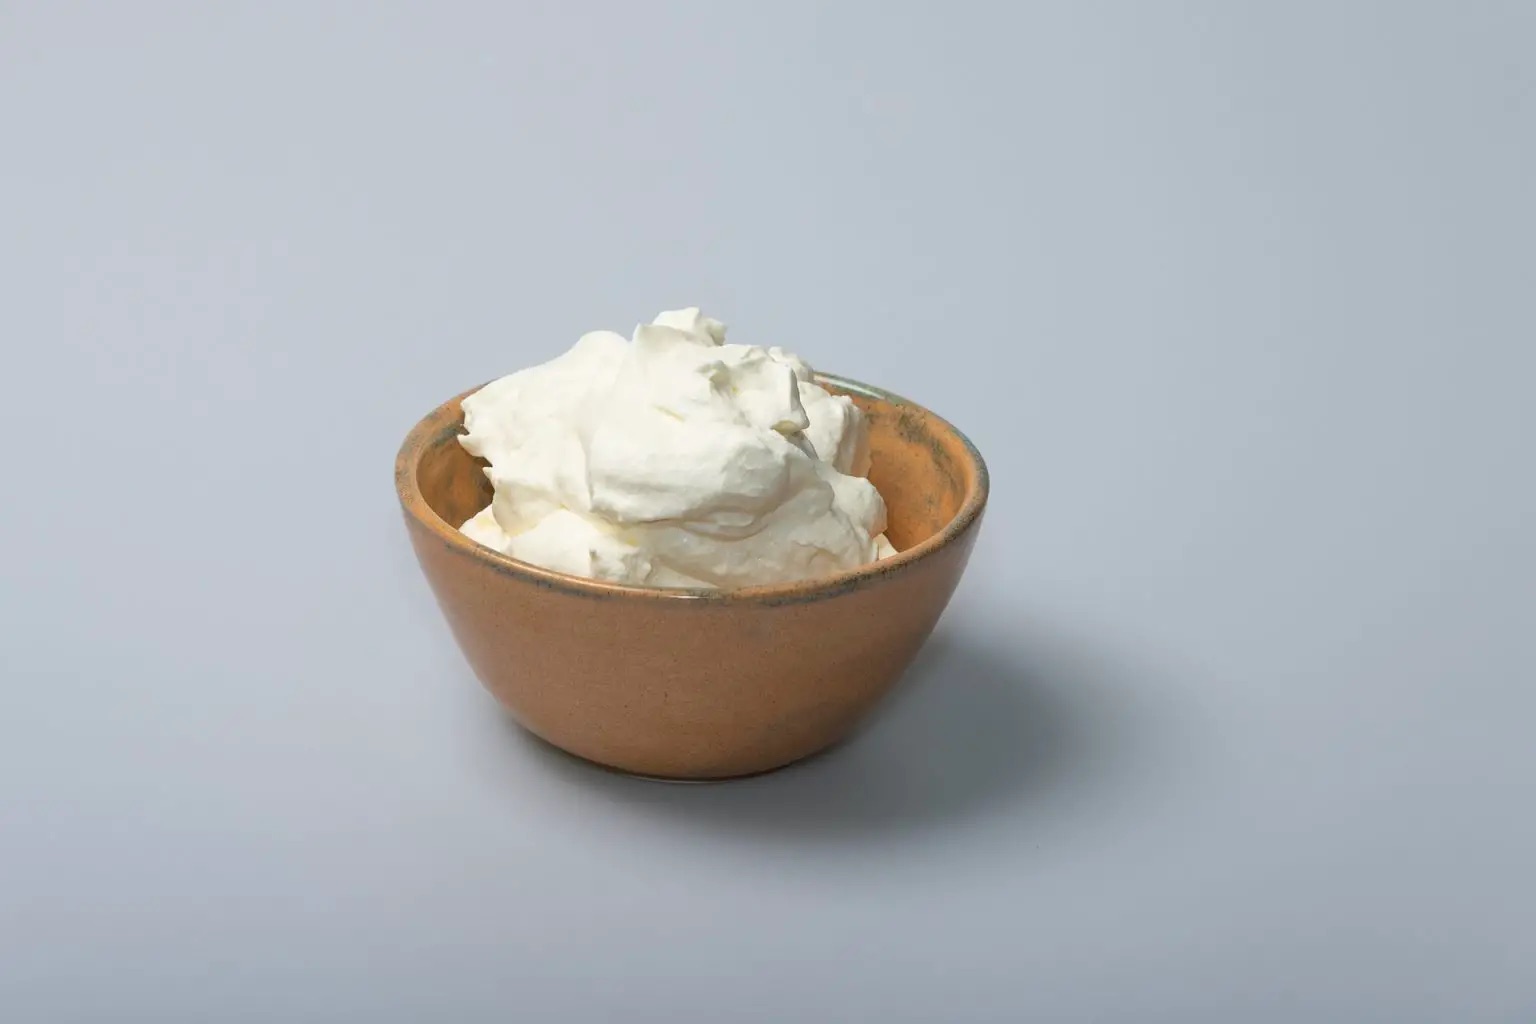
Read more: How To Store Homemade Whip Cream
Preventing Flavor Contamination
When it comes to homemade ice cream, preserving its distinct flavors is essential for an enjoyable taste experience. Preventing flavor contamination is crucial to ensure that each scoop of your ice cream delivers the intended flavors without any unwanted mix-ups. Here are some tips to prevent flavor contamination:
- Seal Containers Properly: Ensure that your ice cream containers are tightly sealed to prevent any odors from seeping in and affecting the flavor. This is especially important if you’re storing different flavors in close proximity.
- Separate Flavors: If you plan to store multiple flavors of ice cream, it’s best to use separate containers or divide them using dividers to prevent flavors from mixing. This will allow you to savor each unique flavor without any cross-contamination.
- Wrap Strongly Flavored Ingredients: If your ice cream contains mix-ins or ingredients with strong aromas, such as mint or coffee, consider wrapping them separately before adding them to the ice cream. This will prevent their flavors from overpowering other elements in the ice cream.
- Clean Containers Thoroughly: Make sure to clean your containers properly before using them to store different flavors. Lingering residue or flavors from previous batches can affect the taste of your new ice cream.
By following these steps, you can maintain the integrity of the flavors in your homemade ice cream and enjoy each scoop as intended.
Next, let’s discuss the importance of labeling and dating your ice cream containers for easy identification and keeping track of freshness.
Labeling and Dating
Labeling and dating your homemade ice cream containers may seem like a small detail, but it can make a big difference in keeping track of freshness and flavors. Proper labeling ensures that you can easily identify your ice cream and know when it was made. Here are some tips for effective labeling and dating:
- Label Each Container: Use adhesive labels or masking tape to clearly label each container with the flavor of the ice cream. This will save you from the guessing game later on when you have multiple containers in the freezer.
- Add the Date: In addition to the flavor, write down the date you made the ice cream. This allows you to keep track of the age and freshness of the frozen treat.
- Use Permanent Marker: Make sure to use a permanent marker to write the labels and dates. This will ensure that the information doesn’t smudge or fade over time.
- Rotate Containers: To prevent your ice cream from sitting in the freezer for too long, apply the “first in, first out” rule. Place newer batches behind older ones, so you consume the older ones first.
By taking the time to label and date your homemade ice cream containers, you can easily find the flavor you’re craving and enjoy your frozen treats at their peak freshness.
Now that we have covered the importance of labeling, let’s move on to some tips for long-term storage of homemade ice cream.
Tips for Long-Term Storage
If you find yourself with a surplus of homemade ice cream or want to prepare ahead of time, here are some tips for long-term storage:
- Use Freezer-Safe Storage Containers: Invest in freezer-safe containers or tubs specifically designed for long-term storage. These containers are made with materials that will protect the ice cream from developing freezer burn and maintain its quality over time.
- Double Wrapping: Consider double wrapping your containers with plastic wrap or placing them in freezer bags to provide extra insulation and protection against moisture and air exposure.
- Store in the Back of the Freezer: Place your ice cream containers in the coldest part of the freezer, typically the back. This ensures a more consistent temperature and reduces the risk of temperature fluctuations.
- Avoid Frequent Thawing and Refreezing: Freezing and thawing can cause texture changes and promote the development of ice crystals. To maintain optimal quality, try to avoid repeatedly thawing and refreezing your ice cream.
- Follow Recommended Storage Times: While homemade ice cream can generally be stored for several months, it is best to follow the recommended storage times for your specific recipe. Check the guidelines provided in the recipe or consult reputable sources for guidance.
By implementing these tips, you can ensure that your homemade ice cream remains flavorful and enjoyable even after an extended period of storage.
Now that we’ve covered the tips for long-term storage, let’s move on to the final section: thawing and serving your homemade ice cream.
Thawing and Serving Homemade Ice Cream
Thawing homemade ice cream properly is crucial to maintain its creamy texture and prevent any ice crystals from forming. Here are some guidelines for thawing and serving your homemade ice cream:
- Transfer to the Refrigerator: The best way to thaw homemade ice cream is to transfer it from the freezer to the refrigerator. Place the container in the refrigerator for about 20-30 minutes to allow it to soften gradually.
- Don’t Microwave: Avoid thawing your ice cream in the microwave, as this can lead to uneven melting and affect the texture. Patience is the key to achieving the perfect consistency.
- Let it Rest at Room Temperature: If you need to serve your ice cream immediately and can’t wait for it to thaw in the refrigerator, you can let the container sit at room temperature for a short period. However, avoid leaving it out for too long, as it can begin to melt.
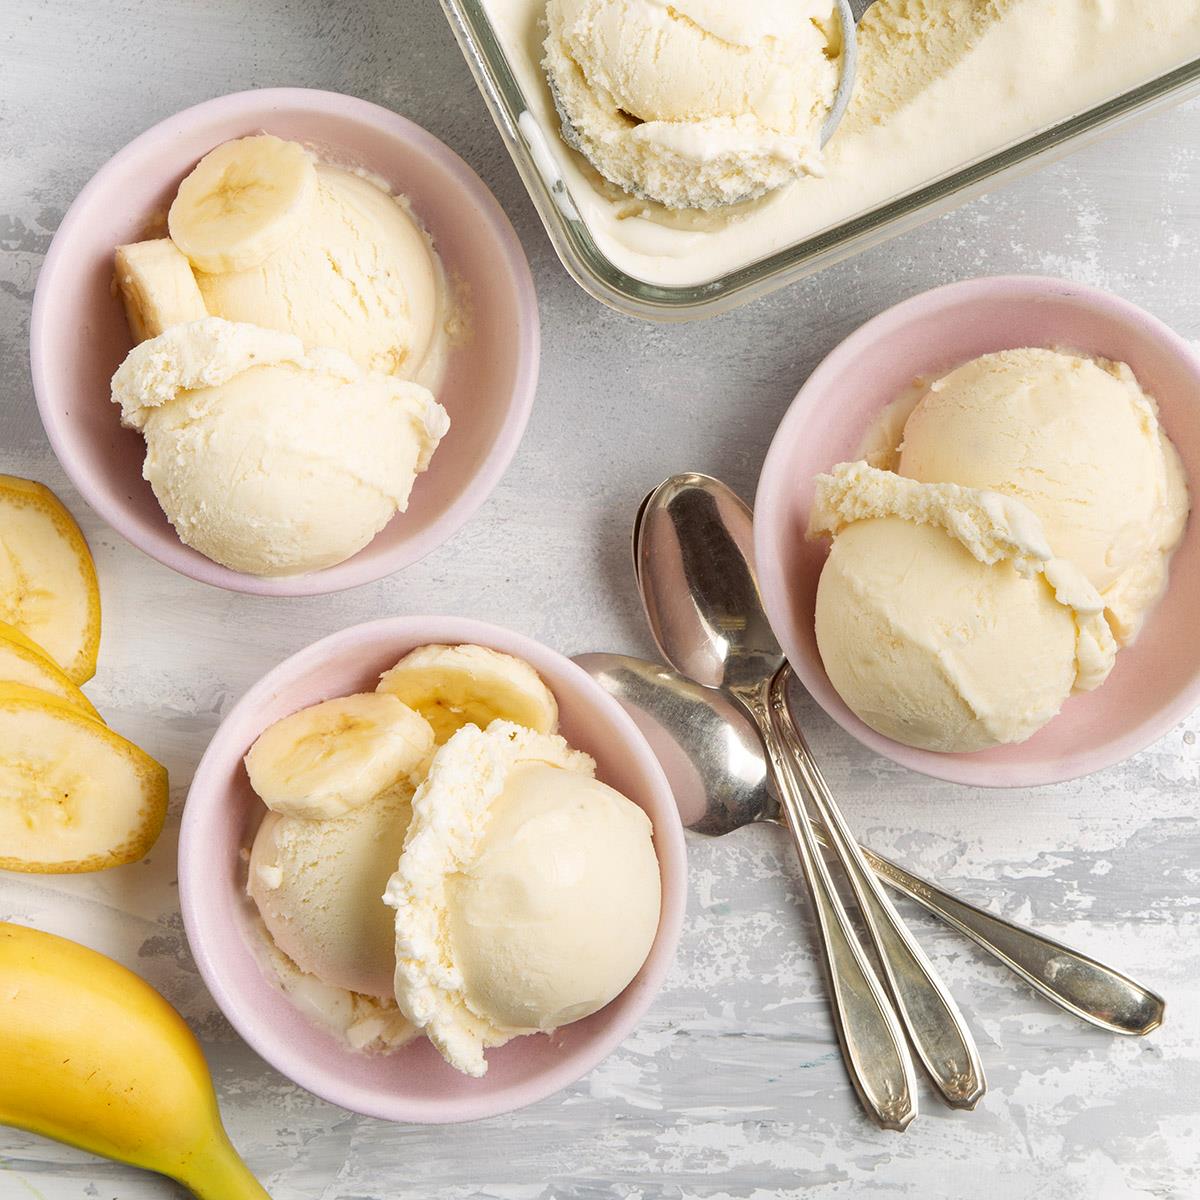
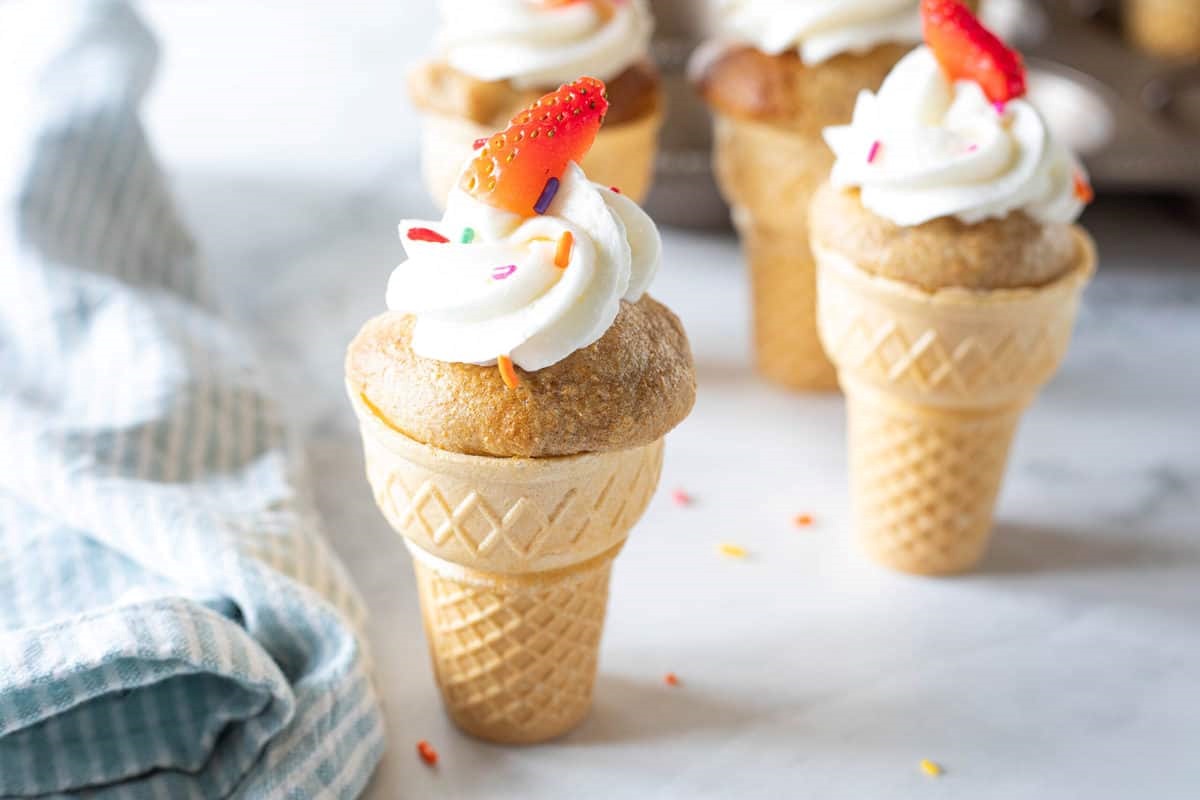
- Serve in Chilled Bowls or Cones: To enhance the serving experience, chill your ice cream bowls or cones in the freezer beforehand. This will help keep the ice cream cold for longer and maintain its desired consistency.
- Use a Warm Scoop: Dip your ice cream scoop in warm water before scooping. This will help the scoop glide smoothly through the frozen dessert, allowing you to create perfect, round scoops.
- Get Creative with Toppings: Once your ice cream is perfectly thawed, unleash your creativity and add your favorite toppings, such as chocolate syrup, sprinkles, or fresh fruit. The possibilities are endless!
By following these tips, you can ensure that your homemade ice cream is served at its prime, with a creamy texture and delicious taste that will delight your taste buds.
Now that we’ve covered the proper thawing and serving techniques, let’s wrap up this article.
Read more: How To Store Ice Cream
Conclusion
Capturing the essence of homemade ice cream requires more than just a delicious recipe. Proper storage techniques play a vital role in preserving its flavor, texture, and overall quality. By following the guidelines outlined in this article, you can ensure that your homemade ice cream remains a delightful treat from the first scoop to the last.
Freezing your ice cream at the right temperature, choosing the right containers, and preventing freezer burn are crucial steps in maintaining its integrity. Taking precautions to prevent flavor contamination, labeling and dating your containers, and following tips for long-term storage will help keep your ice cream fresh and tasty for extended periods.
When it’s time to enjoy your homemade ice cream, allow it to thaw slowly in the refrigerator or rest at room temperature for a short period. Using chilled bowls or cones and warm scoops will enhance your serving experience, while adding creative toppings will take your homemade ice cream to new levels of indulgence.
Remember, homemade ice cream is a labor of love, and taking the extra steps to properly store it ensures that your effort translates into a truly exceptional frozen dessert. Share your creations with loved ones and savor the joy of homemade ice cream that is just as delightful as a trip to your favorite ice cream parlor.
So, go ahead, make a batch of your favorite homemade ice cream, and use the tips and techniques provided in this article to store it with care. Your freezer will be stocked with delicious treats ready to satisfy your cravings whenever they strike.
Happy homemade ice cream storing and indulging!
Frequently Asked Questions about How To Store Homemade Ice Cream
Was this page helpful?
At Storables.com, we guarantee accurate and reliable information. Our content, validated by Expert Board Contributors, is crafted following stringent Editorial Policies. We're committed to providing you with well-researched, expert-backed insights for all your informational needs.


0 thoughts on “How To Store Homemade Ice Cream”