Home>Garden Essentials>How To Save Winter Squash Seeds
Garden Essentials
How To Save Winter Squash Seeds
Modified: March 15, 2024
Learn how to save winter squash seeds in your garden and enjoy a bountiful harvest year after year. Discover the step-by-step process and tips for successful seed saving.
(Many of the links in this article redirect to a specific reviewed product. Your purchase of these products through affiliate links helps to generate commission for Storables.com, at no extra cost. Learn more)
Introduction
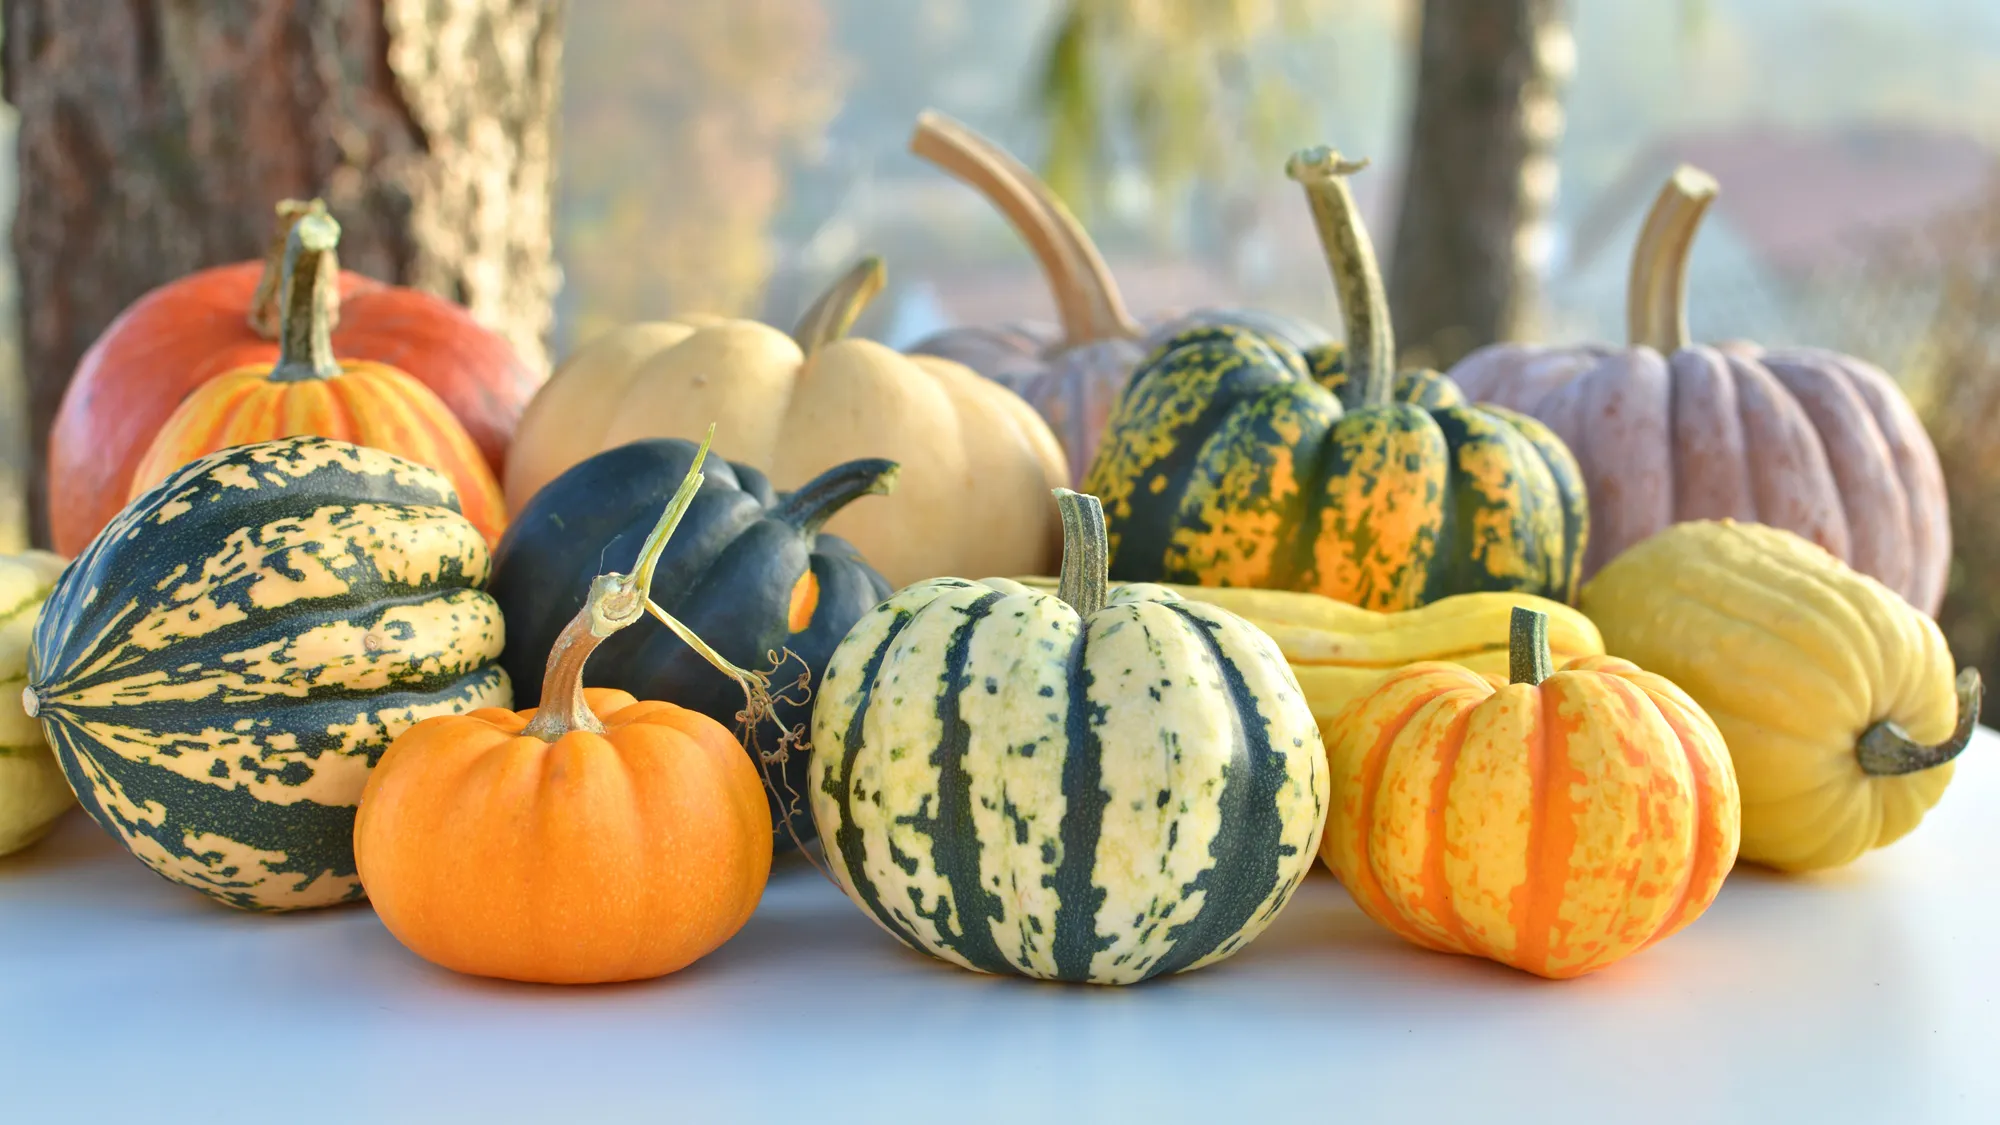
Winter squash is a staple in many gardens, known for its delicious flavor and versatility in various culinary dishes. But did you know that you can save and grow your own winter squash seeds? Not only is seed saving a cost-effective way to continue your garden’s cycle, but it also allows you to preserve the unique traits and flavors of your favorite squash varieties.
In this article, we will guide you through the process of saving winter squash seeds. We will cover everything from selecting healthy squash for seed saving to testing the viability of your saved seeds. So, grab your gardening gloves and let’s dive into the world of winter squash seed saving!
Key Takeaways:
- Preserve the unique flavors of your favorite winter squash varieties by saving and growing your own seeds. Select healthy, ripe squash, and follow proper harvesting and storage techniques to ensure successful seed saving.
- Ensure the success of your garden by testing the viability of your saved winter squash seeds before planting. Use the damp paper towel method to assess germination rates and maximize your gardening success.
Read more: How To Save Squash Seeds
Understanding Winter Squash Seeds
Before delving into seed saving, it’s important to have a basic understanding of winter squash seeds. Each winter squash contains numerous seeds encased in a fibrous, gelatinous matrix. These seeds are responsible for the reproduction and continuation of the plant. When properly saved and stored, winter squash seeds can remain viable for many years.
It’s worth mentioning that winter squash seeds have the potential to cross-pollinate. Cross-pollination occurs when two different squash varieties are planted in close proximity, and bees or other pollinators transfer pollen between them. This can result in hybrid seeds that may not grow true to the parent plants. To maintain the characteristics of a particular squash variety, take precautions to prevent cross-pollination by isolating plants or hand-pollinating.
Furthermore, some squash varieties have separate male and female flowers. Male flowers only produce pollen, while female flowers have a small, immature fruit at the base, which will develop into the mature squash if successfully pollinated. When saving seeds, it’s important to ensure that pollination occurs for the female flowers to produce viable seeds.
Now that we have a better understanding of winter squash seeds, let’s move on to the next step: selecting healthy squash for seed saving.
Selecting Healthy Squash for Seed Saving
When it comes to seed saving, choosing the right squash for harvesting seeds is crucial. You want to select healthy, mature squash that exhibits the desired traits you wish to preserve. Here are some tips for selecting squash for seed saving:
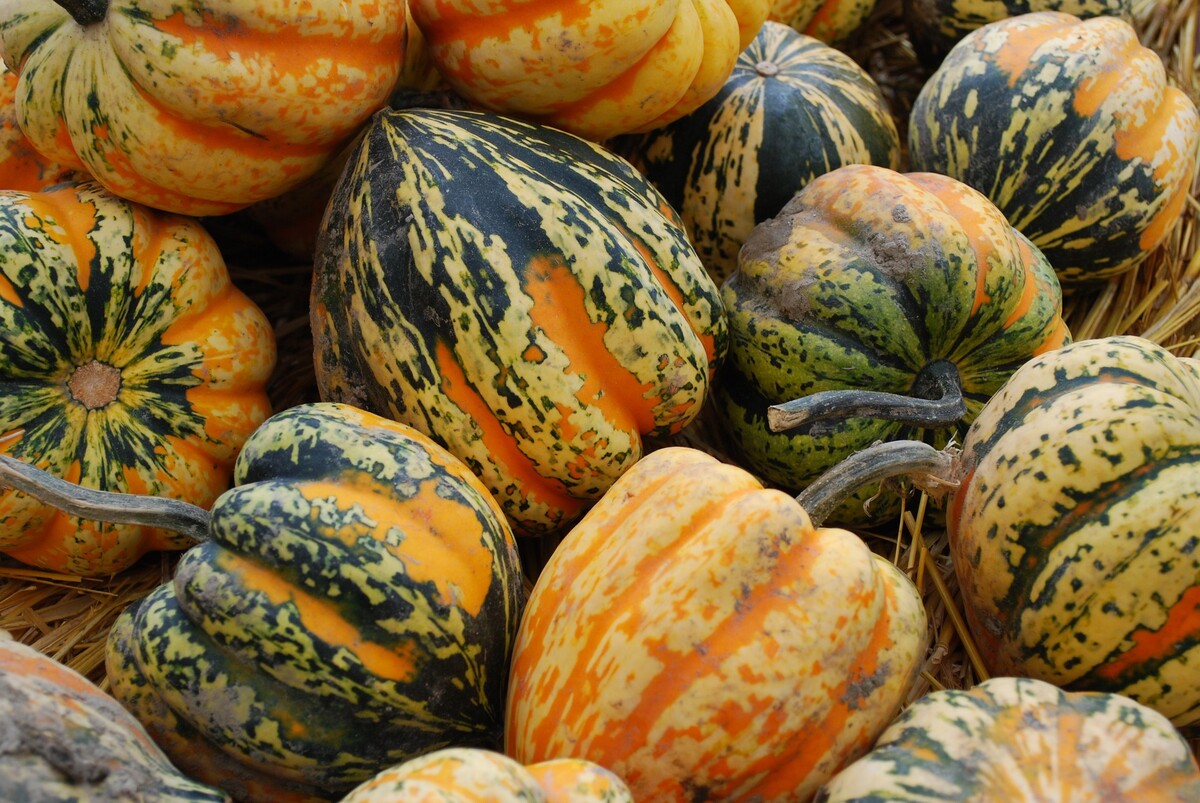
- Choose open-pollinated or heirloom varieties: Open-pollinated and heirloom squash varieties are more likely to produce true-to-type seeds. These are seeds that will produce squash plants with the same characteristics as the parent plant.
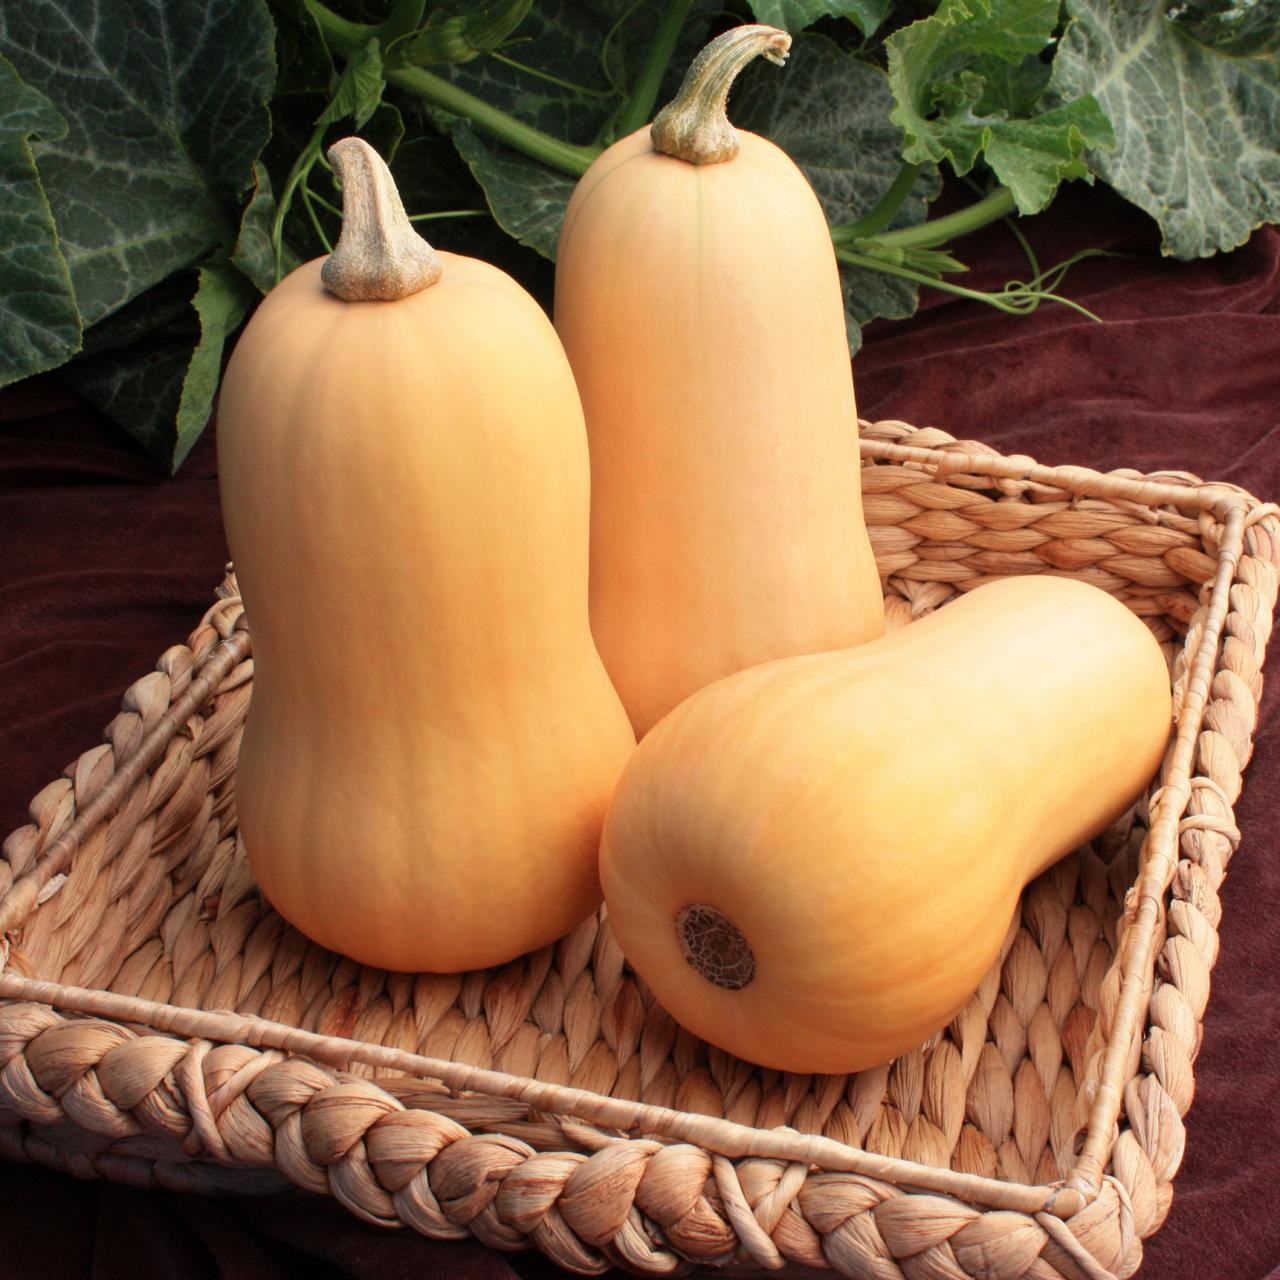
- Look for fully ripe squash: To ensure the seeds have reached maturity, choose squash that are fully ripe. This is typically indicated by a hard rind and a deep and consistent color. Avoid selecting squash that are still green or have blotchy patches.
- Inspect for disease and pest damage: Select squash that are free from any signs of disease or damage caused by pests. Infected or damaged squash may compromise the quality of the seeds.
- Consider flavor and texture: If you have specific flavor or texture preferences, choose squash that represent those qualities. This will ensure that the seeds you save will produce squash with similar characteristics.
It’s important to note that if you are growing multiple varieties of squash, you need to maintain proper isolation techniques to prevent cross-pollination. This can be achieved by spacing out different varieties or hand-pollinating to ensure the purity of the seeds.
Now that you have selected the healthiest and most suitable squash for seed saving, let’s move on to the next step: harvesting the winter squash seeds.
Harvesting Winter Squash Seeds
Harvesting winter squash seeds is a simple process that requires a bit of time and patience. Here’s how you can harvest the seeds from your winter squash:
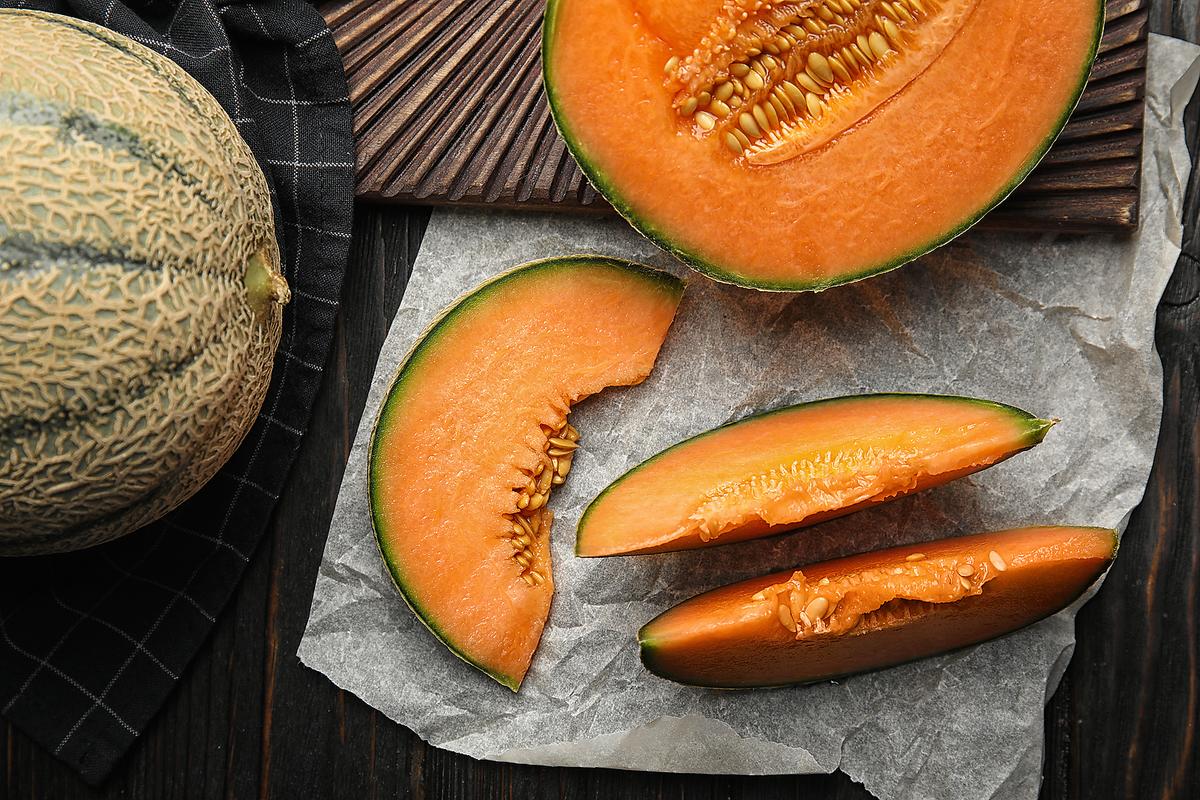
- Allow the squash to fully ripen: It’s crucial to allow the squash to fully mature and ripen on the vine. This ensures that the seeds inside have reached their maximum size and are ready for harvesting.
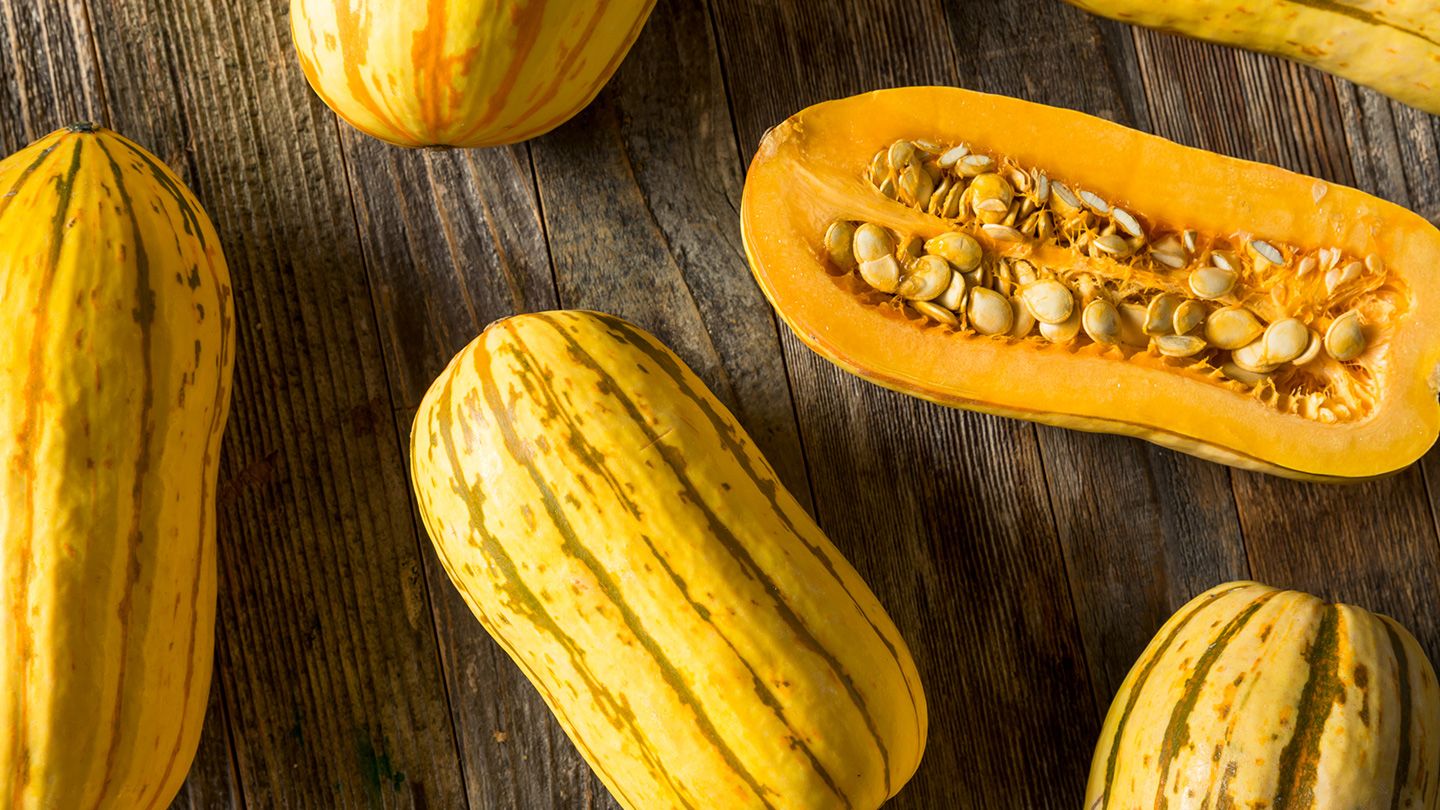
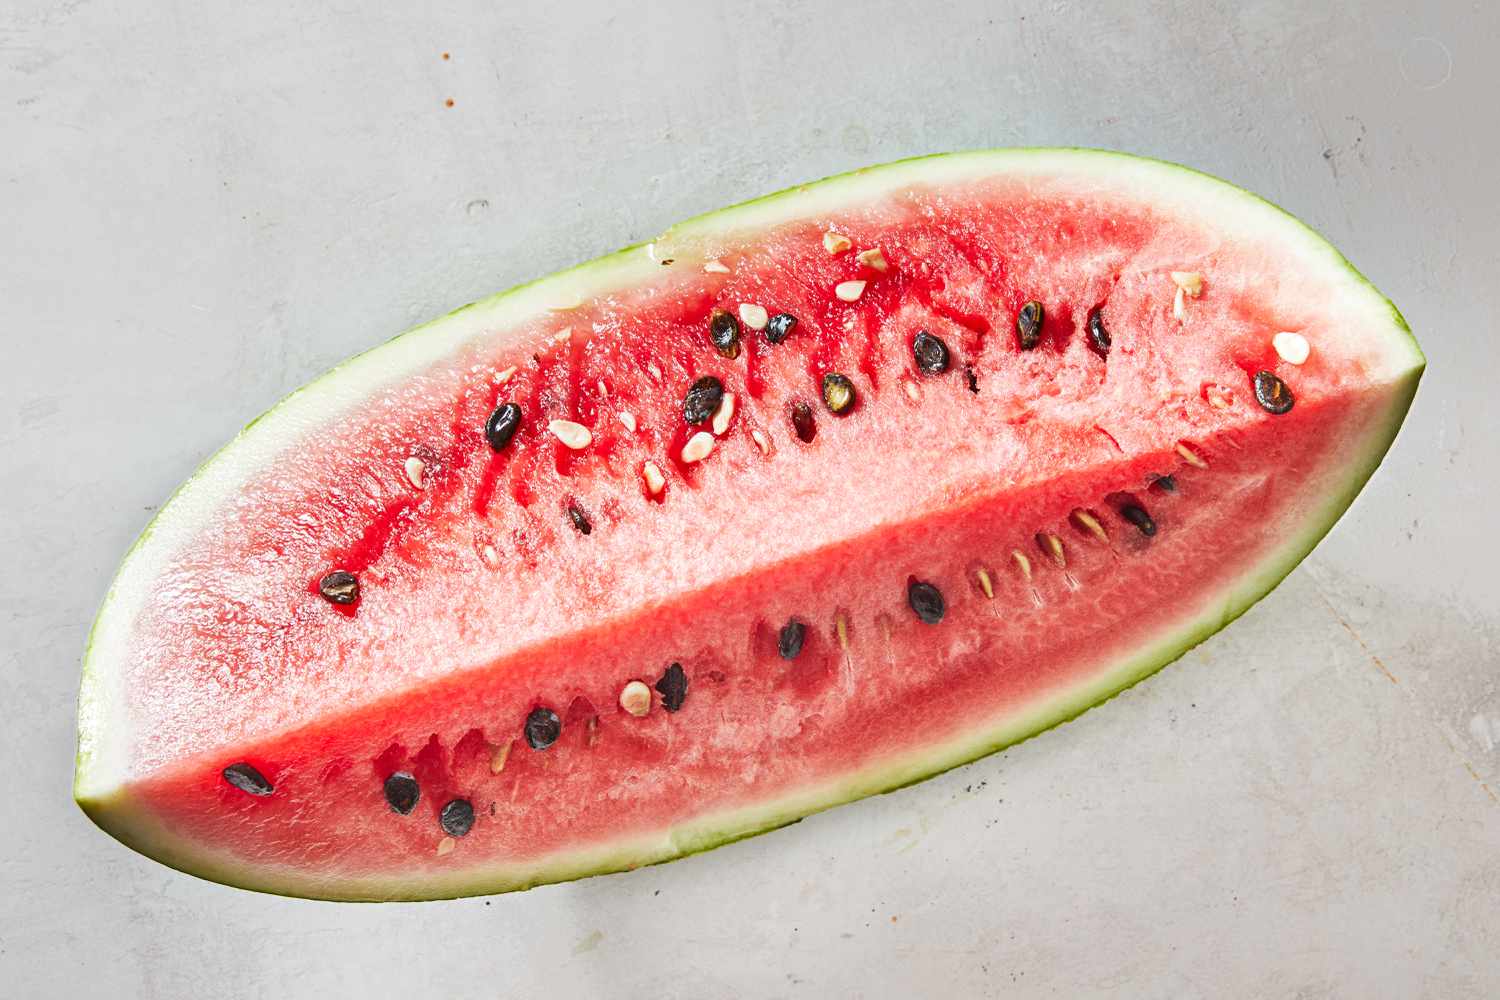
- Cut open the squash: Once the squash is fully ripe, carefully cut it open using a sharp knife. Take caution not to damage the seeds inside.
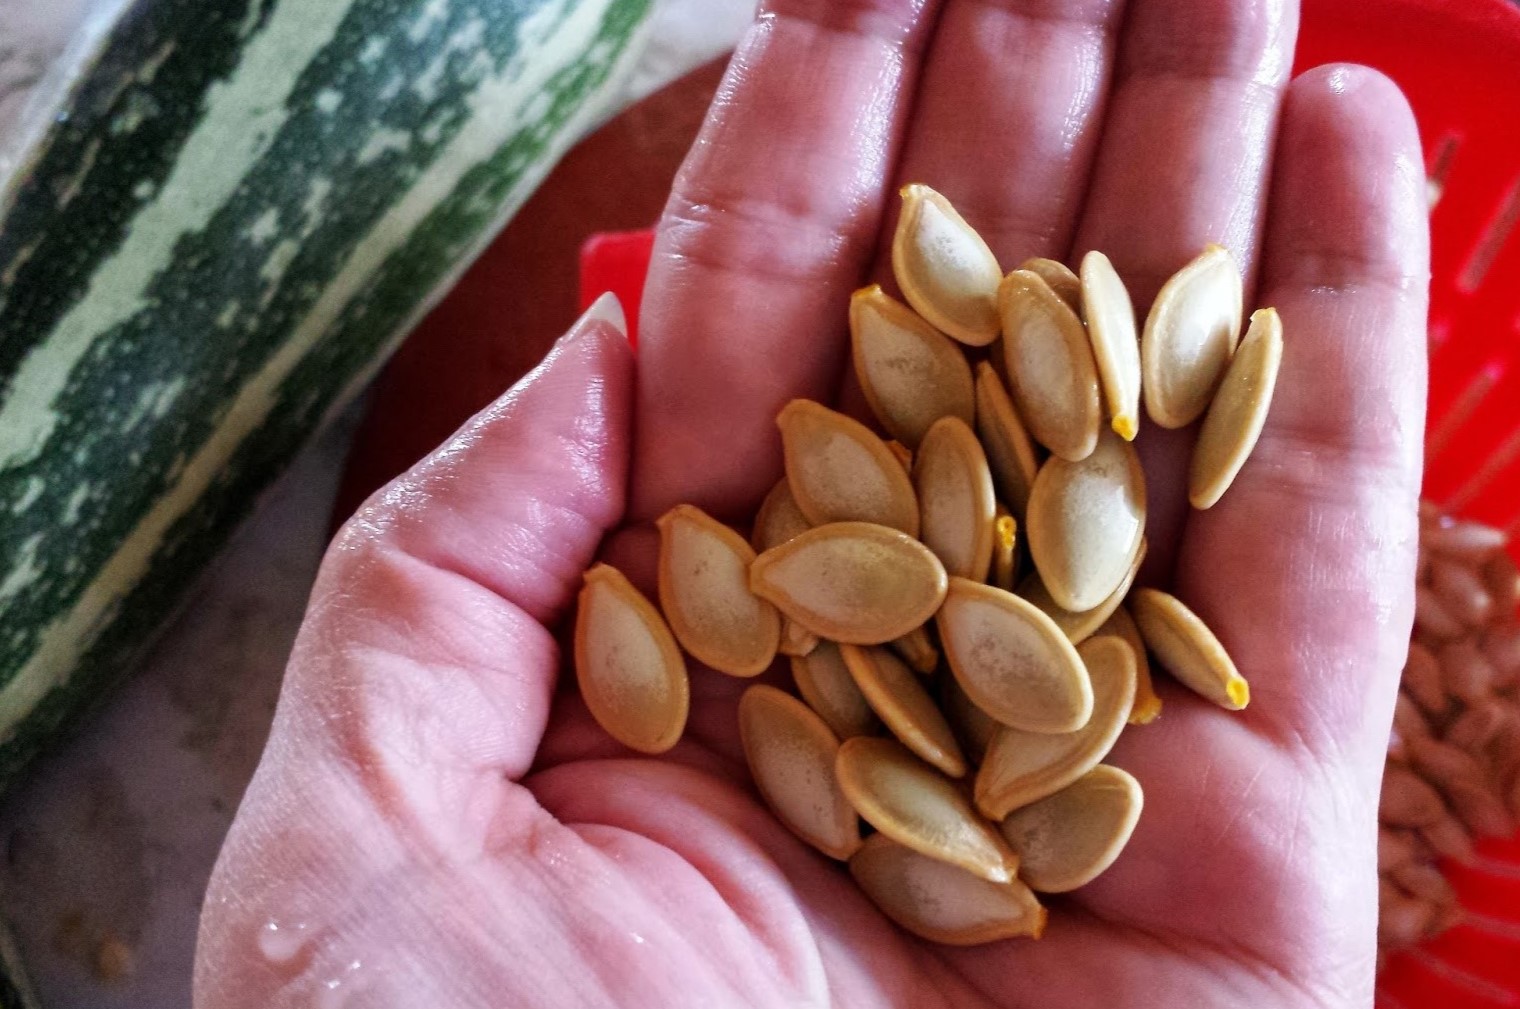
- Scoop out the seeds: Using a spoon or your hands, gently scoop out the seeds and the surrounding pulp from the squash. Place them in a bowl or a bucket.
- Separate the seeds from the pulp: Fill the bowl or bucket with water and agitate the mixture. The viable seeds will sink to the bottom, while the pulp and any floating debris can be discarded.
- Strain and rinse the seeds: Pour the contents of the bowl or bucket through a fine mesh sieve to strain the seeds. Rinse the seeds with clean water to remove any remaining pulp.
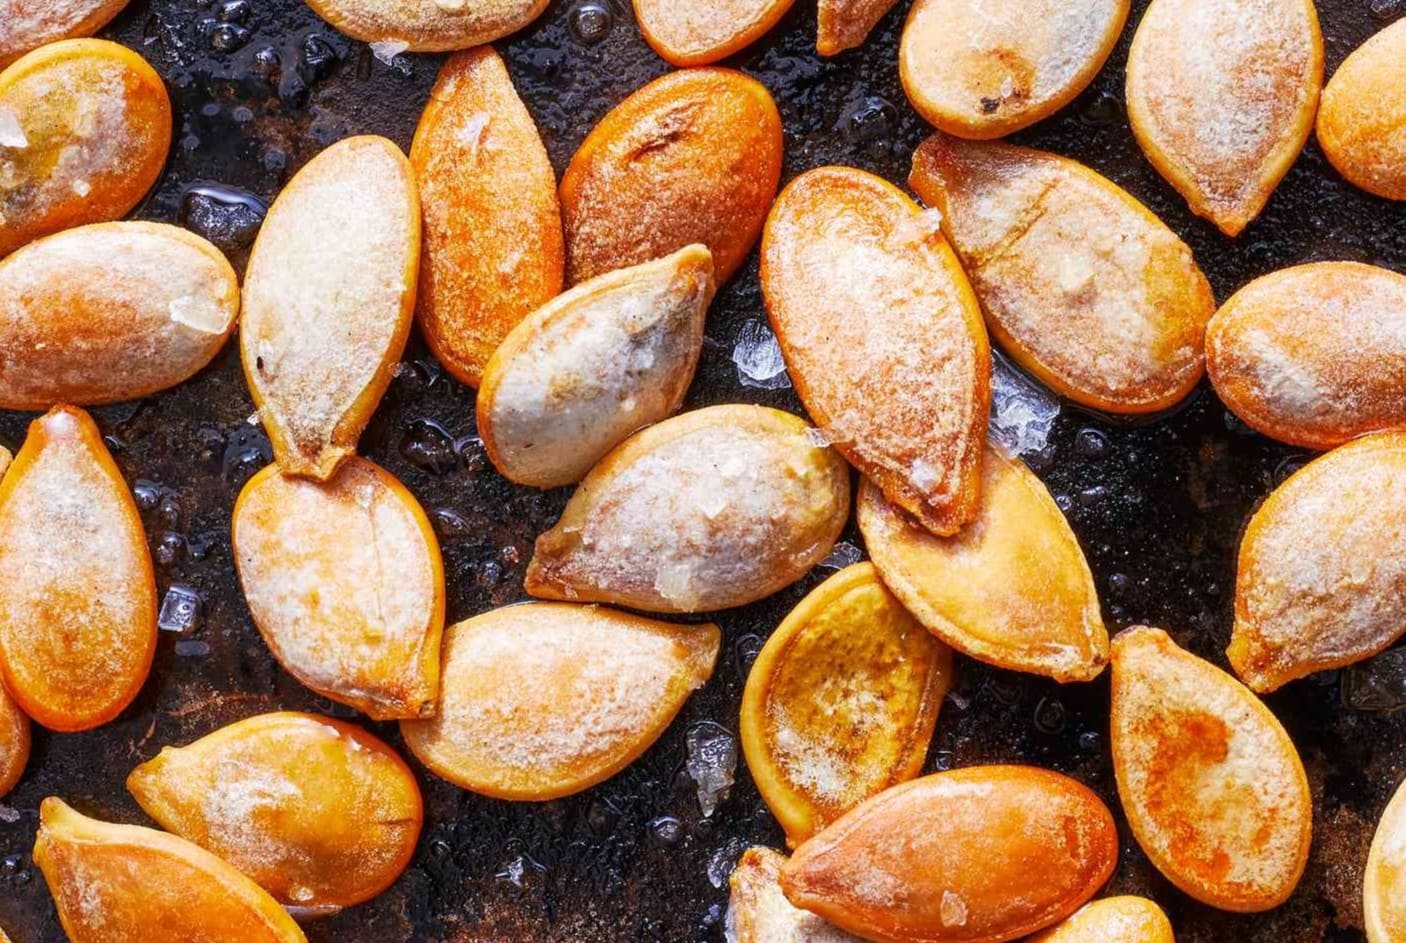
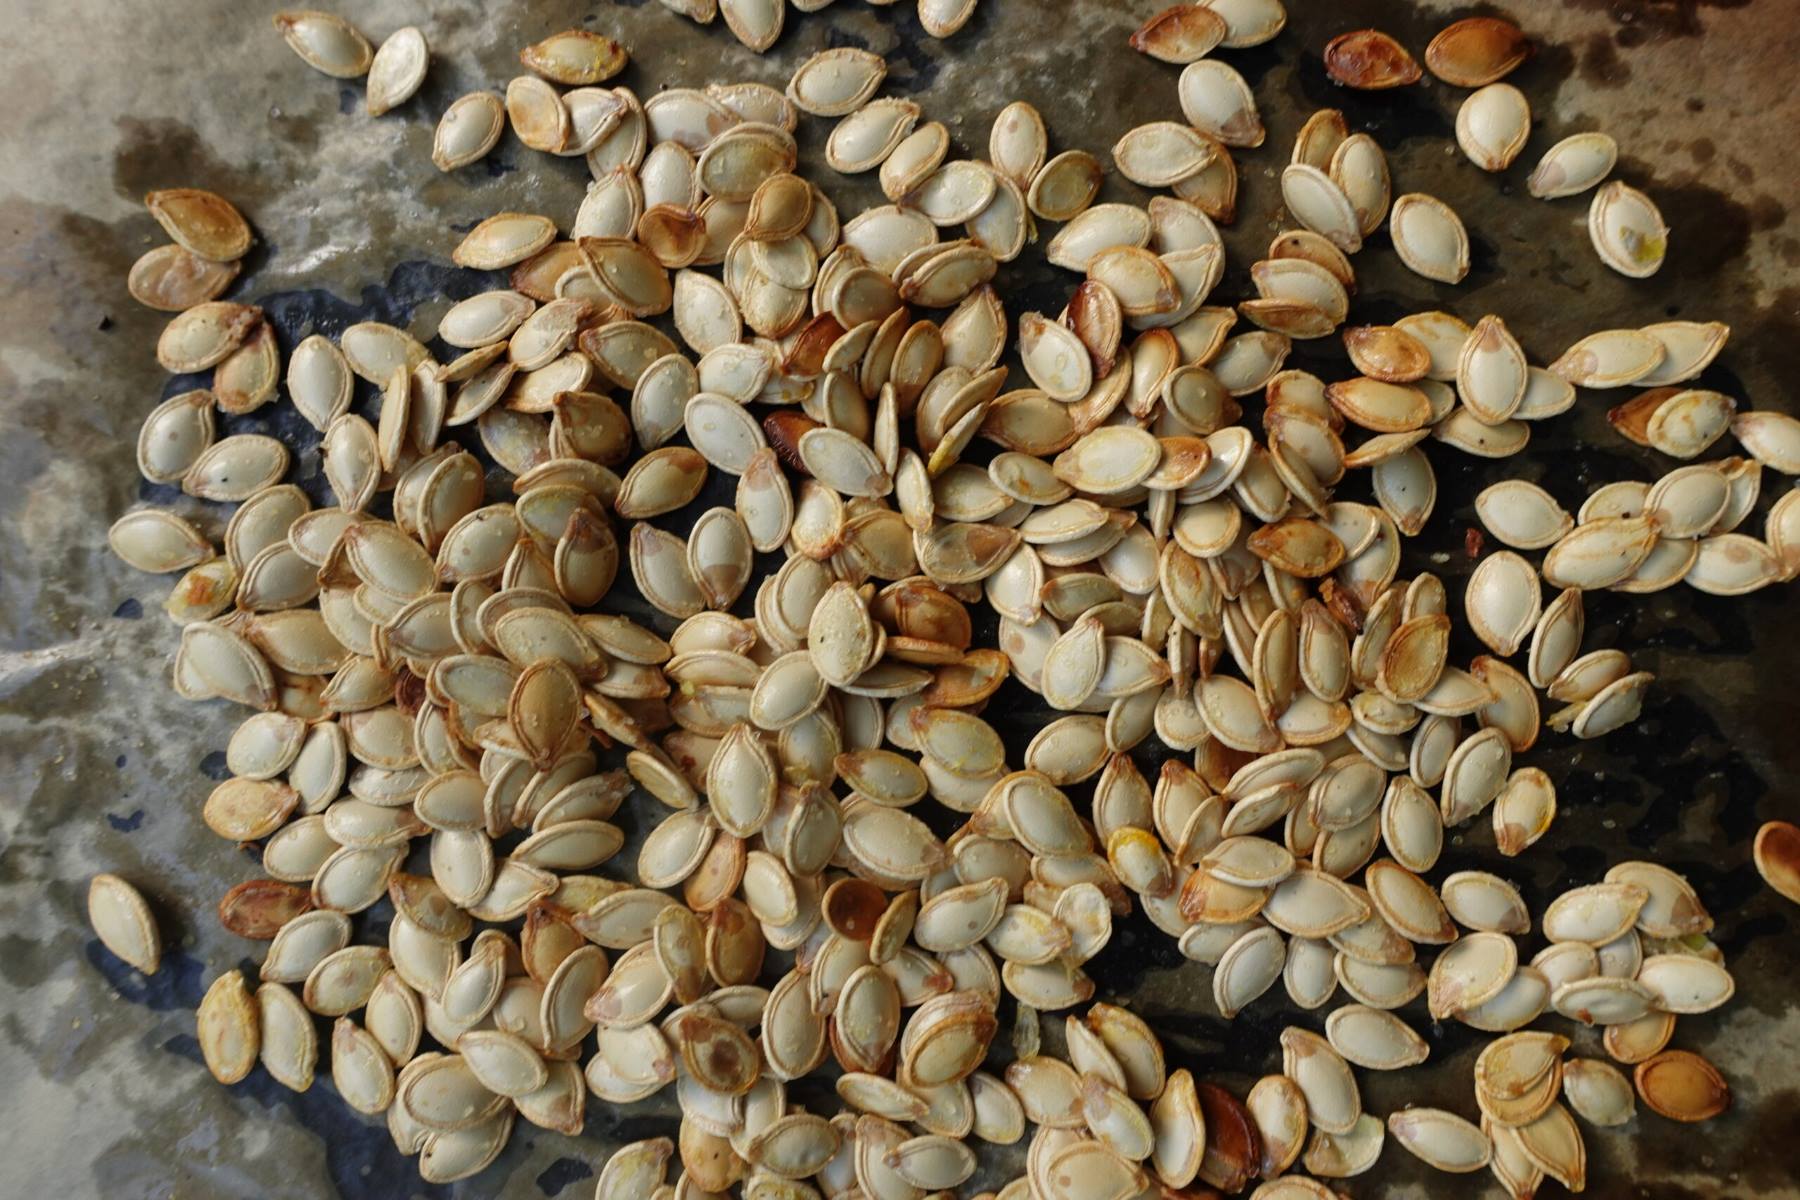
- Dry the seeds: Spread the seeds out on a flat surface, such as a baking sheet or a paper towel, and allow them to air dry. It’s important to ensure that the seeds are completely dry before storing them to prevent mold or rot.
Once the seeds are dry, you can move on to the next step: cleaning and preparing the squash seeds for storage.
After removing the seeds from the squash, rinse them in a strainer to remove any pulp. Then spread the seeds out on a paper towel to dry for a few days before storing them in a cool, dry place.
Cleaning and Preparing Squash Seeds
After harvesting the winter squash seeds, it’s essential to clean and prepare them for long-term storage. Here’s how you can effectively clean and prepare your squash seeds:
- Remove any remaining pulp: Inspect the seeds and remove any remaining bits of pulp or debris. You can do this by gently rubbing the seeds between your fingers or using a fine brush.
- Soak the seeds: To further assist in the cleaning process, you can soak the seeds in a bowl of water overnight. This will help loosen any stubborn pulp that may be clinging to the seeds.
- Rinse the seeds: After soaking, rinse the seeds thoroughly under running water. Use your fingers to rub away any remaining pulp, ensuring that the seeds are clean and free from debris.
- Optional fermentation method: Some gardeners prefer to ferment the squash seeds to remove any potential pathogens. This can be done by placing the cleaned seeds in a container filled with water and allowing them to ferment for a couple of days. The viable seeds will sink to the bottom, and any floating debris can be discarded.
- Dry the seeds again: Once the seeds have been cleaned, spread them out on a surface to air dry. Ensure that they are completely dry before moving on to the next step.
By properly cleaning and preparing your squash seeds, you are ensuring their longevity and viability. Once the seeds are dry, it’s time to move on to the next step: drying and storing them for future use.
Read more: How To Save Squash Seeds For Planting
Drying and Storing Winter Squash Seeds
Properly drying and storing winter squash seeds is essential for maintaining their viability and longevity. Follow these steps to ensure your seeds are well-preserved:
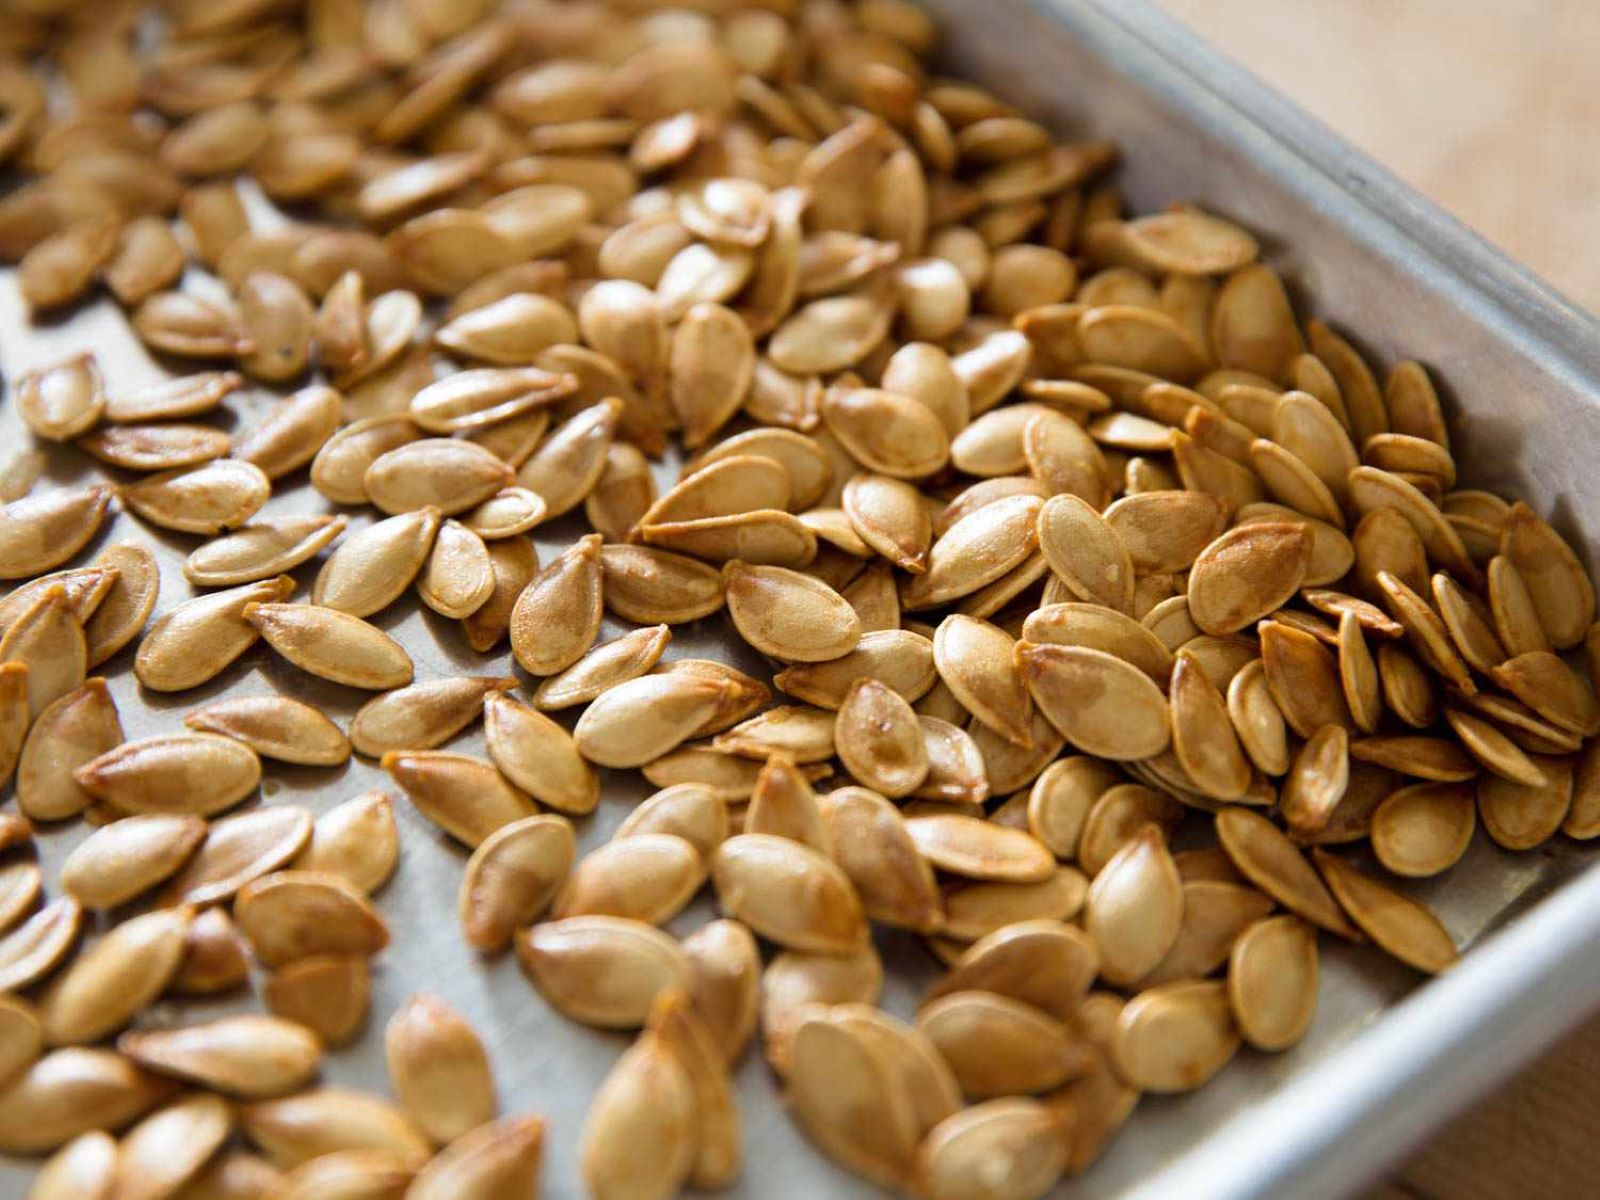
- Air drying: After cleaning the seeds, allow them to air dry completely. Spread the seeds out in a single layer on a flat surface, such as a tray or a screen. Choose a well-ventilated area with low humidity.
- Periodic turning: During the drying process, it’s important to periodically turn the seeds to ensure even air circulation and prevent any moisture buildup. This will help in preventing mold or rot from forming.
- Complete drying: The seeds are considered dry when they are hard and no longer give off any moisture. This process may take around one to two weeks, depending on the humidity levels in your area.
- Seed viability test: Before storing the seeds, it’s advisable to perform a seed viability test to determine their germination rate. This can be done by placing a few seeds on a damp paper towel and keeping them in a warm location. If a high percentage of seeds germinate, they are considered viable and suitable for storage.
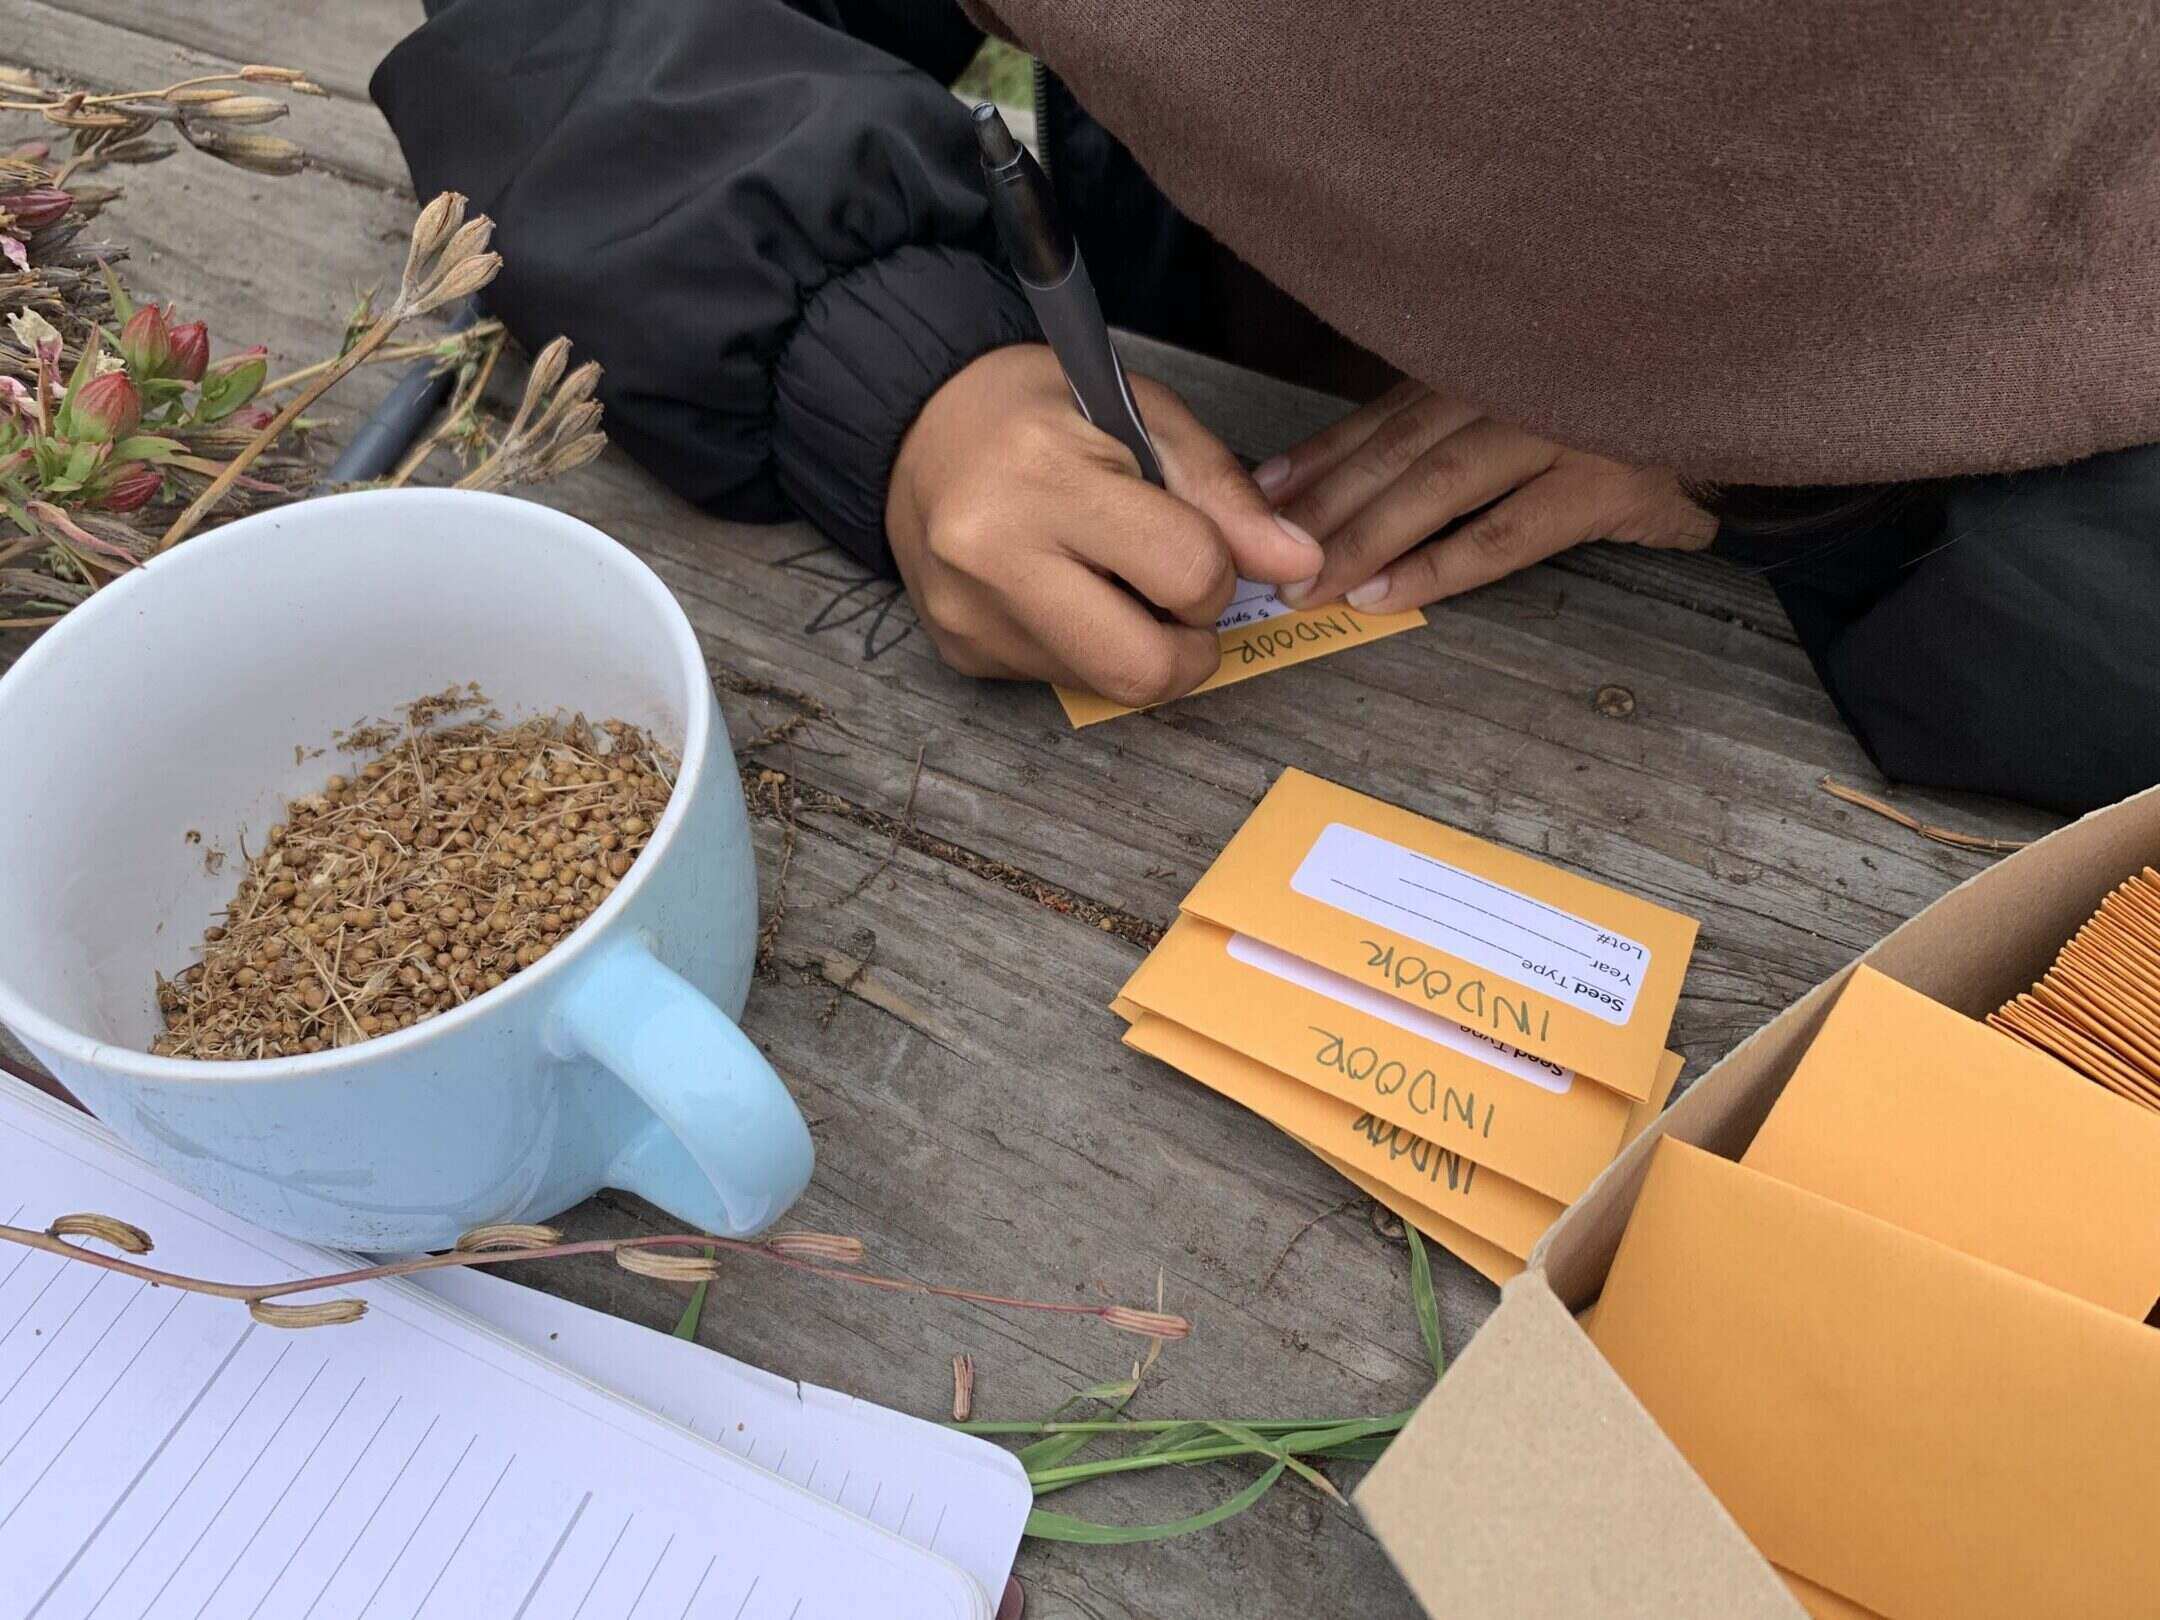
- Storage containers: Once the seeds are completely dry and have passed the viability test, transfer them to airtight containers. Suitable containers include small glass jars, plastic zip-lock bags, or seed storage envelopes. Make sure to label the containers with the variety and date of harvest.
- Optimum storage conditions: Store the containers in a cool, dry, and dark location. A temperature range of 32-41°F (0-5°C) with low humidity is ideal for seed longevity. Avoid storing seeds in environments prone to temperature fluctuations or exposure to sunlight.
With proper drying and storage, winter squash seeds can remain viable for several years, allowing you to enjoy future harvests and share seeds with fellow gardeners.
Now that you have successfully dried and stored your winter squash seeds, it’s important to periodically check their viability and consider re-testing before the next planting season.
Testing Seed Viability
Testing the viability of your winter squash seeds is crucial before planting them to ensure a successful germination rate. Here’s how you can test the viability of your saved seeds:
- Gather a representative sample: Take a small sample of seeds from each variety you saved. Aim for around 10 to 20 seeds for an accurate assessment.
- Damp paper towel method: Moisten a paper towel with water and wring out any excess moisture. Place the seeds on one half of the paper towel, ensuring they are evenly spaced and not touching.
- Fold and seal the paper towel: Fold the paper towel over the seeds to cover them completely. Then, gently place the entire paper towel inside a plastic bag, leaving the bag slightly open for air circulation.
- Warm and dark location: Keep the plastic bag in a warm and dark location, such as on top of the refrigerator or in a cupboard. The optimal temperature for germination is around 70-80°F (21-27°C).
- Monitor germination progress: Check the seeds daily to assess germination progress. Remove any seeds that show signs of mold or decay to prevent them from affecting the others.
- Record germination rate: After a predetermined period (typically 7-10 days), count the number of seeds that have successfully germinated. Calculate the germination rate by dividing the number of germinated seeds by the total number tested, and then multiply by 100 for a percentage.
A germination rate above 70% is generally considered excellent, while anything below 50% may indicate lower seed viability. If the germination rate is lower than desired, you may consider purchasing fresh seeds or using a higher quantity of seeds when planting.
Regularly testing seed viability ensures that you are using seeds with a high likelihood of germination, maximizing your gardening success. Make sure to properly record the results for future reference.
Now that you’ve assessed the viability of your winter squash seeds, you can confidently proceed to plant them and enjoy a bountiful harvest in the seasons to come.
Conclusion
Saving winter squash seeds provides both practical and rewarding benefits for gardeners. Not only does it allow you to continue the cycle of your garden year after year, but it also enables you to preserve the unique qualities and flavors of your favorite squash varieties.
Throughout this article, we have explored the process of saving winter squash seeds, from selecting healthy squash for seed saving to testing the viability of the seeds. By following these steps and incorporating proper techniques, you can successfully save, store, and grow your own winter squash seeds.
Remember, when selecting squash for seed saving, choose fully ripened, disease-free varieties that exhibit the desired traits you wish to preserve. Take precautions to prevent cross-pollination and maintain the purity of the seeds. Harvest the seeds by cutting open the squash, scooping them out, and separating them from the pulp. Clean and prepare the seeds by removing any remaining debris and properly drying them. Once dry, store the seeds in a cool, dark, and dry location for future planting.
Testing the viability of your saved seeds before planting is crucial for ensuring successful germination rates. By performing a simple germination test using the damp paper towel method, you can assess the health and viability of your seeds.
By engaging in the practice of saving winter squash seeds, you not only contribute to the sustainability of your garden but also foster a deeper connection with the natural cycle and beauty of plants. So, embrace the journey of seed saving and reap the rewards of your own homegrown winter squash varieties.
Happy seed saving and happy gardening!
Frequently Asked Questions about How To Save Winter Squash Seeds
Was this page helpful?
At Storables.com, we guarantee accurate and reliable information. Our content, validated by Expert Board Contributors, is crafted following stringent Editorial Policies. We're committed to providing you with well-researched, expert-backed insights for all your informational needs.
0 thoughts on “How To Save Winter Squash Seeds”