Articles
How To Store Tomato Seeds
Modified: September 1, 2024
Learn how to store tomato seeds in this informative article. Preserve the quality and viability of your tomato seeds with these expert tips and techniques.
(Many of the links in this article redirect to a specific reviewed product. Your purchase of these products through affiliate links helps to generate commission for Storables.com, at no extra cost. Learn more)
Introduction
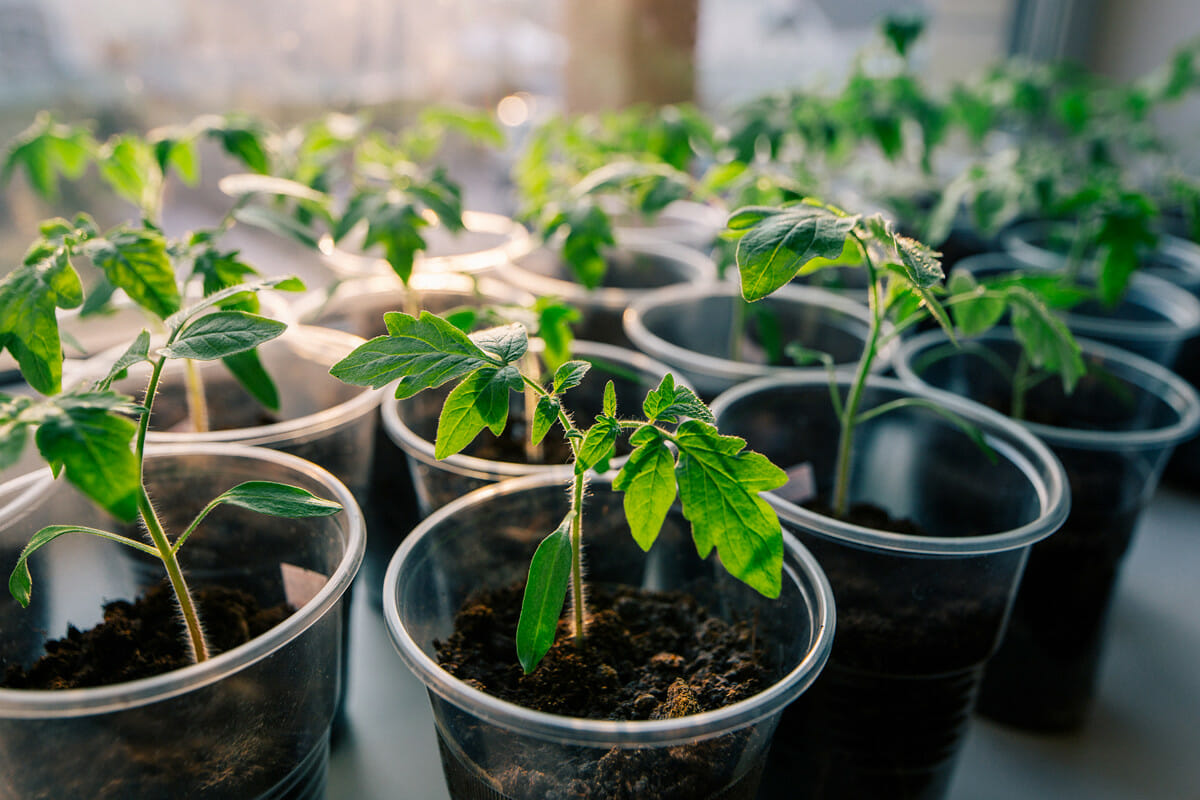
Tomatoes are a versatile and popular fruit that can be grown in gardens or even in pots on the balcony. One of the joys of growing your own tomatoes is the opportunity to save and store the seeds for future planting. By storing tomato seeds properly, you can ensure a steady supply of your favorite tomato varieties year after year.
In this article, we will guide you through the process of storing tomato seeds. From choosing the right tomatoes to testing seed viability, we will provide you with all the information you need to successfully store tomato seeds and maintain their quality.
Before we delve into the details, it’s important to note that the quality of the seeds plays a significant role in the success of your future tomato plants. Therefore, it is crucial to start with ripe, healthy, and disease-free tomatoes to ensure optimal seed quality. Let’s explore this aspect further.
Key Takeaways:
- Preserve your favorite tomato varieties by choosing ripe, heirloom tomatoes and following proper extraction, cleaning, and drying techniques to ensure high-quality seeds for future plantings.
- Test the viability of stored tomato seeds through germination tests to assess their quality, allowing you to make informed decisions on planting and preserving biodiversity.
Read more: How To Seed A Tomato
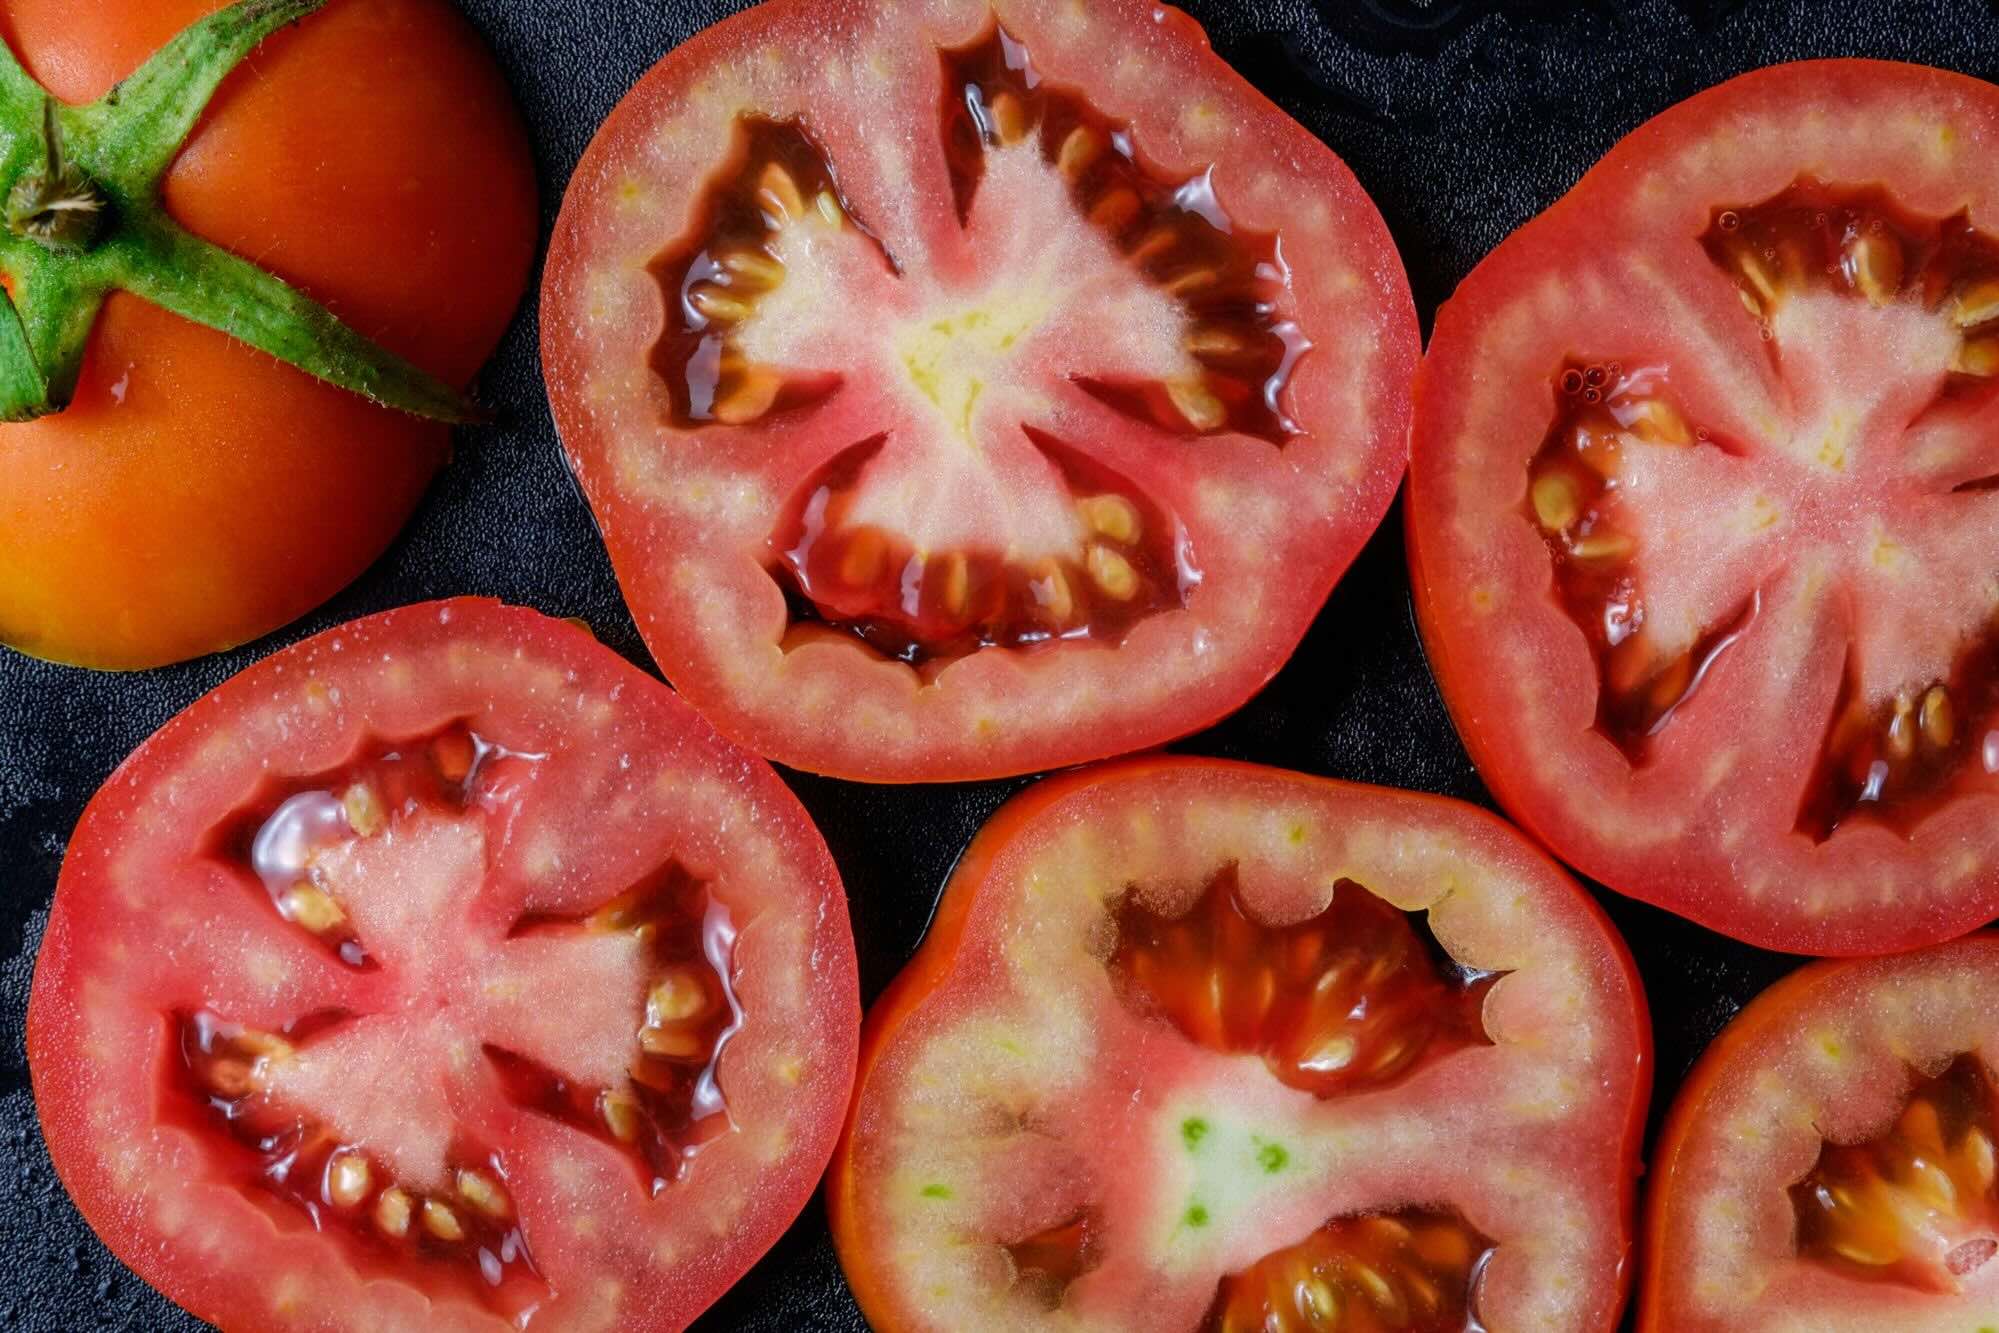
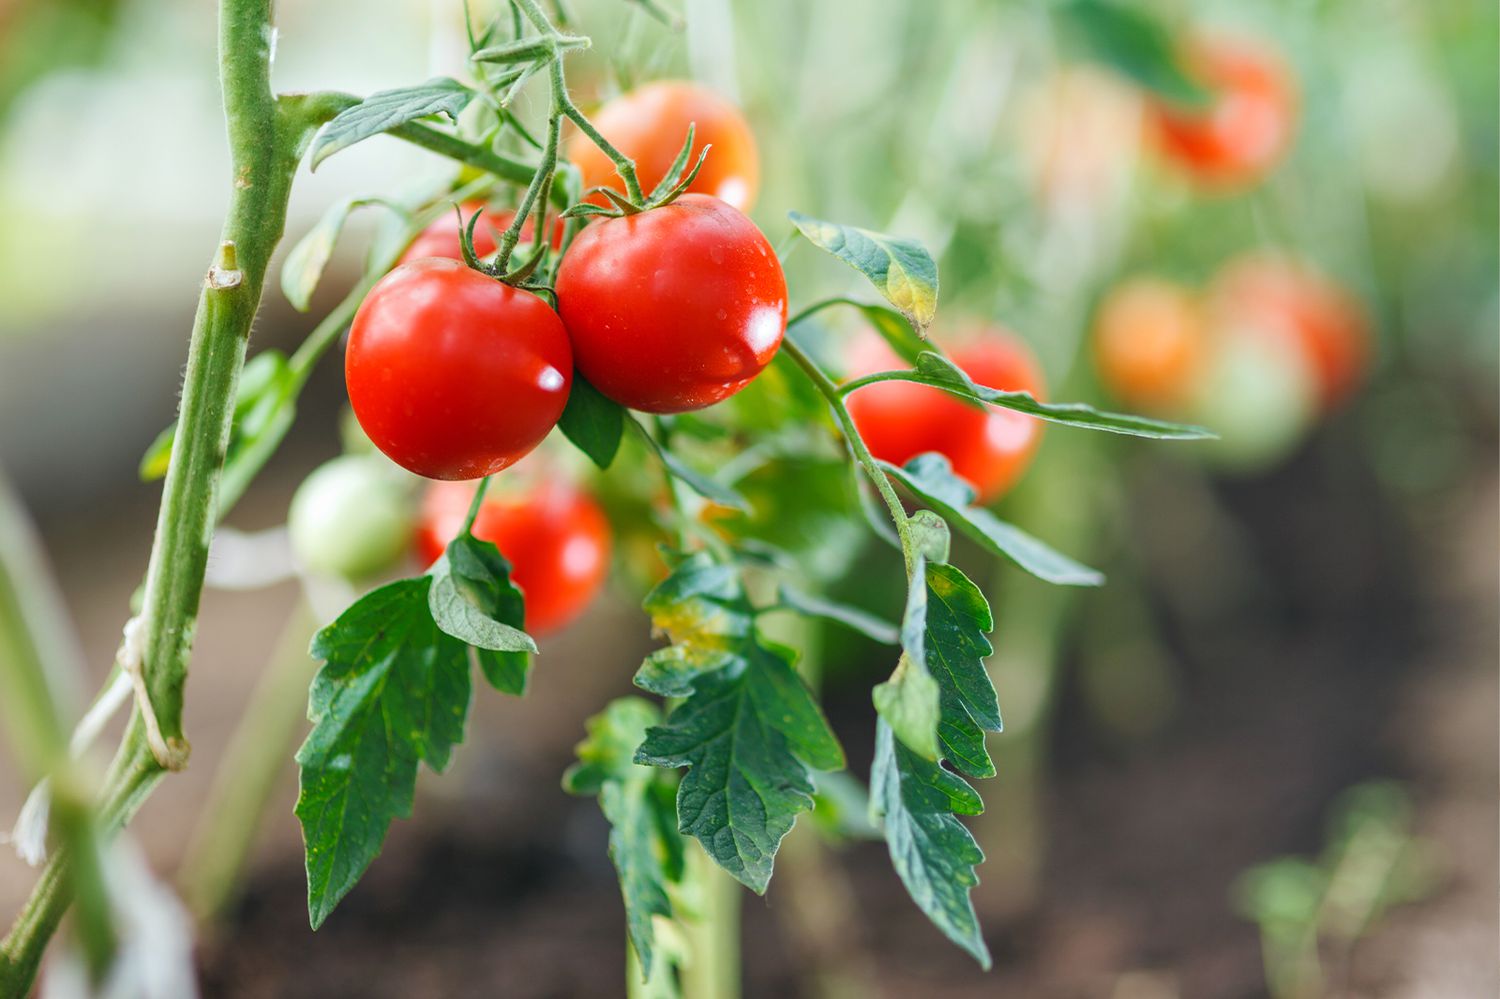
Choosing Ripe Tomatoes
When it comes to storing tomato seeds, selecting ripe tomatoes is essential. Ripe tomatoes have mature seeds that are more likely to germinate successfully. Here are some guidelines to help you choose the right tomatoes for seed saving:
1. Select Heirloom Tomatoes: Heirloom tomatoes are known for their rich flavors and unique characteristics. These varieties have been passed down through generations and are often open-pollinated, meaning the plants are naturally pollinated without human intervention. Choosing heirloom tomatoes will allow you to preserve and pass down these unique traits through seed saving.
2. Look for Fully Colored Tomatoes: Opt for tomatoes that have reached their full color. Depending on the variety, this could mean red, yellow, orange, or even green tomatoes for some heirloom varieties. Avoid tomatoes that are still green or have significant green patches as the seeds inside may not be fully mature.
3. Check for Firmness: Gently squeeze the tomato to ensure that it is firm but not overly soft. A ripe tomato should give slightly under pressure without being mushy.
4. Examine the Skin: Inspect the tomato’s skin for any cracks, blemishes, or signs of disease. Choose tomatoes that are free from any visible damage, as this can affect the quality of the seeds.
5. Consider Disease Resistance: If your region is prone to specific tomato diseases, it might be wise to choose tomatoes that have demonstrated resistance to those diseases. Disease-resistant varieties are more likely to produce healthy seeds that are less susceptible to future infection.
By choosing the right tomatoes, you set a strong foundation for successful seed saving. Once you have selected the ideal tomatoes, it’s time to extract the seeds. Let’s move on to the next step in the process.
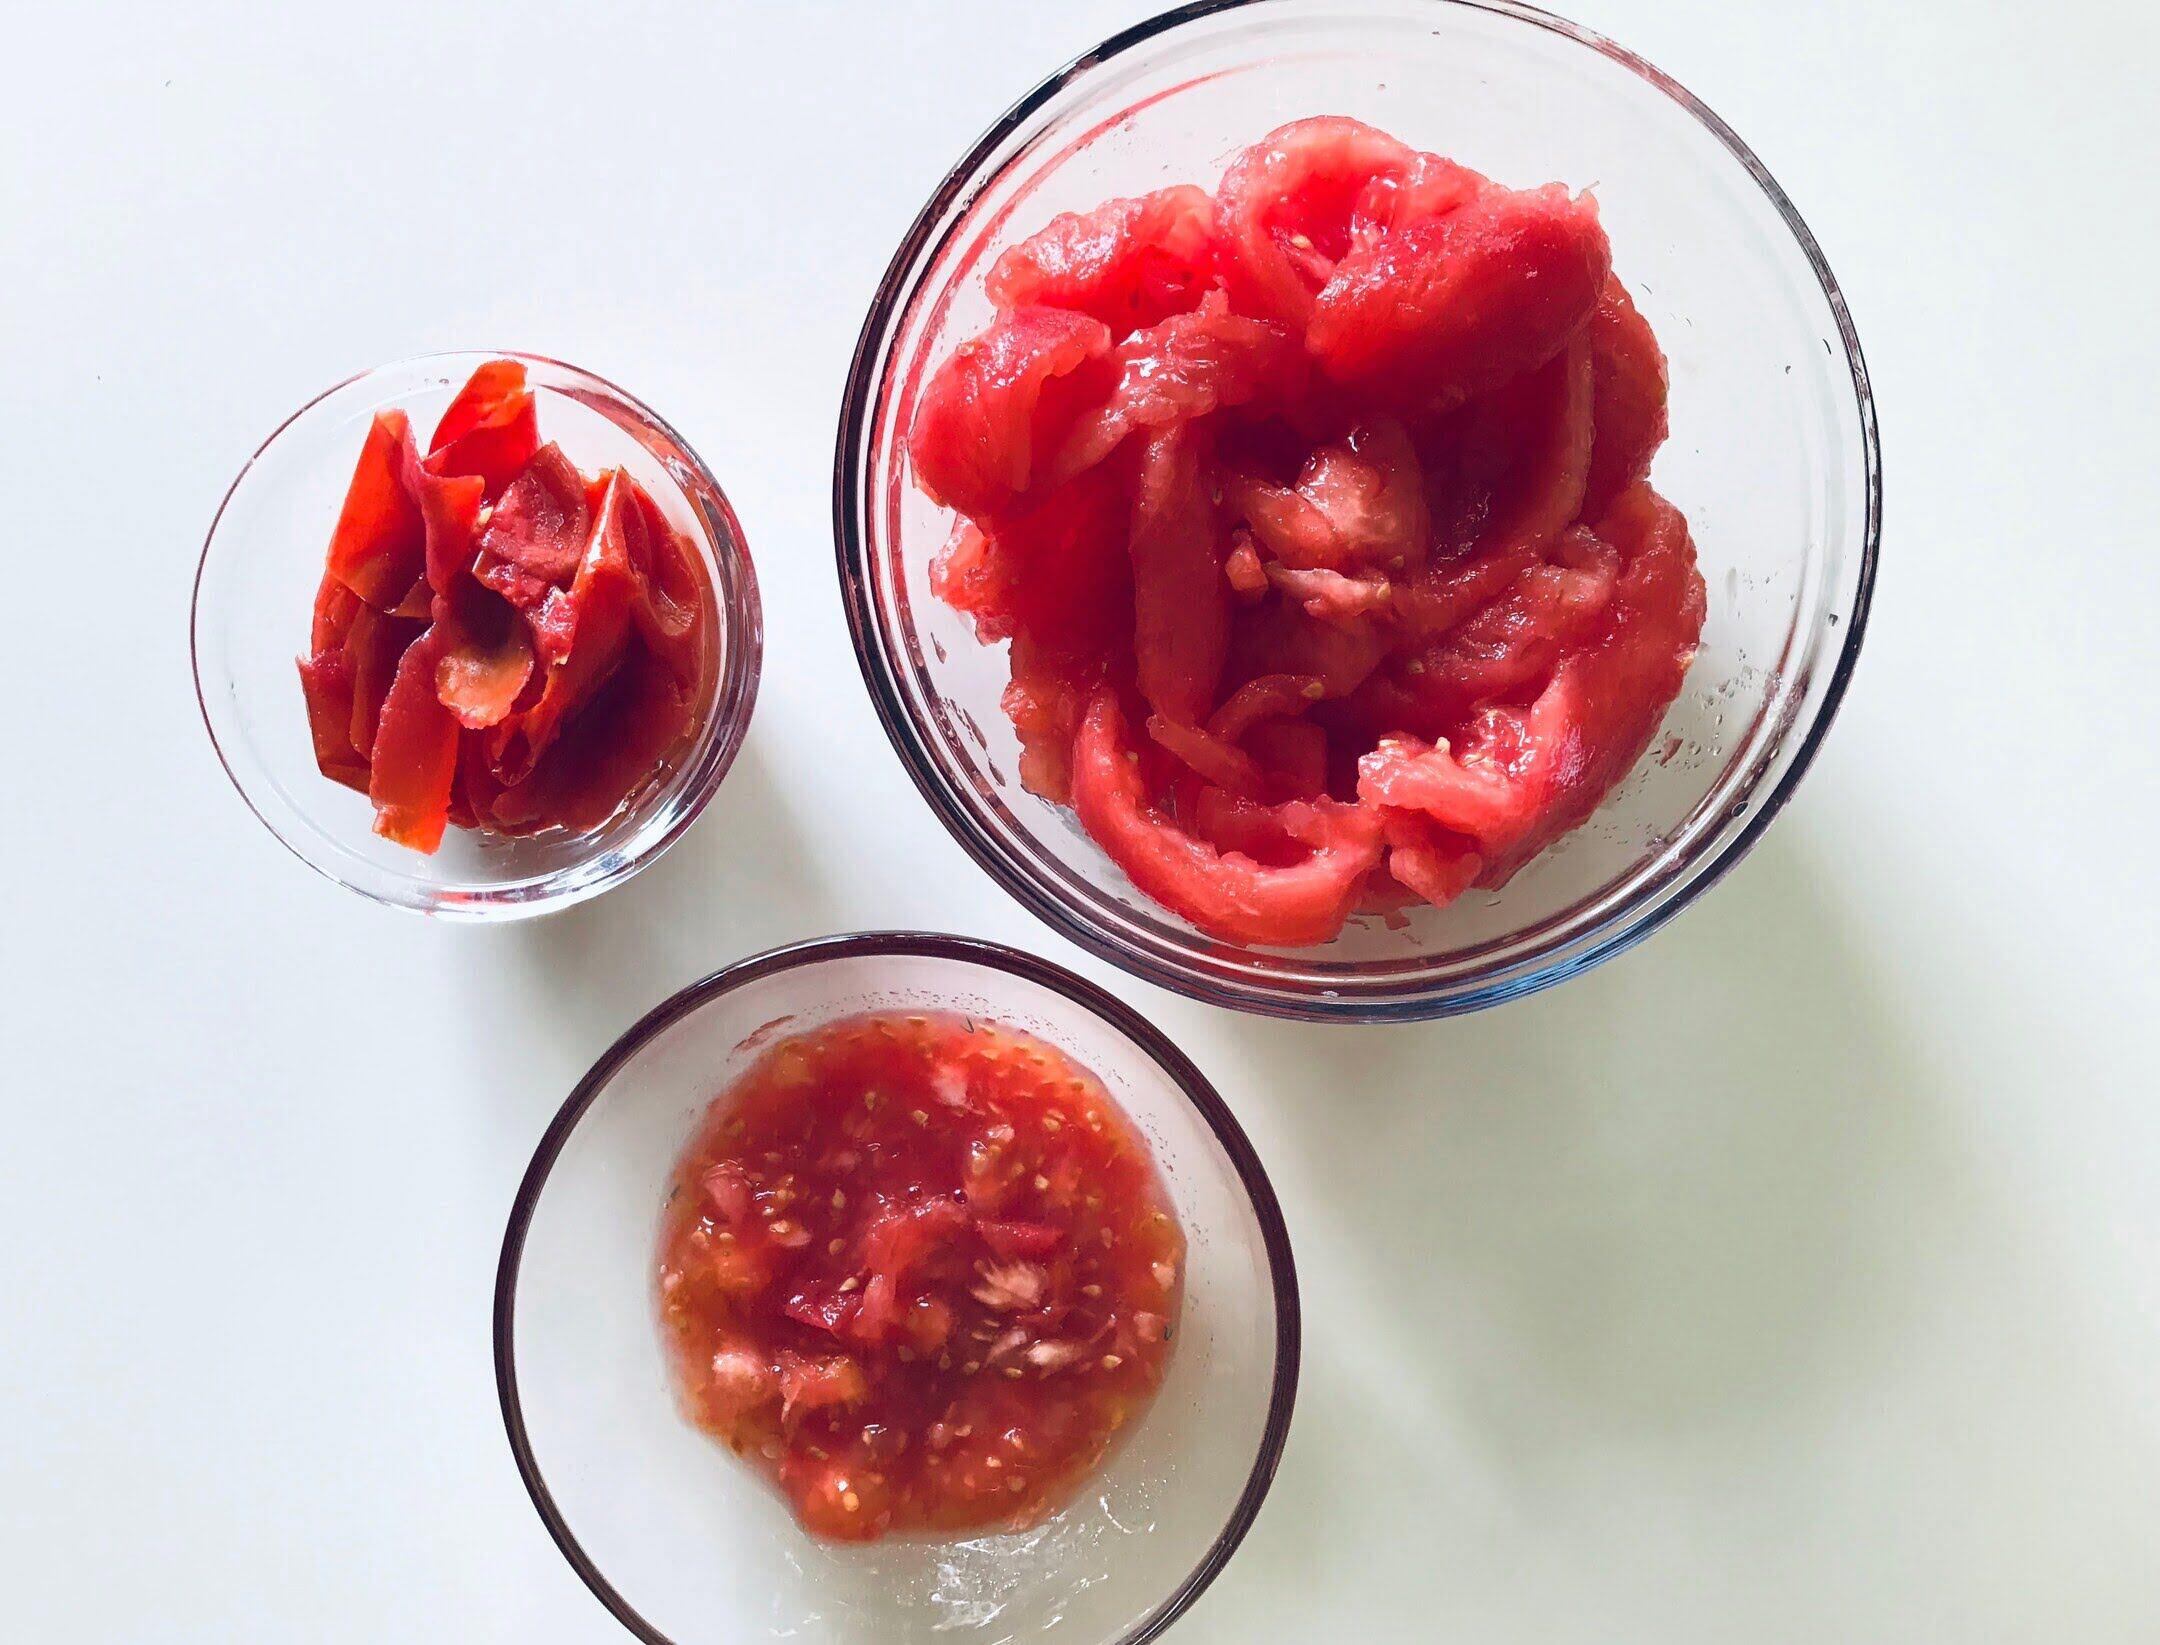
Extracting the Seeds
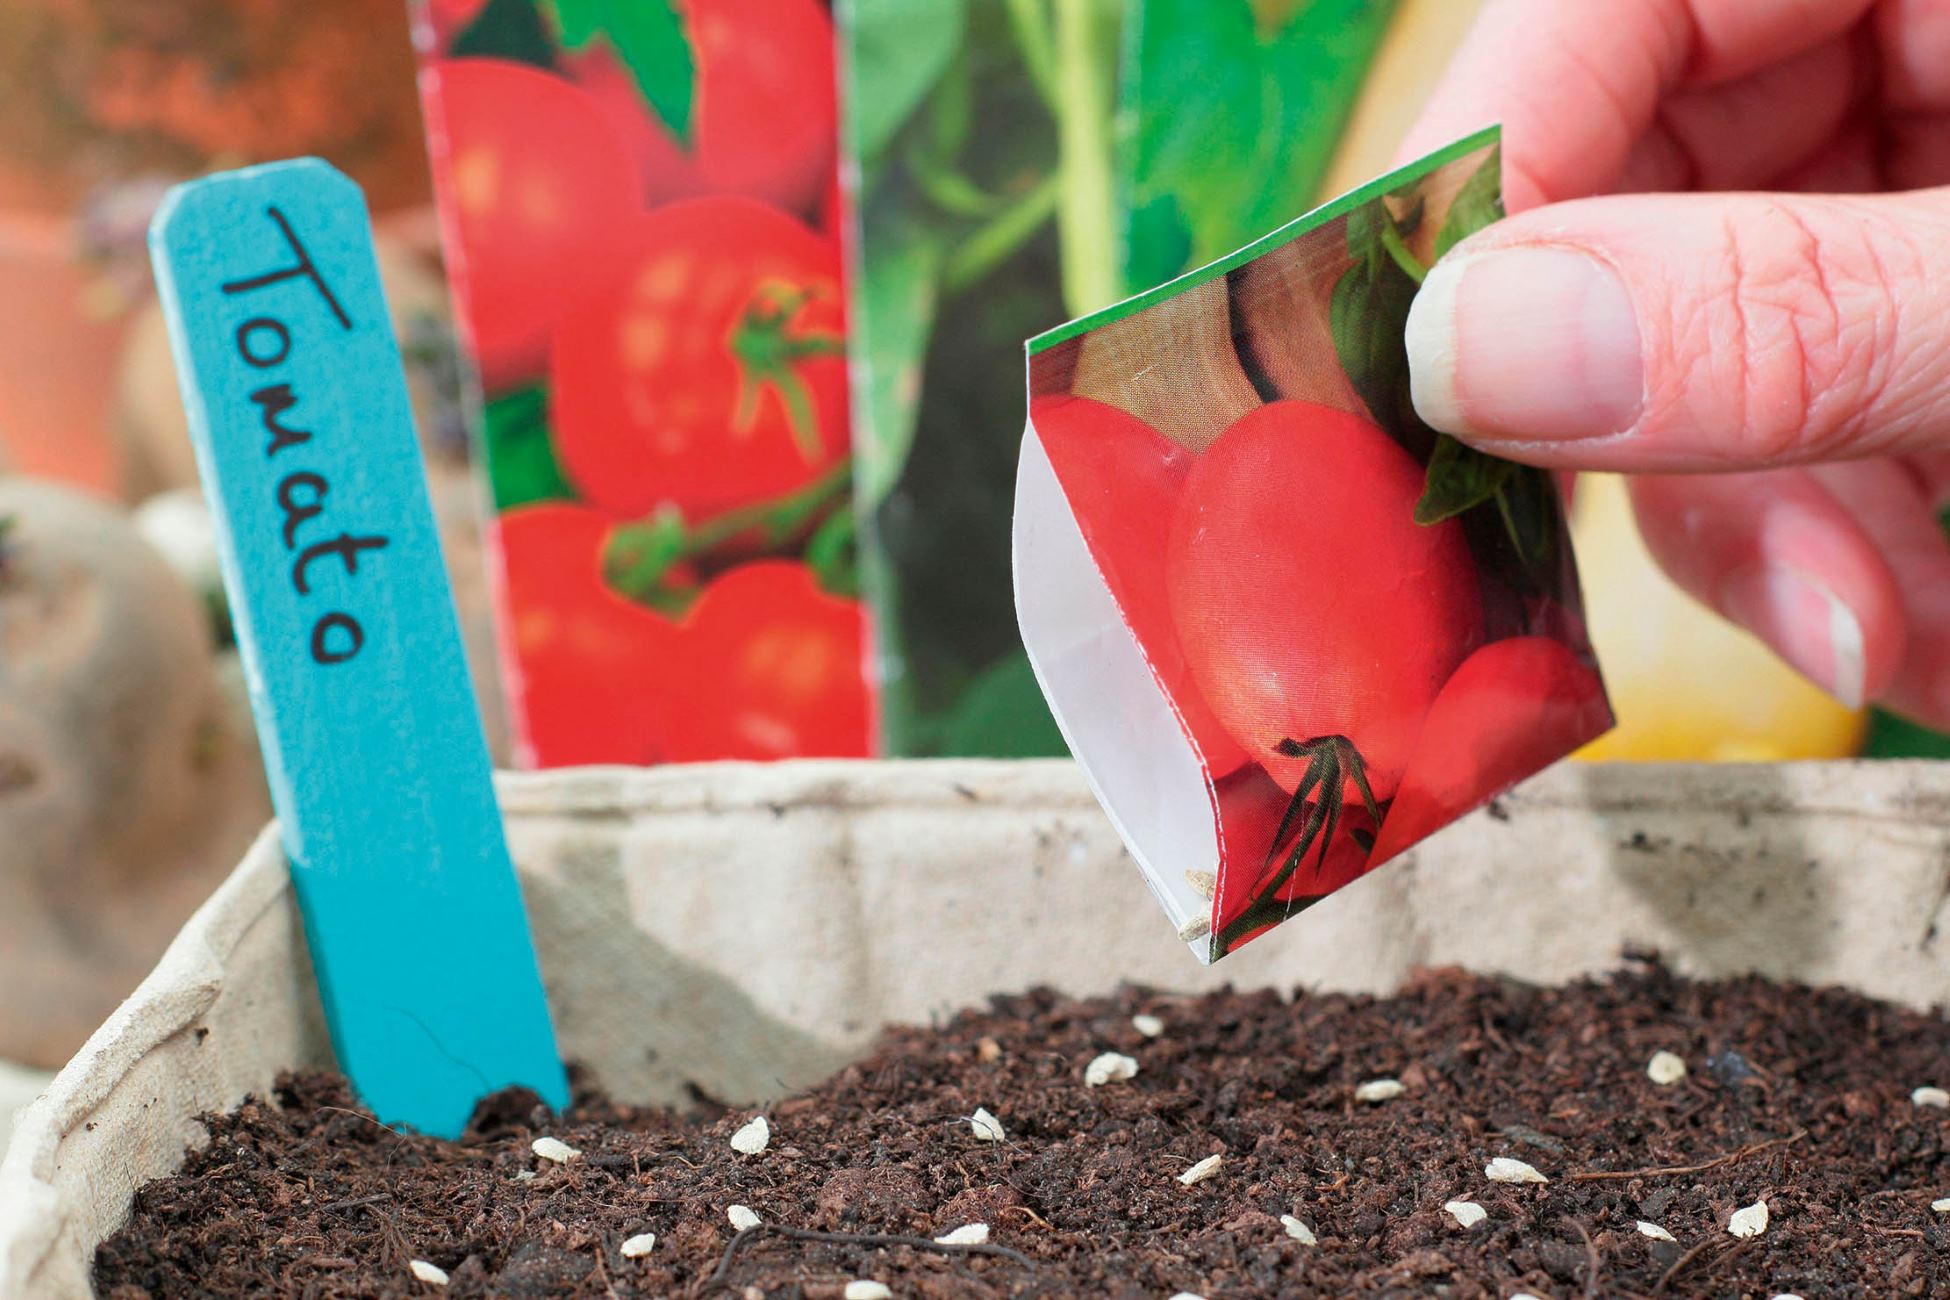
Extracting tomato seeds is a relatively simple process that can be done using basic household supplies. Here’s a step-by-step guide to help you extract the seeds from your ripe tomatoes:
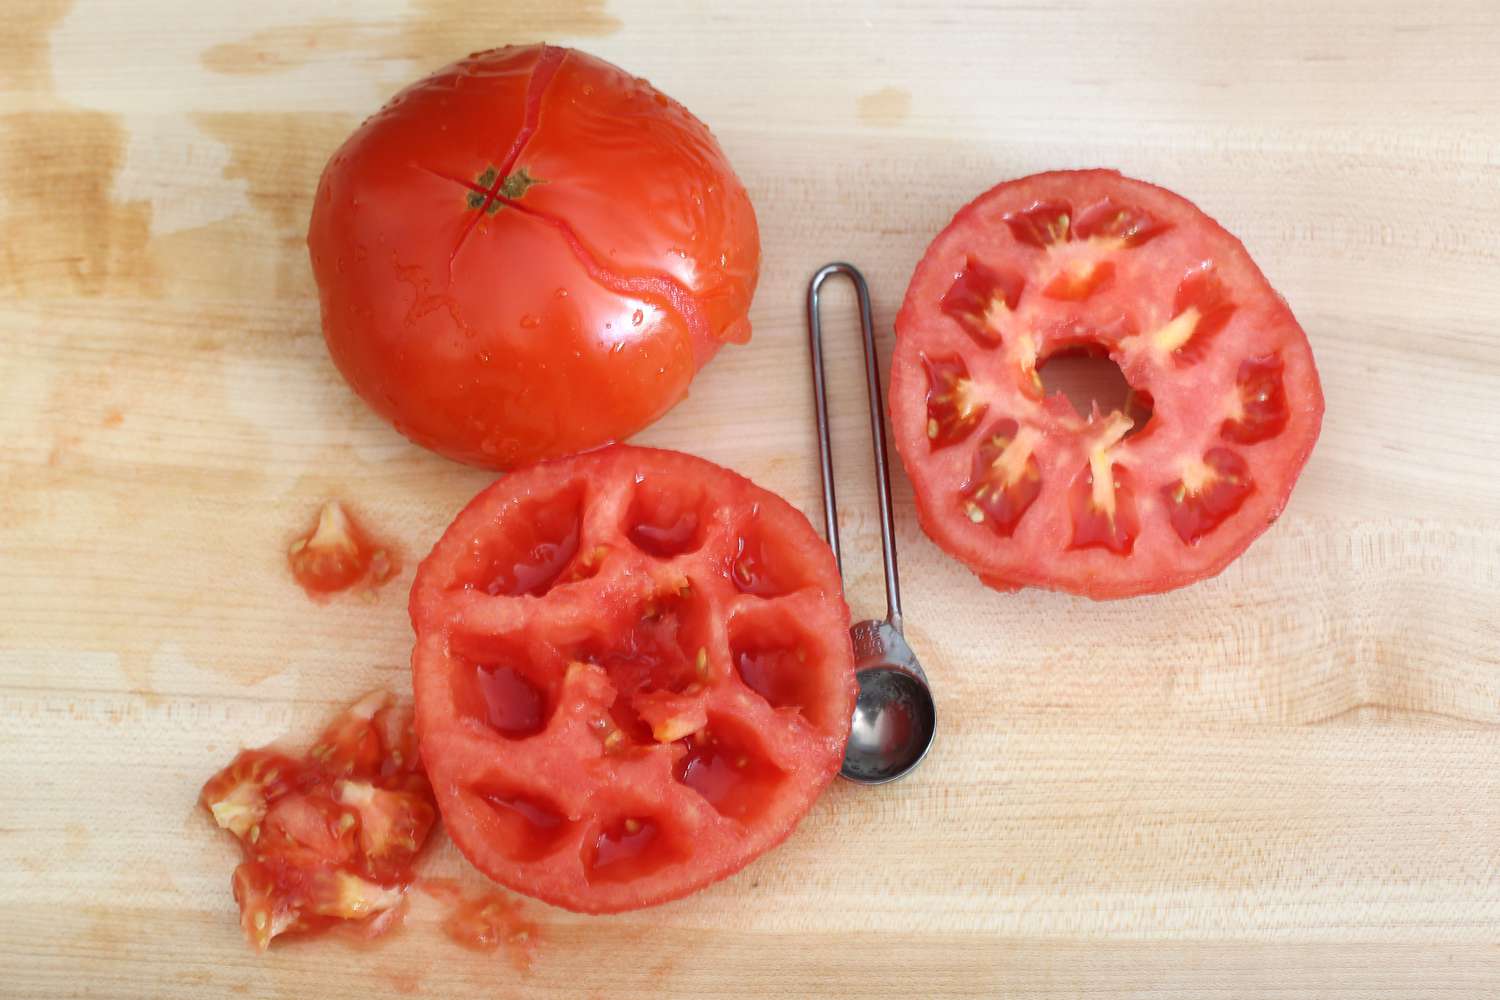
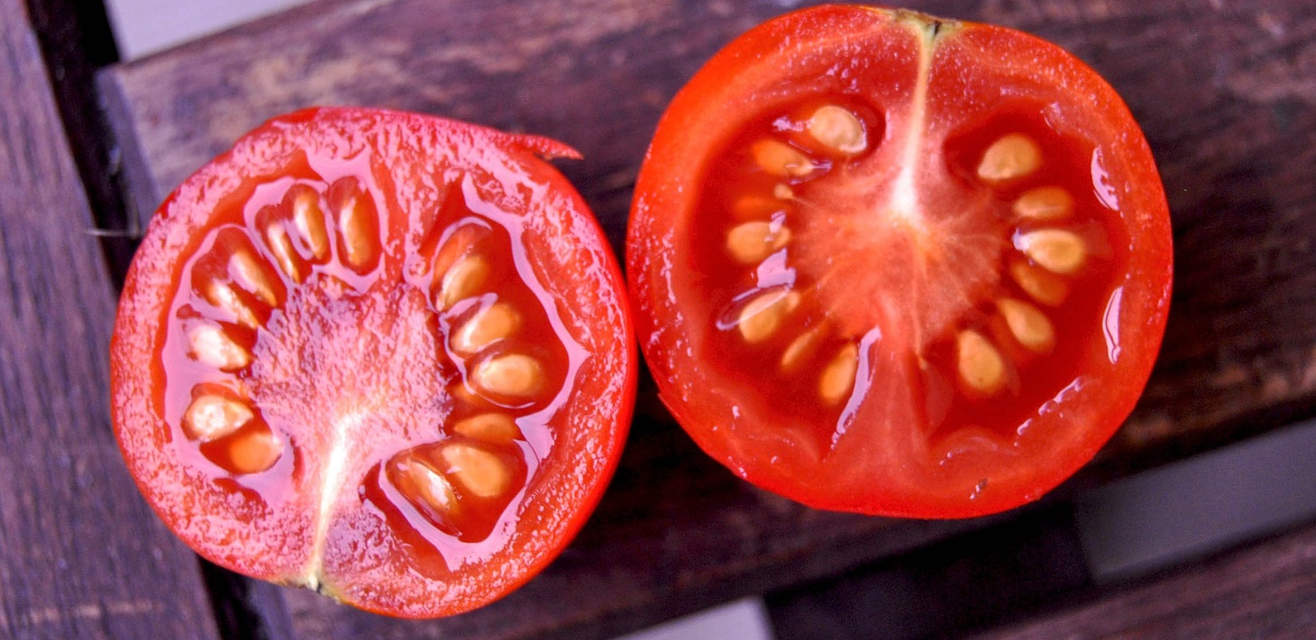
1. Cut the Tomato: Start by slicing the tomato in half horizontally. Use a clean knife and cutting board to avoid any contamination.
2. Scoop out the Pulp and Seeds: Using a spoon or your fingers, gently scoop out the pulp and seeds from the tomato halves. Place them in a clean bowl or container.
3. Ferment the Seeds: Transfer the pulp and seeds into a jar or container and add water. The water level should be roughly twice the volume of the pulp and seeds. Loosely cover the container with a breathable material like a coffee filter or cheesecloth and secure it with a rubber band.
4. Fermentation Process: Allow the mixture to sit at room temperature for around 2 to 3 days. During this time, the mixture will naturally ferment, breaking down the gelatinous coating around the seeds. This fermentation process helps to prevent seed-borne diseases and improves seed germination rates.
5. Stir the Mixture: Stir the mixture once or twice a day. This will help prevent mold growth and ensure that all the seeds are evenly exposed to the fermentation process.
6. Rinse the Seeds: After 2 to 3 days, you will notice a layer of mold on the surface. Carefully remove the mold layer and pour the remaining pulp and seed mixture into a fine-mesh strainer or sieve. Rinse the seeds well with clean water, gently rubbing them with your fingers to remove any remaining pulp residue.
7. Dry the Seeds: Spread the rinsed seeds on a paper towel or a fine mesh screen to dry. Make sure to label the drying surface with the tomato variety for future reference. Place the seeds in a well-ventilated area away from direct sunlight. Stir or flip the seeds occasionally to ensure even drying. Allow the seeds to dry completely; this usually takes around 1 to 2 weeks.
By following these steps, you can successfully extract the seeds from your ripe tomatoes. Next, we will discuss how to clean and separate the seeds for storage.
Cleaning and Separating the Seeds
Cleaning and separating the tomato seeds after they have been dried is an important step to ensure that only high-quality seeds are stored. Here’s how you can clean and separate the seeds:
1. Remove Debris: Start by visually inspecting the dried seeds and removing any debris or large pieces of plant material that may be present. These can include small bits of dried pulp, stems, or other impurities.
2. Separate the Seeds: Gently break apart any clumps of dried seeds using your fingers. This will help separate individual seeds and make the cleaning process easier.
3. Rinse the Seeds: Place the seeds in a fine-mesh strainer or sieve and rinse them under running water. Use your fingers to rub the seeds gently to remove any remaining debris or residue. Continue rinsing until the water runs clear and the seeds are clean.
4. Dry the Seeds: After rinsing, spread the cleaned seeds on a paper towel or a fine mesh screen to dry once again. Allow them to air dry completely to ensure that all moisture has evaporated. This step is crucial to prevent the seeds from molding or deteriorating during storage.
5. Label and Store: Once the seeds are fully dry, it’s important to label and store them properly. Use small envelopes or glass jars to store the seeds and label them with the tomato variety and the date of collection. Store the seeds in a cool, dry, and dark place to maintain their viability.
By properly cleaning and separating the tomato seeds, you maximize their quality and increase the chances of successful germination when it’s time to plant them. However, it’s essential to note that seeds have a limited lifespan. Let’s discuss how to determine the viability of stored tomato seeds.
After removing tomato seeds, spread them on a paper towel to dry for 1-2 weeks. Once dry, store in a labeled envelope or airtight container in a cool, dry place.
Drying the Seeds
Properly drying tomato seeds is crucial to ensure their longevity and viability during storage. Here’s a step-by-step guide on how to dry tomato seeds:
1. Prepare the Seeds: After extracting the seeds from ripe tomatoes, place them on a paper towel or a fine mesh screen. Separate any large clumps of seeds to ensure even drying.
2. Spread the Seeds: Arrange the seeds in a single layer, making sure they are not touching each other. This allows for better air circulation and prevents the seeds from sticking together during the drying process.
3. Choose a Drying Location: Find a well-ventilated area with low humidity. Avoid areas that receive direct sunlight, as this can cause the seeds to overheat and lose their viability. A cool, dry room or a shady spot in your garden shed will work well.
4. Allow Sufficient Drying Time: Leave the seeds to dry naturally for about 1 to 2 weeks. During this time, ensure that the seeds are undisturbed and regularly check their progress.
5. Monitor the Seeds: As the seeds dry, they may become lighter in color and feel hard to the touch. This indicates that the seeds are adequately dried and ready for storage. If the seeds still feel slightly soft or pliable, give them a few more days to dry completely.
6. Test for Dryness: To confirm if the seeds are fully dried, perform the “snap test”. Gently try to snap a seed in half; if it snaps cleanly without any bending or flexibility, the seeds are sufficiently dried. However, if the seed bends or feels rubbery, it needs more drying time.
7. Store in a Dry Container: Once the seeds are fully dried, transfer them to a dry, airtight container, such as a glass jar or an envelope. Remember to label the container with the tomato variety and the date of collection. Store the containers in a cool, dark place to protect the seeds from heat and light.
Properly dried seeds have a longer shelf life and a higher chance of successful germination when it’s time to sow them. However, it’s essential to periodically test the viability of stored seeds. Let’s dive into the process of testing seed viability.
Read more: How Much Are Tomato Seeds
Storing the Seeds
Storing tomato seeds correctly is crucial to maintain their viability and ensure successful germination in the future. Follow these steps to store tomato seeds properly:
1. Label and Organize: Before storing the seeds, make sure to label each container with the tomato variety and the date of collection. This will help you keep track of the seed’s age and variety for future reference.
2. Choose the Right Container: Use airtight containers or small glass jars with tight-fitting lids to store the seeds. These containers will protect the seeds from moisture, air, and pests.
3. Store in a Cool Location: It’s important to store the seeds in a cool, dry, and dark place. Avoid areas that are prone to temperature fluctuations or high humidity, such as the kitchen or the bathroom. A basement, pantry, or a climate-controlled storage area are ideal options.
4. Maintain a Consistent Temperature: Fluctuations in temperature can damage the seeds. Aim for a consistent storage temperature between 40°F (4°C) and 50°F (10°C). This range helps to slow seed deterioration and maintains their viability for a longer period.
5. Protect from Light: Exposure to light can cause the seeds to lose their vitality. Keep the storage containers away from direct sunlight or any other sources of intense light. You can also wrap the containers in aluminum foil or store them in a dark drawer or cabinet.
6. Check for Moisture: Regularly inspect the storage containers for any signs of moisture or condensation. If you notice any moisture buildup, remove the seeds, dry them thoroughly, and replace them in a new container with fresh desiccant packets or dry rice to absorb any excess moisture.
7. Periodic Seed Testing: To ensure seed viability, perform periodic seed germination tests. Take a small sample of seeds from each stored batch and sow them in a test tray or small pots. Observe and record the germination rate to determine the overall quality of the stored seeds.
By following these steps, you can ensure that your tomato seeds remain viable and ready for planting in the future. However, keep in mind that seed viability decreases over time, so it’s recommended to use stored seeds within 2 to 3 years for best results.
Now that you know how to store tomato seeds properly, let’s explore how to test the viability of stored seeds.
Testing Seed Viability
Testing the viability of stored tomato seeds is an important step to ensure successful germination. Here’s a simple guide to help you determine the viability of your stored seeds:
1. Prepare the Test: Take a small sample of seeds from the stored batch that you wish to test. It’s recommended to test at least 10 seeds to obtain accurate results.
2. Create a Germination Environment: Prepare a germination tray or small pots with quality seed-starting soil. Make sure the soil is moist, but not overly saturated.
3. Plant the Seeds: Plant the seeds in the germination tray or pots, following the recommended depth for tomato seeds. Label each pot or row to keep track of the varieties being tested.
4. Provide Optimal Conditions: Place the tray or pots in a warm location with ample indirect sunlight. Maintain consistent moisture levels in the soil, ensuring it remains consistently moist but not waterlogged.
5. Monitor Germination: Regularly check the pots or tray for germination. Keep track of how many seeds have sprouted and record the germination percentage for later evaluation.
6. Calculate Germination Rate: After about 7 to 14 days, most tomato seeds should have sprouted if they are viable. Calculate the germination rate by dividing the number of sprouted seeds by the total number of seeds planted and multiplying by 100. This will give you the percentage of viable seeds.
7. Assess Viability: Compare the germination rate to standard germination rates for tomato seeds. Typically, if the germination rate is above 80%, the seeds are considered viable. However, even if the rate falls below 80%, it doesn’t mean all the seeds are non-viable. They may still germinate, but at a lower rate.
By performing seed viability tests, you can gauge the quality of your stored tomato seeds and decide whether to use them for planting or consider purchasing new seeds if necessary.
Remember, proper storage conditions and using seeds within their recommended shelf life greatly increase the chances of germination success. Additionally, some tomato varieties may have lower germination rates naturally, so ensure you are aware of the characteristics of the specific variety you are testing.
With healthy and viable tomato seeds at your disposal, you can continue to enjoy the process of growing your own delicious and flavorful tomatoes year after year.
Now that you understand the importance of seed viability testing, let’s conclude our guide to storing tomato seeds.
Conclusion
Storing tomato seeds is not only a practical way to preserve your favorite tomato varieties, but it also allows you to maintain a sustainable source of seeds for future plantings. By following the proper methods for storing tomato seeds, you can ensure their longevity and viability, setting yourself up for successful germination and healthy tomato plants.
Choosing ripe and healthy tomatoes is the first step towards successful seed saving. Opt for heirloom varieties, select fully colored and firm tomatoes, and consider disease resistance when making your selection.
Extracting the seeds involves gentle scooping of the pulp and seeds, followed by a fermentation process to remove the gelatinous coating. After rinsing and drying the seeds, they are ready to be cleaned and separated, ensuring only high-quality seeds are stored.
Properly drying the seeds is critical to avoid mold and degradation. Spread them in a single layer and allow for sufficient drying time. Once dry, store the seeds in airtight containers in a cool, dark, and dry location to maintain their viability.
Periodically test the viability of stored seeds through germination tests to assess their ability to sprout. This will help determine the quality of the seeds and whether they should be used for planting or replaced with fresh ones.
In conclusion, with careful selection, proper extraction, drying, cleaning, and storage, you can successfully store tomato seeds and ensure a continuous supply of your favorite tomato varieties. Seed saving is a rewarding practice that allows you to preserve biodiversity, maintain unique cultivars, and experience the joy of growing your own food for years to come.
So, embrace the art of seed saving and embark on a journey to grow vibrant and delicious tomatoes from the seeds you carefully store and nurture.
Frequently Asked Questions about How To Store Tomato Seeds
Was this page helpful?
At Storables.com, we guarantee accurate and reliable information. Our content, validated by Expert Board Contributors, is crafted following stringent Editorial Policies. We're committed to providing you with well-researched, expert-backed insights for all your informational needs.


0 thoughts on “How To Store Tomato Seeds”