
Articles
How To Store Cucumbers In Mason Jars
Modified: August 24, 2024
Learn the best way to store cucumbers in mason jars with this informative article. Discover tips and tricks for preserving your cucumbers for long-lasting freshness.
(Many of the links in this article redirect to a specific reviewed product. Your purchase of these products through affiliate links helps to generate commission for Storables.com, at no extra cost. Learn more)
Introduction
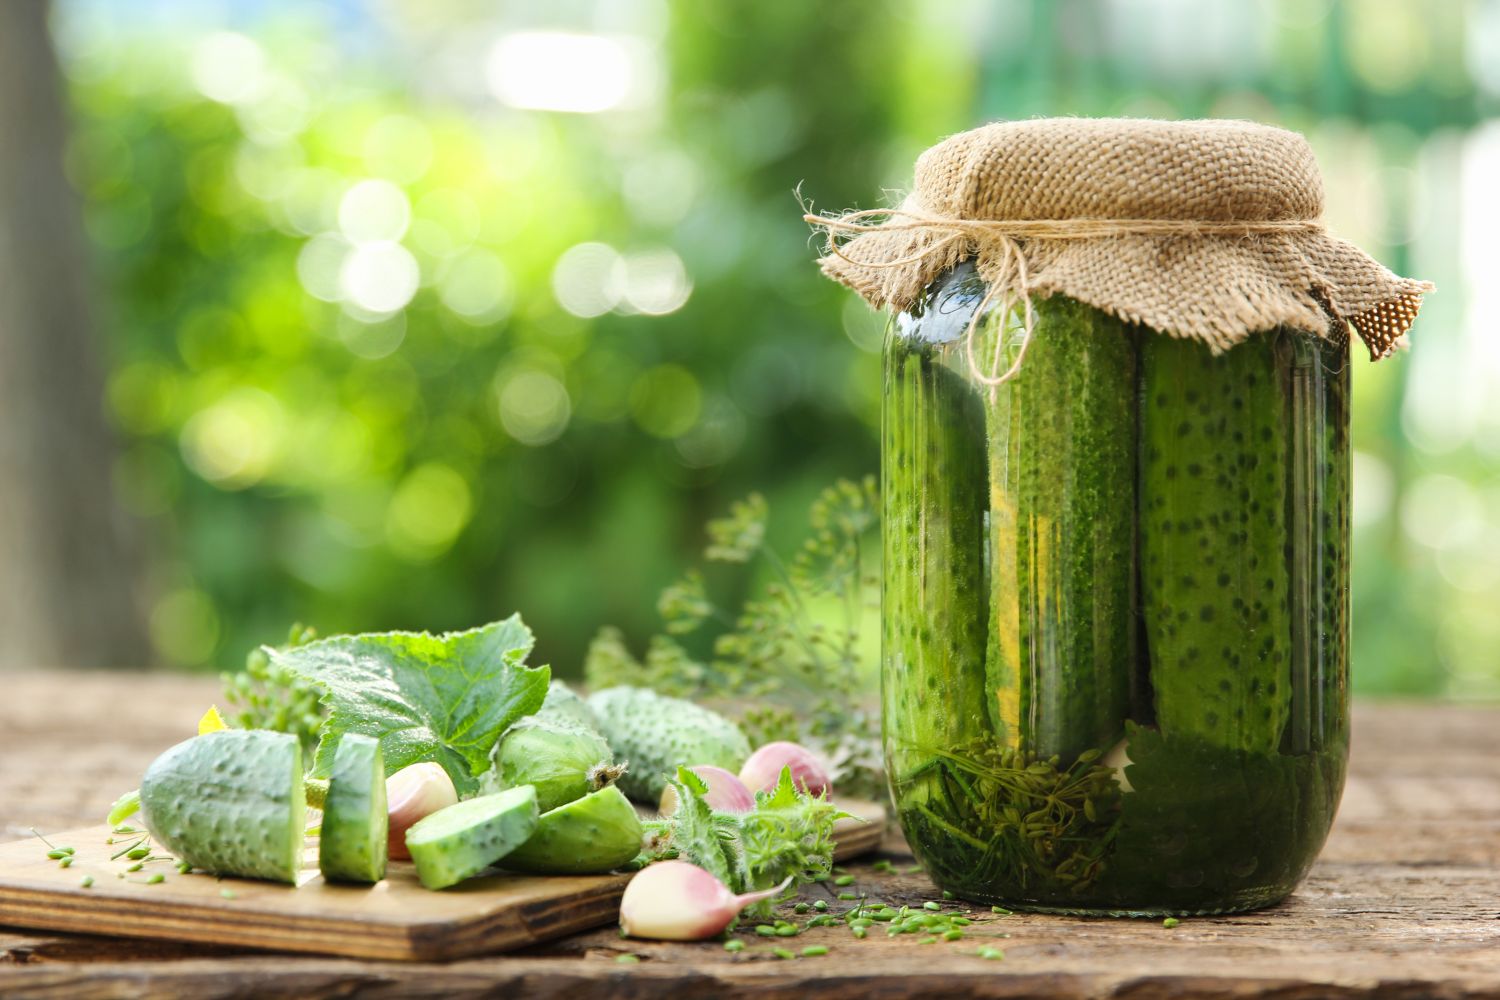
Welcome to the world of preserving cucumbers in mason jars! If you’re a fan of cucumbers and want to enjoy their crispness and flavor all year round, then this article is for you. Storing cucumbers in mason jars is not only a great way to extend their shelf life but also a fun and satisfying DIY project.
There are several benefits to storing cucumbers in mason jars. Firstly, mason jars provide an airtight seal that helps to maintain the freshness and crunchiness of the cucumbers for an extended period of time. Secondly, by pickling the cucumbers in a brine solution, you can add additional flavors and create delicious, tangy pickles that can be enjoyed as a snack or added to sandwiches and salads. Finally, storing cucumbers in mason jars allows you to take advantage of an abundant cucumber harvest and enjoy the fruits of your labor throughout the year.
Before diving into the process of storing cucumbers in mason jars, it’s important to choose the right cucumbers. Look for fresh, firm cucumbers with smooth skin and no signs of rot or blemishes. Cucumbers that are small to medium in size are ideal for pickling, as they retain their crunchiness better.
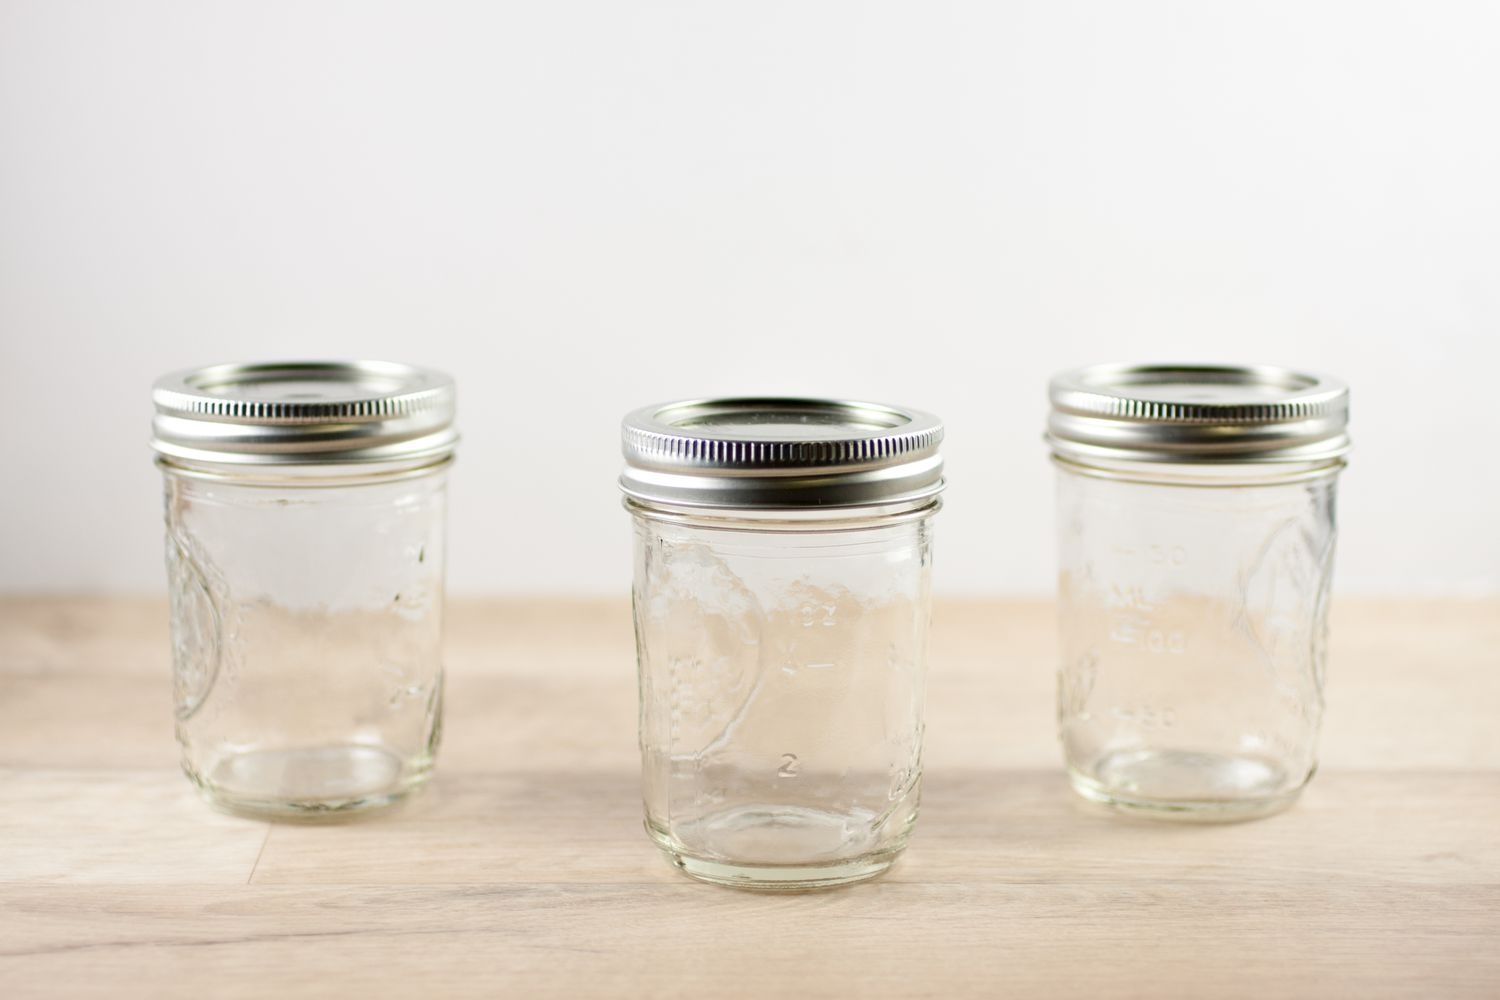
Once you’ve selected your cucumbers, it’s time to prepare the mason jars. Clean the jars thoroughly with hot soapy water and rinse them well. Inspect the jars for any cracks or chips, as these can affect the sealing process. It’s also important to ensure that the jar lids are in good condition and fit properly.
The next step is to prepare the brine solution for pickling the cucumbers. The brine typically consists of a mixture of vinegar, water, salt, and spices. You can customize the brine by adding ingredients like dill, garlic, mustard seeds, or red pepper flakes to enhance the flavor of the pickles.
Once the brine is ready, it’s time to prepare the cucumbers. Wash them thoroughly and trim off the ends. You can leave the cucumbers whole if they are small, or slice them into spears or rounds depending on your preference.
Now it’s time to pack the cucumbers into the mason jars. Place the cucumber slices or spears tightly into the jars, leaving about 1/2 inch of headspace at the top. This will allow room for the brine to be added.
Gently pour the brine solution over the packed cucumbers, making sure to cover them completely. Use a clean utensil, such as a chopstick or spatula, to remove any air bubbles and ensure that the cucumbers are fully submerged in the brine.
Finally, seal the mason jars tightly with their lids. Make sure the lids are secure to create an airtight seal, which is essential for successful preservation. You can use a water bath canning method to further seal the jars if you plan to store them for a longer period of time.
Store the cucumber jars in a cool, dark place for at least 24 hours before tasting them. This will allow the flavors to develop and the cucumbers to pickle properly. Once opened, store the jars in the refrigerator to maintain their freshness and crispness.
Now that you know the basics of storing cucumbers in mason jars, let’s explore some tips and tricks to ensure they stay at their best.
Key Takeaways:
- Extend the shelf life of cucumbers and enjoy flavorful pickles year-round by storing them in mason jars. Experiment with brine flavors and pack cucumbers carefully for delicious results.
- Choose fresh cucumbers, prepare mason jars meticulously, and create a flavorful brine solution to craft satisfying homemade pickles. Store jars properly and savor the fruits of your pickling labor.
Read more: How To Store Mason Jars
Benefits of Storing Cucumbers in Mason Jars
Storing cucumbers in mason jars provides numerous benefits that make it an appealing method of preserving this versatile vegetable. Here are some of the key advantages:
- Extended Shelf Life: One of the biggest benefits of storing cucumbers in mason jars is the extended shelf life it offers. By pickling or preserving cucumbers in a brine solution, you can significantly increase their storage time. While fresh cucumbers typically last for about a week in the refrigerator, pickled cucumbers in mason jars can remain fresh and flavorful for several months. This allows you to enjoy cucumbers even when they are out of season.
- Preservation of Freshness and Crunch: Mason jars provide an airtight seal, which helps to preserve the freshness and crunchiness of cucumbers. The tight seal creates a barrier against moisture and air, preventing the cucumbers from becoming soft or losing their texture. This ensures that the cucumbers retain their crispness even after being stored for a long period of time.
- Customizable Flavors: Storing cucumbers in mason jars allows you to experiment with different flavors and seasonings. By pickling the cucumbers in a brine solution, you can infuse them with various spices, herbs, and aromatics to create unique and tasty pickles. Dill, garlic, mustard seeds, and red pepper flakes are commonly used additions that enhance the flavor profile of the pickles. This customization allows you to tailor the pickles to your personal taste preferences.
- Convenience and Versatility: Storing cucumbers in mason jars provides you with a convenient and versatile option for incorporating cucumbers into your meals. The pickles can be enjoyed as a snack on their own, added to sandwiches, burgers, or salads for an extra burst of flavor, or used as a side dish for various meals. They can also be diced or sliced and used in relishes, salsas, or sauces to elevate the taste of your dishes.
- Budget-Friendly: Buying cucumbers in bulk when they are in season and reasonably priced allows you to take advantage of the cost savings. By storing them in mason jars, you can preserve the cucumbers and enjoy them throughout the year, eliminating the need to purchase expensive out-of-season cucumbers. This cost-effective method of preserving cucumbers can help you make the most of your budget and reduce food waste.
Storing cucumbers in mason jars not only extends their shelf life but also allows you to enjoy the many flavors and textures cucumbers have to offer. Whether you prefer tangy and spicy pickles or want to preserve the natural freshness of the cucumbers, mason jars provide a versatile and convenient solution for keeping cucumbers flavorful and delicious for a longer time.
Choosing the Right Cucumbers
When it comes to storing cucumbers in mason jars, choosing the right cucumbers is essential for achieving the best results. Here are some factors to consider when selecting cucumbers for preservation:
- Freshness: Look for cucumbers that are fresh and firm. Avoid cucumbers that are soft, wrinkled, or have any signs of rot or mold. Fresh cucumbers will have a vibrant green color and a crisp texture. They should feel firm to the touch without any soft spots.
- Size: The size of the cucumber matters when it comes to pickling. Smaller to medium-sized cucumbers are ideal as they are more suitable for pickling and tend to retain their crispness better. They also fit well into mason jars without the need to cut or alter their shape, which can affect the texture of the pickles.
- Thin Skin: Cucumbers with thin, smooth skin are preferable for pickling. Thick-skinned cucumbers can result in tougher pickles and may require longer processing times to fully absorb the flavors of the brine. Thin-skinned cucumbers not only absorb the flavors more readily but also retain their tender texture after pickling.
- Seed Development: Take note of the cucumbers’ seed development. Cucumbers with fully developed seeds tend to have a more hollow and watery center, which can affect the texture and quality of the pickles. Look for cucumbers with smaller and less developed seeds, as they will result in more desirable pickles with a better texture.
- Variety: There are different varieties of cucumbers, each with its own characteristics. Some common varieties suitable for pickling include pickling cucumbers, kirby cucumbers, and Persian cucumbers. These varieties are known for their crispness and flavor, making them perfect for pickling. Consider the flavor profile and texture of the cucumber variety you choose to ensure it aligns with your preferences.
When purchasing cucumbers for pickling, it’s best to buy them from local farmers’ markets or grow them in your own garden. Locally sourced cucumbers are often fresher and have better flavor compared to those that have been transported long distances. Additionally, growing your own cucumbers gives you control over the cultivation process, ensuring that they are grown without the use of harmful pesticides or chemicals.
By selecting fresh, firm cucumbers that are the right size, have thin skin, and minimal seed development, you’ll set yourself up for a successful cucumber preservation journey. Choosing the right cucumbers ensures that the resulting pickles are flavorful, crisp, and enjoyable to savor.
Preparing the Mason Jars
Properly preparing the mason jars is a crucial step in storing cucumbers effectively. Here’s a guide on how to prepare the mason jars for cucumber preservation:
- Cleaning: Start by thoroughly cleaning the mason jars. Wash them with hot soapy water, making sure to remove any dirt, residue, or labels. Use a bottle brush or sponge to scrub the inside and outside of the jars, paying special attention to the rims. Rinse the jars well to ensure they are free from soap or detergent residue.
- Inspecting: Once the jars are clean, inspect them for any cracks, chips, or defects. Cracks or chips can compromise the sealing process and lead to spoilage. Discard any damaged jars and replace them with new ones. Additionally, check the jar lids for any signs of corrosion or damage. Lids should be in good condition and fit snugly on the jars.
- Sterilizing: While sterilizing mason jars is not always necessary for cucumber pickling, it can provide an extra layer of protection against spoilage. To sterilize the jars, you can use one of the following methods:
- Boiling: Place the clean jars in a large pot and fill it with enough water to cover the jars completely. Bring the water to a boil and let the jars boil for 10 minutes. Remove the jars from the pot using a jar lifter and place them upside down on a clean towel to dry.
- Oven Method: Preheat your oven to 275°F (135°C). Place the washed jars on a baking sheet and put them in the oven for 20 minutes to sterilize. Once sterilized, remove the jars from the oven using oven mitts or kitchen tongs.
- Keeping Everything Hot: It’s important to keep the mason jars and the lids hot until you’re ready to fill them. You can do this by placing the clean, sterilized jars in a warm oven (around 200°F or 95°C) or by keeping them in hot, but not boiling, water. This step ensures that the jars are at the same temperature as the brine and cucumbers, which helps prevent thermal shock and improves the sealing process.
By following these steps, you’ll have properly prepared and sterilized mason jars ready to be filled with cucumbers and brine. Taking the time to clean, inspect, and sterilize the jars ensures a clean and safe environment for preserving the cucumbers and allows for successful long-term storage.
Brine Solution for Pickling
The brine solution is a key component in the process of storing cucumbers in mason jars. It adds flavor, preserves the cucumbers, and enhances their texture. Here’s how to prepare a basic brine solution for pickling:
- Vinegar: The primary ingredient in the brine solution is vinegar, which helps to preserve the cucumbers and add tanginess to the pickles. While there are various types of vinegar you can use, such as white vinegar, apple cider vinegar, or rice vinegar, white vinegar is the most commonly used for pickling. It has a neutral flavor that allows the other ingredients to shine.
- Water: Adding water to the brine solution is important to dilute the vinegar and create a balanced flavor. Use filtered or distilled water to ensure the best quality for your pickles. Avoid using tap water, as the chlorine or other additives in it can affect the flavor of the pickles.
- Salt: Salt is a crucial ingredient in the brine solution as it not only adds flavor but also draws out excess moisture from the cucumbers, helping to preserve their crispness. Use kosher or pickling salt for pickling, as they don’t contain additives that can discolor the brine or affect the texture of the pickles. The amount of salt used can vary depending on personal preference, but a general guideline is about 1 tablespoon of salt per cup of water.
- Additional Flavorings: To enhance the taste of the pickles, you can add additional flavorings to the brine solution. Common options include garlic cloves, dill seeds or dill weed, black peppercorns, mustard seeds, coriander seeds, or red pepper flakes. These flavorings infuse the brine and give the pickles a unique and delicious taste. Feel free to experiment with different combinations to create pickles that suit your palate.
Here’s a basic recipe for a brine solution:
Ingredients:
- 3 cups water
- 1 cup white vinegar
- 2 tablespoons kosher salt
Optional flavorings:
- 2-3 garlic cloves, peeled
- 1 tablespoon dill seeds or 4-5 sprigs of fresh dill weed
- 1 teaspoon black peppercorns
- 1 teaspoon mustard seeds
Instructions:
- In a saucepan, combine the water, vinegar, and salt. Bring the mixture to a boil, stirring until the salt is fully dissolved.
- If using any additional flavorings, add them to the mixture and let it simmer for a few minutes to infuse the flavors.
- Remove the saucepan from the heat and let the brine solution cool to room temperature.
- Your brine solution is now ready to be used for pickling cucumbers.
Remember that the brine solution can be adjusted to suit your taste preferences. You can increase or decrease the amount of vinegar, salt, or additional flavorings to achieve the desired level of tanginess and flavor intensity.
By preparing a flavorful brine solution, you’ll create delicious pickles that will enhance your meals and provide a satisfying crunch. So, get creative with your flavorings and enjoy the art of pickling cucumbers in mason jars.
Read more: How To Store Blueberries In Mason Jars
Preparing the Cucumbers
Before packing the cucumbers into the mason jars, it’s important to properly prepare them. Follow these steps to ensure your cucumbers are ready for pickling:
- Washing: Start by washing the cucumbers thoroughly under cool running water. Use a brush or sponge to gently scrub the cucumbers, removing any dirt or debris from the surface. Pay particular attention to the stem and blossom ends, as these areas can harbor bacteria.
- Trimming: Once the cucumbers are clean, trim off the ends. Cut off the stem end of the cucumber, removing about 1/8 inch. This step is necessary as the stem end contains enzymes that can make the pickles soft. Similarly, trim off the blossom end to ensure better texture and avoid bitterness in the pickles.
- Slicing: After trimming the ends, decide whether you want to keep the cucumbers whole or slice them into spears or rounds. The choice depends on personal preference and how you plan to use the pickles. If you prefer whole pickles, leave them intact. For spears, cut the cucumbers lengthwise into quarters or eighths. To make rounds, simply slice the cucumbers to the desired thickness.
- Seeding (optional): If you prefer less seedy pickles, you can remove the cucumber seeds before pickling. This step is mainly applicable for larger cucumbers. To seed the cucumbers, cut them in half lengthwise and use a spoon or knife to scoop out the seeds and flesh. Removing the seeds can result in a firmer texture and a cleaner appearance for your pickles.
Once the cucumbers are prepared, it’s important to work efficiently to ensure their freshness and crunchiness are maintained. It’s recommended to pickle the cucumbers as soon as possible after they are washed and trimmed to prevent any loss of quality.
Now that the cucumbers are ready, you can proceed to pack them into the mason jars and cover them with the brine solution. Proper preparation of the cucumbers ensures that they will absorb the flavors of the brine, undergo the pickling process successfully, and result in delicious pickles that you can enjoy for months to come.
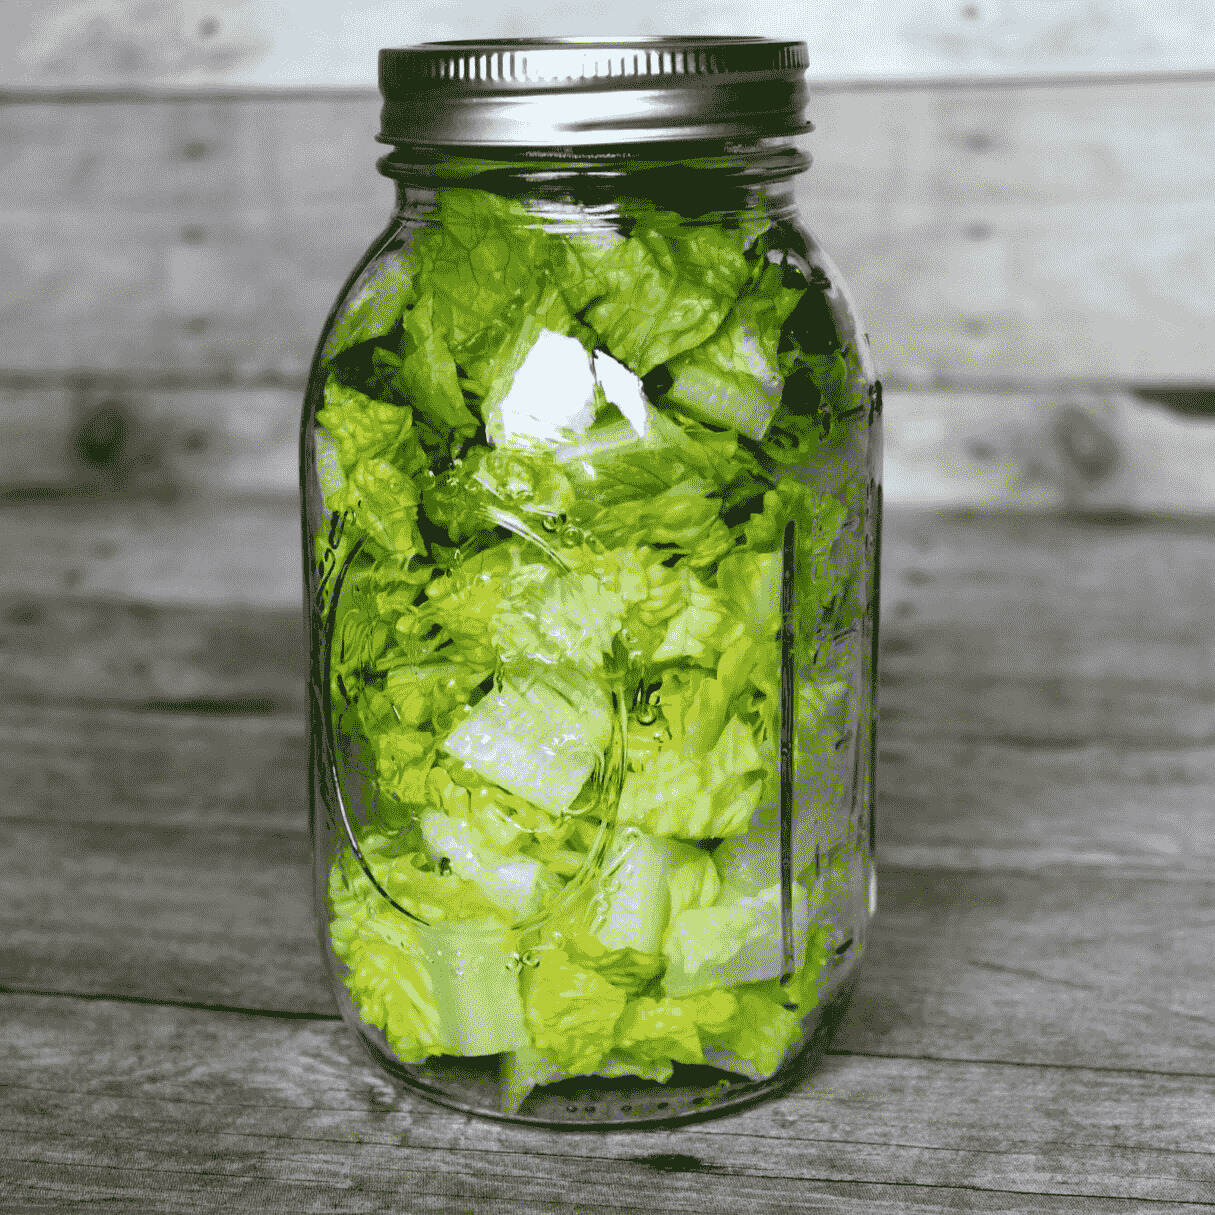
To store cucumbers in mason jars, slice or chop them and pack tightly into the jars. Cover with a brine of water, vinegar, and salt. Seal and refrigerate for up to 2 weeks.
Packing the Cucumbers in Mason Jars
Once your cucumbers are prepared and ready for pickling, it’s time to pack them into the mason jars. Follow these steps to ensure your cucumbers are properly packed and ready for the next stage of the pickling process:
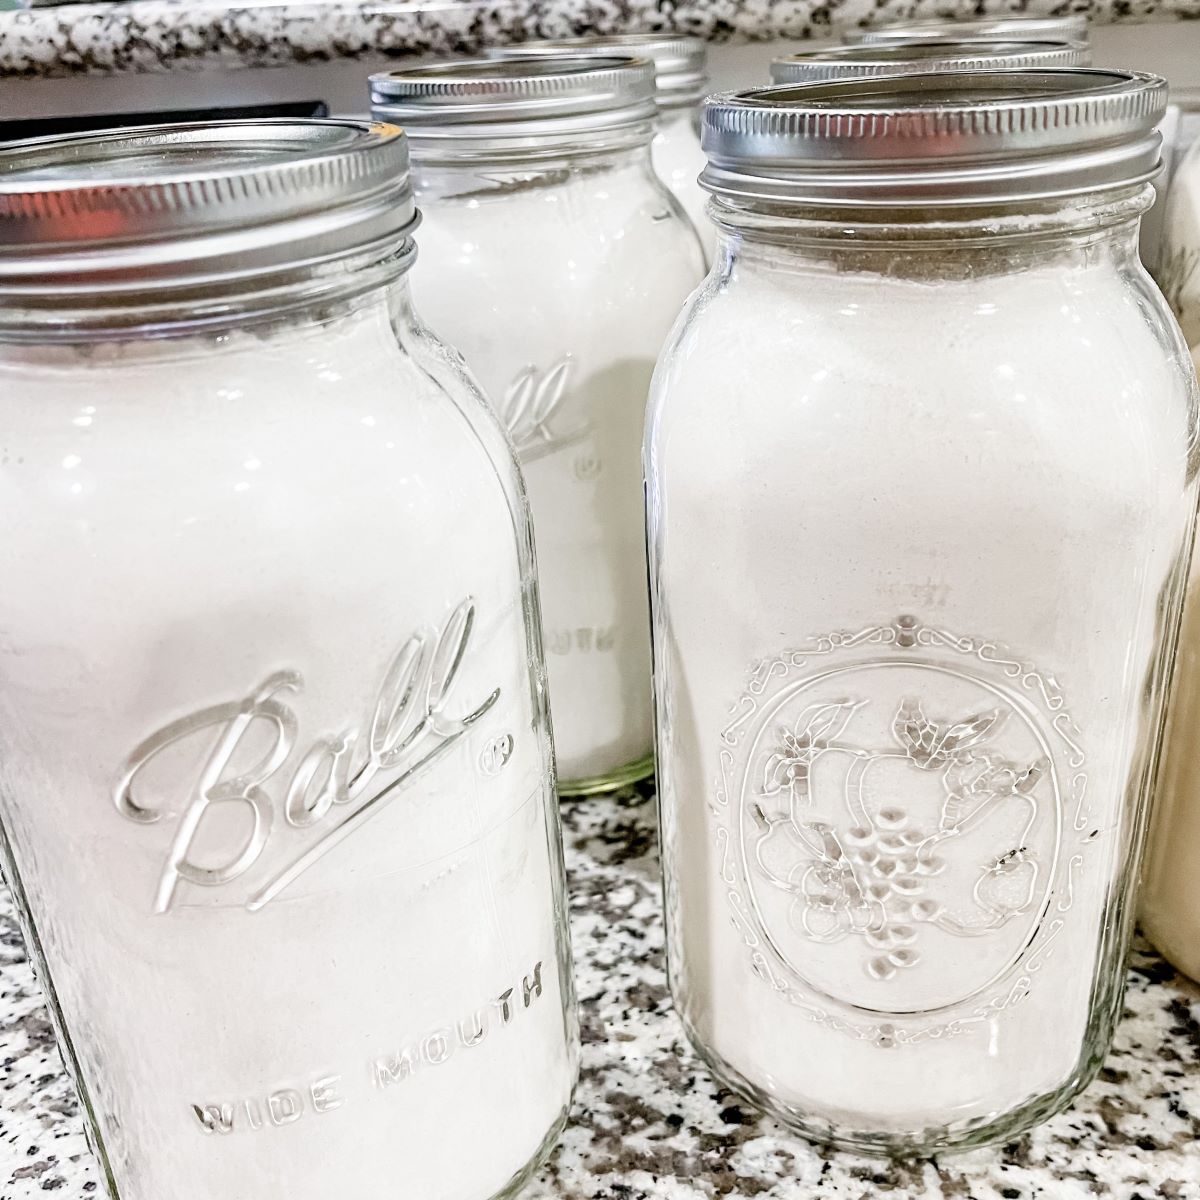
- Jar Selection: Before packing the cucumbers, choose the appropriate size of mason jars based on the quantity of cucumbers you have and the desired serving size. Make sure the jars are clean, sterilized, and in good condition with tight-fitting lids.
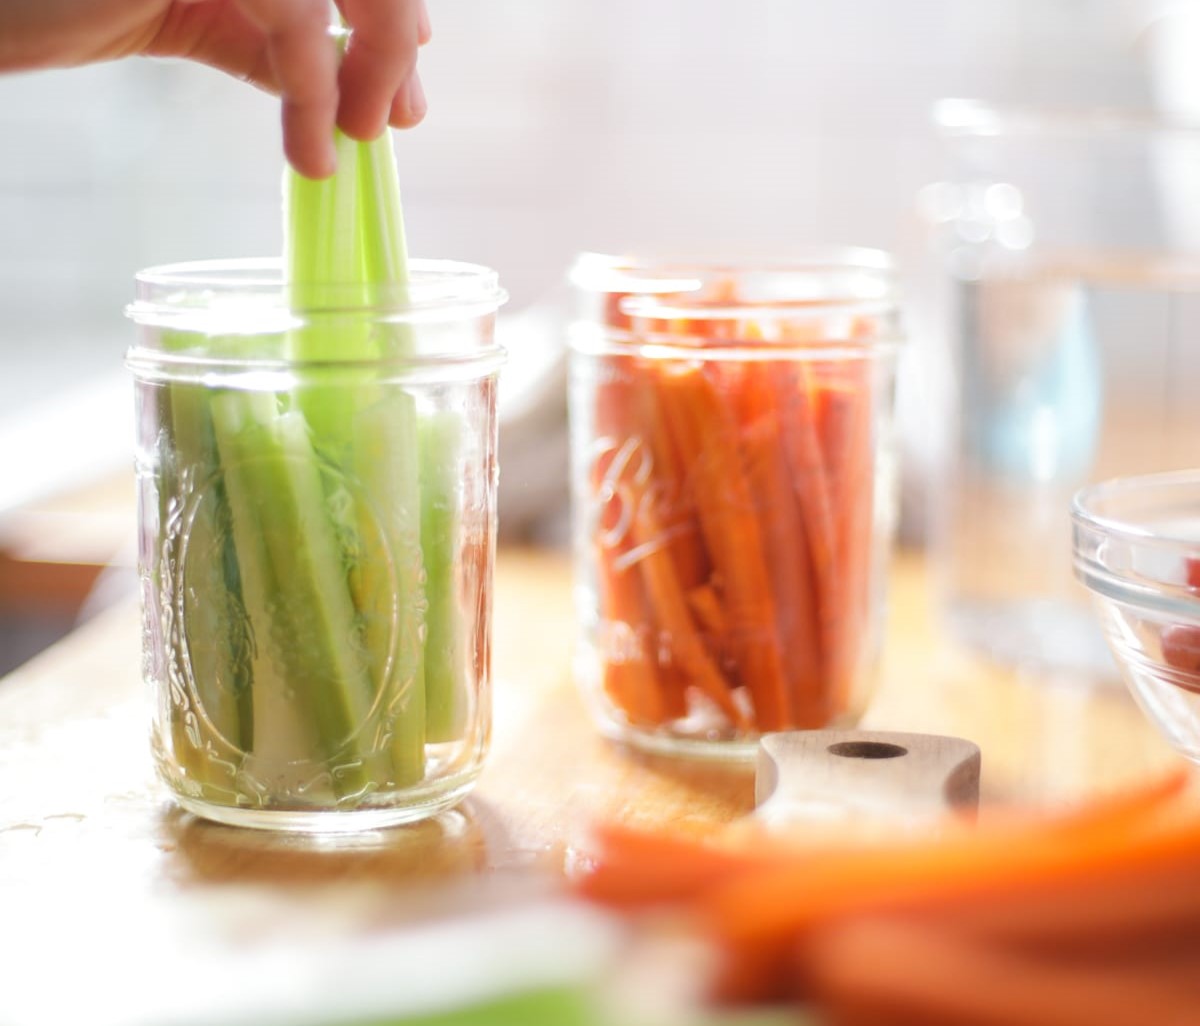
- Tight Packing: Start by placing the prepared cucumbers into the jar, packing them tightly to maximize the number of cucumbers you can fit. For whole cucumbers, stand them upright in the jar, side by side with minimal space between them. For sliced cucumbers, layer them in the jar, pressing them down gently to ensure they fill any gaps.
- Leave Headspace: While packing the cucumbers, leave about 1/2 inch of headspace at the top of the jar. This headspace is essential to allow enough room for the brine solution to be added later. The headspace also creates a vacuum in the jar during the pickling process, aiding in preservation.
- Packing Variation: Get creative with how you pack your cucumbers in the jars. You can alternate layers of cucumber slices with other ingredients like onion rings, dill sprigs, garlic cloves, or spice mixes to create interesting flavor combinations. Experiment with different arrangements to enhance the overall taste and appearance of your pickles.
- Pressing Down: Once the cucumbers are packed in the jar, gently press down on them to release any air bubbles trapped between the cucumbers. This step ensures that the brine solution can penetrate and cover the cucumbers evenly. Use a clean utensil like a chopstick or the handle of a spoon to release the air bubbles.
Packing the cucumbers tightly and leaving the appropriate headspace ensures that each jar is filled efficiently and ready for the next step of the pickling process. Remember to use clean hands and utensils throughout this process to maintain the freshness and hygiene of your cucumbers.
Now that your cucumbers are packed in the mason jars, it’s time to move on to the next step—adding the brine solution.
Adding the Brine Solution
After packing the cucumbers in the mason jars, it’s time to add the brine solution. The brine solution not only adds flavor but also acts as a preserving agent for the cucumbers. Follow these steps to ensure the brine solution is added correctly:
- Cool Brine Solution: Before adding the brine to the jars, make sure the solution has cooled to room temperature. Pouring hot or warm brine over the cucumbers can affect their texture or cause them to become soft. Allowing the brine to cool ensures that the cucumbers maintain their desired crunchiness.
- Fill the Jars: Slowly pour the cooled brine solution into each jar, covering the cucumbers completely. Use a ladle or a small pitcher for easy pouring. As you add the brine, the cucumbers may float or displace the liquid, so make sure to fill the jars to the indicated headspace, leaving about 1/2 inch of room at the top.
- Remove Air Bubbles: After adding the brine solution, use a clean utensil such as a chopstick, butter knife, or plastic spatula to gently remove any trapped air bubbles. Simply insert the utensil along the sides of the jar and move it gently up and down to release any air bubbles that may have formed during the pouring process.
- Submerge Cucumbers: Ensure that the cucumbers are fully submerged in the brine solution. This is important to prevent any exposure to air, which can lead to spoilage. If any cucumbers are floating above the brine, gently press them down using the clean utensil until they are fully submerged.
- Leave Headroom: Once the cucumbers are submerged and the air bubbles are removed, ensure that the appropriate headspace is maintained at the top of the jar. This headspace allows room for expansion during the pickling process and helps create a vacuum seal.
Adding the brine solution correctly is crucial for pickling the cucumbers and preserving their flavor and texture. Following these steps ensures that the cucumbers are fully submerged, any air bubbles are released, and the jars are properly filled and ready for sealing.
Now that the brine solution has been added, it’s time to seal the mason jars and begin the process of storing the cucumber jars.
Sealing the Mason Jars
Once the cucumbers are packed in the mason jars and the brine solution is added, it’s time to seal the jars. Proper sealing is essential to create an airtight environment for the pickles and ensure their long-term preservation. Follow these steps to seal the mason jars correctly:
- Lid Inspection: Before sealing the jars, inspect the lids to ensure they are clean, in good condition, and free from any defects. Remove any dust or debris from the lids and ensure that the rubber gasket is intact and fits tightly. Discard any lids that are damaged or compromised.
- Tighten Lids: Place the lids on top of each jar, making sure they are centered and aligned properly. Gently screw the metal bands onto the jars, but avoid overtightening. The bands should be snug, but not overly tightened, to allow air to escape during the pickling process.
- Water Bath Canning (optional): If you plan on storing the cucumber jars for an extended period of time, you may consider using the water bath canning method to create a more secure seal. This additional step involves submerging the sealed jars in boiling water for a specified amount of time to create a vacuum seal. Consult a trusted canning resource for specific instructions on water bath canning if you choose to use this method.
- Cool and Test: After sealing the jars, allow them to cool completely at room temperature. As they cool, you may hear a popping sound, indicating that a proper seal has been achieved. To test the seal, gently press down on the center of each lid. If the lid pops back up, it is not sealed properly and should be refrigerated and consumed within a few weeks. Properly sealed jars should feel firm and not pop back up.
- Labeling and Dating: It’s important to label each jar with the contents and the date it was prepared. This helps you keep track of the pickling time and ensures that you’re aware of the shelf life of your pickles. Use adhesive labels or write directly on the lids with a permanent marker.
Properly sealing the mason jars ensures that the cucumbers are protected from air and contaminants, creating an ideal environment for pickling and preserving the pickles. Taking the time to seal the jars correctly will help you enjoy delicious and crisp pickles for months to come.
Now that the jars are sealed, the next step is to store them in an appropriate location to maximize the pickles’ shelf life.
Read more: How To Store Fruit In Mason Jars
Storing the Cucumber Jars
After sealing the mason jars, it’s important to store them in the right conditions to ensure the longevity and quality of your pickles. Here are some guidelines for storing the cucumber jars:
- Cool and Dark Location: Find a cool and dark location for storing your cucumber jars. Ideally, the temperature should be around 50 to 70°F (10 to 21°C). Avoid areas that are exposed to direct sunlight or heat sources, as this can affect the texture and flavor of the pickles.
- Consistent Temperature: Keep the storage area at a consistent temperature to prevent fluctuations that could lead to spoilage or loss of flavor. Rapid changes in temperature can cause the pickles to expand and contract, compromising the seal and quality.
- Vertical Storage Position: Store the mason jars upright in a vertical position to help maintain the seal and prevent any leakage. This also helps to distribute the brine evenly throughout the jar and ensure all the cucumbers are preserved properly.
- Minimize Movement: Avoid excessive movement or shaking of the cucumber jars, as this can disturb the pickling process. The pickles need time for the flavors to develop, and any movement can disrupt this process.
- Monitor for Spoilage: Regularly check the stored cucumber jars for any signs of spoilage, such as mold growth, off odors, or leakage. If you notice any signs of spoilage or damage, discard the jar immediately to prevent further contamination.
- Refrigeration for Opened Jars: Once a jar is opened, store it in the refrigerator to maintain the freshness and crispness of the pickles. Refrigeration slows down the fermentation process and helps to preserve the quality of the pickles. Use opened jars within a few weeks for the best flavor and texture.
By following these storage guidelines, your cucumber jars will be well-preserved and ready for you to enjoy whenever you crave the tangy taste of homemade pickles. The cool and dark storage environment helps retain the freshness and flavor of the pickles, allowing you to savor them for an extended period of time.
Remember, homemade pickles tend to improve in flavor with time, so allow your pickles to sit for at least a few days before indulging in them. The longer they sit, the more developed and complex their flavors will become.
Now that you know how to store the cucumber jars, let’s explore some additional tips to enhance your preserving experience.
Tips for Storing Cucumbers in Mason Jars
Storing cucumbers in mason jars is a fantastic way to preserve their freshness and enjoy delicious homemade pickles throughout the year. To enhance your storing experience and ensure the best results, consider these helpful tips:
- Use Quality Ingredients: Begin with fresh, high-quality cucumbers and choose vinegar, salts, and spices of good quality. Starting with fresh and flavorful ingredients sets the foundation for tasty pickles.
- Properly Sterilize Jars: Although it’s not always necessary, sterilizing the mason jars before use can provide an extra level of protection against spoilage. This step is especially recommended if you plan on storing the pickles for an extended period of time.
- Experiment with Flavor Combinations: Don’t be afraid to get creative with your flavorings. Try different spice combinations or add in other vegetables or herbs to create unique and interesting pickles. The possibilities are endless, so have fun and discover your own favorite flavor profiles.
- Label and Date Your Jars: Properly labeling your cucumber jars with the contents and the date of preparation is essential for keeping track of their freshness. It helps you determine the optimal time to consume them and prevents confusion between different batches of pickles.
- Allow Time for Flavor Development: While it may be tempting to start munching on your pickles immediately, it’s best to let them sit for at least a week to allow the flavors to fully develop. Patience is key to achieving the tastiest pickles.
- Monitor the Seal: Regularly check the seal of the mason jars by pressing on the center of the lid. A proper seal should be firm and not pop back when pressed. If a jar does not have a tight seal, refrigerate and consume the pickles within a few weeks.
- Rotate and Use Oldest Jars First: If you have multiple jars of pickles, be sure to rotate them and use the oldest jars first. This ensures that you consume the pickles when they are at their peak flavor and quality.
- Experiment and Learn: Cucumber pickling is an art, and every batch can be a learning experience. Don’t be discouraged if your first attempt doesn’t turn out as expected. Take note of what works and what doesn’t, and adjust your methods and flavorings accordingly. With practice, you’ll become a master pickler.
These tips will help you make the most of your cucumber pickling journey and ensure that your homemade pickles are flavorful, crisp, and enjoyable for months to come. Remember to have fun, get creative, and explore different flavor combinations to discover your own unique twist on pickling cucumbers.
Now that you’re armed with these tips, it’s time to start pickling and savoring the delicious results of your effort and creativity.
Note: When consuming pickles, always trust your senses. If you notice any signs of spoilage such as off odors, mold growth, or unusual colors, do not consume the pickles and discard them immediately.
Conclusion
Storing cucumbers in mason jars and preserving them as pickles is a rewarding and delicious endeavor. The process allows you to extend the shelf life of cucumbers, enjoy their crispness and flavor throughout the year, and add a zesty kick to your meals. By following the steps outlined in this article and incorporating the tips provided, you’ll be well-equipped to create flavorful and satisfying pickles.
Choosing the right cucumbers, properly preparing the mason jars, creating a flavorful brine solution, and packing the cucumbers with care are essential steps in the storing process. Sealing the mason jars, storing them in a cool and dark location, and monitoring for any signs of spoilage ensure the longevity and quality of your pickles. By following these guidelines, you can confidently savor your homemade pickles with family and friends.
Remember, pickling cucumbers is not only about preservation, but also about exploration. Feel free to experiment with different flavors, spices, and herb combinations to find your own unique pickling style. Let your creativity shine and embrace the joy of pickling.
Lastly, take pride in your efforts and enjoy the fruits (or pickles) of your labor. Homemade pickles offer a depth of flavor and satisfaction that store-bought ones simply can’t match. Share your pickles with loved ones, gift them to friends, or simply enjoy them all by yourself.
Now that you have the knowledge and guidance to store cucumbers in mason jars, it’s time to embark on your pickling journey. So, roll up your sleeves, gather your ingredients, and let the pickling adventure begin. Cheers to delicious homemade pickles!
Now that you've mastered storing cucumbers, why not expand your preservation prowess? For those keen on keeping all sorts of vegetables fresh, our guide on effective vegetable storage solutions offers invaluable tips. On another note, if maximizing space is on your mind, our practical advice for kitchen organization can transform even the smallest cooking areas into models of efficiency. Both articles are packed with strategies that'll make every square inch count and keep your produce in tip-top shape.
Frequently Asked Questions about How To Store Cucumbers In Mason Jars
Was this page helpful?
At Storables.com, we guarantee accurate and reliable information. Our content, validated by Expert Board Contributors, is crafted following stringent Editorial Policies. We're committed to providing you with well-researched, expert-backed insights for all your informational needs.

0 thoughts on “How To Store Cucumbers In Mason Jars”