Home>Storage Ideas>Storage Baskets>How To Make Birch Bark Baskets Patterns
Storage Baskets
How To Make Birch Bark Baskets Patterns
Modified: December 7, 2023
Learn how to create beautiful storage baskets with birch bark patterns. These DIY baskets are perfect for organizing and adding a rustic touch to your home decor.
(Many of the links in this article redirect to a specific reviewed product. Your purchase of these products through affiliate links helps to generate commission for Storables.com, at no extra cost. Learn more)
Introduction
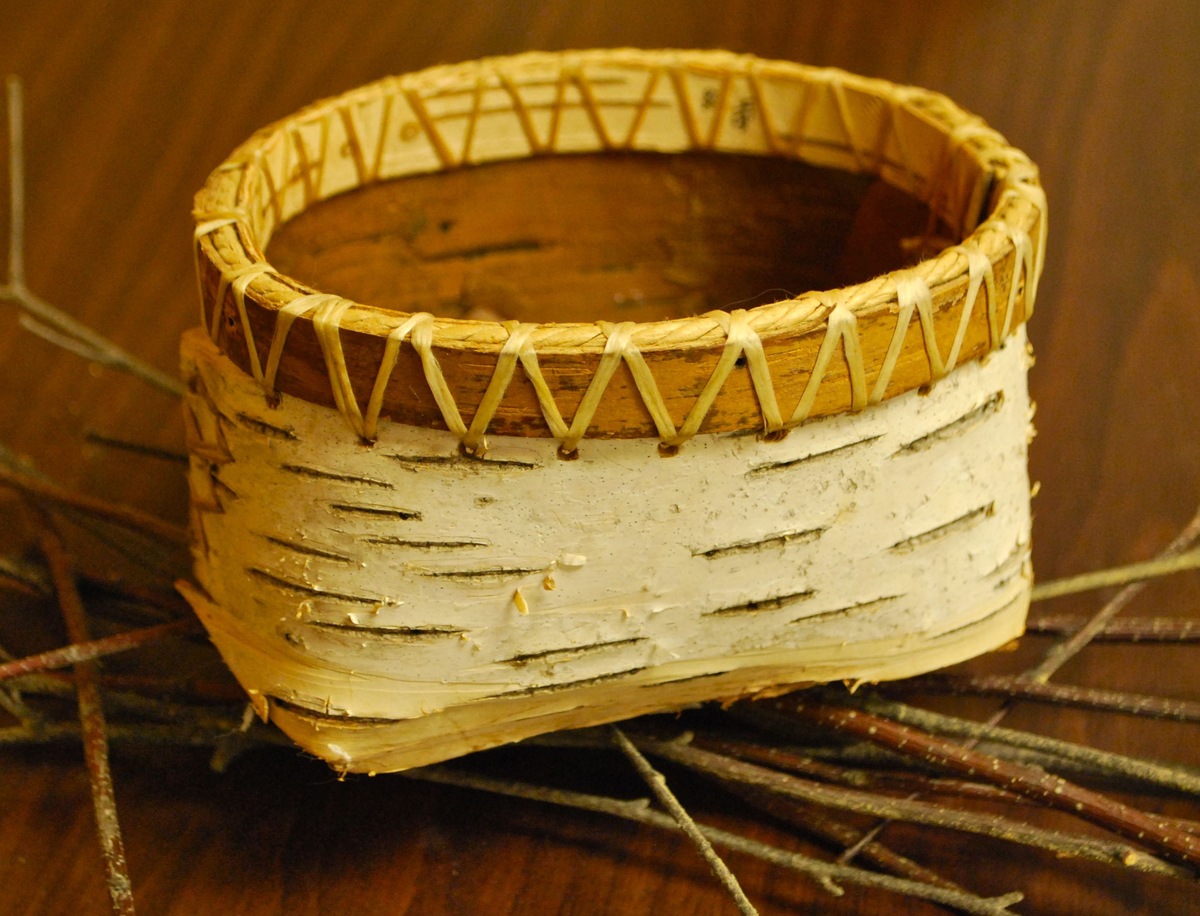
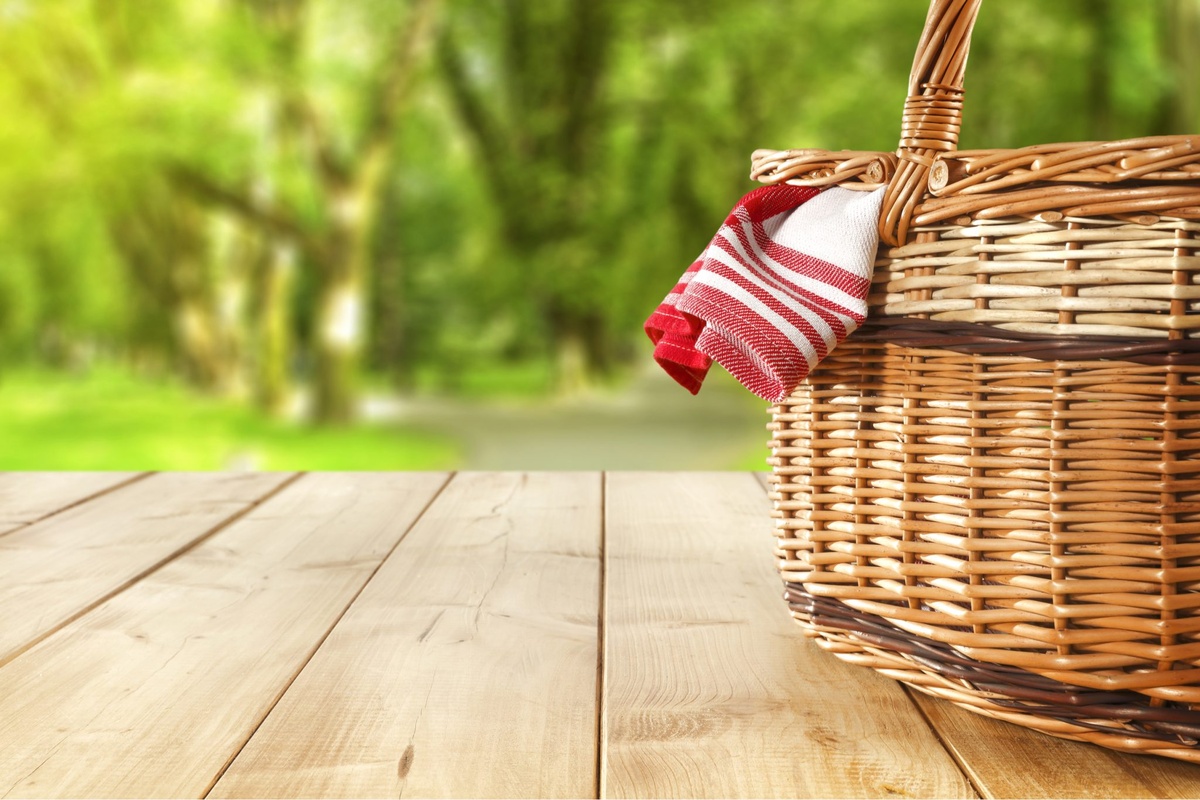
Welcome to the world of birch bark baskets! These beautifully crafted storage vessels have a long and rich history, dating back to ancient civilizations. Birch bark is a versatile and abundant natural material that has been used by indigenous cultures for centuries to create practical and decorative containers.
In this article, we will guide you through the process of making birch bark baskets, starting from gathering the materials to adding finishing touches. Whether you are an experienced woodworker or a novice looking for a new craft project, this guide will equip you with the knowledge and skills to create your very own birch bark basket.
Birch bark possesses unique properties that make it ideal for basket weaving. Not only is it lightweight and flexible, but it also has natural water-resistant qualities, making it suitable for storing a wide range of items. Additionally, the distinctive colors and patterns found in birch bark add an aesthetic appeal to the finished product.
Before we dive into the intricacies of basket making, let’s take a moment to appreciate the cultural significance of birch bark. Many indigenous communities consider the birch tree sacred and view the use of its bark as a way to connect with nature and honor their ancestral traditions. By engaging in the art of birch bark basketry, we not only learn a new skill but also pay homage to the wisdom and craftsmanship of those who came before us.
Now that we have set the stage, let’s explore the first step in making birch bark baskets: gathering the materials.
Key Takeaways:
- Dive into the world of birch bark basketry, from gathering materials to adding finishing touches. Connect with nature, honor traditions, and unleash your creativity in crafting unique and visually stunning storage vessels.
- Embrace the art of birch bark basket making as a journey of patience, attention to detail, and deep appreciation for cultural traditions. Connect with indigenous techniques, incorporate your creativity, and cherish the beauty of basketry.
Read more: How To Make Patterns In Grass
Gathering Materials
Before embarking on your birch bark basket-making journey, it’s essential to gather all the necessary materials. Here’s a list of items you’ll need:
- Birch Bark: The primary material for your basket. Look for fallen birch trees or branches with intact bark. Choose pieces that are thick and in good condition.
- Sharp Knife or Scissors: You’ll need a sharp tool to cut and trim the birch bark. A utility knife or sharp pair of scissors will do the job.
- Awl or Punch Tool: This tool is used to create holes in the birch bark for sewing.
- Threads or Sinew: Natural threads or sinew will be used to sew the birch bark together. Choose a durable and flexible option.
- Natural Dyes (optional): If you want to add color to your basket, you can gather natural dyes from plants, flowers, or other sources.
- Additional Decorative Materials (optional): You may want to incorporate beads, feathers, or other decorative items into your basket. Gather them according to your design preferences.
When gathering birch bark, it’s important to follow ethical and sustainable practices. Avoid stripping bark directly off living trees, as this can harm the tree and disrupt the ecosystem. Instead, look for fallen branches or trees that are already in the process of natural decay.
Once you have collected the necessary materials, it’s time to move on to the next step: preparing the birch bark.
Preparing the Birch Bark
Preparing the birch bark is an important step in the basket-making process, as it ensures that the bark is clean, flexible, and ready for weaving. Follow these steps to properly prepare the birch bark:
- Clean the Bark: Clean off any dirt, debris, or loose bits from the birch bark. Use a soft brush or cloth to gently remove these impurities. This step will help ensure a smooth and even weaving process.
- Soak the Bark: Submerge the birch bark in water for approximately 30 minutes. This will make the bark more pliable and easier to work with. If the bark is especially dry or brittle, you may need to soak it for a longer period.
- Remove Excess Water: After soaking, gently shake off any excess water from the birch bark. You can also pat it dry with a towel, taking care not to tear or damage the bark. It should be damp but not dripping wet.
- Flatten the Bark: To ensure a smooth weaving process, flatten the soaked birch bark by placing it between two clean and heavy objects. This will help straighten any curls or bends in the bark. Leave it flattened for a few hours or overnight.
By following these steps, you will prepare the birch bark to be in optimal condition for weaving. Remember to handle the bark with care to prevent tearing or breaking.
With the birch bark ready, it’s time to select a basket pattern to guide your weaving process. Let’s explore the next step: choosing a basket pattern.
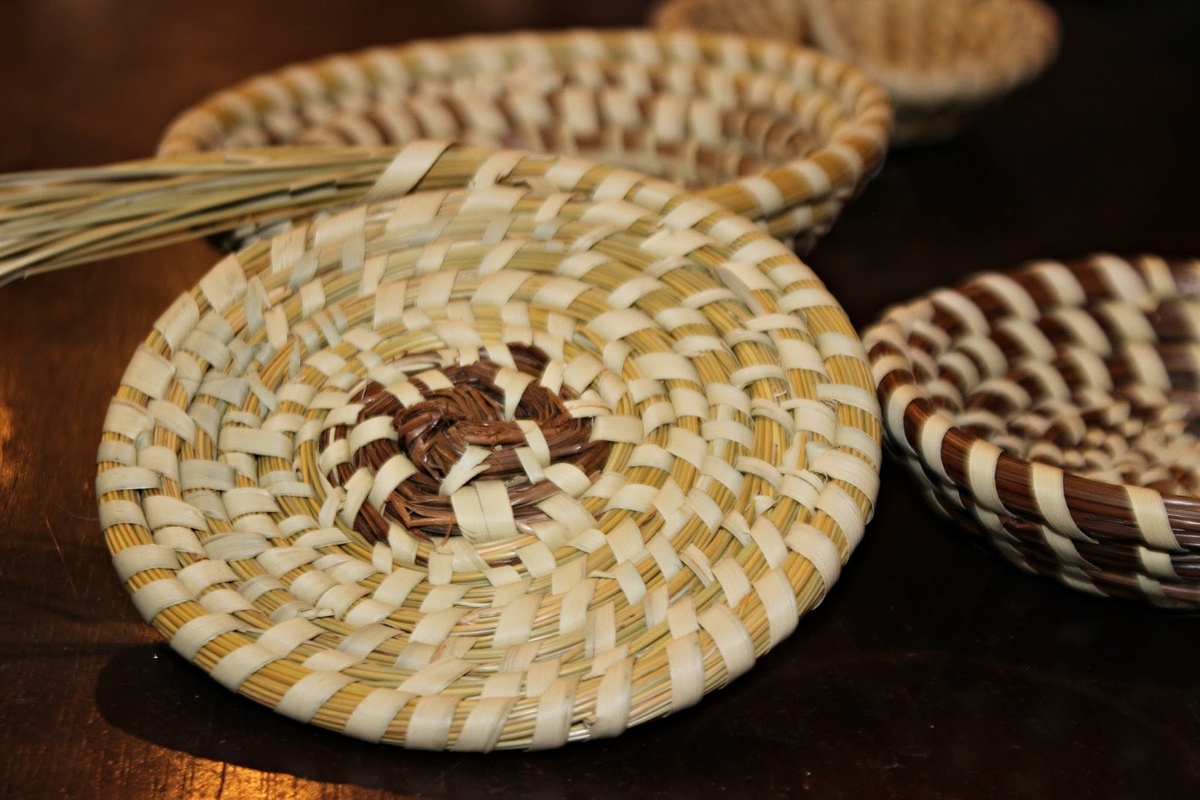
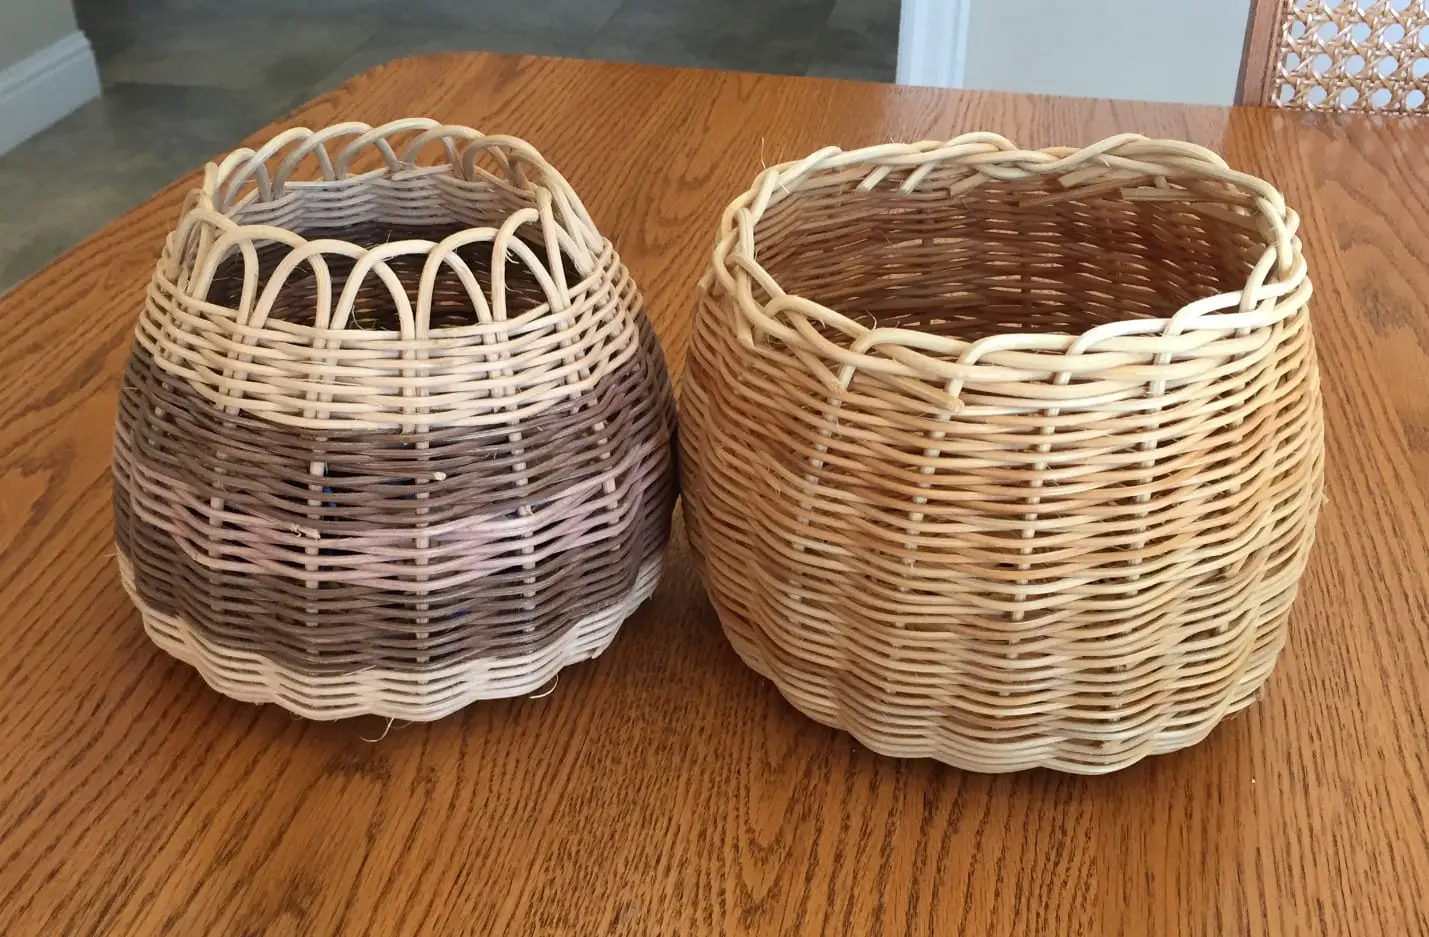
Choosing a Basket Pattern
When it comes to birch bark basketry, there are numerous patterns and designs to choose from. The pattern you select will determine the shape, size, and overall appearance of your basket. Here are some things to consider when choosing a basket pattern:
- Functionality: Think about the purpose of your basket. Will it be used for storing small items, holding larger objects, or purely for decorative purposes? Choose a pattern that suits your intended use.
- Complexity: Consider your level of basket-making experience. If you’re a beginner, it’s best to start with a simple pattern that has fewer intricate details. As you gain confidence and skill, you can gradually tackle more complex designs.
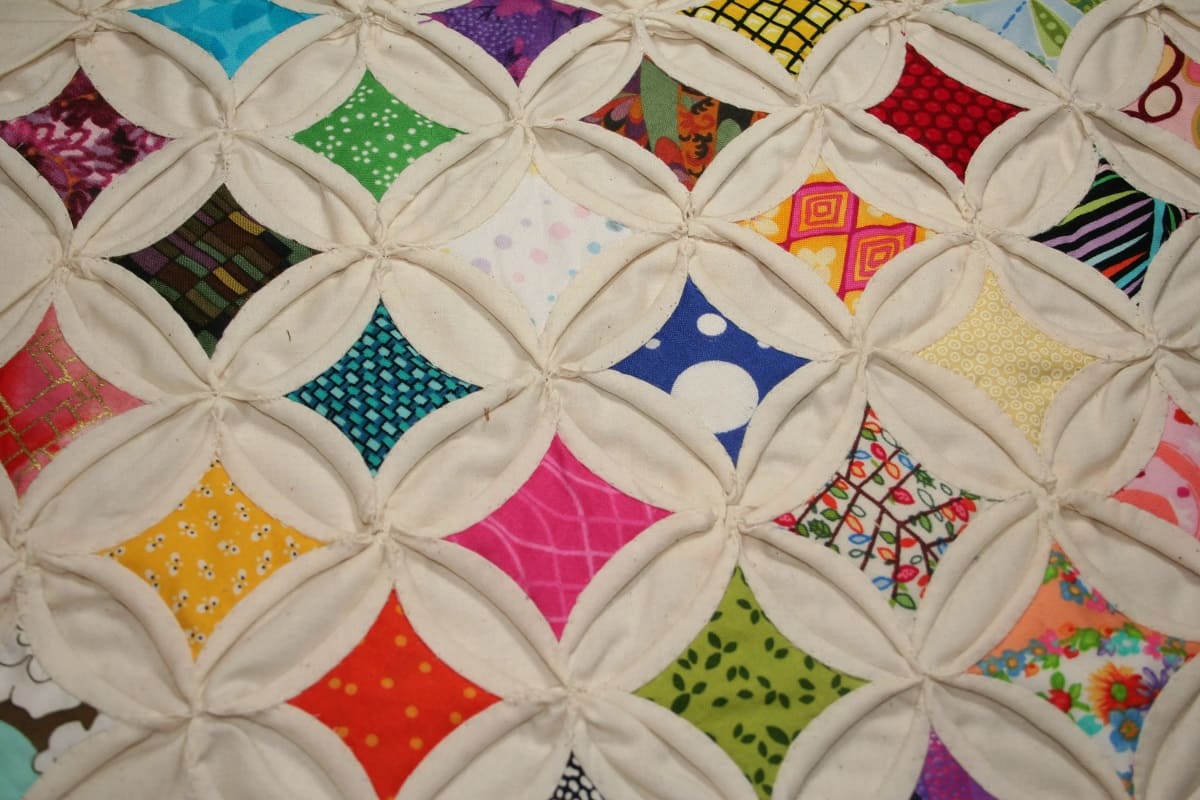
- Aesthetics: Look for patterns that resonate with your personal style and taste. Some patterns feature geometric shapes, while others incorporate nature-inspired motifs or traditional cultural symbols. Choose a pattern that speaks to you visually.
- Size: Determine the desired size of your basket. Some patterns lend themselves better to smaller baskets, while others are more suitable for larger ones. Take into account the amount of birch bark you have available and the level of intricacy you’re comfortable with.
To find inspiration for your basket pattern, you can refer to books, online resources, or even traditional indigenous designs. Many cultures have their own distinctive basket-weaving techniques and patterns, each with its own cultural significance.
Once you have selected a pattern, it’s time to move on to the next step: tracing and cutting the pattern onto the birch bark.
Tracing and Cutting the Pattern
With your chosen basket pattern in mind, it’s time to transfer it onto the prepared birch bark and begin the cutting process. Follow these steps to trace and cut the pattern:
- Place the Pattern: Lay the pattern on the flattened birch bark and secure it in place with tape or small weights. Ensure that the pattern aligns with the shape and size you desire for your basket.
- Trace the Pattern: Use a pencil or marker to trace around the edges of the pattern onto the birch bark. Take your time and make precise markings, ensuring they are clearly visible.
- Remove the Pattern: Once you have finished tracing, remove the pattern from the birch bark. Double-check that all the necessary lines and shapes are clearly marked before proceeding.
- Cut the Birch Bark: Using a sharp knife or scissors, carefully cut along the traced lines on the birch bark. Take your time and work slowly to ensure clean and accurate cuts. Be mindful of your fingers and use caution while cutting.
- Trim Excess Bark: After cutting out the main pieces, trim any excess or uneven edges of the birch bark. This will result in clean and neat edges for easier weaving.
As you cut the patterns, keep in mind that some designs may require additional pieces to be cut separately, such as handles or decorative elements. Follow the pattern instructions carefully to ensure you have all the necessary pieces for your basket.
With the birch bark pattern cut out, it’s time to begin assembling and weaving the pieces together. Coming up next, we will explore the process of assembling the birch bark.
When making birch bark baskets, start by selecting a simple pattern to practice with. Look for patterns that have straight lines and minimal curves to make the process easier.
Read more: How To Make A Birch Box With Hand Tools
Assembling the Birch Bark
Now that you have your birch bark pattern cut out, it’s time to move on to the assembly phase. Assembling the birch bark involves carefully arranging and positioning the cut pieces to form the base and sides of the basket. Follow these steps to effectively assemble the birch bark:
- Create the Base: Take the largest cut piece of birch bark, which will serve as the base of your basket. Position it on a flat surface and ensure that it lies flat and even.
- Position the Side Pieces: Carefully position the side pieces of birch bark around the base, aligning the edges and corners to create the desired shape of your basket. Hold the pieces in place using small clips or clamps.
- Secure the Side Pieces: To firmly secure the side pieces to the base, use a punch tool or awl to create small holes along the edges where the birch bark overlaps. Sew through these holes with a durable thread or sinew, pulling it tightly to hold the pieces together.
- Continue Layering: If your basket design requires additional layers or levels, repeat the process of positioning and sewing the birch bark pieces together. Make sure to align the edges and corners accurately for a seamless and sturdy construction.
As you assemble the birch bark, it’s important to take your time and work with precision. Check for any gaps or loose sections and adjust as needed to maintain a clean and uniform appearance. The base and sides of the basket should be securely held together to ensure the basket’s structural integrity.
Once you have finished assembling the birch bark, it’s time to move on to the next step: folding and sewing the birch bark to enhance the basket’s durability.
Folding and Sewing the Birch Bark
After successfully assembling the birch bark pieces to form the base and sides of your basket, the next step is to fold and sew the birch bark to reinforce the structure and enhance its durability. Follow these steps to effectively fold and sew the birch bark:
- Fold the Edges: Gently fold the top edges of the birch bark inward to create a clean and polished finish. Use your fingertips to press and shape the edges, ensuring they remain secure.
- Create Sewing Holes: Using a punch tool or awl, carefully create small holes along the folded part of the birch bark. These holes will act as guides for your sewing thread or sinew.
- Choose a Sewing Technique: There are various sewing techniques you can use to securely attach the folded edges. One common method is the whip stitch, where you pass the thread or sinew through the holes in a continuous loop, pulling it tightly to bring the edges together. This technique provides stability and reinforces the folded edges.
- Sew the Birch Bark: Begin sewing along one edge, holding the folded part firmly. Pass the thread or sinew through the first hole, then bring it back through the next hole, creating a stitch. Continue this process until you reach the end of the folded edge. Pull the thread or sinew tight to ensure a secure stitch. Repeat this process for all folded edges that require sewing.
- Tie Off the Thread: Once you have sewn all the folded edges, tie off the thread or sinew securely to prevent unraveling. You can create a knot or loop to secure the end of the thread.
Throughout the folding and sewing process, take care to maintain even tension with each stitch, ensuring that the birch bark remains tightly secured. This will contribute to the overall strength and durability of your finished birch bark basket.
With the birch bark folded and sewn, it’s time to add the final touches and complete your basket. Let’s explore the finishing touches in the next step.
Finishing Touches
As you approach the final stages of creating your birch bark basket, it’s time to add the finishing touches to enhance its appearance and functionality. Here are some finishing touches you can consider:
- Trim Excess Bark: Use a sharp knife or scissors to carefully trim any excess birch bark that extends beyond the edges of the basket. This will give it a clean and polished look.
- Add Handles: If your basket design includes handles, now is the time to attach them. Cut two pieces of birch bark in the desired handle shape and size. Fold the ends of each handle inward, then sew them securely onto the sides of the basket.
- Decorate Your Basket: Add your personal touch with decorative elements. You can thread beads, attach feathers, or incorporate other natural materials to enhance the visual appeal of your basket.
- Apply a Protective Finish: Depending on your preference, you can choose to apply a protective finish to the birch bark. This can be a natural oil or beeswax to enhance the bark’s water resistance and preserve its color and texture.
Remember to take your time and pay attention to detail during the finishing touches. By adding these elements, you can customize your birch bark basket and make it truly unique.
Once you are satisfied with the final touches, step back and admire your beautifully crafted birch bark basket. You have successfully transformed a simple piece of birch bark into a functional and visually stunning storage vessel.
With your birch bark basket complete, it’s time to find a special place to display or use it. Whether it’s holding precious items, serving as a centerpiece, or a gift for a loved one, your birch bark basket is a testament to your creativity and dedication to preserving the art of basket making.
As you continue on your journey of exploring basketry, take the time to appreciate the deep-rooted history and cultural significance of birch bark baskets. They serve as a reminder of our connection to nature and the ingenuity of human craftsmanship.
Congratulations on creating your very own birch bark basket! May it bring joy and inspiration for years to come.
Conclusion
Embarking on the journey of making your own birch bark basket is not only a creative endeavor but also a way to connect with nature and honor the traditions of indigenous cultures. Throughout this article, we have explored the process of making birch bark baskets, from gathering materials to adding finishing touches.
By gathering birch bark, preparing it, choosing a pattern, and carefully cutting and assembling the pieces, you have created a sturdy and visually appealing basket. Folding and sewing the birch bark provided reinforcement and durability, while the finishing touches allowed you to add your personal flair to the final product.
The art of basket making is not just about the end result but also the journey itself. It allows us to immerse ourselves in the natural world, connecting with the materials and the cultural traditions associated with birch bark baskets. It is a practice that requires patience, attention to detail, and a deep appreciation for the beauty of the craft.
As you continue your exploration of birch bark basketry, remember to approach it with curiosity and respect. Learn from the techniques and designs of indigenous cultures, incorporating them in your own unique creations while honoring the origins of this ancient craft.
Whether you choose to use your birch bark basket for functional purposes or display it as a work of art, it will serve as a reminder of your creativity and dedication. Each time you see your basket, you will be reminded of the time and effort you put into its creation, and the connection you have forged with nature and the cultural heritage of basket making.
Now, armed with the knowledge and skills gained from this article, it’s time for you to embark on your own birch bark basket-making adventure. Let your imagination soar as you experiment with new designs and techniques, creating unique and beautiful pieces that reflect your own artistic vision.
Enjoy the process, embrace the beauty of birch bark, and continue to cherish the art of basket making. Happy weaving!
Frequently Asked Questions about How To Make Birch Bark Baskets Patterns
Was this page helpful?
At Storables.com, we guarantee accurate and reliable information. Our content, validated by Expert Board Contributors, is crafted following stringent Editorial Policies. We're committed to providing you with well-researched, expert-backed insights for all your informational needs.

0 thoughts on “How To Make Birch Bark Baskets Patterns”