Articles
How To Make Yogurt In A Bread Machine
Modified: May 6, 2024
Learn how to make homemade yogurt using your bread machine with this step-by-step guide. Get the perfect creamy yogurt every time - no fancy equipment needed!
(Many of the links in this article redirect to a specific reviewed product. Your purchase of these products through affiliate links helps to generate commission for Storables.com, at no extra cost. Learn more)
Introduction
Making yogurt at home can be a rewarding and delicious experience. Not only is it a great way to ensure you have a fresh and healthy supply of yogurt on hand, but it also allows you to experiment with different flavors and add-ins to create a personalized treat. While there are several traditional methods of making yogurt, using a bread machine can be a convenient and efficient way to achieve consistent results with minimal effort.
In this article, we will guide you through the step-by-step process of making yogurt in a bread machine. We will cover everything from gathering the ingredients to incubating the yogurt and enjoying the final product. So, let’s dive in and discover how you can make creamy and delicious yogurt right in your own kitchen!
Key Takeaways:
- Enjoy the convenience and control of making creamy, personalized yogurt at home using a bread machine. Experiment with flavors and add-ins to create a delicious treat tailored to your taste preferences.
- With minimal effort, you can achieve consistent and rewarding results by following the step-by-step process of making yogurt in a bread machine. From heating the milk to incubating the yogurt, enjoy the journey of creating your own homemade goodness.
Read more: How To Make Dough In Bread Machine
Step 1: Gather the Ingredients
Before you begin making yogurt in your bread machine, it’s important to gather all the necessary ingredients. Here’s what you’ll need:
- Milk: Start with fresh, whole milk for the best results. You can use cow’s milk, goat’s milk, or even plant-based milk alternatives like soy or almond milk.
- Yogurt Starter: You will need a small amount of plain yogurt with live active cultures to use as a starter for your homemade yogurt. Look for yogurt labeled as containing “live and active cultures” to ensure the best results.
- Sweetener (optional): If you prefer your yogurt on the sweeter side, you can add a sweetener of your choice, such as sugar, honey, or maple syrup.
- Flavorings and Add-ins (optional): Get creative and add your favorite flavors and add-ins to your yogurt. You can experiment with fruits, nuts, granola, or even spices like vanilla extract or cinnamon.
By gathering all these ingredients beforehand, you’ll be well-prepared and ready to begin the yogurt-making process with ease.
Once you’ve gathered the ingredients, it’s time to move on to the next step: preparing the bread machine.
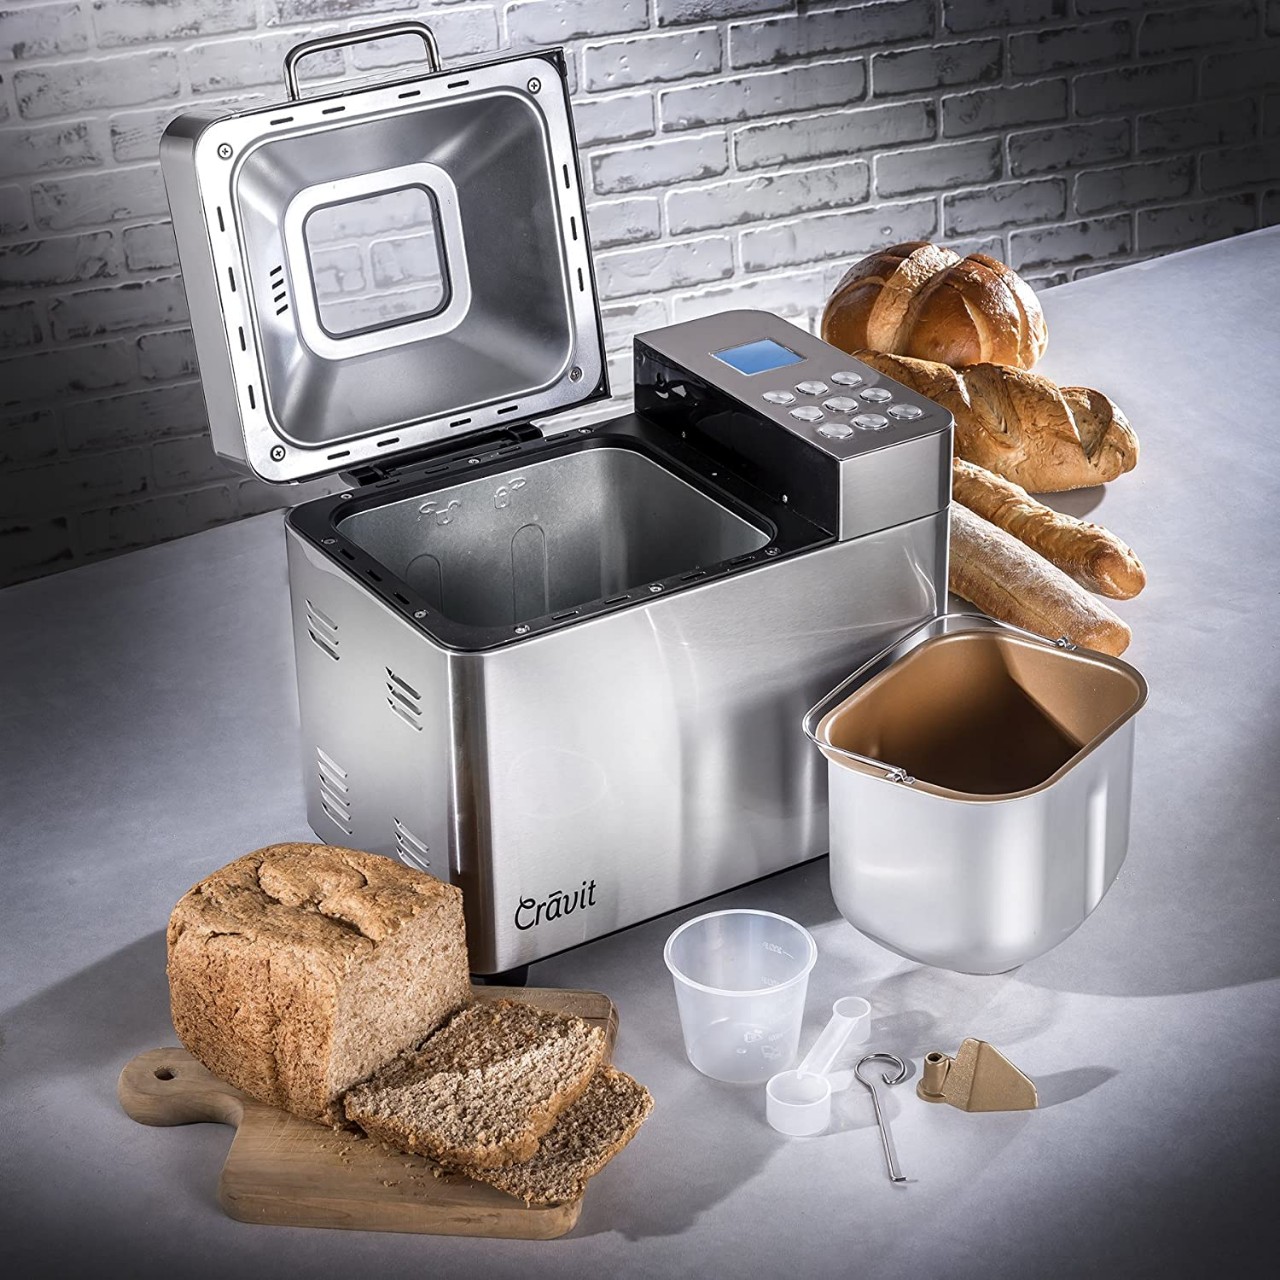
Step 2: Prepare the Bread Machine
Now that you have all your ingredients ready, it’s time to prepare the bread machine for yogurt-making. Follow these steps:
- Clean the Bread Machine: Ensure that your bread machine is clean and free from any residue or crumbs. Give it a quick wipe-down to remove any dirt or debris.
- Remove the Bread Paddle: Take out the bread paddle from the bread machine’s baking pan. This will prevent it from interfering with the incubation process and making it easier to clean later.
- Place the Baking Pan: Insert the clean baking pan back into the bread machine. Make sure it fits securely and is in the correct position.
- Adjust the Settings: Set the bread machine to the “Yogurt” function or any similar function that allows for incubation at a consistent temperature. Refer to your bread machine’s manual for specific instructions on selecting the yogurt setting.
- Preheat the Bread Machine: Preheat the bread machine for a few minutes to create a warm environment, ideal for incubating the yogurt.
By following these steps, you will have your bread machine ready and optimized for making yogurt. Now it’s time to move on to the next crucial step: heating the milk.
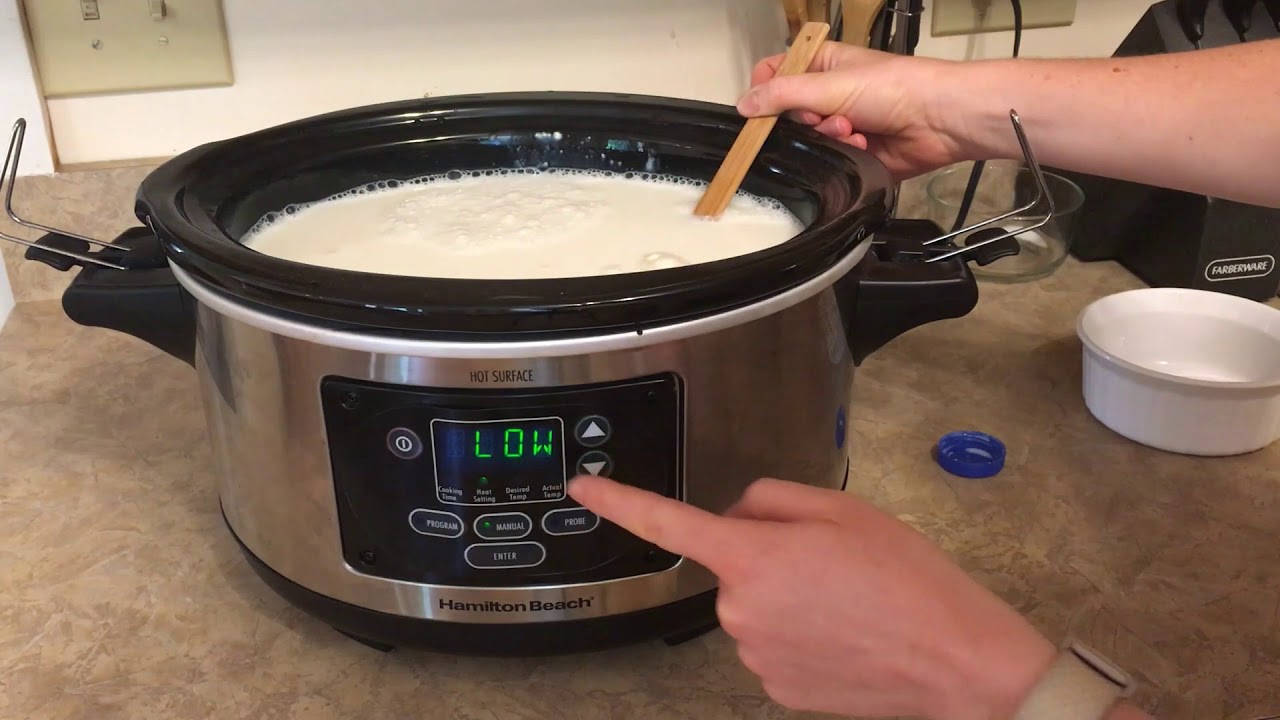
Step 3: Heat the Milk
Heating the milk is an important step in the yogurt-making process as it helps to kill any harmful bacteria and create the ideal environment for the yogurt cultures to thrive. Follow these instructions to heat the milk in your bread machine:
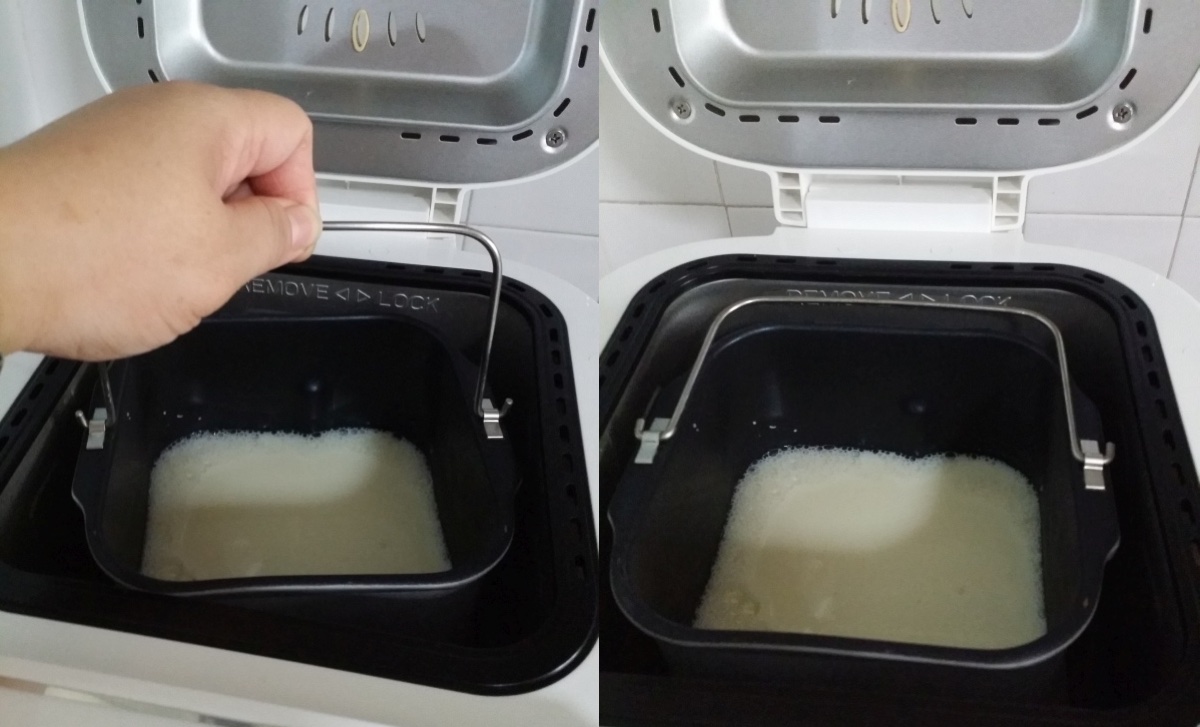
- Pour the Milk: Measure the desired amount of milk into the bread machine’s baking pan. The amount will depend on the size of your pan and your preference for the quantity of yogurt you want to make.
- Close the Lid: Close the lid of the bread machine to maintain the heat and create a warm environment for the milk.
- Set the Temperature: Set the temperature of the bread machine to around 180°F (82°C). This temperature is sufficient to pasteurize the milk but ensure it doesn’t boil.
- Start the Heating Process: Begin the heating process by turning on the bread machine and allowing it to heat the milk. This typically takes about 1-2 hours, depending on your machine’s settings.
During the heating process, it’s essential to monitor the milk’s temperature to prevent it from overheating or boiling. You can use a food thermometer to check the milk’s temperature periodically. Once the milk reaches the desired temperature, it’s time to proceed to the next step: adding the yogurt starter.
Add the yogurt starter to the milk in the bread machine and set it to the “yogurt” setting for 8-12 hours. Once done, strain the yogurt for a thicker consistency.
Step 4: Add Yogurt Starter
Now that the milk has been heated to the proper temperature, it’s time to add the yogurt starter. The starter contains the live and active cultures that will ferment the milk and transform it into delicious yogurt. Follow these steps:
- Scoop the Starter: Take a small amount of plain yogurt with live active cultures that you have selected as your starter. The general rule of thumb is to use approximately 2 tablespoons of yogurt per quart of milk.
- Temper the Starter: In a separate bowl, mix the yogurt starter with a small amount of the warm milk from the bread machine. This helps to temper the starter and prevent significant temperature shock when it is added to the remaining milk.
- Add the Starter to the Milk: Pour the tempered starter mixture into the bread machine’s baking pan with the heated milk. Stir gently to ensure even distribution.
- Mix Well: If your bread machine has a mixing paddle, turn it on briefly to mix the starter and milk thoroughly. This step helps to distribute the yogurt cultures evenly throughout the mixture.
Once the yogurt starter has been added and mixed, it’s time to move on to the next step: incubating the yogurt.
Read more: How To Make Sourdough In Bread Machine
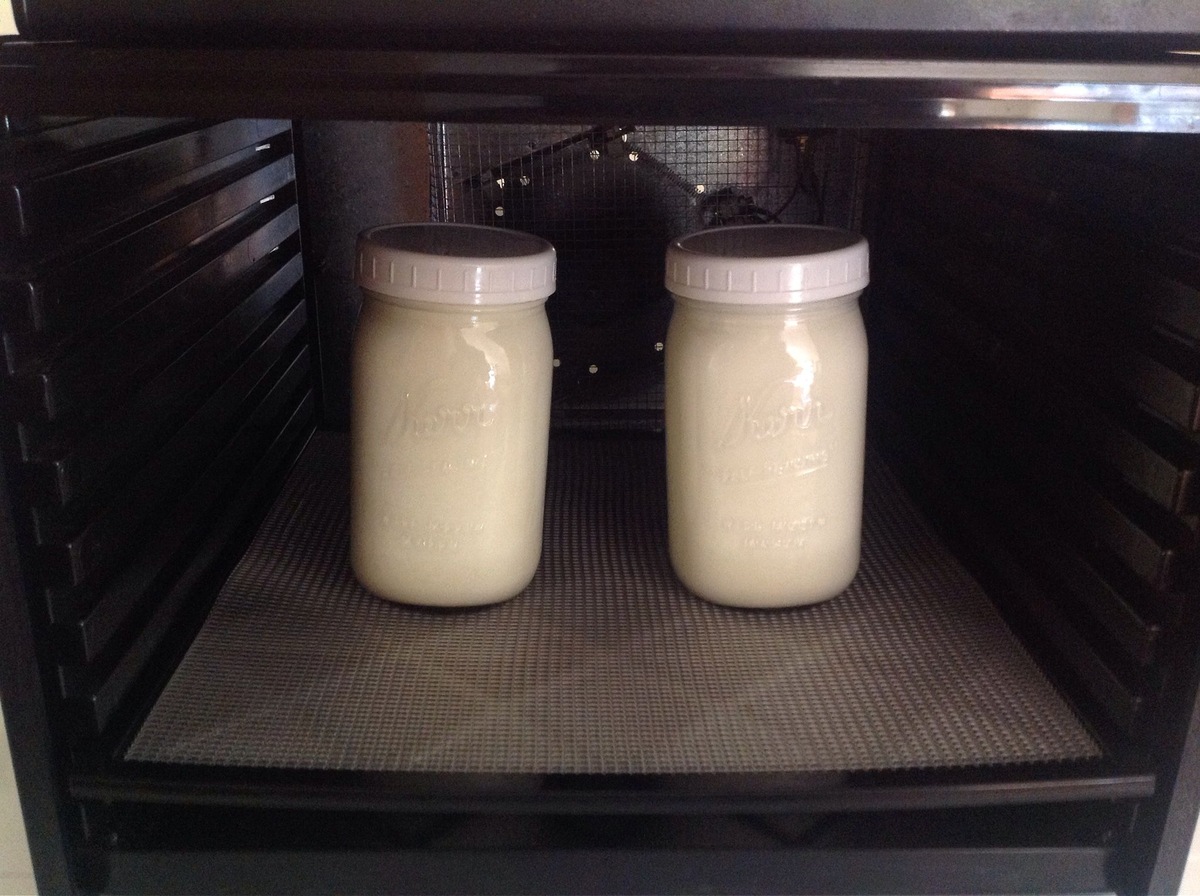
Step 5: Incubate the Yogurt
After adding the yogurt starter to the milk, it’s time to incubate the mixture to allow the cultures to ferment and transform the milk into creamy yogurt. Here’s what you need to do:
- Cover the Pan: Put the lid back on the bread machine and ensure it is securely closed. This will create a warm and enclosed environment for the yogurt to incubate.
- Set the Incubation Time: Set the bread machine’s timer to the desired incubation time. The optimal range is usually between 6 to 10 hours, depending on your preference for the tanginess and thickness of the yogurt.
- Monitor the Temperature: Keep an eye on the temperature of the yogurt during the incubation process. It is crucial to maintain the temperature within the range of 105°F to 115°F (40°C to 46°C) for the cultures to thrive and produce the desired consistency.
- Avoid Disturbance: Try not to move or shake the bread machine during the incubation period, as this can disrupt the fermentation process.
Remember, the longer you incubate the yogurt, the thicker and tangier it will become. You can experiment with different incubation times to achieve the texture and flavor that you prefer.
Once the yogurt has incubated for the desired time, it’s time to move on to the final step: refrigerating and enjoying your homemade yogurt.
Step 6: Refrigerate and Enjoy
Congratulations! You have successfully made homemade yogurt in your bread machine. Now, it’s time to refrigerate and enjoy the fruits of your labor. Follow these final steps:
- Remove the Yogurt: Carefully remove the baking pan from the bread machine. You will find that the mixture has thickened and set into creamy yogurt.
- Cover and Chill: Cover the baking pan with a lid or plastic wrap and place it in the refrigerator. Allow the yogurt to chill for at least 4 hours or overnight. This will help it further set and enhance its flavor.
- Serve and Enjoy: Once the yogurt has chilled, it is ready to be enjoyed. You can serve it plain or add your favorite toppings, such as fresh fruits, granola, or a drizzle of honey. The possibilities are endless!
Remember to reserve a small amount of your homemade yogurt as a starter for your next batch. This way, you can continue the cycle of making delicious yogurt from scratch.
Making yogurt in a bread machine is not only a convenient method but also allows you to have control over the ingredients and customize your yogurt to suit your taste preferences. So, why not give it a try and embark on a journey of homemade yogurt goodness right in your own kitchen?
Now that you have mastered the art of making yogurt in a bread machine, you can enjoy the benefits of homemade yogurt whenever you want. So gather your ingredients, prepare your bread machine, and get ready to indulge in creamy and delicious yogurt that you made yourself. Happy yogurt-making!
Now that you've mastered making yogurt in your bread machine, why not see what else this versatile kitchen helper can do? From delightful desserts to hearty mains, bread machines prove indispensable for more than just loaves. Interested in expanding your culinary repertoire with this handy appliance? Check out our guide on what to whip up next using your bread machine.
Frequently Asked Questions about How To Make Yogurt In A Bread Machine
Was this page helpful?
At Storables.com, we guarantee accurate and reliable information. Our content, validated by Expert Board Contributors, is crafted following stringent Editorial Policies. We're committed to providing you with well-researched, expert-backed insights for all your informational needs.


0 thoughts on “How To Make Yogurt In A Bread Machine”