
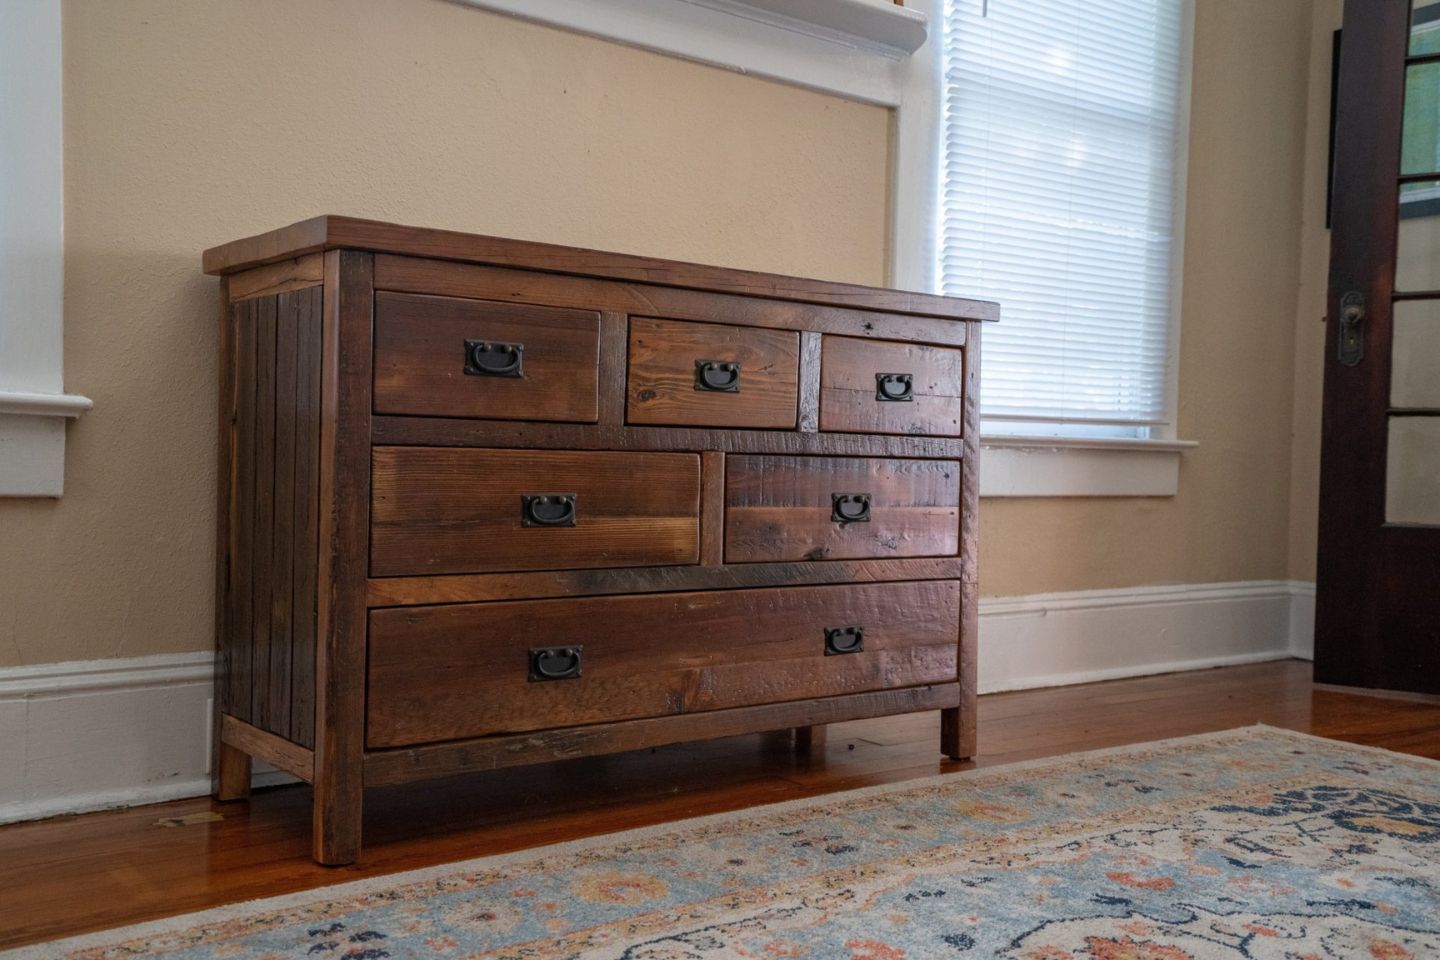
Furniture
How To Take A Drawer Out Of A Dresser
Modified: December 7, 2023
Learn how to remove a drawer from your dresser with this easy step-by-step guide. Transform your furniture with this simple furniture hack!
(Many of the links in this article redirect to a specific reviewed product. Your purchase of these products through affiliate links helps to generate commission for Storables.com, at no extra cost. Learn more)
Introduction
Welcome to our comprehensive guide on how to take a drawer out of a dresser. Whether you’re looking to clean, repair, or replace a drawer, knowing how to remove it properly is essential. Taking out a drawer from a dresser may seem daunting at first, but with the right tools and steps, it can be a straightforward process.
Before we dive into the step-by-step instructions, let’s talk about why you might need to remove a drawer. Over time, drawers can become sticky, misaligned, or damaged. They may also need to be taken out for thorough cleaning or to access something stuck or trapped inside the drawer. Whatever the reason, understanding the process will help you accomplish the task efficiently and safely.
So, grab your tools and get ready to learn how to take a drawer out of a dresser like a pro!
Key Takeaways:
- Safely removing a drawer from a dresser involves gathering the right tools, clearing out the contents, identifying the release mechanism, and storing the drawer securely for future reassembly or repairs.
- Understanding the step-by-step process of removing a drawer from a dresser empowers you to tackle cleaning, repairs, or replacements with confidence, ensuring the longevity and functionality of your furniture.
Read more: How To Pull Out Dresser Drawers
Step 1: Gather necessary tools and materials
Before you begin to remove a drawer from a dresser, it’s essential to gather the right tools and materials. Having everything you need on hand will make the process much more efficient. Here are the items you’ll need:
- Screwdriver: Depending on the type of dresser, you may need either a Phillips or a flat-head screwdriver. Check the screws on the drawer slides or tracks to determine the appropriate type.
- Tape or marker: Use tape or a marker to label the parts and screws as you go. This will make reassembly easier later on.
- Protective gloves: It’s always a good idea to wear protective gloves to prevent any injuries while handling the dresser or sharp objects.
- Flashlight: A flashlight will come in handy if the drawer is located in a dimly lit area, allowing you to see the tracks and release mechanism more clearly.
- Container or box: Prepare a container or box to store the screws and other small parts. This will help you keep everything organized and ensure that no pieces get lost during the process.
Now that you have all the necessary tools and materials, you’re ready to move on to the next step.
Step 2: Clear out the dresser
Before you can remove a drawer from a dresser, you need to clear out its contents. Remove any items that are currently stored in the drawer and set them aside in a safe place. This step is crucial to prevent any damage to the items or potential injuries while handling the dresser.
Take the time to organize and categorize the items as you remove them. This will make it easier to put them back in their proper place once the drawer is reinserted into the dresser. It’s also a great opportunity to declutter and reevaluate the items you have stored in the dresser. Consider donating or discarding any items that you no longer need or use.
If the dresser has multiple drawers, work your way from the top down, clearing out one drawer at a time. Take note of the contents of each drawer and keep them separate to maintain organization.
Once you have emptied the dresser, set aside any removable dividers or organizers that might be inside. These items can sometimes obstruct the removal of the drawer, so it’s best to remove them beforehand.
Clearing out the dresser not only allows for easy access to the drawer but also helps ensure that none of your belongings get misplaced or damaged during the removal process. With a cleared-out dresser, you can now proceed to the next step with ease.
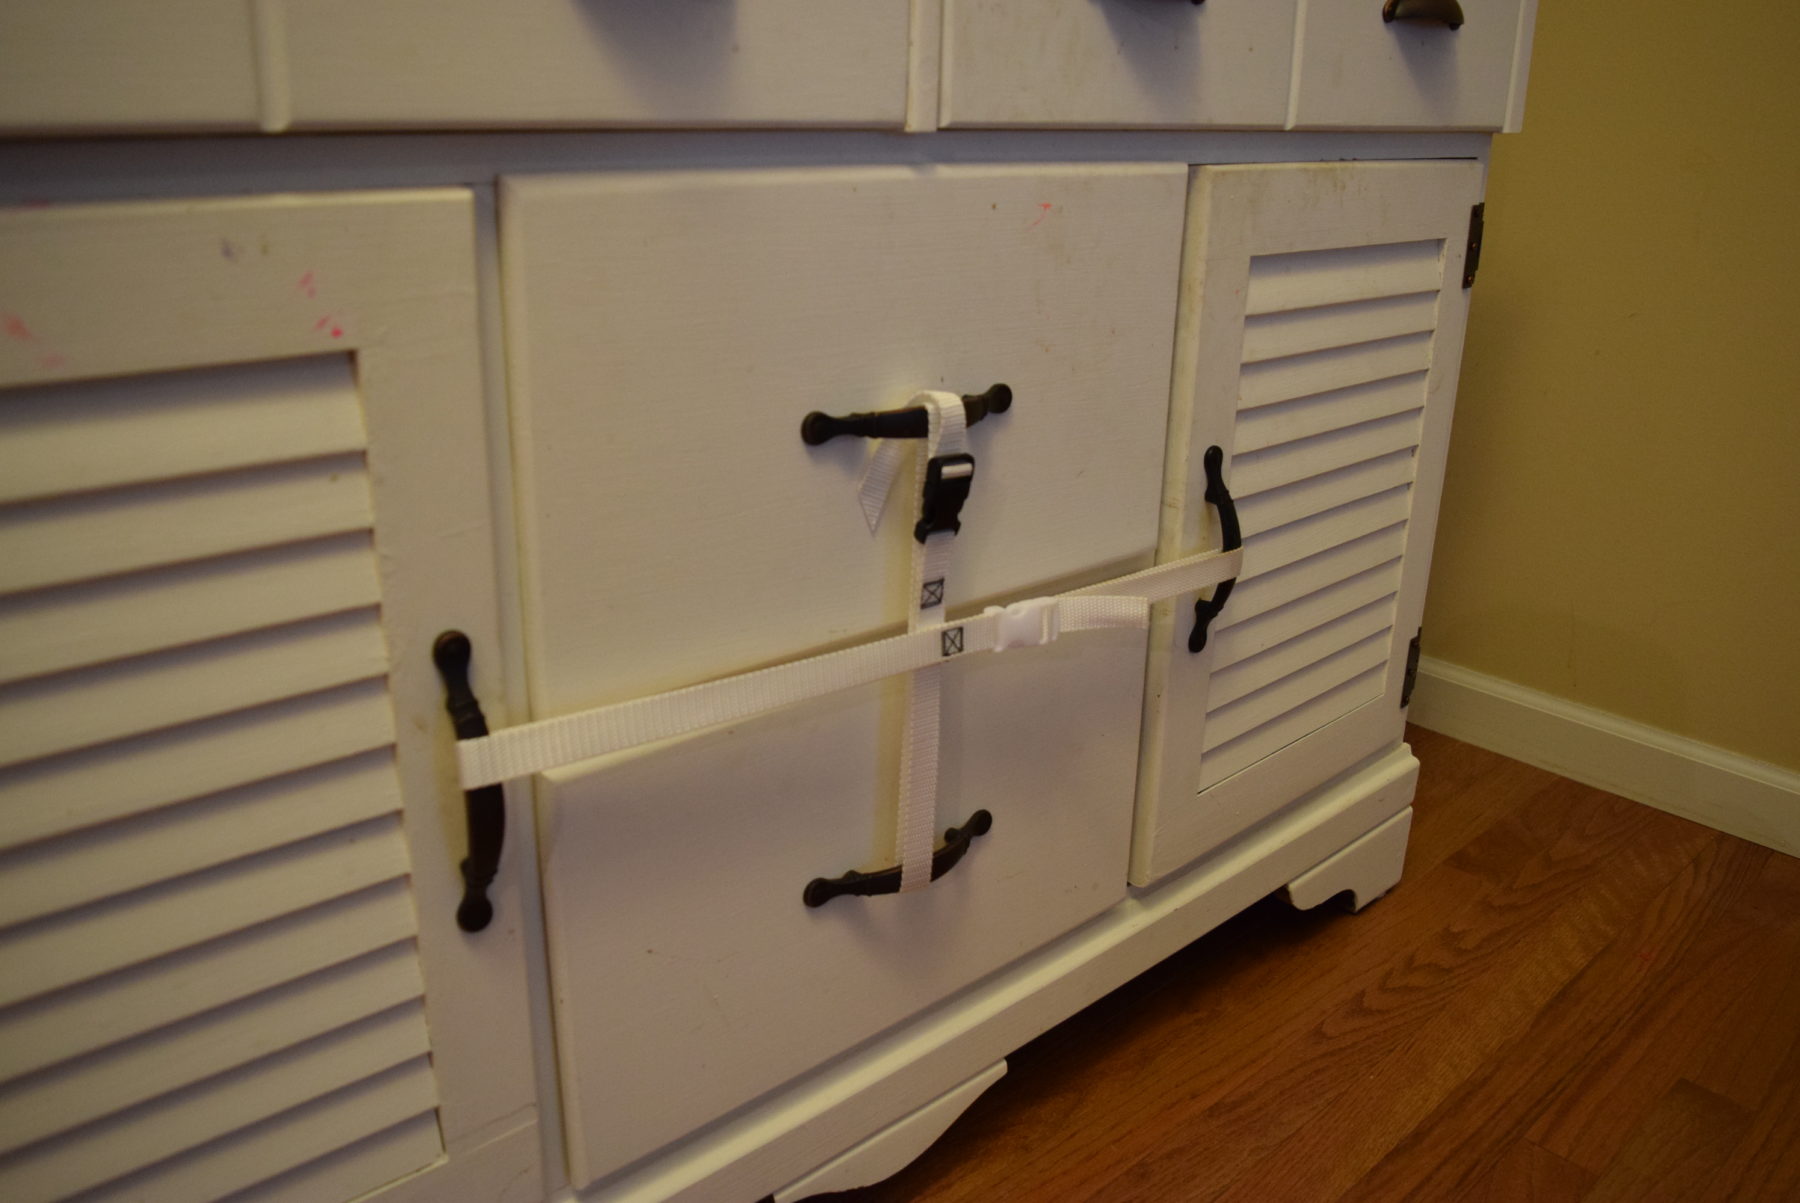
Step 3: Remove any obstacles
Before you can proceed with removing the drawer from the dresser, it’s important to identify and remove any obstacles that may be in the way. These obstacles can include decorative moldings, knobs, or other hardware that can impede the smooth removal of the drawer.
Start by inspecting the dresser for any decorative moldings or trim that may be attached to the front of the drawer. Look for screws or nails that are securing these pieces in place. Use a screwdriver or appropriate tool to remove these fasteners and carefully detach the moldings.
If your drawer has knobs or pulls, you may need to remove them as well. Look for screws on the inside or back of the drawer that are holding the knobs in place. Unscrew these fasteners and gently pull the knobs out. Remember to keep the screws and knobs in a safe place, as you will need them for reassembly later.
While removing the obstacles, take note of their placements and orientations. You may need to reinstall them in their original positions after the drawer is reinserted. To aid in remembering their positions, place tape or mark the locations on the inside of the drawer front.
By removing any obstacles before attempting to remove the drawer, you’ll ensure a smoother process and minimize the risk of damaging the dresser or the drawer itself. It’s now time to move on to the next step and locate the drawer slides or tracks.
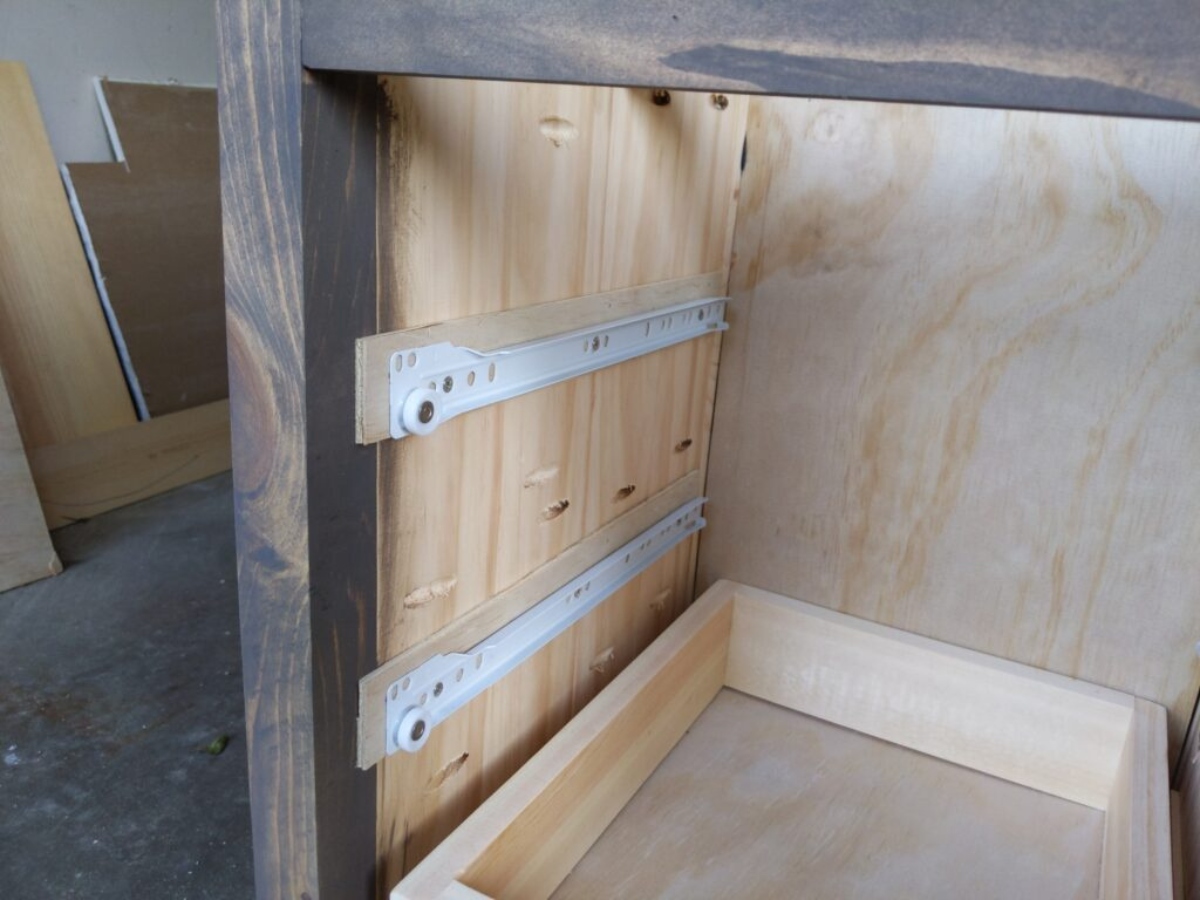
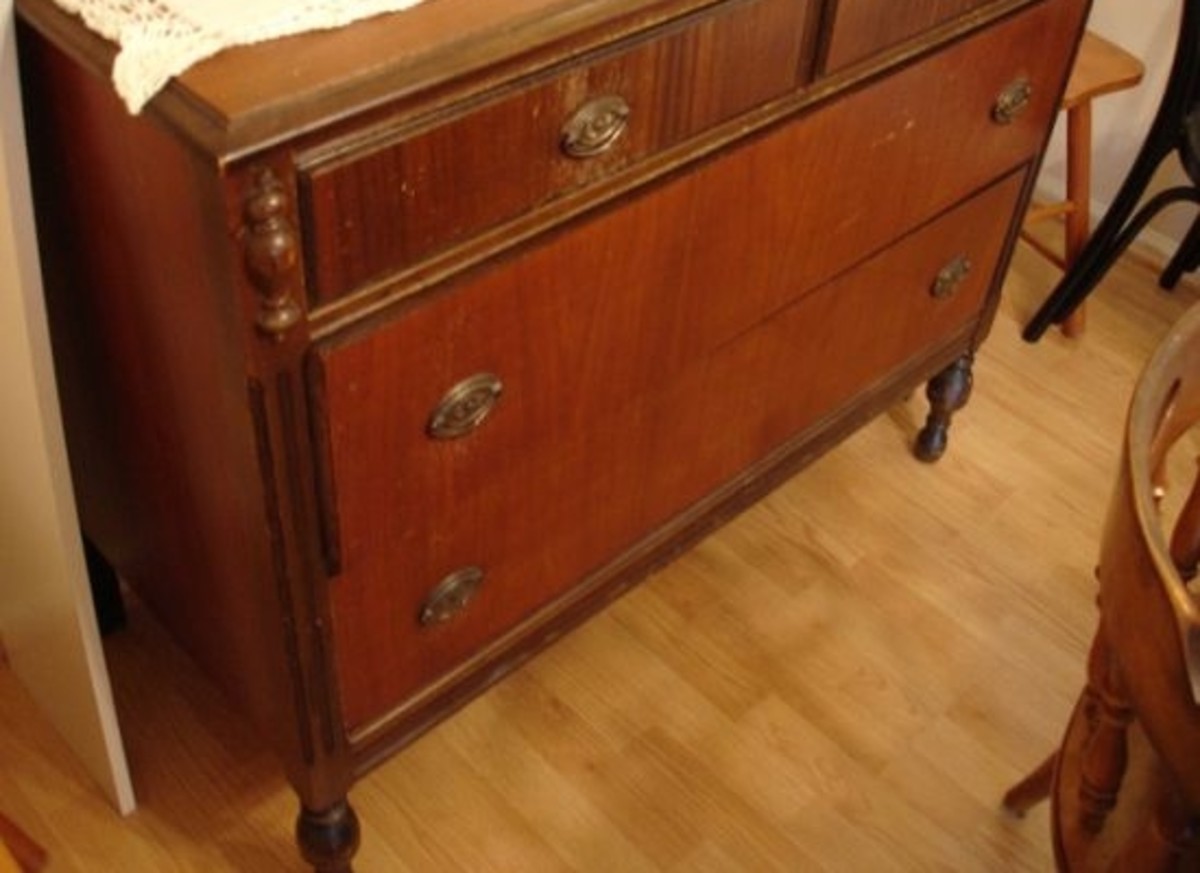
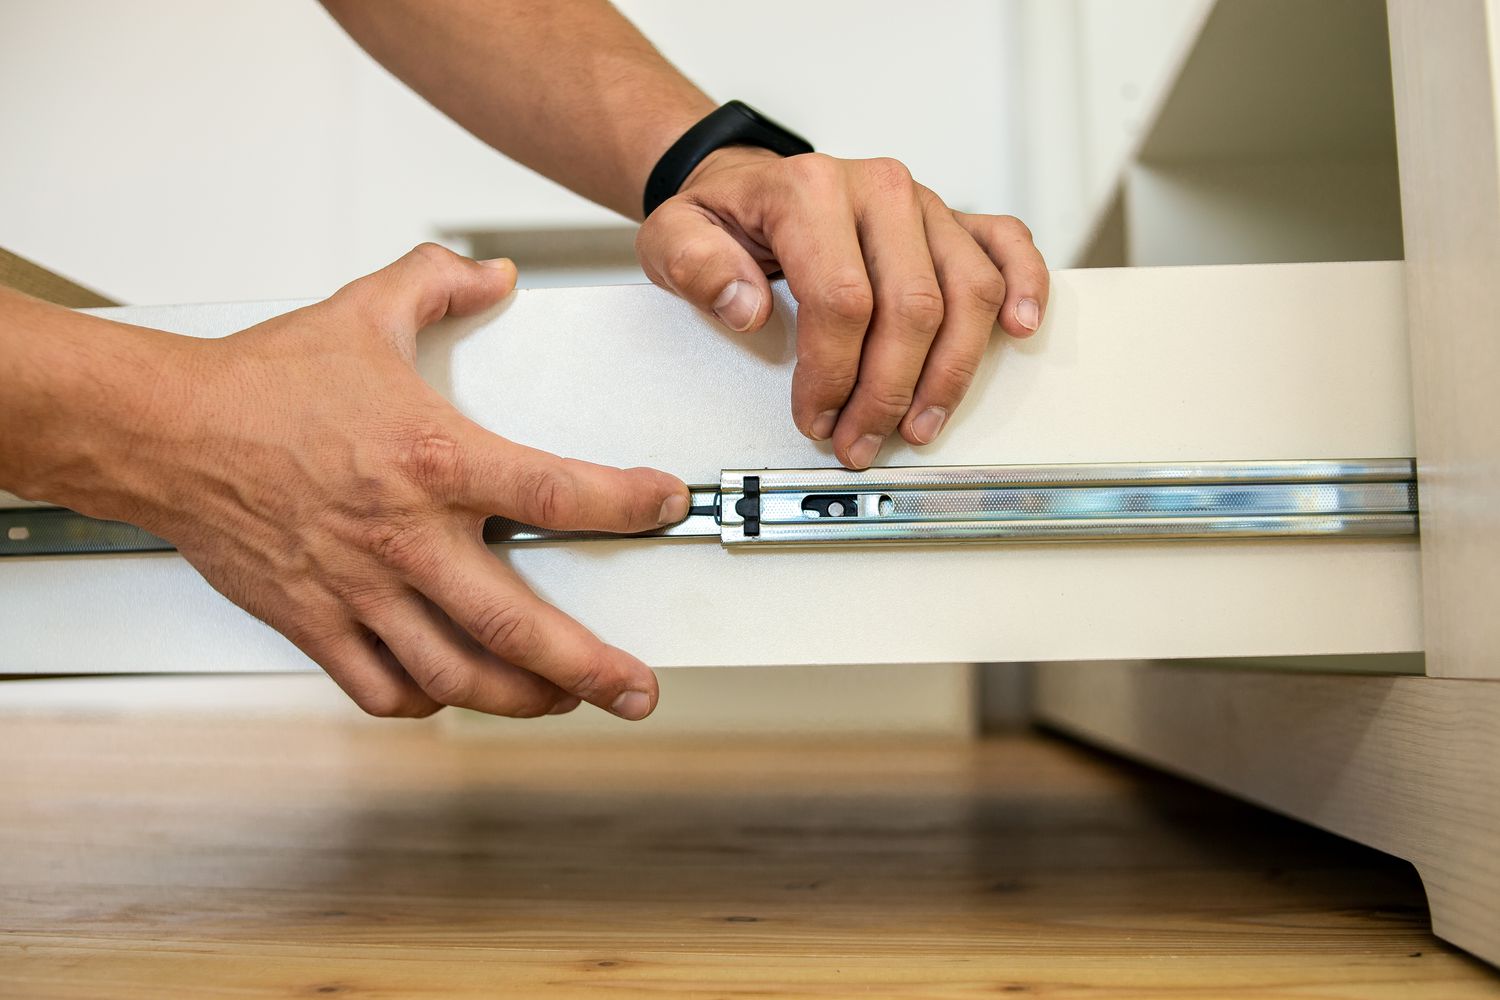
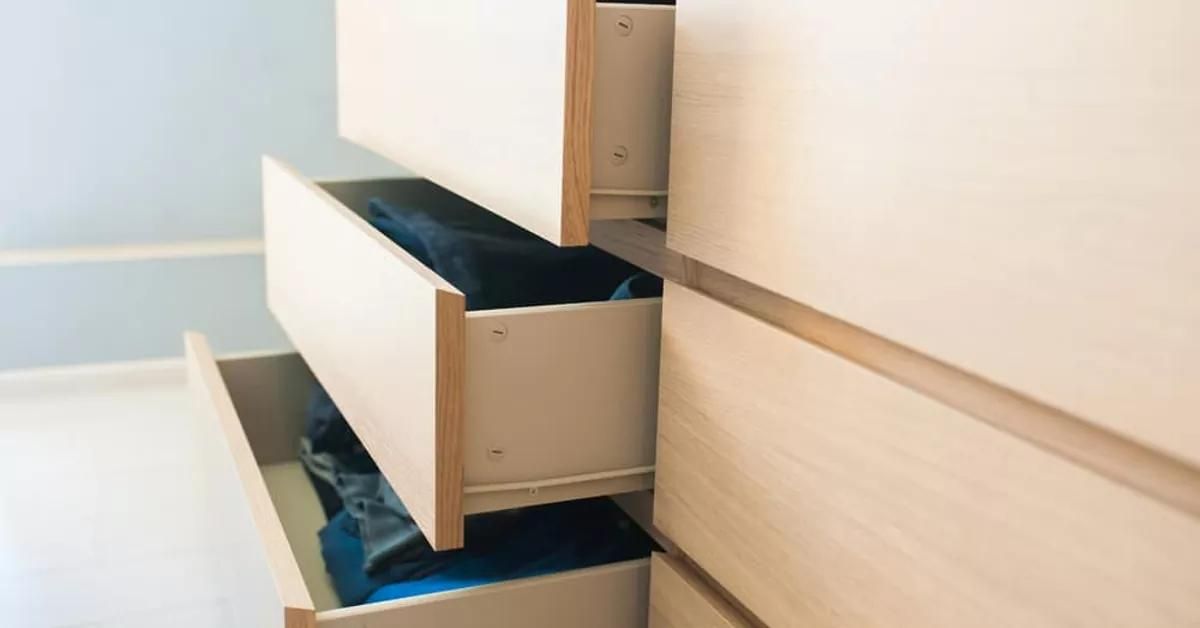
Step 4: Locate the drawer slides or tracks
Once you have cleared out the contents of the dresser and removed any obstacles, it’s time to locate the drawer slides or tracks. These are the mechanisms that allow the drawer to glide in and out smoothly.
Start by pulling the drawer out as far as it will go. Examine the sides of the drawer and the inside of the dresser frame. Look for metal or plastic tracks that run along the length of the drawer on both sides. These tracks are typically mounted to the sides of the drawer and fit into corresponding tracks or channels inside the dresser.
If your dresser is equipped with undermount slides, these may be located underneath the drawer instead. These slides are hidden from view and attached to the bottom of the drawer and the inside of the dresser.
Take note of the type of slides or tracks your dresser has. This information will be essential when it comes to releasing the drawer from its housing. Understanding the mechanism involved will enable you to proceed with confidence in the next steps.
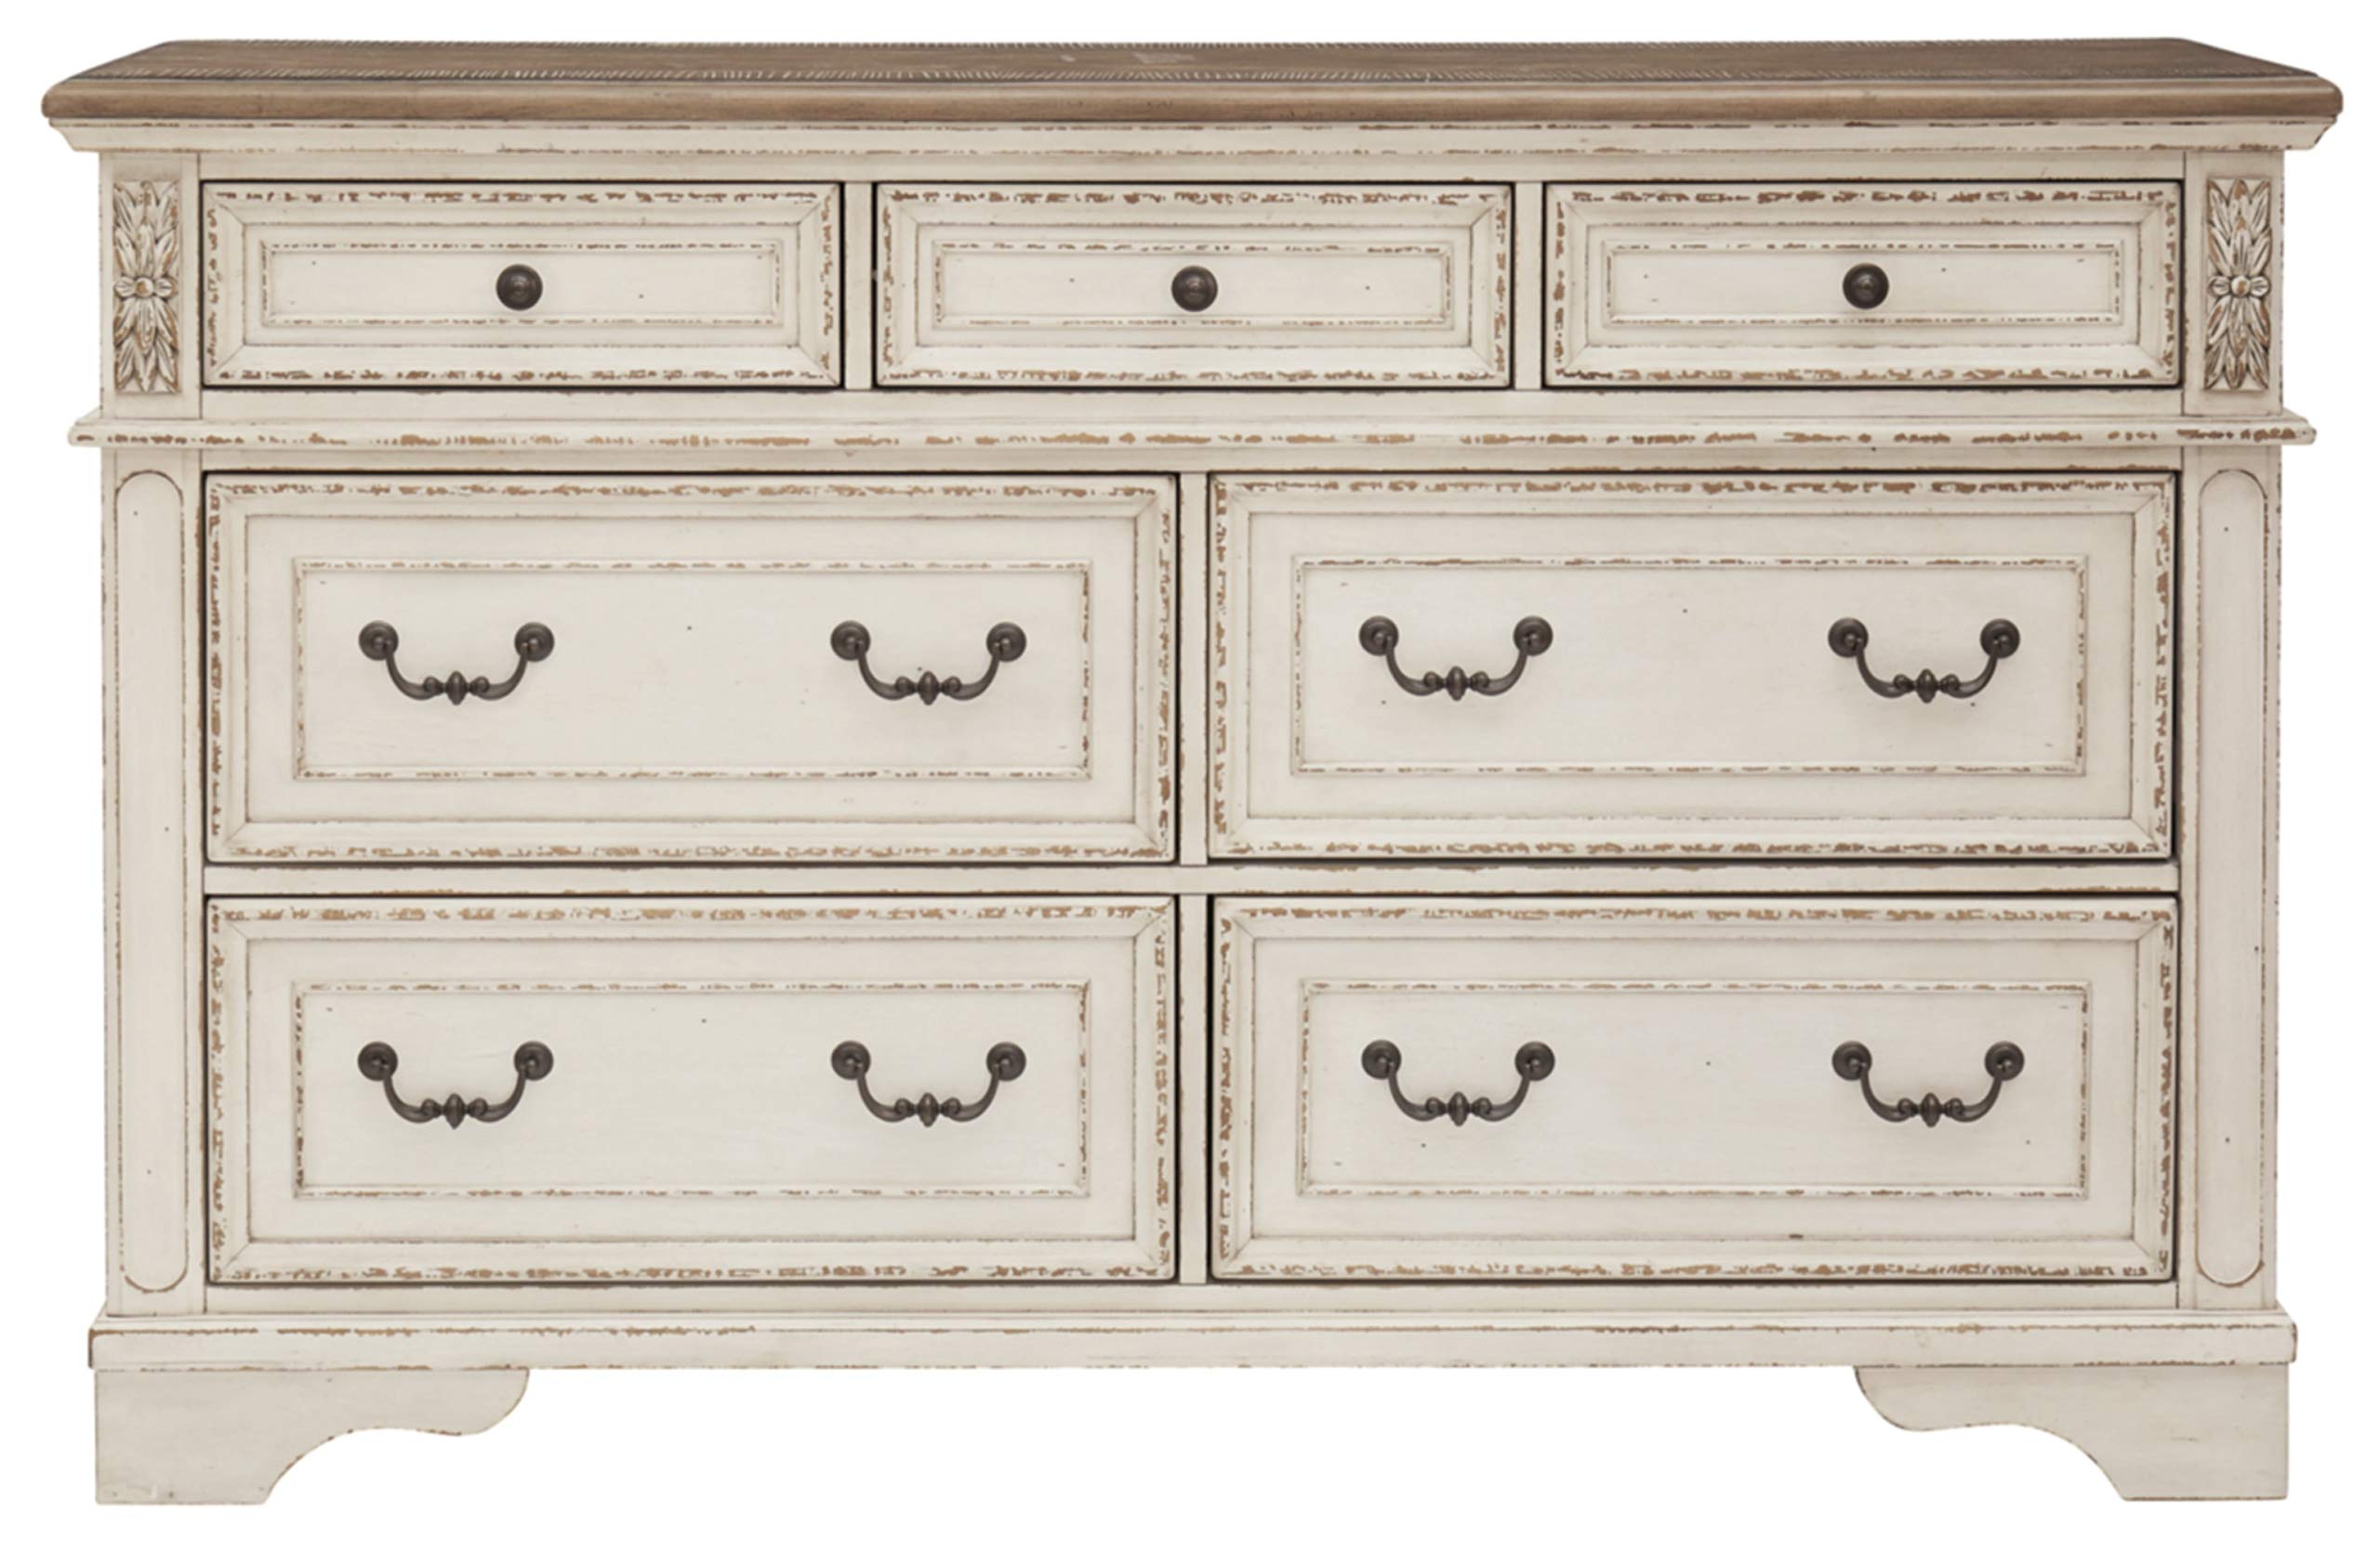
It’s worth mentioning that not all dressers have removable drawers. Some drawers may be permanently attached to the dresser frame, making them non-removable. If this is the case for your dresser, you may need to consult the manufacturer’s instructions or seek professional assistance.
Now that you have identified the drawer slides or tracks, you’re ready to move on to the next step and identify the release mechanism.
Read more: How To Keep Mice Out Of A Dresser Drawers
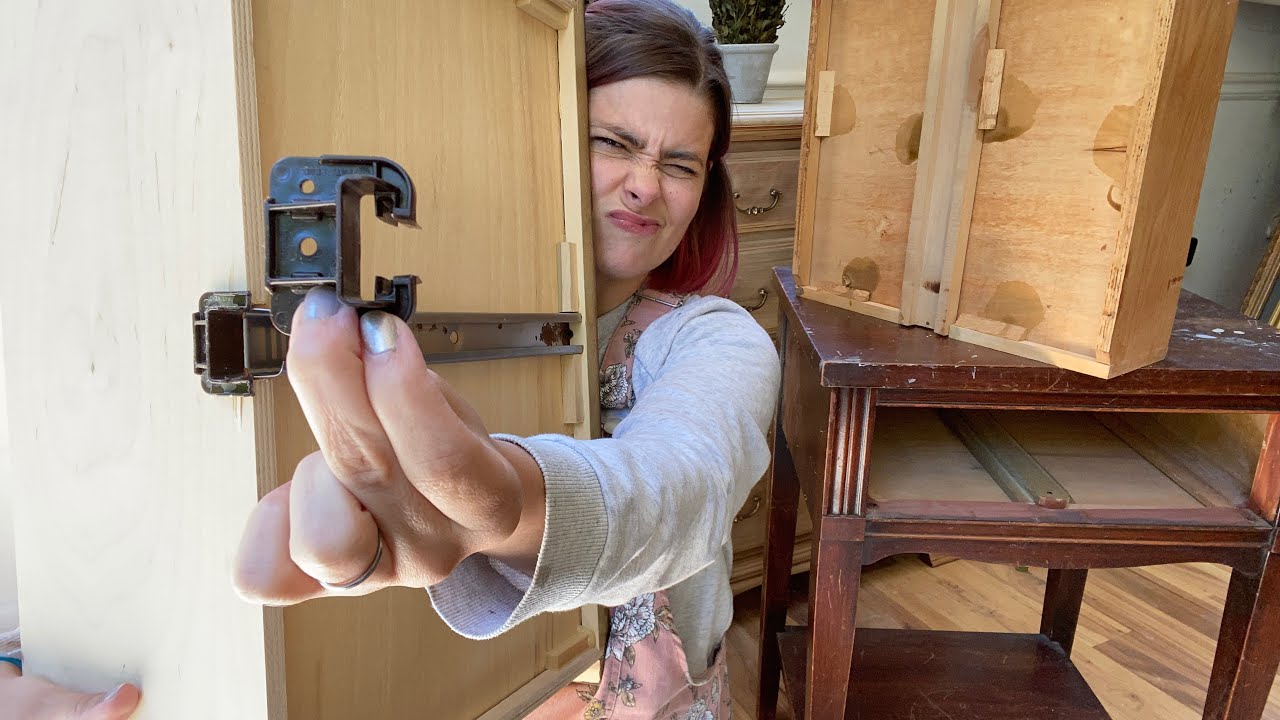
Step 5: Identify the release mechanism
Before you can remove the drawer from the dresser, you need to identify the release mechanism. This mechanism is designed to secure the drawer in place and prevent it from accidentally sliding out.
There are several types of release mechanisms commonly used in dressers:
- Drawer stops: Some dressers have drawer stops that act as a release mechanism. These stops are usually located at the back of the drawer slides or tracks. Look for small levers or buttons that need to be pressed or pulled to release the drawer.
- Locking tabs or levers: In other cases, the release mechanism may involve locking tabs or levers. These are typically located on either side of the drawer slides or tracks. Look for tabs that need to be lifted or levers that need to be pulled to disengage the locking mechanism.
- Release clips: Some dressers may feature release clips that need to be pressed or squeezed. These clips are usually located near the front of the drawer slides or tracks. Look for small plastic or metal clips that can be depressed or squeezed together to release the drawer.
It’s important to examine both sides of the drawer slides or tracks to identify the release mechanism. Take your time and be thorough in your inspection. If necessary, use a flashlight to get a better view of the mechanism.
Once you have located the release mechanism, take note of its position and operation. This will be crucial in the next step when you release the drawer from the tracks.
Now that you have identified the release mechanism, you’re ready to move on to the next step and release the drawer from the tracks.
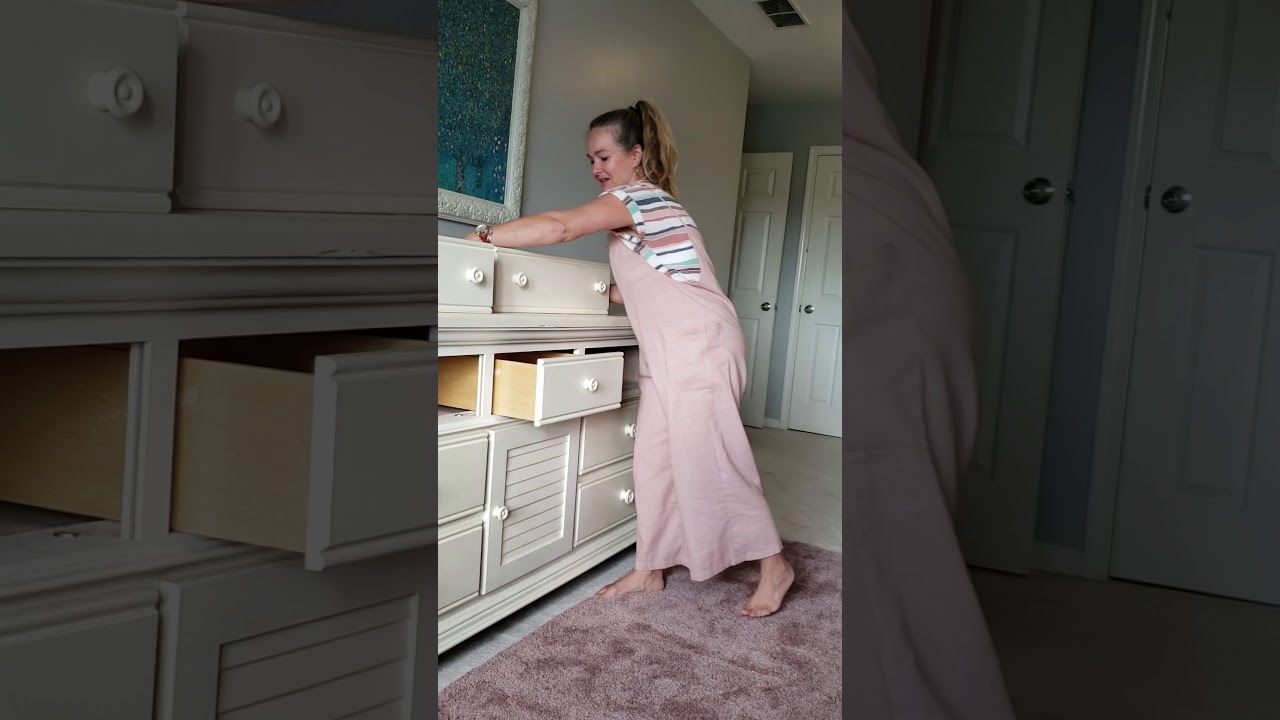
Before removing the drawer, empty it completely. Look for release levers or tabs on the sides of the drawer, and press them while pulling the drawer out. If there are no release levers, the drawer may need to be lifted slightly while pulling it out.
Step 6: Release the drawer from the tracks
With the release mechanism identified, it’s time to release the drawer from the tracks. The specific steps can vary depending on the type of release mechanism used in your dresser. Follow these general guidelines:
- Drawer stops: If your dresser has drawer stops, locate the small levers or buttons at the back of the drawer slides or tracks. Press or pull them to release the stops. You may need to do this on both sides of the drawer. Once released, the drawer should be free to slide out.
- Locking tabs or levers: For dressers with locking tabs or levers, find the tabs or levers on either side of the drawer slides or tracks. Lift or pull them to disengage the locking mechanism. Make sure to do this on both sides of the drawer. Once unlocked, the drawer should slide out smoothly.
- Release clips: If your dresser features release clips, locate them near the front of the drawer slides or tracks. Simply press or squeeze the clips together to release the drawer. Apply pressure to both clips simultaneously to ensure an even release. The drawer should then be free to be removed from the dresser.
Remember to proceed with caution and avoid applying excessive force when releasing the drawer. If you encounter any resistance or difficulty, double-check that you have correctly identified the release mechanism and try again. It’s important to be gentle to prevent any damage to the dresser or the drawer itself.
Once the drawer is released from the tracks, you’re ready to move on to the next step and safely remove it from the dresser.
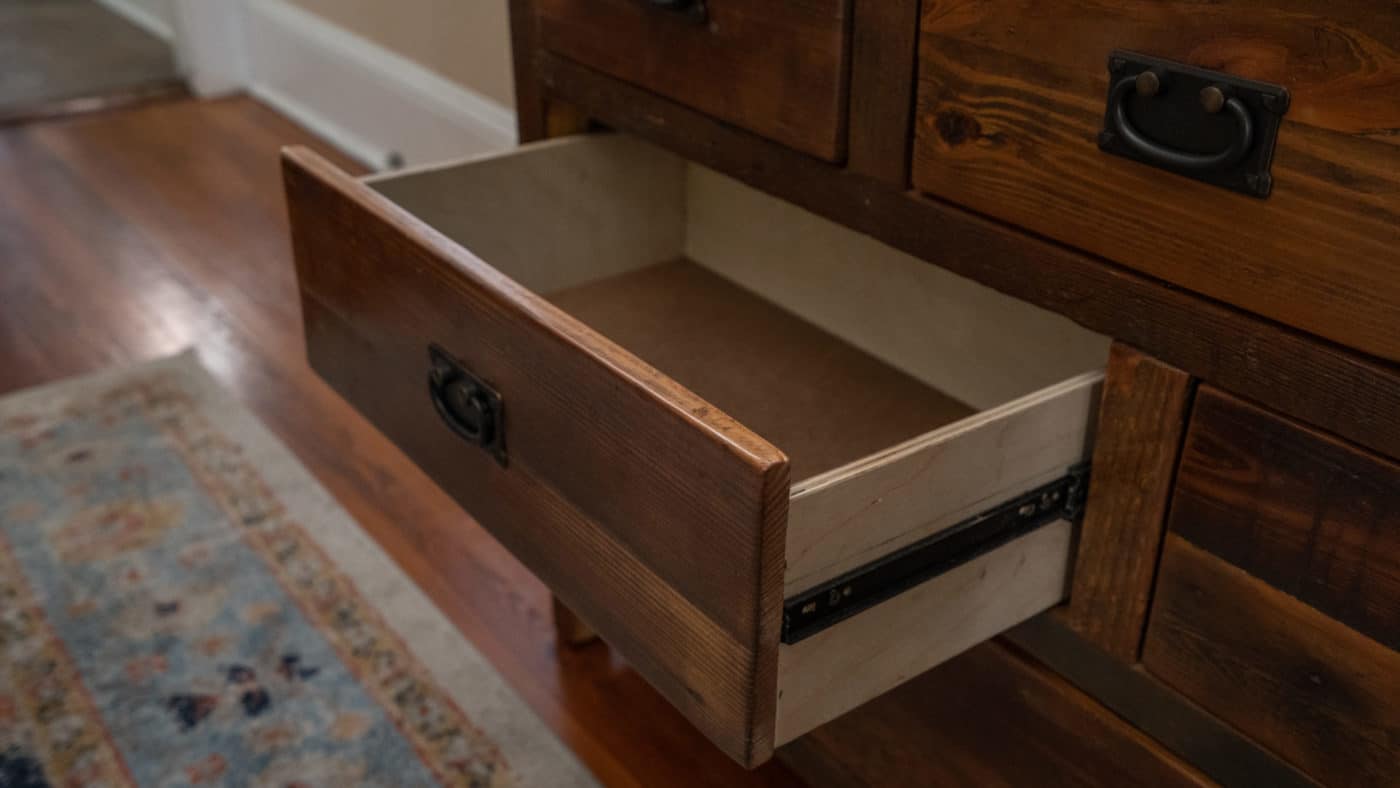
Step 7: Remove the drawer from the dresser
Now that the drawer is released from the tracks, it’s time to remove it from the dresser. Follow these steps to ensure a smooth and safe removal:
- Support the drawer: To prevent the drawer from falling or tilting forward, support it with one hand while performing the next steps.
- Slide the drawer out: Slowly and steadily, pull the drawer out of the dresser. Keep it level and straight as you slide it past the release mechanism. Be mindful of any wiring or attachments that may be connected to the drawer (if applicable).
- Set the drawer down: Carefully set the drawer down on a clean and flat surface. Avoid placing it on uneven or fragile surfaces that could cause damage.
- Inspect the drawer: While the drawer is removed, take the opportunity to inspect it for any signs of damage or wear. Check for loose joints, cracked wood, or any other issues that may need attention.
If you are removing multiple drawers from a dresser, repeat the process for each drawer, ensuring that you support and handle them with care.
Once the drawer is safely removed, it’s recommended to place it in a location where it won’t be in the way or at risk of damage. Consider using a clean and spacious area or a temporary storage space until you’re ready to reassemble the dresser.
Now that you have successfully removed the drawer from the dresser, you can move on to the next step of either storing the drawer safely or optionally reassembling the dresser.
Step 8: Store the drawer safely
After removing the drawer from the dresser, it’s important to store it safely to prevent any damage or misplacement. Follow these steps to ensure the drawer is properly stored:
- Clean the drawer: Before storing the drawer, take a moment to clean it. Use a soft cloth or gentle cleaning solution to wipe away any dust or debris that may have accumulated.
- Organize the components: If the drawer has any removable components such as dividers or organizers, keep them separate and organized. Place them alongside the drawer or store them in a designated space to avoid losing or misplacing them.
- Protect delicate or fragile parts: If the drawer has delicate or fragile parts, such as decorative knobs or handles, consider wrapping them in soft cloth or bubble wrap for added protection. This will help prevent any scratches or damage during storage.
- Choose an appropriate storage location: Find a suitable location to store the drawer. Ideally, it should be in a clean, dry, and temperate area, away from direct sunlight or excessive humidity. Avoid storage areas that are prone to temperature fluctuations, as this can affect the integrity of the wood or other materials.
- Keep it secure: Ensure that the stored drawer is in a secure location where it won’t be at risk of being bumped, knocked over, or damaged by other objects. If necessary, use a stable storage container or cover the drawer with a cloth or plastic wrap to provide an extra layer of protection.
By following these steps, you can store the removed drawer safely and maintain its condition until you’re ready to reassemble the dresser or make any necessary repairs or replacements.
If you’re unsure about the duration of storage or other specific requirements for your particular drawer or dresser, consult the manufacturer’s instructions or seek guidance from a professional.
Now that you have safely stored the drawer, you can choose to move on to the optional step of reassembling the dresser or conclude the process if you have accomplished your desired goal.
Step 9: Reassemble the dresser (optional)
If you have completed your desired task, such as cleaning, repairing, or replacing a drawer, you can stop at the previous step. However, if you’re ready to put everything back together and reassemble the dresser, follow these steps:
- Retrieve the stored drawer: Take the safely stored drawer and bring it back to the dresser’s location.
- Inspect the dresser: Before reassembling, inspect the dresser frame for any loose or damaged parts. Tighten any screws or fasteners that may have become loose over time. Repair or address any structural issues you come across.
- Align the drawer: Carefully align the drawer with the tracks or slides in the dresser. Ensure that the release mechanism is in the open or unlocked position.
- Slide the drawer in: Gently and steadily slide the drawer back into the dresser. Make sure it fits snugly and smoothly into the tracks or slides.
- Reattach any obstacles: If you removed any decorative moldings, knobs, or hardware, reattach them in their original locations. Use the labels or markings you made earlier as a guide to correctly position them.
- Test the drawer: Once the drawer is reassembled, test it by opening and closing it a few times to ensure it glides smoothly without any excessive friction or misalignment.
By following these steps, you can successfully reassemble the dresser and have it ready for use once again. Take your time and be meticulous during the reassembly process to ensure everything fits properly and functions as intended.
If you encounter any difficulties during reassembly or if something doesn’t seem to fit or work correctly, refer to the manufacturer’s instructions or seek professional assistance if needed.
Congratulations! You’ve successfully completed the optional step of reassembling the dresser, and it’s now ready to be enjoyed once again.
Conclusion
Removing a drawer from a dresser may seem like a daunting task, but with the right tools and steps, it can be a straightforward process. Whether you’re cleaning, repairing, or replacing a drawer, knowing how to take it out properly is essential to ensure a smooth and successful outcome.
In this comprehensive guide, we’ve provided you with step-by-step instructions on how to take a drawer out of a dresser. From gathering the necessary tools and materials to safely removing the drawer and even reassembling the dresser, we’ve covered it all. By following these steps, you can accomplish your desired task efficiently and without any complications.
Remember to always exercise caution and pay attention to any release mechanisms or obstacles that may be in the way. Take the time to organize and label the parts as you go so that reassembly is a breeze. And if you encounter any difficulties along the way, don’t hesitate to consult the manufacturer’s instructions or seek professional assistance.
Now that you have the knowledge and confidence to take a drawer out of a dresser, you can tackle various tasks, whether it’s cleaning out clutter, repairing a faulty drawer, or simply giving your dresser a fresh new look. By properly removing and reassembling drawers, you can maintain the functionality and beauty of your dresser for years to come.
Thank you for joining us on this guide, and happy drawer removal!
Frequently Asked Questions about How To Take A Drawer Out Of A Dresser
Was this page helpful?
At Storables.com, we guarantee accurate and reliable information. Our content, validated by Expert Board Contributors, is crafted following stringent Editorial Policies. We're committed to providing you with well-researched, expert-backed insights for all your informational needs.


0 thoughts on “How To Take A Drawer Out Of A Dresser”