Articles
How To Take Down Bathroom Towel Ring
Modified: March 1, 2024
Discover the best articles on how to take down a bathroom towel ring. Follow our step-by-step instructions for a hassle-free removal process and avoid any potential damage.
(Many of the links in this article redirect to a specific reviewed product. Your purchase of these products through affiliate links helps to generate commission for Storables.com, at no extra cost. Learn more)
Introduction
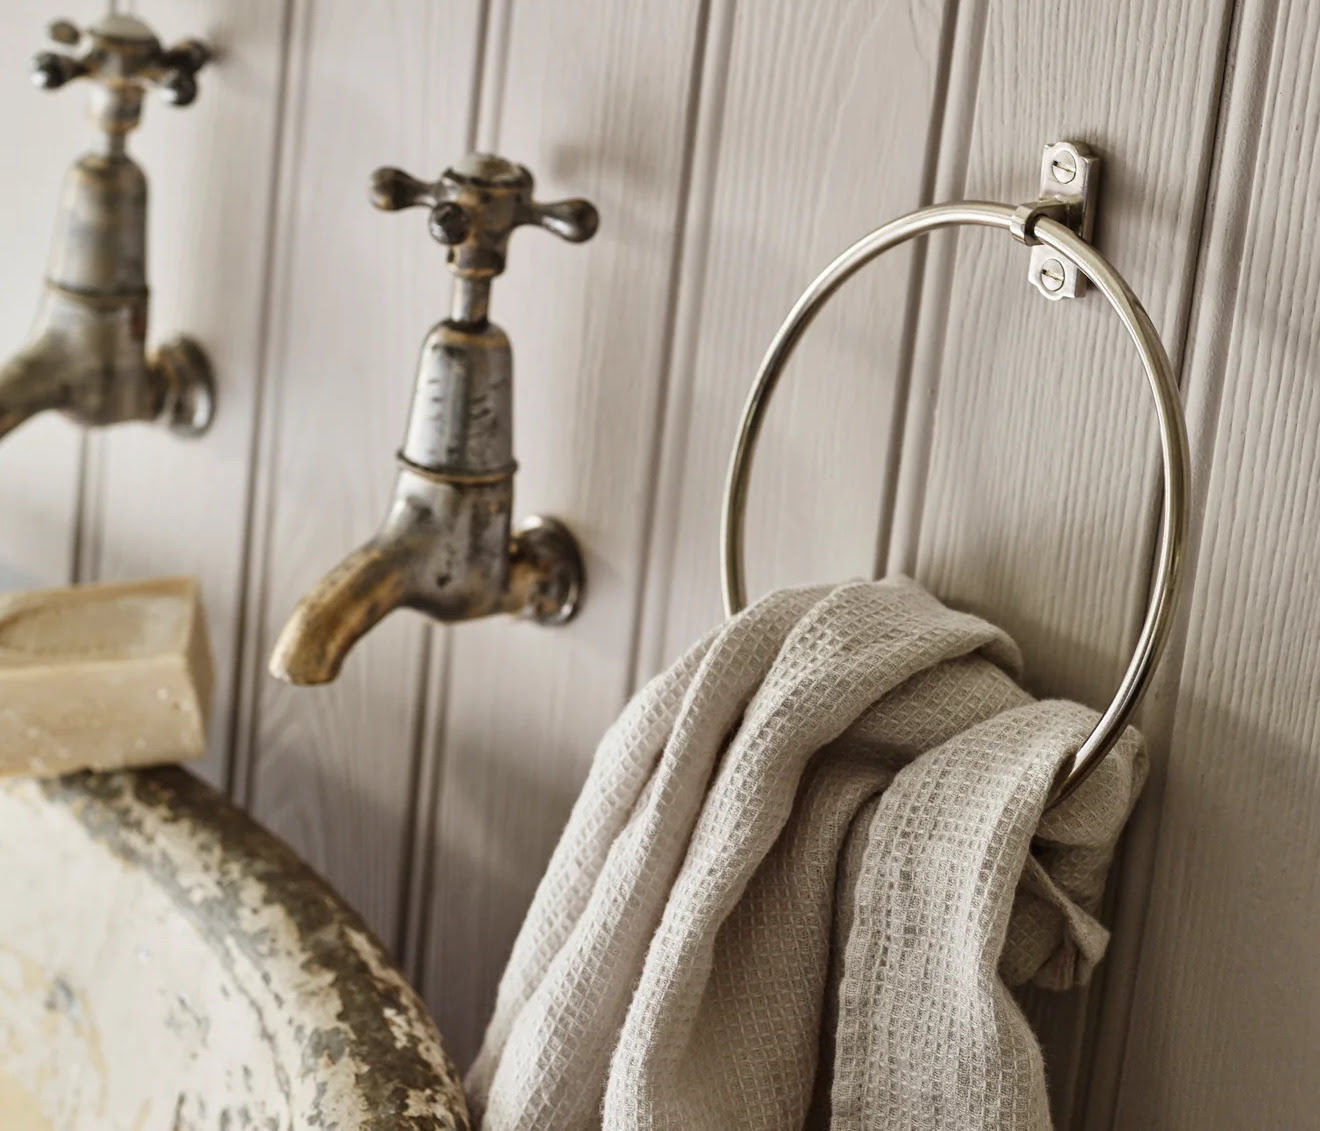
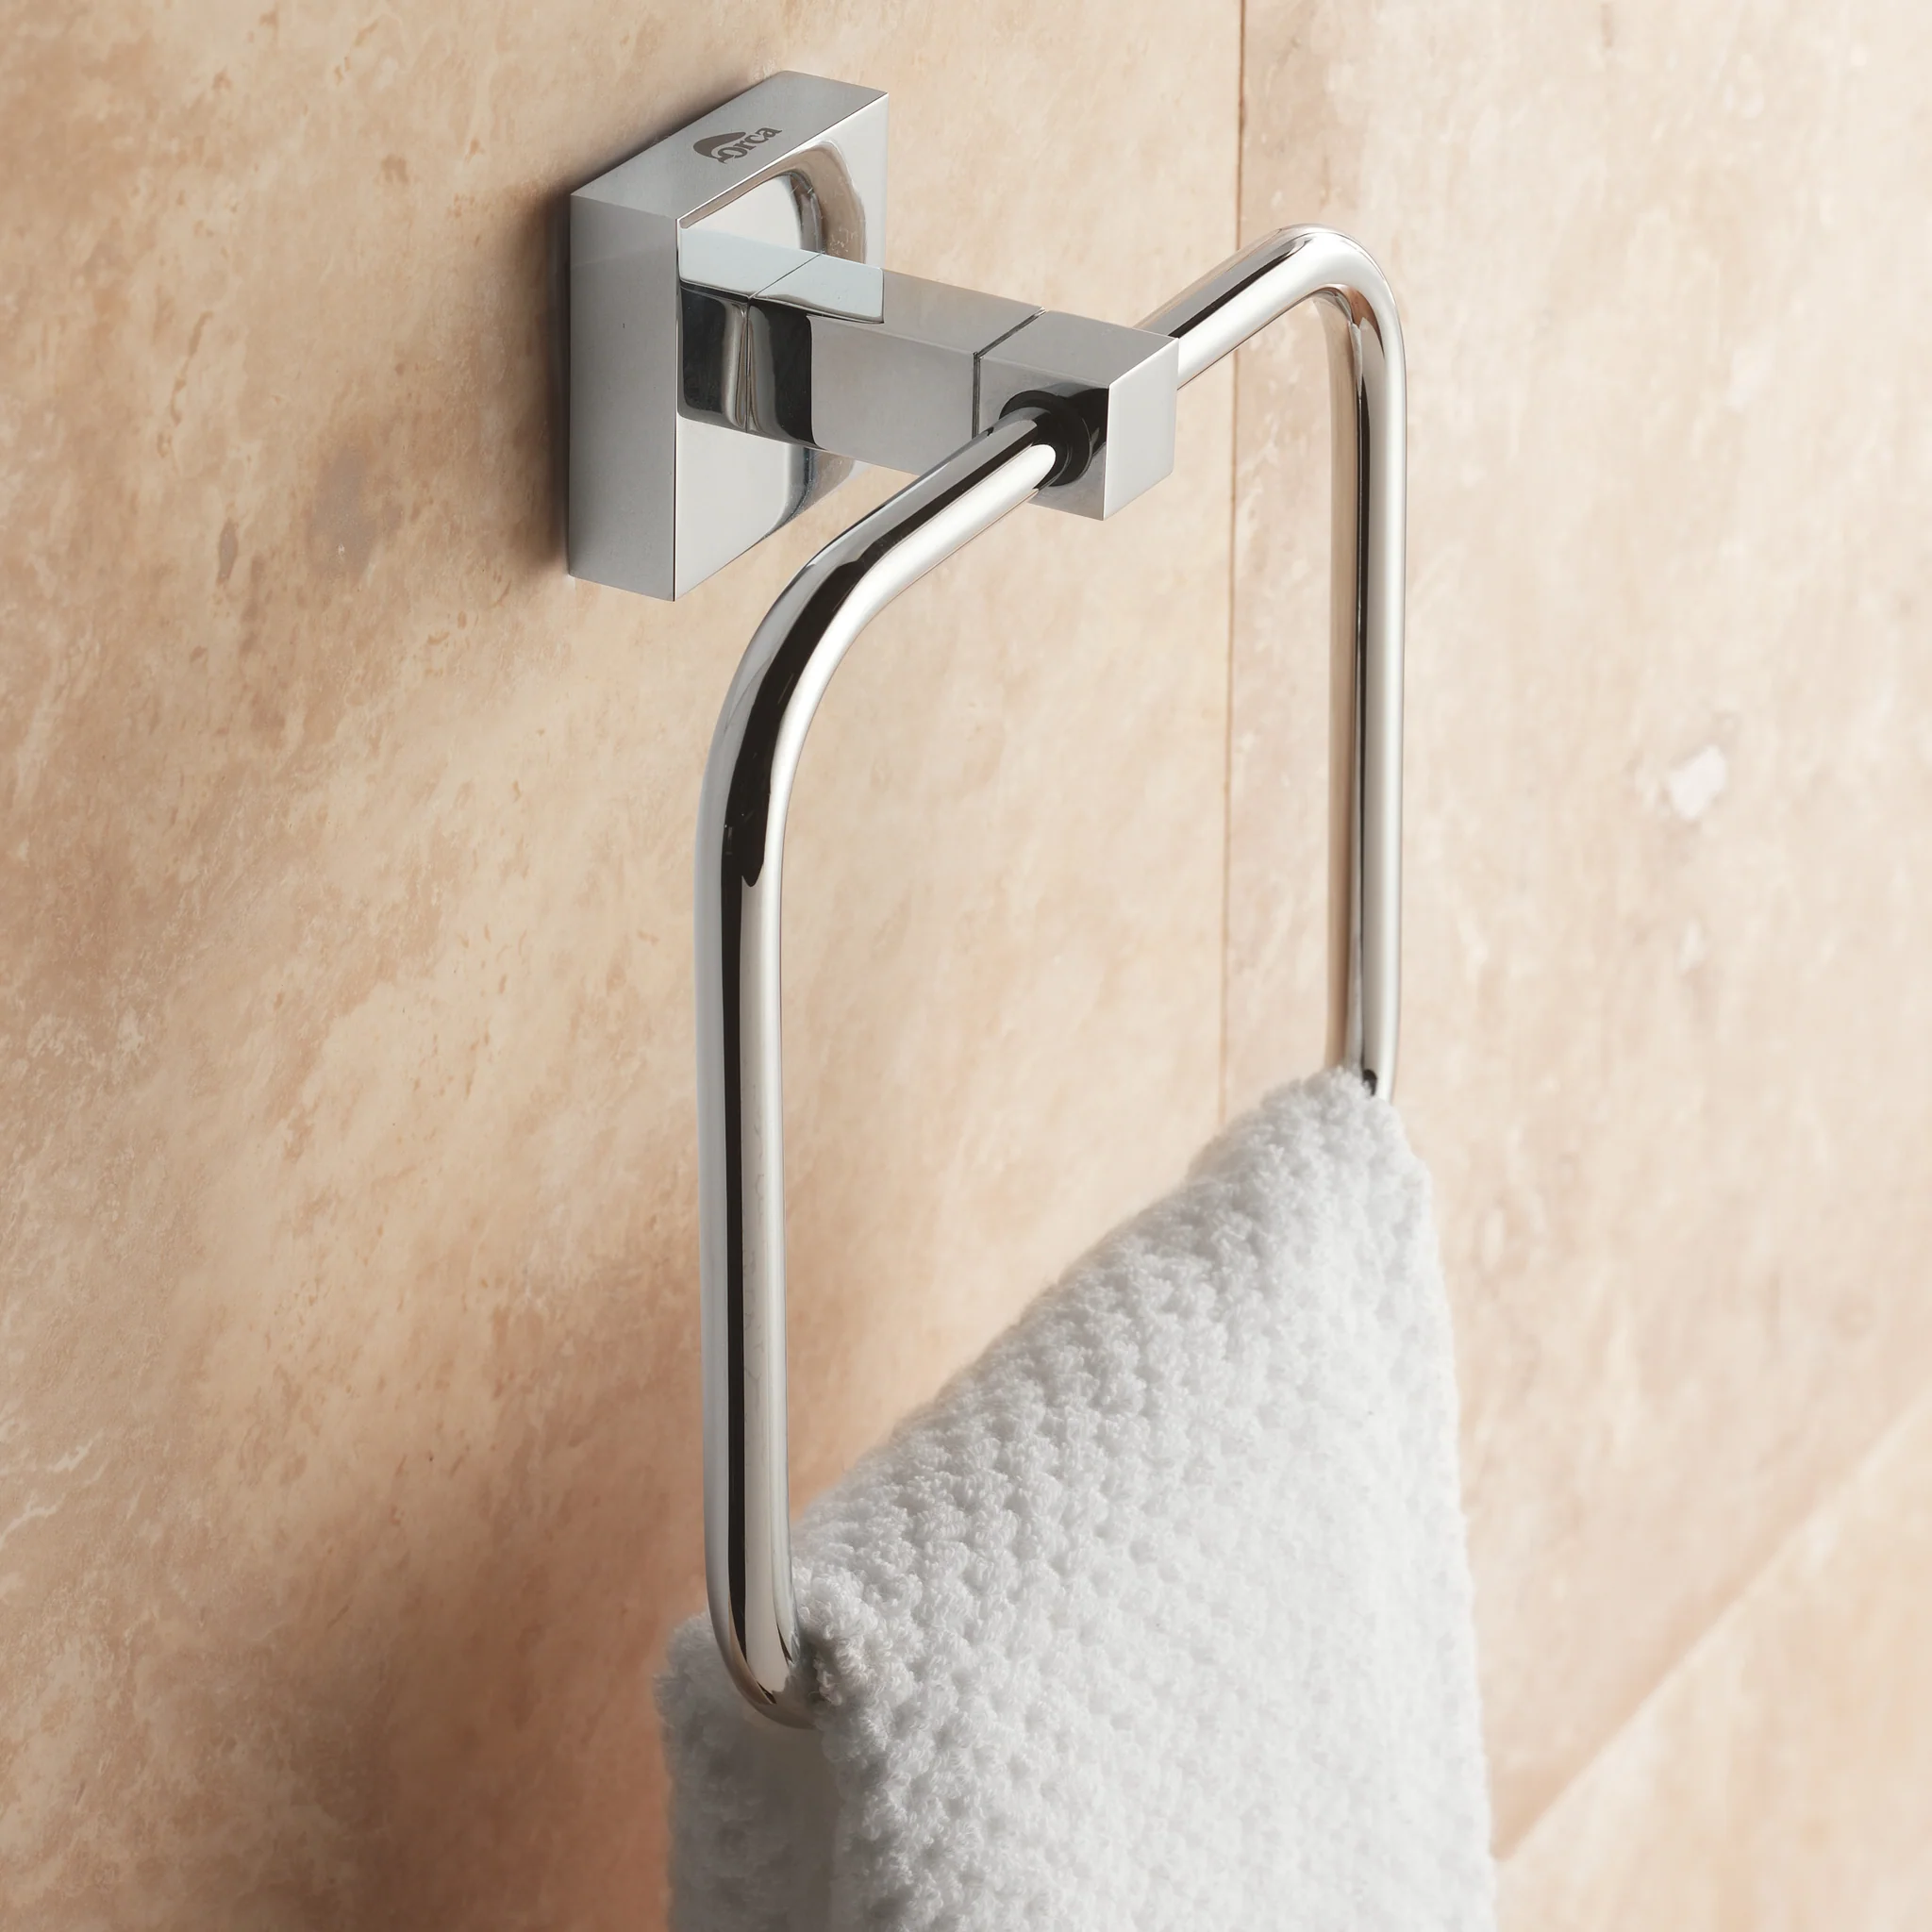
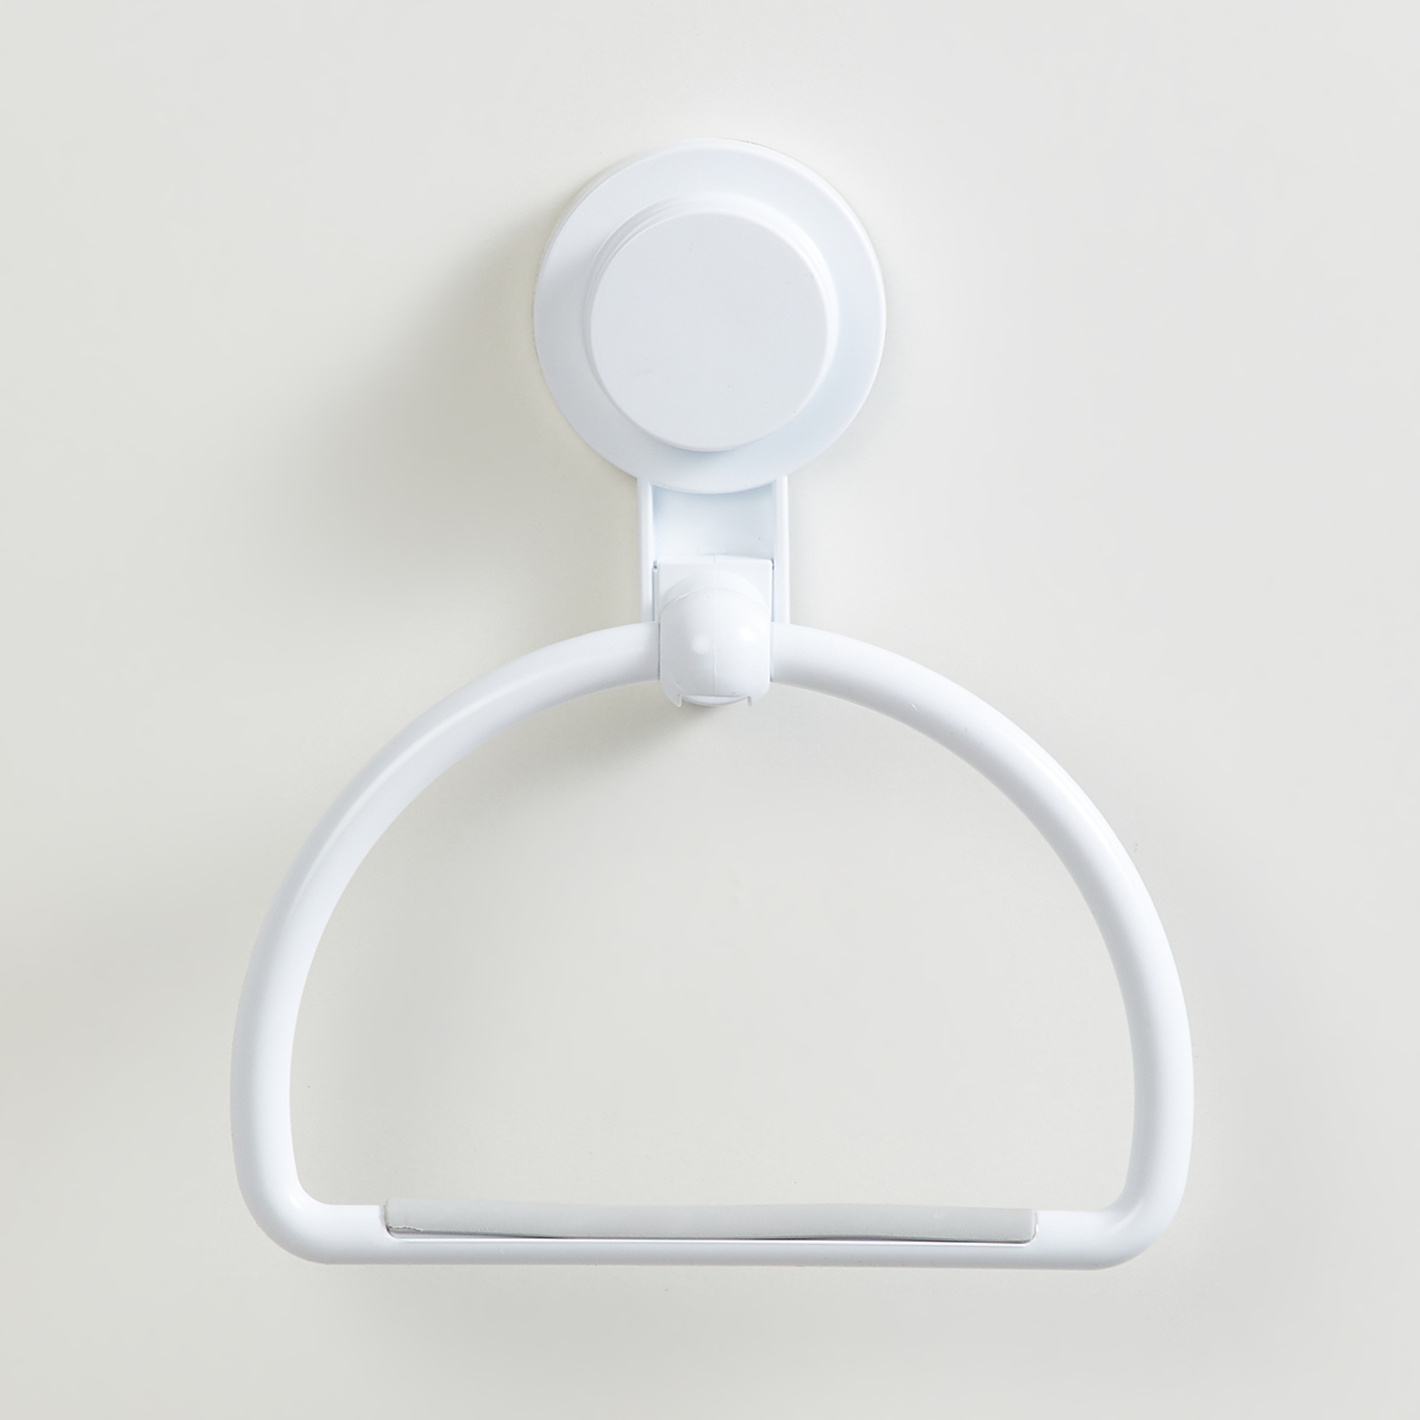
Having a functional and stylish bathroom towel ring can add convenience and elegance to your bathroom space. Whether you are replacing an old towel ring or simply updating your bathroom decor, knowing how to properly take down a towel ring is essential. By following a few simple steps, you can safely remove the towel ring without causing damage to your bathroom walls.
In this article, we will guide you through the process of taking down a bathroom towel ring, from gathering the necessary supplies to patching any holes or damage that may occur during the removal process. By the end of this guide, you will be confident in your ability to remove a towel ring and make any necessary repairs to keep your bathroom walls looking pristine.
So, without further ado, let’s dive into the step-by-step process of taking down a bathroom towel ring.
Key Takeaways:
- Removing a bathroom towel ring is a simple process that involves assessing the mounting method, removing the bracket, and patching any wall damage. With the right tools and steps, you can update your bathroom decor with ease.
- Whether you’re installing a new towel ring or reusing the existing one, testing its stability is crucial. Following the step-by-step guide ensures a functional result and maintains the integrity of your bathroom walls.
Read more: What Is A Towel Ring
Step 1: Gather your supplies
Before you begin the process of taking down a bathroom towel ring, it’s important to gather all the necessary supplies. Having everything you need on hand will make the process smoother and more efficient.
Here are the supplies you will need:
- Screwdriver (flathead or Phillips, depending on the type of screws used)
- Pliers
- Putty knife
- Spackle or joint compound
- Sandpaper (medium grit)
- Paint or wall patching compound (if needed to match wall color)
Make sure to gather these supplies and have them readily available before you begin removing the towel ring.
In addition to these supplies, it’s also a good idea to have a drop cloth or old towel to protect your bathroom surfaces from any debris or damage that may occur during the removal process.
Once you have gathered all the necessary supplies, you’re ready to move on to the next step.
Step 2: Assess the towel ring
Before you start removing the towel ring, it’s important to take a closer look at how it is mounted and attached to the wall. This assessment will help you understand the steps required to remove it properly.
Here are some key things to look for:
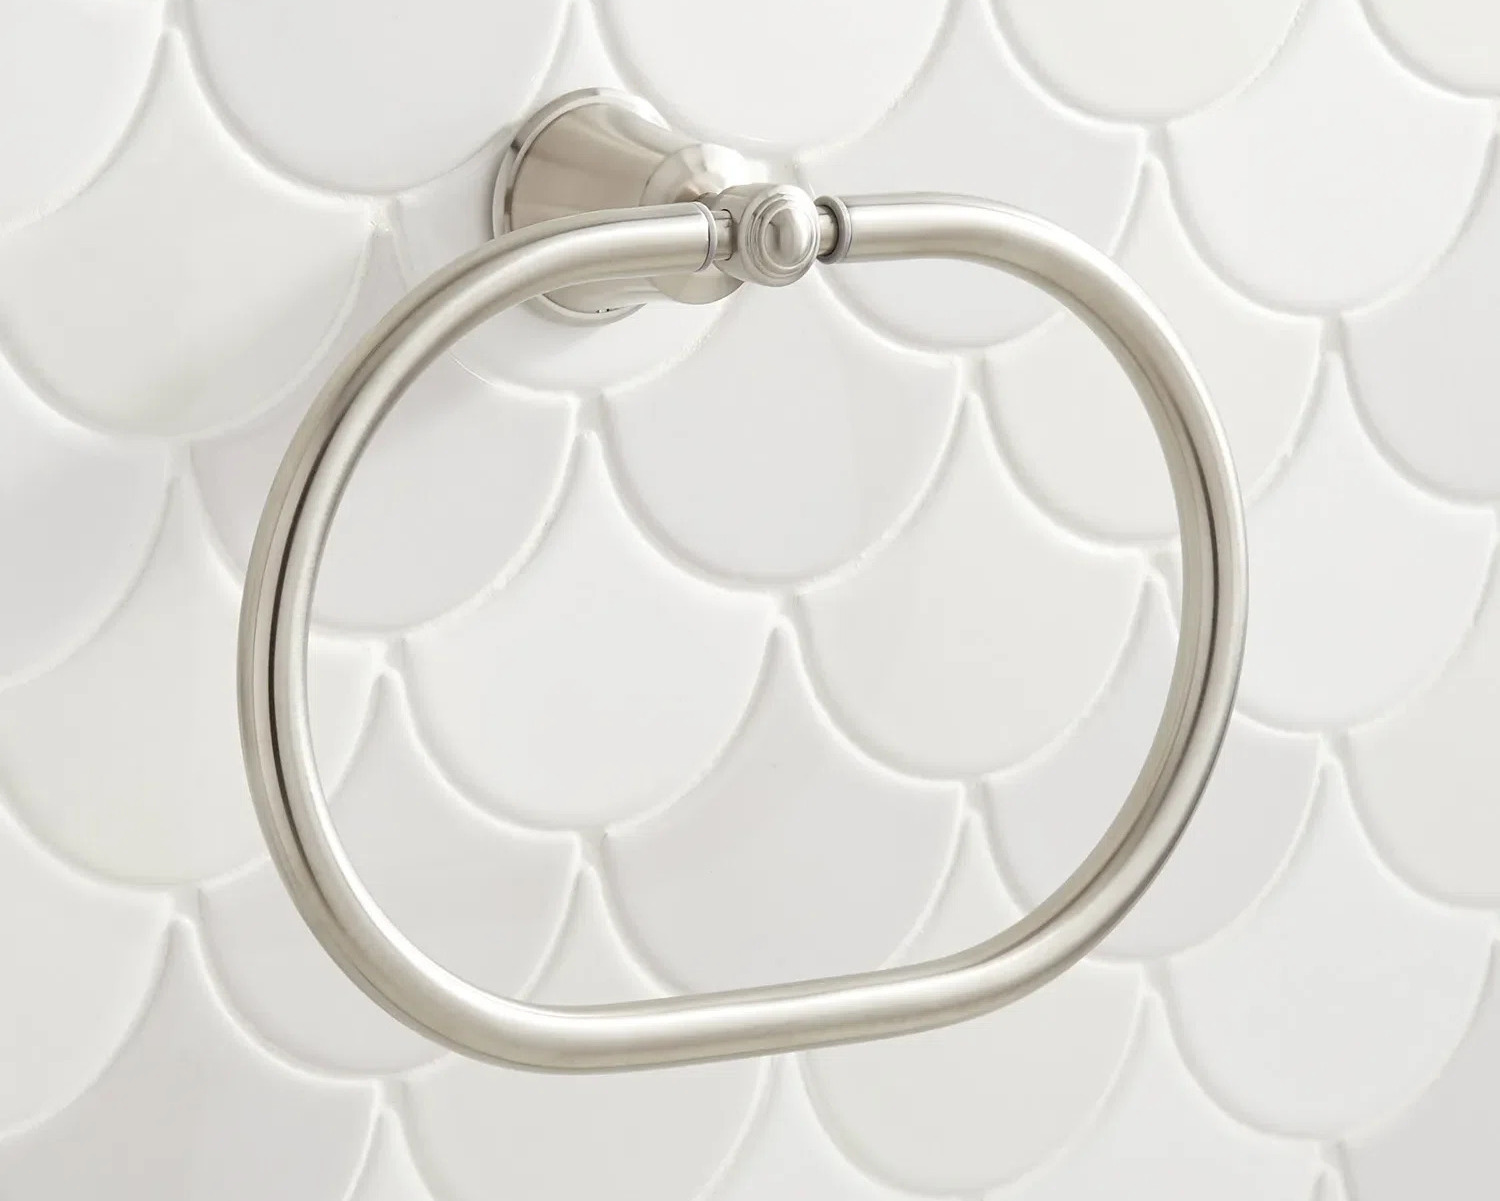
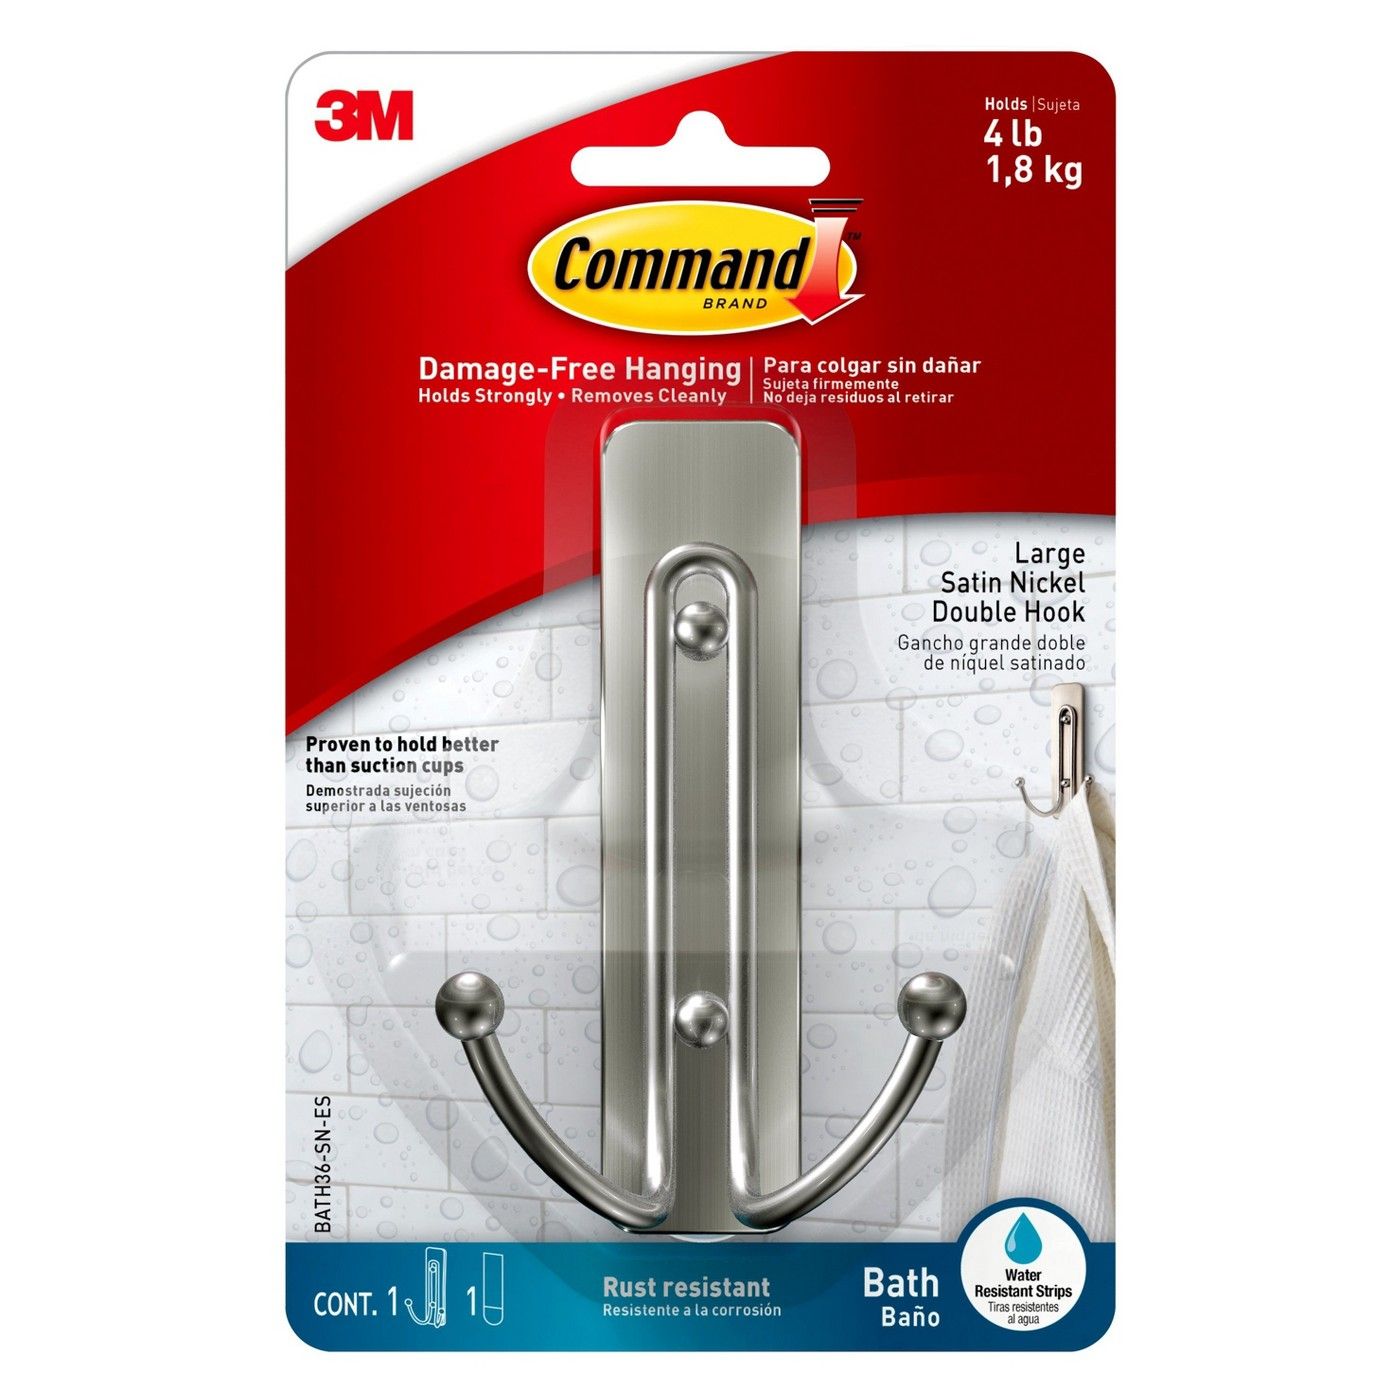
- Mounting method: Check how the towel ring is attached to the wall. It could be secured with screws, adhesive, or a wall anchor. Understanding the mounting method will guide you in the removal process.
- Visible screws: Inspect the towel ring for any visible screws or fasteners. These may be located underneath the ring or on the side brackets. Note the type of screwdriver you’ll need to remove them.
- Sealants or adhesives: Some towel rings may be attached using sealants or adhesives. Look for any signs of glue or caulking around the ring, as this may affect how you remove it.
- Condition of the wall: Take a moment to assess the condition of the wall surrounding the towel ring. If there are any visible holes, cracks, or damage, you’ll need to address it during the removal process.
By thoroughly assessing the towel ring and its mounting situation, you’ll have a better understanding of what needs to be done to remove it successfully.
Once you have assessed the towel ring, you can proceed to the next step, which involves locating and removing the mounting bracket.
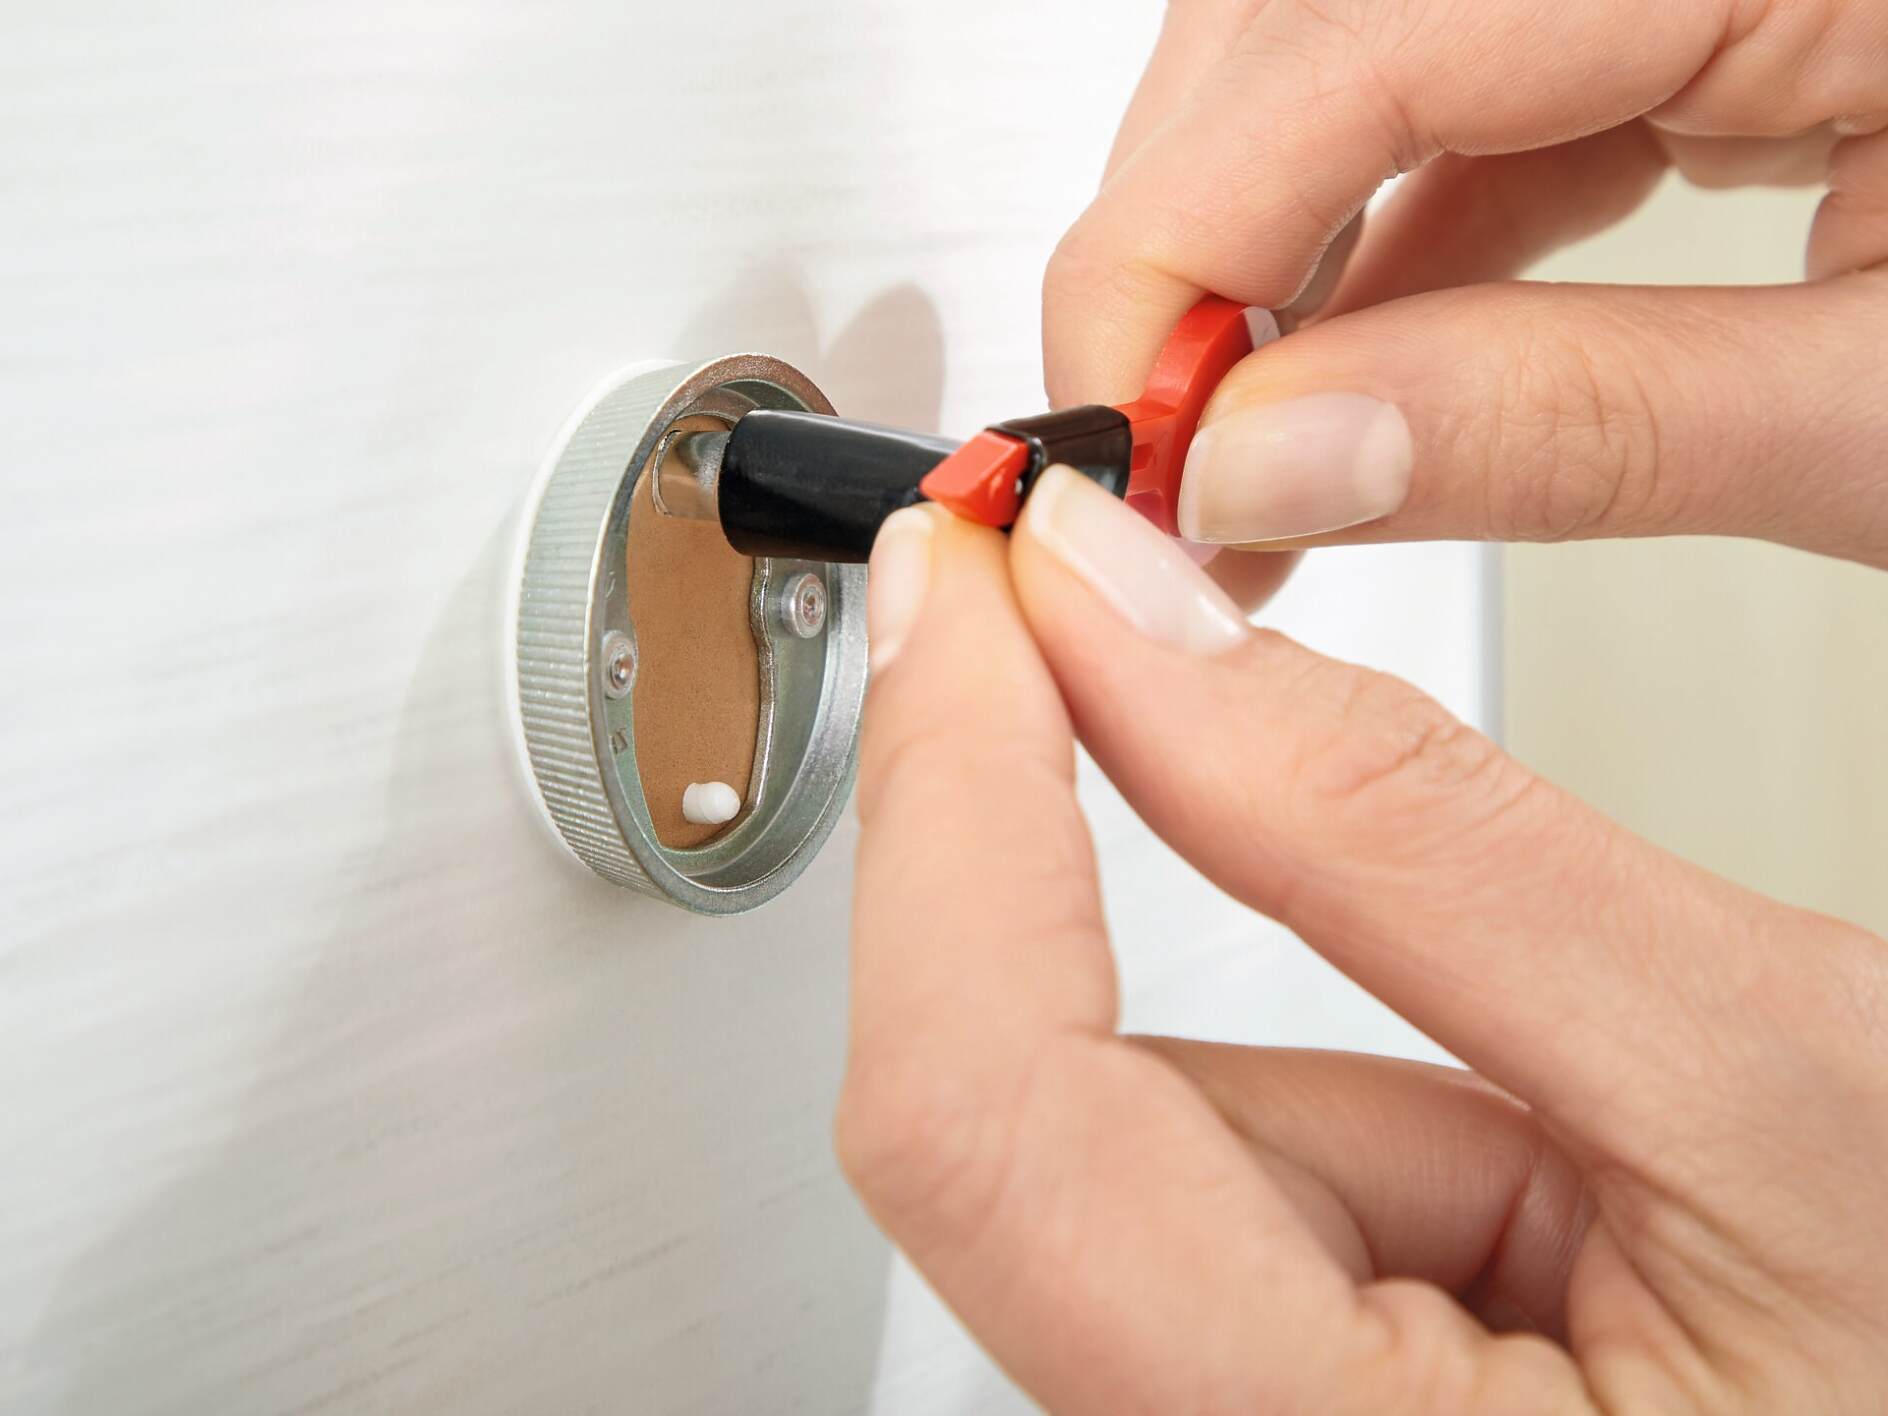
Step 3: Locate and remove mounting bracket
Now that you’ve assessed the towel ring, it’s time to locate and remove the mounting bracket. The mounting bracket is the part of the towel ring that is anchored to the wall and holds the ring in place.
Follow these steps to locate and remove the mounting bracket:
- Start by inspecting the area around the towel ring for any visible screws or fasteners. These screws are usually located on the side brackets or underneath the ring. Use the appropriate screwdriver to remove them.
- If there are no visible screws, carefully pry away any caulking or adhesive that may be holding the ring in place. Use a putty knife or a flathead screwdriver for this task.
- Once you have removed any screws or adhesive, gently pull the towel ring away from the wall. The mounting bracket should now be visible.
- If the mounting bracket is secured with screws, use a screwdriver to remove them. Turn the screws counterclockwise until they are completely loosened. If the bracket is attached with adhesive or caulking, use a gentle twisting motion to detach it from the wall. Be careful not to damage the wall surface.
- Once the mounting bracket is removed, inspect the area for any damage or holes left behind. If necessary, you can move on to the next step to patch any holes or repair any damage.
By locating and removing the mounting bracket, you are one step closer to successfully taking down the bathroom towel ring. The next step will guide you through the process of removing the towel ring from the bracket.
Step 4: Remove the towel ring from the bracket
Now that you have removed the mounting bracket, it’s time to detach the towel ring from it. This step involves separating the ring from the bracket and ensuring a clean removal.
Follow these steps to remove the towel ring from the bracket:
- Inspect the bracket to determine how the ring is attached to it. It may be secured by screws, clips, or other fasteners.
- If there are screws holding the ring in place, use a screwdriver to turn them counterclockwise and loosen them. Once the screws are loose, you should be able to slide the ring off the bracket.
- If the ring is held in place by clips, gently pry the clips open using pliers. Carefully slide the ring off the bracket.
- For any other types of fasteners, carefully examine how they are attached and find the best method to detach them. This may involve pressing or twisting the fasteners to release the ring.
- Once the ring is detached from the bracket, set it aside. Inspect the bracket and make sure there are no remaining screws or clips that could damage the wall when the bracket is removed.
By successfully removing the towel ring from the bracket, you have completed an important step in the removal process. The next step will guide you on how to patch any holes or damage that may have been left behind.
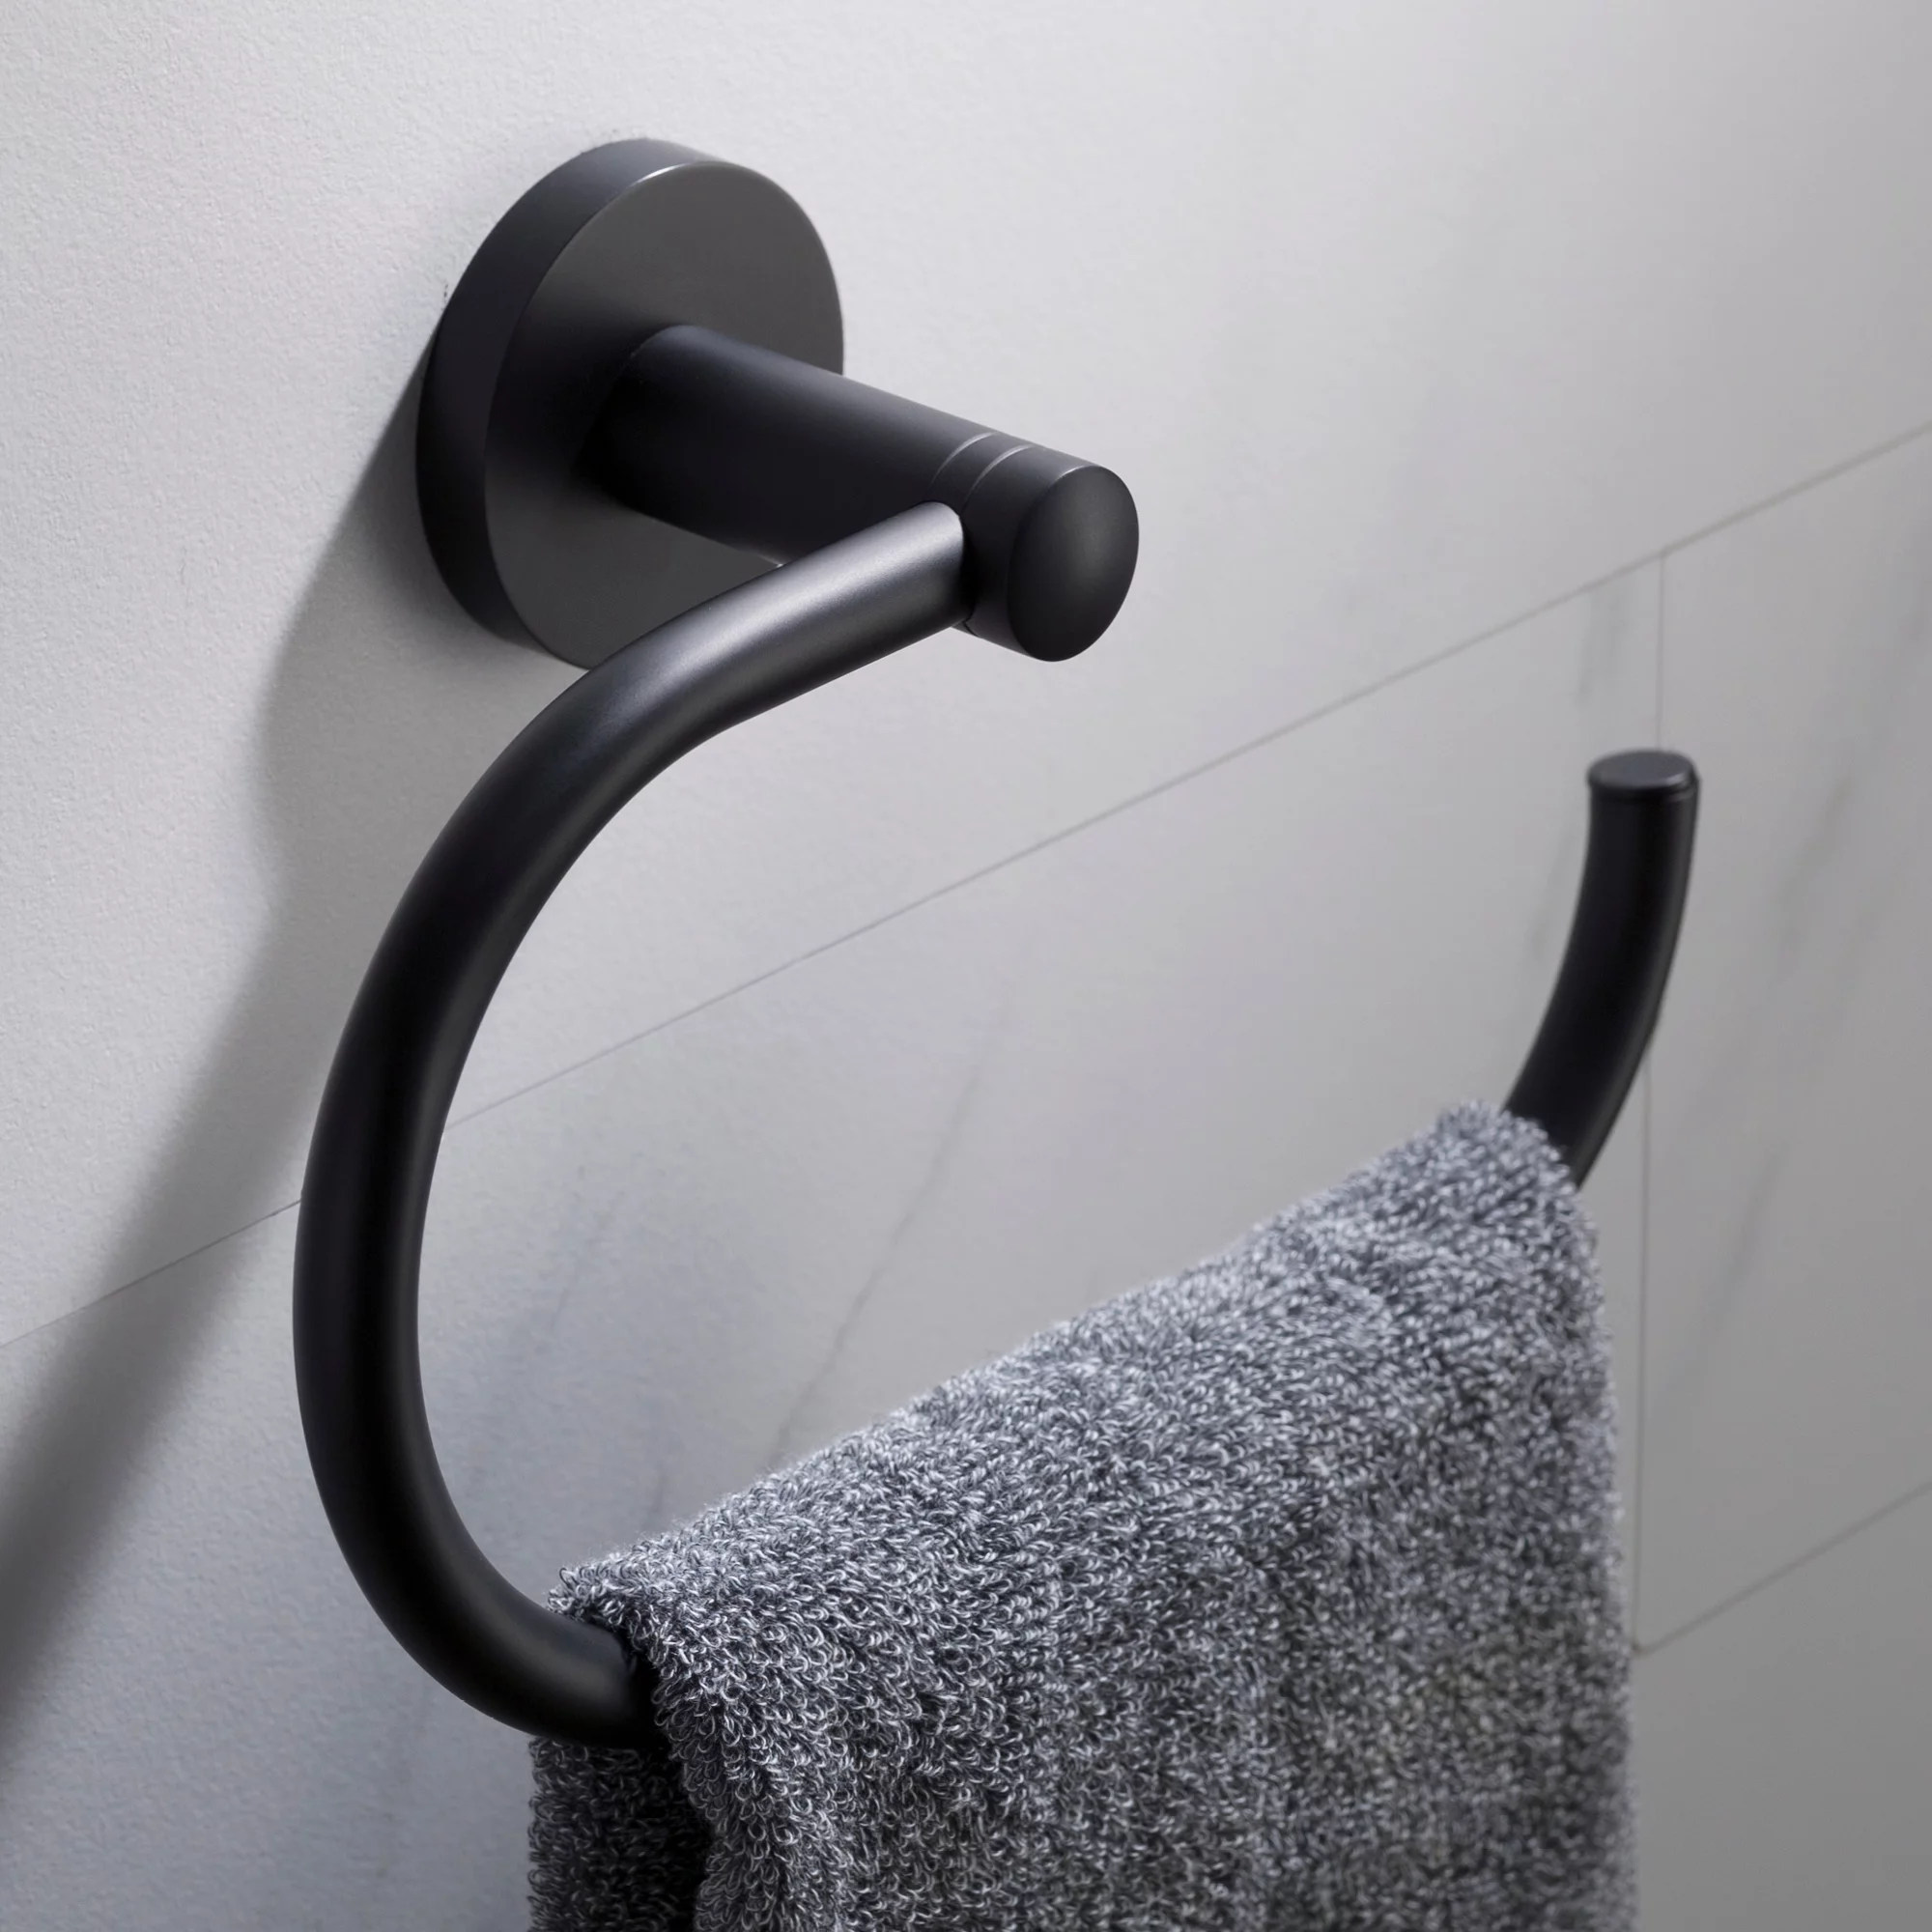
When taking down a bathroom towel ring, start by locating the mounting screws or brackets. Use a screwdriver to remove the screws and gently lift the towel ring off the wall. Patch any holes left behind with spackling compound before painting.
Step 5: Patch any holes or damage
After removing the towel ring, it’s common to find holes or damage left behind on the wall. It’s important to patch these areas to ensure a smooth and flawless finish.
Follow these steps to patch any holes or damage:
- Start by using a putty knife or scraper to remove any loose debris or paint around the damaged area. This will create a clean surface for patching.
- If there are small nail or screw holes, you can use spackle or joint compound to fill them. Apply a small amount of the compound to the putty knife and gently press it into the hole. Smooth it out and remove any excess compound.
- For larger holes or more significant damage, use a patching kit or wall repair compound. Follow the instructions on the product for the best results. Apply the compound to the damaged area, ensuring it is level with the surrounding wall surface.
- Allow the patched area to dry completely, following the drying time indicated on the product you used. Once it’s dry, use sandpaper to smooth and feather the edges of the patched area. This will create a seamless finish.
- If necessary, you can apply a coat of paint or use a wall patching compound to match the color and texture of the surrounding wall. Follow the instructions on the product for proper application.
By patching any holes or damage, you are ensuring a clean and attractive wall surface for future use. The next step will cover the optional process of installing a new towel ring or reusing the existing one.
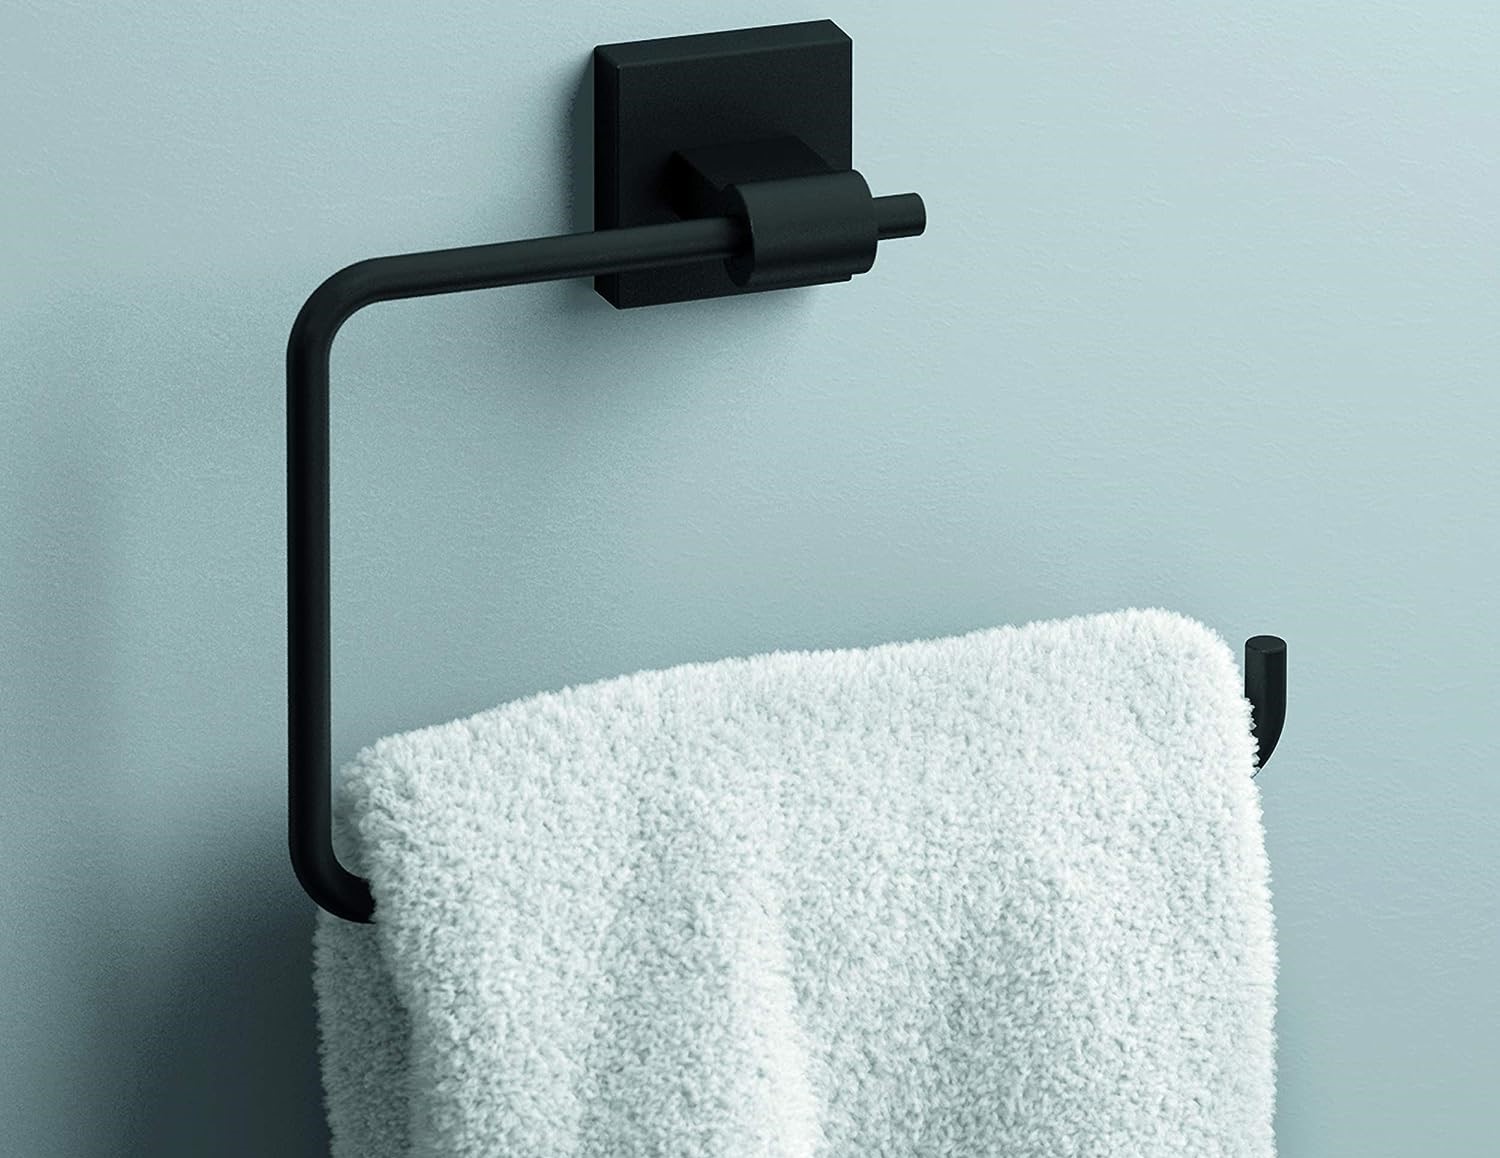
Step 6: Install new towel ring (optional)
If you have chosen to replace the towel ring with a new one, this step will guide you through the process of installing it. Installing a new towel ring can give your bathroom a fresh and updated look.
Follow these steps to install a new towel ring:
- Start by carefully reading and following the manufacturer’s instructions for installing the specific towel ring you have purchased. Different towel ring models may have slightly different installation methods.
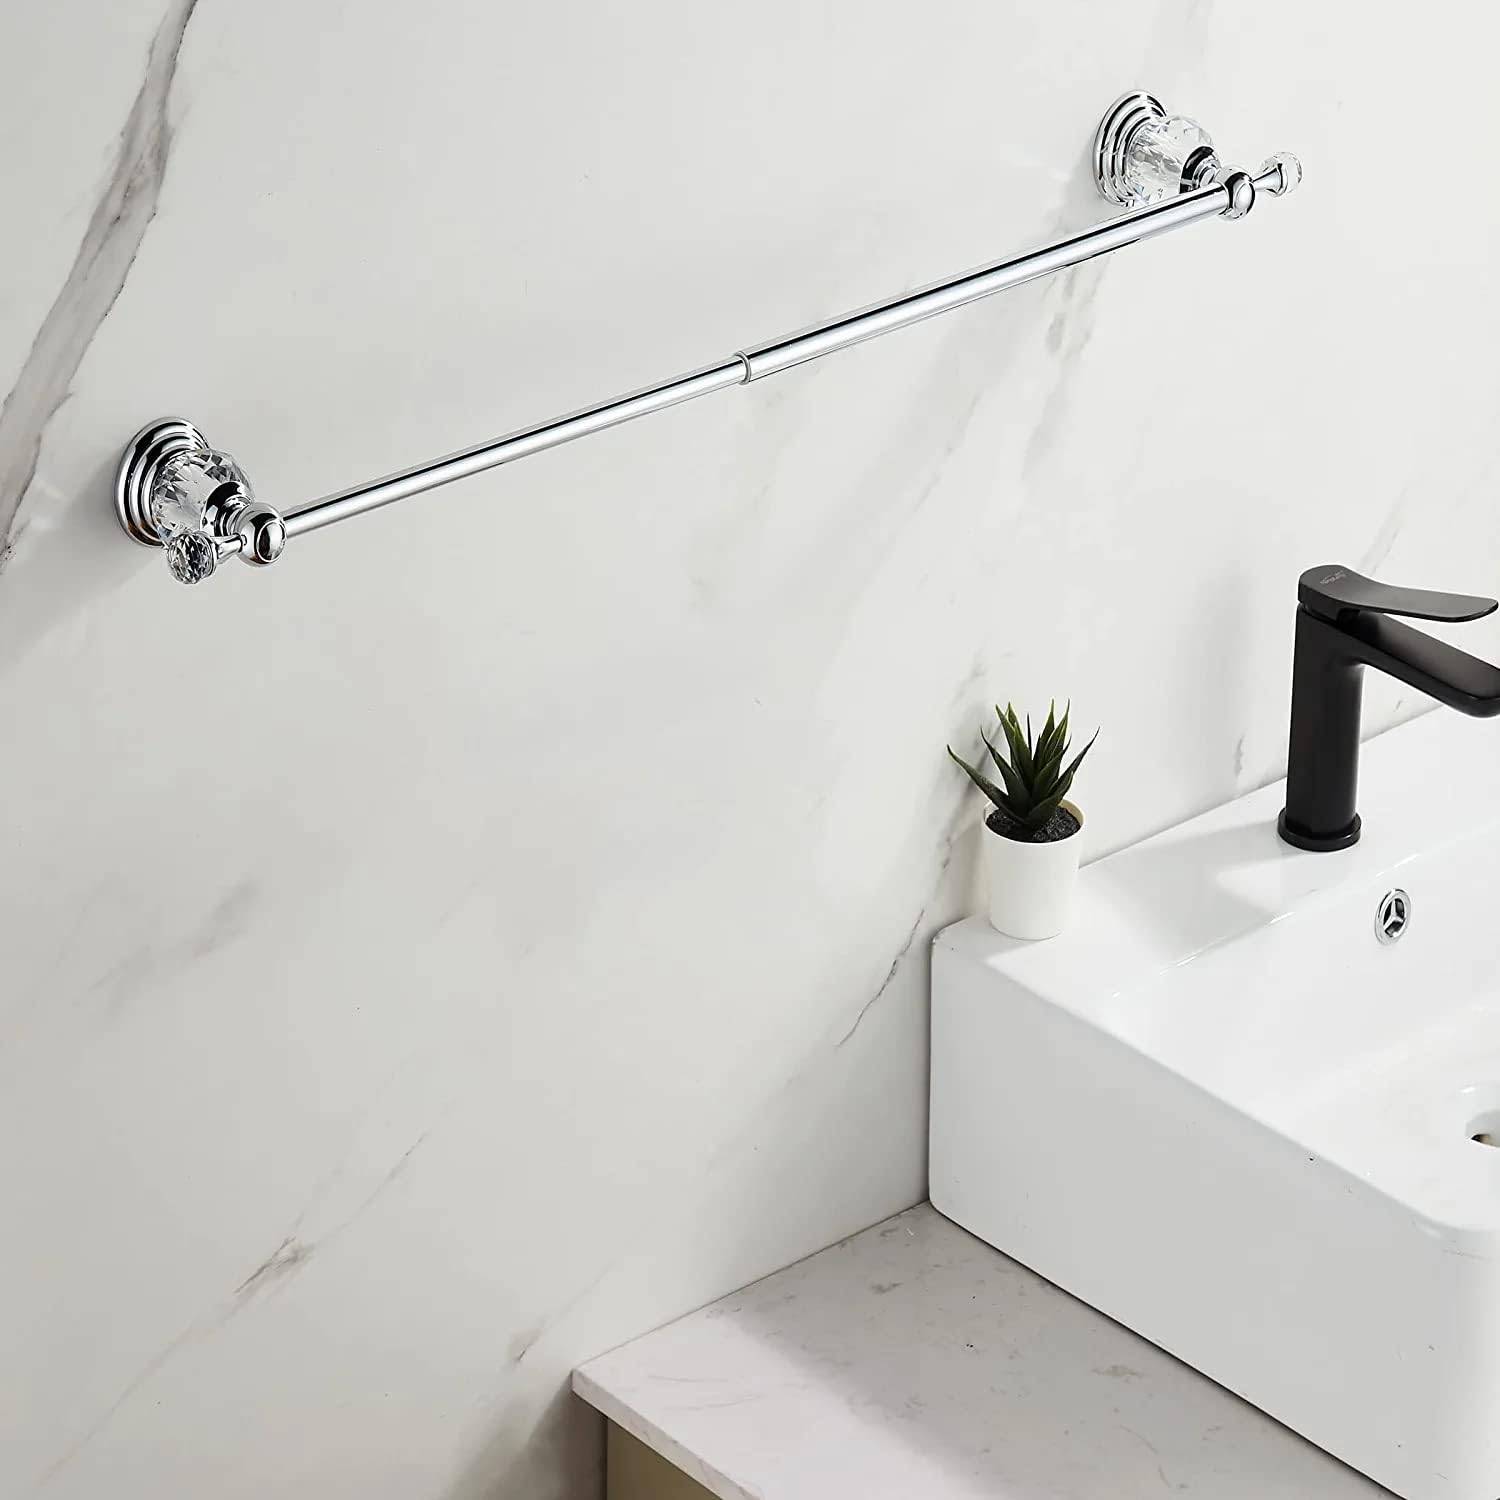
- Identify the location where you want to install the new towel ring. Take into consideration the height and accessibility for convenient use.
- Using a pencil or a piece of tape, mark the exact spot where you will be attaching the mounting bracket. Use a level to ensure it is straight.
- If the new towel ring comes with a mounting template, use it to mark the screw hole positions on the wall. This will help ensure accurate placement.
- Now it’s time to attach the mounting bracket to the wall. Use the appropriate screws or fasteners specified by the manufacturer. Ensure that the bracket is securely affixed to the wall.
- Once the mounting bracket is in place, attach the towel ring to the bracket according to the manufacturer’s instructions. This may involve sliding it onto the bracket or tightening screws to hold it in place.
- Ensure that the towel ring is securely attached and does not wobble or move when weight or pressure is applied. Adjust the position if necessary.
By installing a new towel ring, you can enjoy a functional and aesthetically pleasing addition to your bathroom. If you have chosen not to install a new towel ring, you can skip this step and proceed to the next one.
Step 7: Reattach the mounting bracket
If you have decided to reuse the existing mounting bracket instead of installing a new towel ring, this step will guide you through reattaching the bracket to the wall. Reattaching the mounting bracket ensures stability and allows you to continue using the same towel ring.
Follow these steps to reattach the mounting bracket:
- Inspect the mounting bracket to ensure it is in good condition and free from any damage or debris.
- Align the bracket with the original mounting holes or marks on the wall. Use a level to ensure that it is straight.
- If the original holes are not visible or damaged, use a pencil or a piece of tape to mark new holes for the bracket’s screws.
- Once the bracket is aligned, use the appropriate screws or fasteners to secure it to the wall. Tighten the screws until the bracket is securely attached.
- Ensure that the bracket is stable and can support the weight of the towel ring without wobbling or shifting.
By reattaching the mounting bracket, you can continue using the same towel ring while ensuring its stability and functionality. The next step will guide you on how to test the towel ring to ensure it is secure and properly installed.
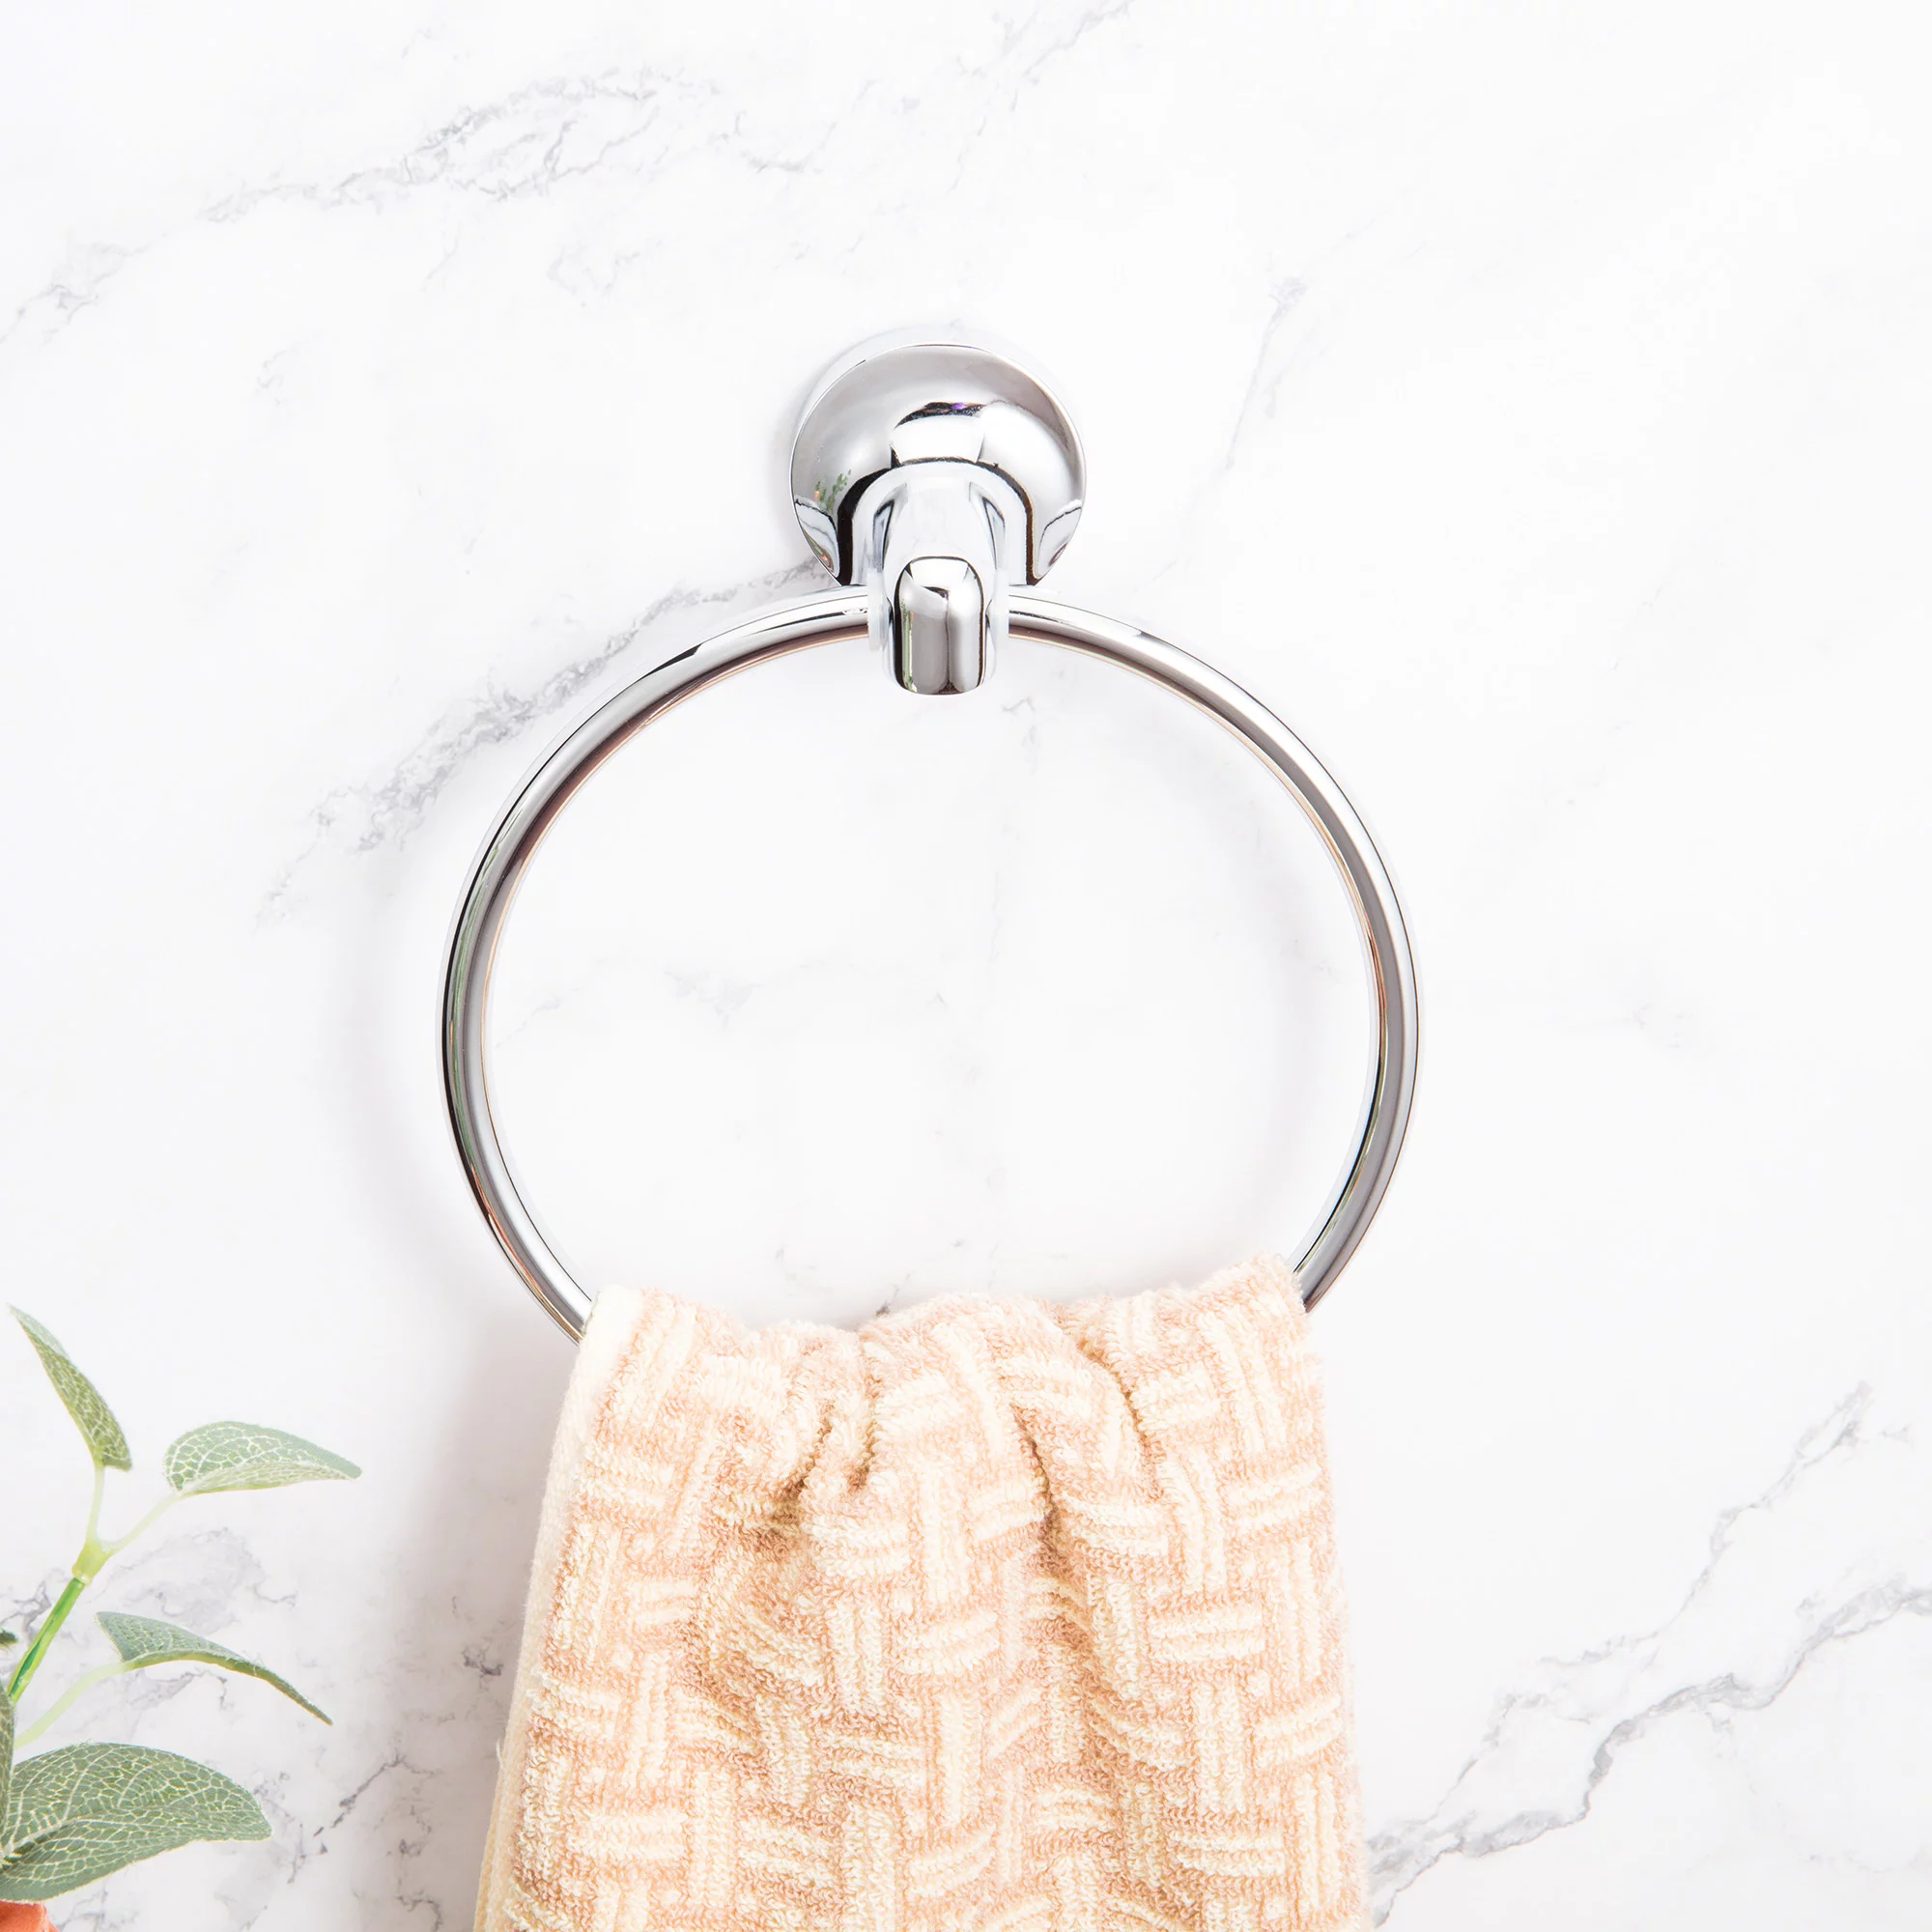
Step 8: Test the towel ring
After completing the removal and installation process, it’s important to test the towel ring to ensure that it is secure and properly installed. Testing the towel ring will give you peace of mind and ensure that it functions as intended.
Follow these steps to test the towel ring:
- Gently tug on the towel ring to make sure it is firmly attached to the mounting bracket. It should not wobble or come loose.
- Hang a towel or any lightweight item on the ring to test its weight-bearing capacity. Ensure that the towel ring remains stable and can support the weight without bending or sagging.
- Tug on the towel to simulate everyday use. The towel ring should remain securely in place.
- If you have installed a new towel ring, test the operation of any moving parts, such as swivel mechanisms or adjustable arms.
- Observe the towel ring closely for any signs of loosening or instability. If you notice any issues, double-check the mounting bracket and ensure that all screws or fasteners are tightened properly.
By thoroughly testing the towel ring, you can ensure that it is securely installed and ready for everyday use. If any issues arise during the testing process, refer to the previous steps and make any necessary adjustments or corrections.
Congratulations! You have successfully completed the process of taking down a bathroom towel ring and, if desired, installing a new one. By following these steps, you have not only achieved a functional result but also ensured the long-term integrity of your bathroom walls.
Keep in mind that proper maintenance and regular inspections are essential for maintaining the durability and functionality of your towel ring. Regularly check for any signs of loosening or damage and address them promptly to avoid further issues. Enjoy the convenience and style that your towel ring brings to your bathroom!
Read more: How To Take Towel Ring Off Wall
Conclusion
Taking down a bathroom towel ring may seem like a daunting task, but with the right approach and knowledge, it can be a straightforward process. In this article, we have provided you with a comprehensive guide on how to remove a towel ring, whether you are replacing it with a new one or simply updating your bathroom decor.
By following the step-by-step instructions, you have learned how to gather the necessary supplies, assess the towel ring, locate and remove the mounting bracket, detach the towel ring from the bracket, patch any holes or damage, and optionally install a new towel ring or reattach the existing bracket. Finally, you have tested the towel ring to ensure its stability and functionality.
By successfully completing these steps, you have not only accomplished the task of removing a towel ring but also maintained the integrity of your bathroom walls. It’s important to remember to follow the manufacturer’s instructions for any specific towel ring or wall repair products you use during the process.
Regular maintenance and inspections of your towel ring will help prolong its lifespan and keep it in optimal condition. If you encounter any difficulties during the removal process or have concerns about the structural integrity of your walls, it’s always best to consult with a professional for assistance.
We hope this guide has provided you with the knowledge and confidence to take down a bathroom towel ring effectively. By following the steps outlined in this article, you can update your bathroom space or make way for a new towel ring that fits your style and needs. So, go ahead and tackle this home improvement task with ease!
Frequently Asked Questions about How To Take Down Bathroom Towel Ring
Was this page helpful?
At Storables.com, we guarantee accurate and reliable information. Our content, validated by Expert Board Contributors, is crafted following stringent Editorial Policies. We're committed to providing you with well-researched, expert-backed insights for all your informational needs.

0 thoughts on “How To Take Down Bathroom Towel Ring”