Home>diy>Building & Construction>How To Pressure Test PEX Water Lines In New Construction
Building & Construction
How To Pressure Test PEX Water Lines In New Construction
Modified: May 6, 2024
Learn how to pressure test PEX water lines in new building construction to ensure quality and durability. Follow our step-by-step guide for a successful pressure testing process.
(Many of the links in this article redirect to a specific reviewed product. Your purchase of these products through affiliate links helps to generate commission for Storables.com, at no extra cost. Learn more)
Introduction
Welcome to the world of building construction, where attention to detail and quality are paramount. When it comes to installing water lines in new construction projects, one of the most popular choices is PEX (cross-linked polyethylene) pipes. These flexible and durable pipes offer numerous advantages over traditional materials like copper or PVC, including ease of installation and resistance to corrosion.
However, before the water lines can be put into service, it is crucial to ensure that they are in proper working condition and free from leaks. This is where pressure testing comes into play. Pressure testing is a vital step in the construction process that allows you to check the integrity and strength of the PEX water lines before they are concealed within walls and floors. By subjecting the pipes to water pressure, you can identify any leaks or weaknesses and address them before the building occupants experience any issues.
In this article, we will guide you through the process of pressure testing PEX water lines in new construction. We will explain why pressure testing is essential, list the tools and materials you will need, and provide a step-by-step guide to help you execute the test with ease. By following these instructions, you can ensure that your PEX water lines meet the highest standards of quality and reliability.
So let’s dive in and discover how to pressure test PEX water lines in new construction projects!
Key Takeaways:
- Pressure testing PEX water lines in new construction is crucial for identifying leaks, ensuring structural integrity, and complying with building codes. It provides peace of mind for building owners and occupants by guaranteeing a reliable water supply.
- Proper preparation, meticulous pressure testing, and thorough troubleshooting are essential for maintaining leak-free PEX water lines. By following a step-by-step guide and seeking professional assistance when needed, you can safeguard the longevity and functionality of the plumbing system.
Read more: How To Test Water Pump
Why Pressure Testing is Important for PEX Water Lines
Properly functioning water lines are crucial for the overall functionality and longevity of any building. Whether it is a residential home or a commercial property, having reliable water supply lines is essential for daily activities such as cooking, cleaning, and personal hygiene. This is why it is imperative to ensure the integrity of PEX water lines through pressure testing.
One of the main reasons pressure testing is important for PEX water lines is to identify any leaks or weaknesses in the system. Even the smallest leak can lead to significant issues over time, such as water damage, mold growth, and increased utility bills. By pressurizing the system, any leaks or weaknesses can be detected early on, allowing for prompt repairs or adjustments before the water lines are concealed within walls or floors.
Additionally, pressure testing is crucial for ensuring the structural integrity of the PEX water lines. The test helps to determine if the pipes can withstand the normal operating pressure without failure. This is essential to prevent future problems like burst pipes, which can cause extensive damage to the building and disrupt daily activities.
Another key reason for pressure testing PEX water lines is compliance with building codes and regulations. Most building codes require pressure testing to validate the safety and quality of the plumbing system. By conducting the test, you can ensure that your project meets the necessary standards, reducing the risk of potential legal issues and liabilities in the future.
Furthermore, pressure testing provides peace of mind for both the building owner and occupants. By verifying the functionality and reliability of the water lines, you can be confident that the plumbing system will perform as intended, providing uninterrupted water supply and avoiding any inconvenience or disruption.
In summary, pressure testing is crucial for PEX water lines in new construction projects for several reasons. It helps to identify leaks and weaknesses in the system, ensures the structural integrity of the pipes, complies with building codes, and provides peace of mind for all stakeholders. By taking the time to conduct a thorough pressure test, you can safeguard the longevity and functionality of the plumbing system, allowing occupants to enjoy a reliable water supply for years to come.
Tools and Materials Needed
Before you can begin pressure testing the PEX water lines in your new construction project, it is important to gather the necessary tools and materials. Here is a list of what you will need:
Tools:
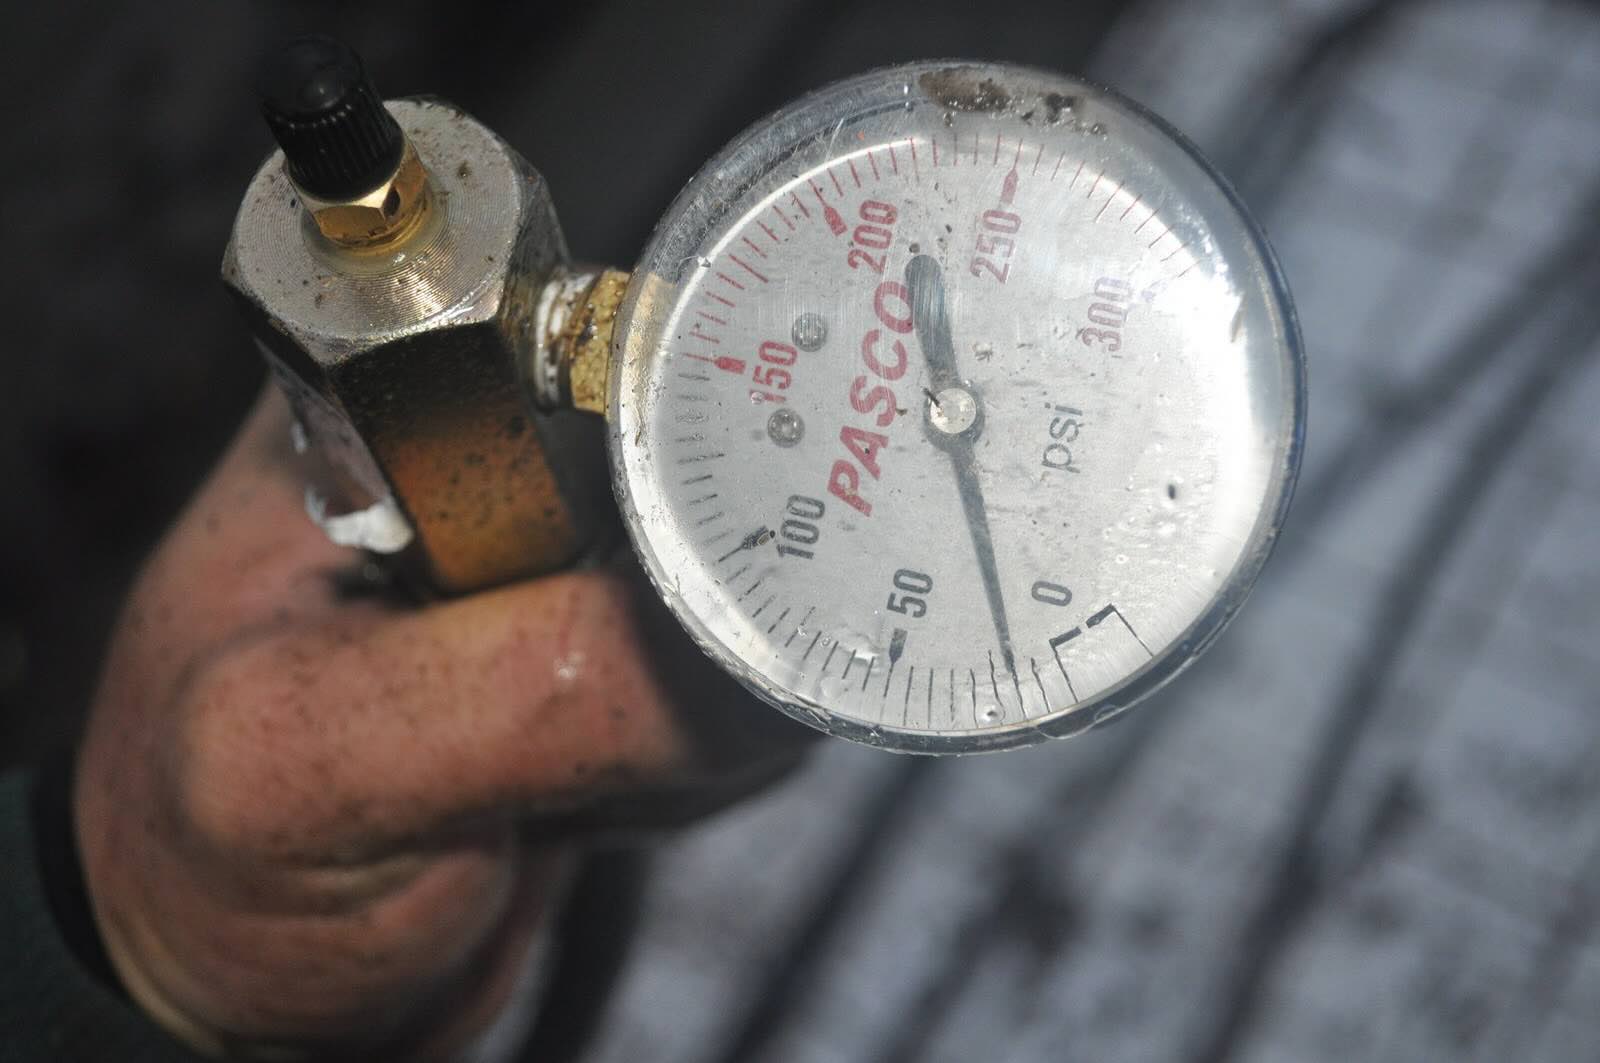
- Pressure testing gauge or manometer: This tool is used to measure the pressure within the water lines. It typically consists of a gauge or display screen that shows the pressure readings in psi (pounds per square inch) or kPa (kilopascals).
- Water source: You will need access to a water source, such as a hose bib or a temporary faucet, to fill the system with water during the pressure test.
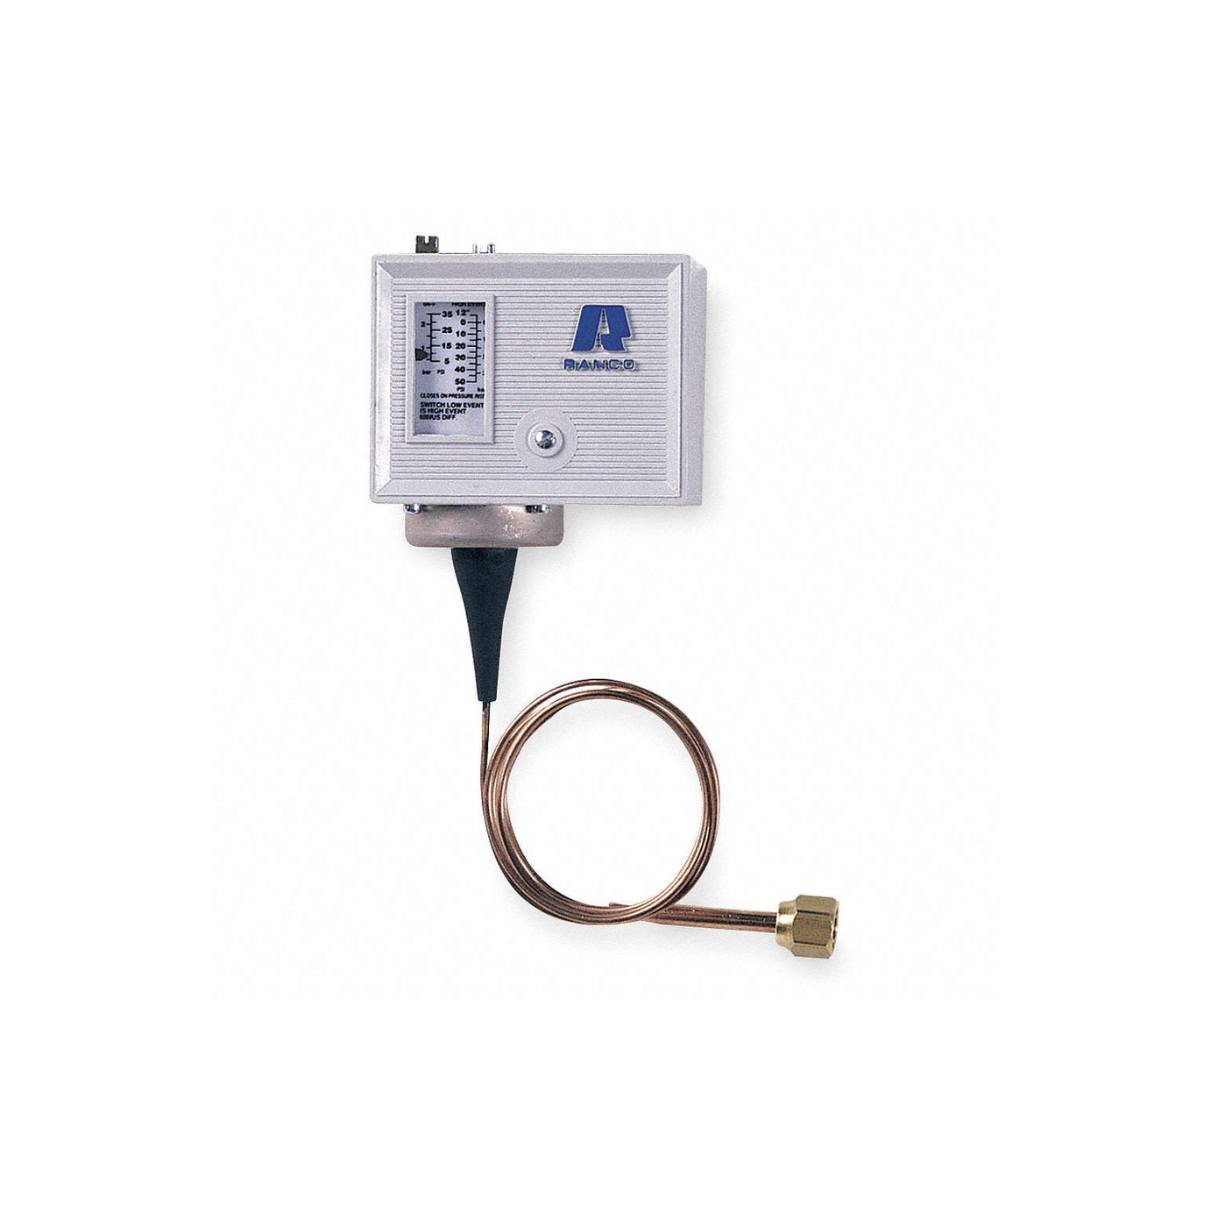
- Pressure regulator: If your water source has high pressure, it is advisable to use a pressure regulator to reduce the incoming pressure to a safe level for the PEX water lines.
- Pipe cutter or shears: These tools are necessary for cutting the PEX pipes to the desired lengths during installation or modification.
- Ratchet crimping tool or expansion tool: Depending on the type of PEX fittings you are using, you will need a crimping tool or an expansion tool to secure the connections between pipes and fittings.
- Adjustable wrench or pliers: These tools are needed for tightening or loosening fittings, valves, or other plumbing components.
- Teflon tape or pipe thread sealant: These sealing materials are used to create a watertight seal on threaded connections.
- Marker or labeling tool: It is important to mark or label each end of the PEX water lines to ensure accurate installation and identification.
Materials:
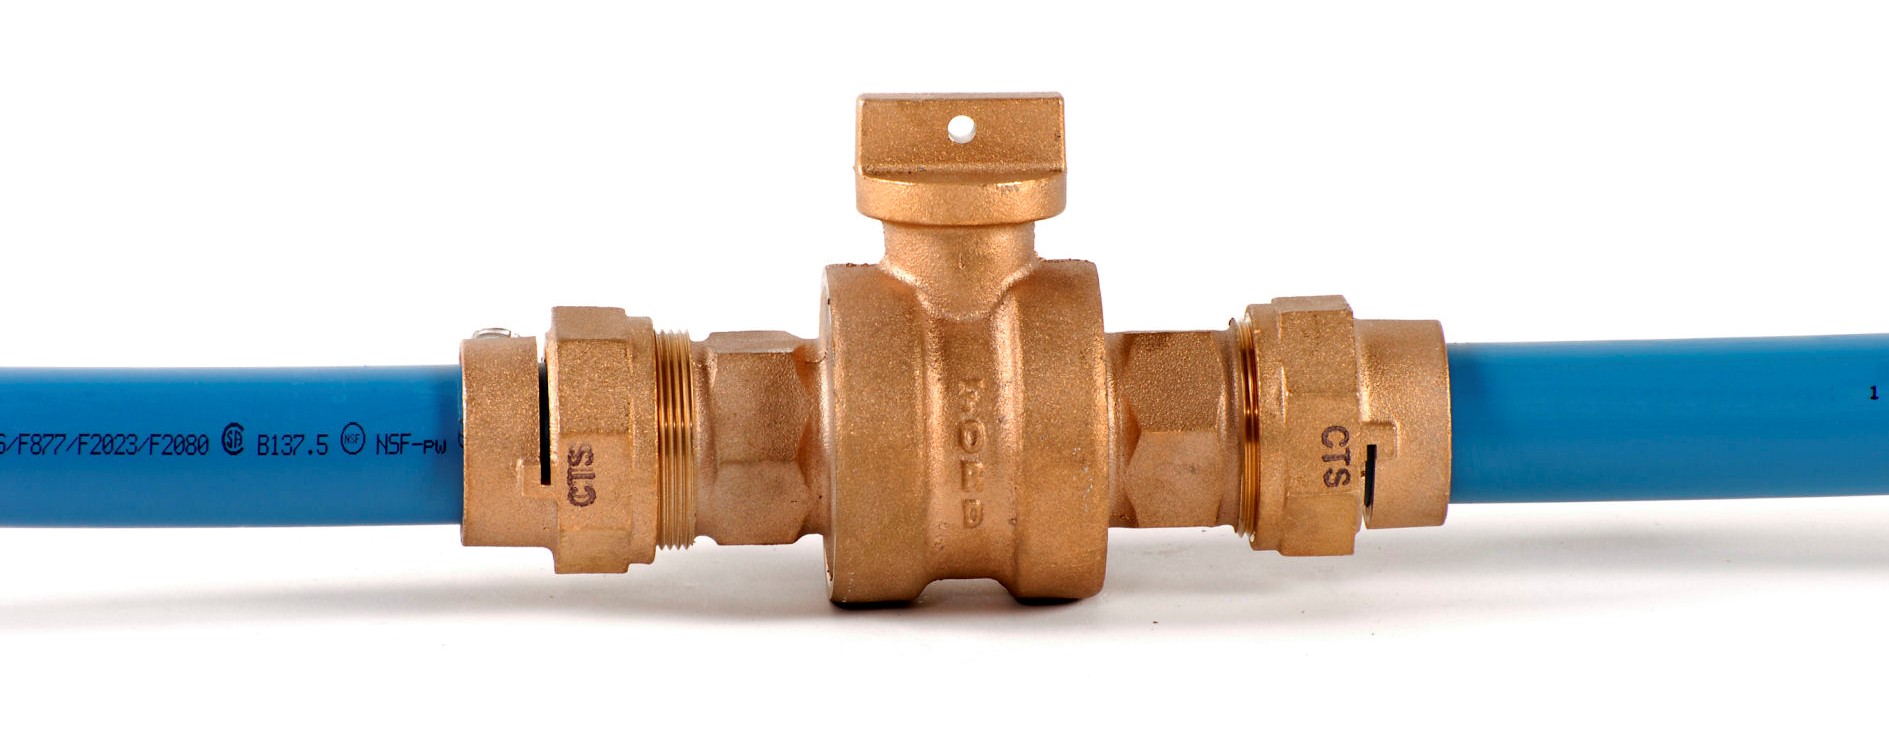
- PEX pipes: You will need an appropriate length and diameter of PEX pipes to connect the water supply lines. Make sure to choose PEX pipes specifically designed for plumbing applications.
- PEX fittings: These are used to create connections between PEX pipes, such as tees, elbows, and couplings. Select fittings that are compatible with the PEX pipe size and type you are using.
- PEX crimp rings or expansion rings: Depending on the type of PEX fittings, you will need the corresponding crimp rings or expansion rings to secure the connections between pipes and fittings.
- Plumber’s tape or pipe compound: These materials are used to create a watertight seal on threaded connections.
- Clean cloth or rag: You will need this to wipe away any excess water or debris during the pressure testing process.
- Adequate supply of water: Depending on the size of your water lines and the duration of the test, you will need a sufficient amount of water to fill the system.
- Buckets or containers: These are necessary for collecting any water that may leak during the pressure test, allowing you to measure the amount of leakage in the system.
By ensuring that you have all the necessary tools and materials before starting the pressure testing process, you can proceed with confidence and efficiency. Having everything readily available will save you time and ensure a successful pressure test of your PEX water lines in new construction.
Read more: How To Pressure Test Pool Plumbing
Step-by-Step Guide to Pressure Testing PEX Water Lines
Now that you have gathered all the necessary tools and materials, it’s time to start pressure testing the PEX water lines in your new construction project. Follow this step-by-step guide to ensure a successful pressure test:
Step 1: Prepare the System for Pressure Testing
- Ensure that all PEX connections, fittings, and valves are properly installed and secure. Double-check for any loose connections or improperly crimped fittings.
- Close all the valves in the system to isolate the section you are going to pressure test. This will prevent water from flowing into or out of the test area, allowing you to focus solely on the pressure test.
- If your water source has high pressure, use a pressure regulator to reduce the incoming pressure to a safe level for the PEX water lines.
Step 2: Perform the Pressure Test
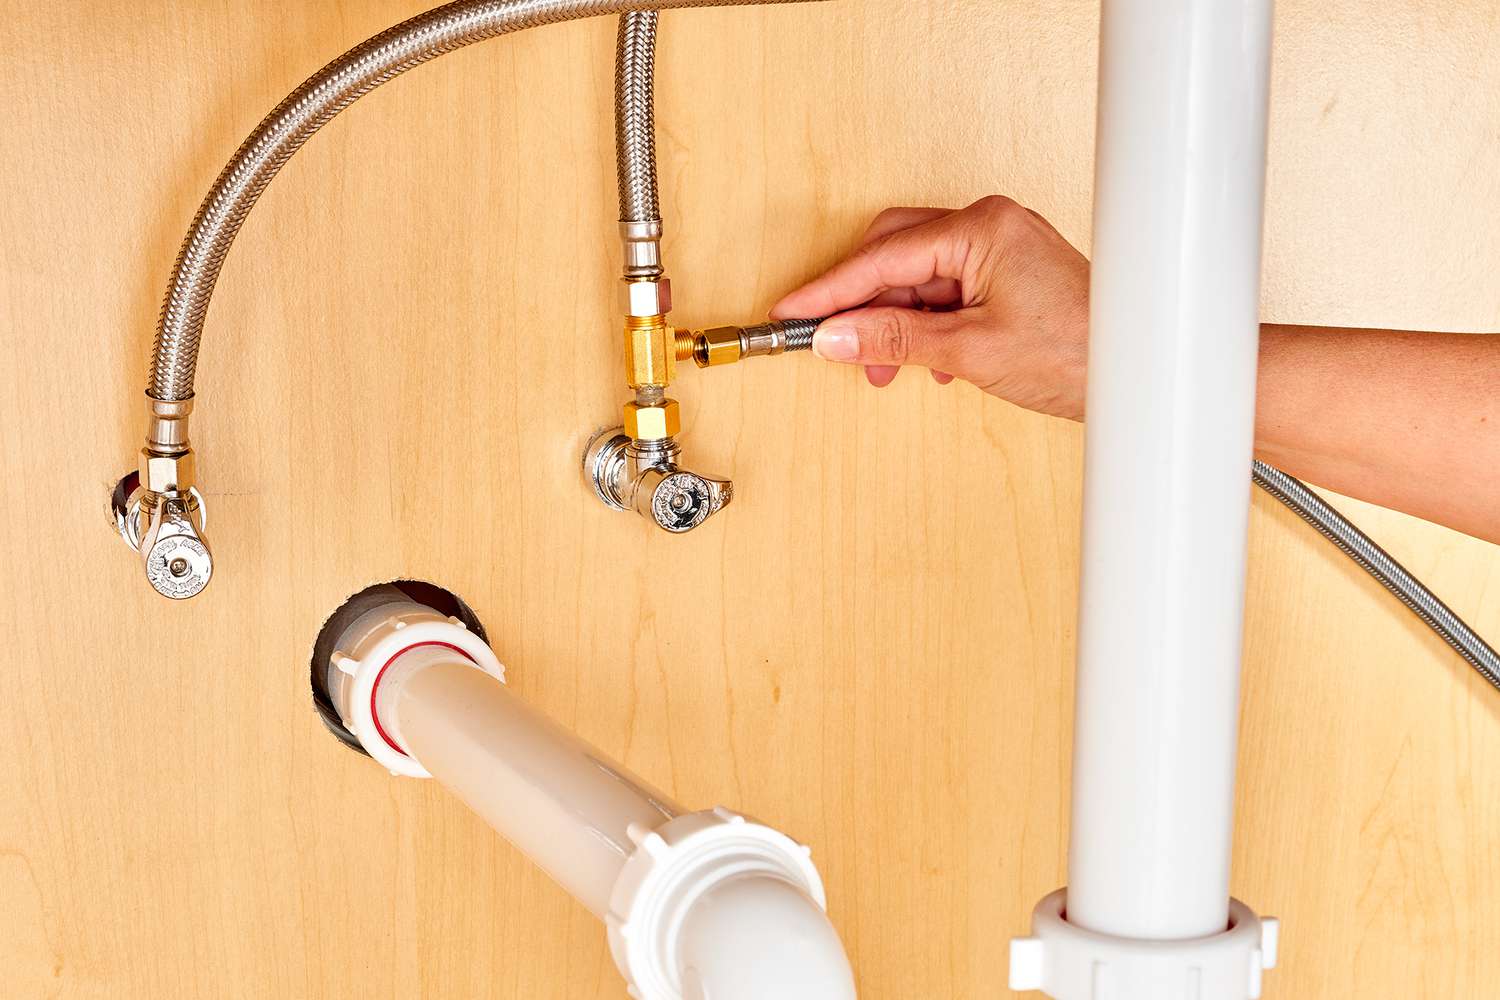
- Connect the pressure testing gauge or manometer to a convenient location in the system, such as a hose bib or a temporary faucet.
- Slowly open the water source and begin filling the system with water. Maintain a gradual and controlled flow of water to prevent any sudden pressure surges.
- Continue filling the system until the water reaches the desired pressure, which is typically around 80 psi (pounds per square inch) or as specified by local building codes.
- Once the system is pressurized, close the water source to stop the flow into the system. This will allow you to monitor the pressure over time and identify any drops that may indicate a leak.
- Wait for a specific duration, usually around 15-30 minutes, and monitor the pressure gauge or manometer. A stable pressure reading indicates that the system is holding the pressure well.
Step 3: Check for Leaks and Troubleshooting
- If the pressure gauge shows a drop in pressure during the test, it is an indication of a leak in the system. Use a clean cloth or rag to wipe away any excess water and look for any visible signs of leakage.
- If you are unable to locate the source of the leak visually, use a bucket or container to collect any water that may be dripping. Measure the amount of leakage and compare it to acceptable limits specified by local building codes.
- If you identify a leak, carefully inspect the area around the leak to determine the cause. It may be a loose fitting, a damaged pipe, or a faulty connection. Make the necessary repairs or adjustments to address the issue.
- Once any leaks have been addressed, repeat the pressure test to ensure that the system is holding the pressure without any drops or signs of leakage.
By following this step-by-step guide, you can successfully pressure test the PEX water lines in your new construction project. It is important to conduct a comprehensive pressure test to ensure the integrity and reliability of the plumbing system, providing peace of mind for both the building owner and occupants.
Read more: How To Test Electric Pressure Cooker
Preparing the System for Pressure Testing
Before conducting a pressure test on your PEX water lines in new construction, it is crucial to properly prepare the system. This ensures accurate results and helps identify any leaks or weaknesses. Follow these steps to prepare the system for pressure testing:
Step 1: Inspect the PEX Water Lines
Start by visually inspecting all the PEX water lines in your construction project. Check for any visible damages, such as cuts, kinks, or improper connections. Ensure that all PEX fittings are securely attached and properly crimped or expanded. Any issues found during this inspection should be addressed and resolved before proceeding with the pressure test.
Step 2: Close Valves and Isolate the Test Area
Close all valves in the system to isolate the section you are going to pressure test. This prevents water from flowing into or out of the test area, allowing you to focus solely on the pressure test. By isolating the test area, you can accurately determine if there are any leaks in that specific section of the water lines.
Step 3: Prepare the Pressure Testing Gauge
Connect your pressure testing gauge or manometer to a convenient location in the system, such as a hose bib or a temporary faucet. Make sure the gauge is properly calibrated and functioning correctly. It should display pressure readings in units of psi (pounds per square inch) or kPa (kilopascals).
Read more: What Is Construction Materials Testing
Step 4: Reduce Incoming Water Pressure (If Necessary)
If your water source has high pressure, it is essential to reduce the incoming pressure to a safe level for the PEX water lines. This can be achieved by using a pressure regulator. The regulator helps maintain a consistent and safe pressure during the pressure test, preventing unexpected system failures or damage.
Step 5: Securely Close the Water Source
Ensure that the water source is firmly closed to prevent any water from flowing into the system during the pressure test. This enables you to monitor the pressure within the system accurately and identify any drops or leaks.
Step 6: Prepare for the Pressure Test
With the system properly prepared, you are now ready to proceed with the pressure test. Before starting the test, it is highly recommended to have a clear plan in place, including the desired pressure to be reached, the duration of the test, and guidelines for troubleshooting any potential issues.
By taking the time to adequately prepare the system for the pressure test, you can ensure accurate and reliable results. This allows you to identify any leaks or weaknesses in the PEX water lines early on, ensuring a durable and fully functional plumbing system for your new construction project.
Performing the Pressure Test
Once you have properly prepared the PEX water lines for pressure testing, it’s time to perform the actual test. The pressure test is a critical step in ensuring the integrity and reliability of the plumbing system. Follow these steps to perform the pressure test:
Read more: How To Test Swimming Pool Water
Step 1: Gradually Fill the System with Water
Begin by slowly opening the water source to fill the PEX water lines with water. It is crucial to maintain a gradual and controlled flow of water to prevent any sudden pressure surges that could potentially damage the system. As you fill the system, make sure to monitor the pressure gauge or manometer to ensure a steady increase in pressure.
Step 2: Reach the Desired Pressure Level
Continue filling the system until you reach the desired pressure level, typically around 80 psi (pounds per square inch) or as specified by local building codes. It’s important not to overpressurize the system, as this can lead to leaks or even burst pipes.
Step 3: Close the Water Source
Once the system is pressurized, close the water source to stop the flow of water into the system. This allows you to monitor the pressure over time and identify any drops that could indicate a leak or weakness in the PEX water lines.
Step 4: Monitor the Pressure
With the water source closed, observe the pressure gauge or manometer and track the pressure over a specific duration, often around 15-30 minutes. A stable pressure reading indicates that the system is holding the pressure well and there are no significant leaks or weaknesses.
Read more: How To Test Thermocouple On Water Heater
Step 5: Record and Evaluate the Results
Throughout the duration of the pressure test, record the pressure readings at regular intervals. This will help you assess the performance of the PEX water lines and identify any fluctuations or drops in pressure. If the pressure remains consistent within an acceptable range, it indicates that the system is in good condition and free from major leaks or weaknesses.
Step 6: Identify and Address any Leaks
If you notice a drop in pressure during the pressure test, it is an indication that there may be a leak or weakness in the PEX water lines. Carefully inspect the system for any visible signs of leakage, such as water dripping or pooling. If you are unable to locate the source of the leak visually, use a clean cloth or rag to wipe away any excess water and look for damp areas or water stains.
If a leak is detected, make the necessary repairs or adjustments to address the issue. This may involve tightening fittings, replacing damaged sections of pipe, or re-crimping or expanding connections. Once the repairs have been made, repeat the pressure test to ensure that the system is holding the pressure without any drops or signs of leakage.
Performing a thorough pressure test on the PEX water lines is essential to ensure their reliability and functionality. By carefully following these steps and diligently monitoring the system, you can identify and resolve any issues before the water lines are concealed within walls and floors, minimizing the risk of future leaks or failures.
Checking for Leaks and Troubleshooting
After performing the pressure test on the PEX water lines in your new construction project, it is crucial to check for leaks and troubleshoot any issues that may have been identified during the test. Properly addressing leaks and weaknesses ensures the integrity and longevity of the plumbing system. Follow these steps to check for leaks and troubleshoot effectively:
Step 1: Visual Inspection
Start by visually inspecting the PEX water lines and fittings for any visible signs of leakage. Look for drips, pooling water, or damp areas around the connections and joints. Focus on areas that were identified as potential sources of leaks during the pressure test.
Read more: What Is A Fire Line In Construction
Step 2: Stabilize the System
If you detect any leaks or suspect a weakness in the system, stabilize the pressure and ensure that the water lines are no longer pressurized. This will prevent further water damage and make it safer to work on the system.
Step 3: Tighten Fittings
If a leak is observed around a fitting, carefully tighten it using an adjustable wrench or pliers. Apply gentle pressure to ensure a secure connection without causing damage to the PEX pipe or fitting.
Step 4: Check Crimp Connections
If your PEX water lines are joined using crimp connections, inspect the crimp rings for proper alignment and secure attachment. If a crimp ring appears loose or improperly positioned, you may need to cut it off and re-crimp the connection properly.
Step 5: Inspect Expansion Connections
If you used expansion fittings in your PEX water lines, check each connection for proper expansion and engagement. Verify that the PEX pipe has fully expanded and made a snug connection with the fitting. If necessary, re-expand the pipe to ensure a secure fit.
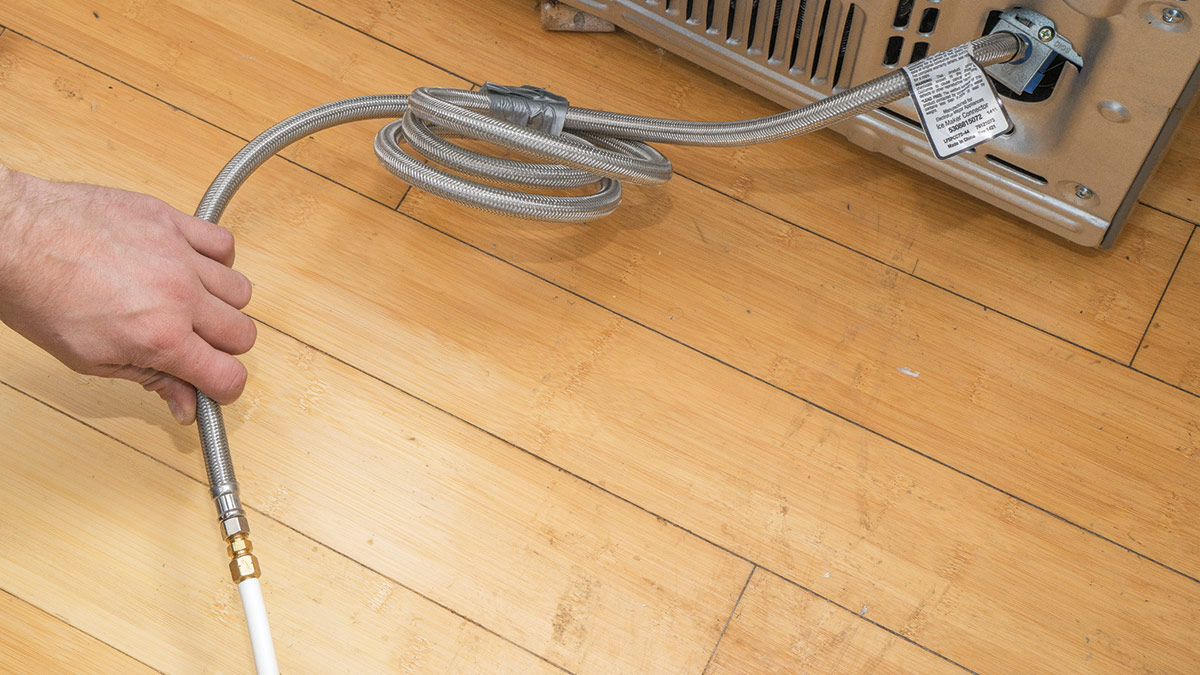
Read more: How To Disconnect A Refrigerator Water Line
Step 6: Test the Repaired System
Once you have addressed any potential sources of leaks or weaknesses, it is important to retest the system to ensure that the repairs were successful. Repeat the pressure test, monitoring the gauge or manometer for any changes in pressure that may indicate a new leak or problem.
Step 7: Seek Professional Assistance (if needed)
If you are unable to identify or resolve the source of a leak or weakness, it may be necessary to seek the assistance of a professional plumber or contractor. They have the expertise and specialized tools to accurately diagnose and repair any issues with the PEX water lines.
Remember, identifying and addressing leaks and weaknesses in the PEX water lines is crucial for maintaining a reliable and durable plumbing system. By following these steps and taking prompt action, you can ensure that your new construction project has a well-functioning and leak-free plumbing system, providing peace of mind for all building occupants.
Conclusion
Pressure testing PEX water lines is an essential step in new construction projects to ensure the functionality, reliability, and longevity of the plumbing system. By subjecting the PEX pipes to water pressure, any leaks or weaknesses can be identified and addressed before the pipes are concealed within walls and floors. This helps to prevent water damage, mold growth, and other costly problems that can arise from undetected leaks.
Throughout this article, we have discussed the importance of pressure testing PEX water lines and provided a step-by-step guide to help you perform the test successfully. We emphasized the need for proper preparation, including inspecting the system, closing valves, and reducing incoming water pressure if necessary. We also highlighted the importance of monitoring the pressure during the test and checking for leaks and troubleshooting any issues that may arise.
By following these guidelines and taking the time to perform a thorough pressure test, you can ensure that your PEX water lines meet the highest standards of quality and reliability. Compliance with building codes, adherence to industry best practices, and the peace of mind for building owners and occupants are all benefits of a well-executed pressure test.
If you encounter any difficulties or are unsure about any step of the pressure testing process, don’t hesitate to seek professional assistance. Plumbers and contractors with expertise in PEX systems can provide valuable guidance and ensure that the pressure test is conducted correctly.
Remember, pressure testing is not only a requirement but also a proactive measure to protect your investment and ensure the long-term performance of the PEX water lines in your new construction project. By dedicating the time and effort to perform a comprehensive pressure test, you are taking a crucial step towards providing a reliable and efficient plumbing system for years to come.
Curious about the evolution of modern plumbing? Our article on when PEX plumbing was introduced covers everything from its inception to its widespread use today. If you're considering a DIY upgrade, check out our guide on installing a water line for ice makers, ensuring you never run out of ice during those hot summer days. Also, don't miss our detailed overview on what entails a plumbing inspection, which is vital for maintaining a safe and efficient home plumbing system.
Frequently Asked Questions about How To Pressure Test PEX Water Lines In New Construction
Was this page helpful?
At Storables.com, we guarantee accurate and reliable information. Our content, validated by Expert Board Contributors, is crafted following stringent Editorial Policies. We're committed to providing you with well-researched, expert-backed insights for all your informational needs.


0 thoughts on “How To Pressure Test PEX Water Lines In New Construction”