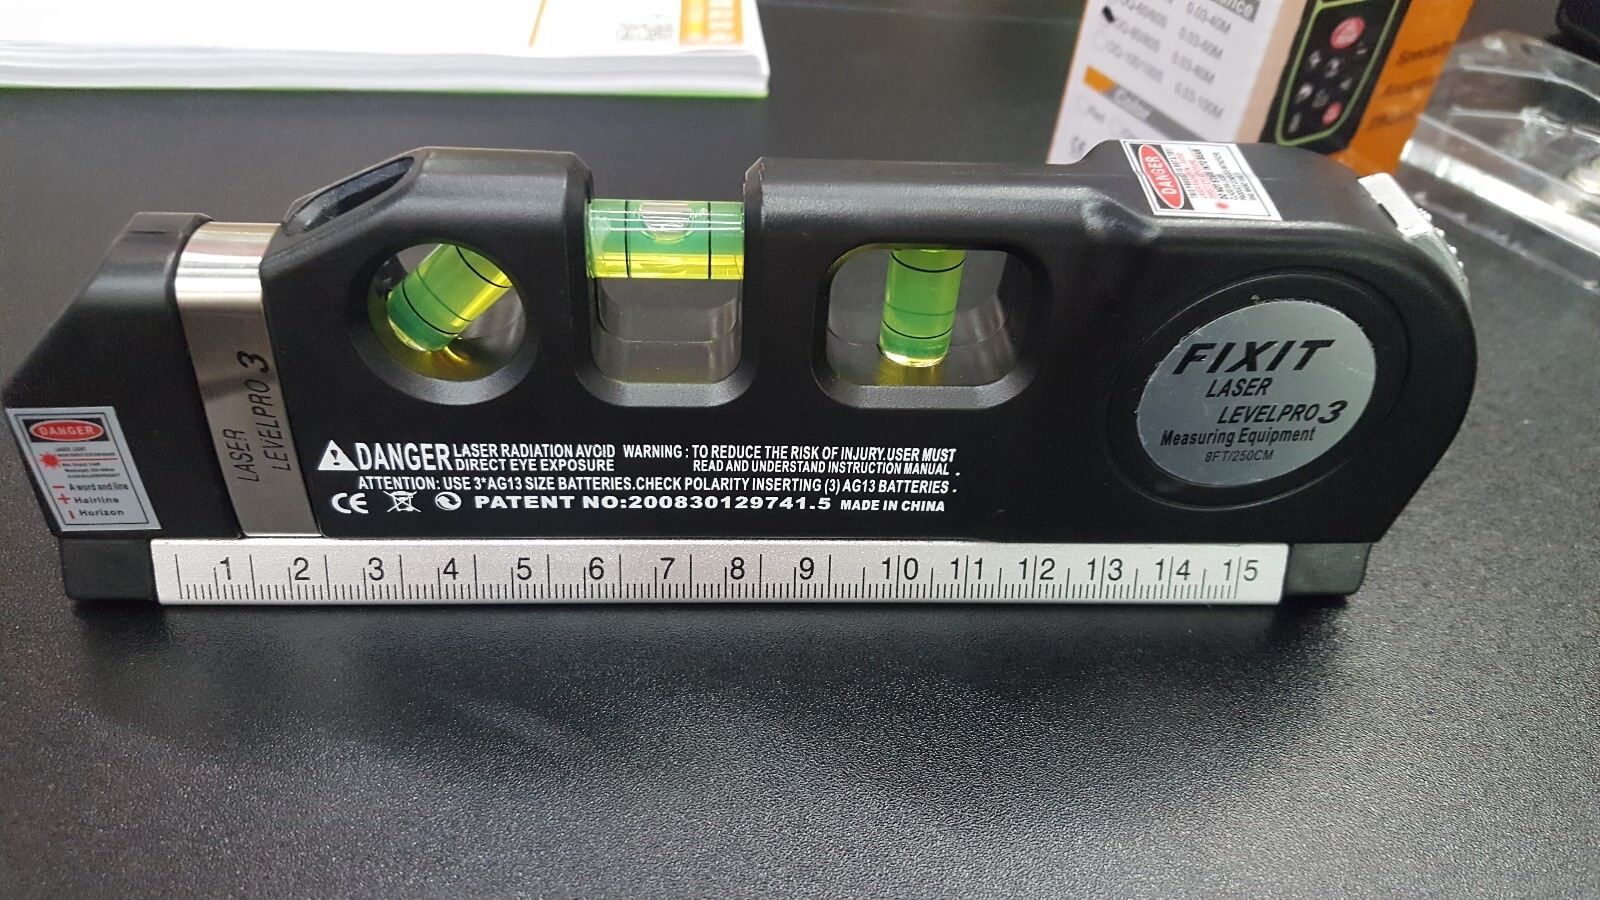

Articles
How To Use Level Pro 3 Laser Level
Modified: October 27, 2024
Discover how to use the Levelpro3 laser level with our informative articles. Get expert tips and tricks for accurate leveling every time.
(Many of the links in this article redirect to a specific reviewed product. Your purchase of these products through affiliate links helps to generate commission for Storables.com, at no extra cost. Learn more)
Introduction
Welcome to this comprehensive guide on how to use the Levelpro3 Laser Level! Whether you’re a professional contractor, a DIY enthusiast, or someone who frequently works on home improvement projects, having a reliable laser level is essential for achieving accurate and precise leveling and alignment. In this article, we will provide you with a detailed overview of the Levelpro3 Laser Level and guide you through its setup, calibration, and operation to ensure optimal results.
The Levelpro3 Laser Level is a state-of-the-art tool that utilizes laser technology to project a level or plumb line onto various surfaces. It is designed to make leveling, aligning, and measuring tasks faster and more efficient. With its user-friendly interface and advanced features, the Levelpro3 Laser Level is suitable for both professionals and individuals undertaking DIY projects.
Before we delve into the specifics of using the Levelpro3 Laser Level, it is important to note that safety should always be your top priority while operating any tool. Familiarize yourself with the manufacturer’s safety guidelines and take necessary precautions to protect yourself and others around you. Now, let’s take a closer look at the Levelpro3 Laser Level and its key features.
Key Takeaways:
- The Levelpro3 Laser Level is a versatile and reliable tool that simplifies leveling and alignment tasks, offering self-leveling capabilities, multiple projection modes, and a durable construction for both professionals and DIY enthusiasts.
- Prioritizing safety, following setup and calibration procedures, and utilizing helpful tips and tricks can enhance the efficiency and accuracy of using the Levelpro3 Laser Level, ensuring precise measurements and professional-looking results.
Read more: How To Use A Laser Level
Overview of the Levelpro3 Laser Level
The Levelpro3 Laser Level is a high-quality leveling tool designed to provide accurate and precise leveling and alignment for a wide range of applications. It features a robust construction, intuitive interface, and advanced laser technology to ensure reliable and efficient results.
One of the standout features of the Levelpro3 Laser Level is its self-leveling capability, which allows the device to automatically adjust and find its true horizontal or vertical level. This feature eliminates the need for manual adjustments and ensures that your measurements are consistently accurate.
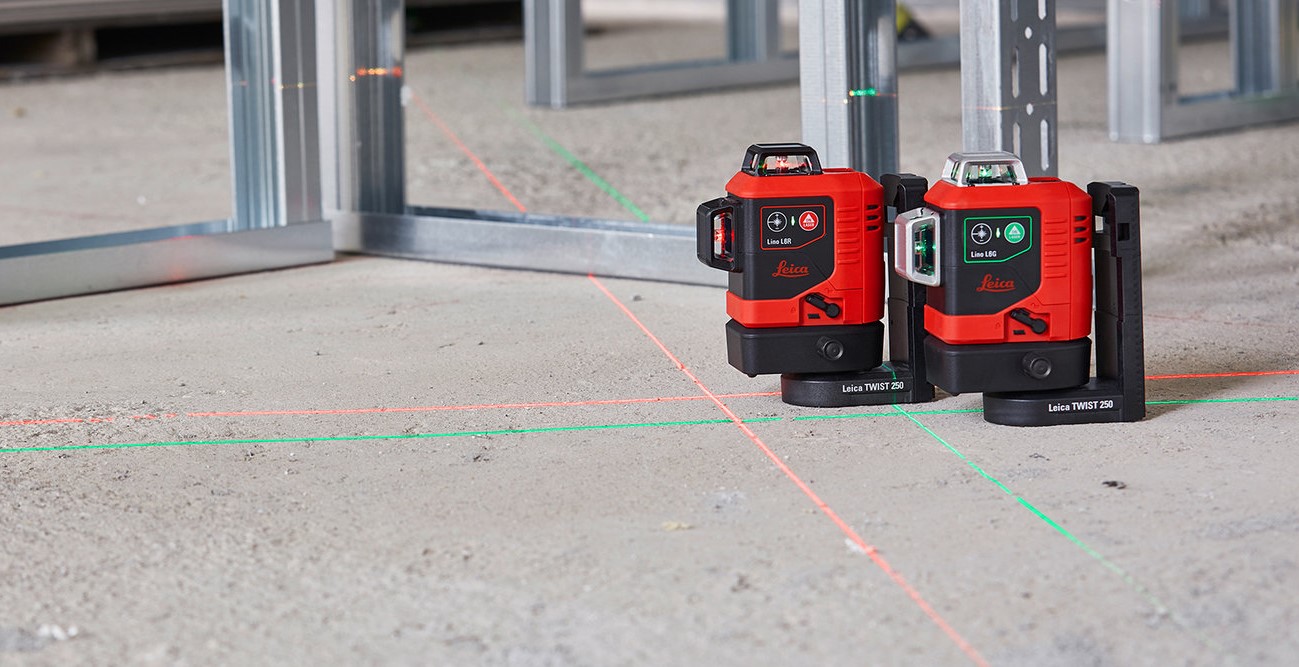
The Levelpro3 Laser Level also offers a laser range of up to 100 feet, making it suitable for various indoor and outdoor applications. Whether you’re working on a construction site, installing cabinets, or laying tiles, this laser level provides a clear and visible laser line to guide your work and ensure precise alignment.
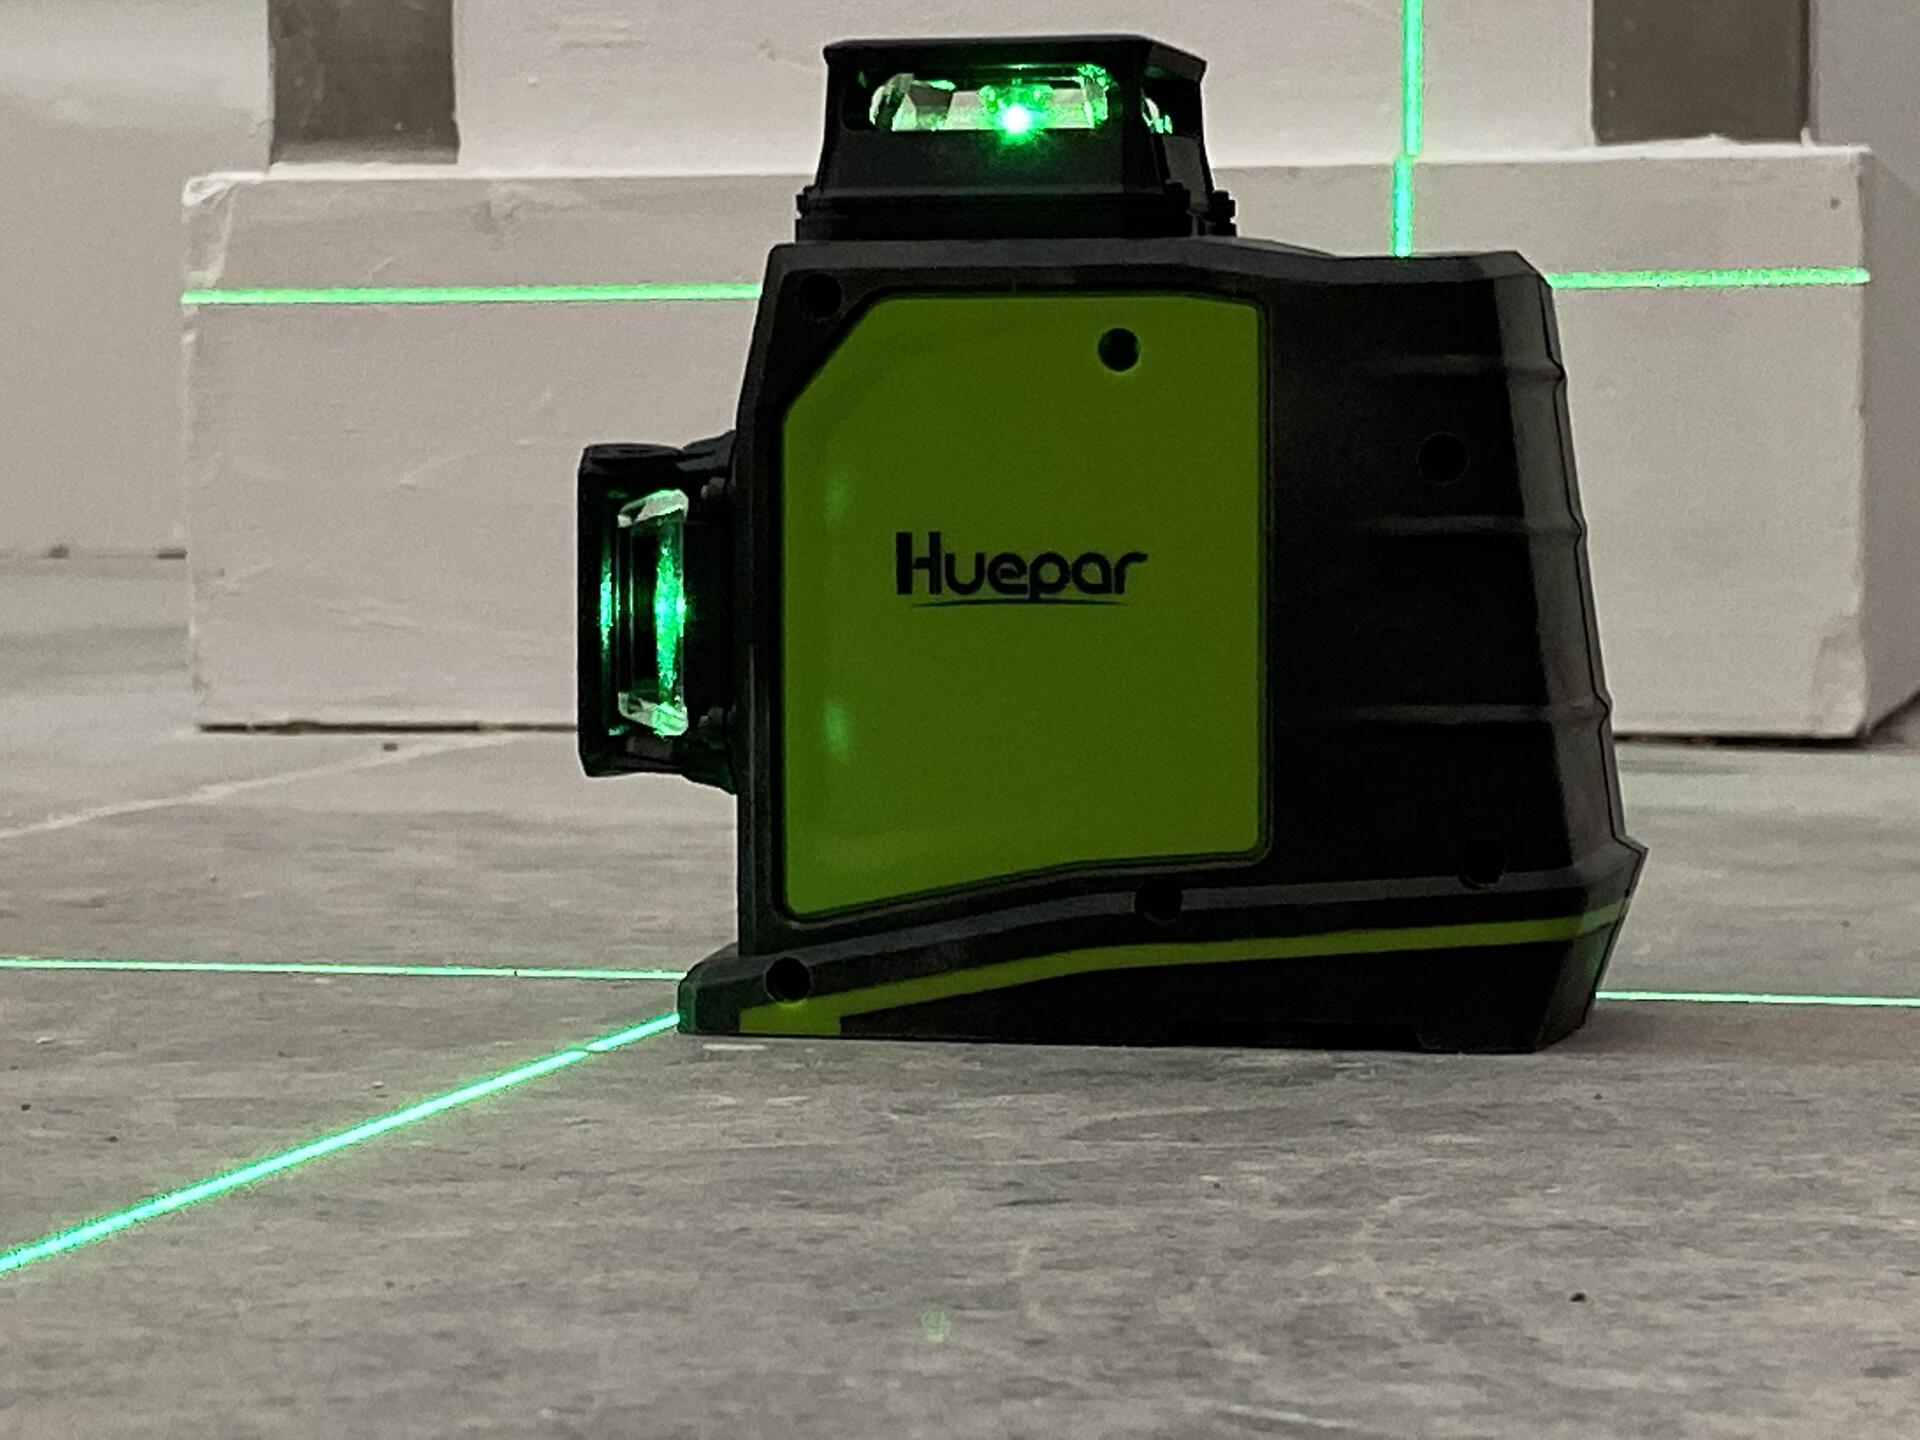
Additionally, the Levelpro3 Laser Level offers multiple projection modes, including horizontal, vertical, and cross-line modes. This versatility allows you to tackle a wide range of leveling and alignment tasks with ease. The laser level also features a locking mechanism to secure the laser in a specific position, allowing for more advanced alignment and layout work.
The Levelpro3 Laser Level is equipped with a durable casing that protects it from dust, debris, and other hazards commonly encountered on job sites. It is also designed to withstand minor impacts and falls, ensuring its longevity and reliability.
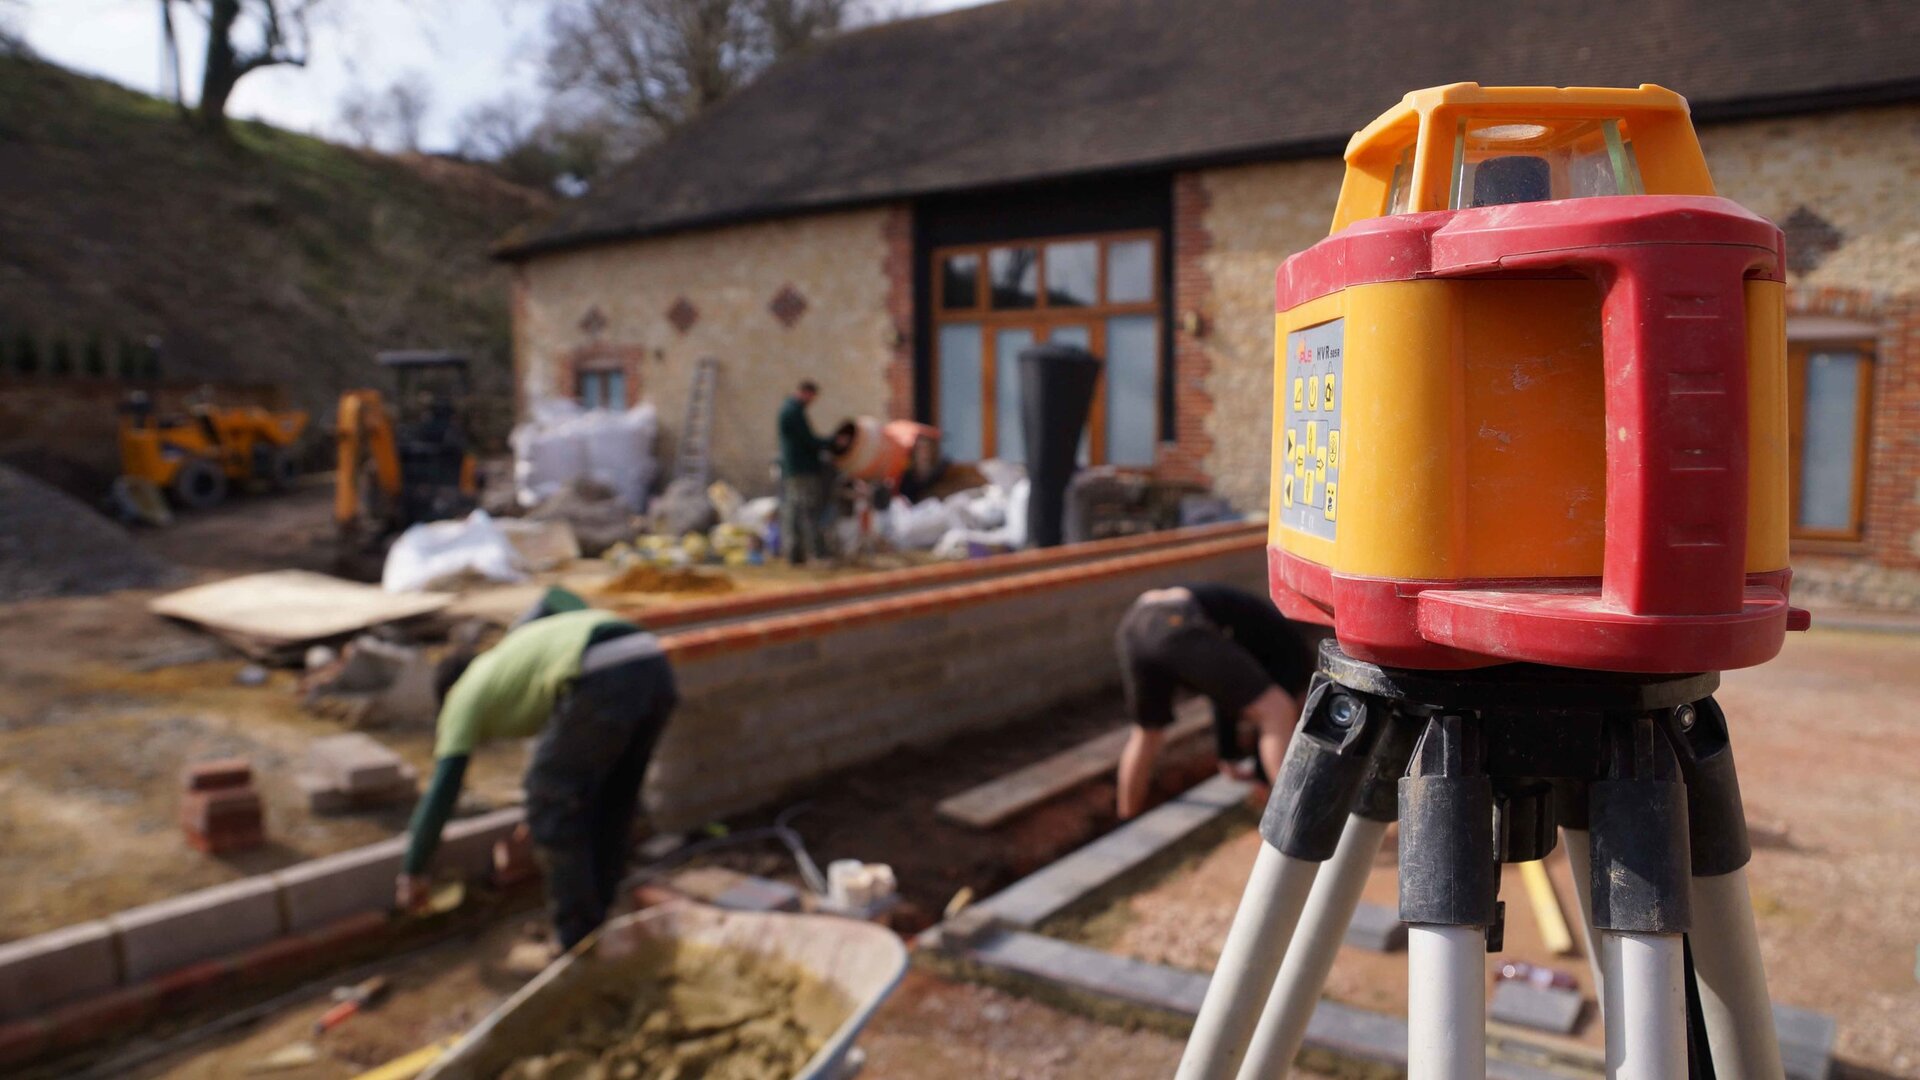
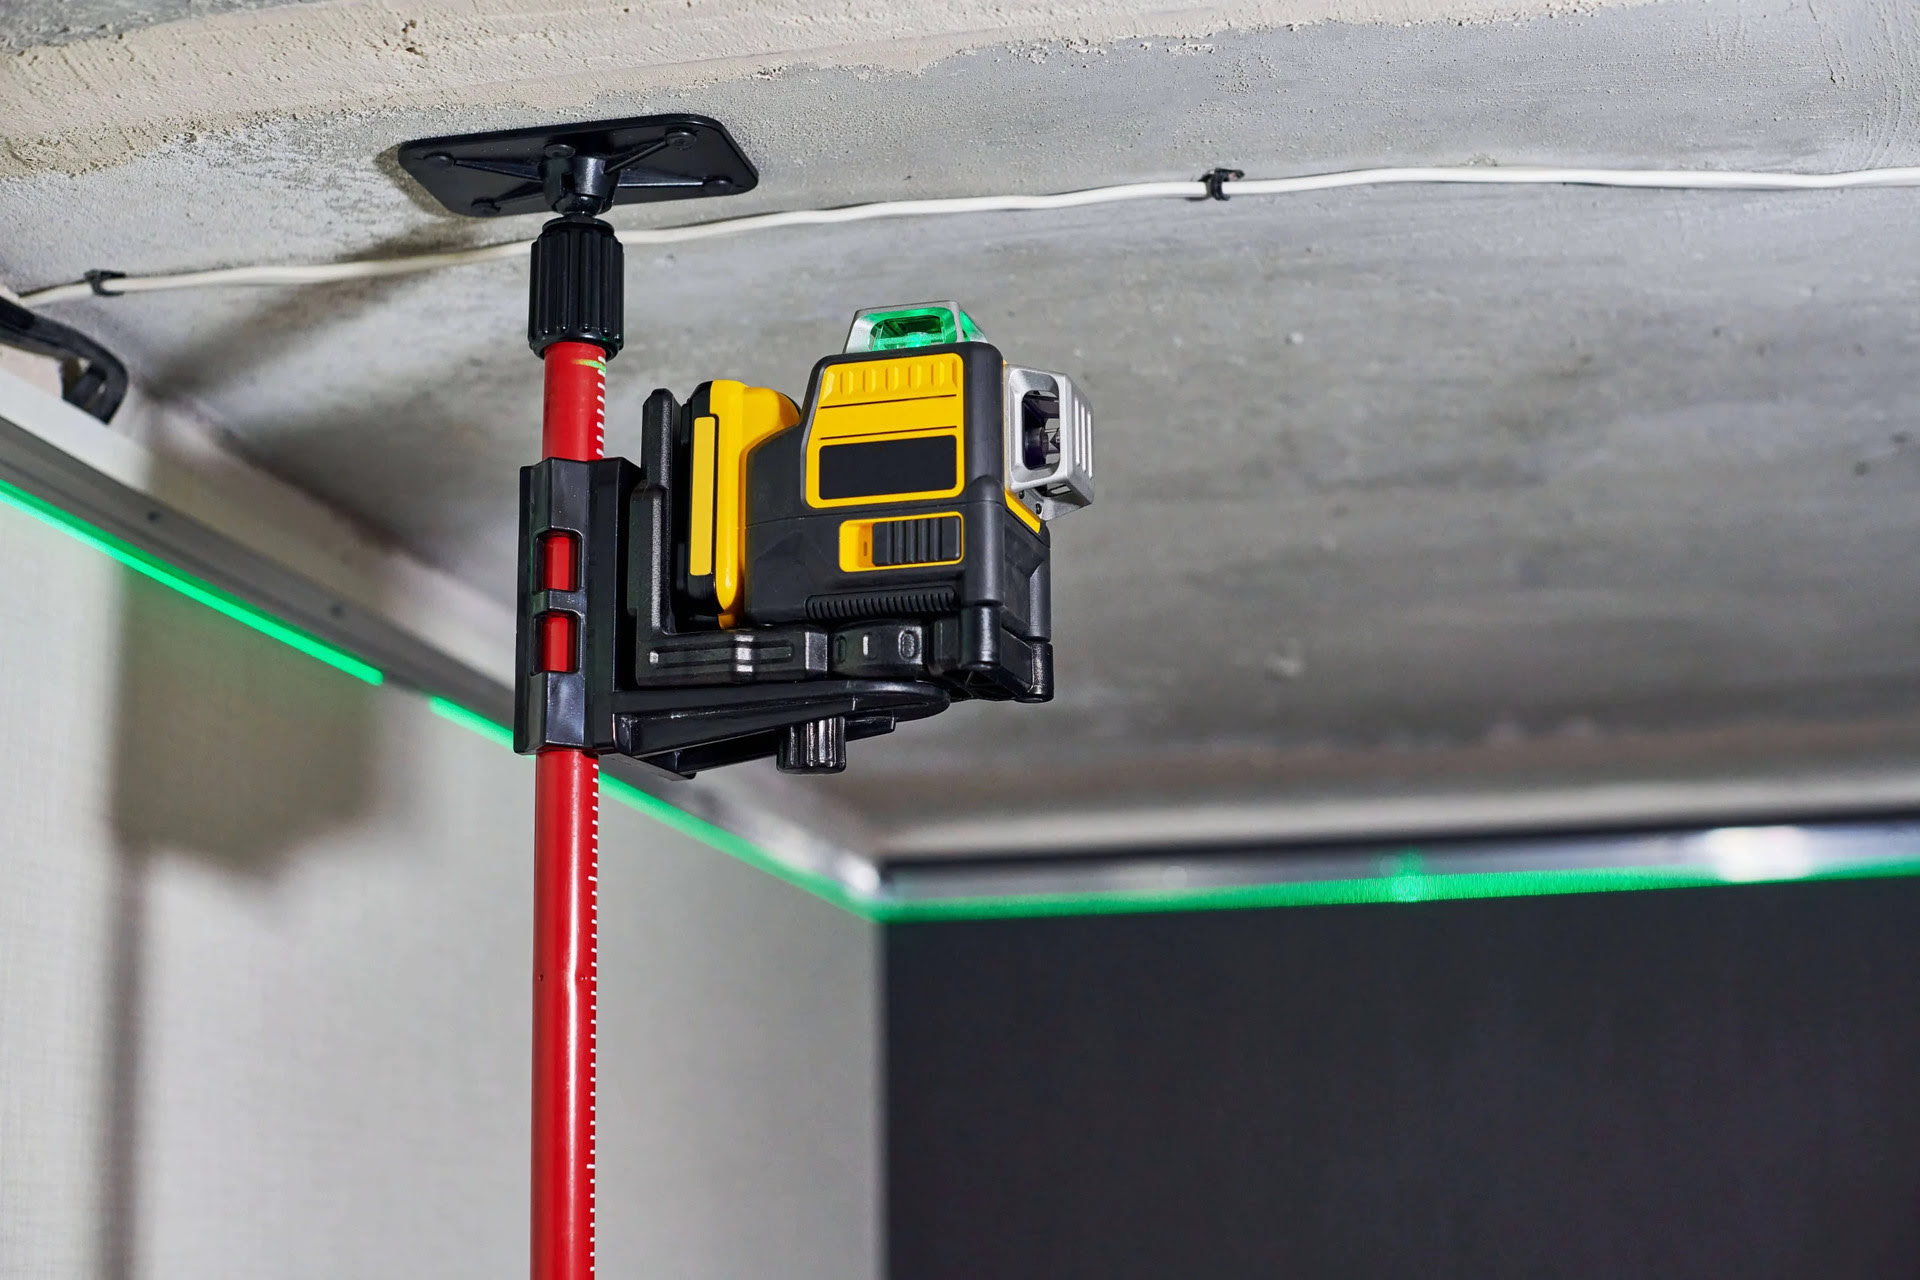
Furthermore, this laser level comes with a variety of helpful accessories, including a tripod stand, a wall mount bracket, and a carrying case. These accessories enhance the usability and portability of the Levelpro3 Laser Level, making it a convenient tool to have for both indoor and outdoor projects.
Now that we have covered the key features and capabilities of the Levelpro3 Laser Level, it’s time to explore the necessary safety precautions before using this tool.
Important Safety Precautions
Before using the Levelpro3 Laser Level, it is crucial to adhere to the following safety precautions to ensure your own safety and the safety of those around you:
- Read the user manual: Familiarize yourself with the manufacturer’s instructions and guidelines provided in the user manual. This will ensure that you understand the proper operation, maintenance, and safety procedures for the Levelpro3 Laser Level.
- Protective gear: Always wear appropriate personal protective equipment (PPE) such as safety goggles and gloves while operating the laser level. This will shield your eyes and hands from potential hazards and debris.
- Avoid direct eye exposure: Do not stare directly into the laser beam emitted by the Levelpro3 Laser Level. Laser beams can cause serious eye damage, so exercise caution and avoid direct exposure. If you need to look at the laser line, do so briefly and indirectly.
- Secure the work area: Clear the work area of any obstructions, tripping hazards, or bystanders. Ensure that the surface on which you are using the laser level is stable and level. This will help prevent accidents and ensure accurate measurements.
- Power source: Check the battery or power source of the Levelpro3 Laser Level and ensure it is fully charged or connected properly. Using a low battery or a faulty power connection can lead to inaccurate readings or unexpected laser beam interruptions.
- Avoid moisture and extreme temperatures: Keep the Levelpro3 Laser Level away from moisture, high humidity, and extreme temperatures. Exposure to these conditions can damage the components and affect the performance of the laser level.
- Transportation and storage: Always store the laser level in its protective case to prevent damage during transportation or when not in use. Store it in a cool, dry place, away from direct sunlight and potential sources of impact or vibration.
- Regular maintenance: Regularly inspect the Levelpro3 Laser Level for any signs of damage or wear. Clean the device gently with a soft cloth to remove dust and debris. Avoid using abrasive cleaners or solvents, as these can damage the surface of the laser level.
By following these safety precautions, you can minimize the risk of accidents, protect your eyesight, and ensure the proper functioning of your Levelpro3 Laser Level. Now that we have covered the safety measures, let’s dive into the setup process for this laser level.
Setting Up the Levelpro3 Laser Level
Setting up the Levelpro3 Laser Level is a straightforward process. Follow these steps to ensure a proper and stable setup:
- Choose a level surface: Find a stable surface to place the laser level. This can be a table, a tripod, or a mounting bracket depending on the application. Ensure that the surface is level and secure to avoid any movement or vibrations during operation.
- Mounting the laser level: If you are using a tripod, attach the Levelpro3 Laser Level to the tripod head using the mounting bracket or adapter provided. Make sure it is securely fastened to prevent any wobbling or movement during operation.
- Powering on the laser level: If the Levelpro3 Laser Level is battery-powered, insert the appropriate batteries into the designated compartment. If it has a power cord, connect it to a reliable power source. Turn on the laser level using the power button or switch.
- Adjusting the laser beam: Once the laser level is powered on, you may need to adjust the position or direction of the laser beam. Some models have manual adjustment knobs, while others offer electronic controls. Refer to the user manual for specific instructions on how to adjust the laser level.
- Checking the level: Make sure the Levelpro3 Laser Level is properly leveled before proceeding with your measurements. Many models have a built-in self-leveling system that automatically levels the laser within a certain range. Wait for the self-leveling process to complete, and confirm that the indicator signals that the level is accurate.
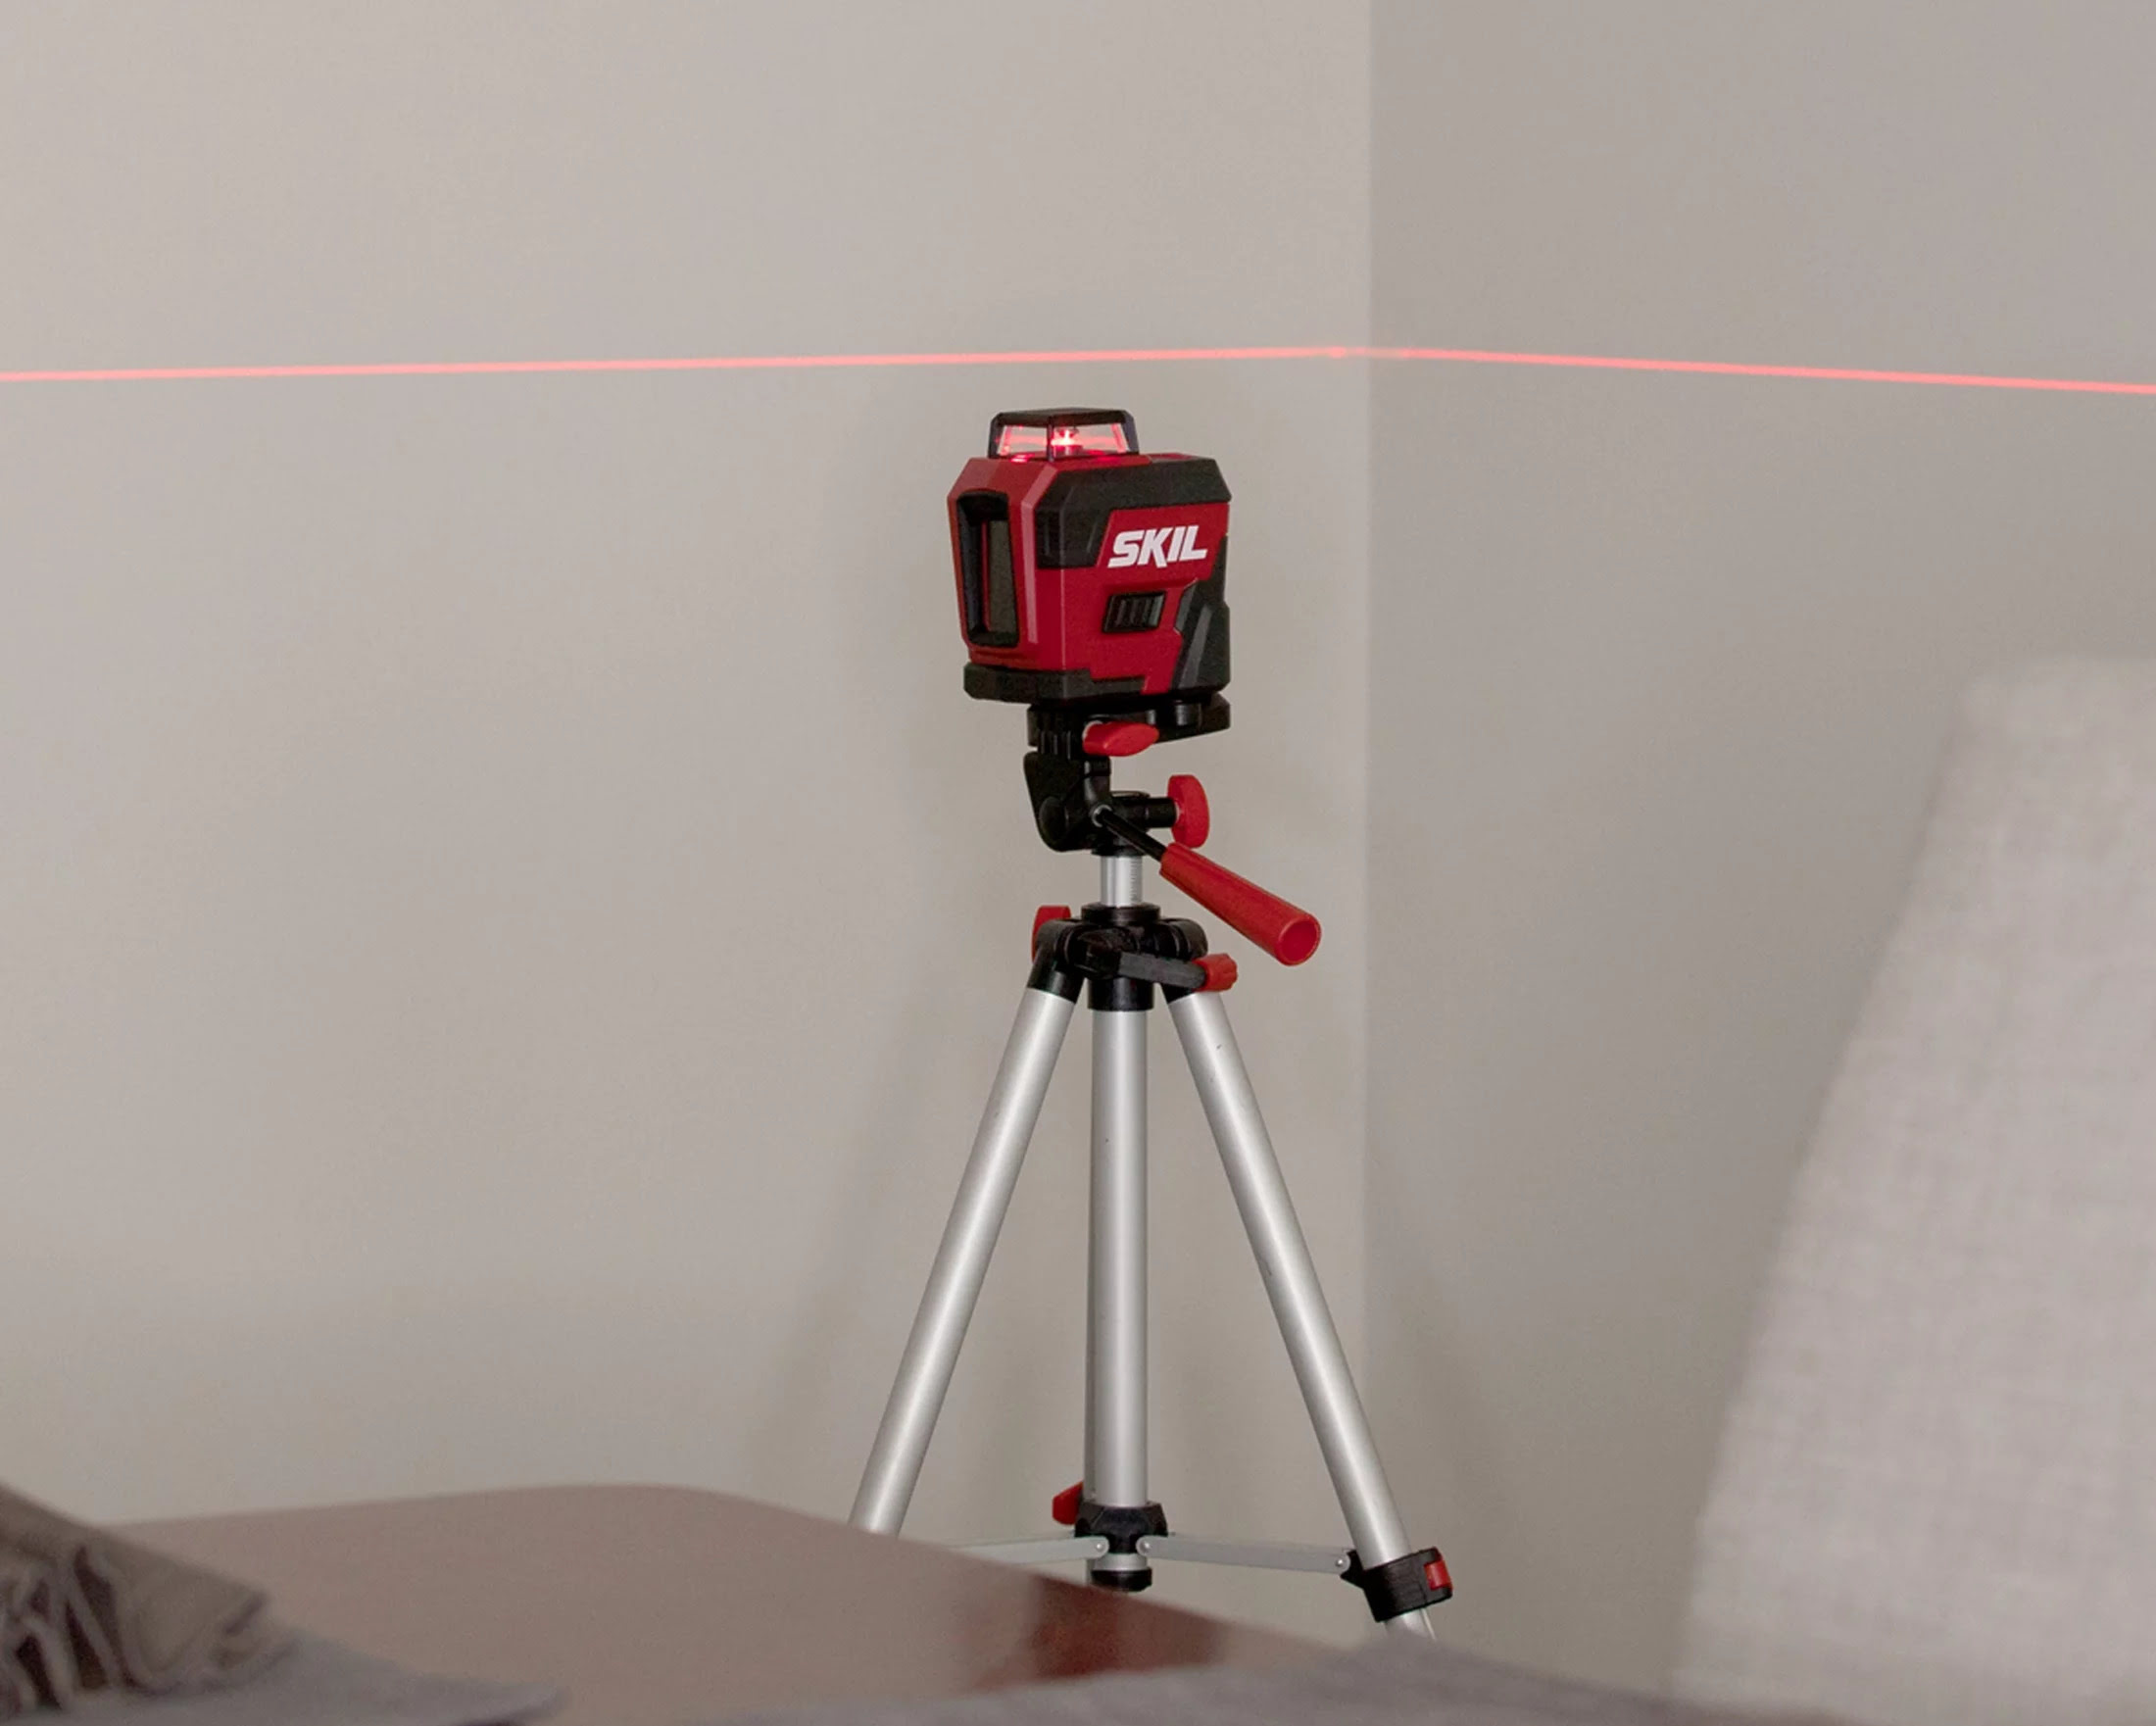
- Testing the laser beam: After the laser is leveled, test the visibility and accuracy of the laser beam. Do this by projecting the laser onto a nearby wall or surface. The laser should produce a clear, visible line without any distortions or deviations. Adjust the laser position if necessary.
- Securing the laser level: Once the laser level is properly set up and aligned, make sure to secure it in place. Use any locking mechanisms or clamps provided to prevent any accidental movement or displacement during use.
It is important to note that each Levelpro3 Laser Level model may have slightly different setup procedures. Always refer to the user manual for specific instructions related to your particular model. With the laser level properly set up, calibrated, and leveled, you are now ready to begin using it for various leveling and alignment tasks. In the next sections, we will explore the different operations and applications of the Levelpro3 Laser Level.
Calibrating the Laser Level
Calibrating the Levelpro3 Laser Level is an essential step to ensure accurate and reliable measurements. The calibration process may vary slightly depending on the model, so be sure to consult the user manual for specific instructions. Here is a general guide to calibrating a laser level:
- Choose a stable surface: Find a level and stable surface where you can set up the laser level for calibration. This can be a table or any other flat surface.
- Power on the laser level: Turn on the Levelpro3 Laser Level and allow it to go through the self-leveling process if applicable. Make sure the laser level is properly leveled before proceeding with the calibration.
- Find a reference point: Locate a reference point that is known to be level or plumb. This can be a marked reference line on a wall, a shelf, or any other surface that you are confident is level or plumb.
- Place the laser level on the reference point: Carefully place the Levelpro3 Laser Level on the reference point. Ensure that it is stable and securely positioned.
- Adjust the laser alignment: Look at the laser beam projected by the laser level and compare it to the reference point. Use the adjustment knobs or controls provided on the laser level to align the laser beam with the reference point. It is important to make small, precise adjustments to ensure accuracy.
- Verify the alignment: Once you have made the necessary adjustments, double-check the alignment of the laser beam with the reference point. Repeat the process if needed until the laser beam aligns perfectly with the reference point.
- Lock the calibration: Once you are satisfied with the calibration, use any locking mechanism or clamps provided to secure the laser level in place. This will prevent any accidental movement or displacement during use.
- Test the calibration: To ensure the calibration is accurate, project the laser onto a nearby wall or surface and check if the laser beam produces a clear, straight line without any deviations. If the calibration is off, repeat the calibration process from step 3.
Calibrating the Levelpro3 Laser Level is a crucial step that should be done periodically or whenever you suspect that the measurements are not accurate. By calibrating your laser level, you can trust that it will provide precise and dependable results for all your leveling and alignment tasks.
Now that we have covered the calibration process, let’s explore the basic operation of the Levelpro3 Laser Level for horizontal and vertical leveling.
Read also: 10 Amazing Laser Level Pro for 2025
Basic Operation of the Levelpro3 Laser Level
The Levelpro3 Laser Level offers intuitive and user-friendly operation, making it suitable for both professionals and individuals undertaking DIY projects. Here is a step-by-step guide on how to operate the Levelpro3 Laser Level for horizontal and vertical leveling:
Horizontal Leveling:
- Set up the laser level: Follow the steps outlined earlier to set up the Levelpro3 Laser Level on a stable surface. Ensure that it is properly leveled and calibrated before proceeding.
- Power on the laser level: Turn on the laser level and allow it to go through the self-leveling process if applicable.
- Identify the leveling line: Look for the horizontal leveling line projected by the laser level. This will be a straight, level line emitted from the laser beam.
- Position the leveling line: Rotate the laser level or adjust its position until the leveling line aligns with the desired reference point. This can be a marked line on a wall, the top of a shelf, or any other horizontal surface you wish to match.
- Lock the laser level: Once the leveling line is aligned with the reference point, use any provided locking mechanism or clamps to secure the laser level in place. This will prevent any accidental movement and ensure consistent horizontal leveling.
Vertical Leveling:
- Set up the laser level: Similar to horizontal leveling, set up the Levelpro3 Laser Level on a stable surface and ensure it is properly leveled and calibrated.
- Power on the laser level: Turn on the laser level and allow it to go through the self-leveling process if applicable.
- Identify the vertical leveling line: Look for the vertical leveling line projected by the laser level. This will be a straight, plumb line emitted from the laser beam.
- Position the leveling line: Rotate the laser level or adjust its position until the leveling line aligns with the desired vertical reference point. This can be a marked line on a wall, a door frame, or any other vertical surface you wish to match.
- Lock the laser level: Once the leveling line is aligned with the reference point, use the provided locking mechanism or clamps to secure the laser level in place. This will prevent any accidental movement and ensure consistent vertical leveling.
As you can see, operating the Levelpro3 Laser Level for horizontal and vertical leveling is a simple and straightforward process. However, it is important to remember to always follow the manufacturer’s instructions and guidelines for your specific model, as the operation may vary slightly.
In the next sections, we will explore how to use the Levelpro3 Laser Level for alignments and provide some useful tips and tricks for efficient usage.
Using the Levelpro3 Laser Level for Horizontal Leveling
The Levelpro3 Laser Level is a versatile tool that allows for precise horizontal leveling in various applications. Here’s a step-by-step guide on using the Levelpro3 Laser Level for horizontal leveling:
- Set up the laser level: Place the Levelpro3 Laser Level on a stable surface or mount it on a tripod, ensuring it is securely positioned.
- Power on the laser level: Turn on the laser level and wait for it to complete the self-leveling process.
- Identify the leveling line: Look for the horizontal leveling line projected by the laser level. This line represents a level reference point.
- Position the leveling line: Rotate or adjust the laser level until the leveling line aligns with the desired reference point. This can be a mark, a beam, or any other horizontal surface that you want to match or create.
- Lock the laser level: Once the leveling line is aligned with the reference point, use the locking mechanism or clamps provided to secure the laser level in place. This prevents the laser from moving or shifting during use.
- Use a measuring tool: With the horizontal leveling line projected by the Levelpro3 Laser Level, you can now use a measuring tool, such as a tape measure or ruler, to take measurements and align other objects or surfaces horizontally.
Whether you’re installing shelves, hanging pictures, or setting up cabinets, the Levelpro3 Laser Level ensures accurate horizontal leveling, saving you time and effort. Remember to always double-check the leveling line before proceeding with any measurements or adjustments.
Next, let’s explore how to use the Levelpro3 Laser Level for vertical leveling.
Read more: How To Use Strait-Line X3 Laser Level
Using the Levelpro3 Laser Level for Vertical Leveling
The Levelpro3 Laser Level is not limited to horizontal leveling—it also provides precise vertical leveling for a wide range of applications. Follow these steps to use the Levelpro3 Laser Level for vertical leveling:
- Set up the laser level: Choose a stable surface or mount the Levelpro3 Laser Level on a tripod, ensuring it is securely positioned.
- Power on the laser level: Turn on the laser level and wait for it to complete the self-leveling process.
- Identify the leveling line: Look for the vertical leveling line projected by the laser level. This line represents a plumb reference point.
- Position the leveling line: Rotate or adjust the laser level until the leveling line aligns with the desired vertical reference point. This can be a mark on a wall, a door frame, or any other vertical surface that you want to match or create.
- Lock the laser level: Once the leveling line is aligned with the reference point, use the locking mechanism or clamps provided to secure the laser level in place. This prevents the laser from moving or shifting during use.
- Use a measuring tool: With the vertical leveling line projected by the Levelpro3 Laser Level, you can use a measuring tool, such as a tape measure or ruler, to take measurements and align other objects or surfaces vertically.
Vertical leveling is essential for tasks like aligning cabinets, installing frames, or hanging doors, ensuring precise and accurate alignment. Always verify the leveling line to ensure it is perfectly plumb before proceeding with any measurements or adjustments.
The Levelpro3 Laser Level’s versatility in providing both horizontal and vertical leveling makes it a valuable tool for a wide range of projects. In the next section, we will explore how you can use the Levelpro3 Laser Level for various alignments.
Using the Levelpro3 Laser Level for Alignments
The Levelpro3 Laser Level is not only useful for leveling tasks, but it can also be utilized for precise alignments in various applications. Here’s how you can use the Levelpro3 Laser Level for alignments:
Aligning Objects:
- Set up the laser level: Place the Levelpro3 Laser Level on a stable surface or mount it on a tripod, ensuring it is securely positioned.
- Power on the laser level: Turn on the laser level and wait for it to complete the self-leveling process.
- Identify the leveling line: Look for the laser line projected by the Levelpro3 Laser Level, whether horizontal or vertical, depending on the alignment needed.
- Position the objects: Adjust the position of the objects you want to align, such as shelves or cabinets, until the edges or marks of the objects align with the projected laser line.
- Confirm alignment: Double-check the alignment by using a measuring tool or a level to ensure that the objects are straight and properly aligned.
- Secure the objects: Once the objects are aligned, fix or secure them in place using suitable fasteners, adhesive, or clamps to maintain their alignment.
Aligning Tiles or Wall Decorations:
- Set up the laser level: Position the Levelpro3 Laser Level on a stable surface or mount it on a tripod, ensuring it is securely positioned.
- Power on the laser level: Turn on the laser level and wait for it to complete the self-leveling process.
- Identify the leveling line: Look for the horizontal or vertical laser line projected by the Levelpro3 Laser Level, depending on the alignment needed.
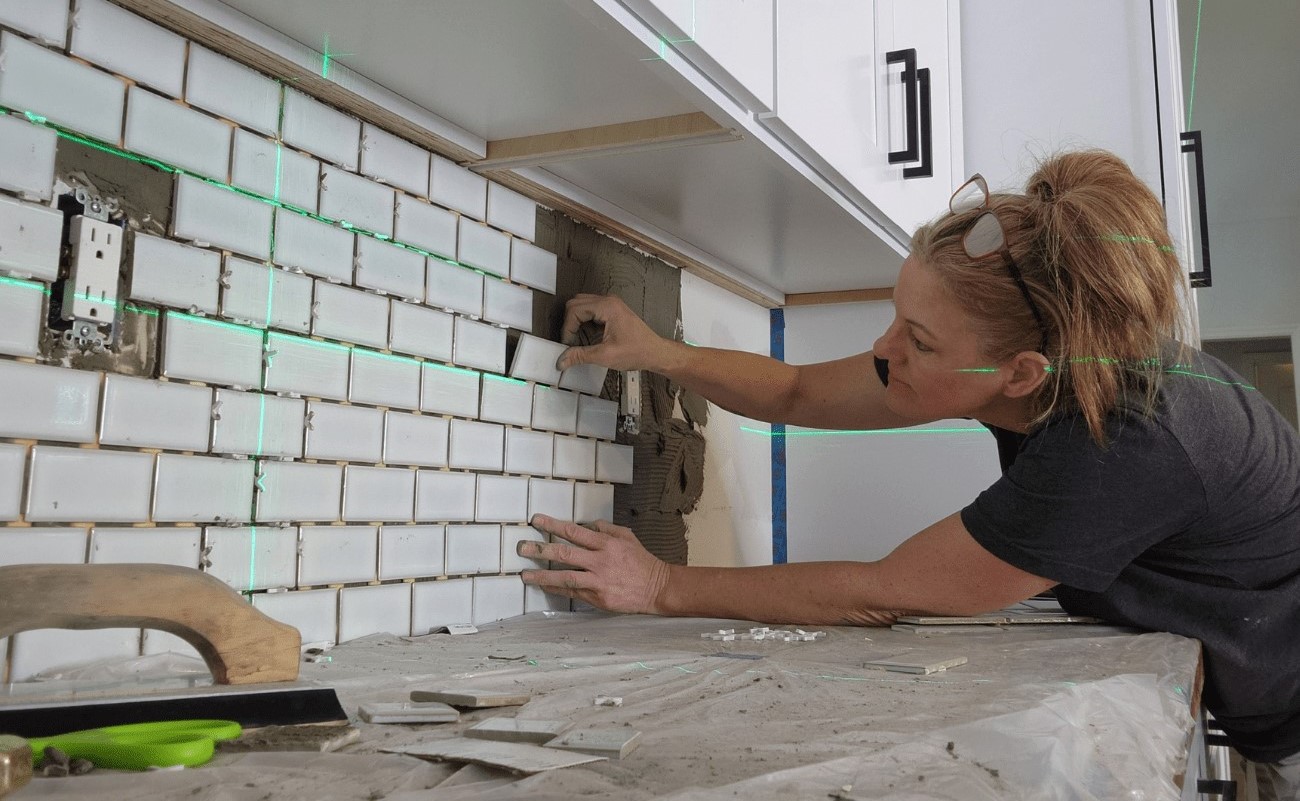
- Position the tiles or decorations: Arrange the tiles or wall decorations so that their edges or markings align with the projected laser line, ensuring a straight and even layout.
- Verify the alignment: Use a spirit level or a measuring tool to verify that the tiles or decorations are aligned uniformly along the laser line.
- Secure the tiles or decorations: Once the tiles or decorations are aligned properly, affix them to the wall using an appropriate adhesive or fasteners to ensure they stay in place.
The Levelpro3 Laser Level’s ability to project a clear laser line enables precise alignments, making it a versatile tool for a range of projects. Whether you’re aligning objects, tiles, or wall decorations, the Levelpro3 Laser Level ensures accurate alignment, resulting in professional-looking results.
Now that we have explored how to use the Levelpro3 Laser Level for alignments, let’s move on to some tips and tricks to help you efficiently use this tool.
Read more: How To Use A Self Leveling Laser Level
Tips and Tricks for Efficiently Using the Levelpro3 Laser Level
The Levelpro3 Laser Level is a powerful tool for achieving accurate leveling and alignment in various projects. Here are some tips and tricks to help you maximize the efficiency and effectiveness of your Levelpro3 Laser Level:
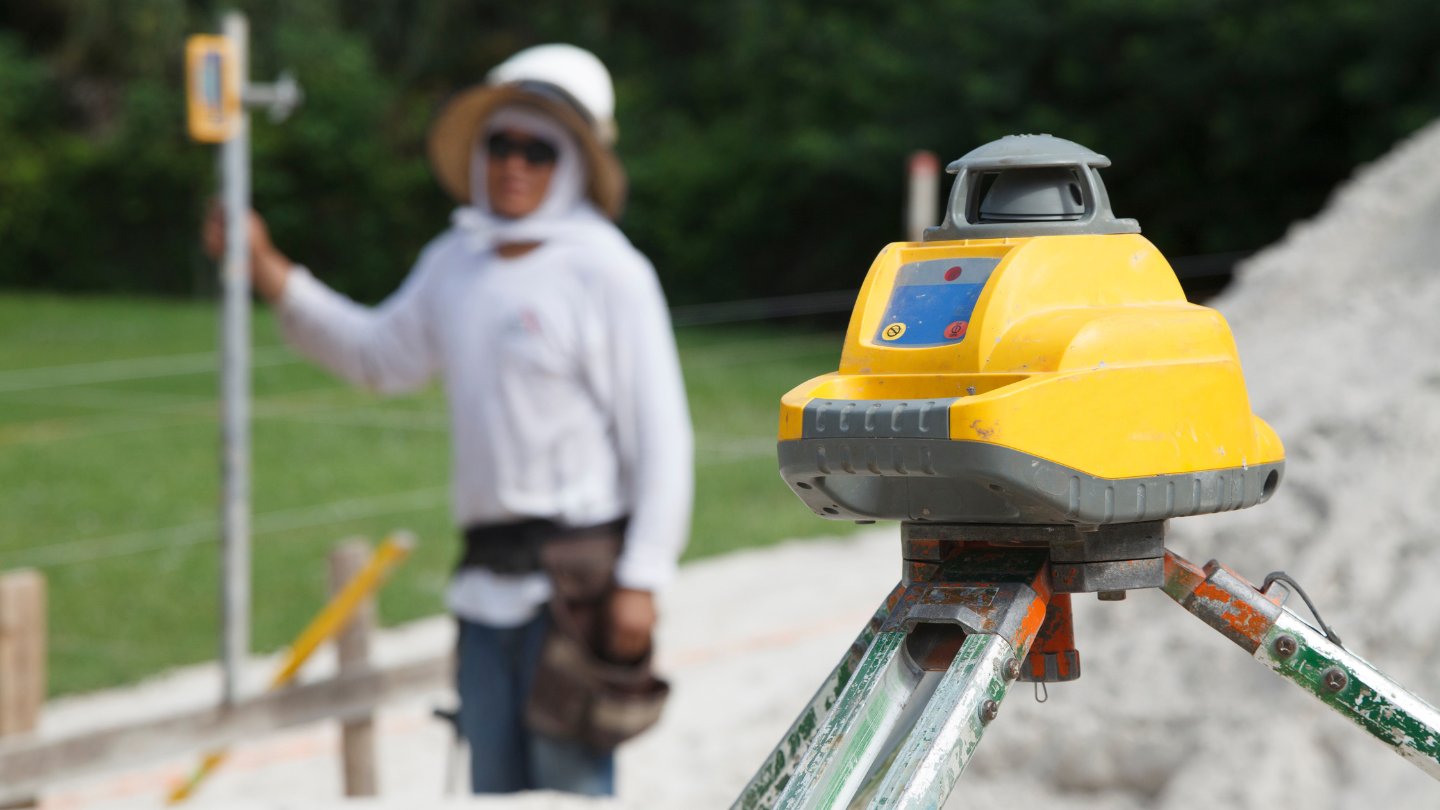
- Use a laser detector: In situations where the laser line is not easily visible due to distance or lighting conditions, consider using a laser detector. A laser detector will help you locate the laser line accurately, even in bright or outdoor environments.
- Collaborate with a partner: When working on larger projects or long-distance alignments, having a partner to assist you can greatly enhance efficiency. While one person positions and aligns the objects, the other person can verify the accuracy from a distance.
- Utilize the locking mechanism: The Levelpro3 Laser Level typically comes with a locking mechanism or clamps. Use them to secure the laser level in position to avoid accidental movements or shifts during operation, ensuring consistent and reliable results.
- Take advantage of multiple modes: The Levelpro3 Laser Level often offers multiple projection modes, such as horizontal, vertical, and cross-line modes. Familiarize yourself with these modes and utilize them as needed for different alignment tasks.
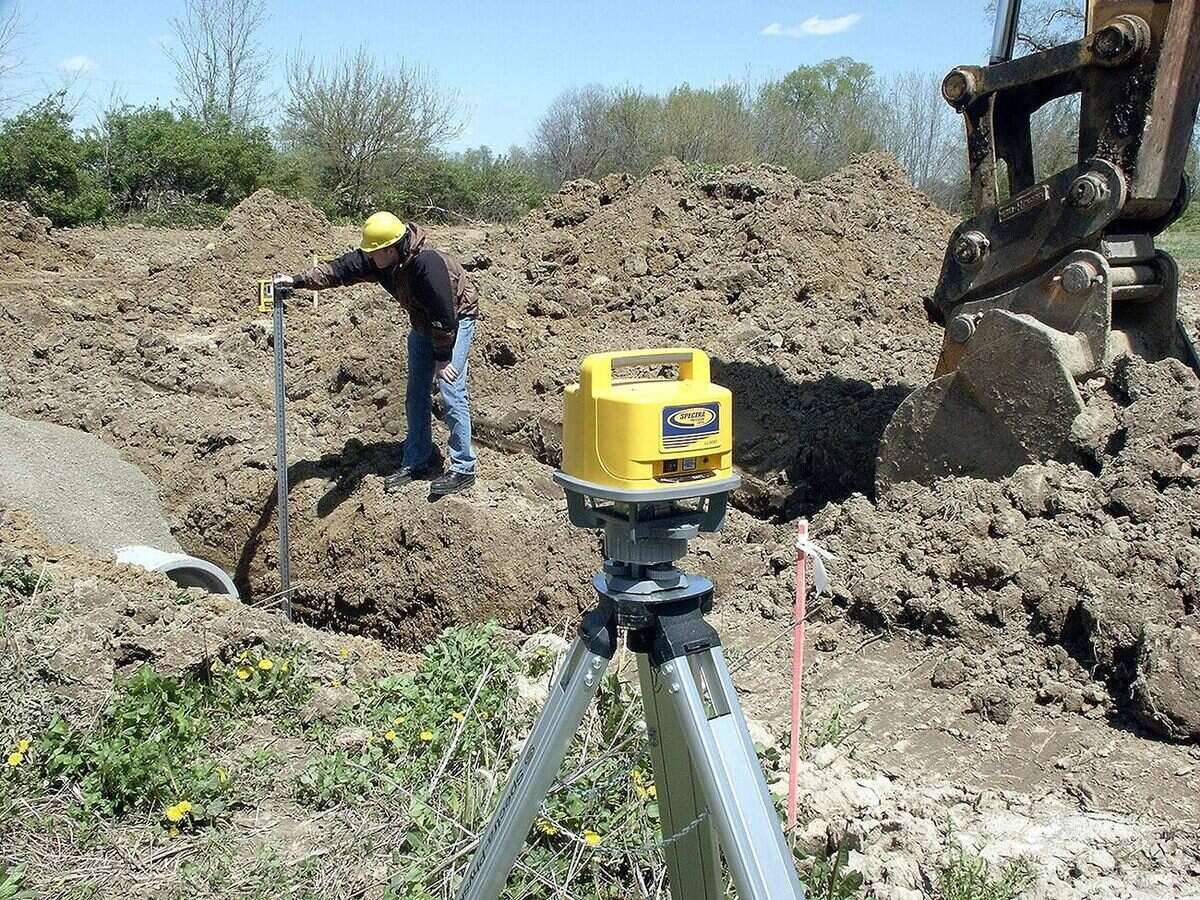
- Consider using a tripod: Using a tripod with your Levelpro3 Laser Level offers stability and flexibility. A tripod allows you to set up the laser level at different heights and positions, making it easier to align objects or surfaces accurately.
- Take measurements from multiple points: To ensure precise alignment, take measurements from multiple points along the laser line. This helps verify consistency and detect any potential deviations in the alignment.
- Perform regular maintenance: Keep your Levelpro3 Laser Level in optimal condition by performing regular maintenance. Clean the laser lens and casing regularly to ensure clear projection and protect it from dust and debris. Check the batteries and power source, and replace them as needed.
- Store the laser level in its case: When not in use, store your Levelpro3 Laser Level in its protective case. This protects it from damage, dust, and moisture, ensuring its longevity and reliable performance.
- Refer to the user manual: Always refer to the user manual specific to your Levelpro3 Laser Level model. It contains important information, operation instructions, and troubleshooting tips that will help you use the tool effectively and address any issues you may encounter.
By following these tips and tricks, you can make the most out of your Levelpro3 Laser Level and ensure efficient and accurate leveling and alignment in your projects. Always prioritize safety and refer to the manufacturer’s guidelines to operate the laser level properly.
In the next section, we will address some common issues that you may encounter with the Levelpro3 Laser Level and provide troubleshooting solutions.
When using the Levelpro3 Laser Level, make sure to calibrate it on a stable surface before use to ensure accurate leveling and alignment.
Troubleshooting Common Issues with the Levelpro3 Laser Level
While the Levelpro3 Laser Level is a reliable tool, you may encounter some common issues during its operation. Here are some troubleshooting tips to help you address these issues:
Issue: Laser beam is not visible
Solution:
- Check the battery or power source and ensure it is properly connected and charged. Replace the batteries if necessary.
- Verify that the laser level is turned on and that the laser beam is not obstructed by any barriers or debris.
- If working in bright lighting conditions, consider using a laser detector, which can help locate the laser beam accurately.
Issue: Inaccurate leveling or alignment
Solution:
- Make sure the leveling bubbles on the laser level are centered. If not, adjust the position until they are level.
- Check if the laser level is on a stable surface and securely mounted. Vibration or movement can affect the accuracy of the leveling.
- Perform a calibration of the laser level according to the manufacturer’s instructions to ensure accurate measurements.
- Double-check the position of the reference points or objects you are aligning and make necessary adjustments if they are not accurately placed.
Read more: How To Use A Laser Level For Framing
Issue: Self-leveling function not working
Solution:
- Ensure that the laser level is on a stable surface and not tilted beyond its leveling range.
- Check if the leveling base or tripod is secure and not causing any interference with the self-leveling mechanism.
- Clean the leveling base and sensors to remove any dust or debris that may be affecting the self-leveling function.
- If the issue persists, consult the manufacturer’s support or customer service for further assistance or repair.
Issue: Laser line is distorted or uneven
Solution:
- Check if the laser level lens is clean and free from any dust or debris. Use a soft cloth or lens cleaning solution to gently clean the lens if needed.
- Make sure the laser level is securely mounted and not experiencing any vibrations or movements during operation.
- Verify that the surface on which the laser level is projected is smooth and not causing any diffractions or irregularities in the laser line.
- If the issue persists, consider calibrating the laser level again to ensure accurate projection.
If you encounter any other issues with your Levelpro3 Laser Level, refer to the user manual or contact the manufacturer’s support for specific troubleshooting steps or to obtain warranty service. Remember to always prioritize safety and follow the manufacturer’s guidelines for proper tool usage and maintenance. With the troubleshooting tips provided, you should be able to efficiently tackle any common issues that arise while using the Levelpro3 Laser Level. In the next section, we will conclude our article with a summary and final thoughts.
Conclusion
The Levelpro3 Laser Level is a versatile and reliable tool that enhances accuracy and efficiency in leveling and alignment tasks. Through this comprehensive guide, we have covered the important aspects of using a Levelpro3 Laser Level, including its overview, safety precautions, setup process, calibration, basic operations, alignments, and troubleshooting common issues.
By following the step-by-step instructions provided, you can confidently set up and operate the Levelpro3 Laser Level for horizontal and vertical leveling. Whether you’re aligning objects, tiles, or wall decorations, this laser level ensures precise measurements and professional-looking results.
Remember to prioritize safety by wearing protective gear and adhering to the manufacturer’s safety guidelines. Regular maintenance and calibration of the Levelpro3 Laser Level are essential to ensure accurate and reliable measurements. Utilize the various modes and features of the laser level to match specific alignment needs.
Additionally, implementing the tips and tricks shared in this guide will enhance your efficiency and productivity while using the Levelpro3 Laser Level. Using a laser detector, collaborating with a partner, or taking measurements from multiple points are just a few strategies to optimize your results.
If you encounter any issues or inconsistencies with your Levelpro3 Laser Level, refer to the troubleshooting section or consult the user manual for specific solutions. In case of persistent problems, contacting the manufacturer’s support or customer service will ensure proper assistance.
Overall, the Levelpro3 Laser Level is a valuable tool that simplifies and improves a variety of leveling and alignment tasks. It empowers professionals and DIY enthusiasts alike to achieve accurate and precise results in their projects.
So, whether you’re a contractor, a renovation enthusiast, or a DIY hobbyist, the Levelpro3 Laser Level is a tool worth investing in. Its reliability, ease of use, and versatility make it an indispensable asset for any project that requires accurate leveling and alignment.
With the knowledge gained from this guide, you’re ready to confidently use the Levelpro3 Laser Level to achieve precise measurements and professional-level results. Happy leveling and aligning!
Frequently Asked Questions about How To Use Level Pro 3 Laser Level
Was this page helpful?
At Storables.com, we guarantee accurate and reliable information. Our content, validated by Expert Board Contributors, is crafted following stringent Editorial Policies. We're committed to providing you with well-researched, expert-backed insights for all your informational needs.

0 thoughts on “How To Use Level Pro 3 Laser Level”