Articles
How To Use Bevel Protractor
Modified: August 28, 2024
Learn how to accurately use a bevel protractor and get expert tips in our informative articles. Enhance your measuring skills and achieve precise angles.
(Many of the links in this article redirect to a specific reviewed product. Your purchase of these products through affiliate links helps to generate commission for Storables.com, at no extra cost. Learn more)
Introduction
A bevel protractor is a versatile and essential tool used in various fields such as woodworking, metalworking, and engineering. It is specifically designed to measure and set angles accurately. Whether you are a professional carpenter, machinist, or DIY enthusiast, understanding how to effectively use a bevel protractor can greatly enhance your precision and accuracy in angle measurement.
In this guide, we will explore the fundamentals of a bevel protractor, its components, and how to properly set it up. Additionally, we will dive into the step-by-step process of measuring angles using a bevel protractor. Moreover, we will provide you with some useful tips and tricks to get the most out of this tool, as well as common mistakes to avoid. By the end of this article, you will have a comprehensive understanding of how to use a bevel protractor effectively.
Key Takeaways:
- Mastering the use of a bevel protractor enables precise angle measurements in woodworking, metalworking, and engineering, enhancing accuracy and control in various projects.
- Avoid common mistakes such as inadequate blade alignment and insufficient tightening to ensure reliable and accurate angle measurements with a bevel protractor.
Read more: How To Use A Military Protractor
What is a Bevel Protractor?
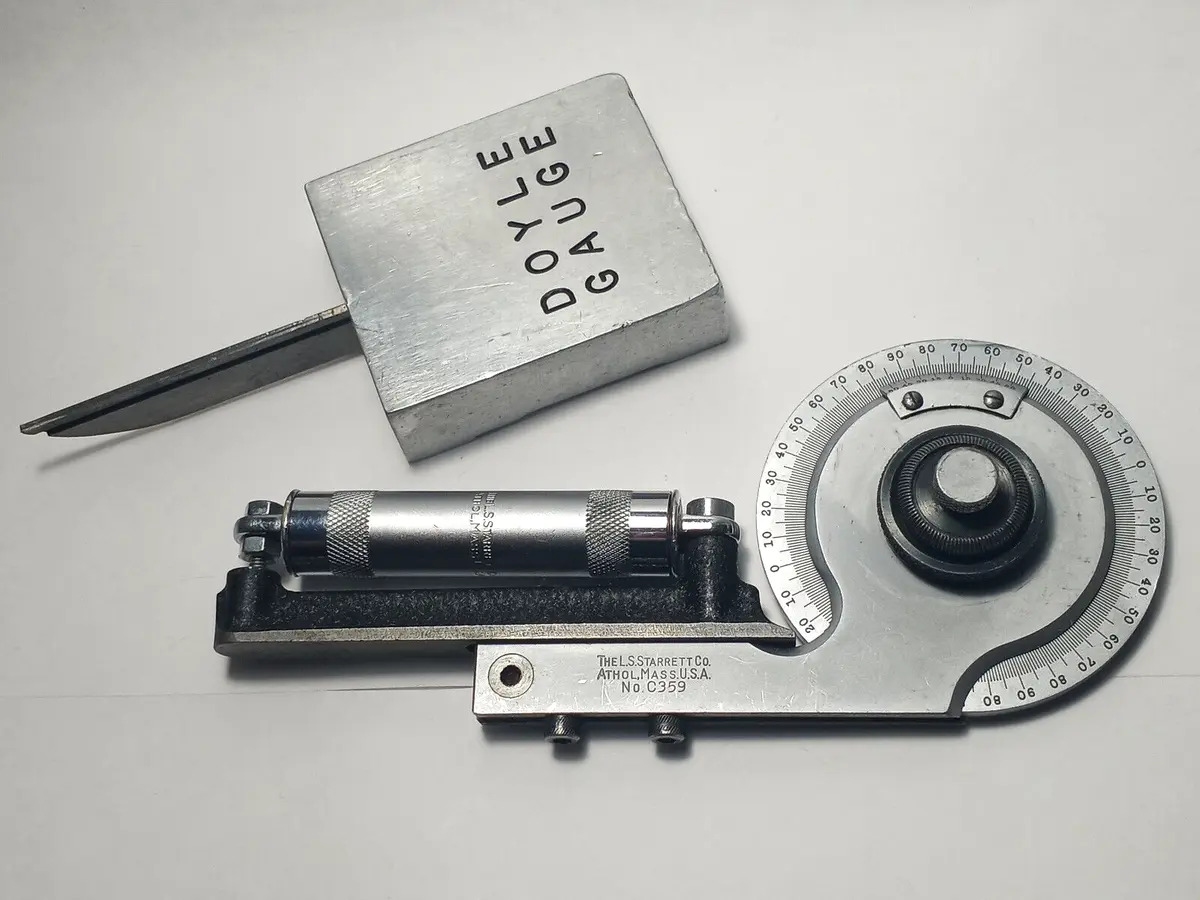
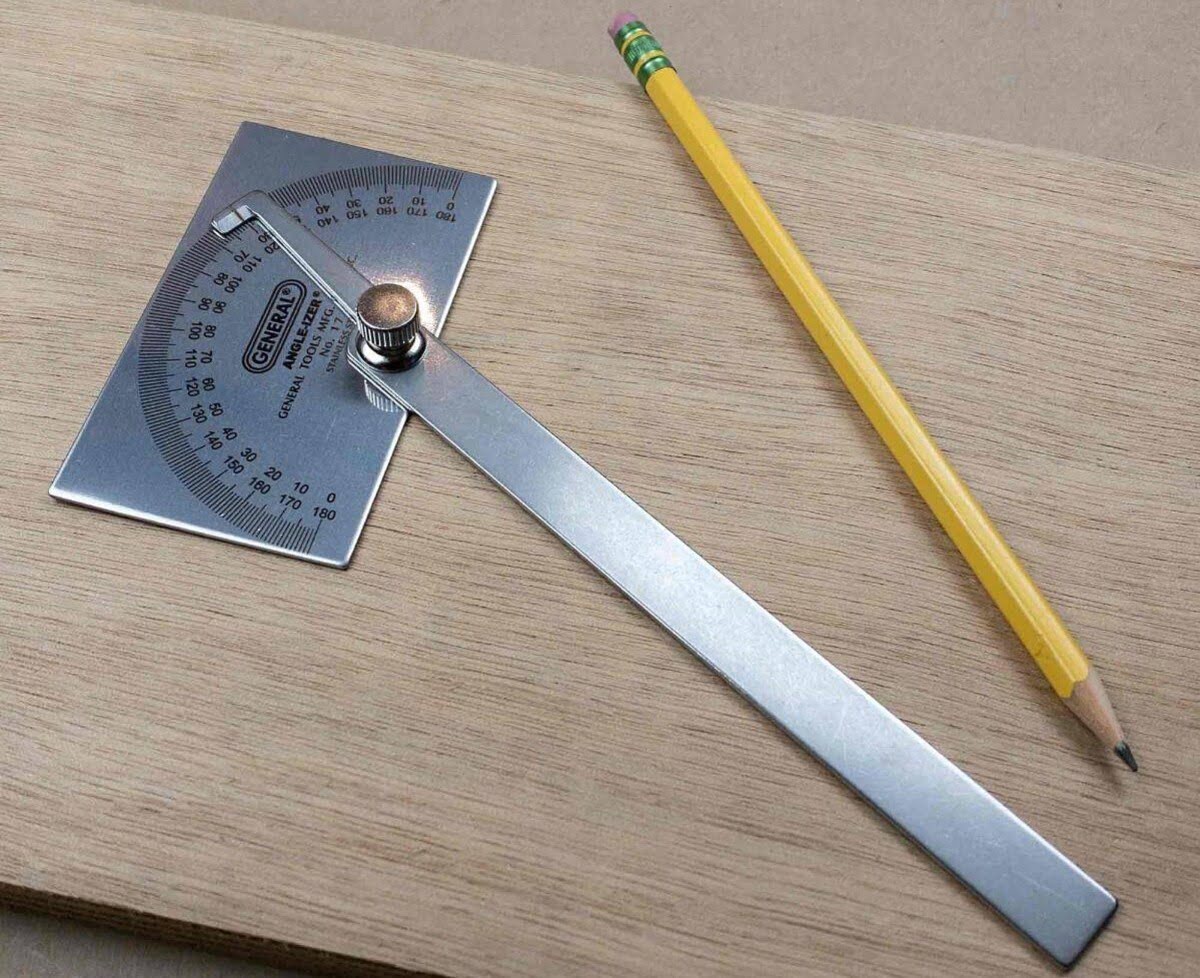
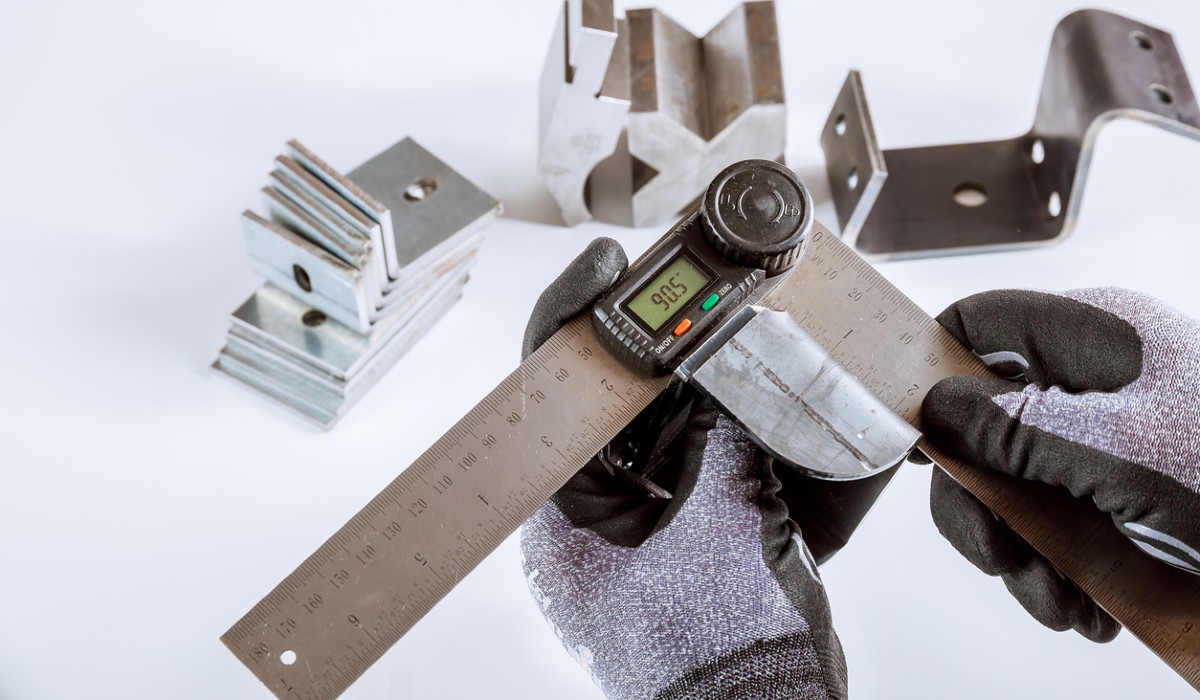
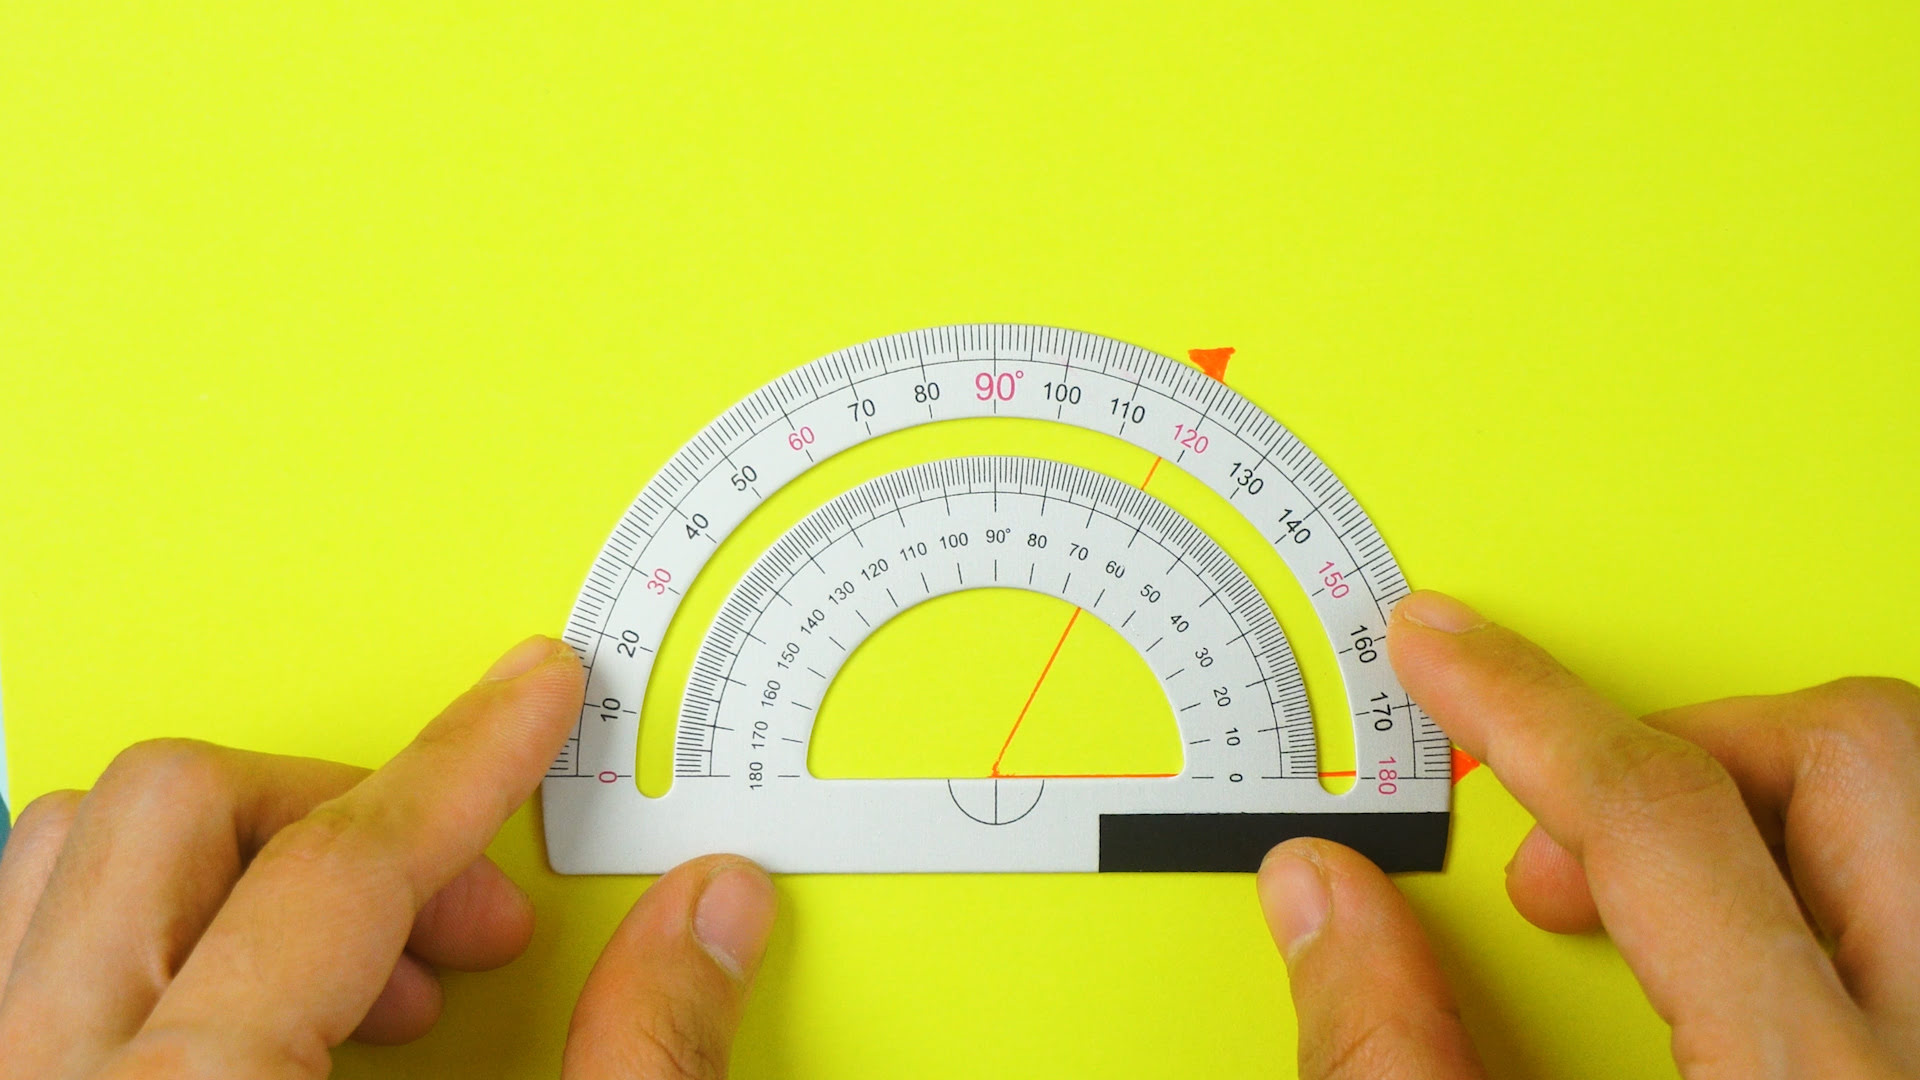
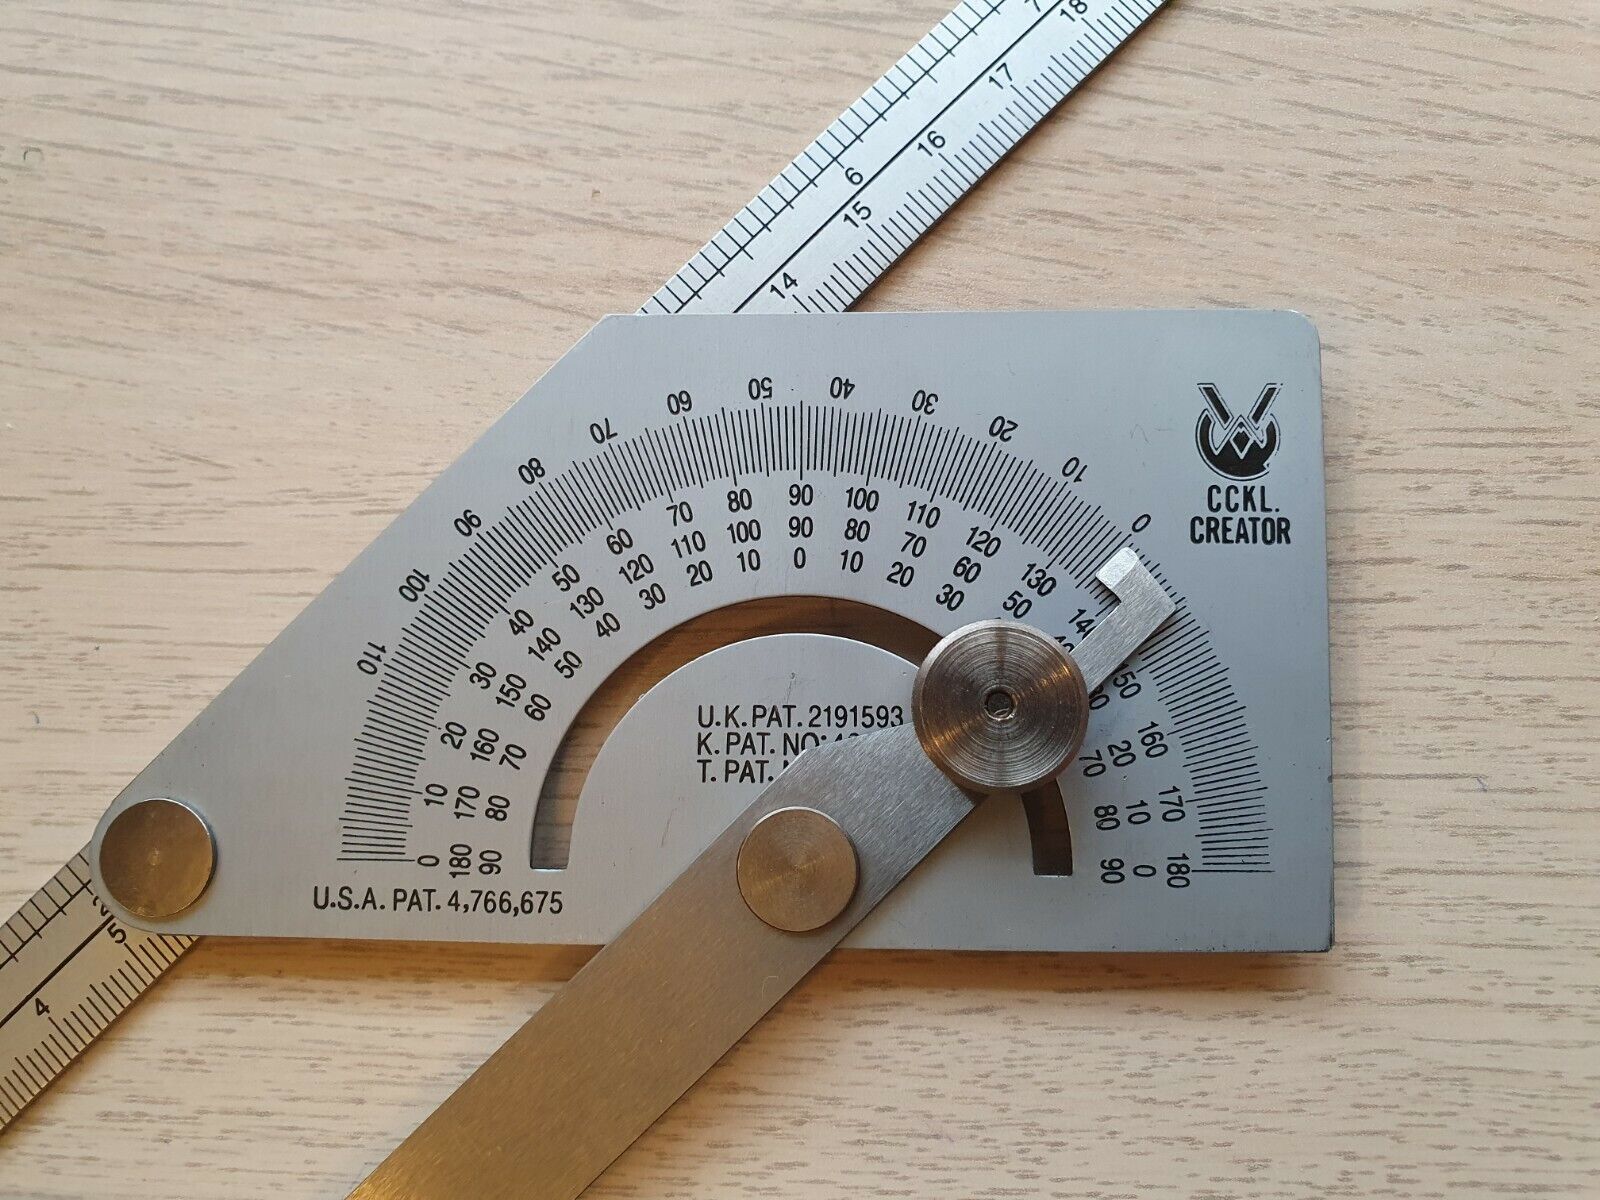
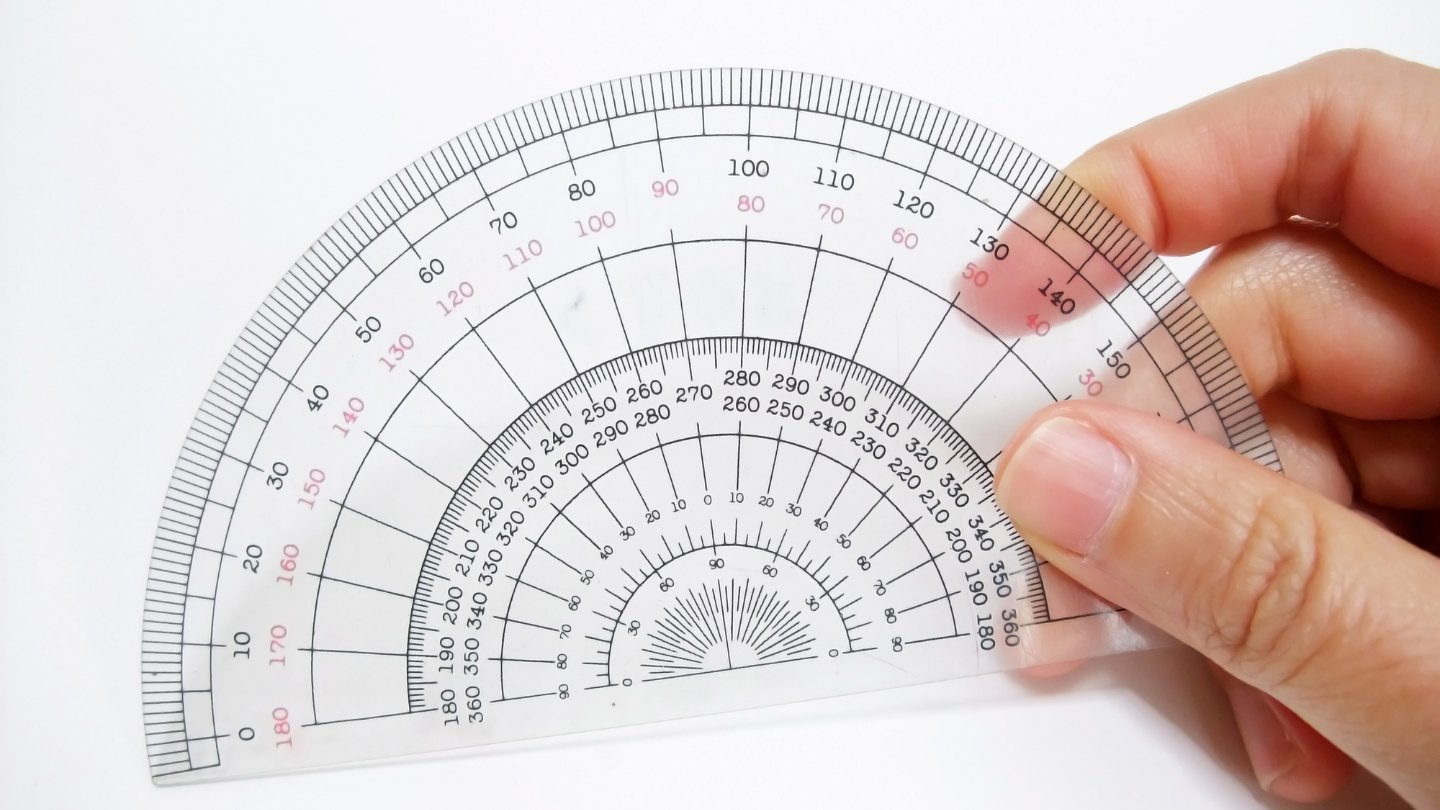
A bevel protractor is a measuring instrument used to determine and measure angles with a high degree of accuracy. It consists of a graduated circular protractor, a pivoting arm, and a vernier scale. The circular protractor is usually made of stainless steel and has a scale ranging from 0 to 360 degrees.
The pivoting arm, also known as the blade, connects to the center of the protractor and can be rotated to measure angles. The vernier scale is located on the pivoting arm and provides a more precise measurement by offering readings in minutes of arc (1/60th of a degree). The combination of these three components allows for precise angle measurements in various applications.
Bevel protractors come in different sizes and have varying degrees of accuracy. The most common bevel protractors have a precision of ± 5 minutes of arc, meaning they can measure angles accurately within a five-minute range of error.
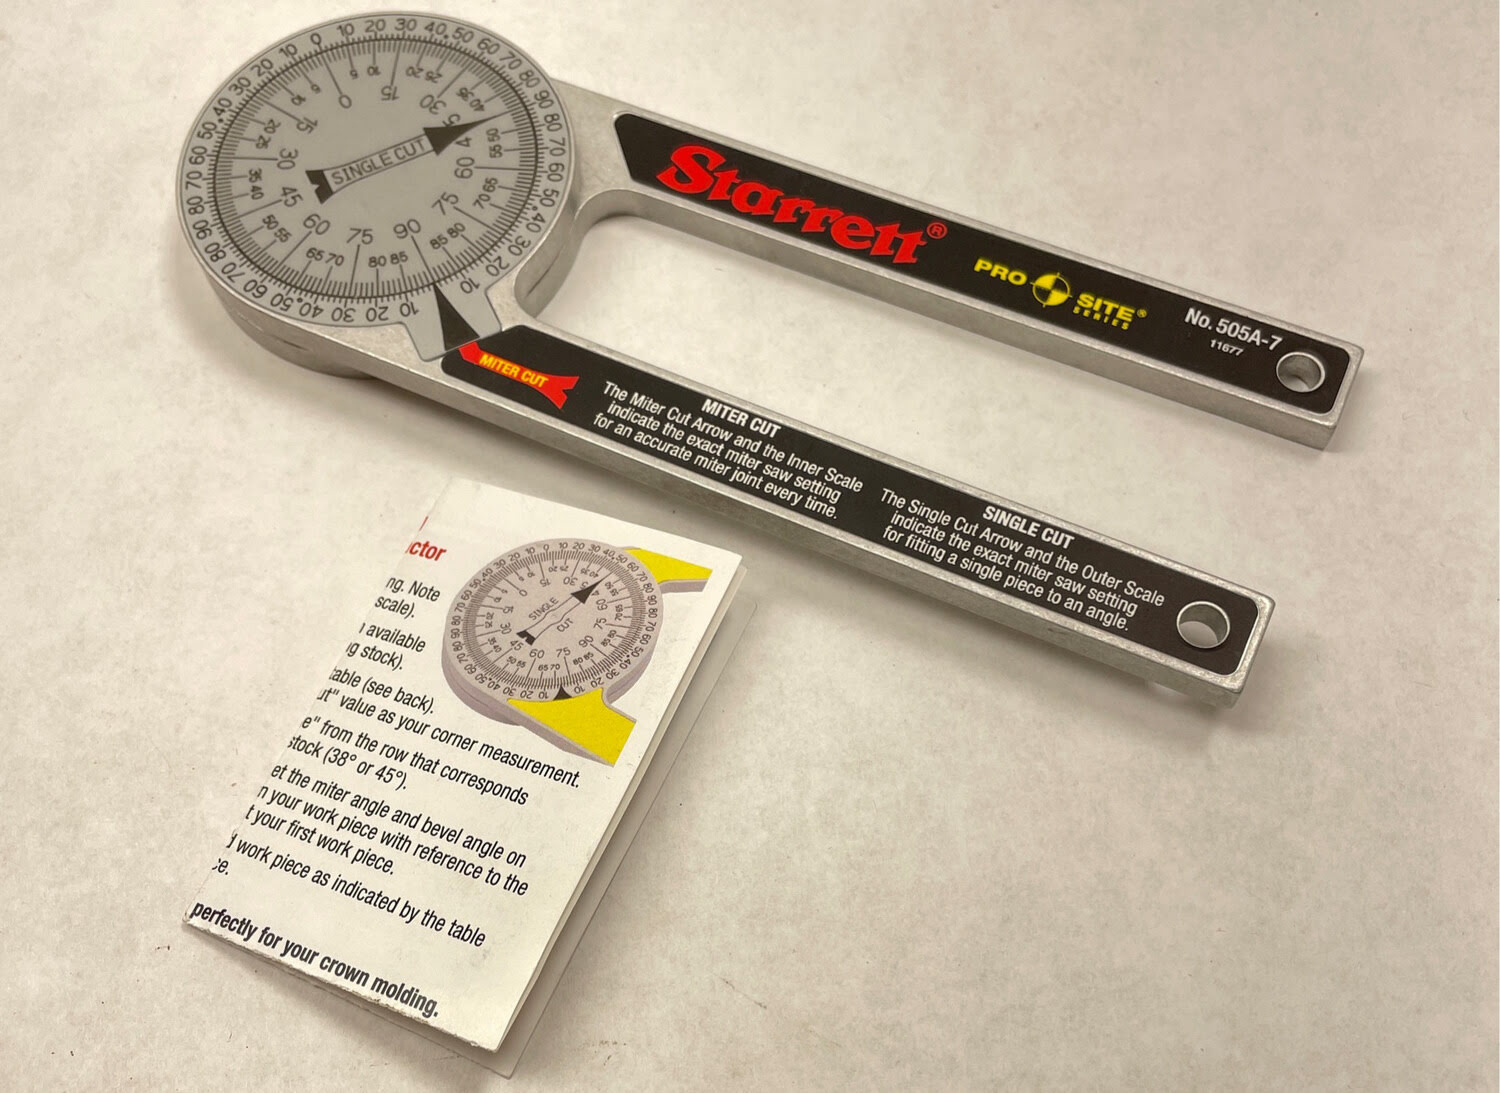
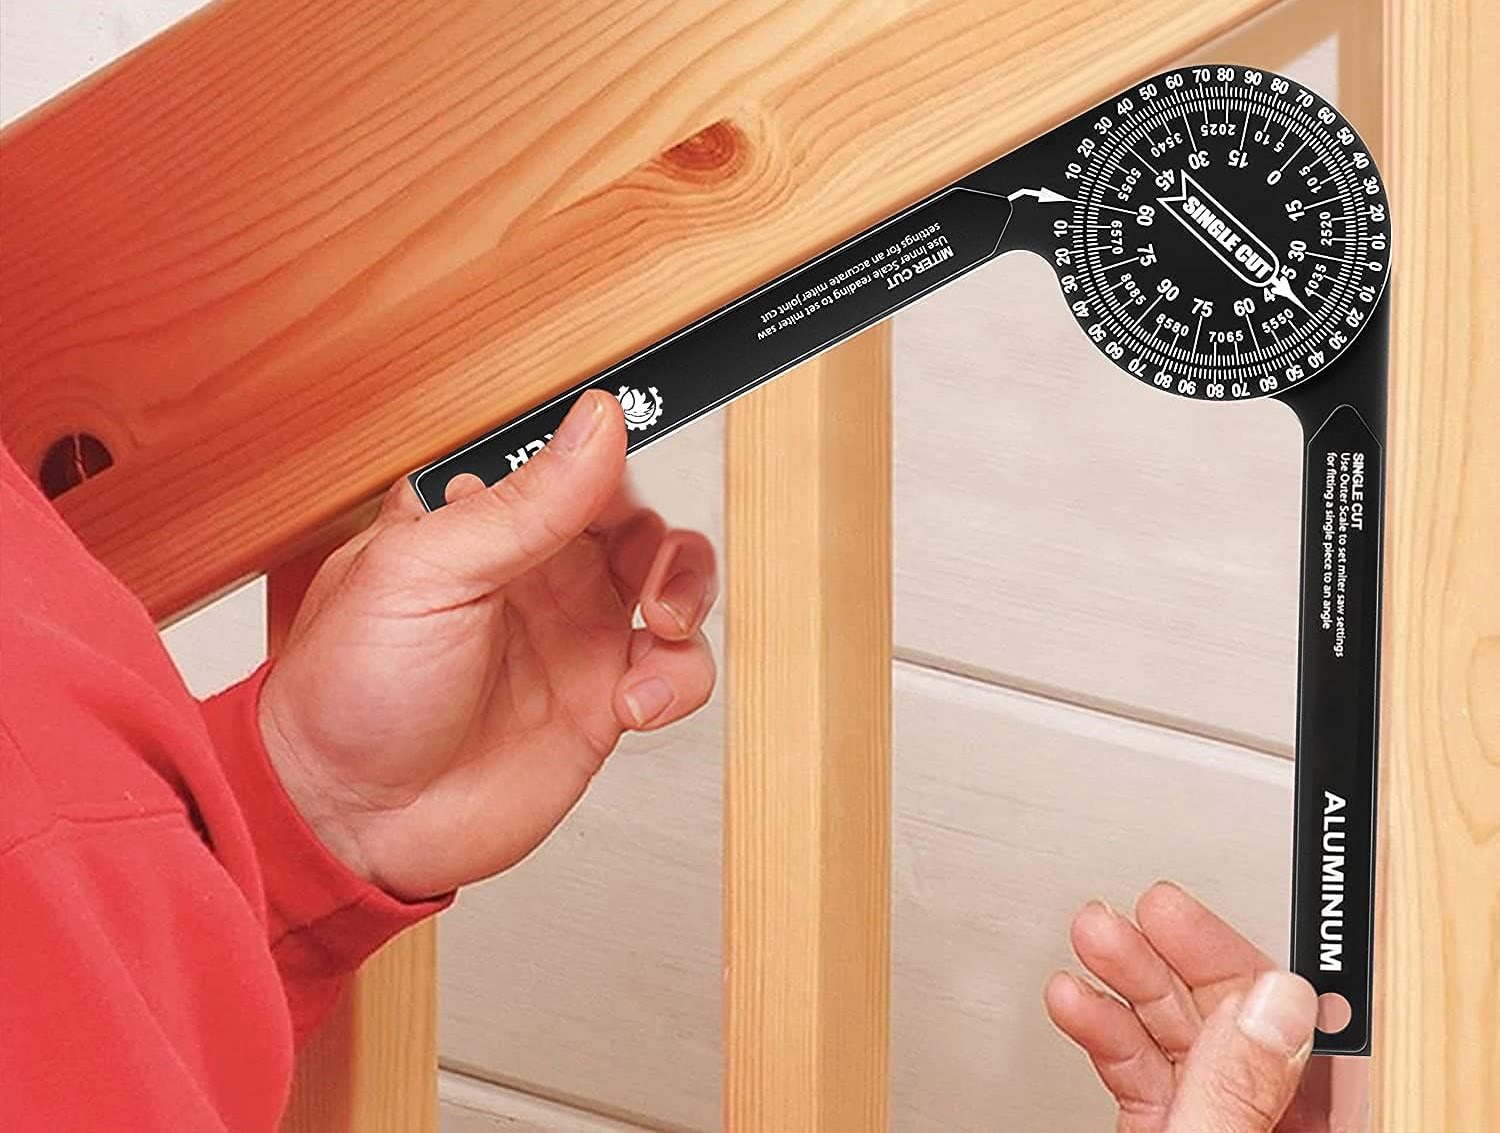
Bevel protractors are widely used in industries where angle measurement is crucial, such as machining, metalworking, woodworking, and engineering. They are specifically valuable for tasks that require precise cutting, fitting, welding, and machining of components. Whether you are aligning pieces of metal, measuring slope angles, or determining the angle for a miter cut, a bevel protractor is an indispensable tool.
Furthermore, bevel protractors are often used in educational settings for teaching geometry and trigonometry concepts. They allow students to visually understand and measure angles, making it easier to grasp mathematical principles associated with angles and their relationships.
In the next section, we will explore the individual components that make up a bevel protractor and understand how they work together to provide accurate angle measurements.
Components of a Bevel Protractor
A bevel protractor consists of several key components that enable precise angle measurement. Understanding these components is essential for effectively using the tool. Let’s take a closer look at each component:
- Circular Protractor: The circular protractor is the main component of the bevel protractor. It is circular in shape and typically made of stainless steel. The main scale on the protractor is graduated in degrees ranging from 0 to 360. The circular scale allows you to visually read the angle being measured.
- Pivoting Arm or Blade: The pivoting arm, also known as the blade, is connected to the center of the circular protractor. It can be rotated to measure angles. The blade is typically made of stainless steel and has a pointed end. When measuring an angle, the blade is aligned with one of the sides of the angle.
- Vernier Scale: The vernier scale is located on the pivoting arm and provides a more precise measurement of angles. It consists of several lines or marks and is divided into parts that correspond to minutes of arc. The vernier scale helps to read the angle measurement with greater accuracy.
- Tightening Screw: The tightening screw is located on the circular protractor and is used to lock the blade at the desired angle. Once you align the blade with the angle being measured, the tightening screw holds the blade in place, ensuring accurate measurement.
- Thumb Screw: The thumb screw is located near the tightening screw and is used to adjust the position of the blade. By loosening the thumb screw, you can slide the blade along the circular protractor to set the desired angle.
- Locking Mechanism: Some bevel protractors have a locking mechanism that holds the blade firmly in place once the desired angle is set. This ensures stability during the measurement process and prevents accidental movement.
These components work together to provide accurate and reliable angle measurements. The circular protractor gives a general indication of the angle, while the pivoting arm and vernier scale allow for precise readings. The tightening screw and thumb screw enable adjustments and secure the blade in place. Understanding these components and how they function will help you effectively set up and measure angles with a bevel protractor.
How to Set Up a Bevel Protractor
Setting up a bevel protractor correctly is essential to ensure accurate angle measurements. Here’s a step-by-step guide on how to set up a bevel protractor:
- Prepare the Workspace: Begin by clearing the workspace of any clutter and ensuring a stable surface to work on. A flat and level table or workbench is ideal for setting up the bevel protractor.
- Inspect the Bevel Protractor: Before use, inspect the bevel protractor to ensure that all components, including the circular protractor, pivoting arm, vernier scale, tightening screw, thumb screw, and locking mechanism (if present), are in proper working condition.
- Loosen the Thumb Screw: Locate the thumb screw and loosen it to allow freedom of movement for the pivoting arm. This will enable you to set the desired angle later on.
- Align the Blade: Align the blade of the bevel protractor with one side of the angle you want to measure. Ensure that the blade’s pointed end is accurately positioned on the side of the angle. You can manually adjust the position of the blade as needed.
- Tighten the Thumb Screw: Once the blade is aligned with the angle, tighten the thumb screw to secure the blade’s position. Ensure that the blade is held firmly against the surface of the protractor.
- Set the Main Angle: Look at the main scale on the circular protractor and read the angle indicated by the blade’s position. This will give you an approximate measurement of the angle you are working with.
- Read the Vernier Scale: To obtain a more precise measurement, look at the vernier scale on the pivoting arm. The lines or marks on the vernier scale correspond to minutes of arc. Locate the line on the vernier scale that lines up perfectly with a line on the main scale. The number on the vernier scale that aligns with a line on the main scale indicates the minutes of arc.
- Add the Main Angle and the Vernier Scale Reading: Add the main angle reading from the circular protractor and the vernier scale reading to obtain the final angle measurement.
- Verify the Measurement: Double-check the measurement by repeating the process or using an alternative measuring tool if available. This will ensure the accuracy of your angle measurement.
- Reset and Store: After use, reset the bevel protractor to 0 degrees and store it in a safe and secure place to protect it from damage.
By following these steps, you can properly set up a bevel protractor for accurate angle measurements. Remember to take your time and be careful during the setup process to ensure the best results.
When using a bevel protractor, always ensure that the base is flat against the surface and the blade is aligned with the angle to get an accurate measurement.
How to Measure Angles with a Bevel Protractor
Measuring angles with a bevel protractor requires precision and attention to detail. Follow these steps to accurately measure angles using a bevel protractor:
- Set Up the Bevel Protractor: Ensure that the bevel protractor is properly set up, as explained in the previous section. The blade should be aligned with one side of the angle you want to measure, and the protractor should be securely tightened.
- Align the Blade: Position the bevel protractor so that the blade is aligned with the second side of the angle. Make sure that the blade’s pointed end is accurately placed on that side.
- Read the Main Angle: Look at the main scale on the circular protractor and note the angle measurement where the blade intersects the scale. This initial reading provides an approximate measurement of the angle.
- Read the Vernier Scale: To obtain a more precise measurement, refer to the vernier scale on the pivoting arm. Find the line on the vernier scale that aligns perfectly with a line on the main scale. The number on the vernier scale that lines up with a line on the main scale indicates the minutes of arc.
- Add the Main Angle and Vernier Scale Reading: Add the main angle reading from the circular protractor and the minutes of arc reading from the vernier scale. This will give you the final measurement of the angle.
- Verify the Measurement: To ensure accuracy, measure the angle again using the same steps or verify it with an alternative measuring tool if available. Double-checking ensures the reliability of your measurement.
- Record the Measurement: Once you have obtained the angle measurement, record it for future reference or use in your project. This will help ensure accuracy and consistency.
It is important to handle the bevel protractor with care and avoid applying excessive pressure while measuring angles. Smooth and deliberate movements will help maintain accuracy throughout the process. Additionally, always store the bevel protractor properly after use to protect it from damage and maintain its calibration.
By following these steps, you can confidently measure angles using a bevel protractor, allowing you to achieve precise and accurate results in various applications.
Read also: 11 Amazing Bevel Protractor for 2025
Tips and Tricks for Using a Bevel Protractor
Using a bevel protractor efficiently and effectively requires practice and some helpful tips and tricks. Consider the following suggestions to improve your experience with a bevel protractor:
- Ensure a Stable Surface: Place the bevel protractor on a stable and level surface to avoid any unnecessary movement or inaccuracies during measurements. A sturdy workbench or table is ideal.
- Take Multiple Measurements: To increase accuracy, take multiple measurements of the same angle and compare the results. This helps identify any variations and ensures a more reliable measurement.
- Use a Light Source: Position the bevel protractor under sufficient lighting to clearly read the scale markings. Shadows or dim lighting can make it difficult to obtain accurate measurements.
- Practice Blade Alignment: The alignment of the blade with the angle you’re measuring is crucial. Practice aligning the blade accurately to improve your precision and reduce errors.
- Take Advantage of the Vernier Scale: The vernier scale provides more precise readings than the main scale. Pay close attention to the vernier scale and use it to obtain more accurate measurements.
- Secure the Blade Firmly: Ensure that the blade is tightly secured using the tightening screw. This prevents any movement during measurements and guarantees more accurate results.
- Alternate Between Blade Sides: If possible, alternate between sides of the angle being measured by aligning the blade with each side separately. This can help identify any inconsistencies or symmetry issues in the angle.
- Double-Check Zero Alignment: Before starting any measurements, ensure that the bevel protractor is properly aligned at zero degrees. If needed, recalibrate the zero position to avoid measurement discrepancies.
- Clean and Maintain the Protractor: Regularly clean the bevel protractor to remove dust, debris, or any potential obstacles that could interfere with accurate measurements. Additionally, store the protractor in a protective case to prevent damage.
- Practice and Patience: Becoming proficient in using a bevel protractor takes practice and patience. Take the time to familiarize yourself with the tool and practice measuring various angles to sharpen your skills.
By incorporating these tips and tricks into your bevel protractor usage, you can enhance your accuracy, efficiency, and overall experience with this valuable tool.
Common Mistakes to Avoid
While using a bevel protractor, it’s important to be aware of common mistakes that can lead to inaccurate measurements. By avoiding these errors, you can ensure more precise and reliable angle readings. Here are some common mistakes to watch out for:
- Inadequate Blade Alignment: Failing to align the blade properly with the angle being measured can result in inaccurate readings. Take your time to align the blade accurately with the sides of the angle to avoid measurement errors.
- Insufficient Tightening: Not tightening the blade securely enough can lead to unwanted movement during measurements. Always ensure that the blade is firmly held in place by tightening the screw appropriately.
- Ignoring Zero Calibration: Neglecting to set the bevel protractor at zero degrees before measurements can introduce errors. Make it a habit to always check and calibrate the zero position to ensure accurate angle readings.
- Using the Wrong Scale: Misreading or using the wrong scale on the bevel protractor can cause incorrect measurements. Always pay close attention to the main scale and the vernier scale, and use the appropriate one for the measurement you’re taking.
- Inadequate Lighting: Insufficient lighting can make it challenging to read the scales and markings on the bevel protractor accurately. Ensure you have proper lighting conditions to clearly see the measurements.
- Overcomplicating the Process: Remember to keep the process of measuring angles with a bevel protractor straightforward. Avoid overcomplicating it by using unnecessary tools or techniques that can lead to confusion and inaccuracies.
- Rushing the Measurement: Taking measurements too hastily can result in errors. Take your time, be patient, and carefully follow the steps outlined to ensure precise angle readings.
- Forgetting to Record Measurements: Neglecting to record the angle measurements can lead to confusion and the need to retake measurements. Keep a record of your readings for future reference and accuracy.
- Not Verifying the Measurement: Not double-checking or verifying the angle measurement can lead to incorrect results. Always confirm the measurement using multiple methods or tools to ensure accuracy.
- Improper Maintenance: Failing to clean and maintain the bevel protractor can result in obstructions or damage that affects measurement accuracy. Regularly clean the protractor and store it appropriately to keep it in optimal condition.
By being aware of these common mistakes and avoiding them, you can minimize errors and achieve more precise angle measurements with your bevel protractor.
Conclusion
A bevel protractor is a valuable tool for accurately measuring angles in various industries and educational settings. By understanding its components, setting it up correctly, and following the proper procedures, you can ensure precise and reliable measurements. Remember to align the blade accurately, use proper lighting, and take advantage of the vernier scale for more precise readings.
Additionally, be mindful of common mistakes such as inadequate blade alignment, insufficient tightening, and neglecting to calibrate the zero position. By avoiding these errors and taking your time during measurements, you can enhance the accuracy of your results.
Using a bevel protractor effectively requires practice and patience, so take the time to familiarize yourself with the tool and its functionality. Practice measuring different angles and verify your measurements to improve your skills and confidence.
Remember to properly maintain and store your bevel protractor to ensure its longevity and accuracy. Clean it regularly, store it in a protective case, and handle it with care to prevent damage and maintain its precision.
By incorporating the tips, tricks, and techniques outlined in this guide, you can become proficient in using a bevel protractor and achieve precise angle measurements for your woodworking, metalworking, or engineering projects. Enjoy the benefits of accuracy and control that this versatile tool provides, and take pride in the precision of your work.
Frequently Asked Questions about How To Use Bevel Protractor
Was this page helpful?
At Storables.com, we guarantee accurate and reliable information. Our content, validated by Expert Board Contributors, is crafted following stringent Editorial Policies. We're committed to providing you with well-researched, expert-backed insights for all your informational needs.


0 thoughts on “How To Use Bevel Protractor”