Articles
How To Read A Protractor
Modified: October 18, 2024
Learn how to read a protractor with these informative articles. Master the art of measuring angles and improve your math skills today.
(Many of the links in this article redirect to a specific reviewed product. Your purchase of these products through affiliate links helps to generate commission for Storables.com, at no extra cost. Learn more)
Introduction
Welcome to the fascinating world of protractors! If you’ve ever wondered how to accurately measure angles or solve geometry problems, mastering the art of reading a protractor is essential. Whether you’re a student, a DIY enthusiast, or simply curious about the world around you, understanding how to read a protractor will open up new possibilities and help you confidently tackle math or construction projects.
In this article, we’ll take you through the basics of protractors and their degree scale, teach you how to measure angles accurately, and provide some helpful tips and common mistakes to avoid. By the end, you’ll be equipped with the knowledge and skills to confidently read a protractor and understand angles.
So let’s dive right in!
Key Takeaways:
- Master the art of reading a protractor to confidently measure angles for geometry, construction, or DIY projects. Proper alignment, careful reading, and avoiding common mistakes are key to accurate measurements.
- Understanding reflex angles and utilizing helpful tips will enhance your proficiency in using a protractor. Practice and attention to detail are essential for precise angle measurements.
Read more: How To Read A Syringe Plunger
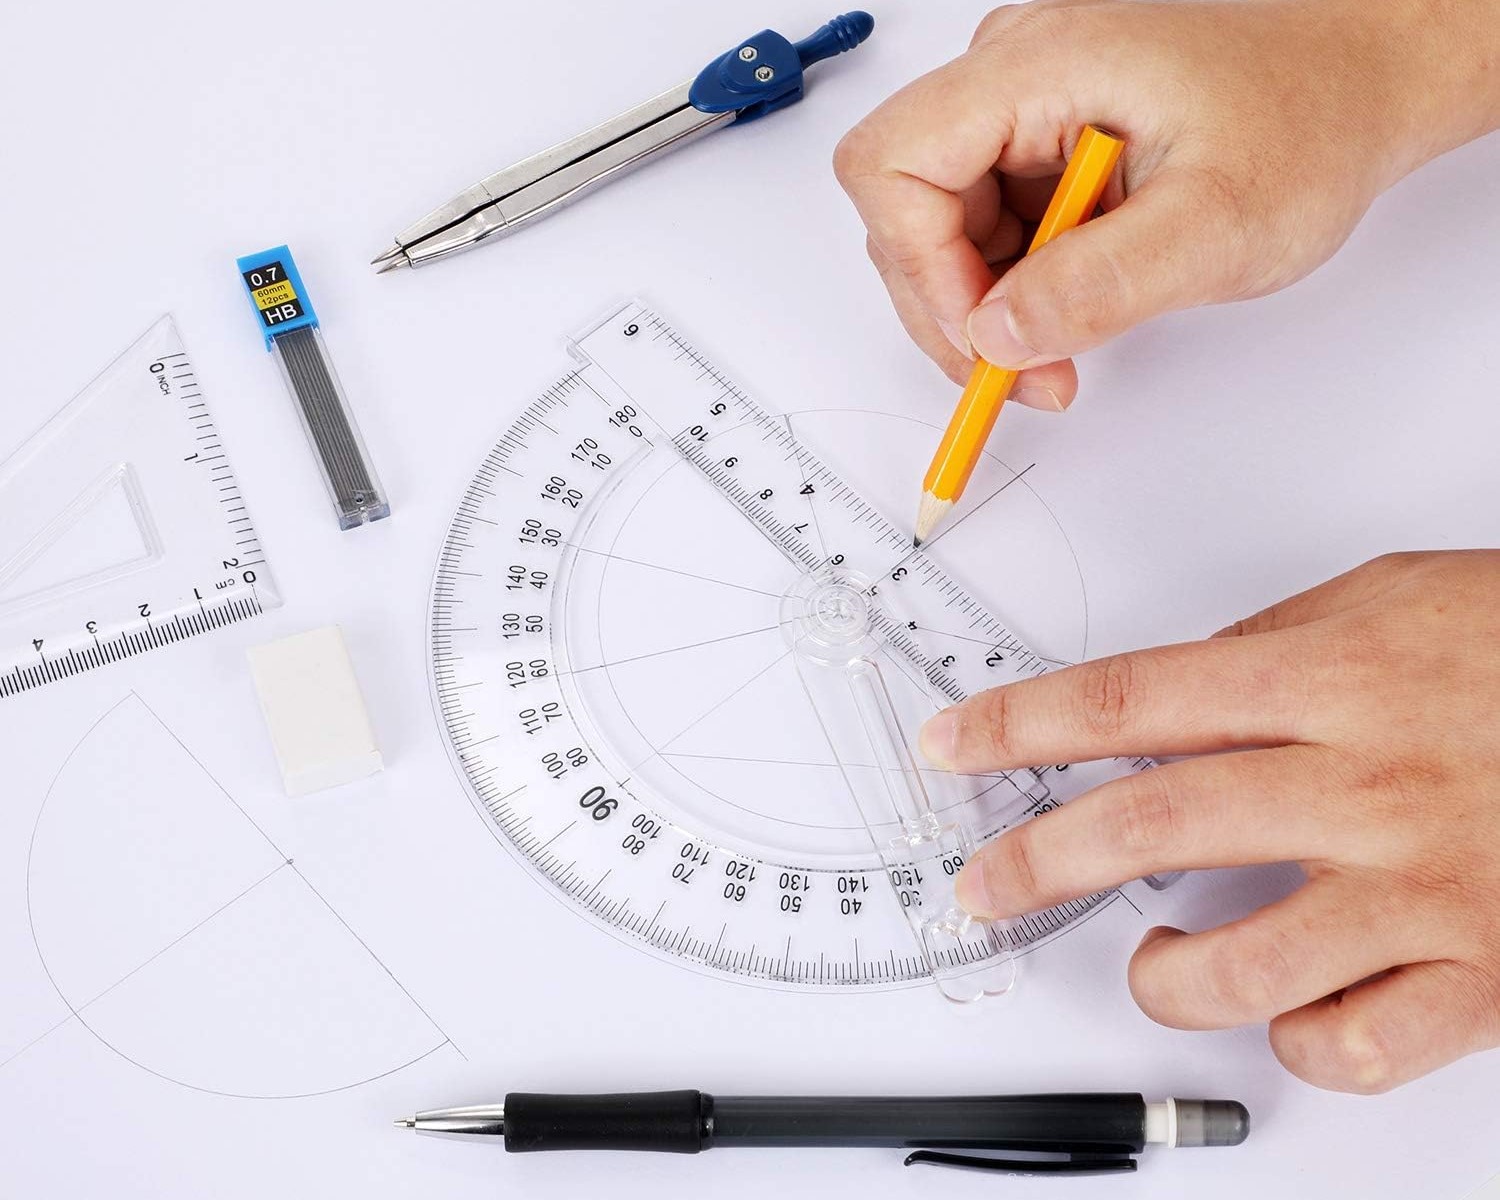
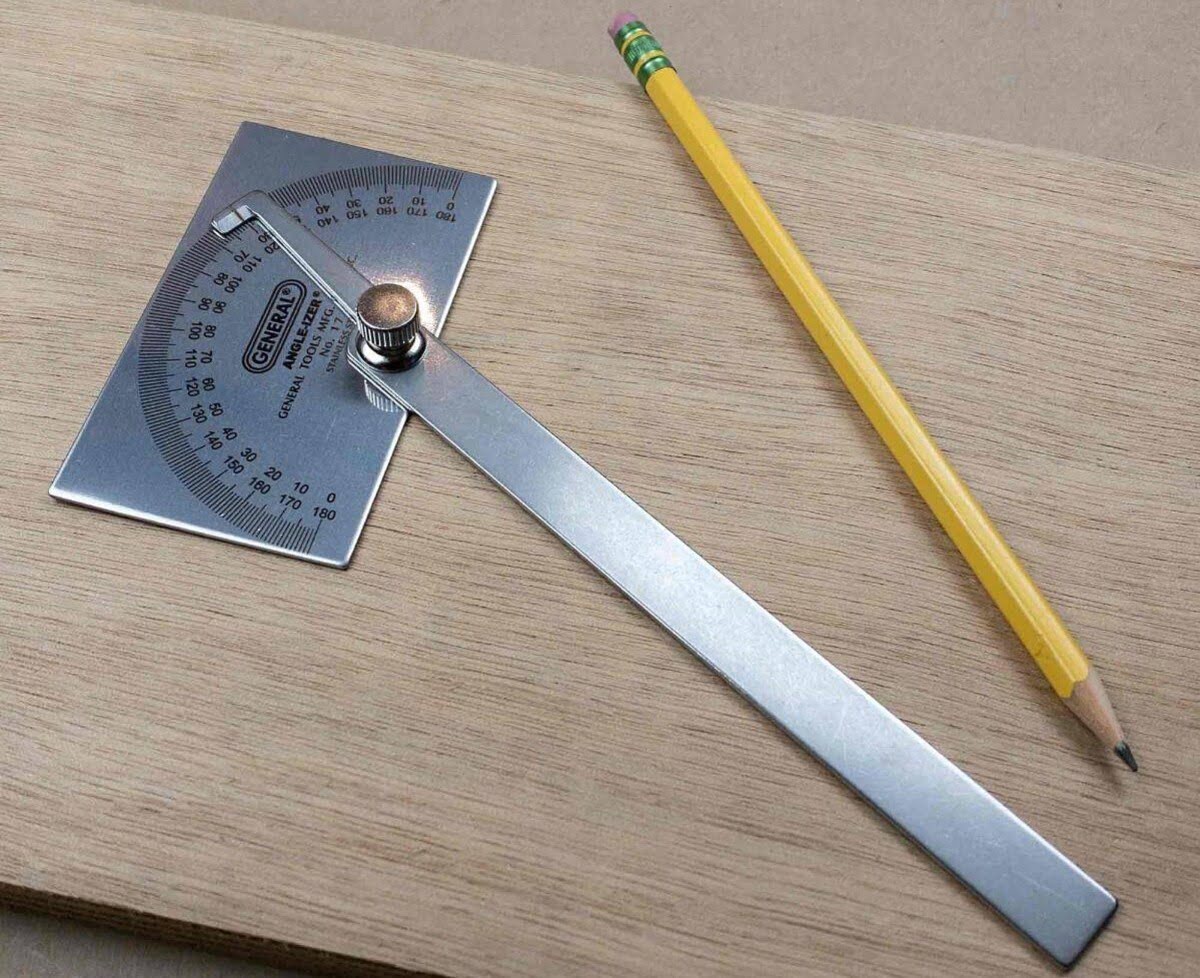
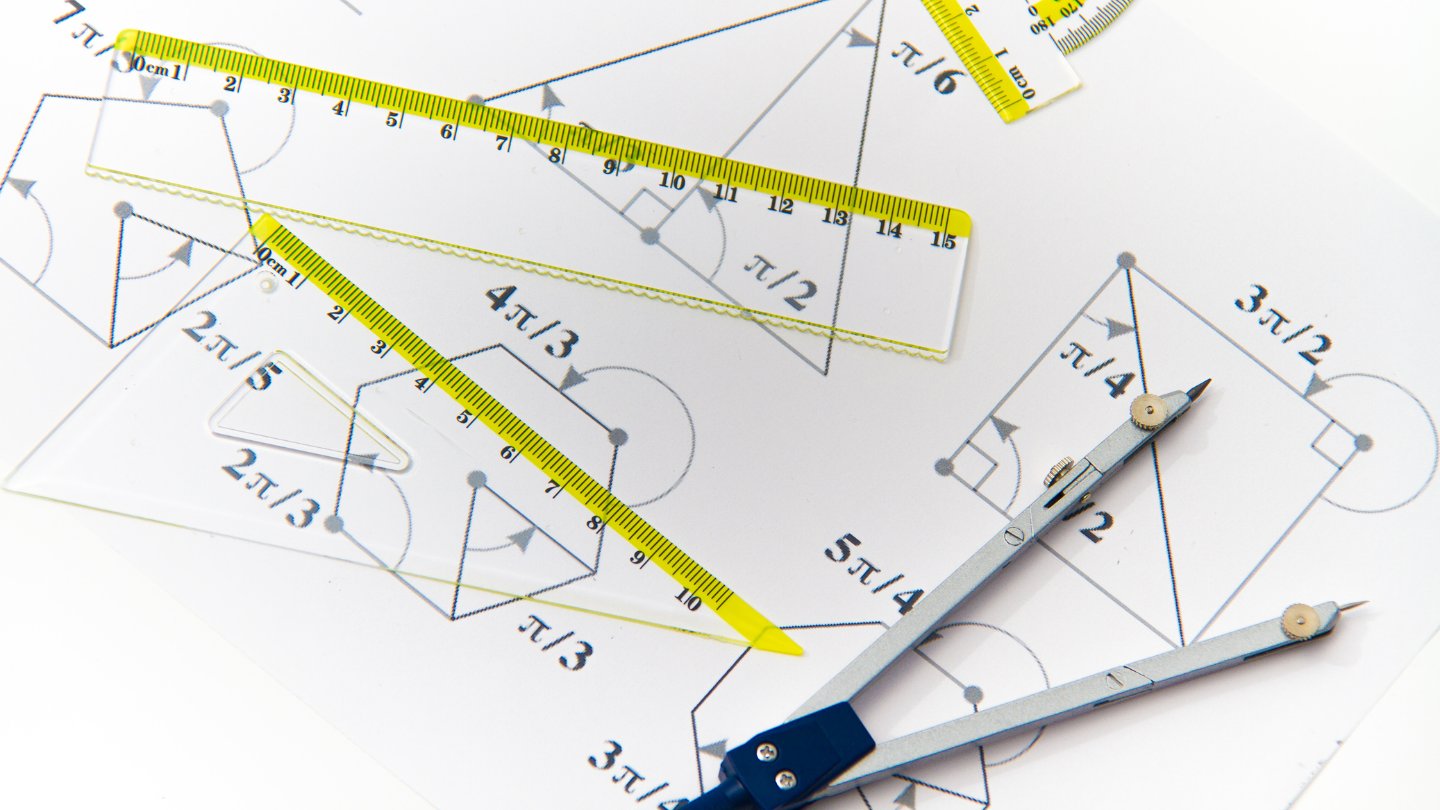
Understanding the Basics of a Protractor
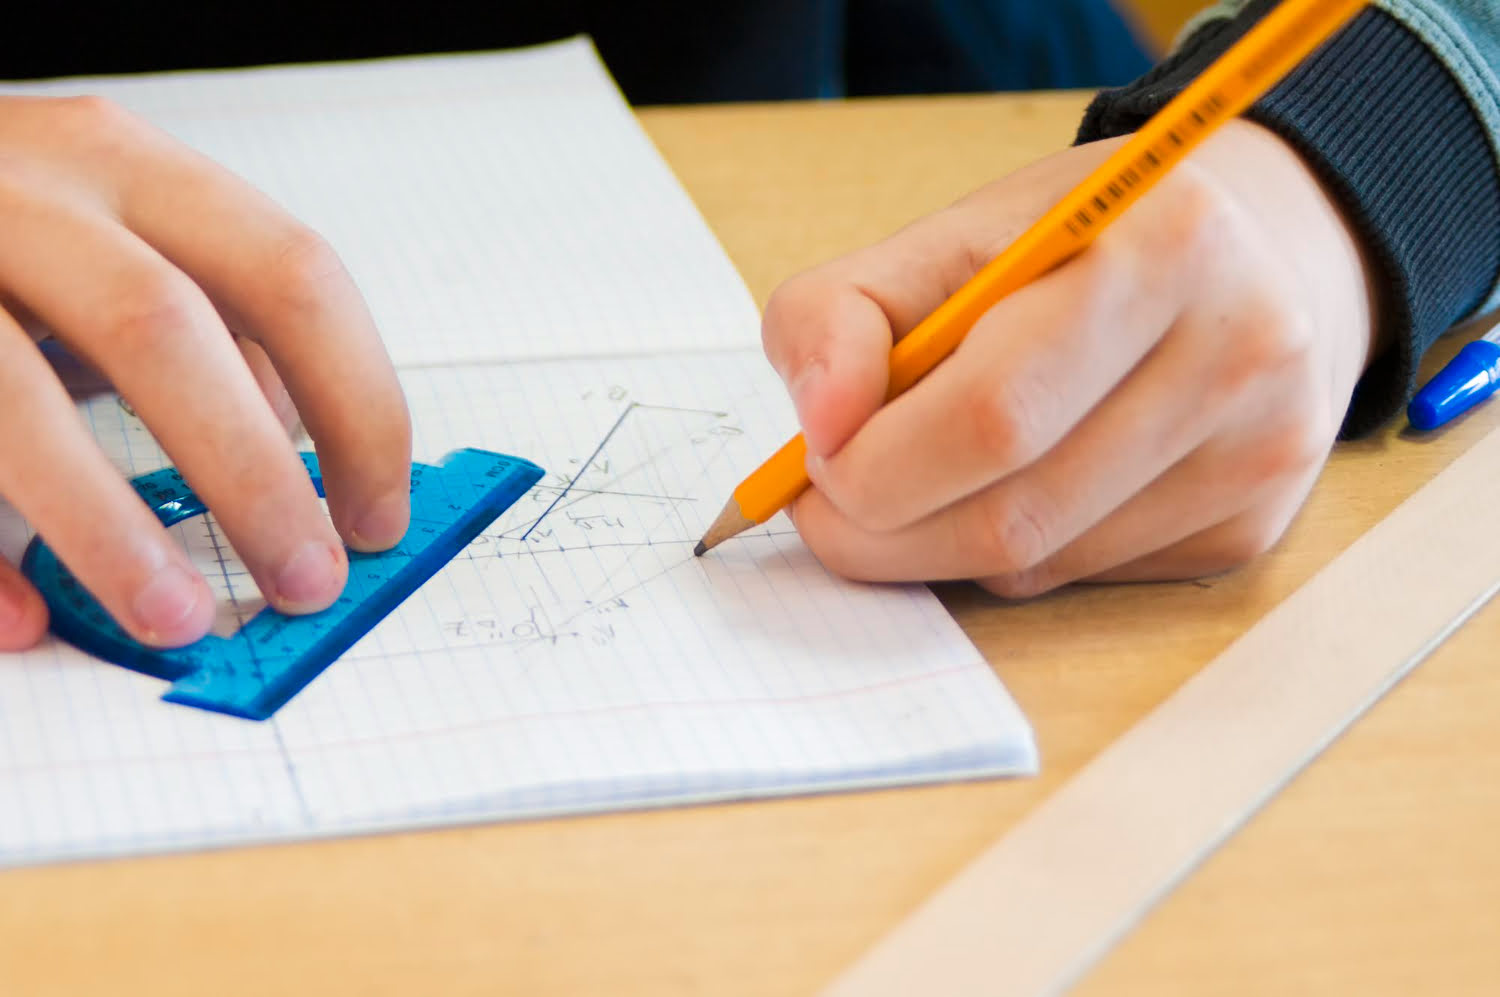
Before we delve into the art of reading a protractor, it’s essential to familiarize ourselves with its basic components and how it works. A protractor is a measuring tool used to determine and measure angles. It consists of a flat, circular disc with a transparent or semi-transparent center, allowing you to see through it.
The outer edge of the protractor is marked with a degree scale, ranging from 0 degrees to 180 degrees or 0 degrees to 360 degrees, depending on the type of protractor. The degree scale is divided into small increments, usually marked every 1 or 5 degrees, which helps in precise angle measurements.
In addition to the degree scale, the protractor may also have other markings and features. Some protractors have an inner circle, which is divided into smaller increments to measure smaller angles. It may also have lines or markings that help align the protractor with the object or surface on which the angle is being measured.
Protractors come in different sizes and materials, such as plastic, metal, or transparent material. The choice of protractor depends on the task at hand, personal preference, and the level of accuracy required.
Now that we understand the basic structure of a protractor, let’s move on to learning how to read the degree scale and accurately measure angles.
Reading the Degree Scale
Reading the degree scale is the foundation of using a protractor effectively. The degree scale is marked along the outer edge of the protractor and is divided into increments, allowing for precise angle measurements.
To read the degree scale, you need to locate the zero-degree mark. This mark is usually denoted by a small arrow or a zero on the scale. It serves as the starting point for measuring angles.
As you move clockwise from the zero-degree mark, the numbers on the scale increase. For example, if you’re measuring a 30-degree angle, you would align the zero mark with one end of the angle and read the scale at the other end. The number closest to the line indicating the other end of the angle would be 30 degrees.
Similarly, if you need to measure a 90-degree angle, you would align the zero mark with one end of the angle and read the scale at the other end. The number closest to the line indicating the other end of the angle would be 90 degrees. This process applies to any angle within the measurement range of the protractor.
It’s important to note that some protractors have both positive and negative degree measurements. In this case, the numbers increase in the clockwise direction for positive angles and in the counterclockwise direction for negative angles.
Reading the degree scale accurately requires attention to detail and aligning the protractor carefully with the angle being measured. Practice is key to becoming proficient in reading the scale and making precise measurements.
Now that we’ve covered reading the degree scale, let’s move on to the practical aspect of measuring angles with a protractor.
Measuring Angles with a Protractor
Measuring angles with a protractor is a straightforward process that requires proper alignment and attention to detail. Here’s a step-by-step guide on how to measure angles accurately:
- Place the protractor on a flat surface or hold it against the object on which the angle needs to be measured.
- Align the baseline of the protractor with one of the arms of the angle. The baseline is the flat edge of the protractor, and the arms are the lines that form the angle.
- Ensure that the zero-degree mark on the degree scale aligns with the baseline and the vertex (the point where the two arms meet) is within the transparent or semi-transparent center of the protractor.
- Read the degree measurement where the other arm of the angle intersects the scale on the protractor. The number closest to the intersecting line is the measurement of the angle.
It’s important to handle the protractor carefully to avoid any misalignment or incorrect readings. Take your time to position it accurately and line up the necessary points with precision. Additionally, make sure to read the measurement from the correct side of the protractor, whether it is the positive or negative scale.
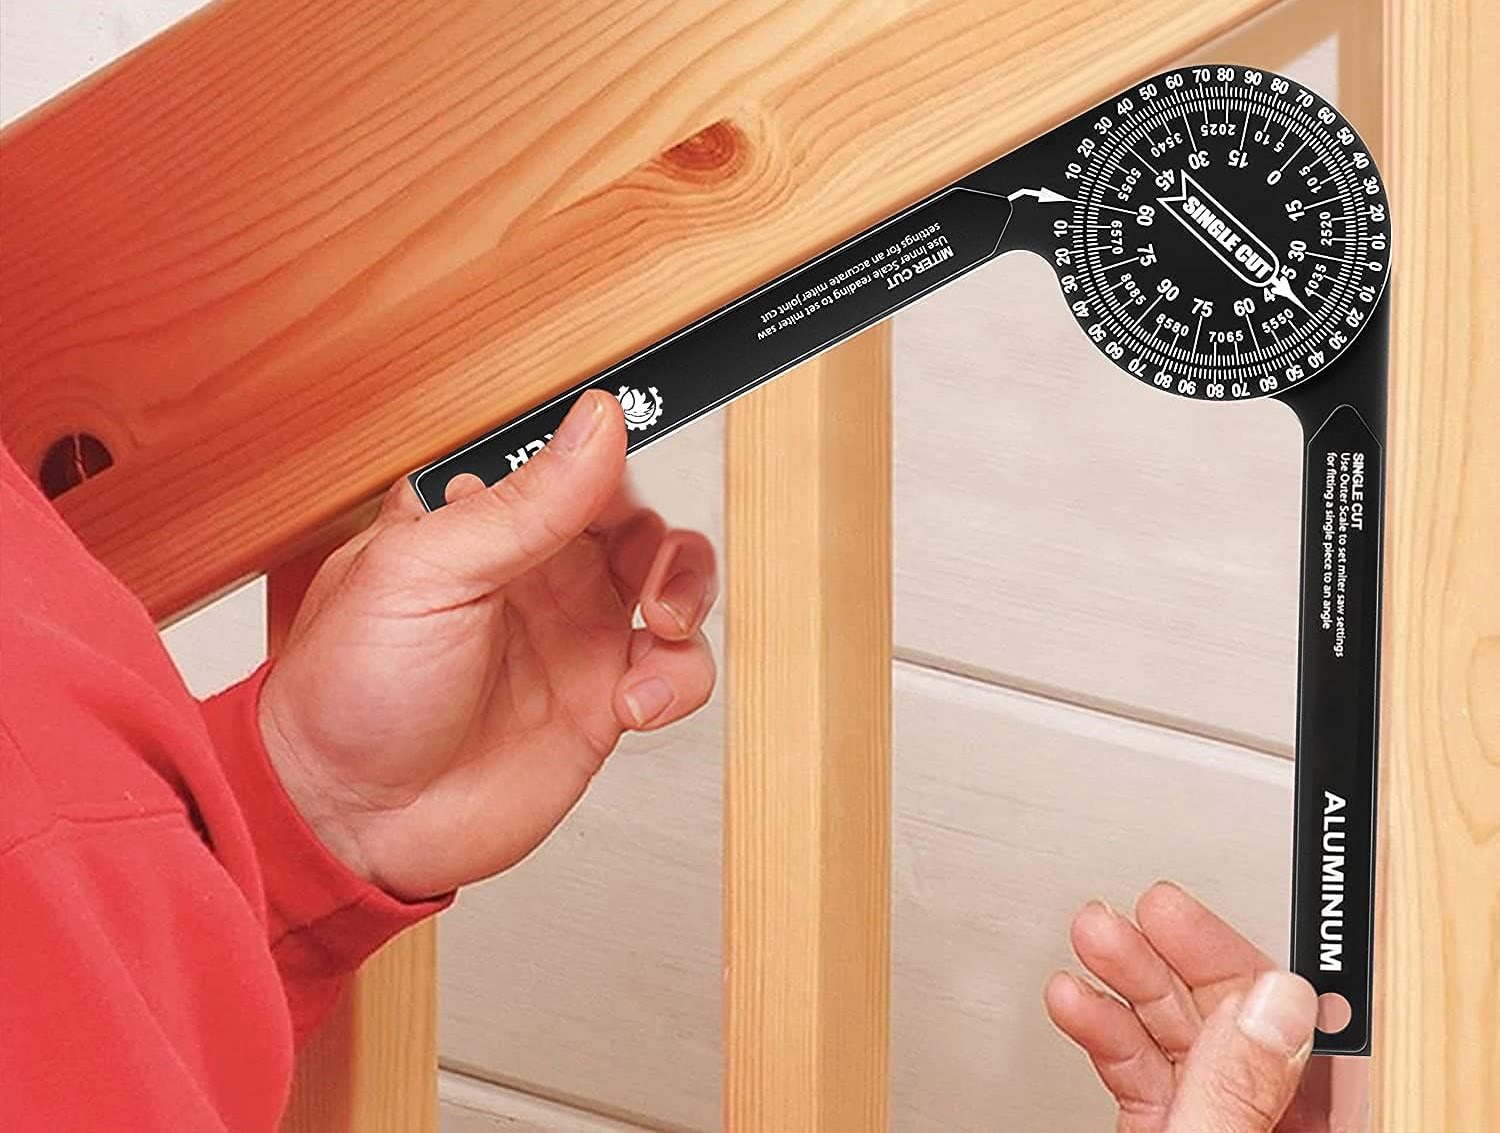
If you’re faced with an obtuse angle (greater than 90 degrees) or a reflex angle (greater than 180 degrees), you may need to use the inner circle or supplementary scale on the protractor, depending on the design. This additional scale allows for measuring larger angles with precision.
With practice, you’ll become more comfortable measuring angles using a protractor. Remember, accuracy is key to obtaining the correct measurements and ensuring precise calculations in geometry or construction projects.
Now that you know how to measure angles effectively, let’s explore how to determine reflex angles.
When reading a protractor, always start from the 0 degree mark and then measure the angle in a clockwise direction for accuracy.
Determining Reflex Angles
Reflex angles are angles that measure greater than 180 degrees and less than 360 degrees. They are often encountered in geometric shapes or complex figures where the angle extends beyond a straight line. While measuring reflex angles with a regular protractor can be challenging, with some additional steps, you can determine their measurements accurately.
Here’s how to determine reflex angles using a protractor:
- Place the protractor on a flat surface or hold it against the object that contains the reflex angle.
- Align the baseline of the protractor with one of the arms of the reflex angle.
- Start from the zero-degree mark and measure the angle in the clockwise direction until you reach the other arm of the reflex angle.
- Read the degree measurement where the other arm intersects the scale.
It’s important to note that when measuring reflex angles, you may encounter both positive and negative degree measurements on the protractor’s scale. The positive measurement indicates the angle is greater than 180 degrees, while the negative measurement signifies that the angle is measured in the counterclockwise direction.
Keep in mind that some protractors are specifically designed to measure larger angles, including reflex angles. These protractors may have an extended scale or additional markings to accurately measure these angles. Make sure to choose a protractor that is suitable for the type of angles you need to measure.
Determining reflex angles may require a bit of practice and patience, but with time, you’ll become more comfortable identifying and measuring these angles. Remember to align the protractor carefully and read the degree measurement accurately to obtain reliable results.
Now that you know how to determine reflex angles, let’s move on to some tips for accurate angle measurement.
Read more: How To Read A CAD Drawing
Tips for Accurate Angle Measurement
Accurate angle measurement is crucial when using a protractor, as even a slight error can lead to incorrect calculations and results. Here are some tips to help you achieve precise angle measurements:
- Ensure a stable surface: When using a protractor, make sure it’s placed on a flat and stable surface. This will prevent any unwanted movements or shifts that could affect the accuracy of your measurements.
- Align baseline and arms: Proper alignment is essential. Always align the baseline of the protractor with one of the arms of the angle you’re measuring. This ensures that the measurement is taken from the correct starting point.
- Hold the protractor firmly: If you’re holding the protractor instead of placing it on a surface, ensure a firm grip to keep it steady. A shaky protractor can lead to imprecise measurements.
- Avoid parallax errors: When reading the measurement on the degree scale, make sure your eye is directly in line with the mark you’re referencing. Viewing the scale from an angle can result in a parallax error and an incorrect measurement.
- Use supplementary tools if needed: For obtuse angles or reflex angles that exceed the protractor’s measurement range, consider using additional tools like an extended protractor, a larger-sized protractor, or a separate angle measuring instrument that can handle larger angles.
- Double-check the measurement: After you’ve taken your initial measurement, double-check it to ensure accuracy. Small errors can occur, so it’s always a good idea to confirm your measurement before relying on it for calculations or project planning.
Practicing these tips will help you improve your accuracy and confidence in measuring angles with a protractor. Remember, precision is key when it comes to geometry, construction, and other fields that rely on accurate angle measurements.
Now that we’ve covered some helpful tips, let’s discuss some common mistakes to avoid while using a protractor.
Common Mistakes to Avoid
When using a protractor, it’s easy to fall into common pitfalls that can lead to inaccurate measurements. By being aware of these mistakes, you can take proactive steps to avoid them and ensure more precise angle readings. Here are some common mistakes to watch out for:
- Incorrect alignment: One of the most common mistakes is not aligning the protractor properly with the angle being measured. Failing to align the baseline and arms can result in an incorrect measurement. Take your time to ensure proper alignment before reading the degree scale.
- Using the wrong side of the protractor: Some protractors have markings on both sides, representing positive and negative degree measurements. Using the wrong side of the protractor can lead to readings in the opposite direction of what you intended. Always verify that you’re using the correct side for the measurement you require.
- Reading from the wrong starting point: It’s crucial to start reading the measurement from the zero-degree mark or another designated starting point on the degree scale. Reading from the wrong starting point can throw off your measurements entirely.
- Overlooking the inner circle or supplementary scale: For angles larger than the protractor’s range, failing to utilize the inner circle or supplementary scale designed to measure such angles can result in inaccurate measurements. Be aware of these additional features and use them when necessary.
- Parallax errors: Parallax errors occur when your eye is not directly aligned with the degree markings. Ensure that you are viewing the scale from a perpendicular angle to avoid any distortions in the measurement.
- Insufficient stabilization: If the protractor isn’t held firmly against the surface or if it slips while measuring, it can cause incorrect readings. Make sure your protractor is stable and secure during the measurement process.
By being mindful of these common mistakes and taking the necessary precautions, you can significantly reduce the chances of making errors while using a protractor. Practice, attention to detail, and patience are key to achieving accurate angle measurements.
Now that we’ve covered the common mistakes to avoid, let’s conclude our discussion on reading a protractor.
Conclusion
Congratulations! You’ve now mastered the art of reading a protractor and accurately measuring angles. With this newfound knowledge, you can confidently tackle geometry problems, complete construction projects, or simply satisfy your curiosity about the angles around you.
We began by understanding the basics of a protractor, including its components and how it works. We then explored the process of reading the degree scale and learned how to measure angles accurately. We also discussed the techniques for determining reflex angles and provided some helpful tips for achieving precise angle measurements.
Throughout this article, we emphasized the importance of proper alignment, stable positioning of the protractor, and avoiding common mistakes that can lead to inaccurate readings. By following these guidelines and practicing regularly, you will improve your proficiency in using a protractor and gain confidence in your angle measurement skills.
Remember, accuracy is crucial in geometry, construction, and various other fields that rely on precise angle measurements. By taking the time to align the protractor correctly, read the degree scale accurately, and avoid common pitfalls, you can ensure reliable results and enhance the quality of your work.
So go ahead and put your new knowledge to the test. Measure angles, solve geometry problems, or use your skills in practical applications. As you continue to practice and deepen your understanding, you’ll become even more skilled in using a protractor.
Thank you for joining us on this journey to learn how to read a protractor. We hope this article has been informative and valuable to you. Now, go forth and conquer those angles with confidence!
Frequently Asked Questions about How To Read A Protractor
Was this page helpful?
At Storables.com, we guarantee accurate and reliable information. Our content, validated by Expert Board Contributors, is crafted following stringent Editorial Policies. We're committed to providing you with well-researched, expert-backed insights for all your informational needs.


0 thoughts on “How To Read A Protractor”