
Articles
How To Use Peel And Stick Countertop
Modified: January 8, 2024
Learn how to use peel and stick countertop articles to transform your kitchen in no time. Discover easy DIY tips and tricks for a hassle-free installation.
(Many of the links in this article redirect to a specific reviewed product. Your purchase of these products through affiliate links helps to generate commission for Storables.com, at no extra cost. Learn more)
Introduction
Welcome to this comprehensive guide on how to use peel and stick countertops! Whether you want to give your kitchen a quick and cost-effective makeover or simply looking to update your bathroom’s look, peel and stick countertops are a great solution. With their easy installation process, durability, and wide range of styles and colors, peel and stick countertops have become a popular choice for DIY enthusiasts and homeowners alike.
In this article, we will take you through a step-by-step guide on how to use peel and stick countertops effectively. We will cover everything from preparing the surface to applying the countertop, as well as additional tips and tricks for a successful installation. So let’s dive in!
Key Takeaways:
- Properly prepare the surface, measure and cut the peel and stick material accurately, and apply it carefully to achieve a seamless and professional-looking finish for your countertop installation.
- Consider adding optional edging for a more polished look, and follow proper cleaning and maintenance practices to ensure your peel and stick countertop retains its beauty and functionality for years to come.
Read more: How To Remove Peel And Stick Caulk
Step 1: Prepare the Surface
Before applying the peel and stick countertop, it’s essential to ensure that the surface is clean, dry, and free from any dirt or debris. This will ensure proper adhesion and a long-lasting result.
Start by removing any existing countertops, if applicable. Use a screwdriver or pry bar to detach them from the base cabinets. Once removed, thoroughly clean the surface with a mild detergent and warm water. Be sure to remove any grease, grime, or residue that may have accumulated over time.
Next, check the surface for any imperfections such as cracks, chips, or unevenness. Use a putty knife and wood filler to repair any damaged areas. Sand down any rough patches or edges to create a smooth and even surface. Wipe away any dust or debris with a damp cloth or sponge.
If you are applying the peel and stick countertop over an existing laminate countertop, lightly sand the surface to create a rough texture. This will help the adhesive bond better to the surface. Be sure to wipe away any dust before proceeding.
Lastly, measure and mark the countertop area to ensure you have the correct dimensions for the peel and stick material. This will help you determine how much material you will need and make the installation process smoother.
By properly preparing the surface, you are setting the foundation for a successful peel and stick countertop installation. Taking the time to clean, repair, and measure will ensure a professional-looking result that will last for years to come.
Step 2: Measure and Cut the Peel and Stick Countertop
Once you have prepared the surface, it’s time to measure and cut the peel and stick countertop to fit your space. Proper measurements are crucial to ensure a seamless and professional-looking installation.
Start by measuring the length and width of your countertop area using a measuring tape. Be sure to account for any overhangs or edges that you want to cover with the peel and stick material. Make note of these measurements.
Next, transfer the measurements onto the backside of the peel and stick countertop material. Use a pencil or marker to mark the cutting lines. It’s a good idea to add a few inches of extra material on each side to allow for adjustments during the installation process.
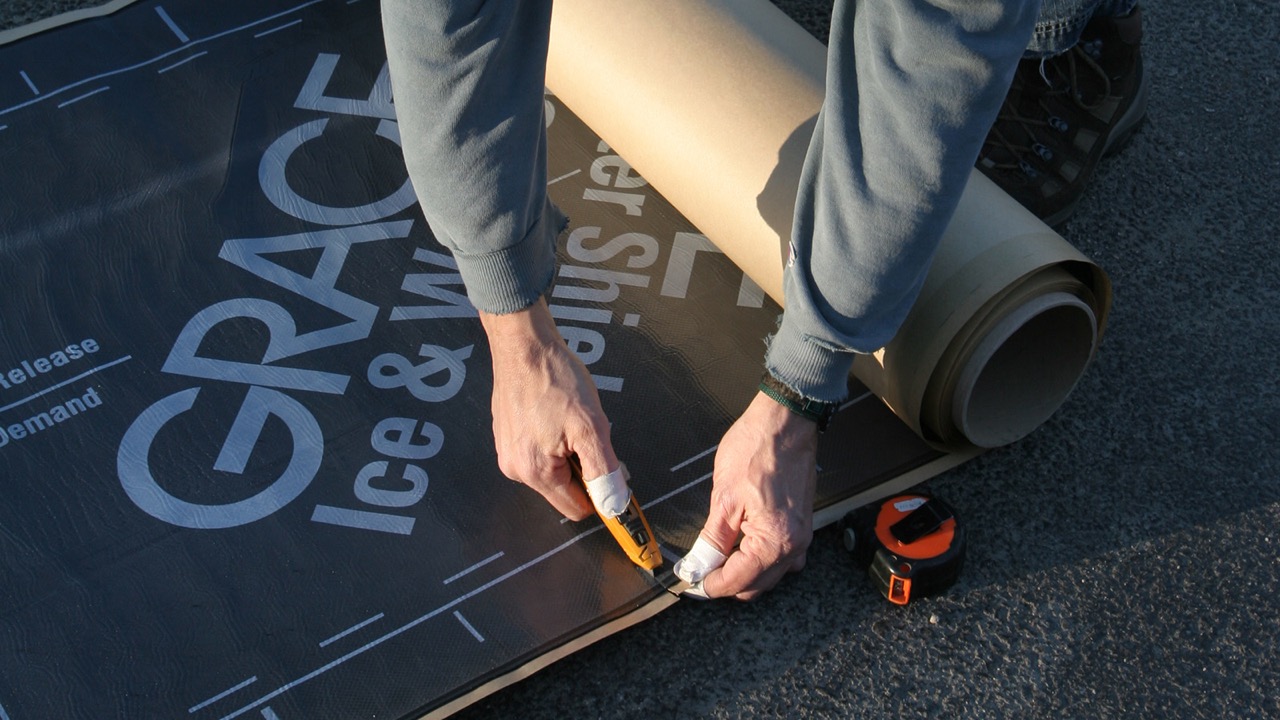
Now, it’s time to cut the peel and stick countertop material along the marked lines. For straight cuts, you can use a utility knife or scissors. Make sure to use a sharp blade and apply even pressure to ensure clean and precise cuts.
If you have curved or angled edges, you may need to use a jigsaw or a coping saw. Take your time and carefully follow the marked lines to achieve the desired shape.
After cutting the peel and stick material, place it on the countertop surface to ensure it fits properly. Make any necessary adjustments or trims if needed.
Remember, it’s always better to cut the material slightly larger than the actual measurements. This way, you can trim off any excess material during the installation process rather than running short.
By taking accurate measurements and cutting the peel and stick countertop precisely, you will be well on your way to achieving a seamless and professional-looking finish.
Step 3: Peel off the Backing and Apply the Countertop
With the surface prepared and the peel and stick countertop material cut to the correct size, it’s time to move on to the installation process. This step involves peeling off the backing and applying the countertop material onto the clean surface.
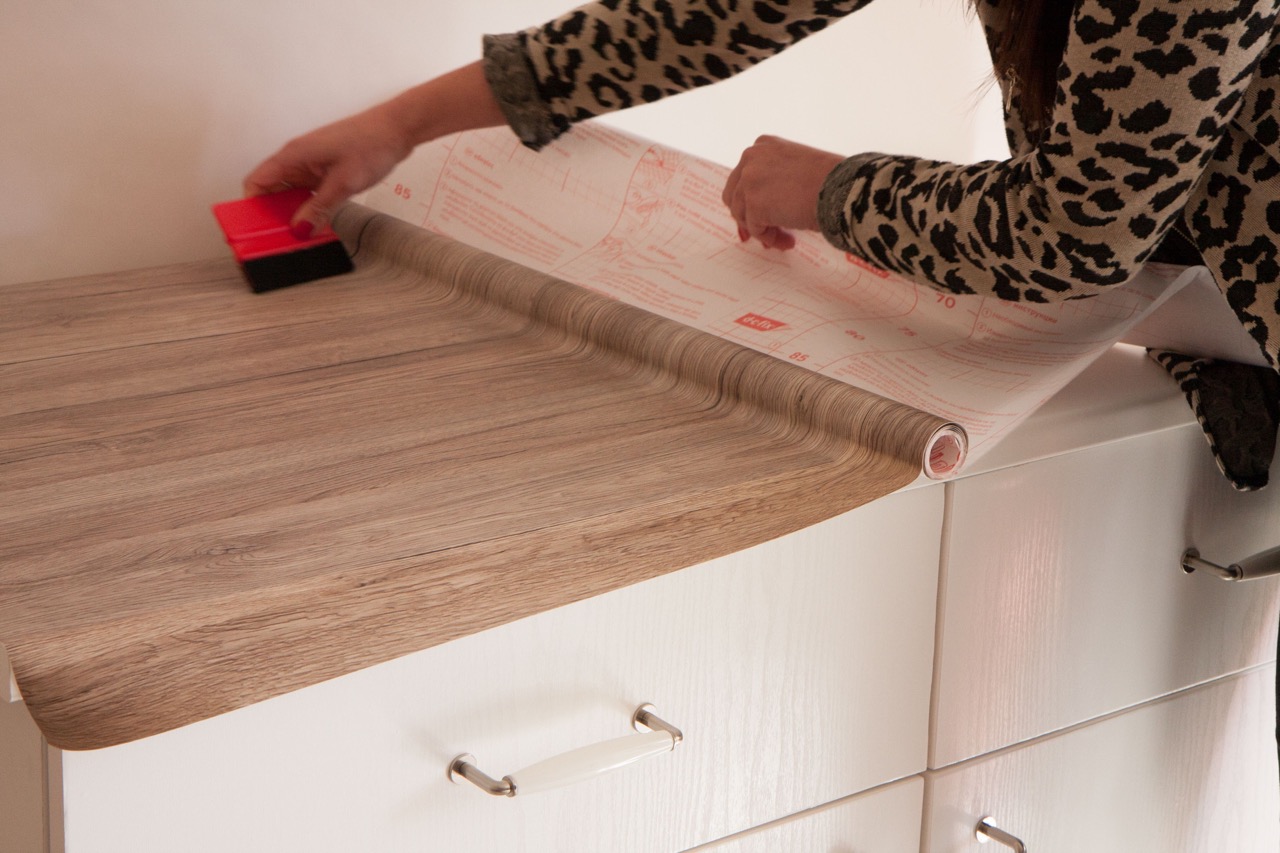
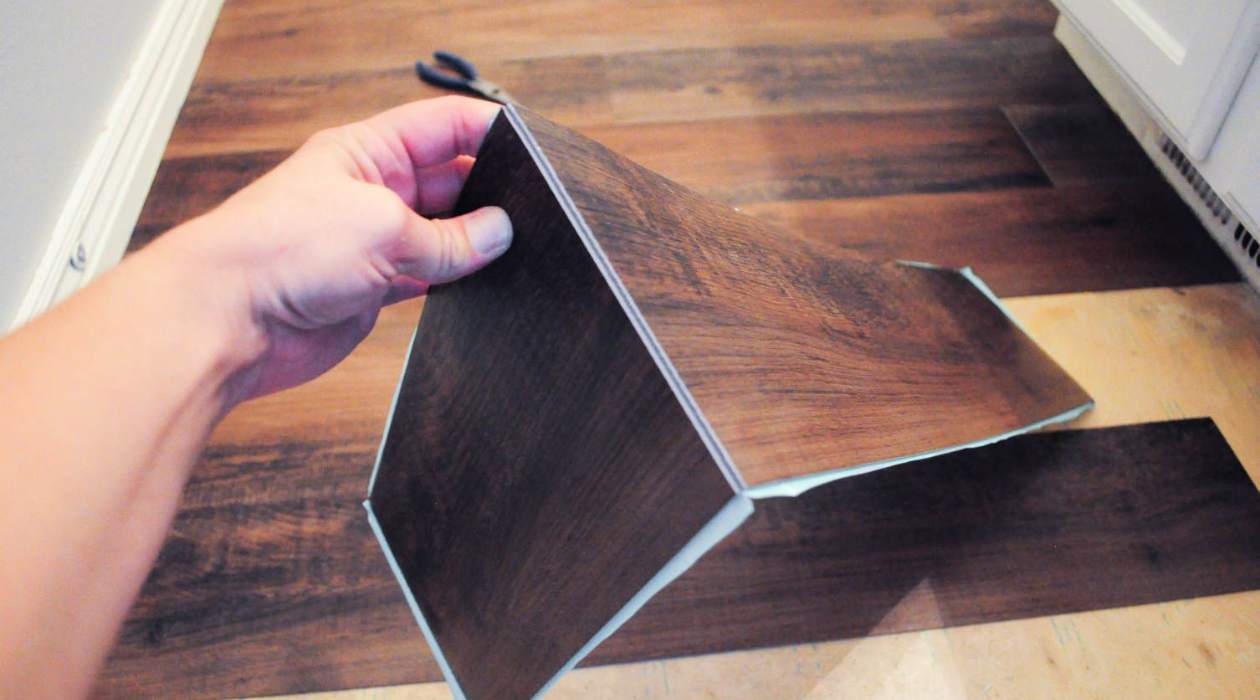
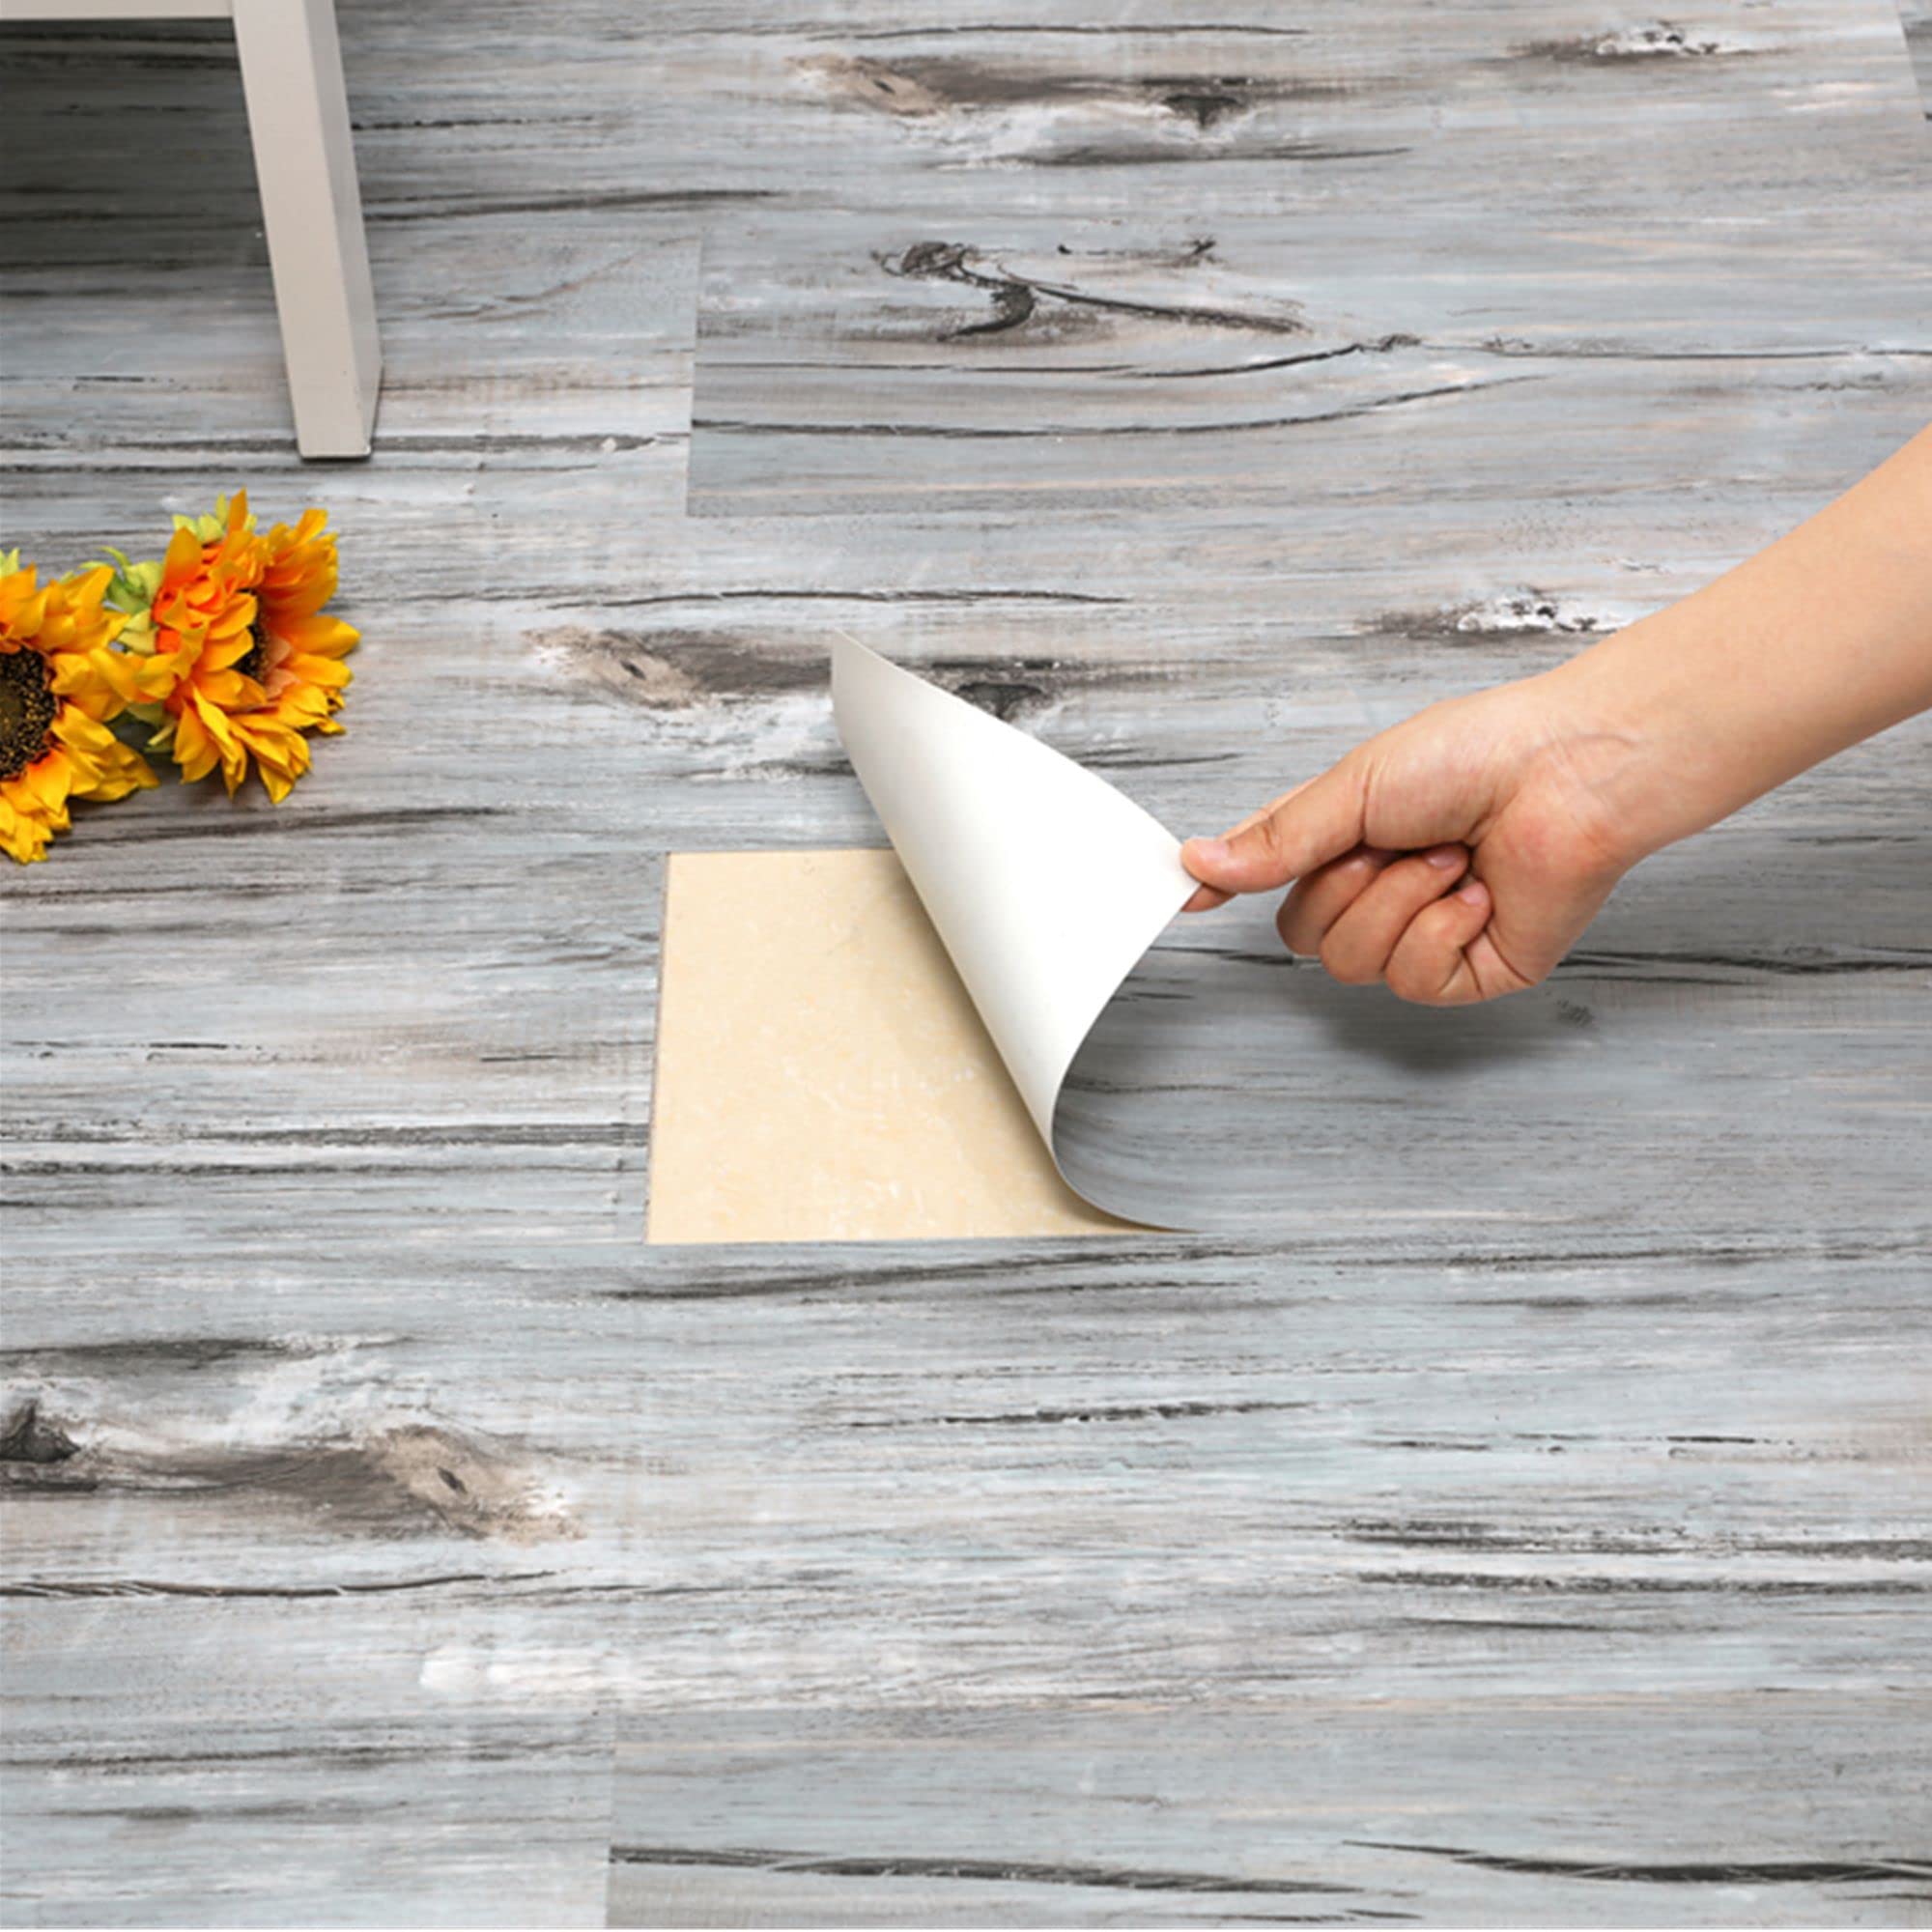
Begin by peeling back a small portion of the backing from one corner of the peel and stick countertop material. Fold it over gradually to avoid any air bubbles or wrinkles. Take your time and be careful not to crease the material as you peel off the backing.
Once you have exposed the adhesive side, carefully align the corner of the material with the corresponding corner of the countertop surface. Slowly begin pressing the adhesive side down, smoothing it out with your hand as you go along.
Work in small sections, gradually releasing more of the backing while applying pressure to the material. This will help prevent any air bubbles or wrinkles from forming. Use a squeegee or a smooth, flat object to firmly press down the countertop material and ensure proper adhesion.
Continue this process, peeling off the backing and applying the material section by section, until the entire countertop area is covered. Take your time and make sure to smooth out any air bubbles or wrinkles as you go along.
If you encounter any stubborn air bubbles, use a pin or needle to puncture them and press the material down to release the trapped air. Smooth out the area to achieve a seamless finish.
Once the peel and stick countertop material is applied, go over the surface again with a squeegee or a smooth object to ensure a secure bond. Pay extra attention to the edges and corners to make sure they are firmly attached.
By peeling off the backing and carefully applying the countertop material, you will achieve a smooth and flawless finish that will enhance the overall appearance of your space.
Step 4: Smooth out Air Bubbles and Wrinkles
Once the peel and stick countertop material is applied, it’s important to smooth out any air bubbles or wrinkles that may have formed during the installation process. This will ensure a professional-looking finish and prevent any issues down the line.
Start by using a squeegee or a smooth, flat object to press down on the countertop material. Work from the center towards the edges, applying even pressure to smooth out any air bubbles. If you notice any stubborn bubbles, use a pin or needle to gently puncture them, and then press the material down to release the trapped air.
If you encounter wrinkles in the peel and stick countertop material, gently lift the affected area and reposition it, being careful not to stretch or distort the material. Slowly smooth it out again, working out any wrinkles with your hand or a squeegee.
For larger wrinkles, you may need to lift and reapply the material in smaller sections. Take your time and work methodically to ensure a seamless and wrinkle-free finish.
If you are having difficulty smoothing out air bubbles or wrinkles, you can apply heat to the countertop material. Using a hairdryer on a low heat setting, warm the area gently while continuing to press and smooth the material down. The heat will help soften the adhesive, making it more pliable and easier to work with.
Remember to take your time and be patient during this step. Properly smoothing out air bubbles and wrinkles will ensure a visually appealing and professional-looking finish for your peel and stick countertop.
When using peel and stick countertop, make sure to thoroughly clean and dry the surface before applying the adhesive. Smooth out any air bubbles and use a roller to ensure a secure and even application.
Read more: What Is Peel And Stick Tile
Step 5: Trim Excess Material
After applying the peel and stick countertop material and smoothing out any air bubbles or wrinkles, it’s time to trim the excess material for a clean and finished look. This step will create crisp edges and ensure a professional-looking installation.
Start by using a utility knife or a pair of sharp scissors to trim the excess material along the edges of the countertop. Hold the blade at a slight angle and make smooth, steady cuts, following the contour of the countertop.
Be cautious not to cut too close to the edge, as this could cause the material to peel or lift. Leave a small margin, about 1/16 to 1/8 inch, to allow for any potential expansion or movement of the material.
If you have an overhang or a backsplash that you want to cover with the peel and stick material, carefully trim along those areas as well. Again, take your time and make precise cuts to achieve a clean and seamless finish.
Once you have trimmed the excess material, go over the edges with a squeegee or a smooth object to firmly press it down and ensure a secure bond. Pay extra attention to corners and seams to ensure they are properly sealed.
Inspect the edges and corners of the countertop to ensure they are smooth and free from any loose or peeling material. If you notice any areas that need additional attention, use a small amount of adhesive or double-sided tape to secure them in place.
By trimming the excess material, you will achieve a neat and polished look for your peel and stick countertop installation. This step adds the final touch and creates a professional finish that will enhance the overall aesthetic of your space.
Step 6: Apply Edging (Optional)
Applying edging to your peel and stick countertop is an optional step that can give your installation a more finished and polished look. Edging not only adds a decorative touch but also provides additional protection to the exposed edges of the countertop.
If you choose to add edging, there are various options available depending on your desired style and preference. Some popular edging materials include PVC, metal, and wood veneer. You can find these edging materials in different colors, finishes, and profiles to complement your peel and stick countertop.
Start by measuring and cutting the edging material to fit the length of your countertop edges. Use a miter saw or a utility knife to make precise cuts, ensuring the edges are seamless and aligned with the countertop surface.
Before applying the edging, make sure the countertop surface and edges are clean and free from any dust or debris. Use a damp cloth to wipe them down and allow them to dry completely.
Apply a thin layer of adhesive to the backside of the edging material, ensuring even coverage. Carefully press the edging onto the exposed edge of the countertop, starting from one end and working your way to the other. Apply even pressure and ensure that the edging is straight and aligned with the countertop surface.
If the adhesive needs time to dry or set, use clamps or heavy objects to hold the edging in place until it is securely bonded to the countertop.
Once the edging is applied, go over it with a roller or smooth object to ensure proper adhesion and eliminate any air bubbles or wrinkles. Wipe away any excess adhesive that may have squeezed out during the application process.
Allow the edging to dry and set according to the manufacturer’s instructions before using or placing any objects on the countertop.
Adding edging to your peel and stick countertop is a personal choice that can elevate the overall look and provide a more polished finish. Consider your desired aesthetic and style, and choose an edging material that complements your countertop for a cohesive and professional result.
Step 7: Clean and Maintain the Countertop
Once you have successfully installed your peel and stick countertop, it’s important to properly clean and maintain it to keep it looking its best. Regular cleaning and maintenance will help prolong the lifespan of the countertop and ensure it stays in optimal condition.
Start by wiping down the countertop surface regularly with a soft cloth or sponge and a mild, non-abrasive cleaner. Avoid using harsh chemicals or abrasive cleaners that can damage the surface or strip away the protective coating.
For tougher stains or spills, use a gentle scrub brush or a non-scratch scouring pad along with the mild cleaner. Gently scrub the area in a circular motion, being careful not to apply too much pressure that might scratch the surface.
After cleaning, rinse the countertop thoroughly with water to remove any residue from the cleaner. Wipe it dry with a clean cloth to prevent water spots or streaks from forming.
When it comes to maintenance, it’s important to avoid placing hot pans or pots directly onto the countertop surface, as this can cause damage or discoloration. Always use trivets or hot pads to protect the surface from heat.
Similarly, be cautious with sharp or abrasive objects that can scratch the surface. Use cutting boards or other protective surfaces when working with knives or other utensils.
Regularly check the edges of the countertop and the seams for any signs of lifting or peeling. If you notice any issues, use a small amount of adhesive or double-sided tape to secure them in place.
Finally, avoid exposing the peel and stick countertop to excessive moisture or prolonged water exposure, as this can cause damage and compromise its adhesive properties. Wipe up any spills immediately and ensure the countertop is dried thoroughly after cleaning.
By following proper cleaning and maintenance practices, you will ensure that your peel and stick countertop retains its beauty and functionality for years to come.
Conclusion
Using peel and stick countertops is a convenient and cost-effective way to update the look of your kitchen or bathroom. With their easy installation process and a wide range of styles and colors available, peel and stick countertops have become a popular choice for homeowners and DIY enthusiasts.
In this comprehensive guide, we have covered the step-by-step process of using peel and stick countertops effectively. From preparing the surface and measuring the material to trimming excess material and applying optional edging, each step is crucial in achieving a seamless and professional-looking finish.
Remember to carefully prepare the surface by cleaning and repairing any imperfections, as this will ensure proper adhesion and a long-lasting result. Take accurate measurements and cut the peel and stick material precisely to fit your space. Peel off the backing, apply the countertop material, and smooth out any air bubbles or wrinkles for a flawless finish.
If desired, you can enhance the look of your countertop by applying optional edging, which adds a decorative touch and additional protection to the edges. Finally, follow proper cleaning and maintenance practices to keep your peel and stick countertop looking its best over time.
By following these steps and tips, you can achieve a professional-looking peel and stick countertop installation that will transform the look of your space. Enjoy the beauty and convenience that peel and stick countertops bring to your home!
Frequently Asked Questions about How To Use Peel And Stick Countertop
Was this page helpful?
At Storables.com, we guarantee accurate and reliable information. Our content, validated by Expert Board Contributors, is crafted following stringent Editorial Policies. We're committed to providing you with well-researched, expert-backed insights for all your informational needs.


0 thoughts on “How To Use Peel And Stick Countertop”