
Articles
How To Grout Peel And Stick Floor Tile
Modified: September 1, 2024
Learn how to properly grout peel and stick floor tile with these helpful articles. Discover tips and tricks for achieving a seamless and durable finish.
(Many of the links in this article redirect to a specific reviewed product. Your purchase of these products through affiliate links helps to generate commission for Storables.com, at no extra cost. Learn more)
Introduction
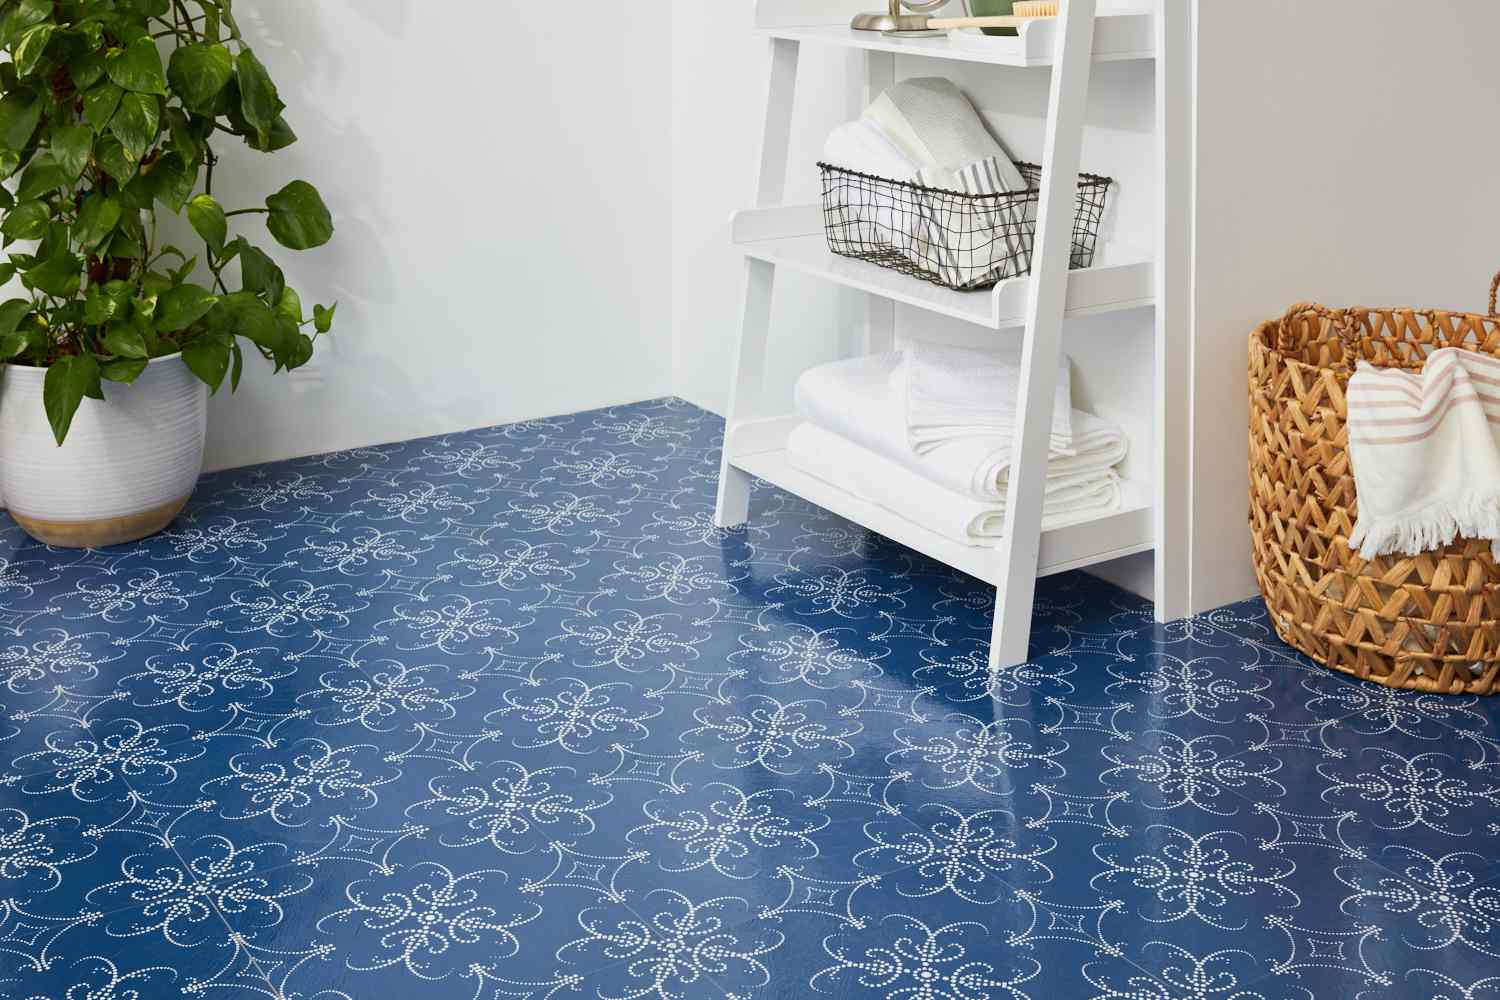
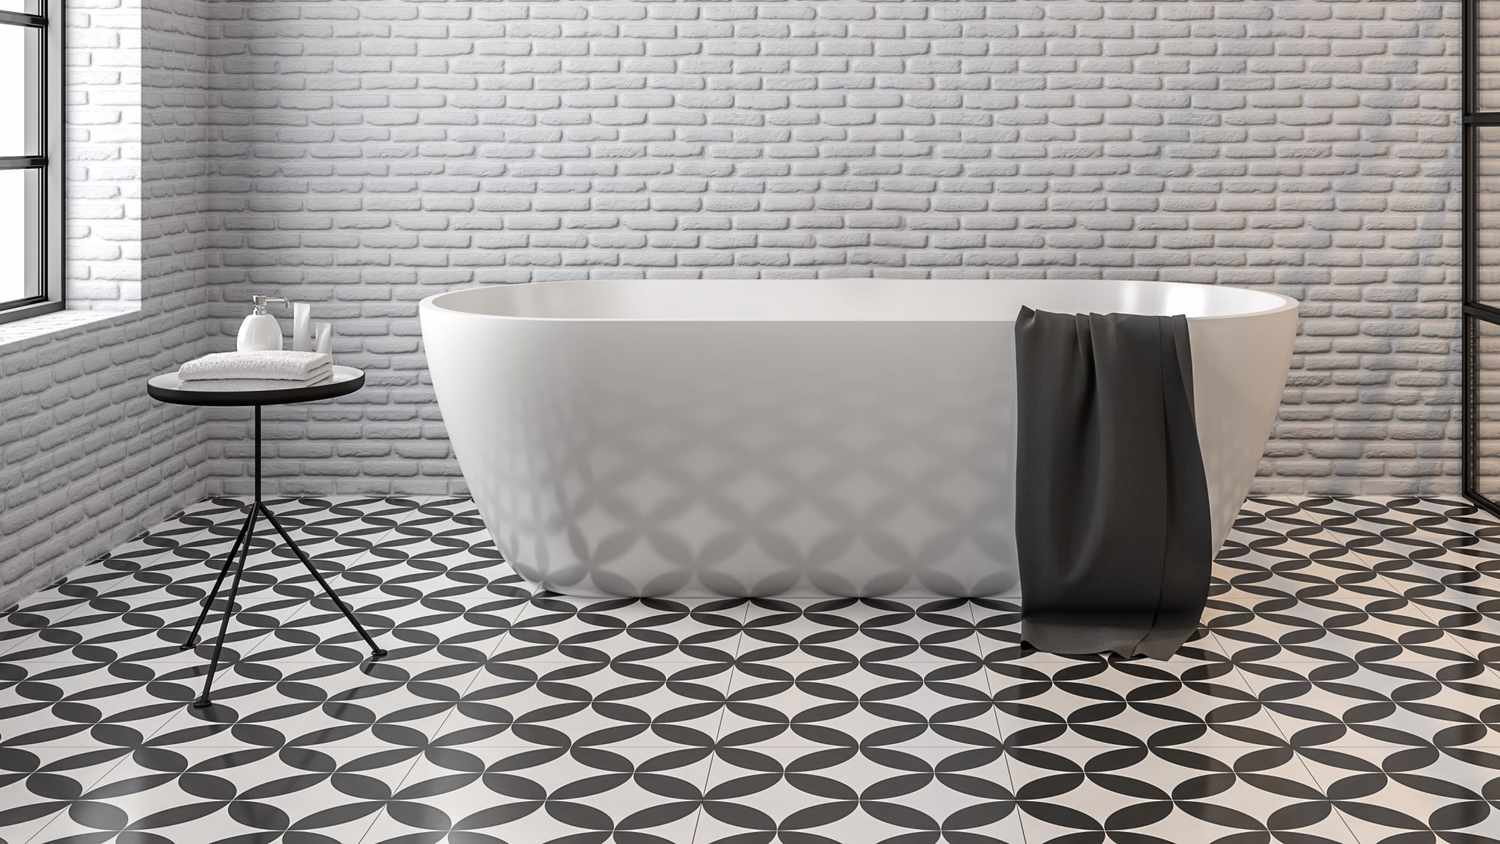
When it comes to giving your floors a new look, peel and stick floor tiles are a popular and convenient option. Not only are they easy to install, but they also offer a wide range of colors and patterns, allowing you to personalize your space. However, to achieve a polished and finished look, it’s important to properly grout your peel and stick floor tiles.
In this article, we will guide you through the process of grouting peel and stick floor tiles. You will learn the materials needed, step-by-step instructions, as well as some tips and tricks to ensure a successful and professional-looking outcome.
Before we dive into the process, let’s briefly understand what grout is and why it’s necessary for peel and stick floor tiles. Grout is a mixture of cement, sand, and water that is used to fill the gaps between tiles. It not only helps to secure the tiles in place, but it also provides a seamless and polished appearance to your floor. Grouting is an essential step that shouldn’t be skipped, as it adds durability and prevents moisture from seeping under the tiles.
Now that we have a basic understanding of grouting, let’s begin by gathering the materials needed for the project.
Key Takeaways:
- Proper grouting of peel and stick floor tiles is essential for a polished and durable finish. From surface preparation to grout application, following the step-by-step process ensures a professional-looking outcome.
- Gathering the right materials, cutting tiles for edges and corners, and adding finishing touches are crucial steps in achieving a stunning floor. Take your time, follow instructions, and enjoy the transformation!
Read more: How To Lay Peel And Stick Tile Floors
Materials Needed
Before you start grouting your peel and stick floor tiles, it’s important to have all the necessary materials on hand. Here’s a list of what you’ll need:
- Peel and stick floor tiles
- Grout of your choice
- Grout float
- Tile sponge
- Bucket
- Water
- Grout sealer (optional)
Ensure that you have enough peel and stick tiles to cover your entire floor. It’s always a good idea to order extra tiles to account for any mistakes or replacements that may be necessary.
When it comes to choosing the grout, opt for a color that complements your floor tiles and suits the overall aesthetic of your space. You can find grout in various shades, allowing you to match it perfectly or create a contrasting effect.
Additionally, the grout float will be used to apply the grout, while the tile sponge and bucket will come in handy for cleaning and wiping away excess grout.
Lastly, consider using a grout sealer to protect your floor tiles and grout from stains and moisture. While this step is optional, it can significantly extend the lifespan of your floor and keep it looking pristine.
Once you’ve gathered all the necessary materials, you’re ready to start grouting your peel and stick floor tiles. Let’s move on to the step-by-step instructions.
Step 1: Preparing the Surface
Before you begin the grouting process, it’s crucial to ensure that the surface is clean, dry, and free of any debris. Here’s how to prepare the surface for grouting:
- Remove any existing flooring: If you have any existing flooring, such as carpet, vinyl, or laminate, remove it and thoroughly clean the subfloor. It’s important to have a smooth and level surface for the peel and stick tiles.
- Clean the floor: Sweep or vacuum the floor to remove any dust, dirt, or loose particles. For a more thorough cleaning, you can use a gentle floor cleaner and a damp mop to eliminate any stubborn stains or grime. Allow the floor to dry completely.
- Inspect for any damage: Carefully inspect the floor for any cracks, holes, or uneven areas. If you come across any damage, repair it before proceeding with the installation. Patch any holes or cracks using a suitable filler and allow it to dry per the manufacturer’s instructions.
- Check the humidity levels: It’s essential to ensure that the humidity levels in the room are within the recommended range. High humidity can affect the adhesive on the peel and stick tiles and hinder their proper adherence. Use a hygrometer to measure the humidity levels, and if necessary, use a dehumidifier to bring it to an optimal level.
By properly preparing the surface, you create a solid foundation for the peel and stick floor tiles. This ensures a smoother installation process and improves the longevity of your flooring.
Once you’ve completed these preparation steps, you’re ready to move on to applying the peel and stick tiles. This will be covered in the next section.
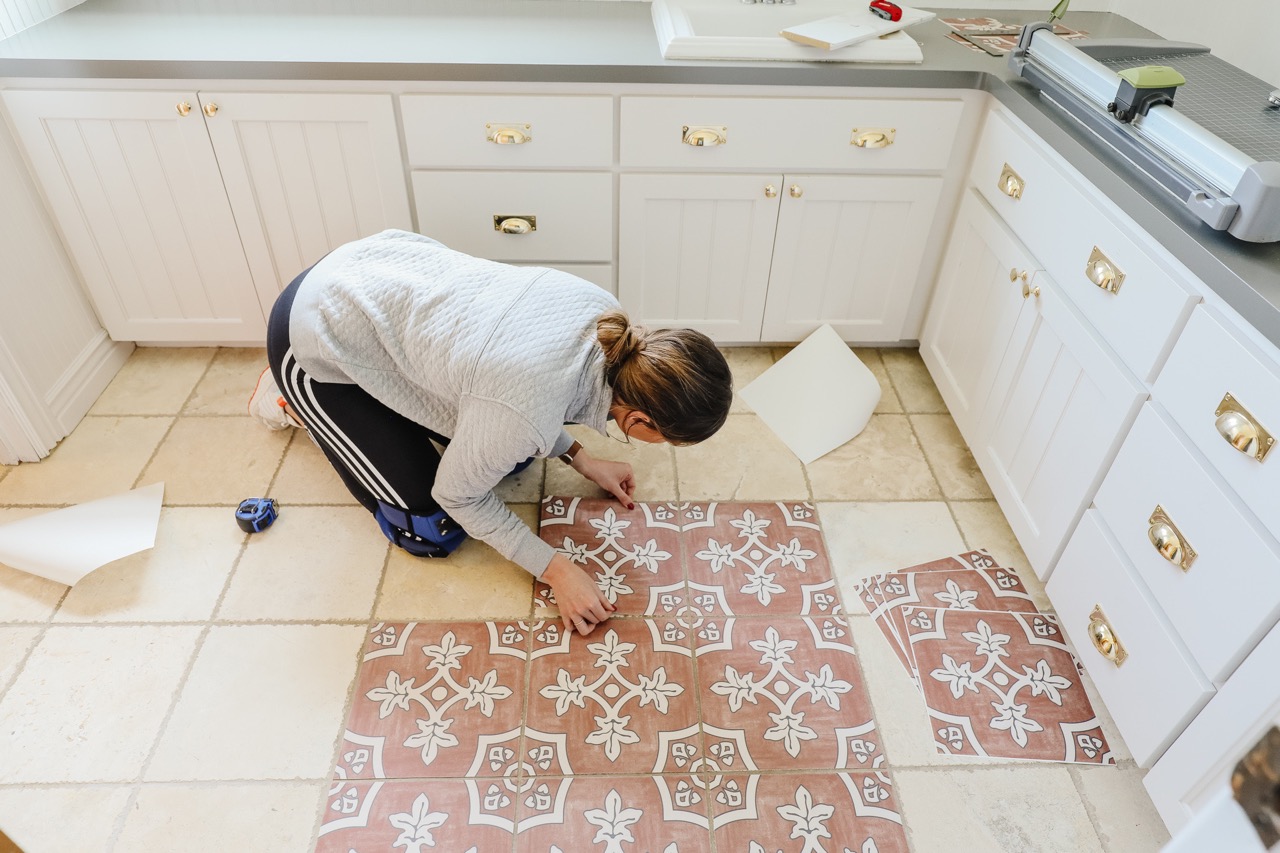
Step 2: Applying the Peel and Stick Tiles
Now that you have prepared the surface for grouting, it’s time to apply the peel and stick tiles. Follow these steps for a successful installation:
- Start in a corner: Begin in a corner of the room and peel the backing off the first tile. Slowly press it firmly onto the prepared surface, ensuring that it is aligned with the adjacent wall or guideline. Apply pressure to the tile to ensure proper adhesion.
- Continue laying the tiles: Work your way across the room, laying the tiles in a straight line. If your tiles have a directional pattern, make sure to keep the pattern consistent. Leave a small gap, usually about 1/8 inch, between each tile to allow for expansion.
- Trim the tiles if needed: As you approach walls, corners, or other obstacles, you may need to trim the tiles to fit. Measure and mark the tile where it needs to be cut, then use a utility knife or a tile cutter to make the necessary cuts. Ensure that the cut tile fits properly before proceeding.
- Continue the installation: Repeat the process of peeling and sticking the tiles, ensuring they are aligned and snugly fit together. Use a roller or a wooden block to press down on the tiles, helping to flatten them and improve adhesive contact.
- Allow the adhesive to set: Once all the tiles are installed, it’s important to allow the adhesive to set for the recommended amount of time. This typically ranges from 24 to 72 hours, depending on the manufacturer’s instructions. Avoid walking or placing heavy objects on the tiles during this curing period.
Remember to follow the specific guidelines provided by the manufacturer of your peel and stick floor tiles, as installation instructions may vary slightly. Taking your time during this step will result in a clean and seamless tile installation, providing a solid basis for the grouting process.
With the peel and stick tiles in place, we can now move on to the next step: cutting the tiles for edges and corners.
When grouting peel and stick floor tile, make sure to use a non-sanded grout to avoid scratching the tile surface. Additionally, be sure to thoroughly clean the tile surface before applying the grout to ensure a strong bond.
Step 3: Cutting the Tiles for Edges and Corners
As you approach edges, corners, or other irregular areas in your room, you will likely need to cut the peel and stick tiles to ensure a proper fit. Follow these steps to effectively cut the tiles:
- Measure and mark the tile: Use a measuring tape to determine the necessary dimensions for the tile. Mark the measurements on the tile’s surface using a pencil or a marker.
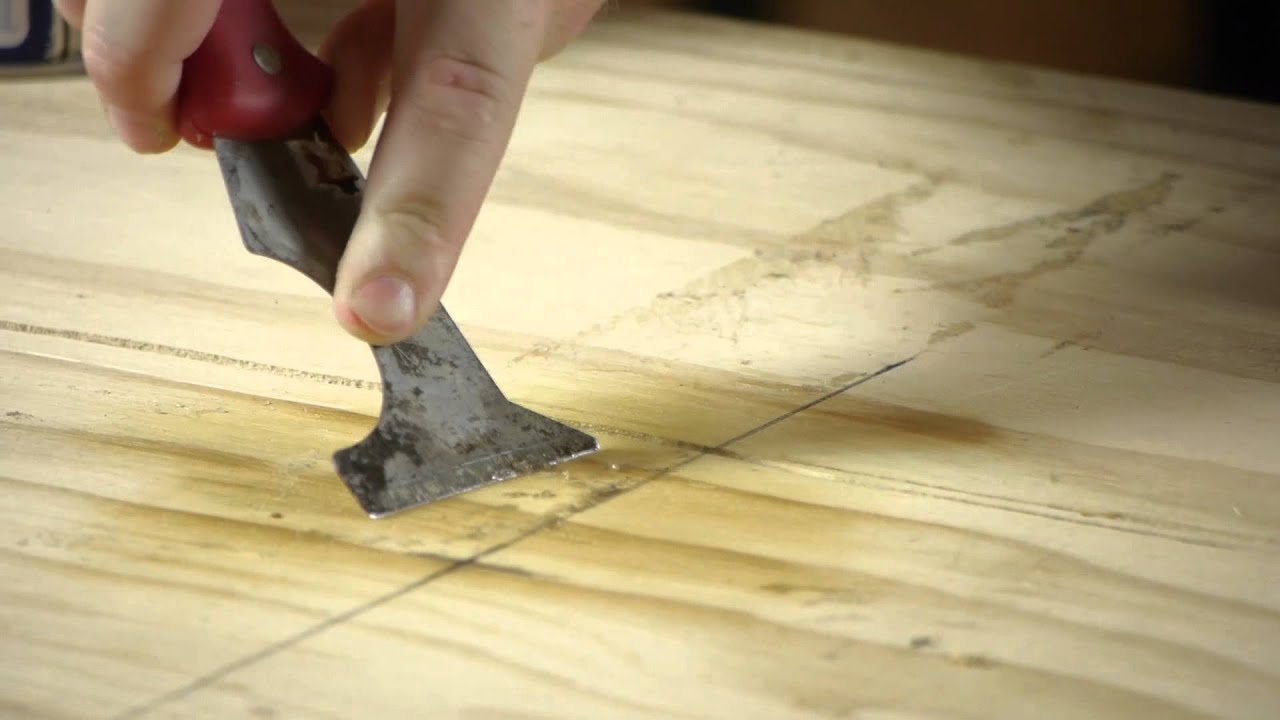
- Score the tile: Place the marked tile on a flat surface and use a utility knife or tile cutter to score the surface along the marked line. Apply firm, even pressure as you run the blade along the line, ensuring a clean and accurate cut.
- Break the tile: Once the tile is scored, carefully bend it along the scored line, applying gentle pressure. The tile should snap cleanly along the scored line. If needed, use the utility knife to complete the cut.
- If necessary, trim further: In some cases, you may need to make additional cuts or adjustments to achieve a precise fit. Use the same scoring and breaking technique as before to make the necessary trims.
- Test the cut tile: Place the cut tile in the desired area and ensure it fits accurately. Make any further adjustments if needed by trimming the tile as necessary.
Remember to prioritize safety when cutting the tiles. Wear protective gloves and eyewear, and exercise caution to avoid any accidents.
By cutting the peel and stick tiles effectively, you will achieve a professional and seamless look, especially in areas where full tiles cannot be used. Once the tiles are cut and fitted correctly, you’re ready to move on to the grouting process, the next step in completing your new floor.
Read more: How To Lay Peel And Stick Floor Tile
Step 4: Grouting the Floor Tiles
Now that your peel and stick floor tiles are installed and cut to fit, it’s time to move on to the grouting process. Follow these steps to achieve a clean and polished look:
- Mix the grout: Prepare the grout mixture according to the manufacturer’s instructions. Typically, you will mix the grout powder with water in a bucket until you achieve a smooth, paste-like consistency. Avoid making the grout too runny or too thick.
- Apply the grout: With the grout mixture ready, use a grout float to spread the grout over the tiles. Hold the float at a 45-degree angle and push the grout into the gaps, ensuring they are completely filled. Work in small sections at a time to prevent the grout from drying out.
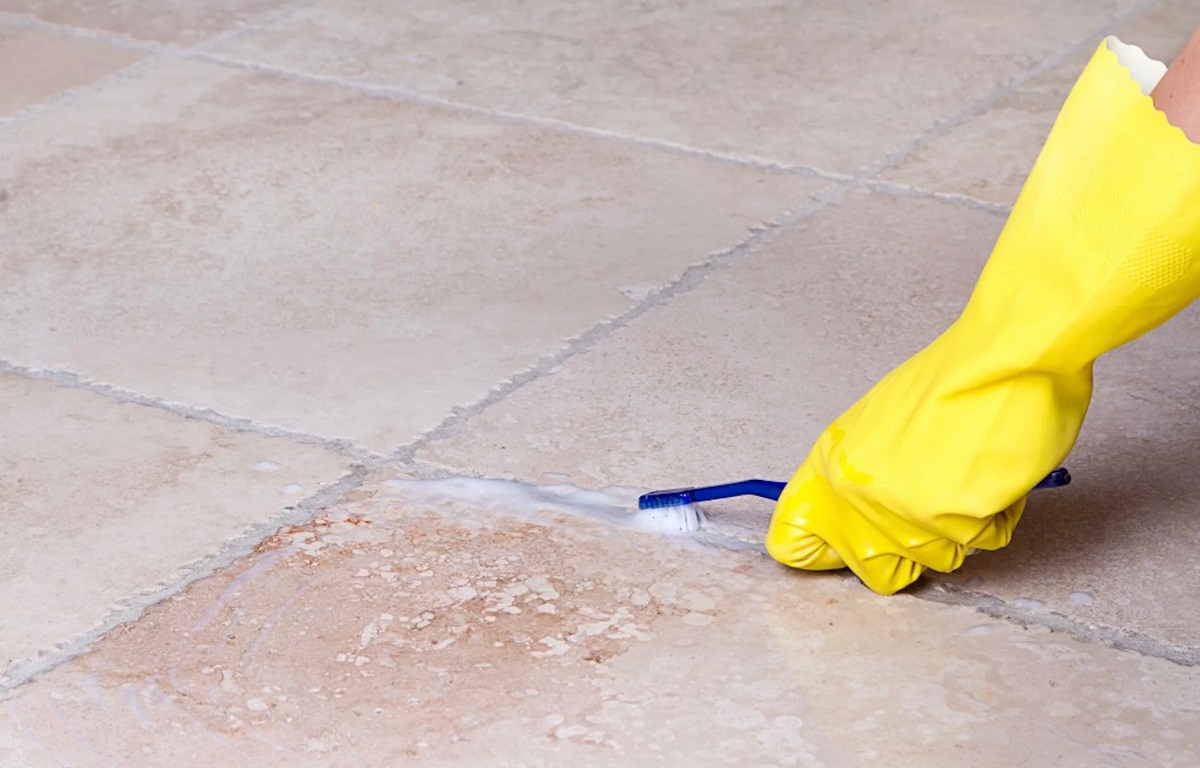
- Clean off excess grout: After applying the grout, use the grout float at a steeper angle to remove excess grout from the tile surface. Glide the float diagonally across the tiles, being careful not to remove too much grout from the gaps.
- Wipe away excess grout: Once you have removed most of the excess grout, dampen a tile sponge in water and gently wipe the tiles in a circular motion to remove any remaining grout haze or residue. Rinse the sponge frequently to ensure effective cleaning.
- Allow the grout to cure: After cleaning off the excess grout, allow the grout to cure for the recommended time specified by the manufacturer. This typically ranges from 24 to 48 hours. Avoid walking on the tiles or introducing moisture during this time.
It’s important to remember that grout can dry quickly, so it’s best to work efficiently and clean off the excess grout before it hardens. Be thorough in removing the grout haze to reveal the true beauty of your peel and stick floor tiles.
Once the grout is fully cured, you can move on to the final step: cleaning and adding finishing touches to your newly grouted floor.
Step 5: Cleaning and Finishing Touches
With the grouting process complete, it’s time to give your newly grouted peel and stick floor tiles a final cleaning and add some finishing touches to enhance their appearance. Follow these steps for a pristine and polished look:
- Clean the tiles: Start by gently wiping the tiles with a damp sponge or cloth to remove any remaining grout residue or haze. Ensure that the tiles are completely clean and free from any grout smears or smudges. You may need to rinse and wring out the sponge or cloth multiple times as you clean.
- Inspect the grout lines: Once the tiles are clean, inspect the grout lines for any gaps or uneven areas. If necessary, use a grout touch-up pen or a small brush to fill in any noticeable gaps or imperfections in the grout lines. This step will further enhance the overall appearance of your floor.
- Seal the grout (optional): While not necessary, sealing the grout can provide added protection against stains and moisture. If you choose to seal the grout, ensure that the tiles and grout are completely clean and dry. Follow the instructions on the grout sealer carefully, and apply it to the grout lines using a small brush or sponge. Wipe off any excess sealer from the tiles immediately to avoid staining.
- Give it a final clean: Once you have finished sealing the grout (if applicable), give the tiles a final clean using a mild floor cleaner and a clean mop or cloth. This will help remove any remaining residue or marks, leaving your floor looking pristine and ready to enjoy.
- Add the finishing touches: To complete the look of your newly grouted peel and stick floor tiles, consider adding some finishing touches. This may include adding baseboards or trim along the edges, rearranging furniture, or placing decorative rugs or mats in strategic areas. These small details can elevate the overall aesthetic appeal of your space.
By thoroughly cleaning your grouted tiles and adding the final touches, you can ensure that your peel and stick floor looks stunning and well-maintained for years to come.
Congratulations! You have successfully grouted your peel and stick floor tiles, transforming your space and giving it a fresh and updated look. Enjoy your newly revamped floor, and don’t forget to maintain it regularly to preserve its beauty and durability.
Conclusion
Grouting peel and stick floor tiles is a crucial step in achieving a professional and polished look for your space. By following the step-by-step instructions provided in this article, you can successfully navigate the grouting process and create a stunning floor that will enhance the aesthetic appeal of any room.
From preparing the surface and applying the peel and stick tiles to cutting them to fit in edges and corners, and finally grouting the tiles, each step is important in achieving a seamless and durable finished product.
Remember to gather all the necessary materials, clean and prepare the surface thoroughly, and take your time during each step for the best results. Pay attention to the manufacturer’s instructions and recommendations specific to your peel and stick tiles and grout.
After grouting, it’s essential to clean off any excess grout and haze and give your floor a final touch-up. Consider sealing the grout for added protection and longevity, and add the finishing touches that will complement your space’s overall aesthetic.
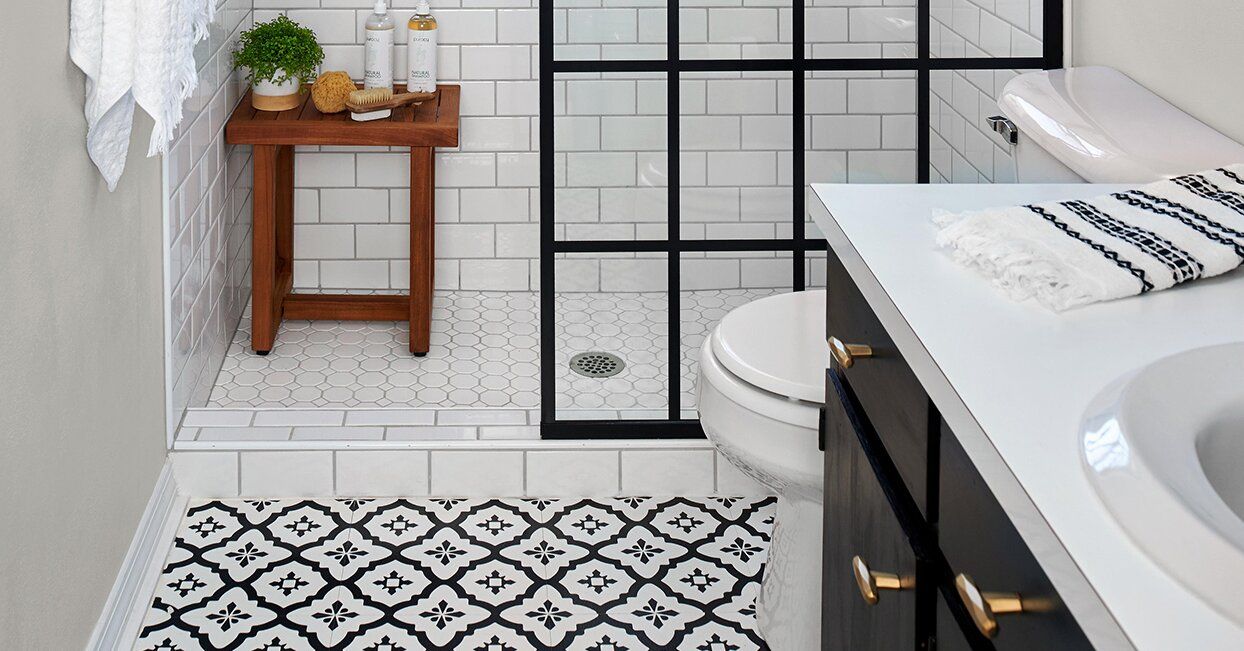
Whether you’re grouting peel and stick floor tiles in your kitchen, bathroom, or any other area of your home, the end result will be a beautiful and professionally-installed floor that you can enjoy for years to come.
So, roll up your sleeves, gather your materials, and let the transformation begin. Happy grouting!
Frequently Asked Questions about How To Grout Peel And Stick Floor Tile
Was this page helpful?
At Storables.com, we guarantee accurate and reliable information. Our content, validated by Expert Board Contributors, is crafted following stringent Editorial Policies. We're committed to providing you with well-researched, expert-backed insights for all your informational needs.


0 thoughts on “How To Grout Peel And Stick Floor Tile”