Articles
How To Lay Peel And Stick Tile In A Bathroom
Modified: August 27, 2024
Learn how to lay peel and stick tile in a bathroom with our comprehensive articles. Transform your space with easy DIY instructions and expert tips.
(Many of the links in this article redirect to a specific reviewed product. Your purchase of these products through affiliate links helps to generate commission for Storables.com, at no extra cost. Learn more)
Introduction
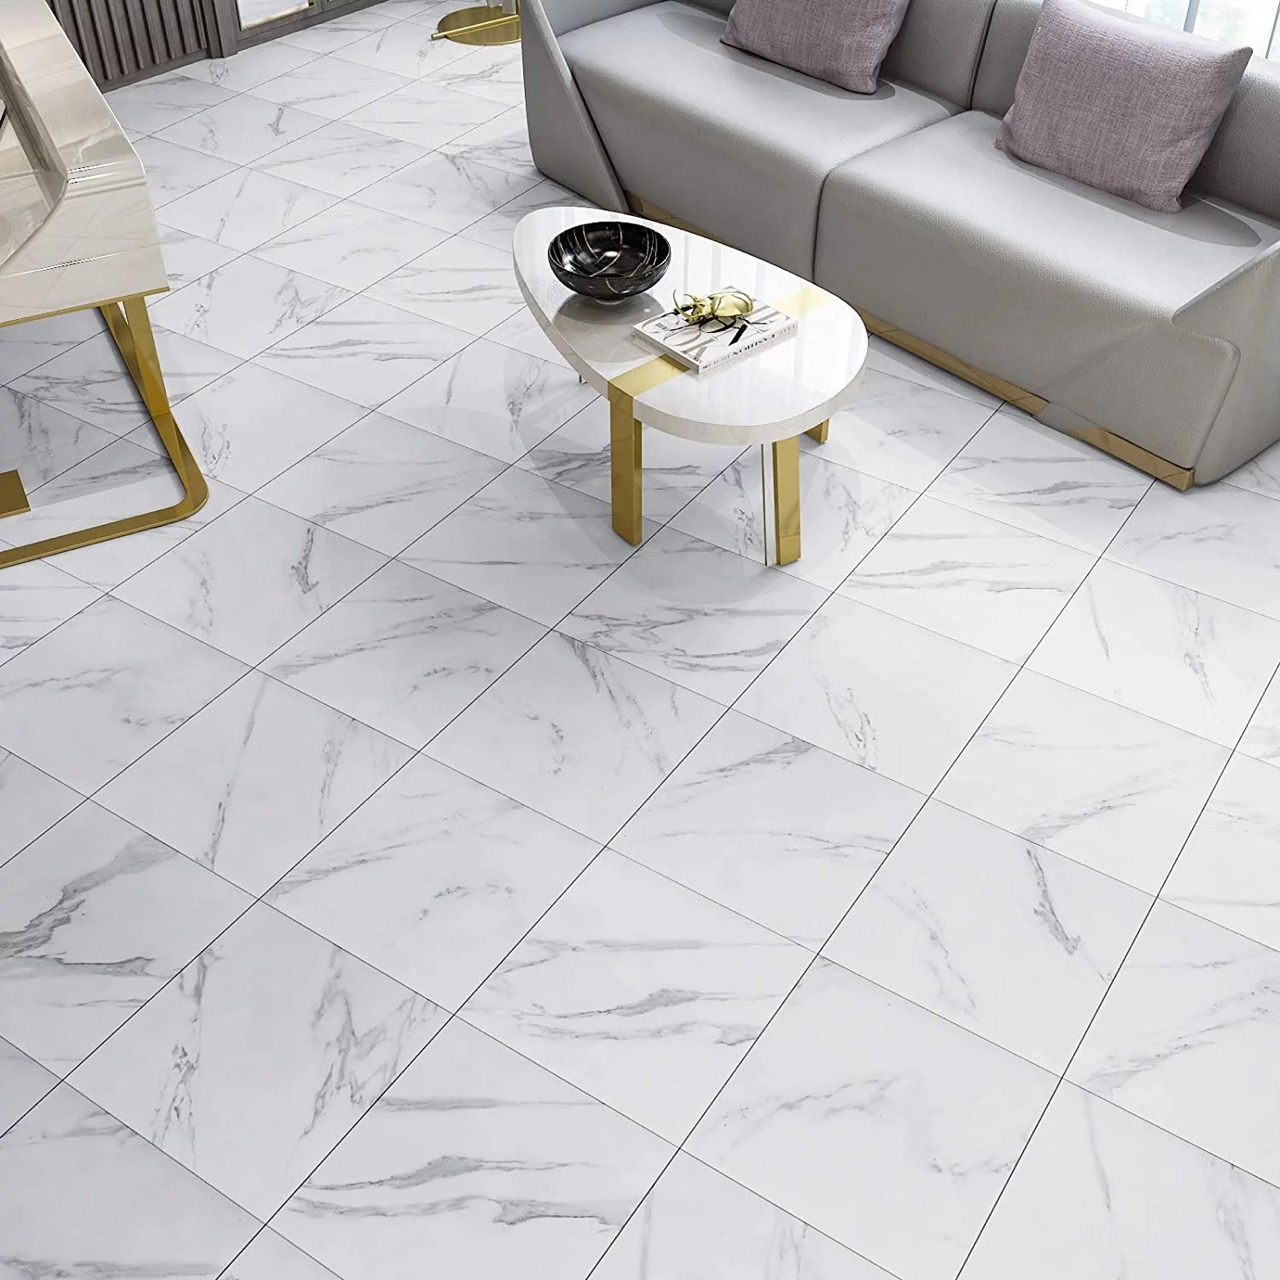
When it comes to giving your bathroom a quick and affordable makeover, installing peel and stick tiles can be a game changer. With their easy installation process and wide range of styles and designs, these self-adhesive tiles offer a simple and effective way to update the look of your bathroom without the need for professional help. In this article, we will guide you through the step-by-step process of laying peel and stick tiles in your bathroom.
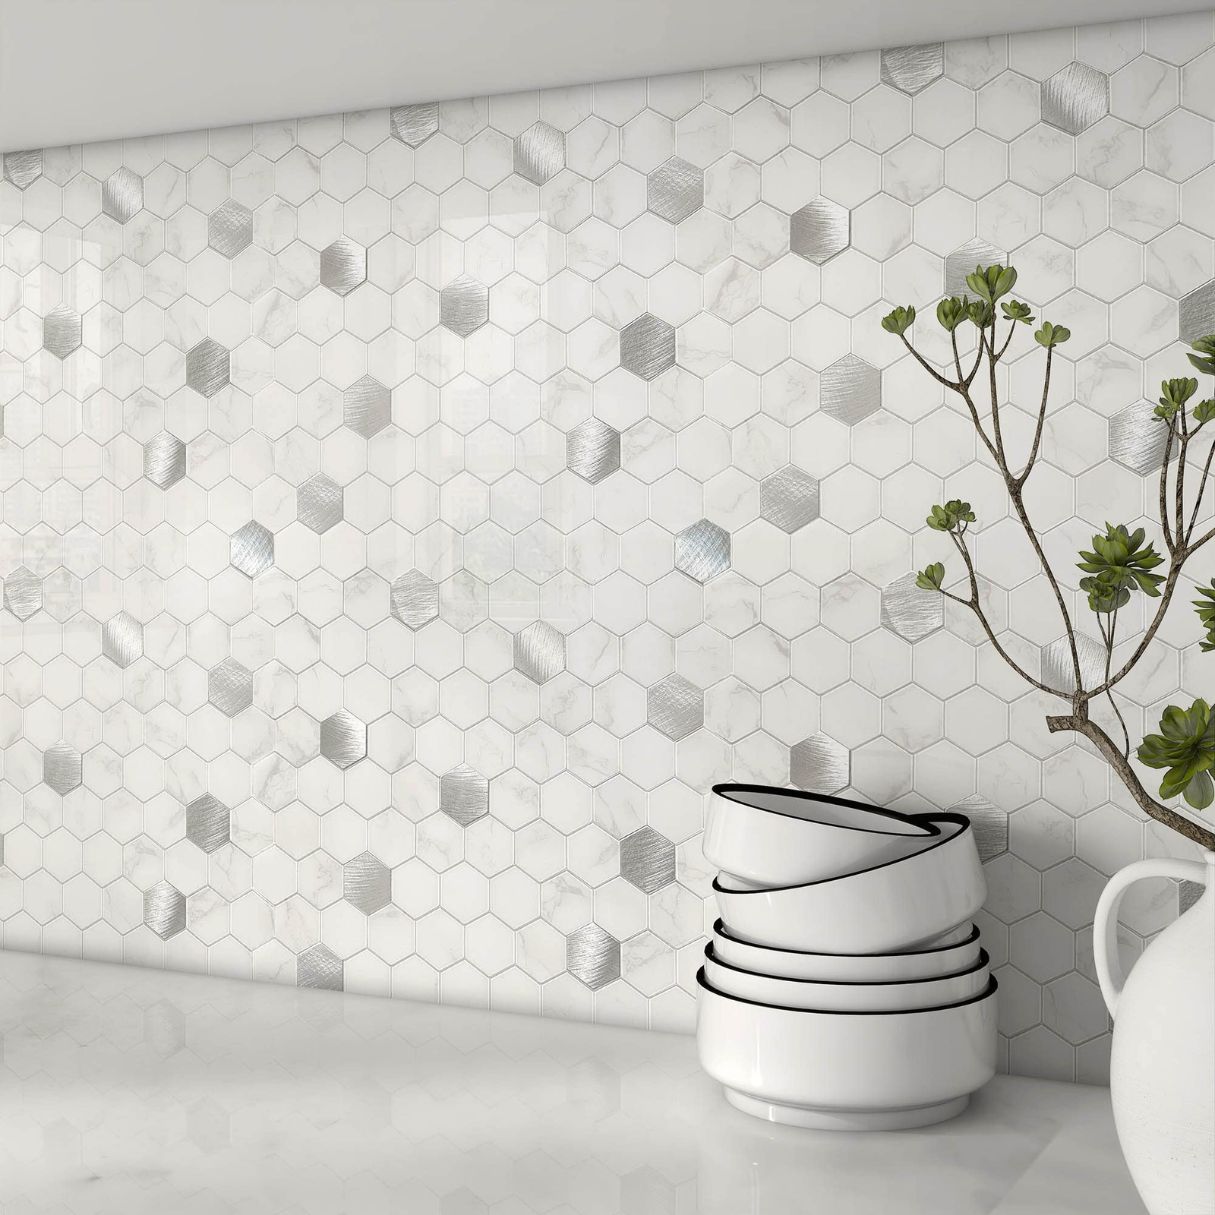
Before we dive into the details, it’s important to understand the benefits of peel and stick tiles. Unlike traditional ceramic or porcelain tiles, peel and stick tiles are made from a variety of materials such as vinyl, PVC, or resin. They come in a range of sizes and patterns, allowing you to choose the design that best suits your aesthetic preferences.
One of the biggest advantages of peel and stick tiles is their ease of installation. They do not require any special tools or adhesives. Instead, they come with a self-adhesive backing that allows you to simply peel off the protective layer and stick them directly onto the surface.
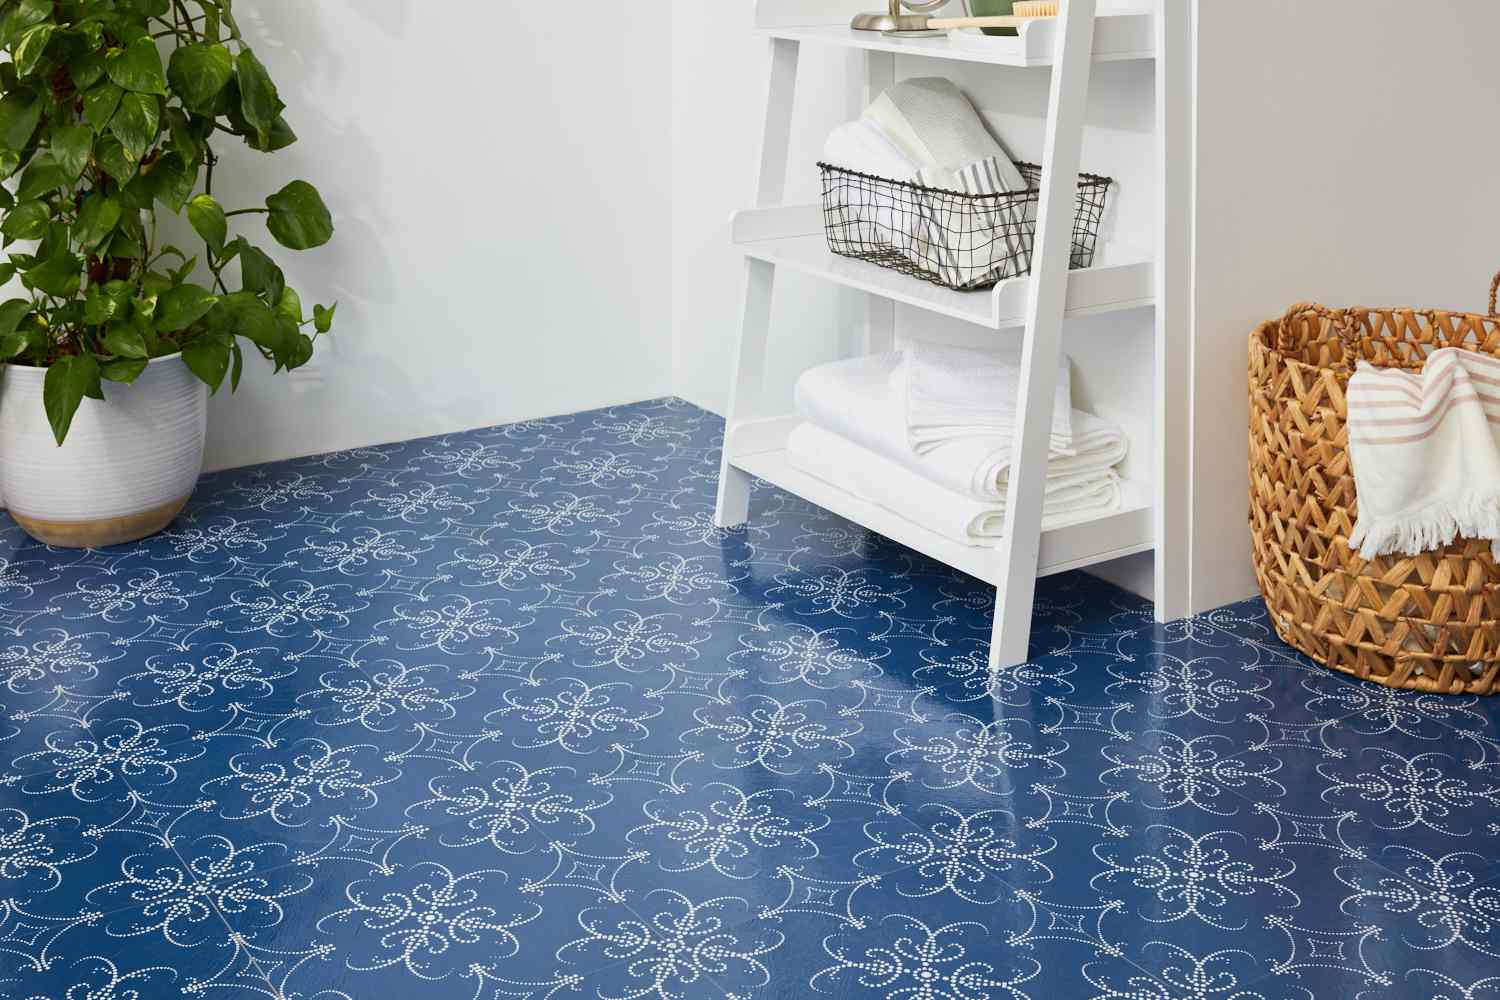
Another benefit of peel and stick tiles is their durability. They are resistant to moisture, making them perfect for bathroom applications. Additionally, they are easy to clean and maintain, ensuring that your bathroom stays looking fresh and beautiful for years to come.
Now that we’ve covered the basics, let’s jump into the step-by-step process of laying peel and stick tiles in your bathroom. With just a few tools and a little bit of patience, you can transform your bathroom into a stylish and inviting space.
Key Takeaways:
- Easily transform your bathroom with peel and stick tiles, no professional help needed. Prepare, plan, cut, apply, grout, and seal for a stylish and durable makeover.
- Enjoy a cost-effective and convenient bathroom makeover with peel and stick tiles. From surface prep to sealing, achieve a professional result with ease and creativity.
Read more: How To Lay Peel And Stick Floor Tile
Step 1: Preparing the Surface
Before you begin installing your peel and stick tiles, it’s important to properly prepare the surface to ensure a smooth and long-lasting installation. Follow these steps to prepare the surface:
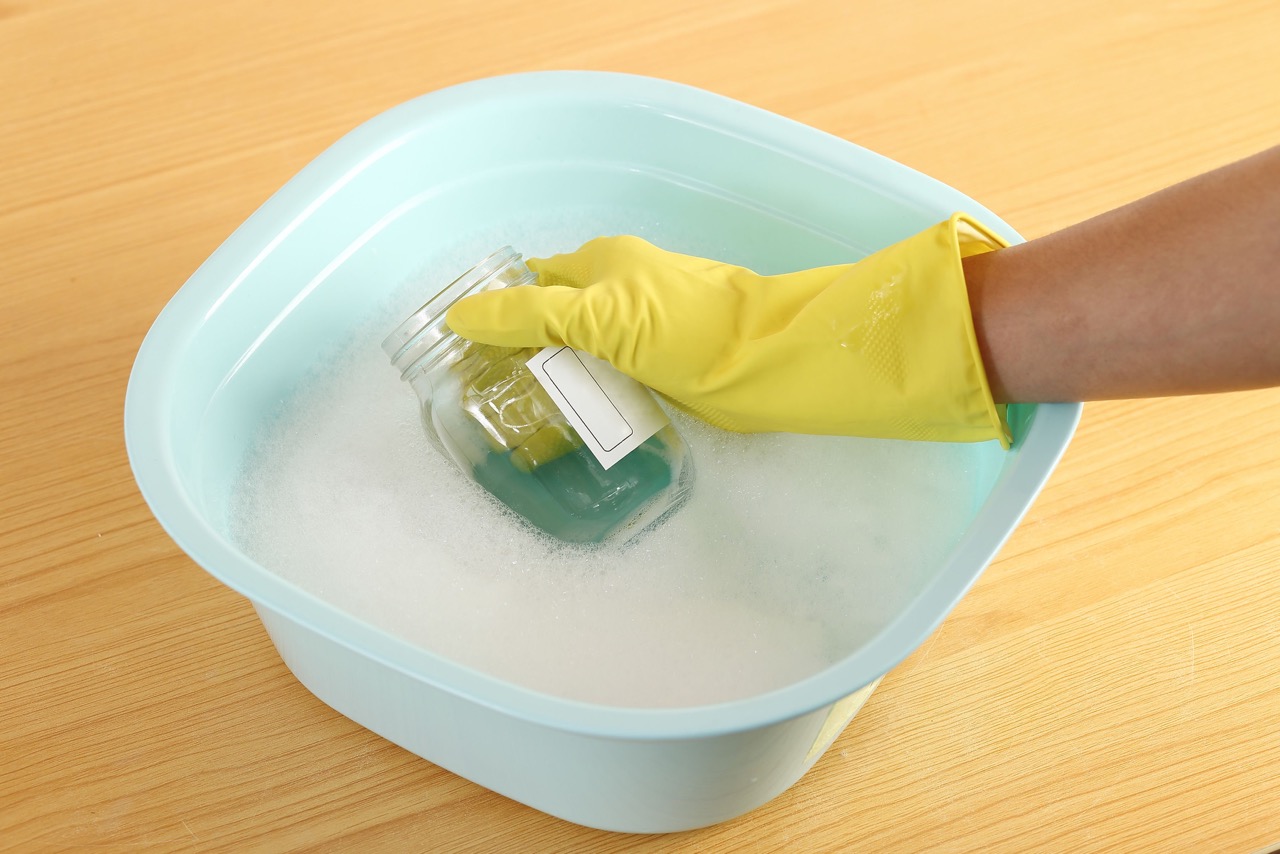
- Clean the surface: Start by thoroughly cleaning the existing floor or wall surface where you plan to install the tiles. Remove any dirt, dust, or grease using a mild detergent and warm water. You can also use a degreaser for stubborn stains. Allow the surface to dry completely before proceeding.
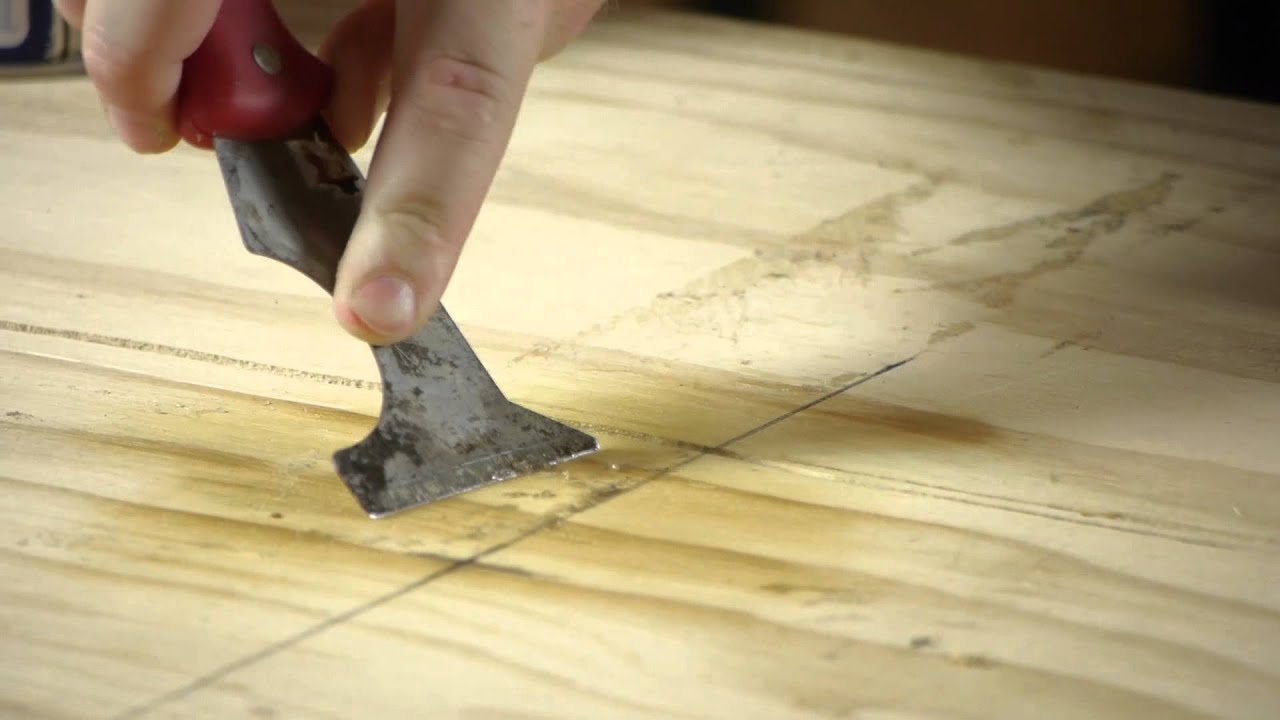
- Repair any damage: Inspect the surface for any cracks, holes, or uneven areas. If you come across any damage, fill it in with a suitable filler and smooth it out with a putty knife. Allow the filler to dry and sand it lightly to create a level surface.
- Sand the surface: If the existing surface has a glossy or smooth finish, it is important to lightly sand it to create a rough texture. This will help the adhesive on the peel and stick tiles to adhere better to the surface. Use a sanding block or sandpaper with a medium grit to gently roughen the surface.
- Remove baseboards and trim: If you have baseboards or trim along the edges of the floor or wall, consider removing them temporarily. This will allow you to install the tiles up to the edge without any hindrance. Use a pry bar and a hammer to carefully remove the baseboards or trim.
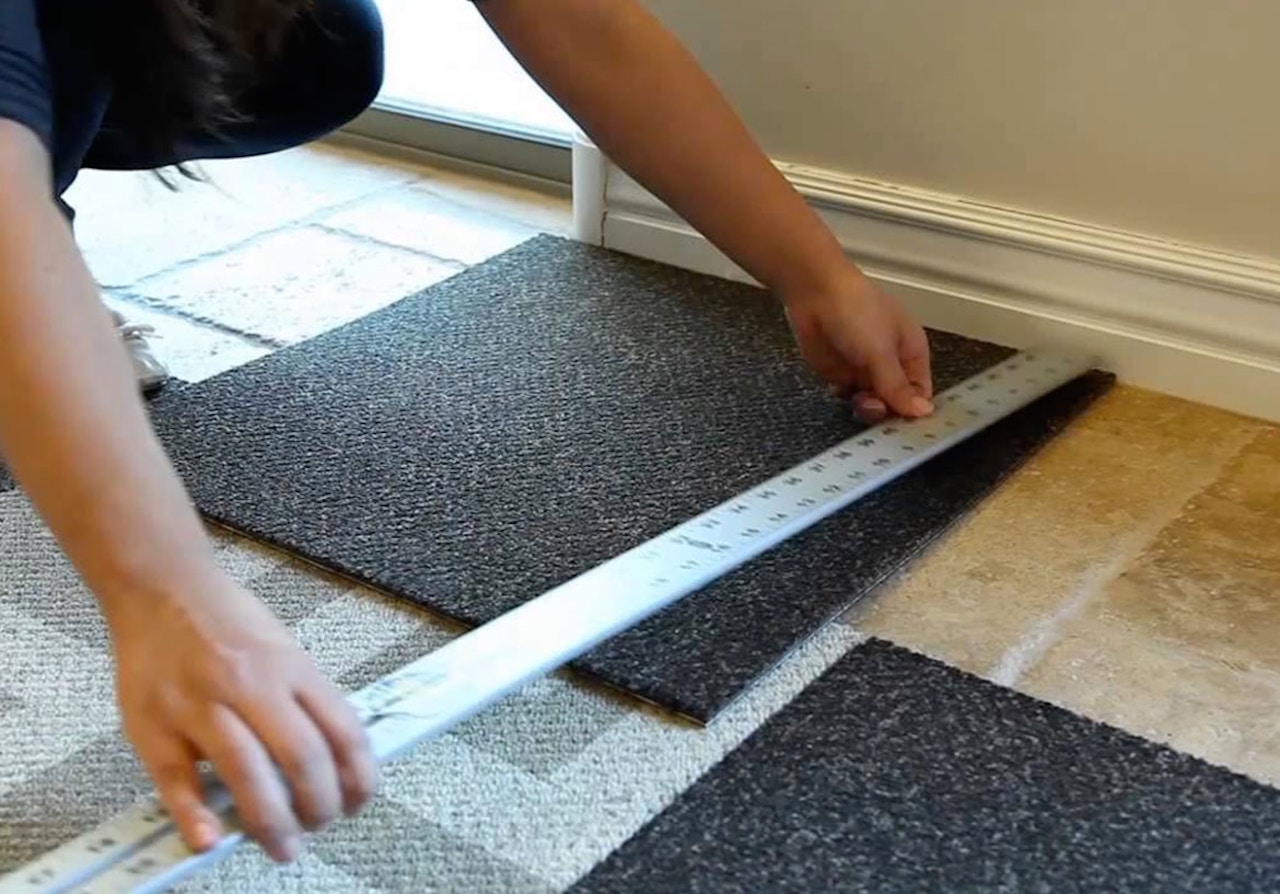
- Measure and mark: Before proceeding with the installation, measure the area where you plan to install the tiles and mark it out using a chalk line or a straight edge. This will help you visualize the layout and ensure that the tiles are aligned properly.
By following these steps to prepare the surface, you will create an optimal foundation for the peel and stick tiles. This will help to ensure a successful and long-lasting installation.
Step 2: Planning the Layout
Once you have prepared the surface, it’s time to plan the layout of your peel and stick tiles. Proper planning is crucial to achieve a professional-looking result. Follow these steps to plan the layout:
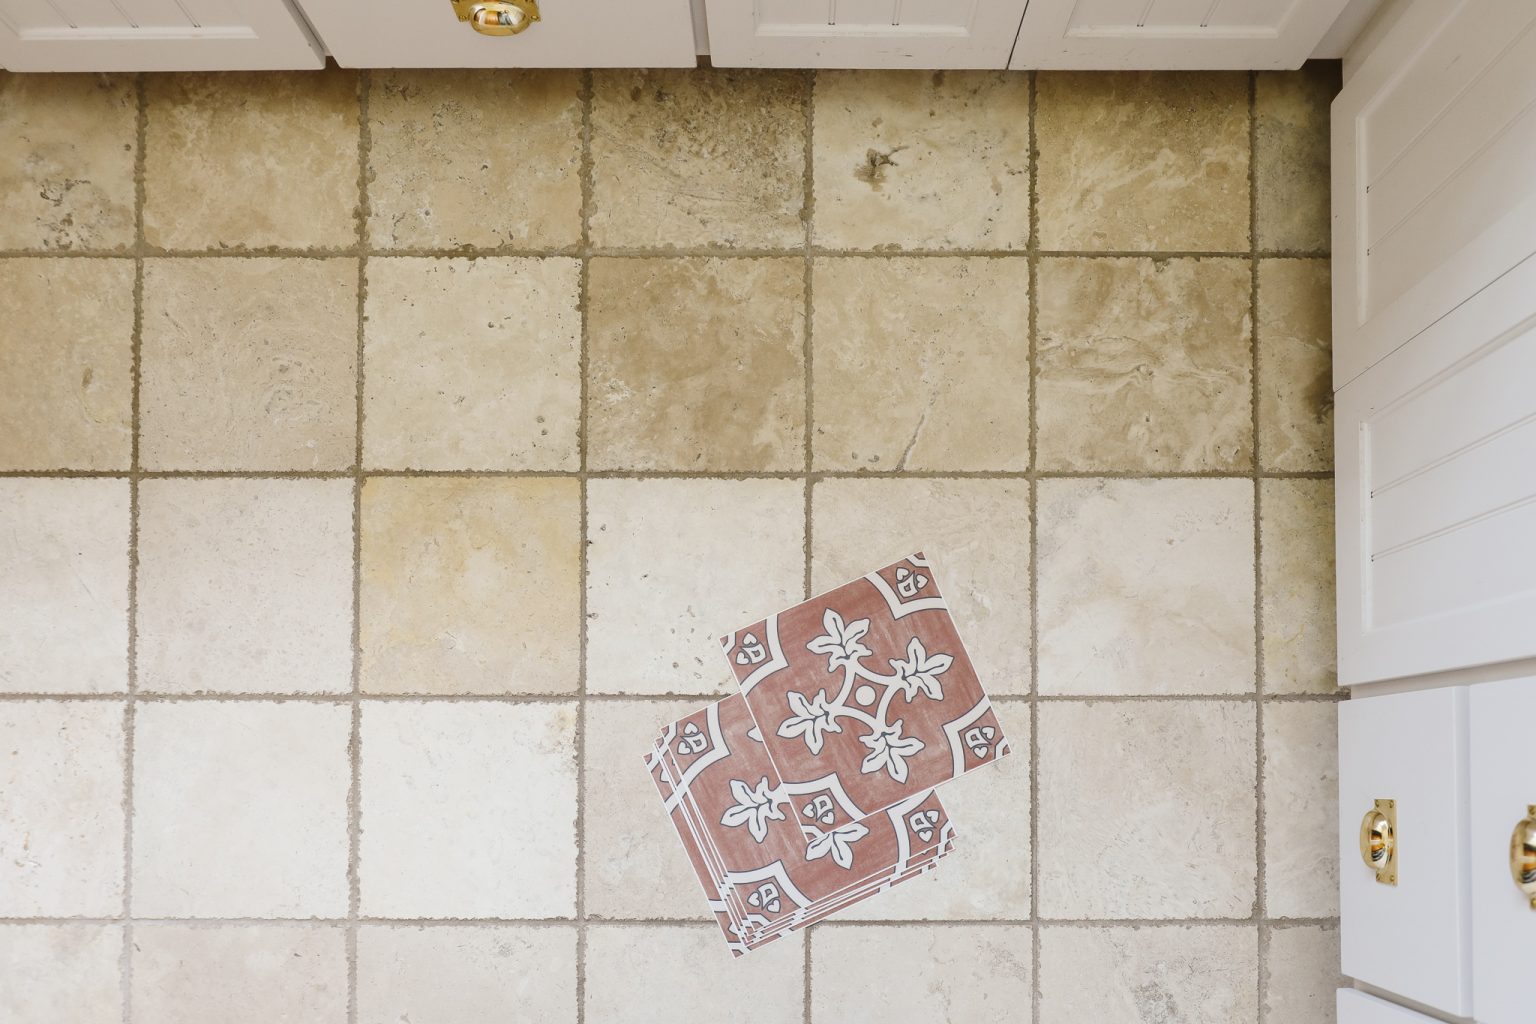
- Consider the pattern: Take a moment to decide on the pattern or design you want to achieve with your tiles. Whether you prefer a classic grid pattern or a more intricate herringbone or diagonal pattern, it’s important to have a clear vision before you start laying the tiles.
- Start from the center: To create a balanced and symmetrical layout, it’s best to start laying the tiles from the center of the room or wall. Measure the width and length of the area and find the center point. Mark it with a pencil or a small piece of tape.
- Dry fit the tiles: Before applying adhesive to the tiles, it’s a good idea to do a dry fit. Lay out a few tiles along the center line, using spacers to mimic the grout lines. This will help you visualize how the tiles will look and make any necessary adjustments to the layout.
- Account for cuts and corners: Consider the areas where you will need to make cuts, such as around doorways or corners. Measure these areas carefully and mark them on the tiles. This will help you determine how many full tiles you can fit and how much cutting you will need to do.
- Adjust the layout: If you find that the tiles at the edges of the room or wall will be very small, you may need to make slight adjustments to the layout. This can involve shifting the starting point slightly or adjusting the width of the border tiles to achieve a more balanced look.
By taking the time to plan the layout of your peel and stick tiles, you will ensure a visually appealing result with proper alignment and minimal cutting. It’s worth the effort to achieve a well-executed layout that enhances the overall aesthetic of your bathroom.
Step 3: Cutting the Tiles
Once you have planned the layout of your peel and stick tiles, it’s time to cut the tiles to fit around edges, corners, and obstacles. Follow these steps to cut the tiles:
- Measure and mark: Using a measuring tape, measure the area where you need to cut the tile. Make sure to account for any necessary gaps or allowances for expansion. Mark the measurements directly on the tile’s protective backing using a pencil or a marker.
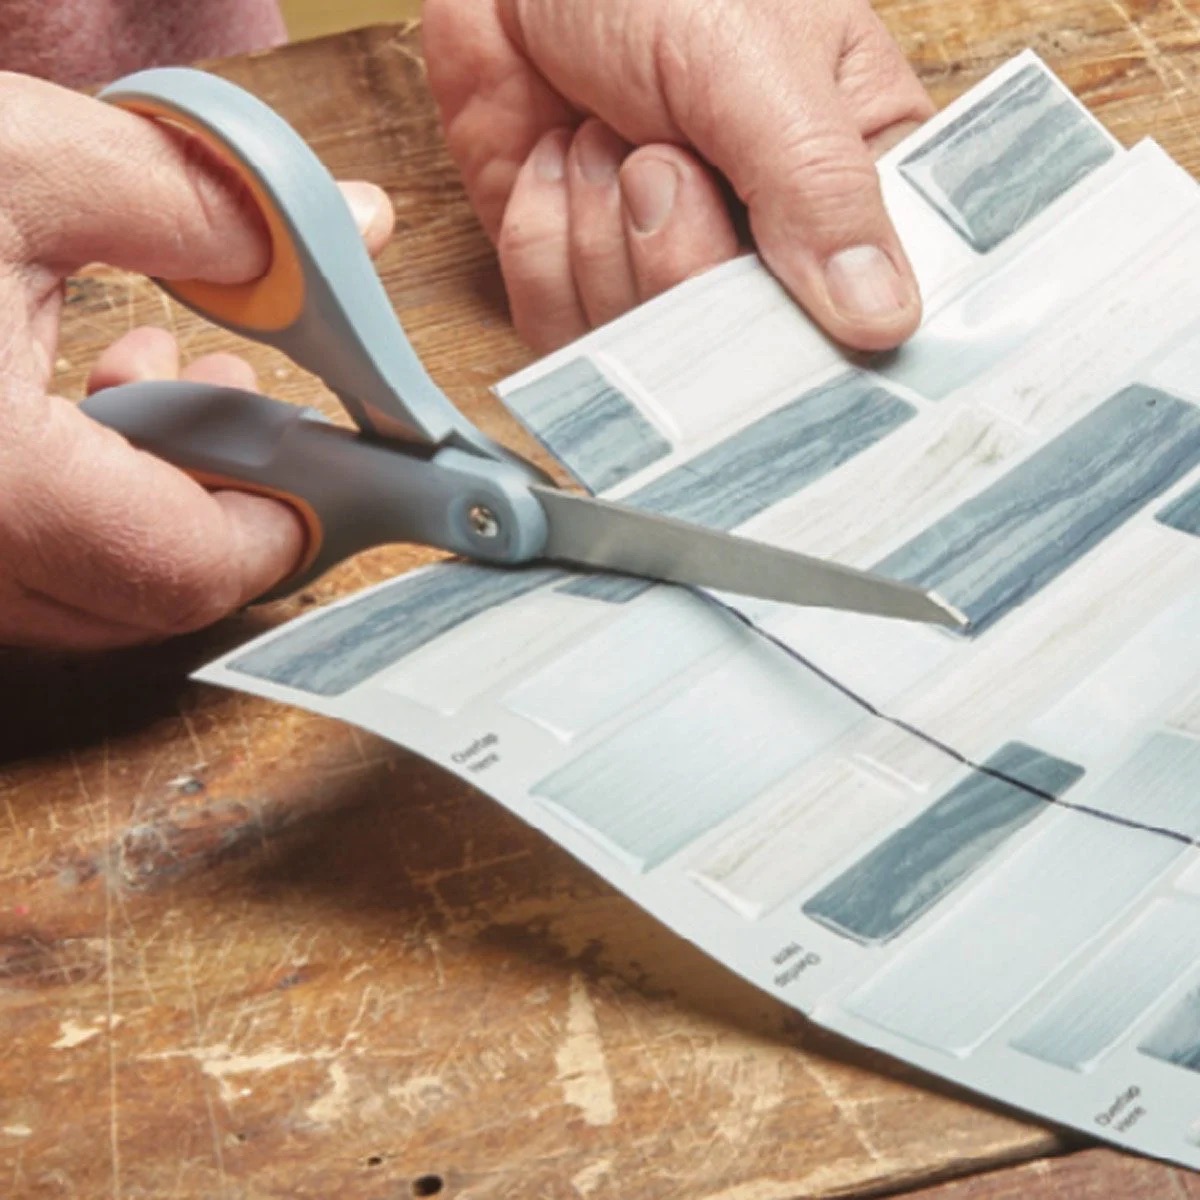
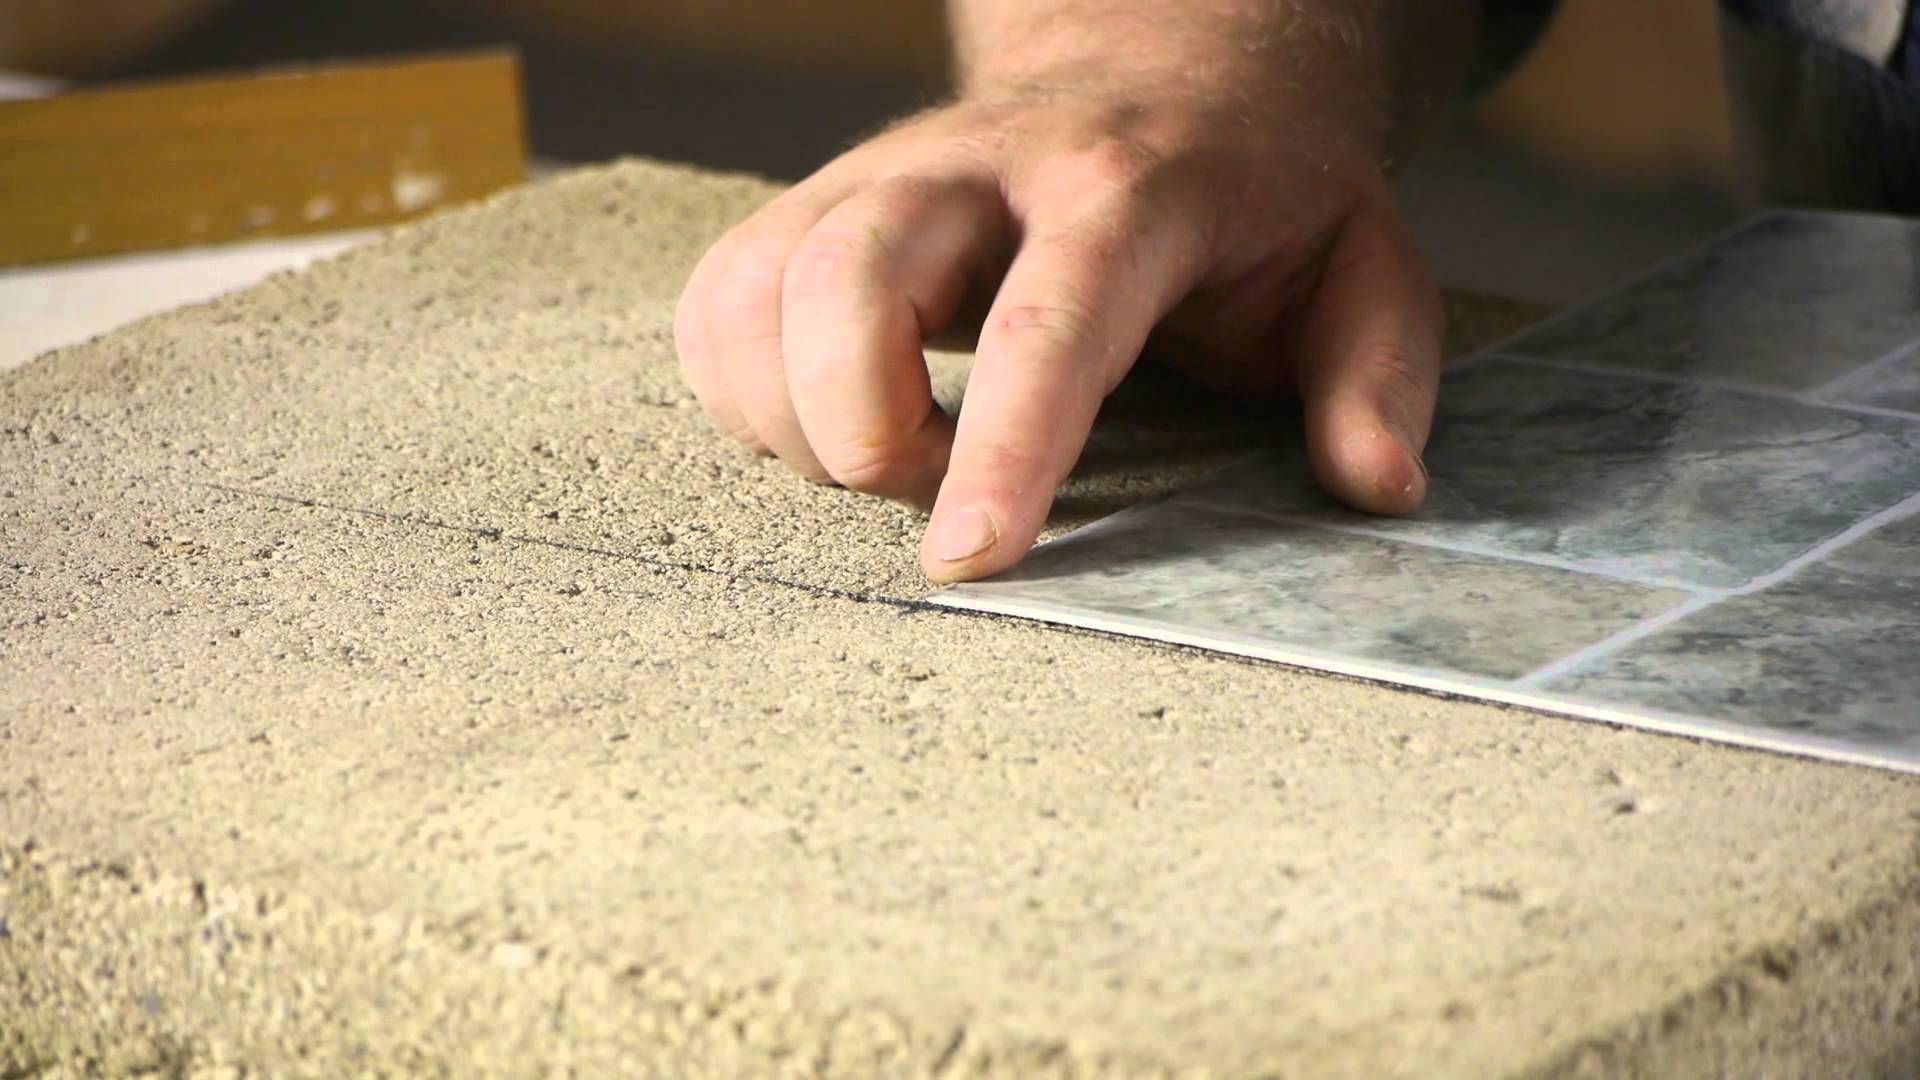
- Score the tile: Place the tile on a stable surface, such as a cutting mat or a piece of plywood. Using a sharp utility knife, carefully score along the marked line on the tile. Apply gentle pressure as you score, making multiple passes if needed to ensure a clean and precise cut.
- Break the tile: Once you have scored the tile, carefully bend it along the score line to create a clean break. You can use your hands or a pair of tile pliers to apply gentle pressure and snap the tile along the scored line. Be sure to wear protective gloves to prevent any injuries.
- Fine-tune the edges: After breaking the tile, you may need to fine-tune the edges for a precise fit. Use a tile file or sandpaper to smooth any rough edges or uneven surfaces. Take your time with this step to ensure that the cut tile fits seamlessly into its designated space.
It’s important to note that when cutting peel and stick tiles, it’s always better to cut them slightly larger than needed. This will allow for any adjustments or errors in the measurements. You can always trim the tile further if necessary, but it’s challenging to add material back once it’s been cut.
By following these steps, you will be able to accurately cut the peel and stick tiles to fit around corners and obstacles, ensuring a professional-looking installation in your bathroom.
Make sure to thoroughly clean and dry the bathroom floor before laying the peel and stick tiles to ensure a strong and long-lasting bond.
Step 4: Applying the Tiles
With the surface prepared, the layout planned, and the tiles cut to size, it’s time to start applying the peel and stick tiles to your bathroom’s surface. Follow these steps for a smooth and successful installation:
- Start from the center: Begin by peeling off the backing of one tile and aligning it with the center point you marked earlier. Press the tile firmly onto the surface, making sure it is level and aligned with the adjacent tiles. Continue this process, working your way outwards from the center, until the entire section is covered.
- Use a roller or a tile smoothening tool: After each tile is applied, use a roller or a tile smoothening tool to firmly press down on the tile. This will ensure proper adhesion and eliminate any air bubbles or creases. Pay special attention to the edges and corners, as these areas are prone to lifting.
- Continue the pattern: As you work your way across the surface, continue to follow the pattern that you established during the layout planning step. Whether it’s a straight grid or a more intricate design, carefully align each tile and use spacers, if necessary, to maintain consistent spacing between the tiles.
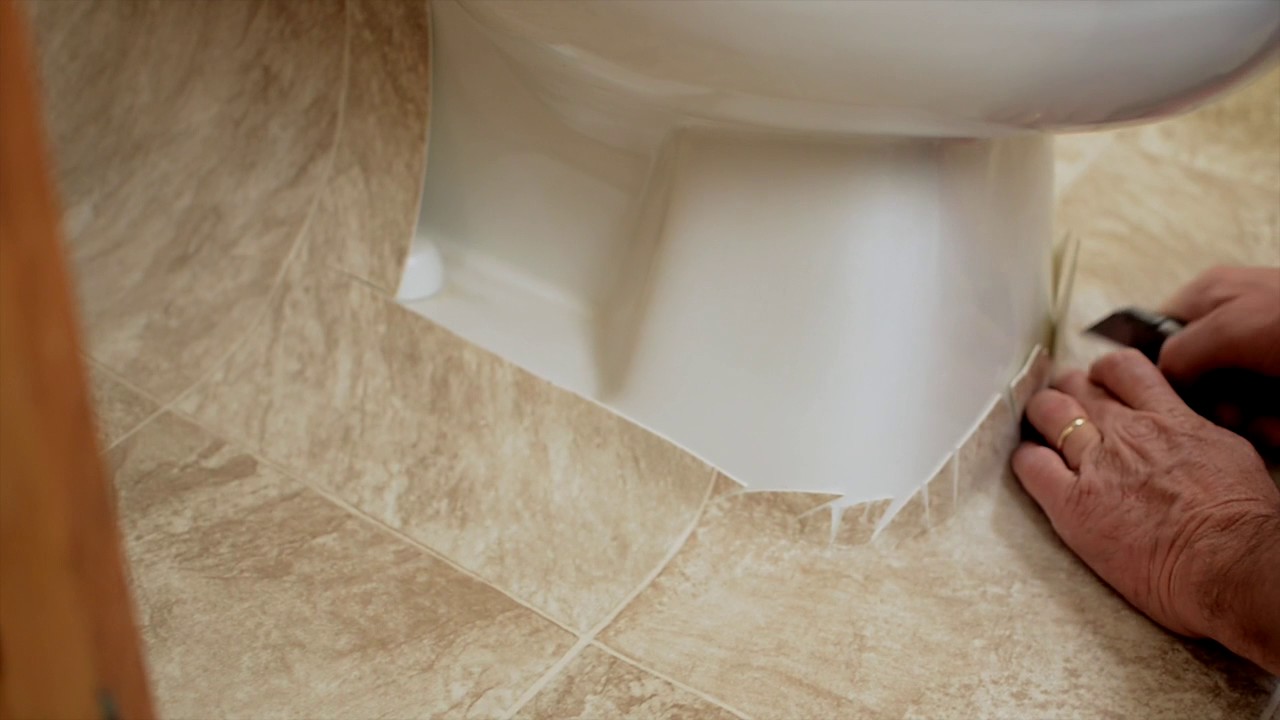
- Trim as needed: As you approach the edges of the room or encounter any obstacles, you may need to trim the tiles to fit. Use the same cutting techniques mentioned earlier and ensure that the trimmed tiles fit snugly into each designated space.
- Apply extra adhesive, if necessary: In some cases, certain areas of the surface may require additional adhesive to ensure a strong bond. If you notice any tiles lifting or not sticking properly, apply a small amount of adhesive to the back of the tile and press it firmly onto the surface.
It’s important to work slowly and carefully during this process to maintain a clean and professional installation. Take your time to align each tile properly and smooth out any imperfections as you go along.
By following these steps, you’ll be able to apply the peel and stick tiles consistently and achieve an impressive transformation in your bathroom’s appearance.
Read more: How To Lay Peel And Stick Tile Floors
Step 5: Grouting the Tiles
After the peel and stick tiles have been applied and properly adhered to the surface, it’s time to move on to the next step: grouting. Grouting not only enhances the appearance of the tiles but also provides added protection and stability. Follow these steps to grout the tiles in your bathroom:
- Gather the necessary materials: Before you begin, make sure you have all the materials you’ll need, including grout, a grout float, a grout sponge, and a bucket of water. Choose a grout color that complements the look of your tiles.
- Mix the grout: Follow the instructions on the grout packaging to properly mix the grout. Use a small bucket or container and add water gradually, stirring until you achieve a smooth, paste-like consistency.
- Apply the grout: Scoop a small amount of grout onto the grout float and hold it at a 45-degree angle. Press the grout firmly into the gaps between the tiles, making sure to fill them completely. Work in small sections to prevent the grout from drying too quickly.
- Remove excess grout: After applying the grout, use the grout float at a 90-degree angle to scrape off any excess grout from the surface of the tiles. Be careful not to dig into the grout lines. Continue this process until all excess grout has been removed.
- Clean the tiles: Dampen a grout sponge and gently wipe over the tiles at a 45-degree angle to remove any remaining grout residue. Rinse the sponge frequently and continue until the tiles are clean and the grout lines are smooth.
- Cure the grout: Allow the grout to cure according to the manufacturer’s instructions. This typically involves allowing it to dry for 24 to 48 hours. Avoid exposing the grouted tiles to water or heavy foot traffic during this time.
Grouting not only completes the look of your peel and stick tiles but also provides a protective barrier against moisture and helps to stabilize the tiles. It’s a crucial step in ensuring the longevity and durability of your bathroom floor or wall.
By following these steps, you’ll be able to properly grout the tiles in your bathroom, adding the finishing touch to your peel and stick tile installation.
Step 6: Sealing the Tiles
Once the grout has cured and your peel and stick tiles are in place, it’s important to take an extra step to protect and maintain their appearance by sealing them. Sealing the tiles will help to prevent staining, mold, and water damage. Follow these steps to seal your bathroom tiles:
- Clean the tiles: Before applying the sealer, ensure that the tiles and grout lines are clean and free of any debris or residue. Use a mild cleaner or a mixture of water and vinegar to gently clean the surface. Allow the tiles to dry completely before proceeding.
- Choose the appropriate sealer: Select a sealer that is suitable for the type of peel and stick tiles you have installed. Check the manufacturer’s recommendations or consult with a specialist at your local home improvement store to determine the best sealer for your specific tiles.
- Apply the sealer: Follow the instructions provided with the sealer to apply it to the tiles. Typically, you will use a brush or a roller to evenly coat the entire surface of the tiles and grout lines. Make sure to work in small sections and avoid overlapping to prevent uneven application.
- Allow the sealer to penetrate: After applying the sealer, allow it to penetrate the tiles and grout for the recommended amount of time. This will ensure maximum protection and durability. Avoid stepping on the tiles or exposing them to moisture during this curing period.
- Wipe off excess sealer: After the sealer has had sufficient time to penetrate, use a clean, dry cloth to wipe off any excess sealer from the surface of the tiles. This will prevent the sealer from leaving a hazy or sticky residue on the tiles.
- Reapply if necessary: Depending on the type of sealer you’ve chosen, you may need to apply multiple coats for optimal protection. Follow the manufacturer’s instructions on the recommended number of coats and the drying time between each application.
Sealing your peel and stick tiles is an important step in preserving their beauty and extending their lifespan. It will provide an extra layer of protection against stains, moisture, and other potential damages.
By following these steps, you’ll be able to properly seal your bathroom tiles, ensuring that they stay looking fresh and new for years to come.
Conclusion
Congratulations! You have successfully learned how to lay peel and stick tiles in your bathroom. By following the step-by-step process, from preparing the surface to sealing the tiles, you have transformed your bathroom into a stylish and inviting space. The ease of installation and the wide variety of peel and stick tile options make it a cost-effective and convenient choice for a bathroom makeover.
Remember to always prepare the surface properly by cleaning, repairing, and sanding it to ensure a smooth and durable foundation for the tiles. Planning the layout is essential for achieving a professional-looking result, so take the time to consider the pattern, start from the center, and account for the cuts and corners. Cutting the tiles to fit around edges and obstacles ensures a seamless installation.
Applying the tiles requires precision and attention to detail. Start from the center and work your way out, pressing each tile firmly and using a roller to eliminate air bubbles. Grouting the tiles enhances their appearance and provides added stability. Properly mix the grout, apply it between the tiles, and remove excess grout before cleaning the tiles with a damp sponge.
Finally, sealing the tiles adds an extra layer of protection and helps to maintain their beauty and durability over time. Choose the appropriate sealer and follow the instructions for application and curing.
With these steps completed, you can now enjoy your beautifully transformed bathroom with confidence. Whether you’re looking for a quick update or a complete makeover, peel and stick tiles offer a convenient and cost-effective solution. So, roll up your sleeves and get ready to transform your bathroom into a stunning oasis!
Frequently Asked Questions about How To Lay Peel And Stick Tile In A Bathroom
Was this page helpful?
At Storables.com, we guarantee accurate and reliable information. Our content, validated by Expert Board Contributors, is crafted following stringent Editorial Policies. We're committed to providing you with well-researched, expert-backed insights for all your informational needs.


0 thoughts on “How To Lay Peel And Stick Tile In A Bathroom”