Articles
How To Remove Peel And Stick Floor Tile
Modified: October 18, 2024
Looking for articles on how to remove peel and stick floor tile? Discover step-by-step guides and expert advice to make the process easier and more efficient.
(Many of the links in this article redirect to a specific reviewed product. Your purchase of these products through affiliate links helps to generate commission for Storables.com, at no extra cost. Learn more)
Introduction
Peel and stick floor tiles have gained popularity for their ease of installation and versatility. However, there may come a time when you need to remove them, whether it’s to replace them with a new flooring option or to address any issues with the subfloor. Whatever the reason may be, removing peel and stick floor tiles is a relatively straightforward process that you can do yourself with the right tools and materials.
In this article, we will guide you through the steps to remove peel and stick floor tiles effectively. From gathering the necessary tools to cleaning the subfloor, we will provide you with comprehensive instructions to ensure a successful removal process.
Before we dive into the steps, let’s quickly go over the tools and materials you’ll need for the job:
- Putty knife or scraper
- Heat gun or hairdryer
- Adhesive remover
- Gloves
- Protective eyewear
- Rubber mallet (optional)
- New flooring options (if you plan to install new flooring)
Now that you have the necessary tools and materials, let’s proceed to the first step of the process: preparing the area for the removal of the peel and stick floor tiles.
Key Takeaways:
- Easily remove peel and stick floor tiles by gathering essential tools, preparing the area, and using heat to lift and peel tiles. Take your time and exercise patience for a successful removal process.
- Prepare the subfloor for new flooring by thoroughly cleaning, inspecting for damage, and ensuring a dry, stable surface. Follow manufacturer’s instructions for new flooring installation and enjoy a refreshed space.
Read more: How To Lay Peel And Stick Tile Floors
Step 1: Gather the necessary tools and materials
Before you begin removing the peel and stick floor tiles, it’s essential to gather all the required tools and materials to ensure a smooth and efficient process. Here’s a detailed list of what you’ll need:
- Putty knife or scraper: You’ll need a putty knife or scraper to gently lift the edges of the peel and stick tiles. These tools will help you create a starting point for removal.
- Heat gun or hairdryer: A heat gun or hairdryer will be useful in softening the adhesive beneath the floor tiles. The heat will make it easier to lift the tiles without causing any damage to the subfloor.
- Adhesive remover: An adhesive remover will come in handy for dissolving any stubborn adhesive residue left on the subfloor. Make sure to choose a product that is suitable for the type of adhesive used with the peel and stick tiles.
- Gloves: It’s important to protect your hands while working with chemicals and using tools. Wearing gloves will prevent any potential injuries and keep your hands safe throughout the process.
- Protective eyewear: Safety should always be a priority when working on home improvement projects. Wearing protective eyewear will shield your eyes from any debris or adhesive splashes during the removal process.
- Rubber mallet (optional): Depending on the condition of the floor tiles and the adhesive, you may find it helpful to have a rubber mallet on hand. This tool can assist in gently tapping the tiles to loosen them from the subfloor.
- New flooring options (if you plan to install new flooring): If you intend to replace the peel and stick floor tiles with a different flooring option, now is the time to have your new materials ready. Whether it’s hardwood, vinyl, or tile, make sure you have enough flooring to complete the installation.
By gathering all the necessary tools and materials beforehand, you’ll be well-prepared to tackle the removal of the peel and stick floor tiles. With everything in place, you can now move on to the next step: preparing the area for the removal process.
Step 2: Prepare the area
Before you start removing the peel and stick floor tiles, it’s important to properly prepare the area to minimize any potential damage and make the removal process easier. Follow these steps to prepare the area:
- Clean the floor: Begin by thoroughly cleaning the floor surface surrounding the peel and stick tiles. Remove any loose dirt, debris, or dust by sweeping or vacuuming. Cleaning the area will ensure that there are no obstructions or particles that could interfere with the removal process.
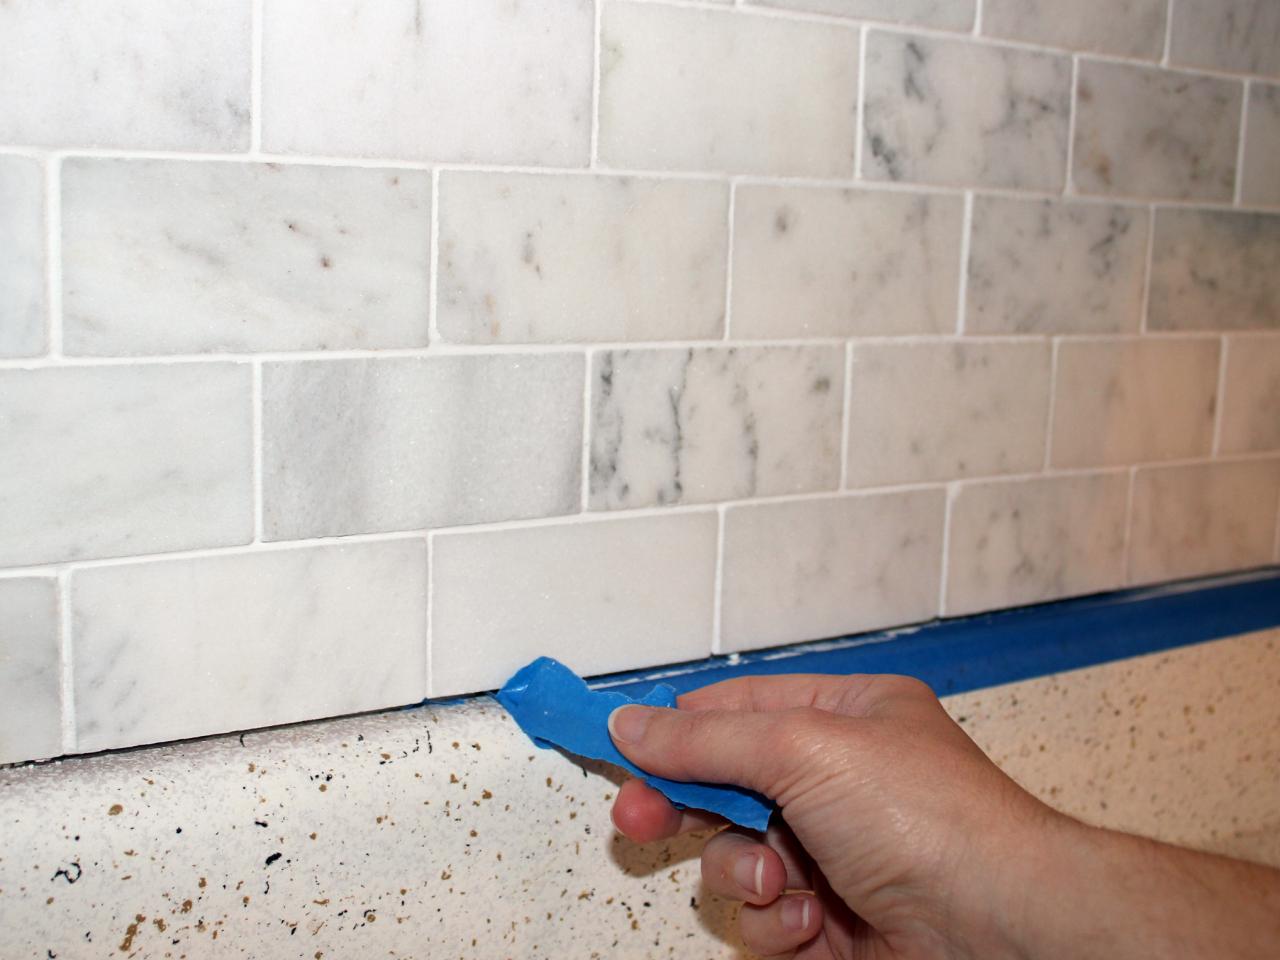
- Protect adjacent surfaces: If there are any adjacent surfaces, such as walls or baseboards, that you want to protect from any potential damage, cover them with masking tape or a protective covering. This will prevent any accidental scratches or marks during the removal process.
- Turn off heating or cooling systems: If your floor is equipped with heating or cooling systems, turn them off before you begin removing the tiles. This will prevent any heat or airflow from affecting the adhesion or heating of the tiles during the removal process.
- Remove any furniture or obstructions: Clear the area of any furniture, fixtures, or other objects that may obstruct your work. This will give you ample space to move around and safely remove the floor tiles.
Properly preparing the area will create a clean and accessible workspace, allowing for a more efficient and successful removal process. Once the area is clean and all necessary precautions have been taken, you’re ready to move on to the next step: the actual removal of the peel and stick floor tiles.
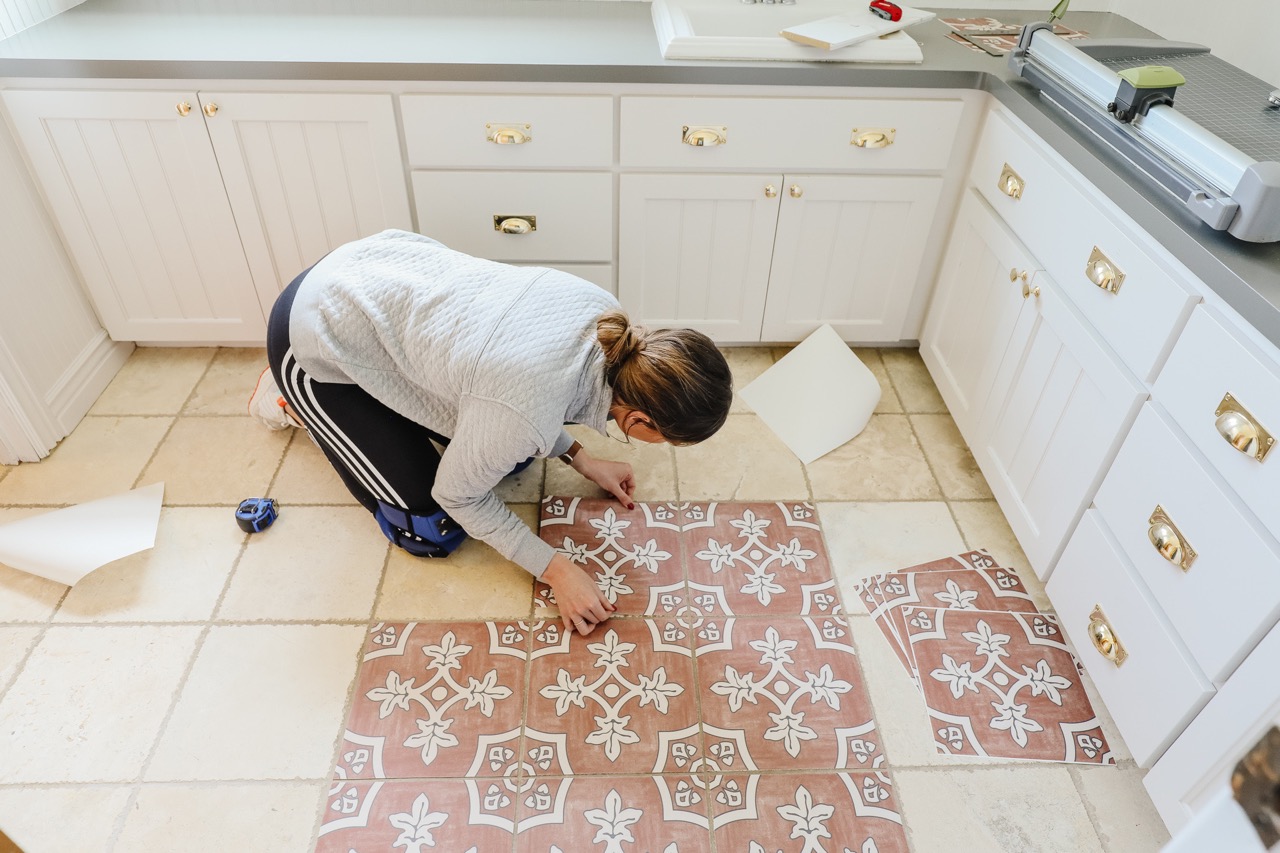
Step 3: Start removing the peel and stick floor tile
Now that you’ve gathered the necessary tools and materials and prepared the area, it’s time to begin the actual process of removing the peel and stick floor tiles. Follow these steps for a successful removal:
- Locate a starting point: Choose a corner or edge of the room as your starting point. This will make it easier to lift and remove the tiles in a systematic manner.
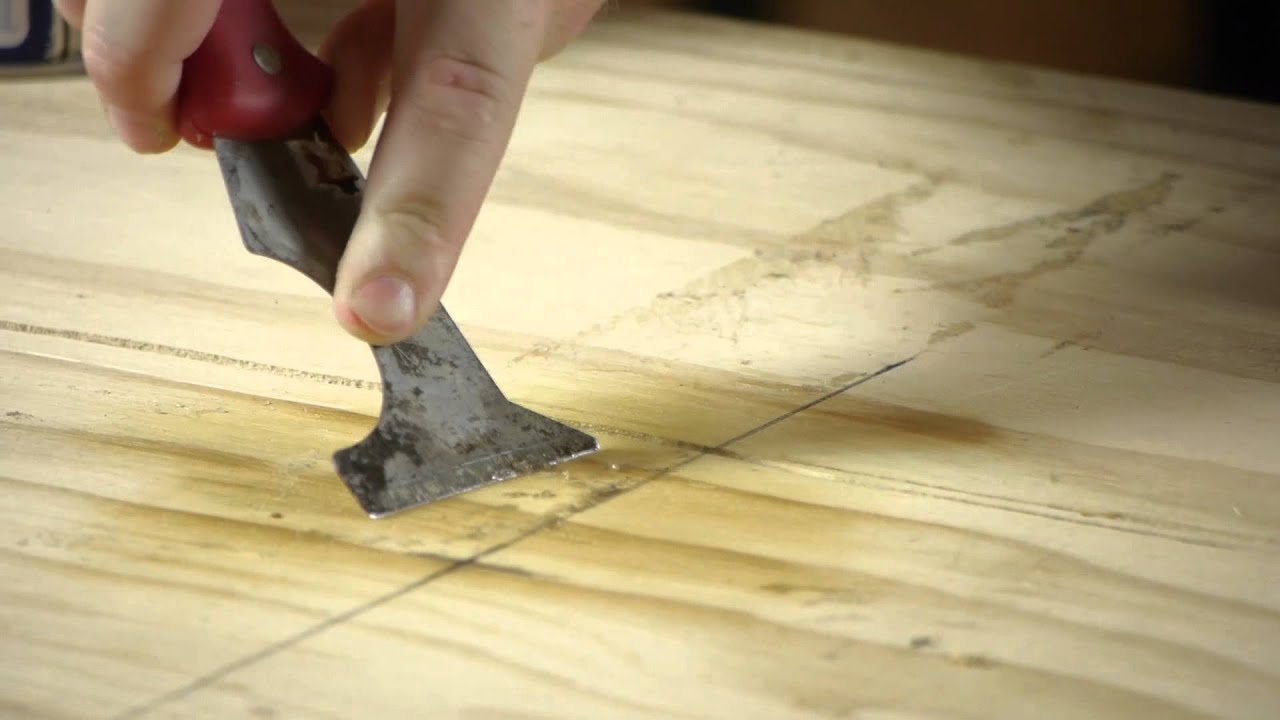
- Lift the corner: Use a putty knife or scraper to lift the corner of the first tile. Gently insert the tool underneath the tile and apply upward pressure to loosen it from the subfloor.
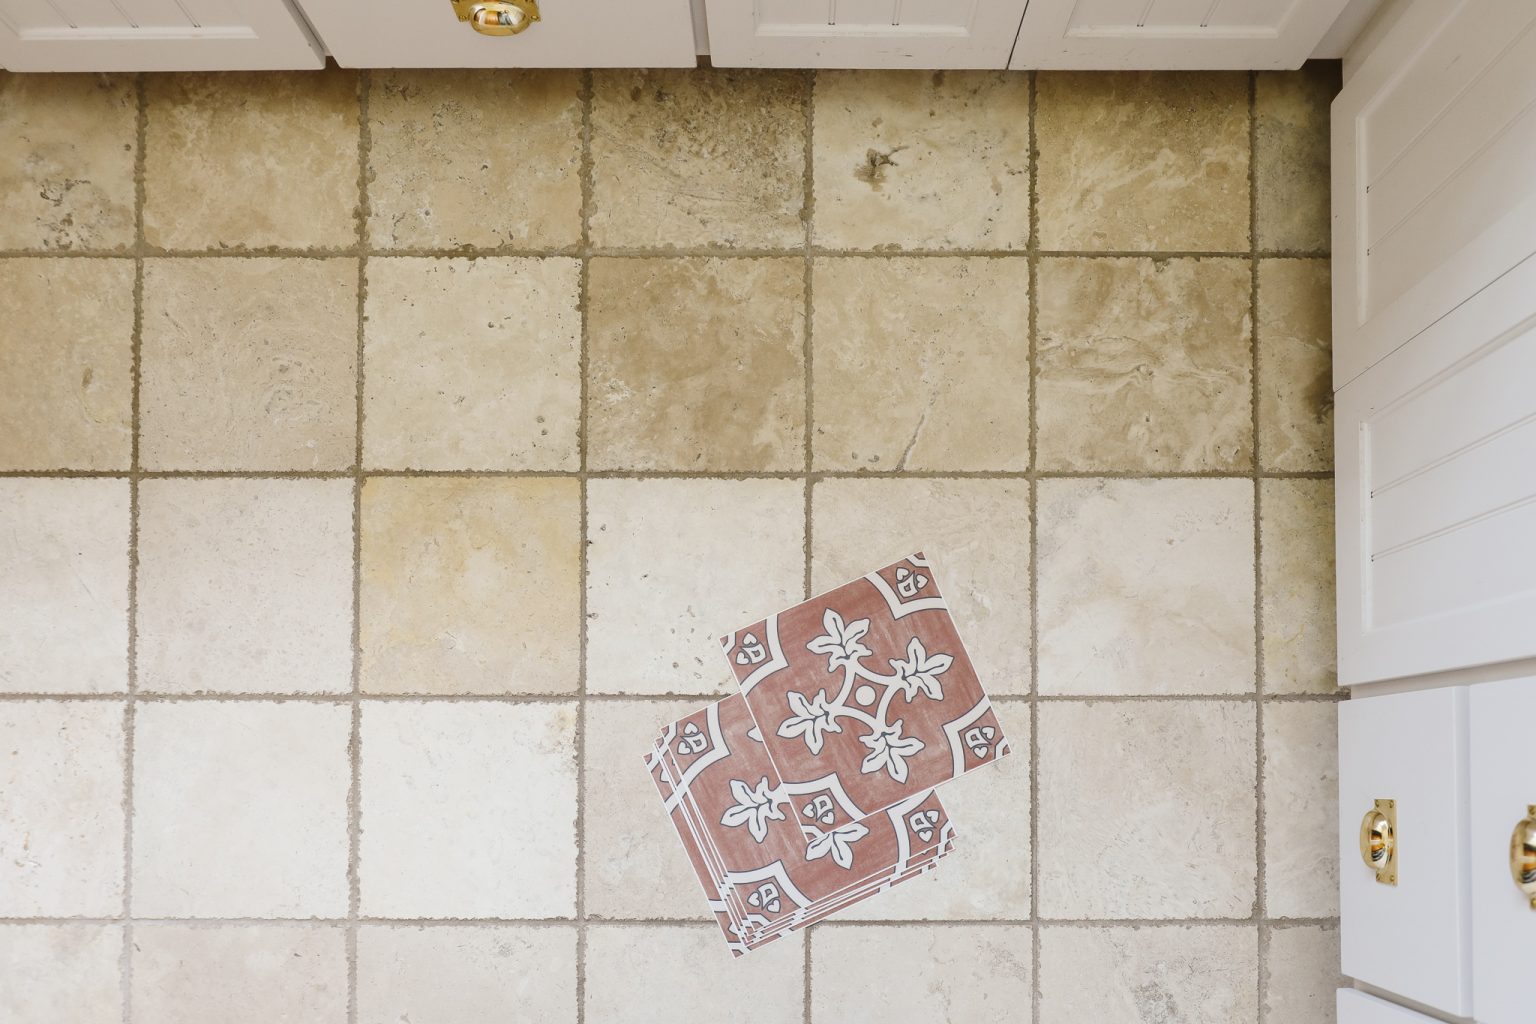
- Apply heat (if necessary): If the tiles are not easily lifting, you can use a heat gun or hairdryer to soften the adhesive underneath. Apply heat to the tile for a few seconds to make it more pliable and easier to remove. Be cautious not to overheat or damage the tile or subfloor.
- Continuously lift and peel: Once the corner is lifted, carefully continue to lift and peel the tile away from the subfloor. Use slow and steady motions to avoid tearing or damaging the tile.
- Remove adhesive residue: As you remove the tiles, you may encounter adhesive residue left on the subfloor. Use a putty knife or scraper to gently scrape off the residue. If the adhesive is stubborn, you can use an adhesive remover according to the manufacturer’s instructions to dissolve and remove it effectively.
- Repeat the process: Continue lifting, peeling, and removing the tiles following the same method across the entire floor area. Work in small sections to maintain control and prevent damage.
Remember to take breaks if needed and work at a comfortable pace to ensure accuracy and prevent fatigue. It’s normal to encounter some resistance when removing the tiles, so exercise patience and care to avoid any mishaps.
Once all the peel and stick floor tiles have been successfully removed, it’s time to move on to the next step: removing any adhesive residue left on the subfloor.
Use a heat gun or hairdryer to soften the adhesive and carefully peel up the tiles. Use a putty knife to scrape off any remaining adhesive.
Step 4: Remove any adhesive residue
After removing the peel and stick floor tiles, you may find that there is adhesive residue left on the subfloor. It’s important to remove this residue before proceeding with any further flooring installation. Follow these steps to effectively remove adhesive residue:
- Inspect the subfloor: Take a close look at the subfloor to assess the condition of the adhesive residue. Depending on the type of adhesive used and the amount of residue, different removal methods may be required.
- Scrape off the residue: Use a putty knife or scraper to gently scrape off as much of the adhesive residue as possible. Be careful not to damage or gouge the subfloor while doing so. Work in small sections, applying consistent pressure to remove the residue evenly.
- Use an adhesive remover: If there are stubborn or hard-to-remove adhesive spots, apply an adhesive remover according to the product’s instructions. Allow the remover to sit on the residue for the recommended amount of time to soften it.
- Scrub and wipe clean: Once the adhesive has softened, use a scrub brush or a sponge to scrub the area and remove the residue. Wipe the subfloor clean with a damp cloth or mop to remove any remaining residue and adhesive remover.
- Dry the subfloor: Make sure the subfloor is completely dry before proceeding with any new flooring installation. Excess moisture can affect the adhesion of the new flooring and potentially cause damage. Use fans or open windows to ensure proper ventilation and drying.
Keep in mind that the process of removing adhesive residue can vary depending on the type of adhesive used and the condition of the subfloor. If you are unsure about the best method or if the residue is particularly stubborn, it may be beneficial to consult a professional for guidance.
Once you have successfully removed all the adhesive residue, it’s time to move on to the next step: cleaning and preparing the subfloor for the installation of new flooring, if desired.
Read more: How To Lay Peel And Stick Floor Tile
Step 5: Clean and prepare the subfloor
After removing the adhesive residue, it’s crucial to thoroughly clean and prepare the subfloor before installing any new flooring. This step ensures proper adhesion and a smooth surface for your new flooring. Follow these steps to clean and prepare the subfloor:
- Vacuum or sweep: Remove any dust, debris, or small particles from the subfloor by vacuuming or sweeping. Ensure that the subfloor is free from any loose materials that could affect the installation of the new flooring.
- Inspect for damage: Carefully inspect the subfloor for any signs of damage, such as cracks, unevenness, or moisture issues. If you notice any significant damage, it’s best to address and repair it before proceeding with the new flooring installation.
- Repair and level the subfloor: If you find any cracks, holes, or uneven areas on the subfloor, fill them with a suitable floor patching compound or leveling product. Follow the manufacturer’s instructions for proper application and drying times.
- Smooth out rough patches: If there are rough patches or bumps on the subfloor, use a floor sander or sandpaper to smooth them out. This will create a flat surface for the new flooring and ensure a professional-looking finish.
- Remove and replace damaged subfloor: If you encounter severely damaged sections of the subfloor that cannot be repaired, it may be necessary to remove and replace those areas. Consult a professional if you’re unsure how to proceed with subfloor replacement.
- Ensure a dry and stable subfloor: Before installing any new flooring, it’s essential to ensure that the subfloor is dry and stable. Address any moisture issues, such as leaks or excessive humidity, and allow the subfloor to dry completely. Moisture can compromise the adhesion and longevity of the new flooring.
Properly cleaning and preparing the subfloor sets the foundation for a successful and long-lasting new flooring installation. By taking the time to address any damage and create a smooth and dry subfloor, you’re ensuring optimal conditions for the new flooring to be installed. Once the subfloor is clean and prepared, you can proceed to the optional step of installing new flooring.
Step 6: Install new flooring (optional)
If you desire to replace the peel and stick floor tiles with a new flooring option, this step will guide you through the process of installing your chosen flooring. Follow these steps for a successful new flooring installation:
- Select the new flooring: Choose the type of flooring that best suits your needs and preferences. Options include hardwood, laminate, vinyl, tile, or carpet. Consider factors such as durability, style, and maintenance requirements when making your selection.
- Measure and plan: Measure the dimensions of the room accurately to determine how much new flooring material you’ll need. Plan the layout of the new flooring, taking into consideration any unique features or obstacles in the room.
- Prepare the new flooring: Depending on the type of flooring you’ve chosen, follow the manufacturer’s instructions to prepare the new flooring before installation. This may involve acclimating the flooring to the room’s temperature and humidity or applying any necessary adhesives or underlayment.
- Start the installation: Beginning in a corner or along a wall, start installing the new flooring according to the manufacturer’s instructions. This may involve laying down boards, tiles, or rolling out carpet. Follow the recommended installation method for your specific flooring type.
- Ensure proper spacing and alignment: Maintain consistent spacing between flooring planks or tiles to allow for expansion and contraction. Use spacers or guidelines to ensure straight alignment and a professional finish.
- Trim and finish: Once the main flooring installation is complete, trim any excess material and add finishing touches such as baseboards or transition strips to complete the look and create a seamless transition between different flooring types or rooms.
- Clean and maintain: After the new flooring is installed, thoroughly clean the area to remove any debris or dust. Follow the manufacturer’s recommended maintenance guidelines to keep your new flooring looking its best.
Remember to carefully follow the specific installation instructions provided by the manufacturer of your chosen flooring type. If you’re unsure or uncomfortable with the installation process, it’s recommended to seek professional help to ensure a successful and professional-looking outcome.
Now that you’ve completed the optional step of installing new flooring, you can step back and admire your refreshed and updated space. Whether you’ve replaced the peel and stick floor tiles or installed a new flooring of your choice, you’ve successfully completed the process of transforming your floor!
Conclusion
Removing peel and stick floor tiles may seem like a daunting task, but with the right tools, preparation, and step-by-step guidance, it can be easily accomplished. By following the steps outlined in this article, you can successfully remove the old flooring and prepare the subfloor for a new flooring installation if desired.
Remember to gather all the necessary tools and materials before getting started. A putty knife or scraper, heat gun or hairdryer, adhesive remover, gloves, protective eyewear, and optional tools like a rubber mallet are essential for a smooth removal process. If you plan on installing new flooring, have your desired flooring materials ready and ensure they are properly prepared before installation.
Preparing the area, starting with cleaning the floor and protecting adjacent surfaces, is crucial to maintain a safe and clear workspace. Turn off heating or cooling systems and remove any furniture or obstructions to ensure ease of movement during the removal process.
The actual removal of the peel and stick floor tiles involves lifting the corners, using heat (if needed) to loosen the adhesive, and carefully peeling back the tiles. Take your time and be patient to avoid damaging the subfloor or tearing the tiles. Once the tiles are removed, address any adhesive residue using scraping tools and adhesive removers. Clean the subfloor thoroughly before proceeding.
If you choose to install new flooring, selecting the appropriate type based on your preferences and needs is crucial. Measure accurately, plan the layout, and follow the manufacturer’s instructions for installation. Ensure proper spacing, alignment, and finishing touches to achieve a professional outcome. Clean and maintain the new flooring as recommended to prolong its lifespan and keep it looking its best.
By following these steps and taking the time to properly remove and/or replace your peel and stick floor tiles, you can achieve a fresh and updated look in your space. Whether you’re preparing for a new flooring installation or addressing issues with the existing flooring, this process will help you successfully navigate the removal and replacement process.
Remember to exercise caution, work at a comfortable pace, and seek professional assistance if needed. With patience and attention to detail, you’ll be able to accomplish your goals and enjoy your beautiful new flooring for years to come.
Frequently Asked Questions about How To Remove Peel And Stick Floor Tile
Was this page helpful?
At Storables.com, we guarantee accurate and reliable information. Our content, validated by Expert Board Contributors, is crafted following stringent Editorial Policies. We're committed to providing you with well-researched, expert-backed insights for all your informational needs.


0 thoughts on “How To Remove Peel And Stick Floor Tile”