
Articles
How To Lay Peel And Stick Floor Tile
Modified: August 17, 2024
Learn how to lay peel and stick floor tile with our informative articles. Discover helpful tips and tricks for a successful installation.
(Many of the links in this article redirect to a specific reviewed product. Your purchase of these products through affiliate links helps to generate commission for Storables.com, at no extra cost. Learn more)
Introduction
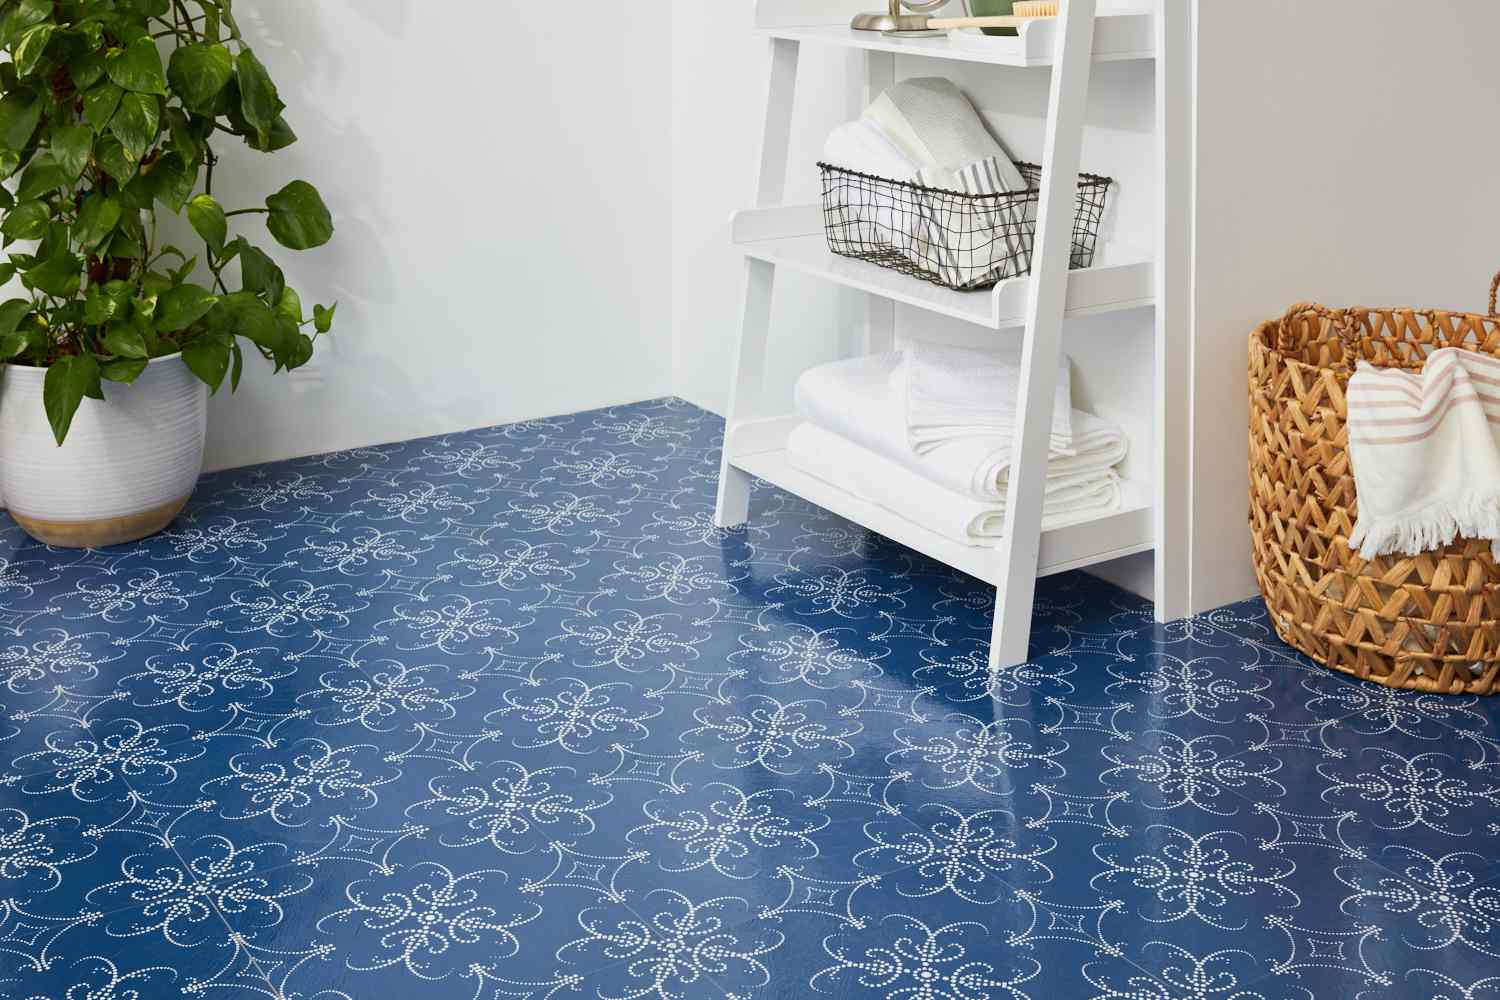
Welcome to the world of DIY home improvement! If you’re looking to give your floors a fresh and stylish upgrade, peel and stick floor tiles are a fantastic option. Not only are they affordable and easy to install, but they also offer a wide range of designs and patterns to suit any taste or decor.
In this article, we will walk you through a step-by-step guide on how to lay peel and stick floor tiles like a pro. Whether you’re a seasoned DIY enthusiast or a beginner, this comprehensive tutorial will provide you with all the information you need to transform your floors with ease.
Before we dive into the installation process, let’s first understand what peel and stick floor tiles are. These tiles are made of durable vinyl material with an adhesive backing, allowing you to simply peel off the paper backing and stick them directly onto your floor. This makes them an ideal choice for quick and hassle-free floor renovations.
Peel and stick floor tiles offer several advantages over traditional flooring options. One major benefit is their affordability, as they are significantly cheaper than ceramic, hardwood, or laminate flooring. Additionally, their self-adhesive nature eliminates the need for messy glue or specialized tools, making them a beginner-friendly option.
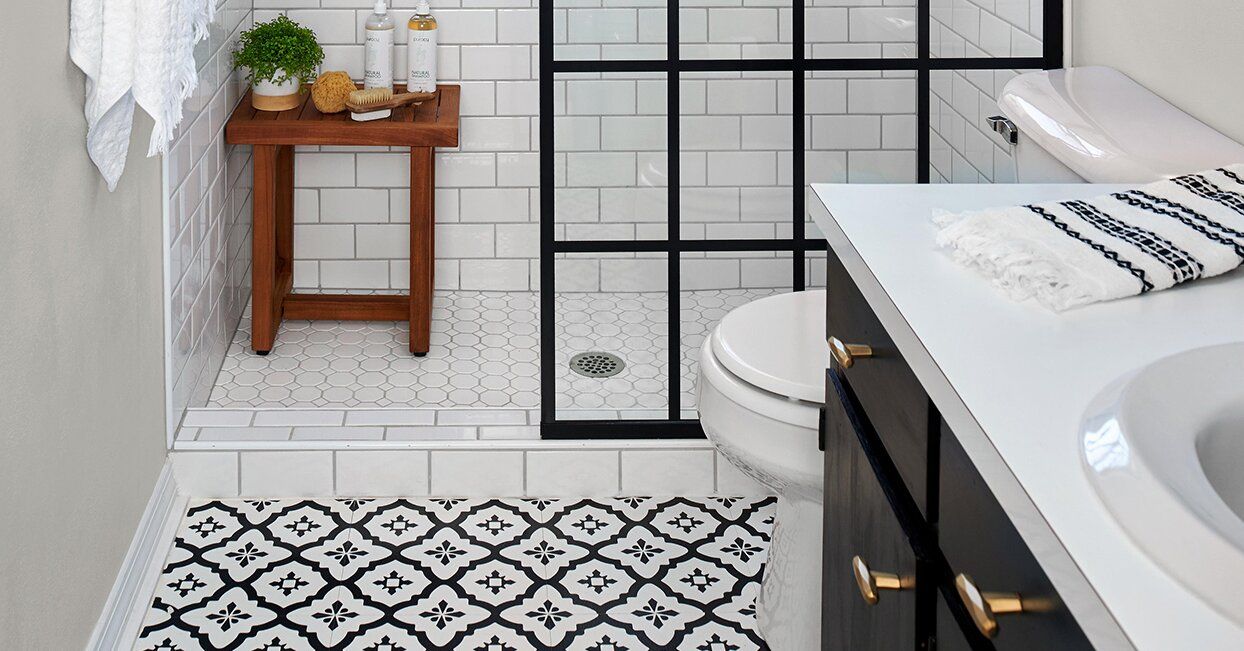
Furthermore, peel and stick floor tiles are moisture-resistant, making them suitable for areas with high humidity, such as kitchens or bathrooms. They are also easy to clean and maintain, requiring just a simple sweep and occasional damp mop to keep them looking pristine.
Now that you understand the basics, it’s time to get started on your peel and stick floor tile project. Grab your tools and let’s begin transforming your floors into a stunning visual feature of your home!
Key Takeaways:
- Transform your floors with ease using peel and stick floor tiles. Enjoy a budget-friendly, stylish upgrade that’s easy to install and maintain, perfect for DIY enthusiasts of all levels.
- Achieve a professional-looking result by preparing the surface, measuring accurately, and laying the tiles with precision. Add finishing touches for a polished, long-lasting, and visually appealing flooring solution.
Read more: How To Lay Peel And Stick Tile Floors
Step 1: Preparing the Surface
Before you can begin installing peel and stick floor tiles, it’s essential to properly prepare the surface. This step ensures a smooth and durable installation that will stand the test of time. Follow these steps to get your surface ready:
- Clean the floor: Start by thoroughly cleaning the floor with a broom or vacuum to remove any dust, dirt, or debris. Next, use a mild detergent and warm water solution to mop the floor and remove any stubborn stains.
- Repair any damage: Inspect the floor for any cracks, holes, or uneven areas. Patch up any imperfections with a floor filler or leveling compound, following the manufacturer’s instructions.
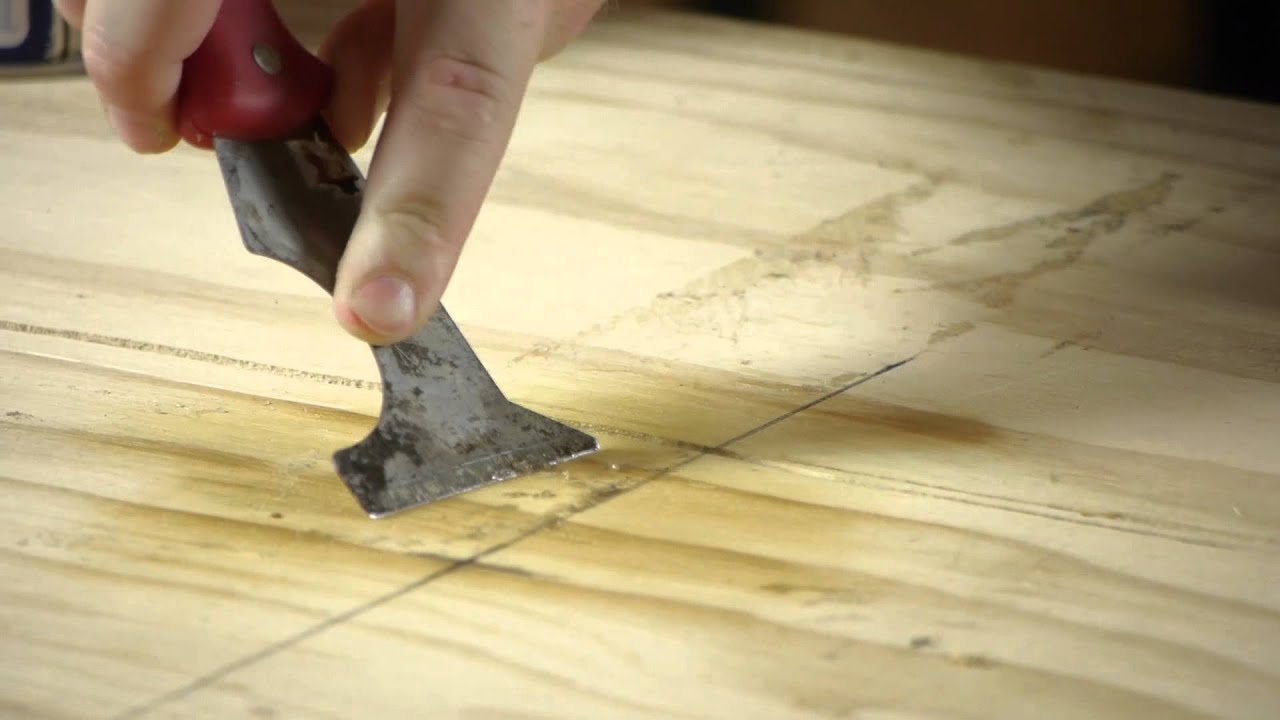
- Smooth the surface: If you have any high spots or rough areas on the floor, use sandpaper or a floor sander to level them out. This step will ensure that the tiles adhere properly and result in a seamless finish.
- Remove baseboards: If you have baseboards or trim along the edges of the floor, consider removing them temporarily. This will allow you to install the tiles closer to the wall and achieve a more professional look. If removing the baseboards is not possible, use a utility knife to carefully cut the tiles to fit around them.
- Check for moisture: Depending on the type of flooring you have, moisture can pose a problem. Use a moisture meter to check the moisture level of the floor. If it exceeds the recommended limit, you may need to take additional measures to address the moisture issue before proceeding with the installation.
By properly preparing the surface, you ensure that your peel and stick floor tiles adhere securely and provide a durable and long-lasting flooring solution. Take your time with this step to achieve the best results and create a solid foundation for your project.
Step 2: Measure and Plan
Accurate measurements and careful planning are crucial for a successful peel and stick floor tile installation. Follow these steps to ensure that you have the correct amount of tiles and a well-thought-out layout:
- Measure the area: Use a measuring tape to determine the square footage of the floor you plan to cover. Measure both the length and width and multiply them together to get the total area in square feet.
- Consider the tile size: Take into account the size of the peel and stick tiles you have chosen. Most commonly, they come in sizes ranging from 12×12 inches to 18×18 inches. Calculate how many tiles you will need by dividing the total area of the floor by the area of one tile.
- Decide on the layout: Consider the layout and orientation of the tiles. You can choose to lay them in a straight pattern, diagonally, or even create unique patterns by alternating different colors or designs. Use a pencil to make markings on the floor to visualize the layout and ensure that it meets your aesthetic preferences.
- Account for cuts and waste: Keep in mind that you will likely need to make cuts to fit the tiles around corners, doorways, or irregular shapes. Add 10% to 15% extra tiles to your order to accommodate for cuts and any potential mistakes during installation.
- Start from the center: To achieve a balanced and symmetrical look, it is generally recommended to start laying the tiles from the center of the room and work your way outwards. This ensures that any cut tiles will be evenly distributed towards the edges of the room.
Taking the time to measure accurately and plan out your tile layout will save you frustration and ensure a visually pleasing result. Don’t rush this step, as it is essential for achieving a professional-looking installation.
Step 3: Start Laying the Tiles
Now that you have prepared the surface and planned out your tile layout, it’s time to start installing the peel and stick floor tiles. Follow these steps to lay the tiles effectively:
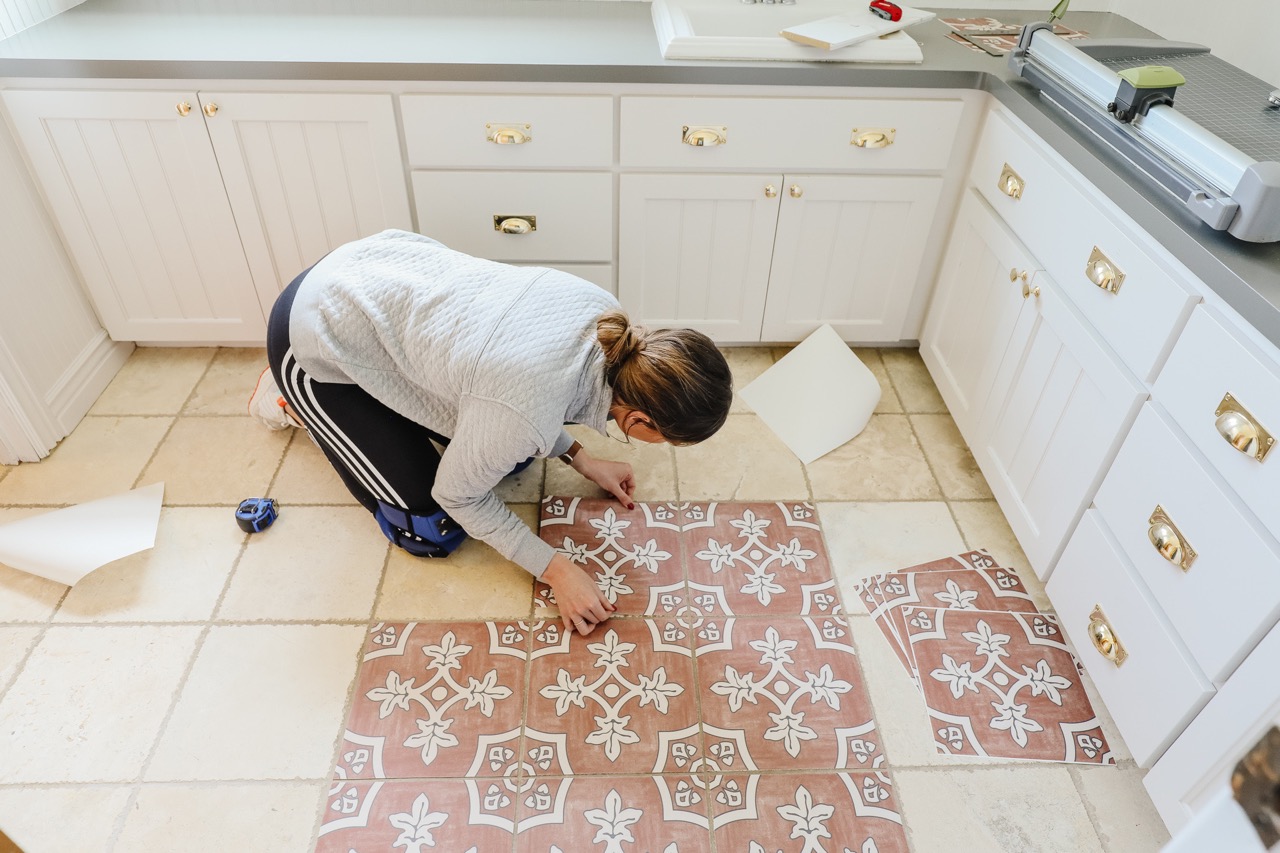
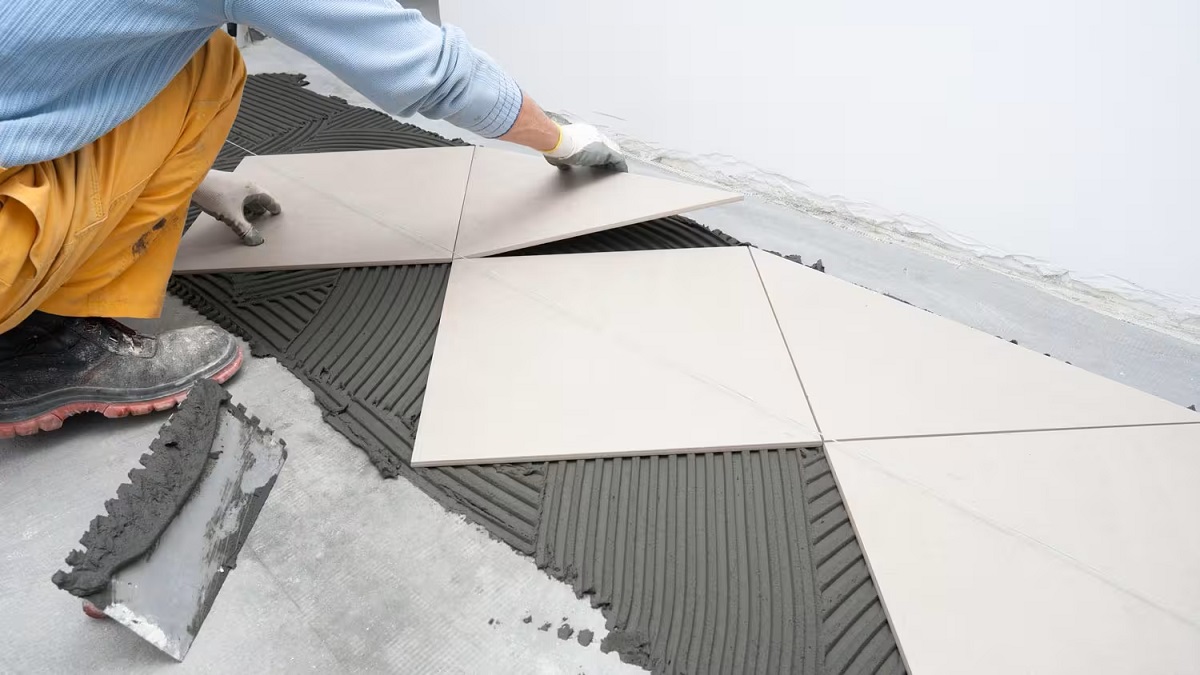
- Start from the center: Begin by placing a full tile at the center of the room, following the layout plan you created in the previous step. Peel off the paper backing from the tile and press it firmly onto the floor, aligning the edges with your layout markings.
- Continue with full tiles: Work your way outward from the center, laying down full tiles in a straight or diagonal pattern. Make sure to butt the edges of the tiles tightly against each other to create a seamless look.
- Use a roller: After laying a few tiles, use a rolling pin or a tile roller to firmly press down on the tiles. This will ensure proper adhesion to the floor and eliminate any air bubbles or wrinkles.
- Trim as needed: When you reach the edges of the room or encounter obstacles such as doorways or vents, you may need to trim the tiles to fit. Use a utility knife or vinyl tile cutter to make precise cuts. Measure and cut carefully to achieve a professional finish.
- Apply additional adhesive (if necessary): While peel and stick floor tiles have their own adhesive backing, in some cases, you may need to apply additional adhesive. Follow the manufacturer’s instructions and use a recommended adhesive for this purpose.
Continue laying the tiles row by row, working your way towards the walls and filling in the remaining spaces. Take your time, be patient, and use a level to ensure that the tiles are properly aligned and laying flat.
Remember, a smooth and careful installation leads to impressive results. Once all the tiles are laid, allow the adhesive to set according to the manufacturer’s instructions before moving on to the next step.
Make sure to thoroughly clean and dry the floor before laying peel and stick floor tiles to ensure a strong and long-lasting bond. Any dirt or moisture can cause the tiles to lift over time.
Step 4: Preparing and Cutting Tiles
As you continue laying the peel and stick floor tiles, you may encounter areas that require customization and cutting. Step 4 focuses on preparing and cutting the tiles for a perfect fit:
- Measure and mark: Before cutting any tiles, carefully measure the space that needs to be filled. Take precise measurements and mark the tiles accordingly, ensuring accuracy and minimizing mistakes.
- Use a straight edge: To ensure clean and accurate cuts, use a straight edge or a T-square as a guide. This will help you create straight lines and maintain consistency in the cutting process.
- Score the tile: With the measurements and markings in place, use a utility knife to score the tile’s top surface. Press firmly and make multiple passes along the cutting line, applying even pressure to create a clean and accurate score.
- Complete the cut: Once the tile is scored, carefully snap it along the score line. Apply gentle pressure to both sides of the score, and the tile should break cleanly. If needed, use the utility knife to make small adjustments and create a precise fit.
- Smooth the cut edges: After cutting the tiles, you may notice sharp or rough edges. Use a sanding block or sandpaper to smooth out any roughness and ensure a seamless transition between tiles.
Remember to work slowly and attentively when cutting tiles, as precision is key. Measure twice, cut once, and double-check your measurements before making any cuts. It’s better to take your time and achieve accurate cuts than rush and risk costly mistakes.
By properly preparing and cutting the tiles, you can ensure that they fit seamlessly into any space, creating a professional and visually appealing flooring installation.
Read more: How To Lay Peel And Stick Tile In A Bathroom
Step 5: Apply the Peel and Stick Tiles
Now that you have prepared the surface, planned the layout, and cut the tiles, it’s time to apply the peel and stick floor tiles onto the floor. Follow these steps to ensure a successful installation:
- Remove the paper backing: Peel off the paper backing from the adhesive side of the first tile in the designated starting area. It’s important to remove the backing just before placing the tile to prevent dust or debris from sticking to the adhesive.
- Align and position the tile: Carefully position the exposed adhesive side of the tile onto the floor, aligning it with the surrounding tiles or reference lines that you created during the planning stage.
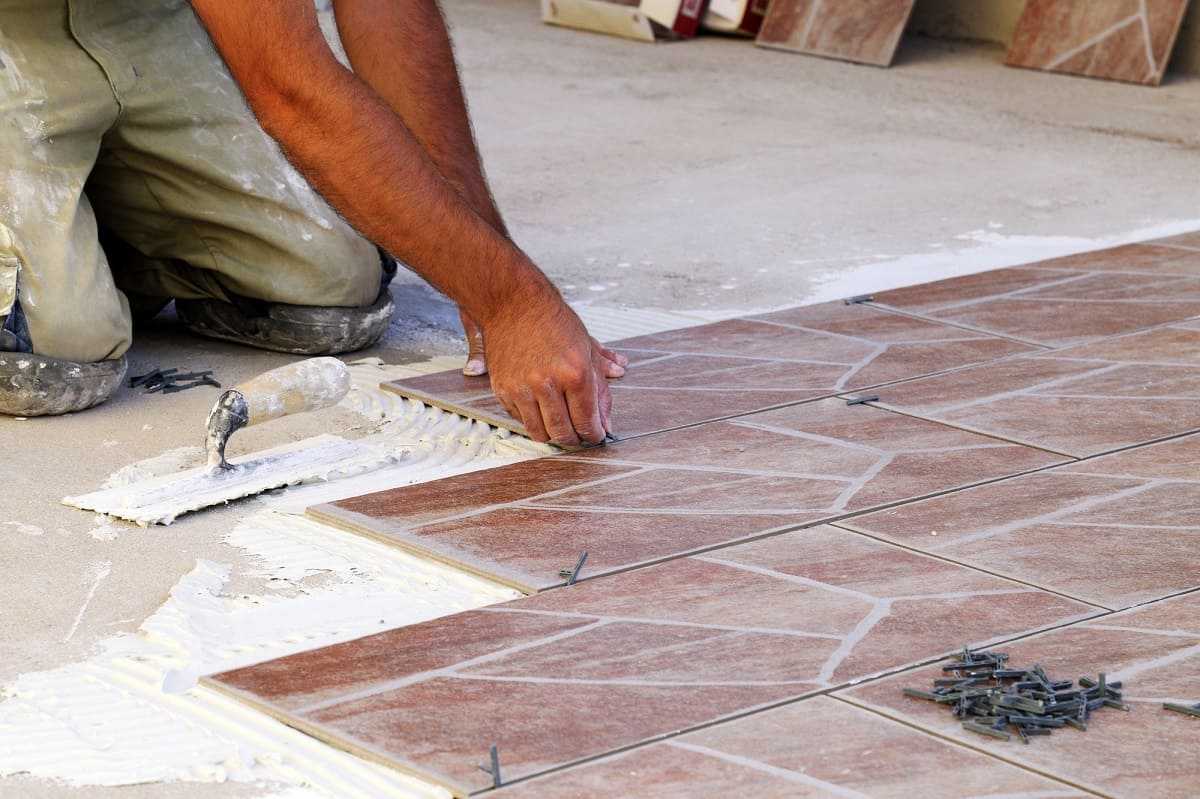
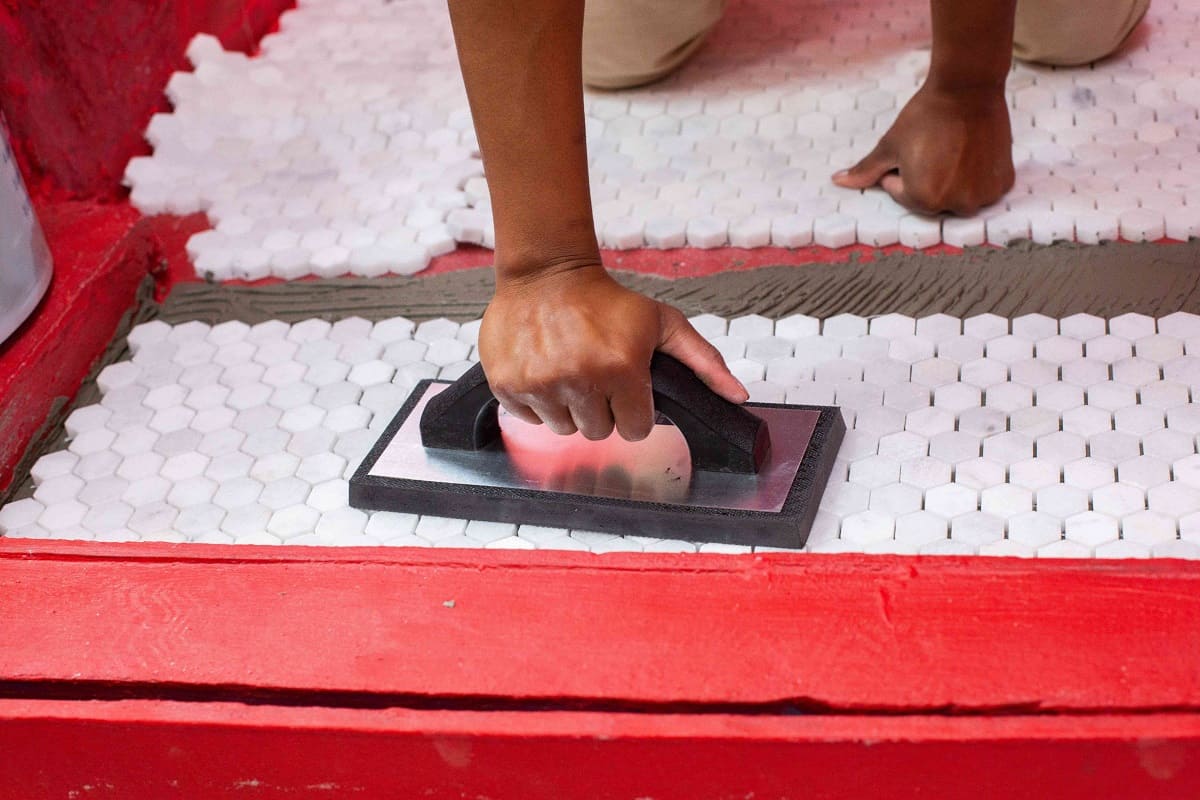
- Press and smooth the tile: Apply firm pressure to the tile, from the center working outward, to ensure proper adhesion. Use a rolling pin or tile roller to roll over the tile, ensuring it sticks securely to the floor and removing any air bubbles or wrinkles.
- Continue with the remaining tiles: Repeat the process for each tile, removing the paper backing, aligning and positioning it correctly, and pressing it firmly onto the floor. Work in small sections, ensuring each tile is properly aligned with the ones already installed.
- Trim tiles as necessary: As you come across edges, corners, or obstacles, you may need to trim the tiles to fit. Use the measurements and cutting techniques from the previous step to achieve precise cuts. Ensure the trimmed tile fits snugly into the desired space.
- Pay attention to patterns and seams: If you’re working with tiles that have patterns or designs, be mindful of matching the patterns as you lay each tile. Take extra care to align the seams and maintain a seamless appearance throughout the installation.
Take your time when applying the tiles, making sure each one is correctly positioned and pressed firmly onto the floor. Ensure that you maintain consistent spacing between the tiles for a uniform and professional-looking result.
Remember to continuously step back and observe your progress to ensure that the tiles are aligning properly and the overall design is visually appealing.
Step 6: Finishing Touches
Congratulations! You’re almost done with the peel and stick floor tile installation. The final step involves adding some finishing touches to complete the project and ensure a polished and professional look:
- Replace baseboards or add trim: If you previously removed baseboards or trim, now is the time to reinstall or add new trim. This step provides a clean and finished appearance, covering any gaps or uneven edges.
- Caulk edges and corners: Use a high-quality silicone caulk to fill in any gaps along the edges or corners of the floor. This will create a seamless and waterproof seal, preventing dirt and moisture from getting underneath the tiles.
- Apply a sealant (optional): Depending on the type of peel and stick floor tiles you have chosen, you may consider applying a sealant to protect the tiles and enhance their durability. Check the manufacturer’s instructions for recommendations on sealants suitable for your specific tile type.
- Clean and maintain: Once the installation is complete, give the floor a thorough cleaning to remove any dust or residue. Going forward, maintain the floor by regularly sweeping or vacuuming to prevent dirt and debris from scratching the surface. Use a damp mop with a mild cleaning solution as needed.
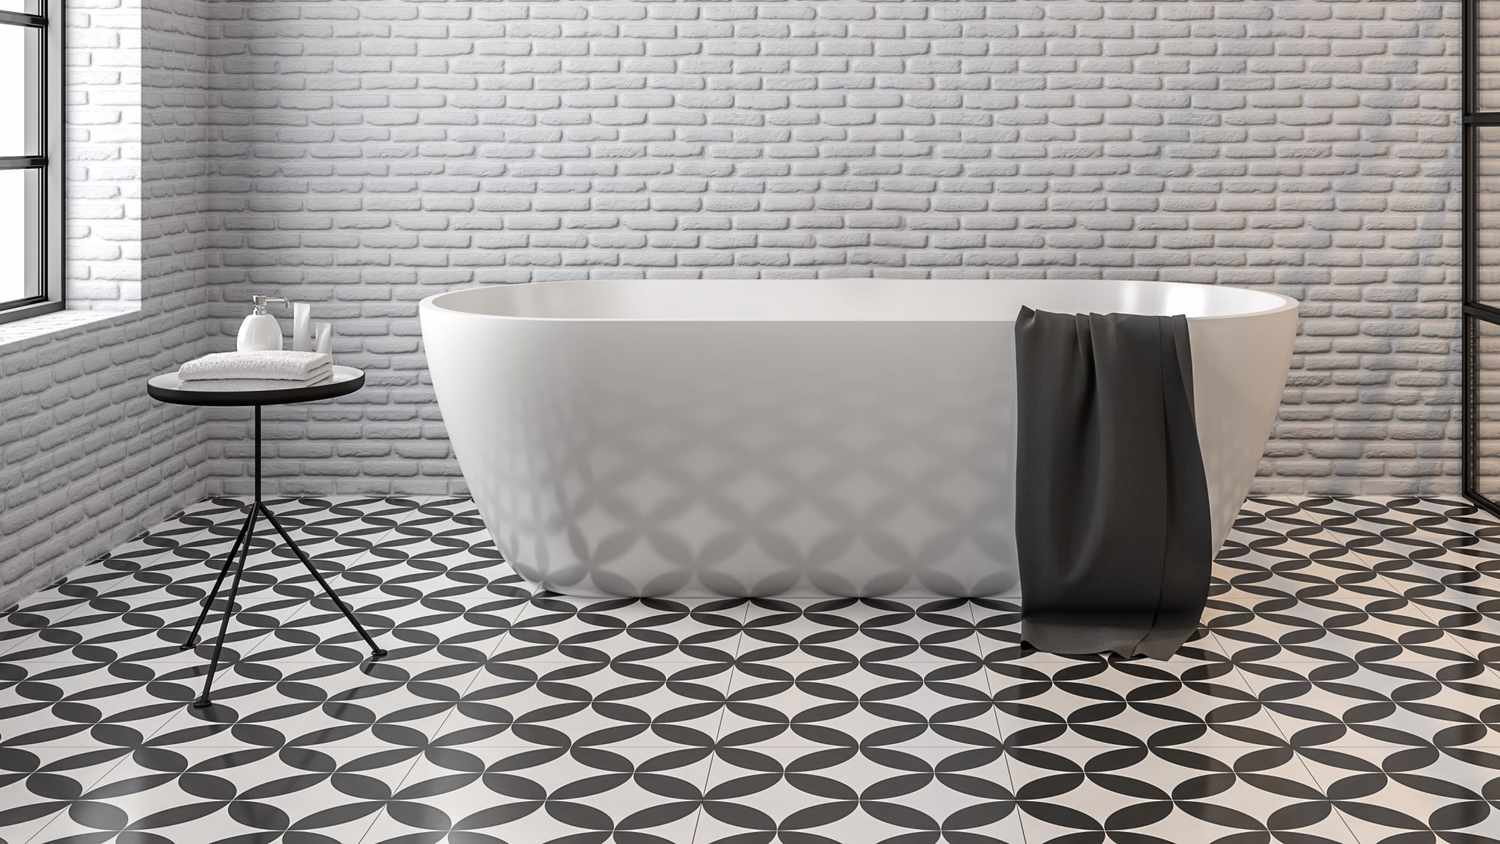
- Enjoy your new floor: With the finishing touches in place, it’s time to step back and admire your beautiful peel and stick floor tile installation. Enjoy the fresh, stylish look and the satisfaction of completing a successful DIY project.
By paying attention to these finishing touches, you can elevate the overall appearance of the floor and ensure its longevity. Take your time to complete these final steps with care and attention to detail.
Now, sit back, relax, and take pride in your newly transformed space with its stunning peel and stick floor tiles!
Conclusion
Congratulations on successfully completing your peel and stick floor tile installation! You’ve transformed your floors with a budget-friendly, easy-to-install, and stylish flooring solution. By following the step-by-step guide provided in this article, you’ve achieved a professional-looking result that will enhance the beauty and functionality of your space.
Throughout the installation process, you learned how to prepare the surface, measure and plan the layout, lay the tiles with precision, and add the finishing touches. Each step played a crucial role in creating a durable, aesthetically pleasing, and long-lasting flooring surface.
Remember, proper surface preparation and careful measurement and planning are key to a successful installation. Take your time, double-check your measurements, and ensure that your layout suits your personal taste and style.
As you enjoy your new peel and stick floor tiles, be sure to maintain them properly. Regular cleaning and maintenance will preserve their appearance and durability over time. Sweep or vacuum the floor regularly to remove any surface dirt or debris and mop as needed with a mild cleaning solution.
Whether you tackled a small room or an entire home, your peel and stick floor tile installation is a testament to your DIY skills and creativity. Sit back, relax, and relish the sense of accomplishment that comes from completing a successful home improvement project.
Thank you for choosing peel and stick floor tiles, and we hope you enjoy your beautiful new floors for years to come!
Frequently Asked Questions about How To Lay Peel And Stick Floor Tile
Was this page helpful?
At Storables.com, we guarantee accurate and reliable information. Our content, validated by Expert Board Contributors, is crafted following stringent Editorial Policies. We're committed to providing you with well-researched, expert-backed insights for all your informational needs.


0 thoughts on “How To Lay Peel And Stick Floor Tile”