Articles
How To Use Quilt Basting Spray
Modified: January 5, 2024
Discover the best techniques and tips for using quilt basting spray in our informative articles. Learn the step-by-step process to achieve professional-looking quilts.
(Many of the links in this article redirect to a specific reviewed product. Your purchase of these products through affiliate links helps to generate commission for Storables.com, at no extra cost. Learn more)
Introduction
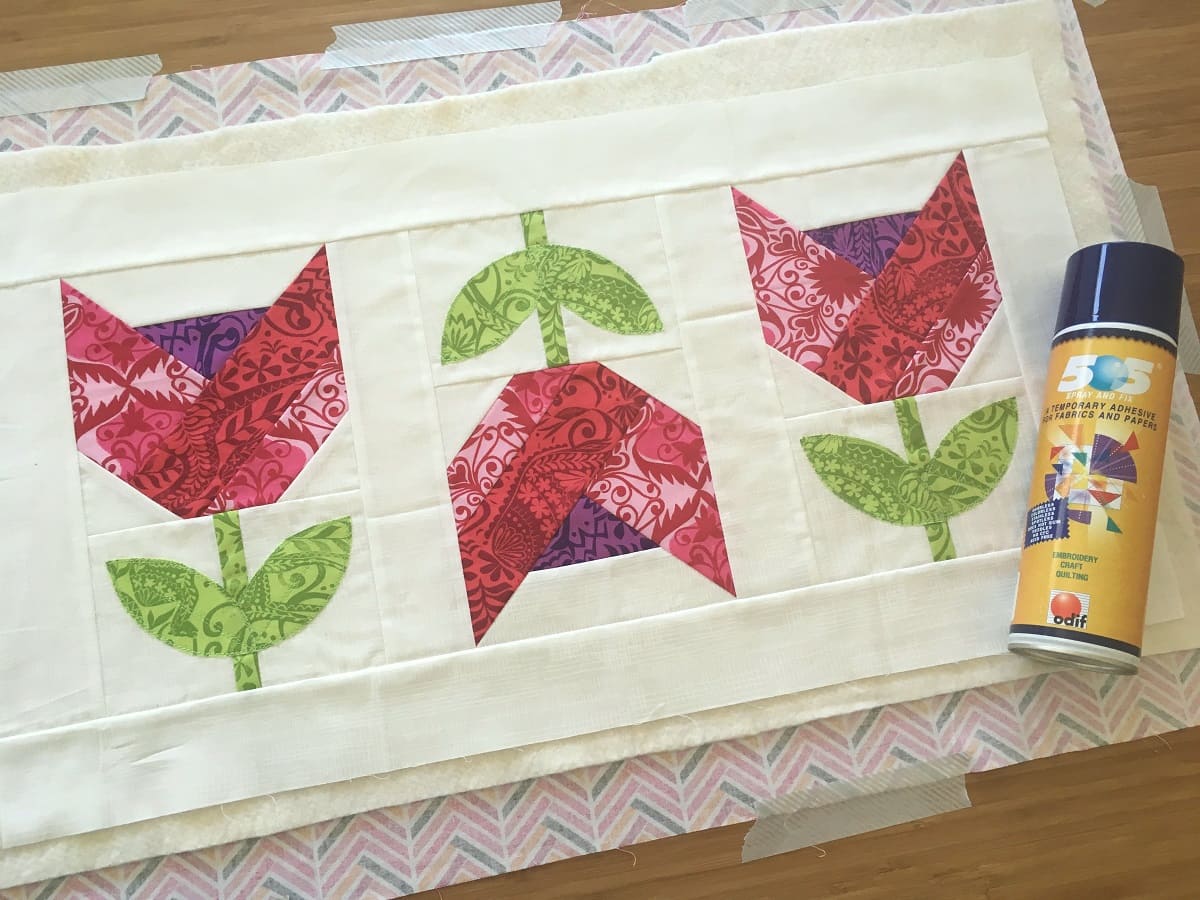
Welcome to the world of quilting! Whether you are a seasoned quilter or just starting, basting is an essential step in the quilting process. It helps to keep the layers of your quilt sandwich – the quilt top, batting, and backing – securely in place throughout the quilting journey. One of the popular methods of basting is using quilt basting spray.
Quilt basting spray is a convenient and efficient way to baste your quilt layers together without the need for pins or thread. It is a temporary adhesive that holds the layers in place while you quilt, making it easier to achieve smooth and wrinkle-free finishes. In this article, we will guide you through the process of using quilt basting spray, ensuring that your quilt stays in place during the quilting process.
Before we dive into the steps, let’s take a quick look at the supplies you will need to gather.
Key Takeaways:
- Efficient and Convenient Basting
Quilt basting spray offers a hassle-free alternative to traditional methods, ensuring smooth and wrinkle-free quilt layers. Its temporary adhesive holds the layers securely, making quilting a breeze. - Step-by-Step Quilting Guide
From gathering supplies to removing basting spray, this article provides a comprehensive, user-friendly guide for basting and quilting. Follow the steps for professional-looking, cherished quilts.
Read more: How To Baste A Quilt With Pins
Step 1: Gather Your Supplies
Before you begin, it’s important to gather all the necessary supplies to ensure a smooth basting process. Here are the items you will need:
- Quilt basting spray: Choose a high-quality quilt basting spray that is specifically designed for fabric. Look for a brand that offers a temporary hold to allow for easy removal after quilting.
- Quilt layers: You will need the quilt top, batting, and backing fabric. Ensure that your quilt layers are clean and free from any dirt or debris.
- A well-ventilated work area: Basting spray can be quite potent, so it’s essential to have proper ventilation. Work in a well-ventilated room or open a window to allow for fresh air circulation.
- Protective covering: Use a drop cloth or old bedsheet to protect your work surface from any overspray or adhesive residue.
- Disposable gloves: Wearing gloves will prevent the basting spray from getting on your hands and making them sticky.
- Masking tape: You may need masking tape to secure your quilt layers to the work surface, keeping them taut and in place.
Once you have gathered all these supplies, you are ready to move on to the next step: preparing your work area.
Step 2: Prepare Your Work Area
Preparing your work area is essential to ensure a smooth and hassle-free basting process. Follow these steps to set up your work area:
- Clean your work surface: Start by clearing off any clutter from your work surface. Wipe it down to remove any dust or debris that could interfere with the adhesive’s effectiveness.
- Lay down a protective covering: Place a drop cloth or an old bedsheet over your work surface to protect it from any overspray or adhesive residue. This will make clean-up much easier.
- Secure the backing fabric: Lay the backing fabric on the protected surface, wrong side facing up. Smooth out any wrinkles or folds and secure it to the work surface using masking tape. This will help keep the backing fabric taut and in position during the basting process.
- Center the batting: Lay the batting on top of the backing fabric, aligning the edges. Ensure that the batting is centered and smooth out any wrinkles or bubbles.
- Place the quilt top: Finally, carefully place the quilt top on top of the batting, aligning the edges with the backing fabric. Gently smooth out any wrinkles or folds.
Once you have prepared your work area and positioned the quilt layers, you are now ready to move on to the next step: laying out the quilt layers.
Step 3: Lay Out the Quilt Layers
Now that your work area is prepared, it’s time to lay out the quilt layers. This step ensures that all the layers are properly aligned and ready for the basting spray.
- Smooth out the backing fabric: Begin by smoothing out the backing fabric, making sure it is free from any wrinkles or folds. This will provide a flat and even surface for the rest of the layers.
- Place the batting: Carefully place the batting on top of the backing fabric, aligning the edges. Smooth it out with your hands, ensuring that it covers the entire quilt sandwich.
- Position the quilt top: Gently lay the quilt top on top of the batting, aligning the edges with the backing fabric. Take your time to adjust the quilt top and ensure that it is centered and straight.
During this process, it’s important to be mindful of the quilt’s design and ensure that the patterns or motifs are properly aligned. Smooth out any wrinkles or folds that may occur as you lay out the layers, as this will ensure a smooth and professional-looking quilt.
Once you have laid out the quilt layers in their proper positions, you are now ready to move on to the next step: shaking the basting spray can.
Step 4: Shake the Basting Spray Can
Before applying the basting spray, it is important to shake the can thoroughly. This ensures that the adhesive inside the can is well-mixed and ready to be applied evenly to the quilt layers.
- Read the instructions: Begin by reading the instructions provided by the manufacturer on the basting spray can. Different brands may have specific shaking instructions, so it’s important to familiarize yourself with the product’s recommendations.
- Ensure a secure cap: Make sure the cap of the basting spray can is securely fastened. This prevents any spills or leaks, ensuring that the adhesive is contained properly.
- Hold the can upright: Take the basting spray can in your hand and hold it upright. This helps to maintain the proper flow and prevent any clogging or sputtering.
- Shake vigorously: Begin shaking the can vigorously for a few seconds. This action helps to mix the adhesive inside, ensuring a consistent and even spray when applied to the quilt layers.
- Verify mixture consistency: After shaking, you can check the basting spray can by giving it a gentle squeeze. If the mixture feels uniform and the can doesn’t make any strange sounds, you can be confident that the adhesive is mixed properly.
Shaking the basting spray can ensures that you get the best results when applying the adhesive to your quilt layers. Once you have shaken the can thoroughly, you can move on to the next step: spraying the basting spray.
Read more: How To Hand Baste A Quilt
Step 5: Spray the Basting Spray
Now that you have shaken the basting spray can, it’s time to apply the adhesive to the quilt layers. Follow these steps to ensure an even and effective application:
- Hold the can at the proper distance: Before spraying, refer to the instructions on the basting spray can for the recommended spraying distance. Typically, it is advised to hold the can about 10-12 inches away from the quilt layers.
- Start from the center: Begin spraying the basting spray at the center of the quilt, making sure to apply a light and even layer. Work outward in a smooth and sweeping motion, covering an area of about one square foot at a time.
- Overlap the spray: As you move along, slightly overlap the sprayed areas to ensure full coverage and a secure bond between the quilt layers.
- Apply sparingly: It’s essential to use the basting spray sparingly. A little goes a long way, and using excessive amounts can lead to oversaturation, which may affect the quality of your quilting stitches.
- Handle with care: Be mindful of any fragile or delicate areas on your quilt top. If there are specific sections that you want to avoid applying the basting spray to, you can use masking tape or a protective barrier to cover those areas.
- Continue spraying: Repeat the spraying process until you have covered the entire quilt sandwich with the basting spray. Take your time and ensure that each area receives an even application.
Remember to work in a well-ventilated area or near an open window to avoid inhaling the fumes from the spray. Additionally, it is important to protect any nearby surfaces or furniture from overspray by placing a protective covering.
Once you have applied the basting spray, it’s time to move on to the next step: smoothing out the layers.
When using quilt basting spray, make sure to spray in a well-ventilated area and use a light, even application to avoid over-saturating the fabric.
Step 6: Smooth Out the Layers
After applying the basting spray, it’s crucial to smooth out the quilt layers to ensure a flat and wrinkle-free surface. This step will help create a smooth canvas for your quilting stitches. Follow these steps to achieve a well-prepared quilt sandwich:
- Starting from the center: Begin by smoothing out the quilt layers from the center of the quilt sandwich. Use your hands or a smoothing tool to gently press down and smooth out any wrinkles or bubbles.
- Work your way out: Gradually work your way outwards from the center, smoothing the layers as you go. Be careful not to disturb the placement of the layers or shift them out of alignment.
- Pay attention to the edges: Pay special attention to the edges of the quilt, ensuring that the layers are securely adhered and properly aligned.
- Smooth with light pressure: Use light pressure when smoothing out the layers to avoid displacing the basting spray or distorting the quilt top’s design. Remember, you want a flat surface, but you don’t want to press too hard and cause damage or distortion.
- Remove any excess spray: If you notice any excess basting spray on the surface of your quilt, you can gently dab it with a clean cloth or paper towel. This will help prevent any stickiness or residue that may affect the stitching process.
Take your time during this step to ensure that all layers are smooth and properly adhered. A well-prepared quilt sandwich will make it easier to quilt with precision and achieve professional-looking results.
Once you have smoothed out the layers, you can move on to the next step: repeating the process for large quilts.
Step 7: Repeat for Large Quilts
If you are working with a large quilt, you may need to repeat the spraying and smoothing process in sections to ensure proper basting throughout the entire quilt. This step is especially important for larger quilts, as it allows you to maintain control and accuracy while applying the basting spray.
- Divide the quilt into sections: Look at your large quilt and divide it into manageable sections that you can comfortably work with. This could be by rows, blocks, or any other logical division that suits the design of your quilt.
- Apply the basting spray section by section: Following the same technique as before, apply the basting spray to one section at a time, starting from the center and working your way outwards. Remember to overlap the sprayed areas slightly for a secure bond.
- Smooth out each section: After spraying each section, take the time to smooth out the layers within that section. Ensure that there are no wrinkles or bubbles and that the layers are securely adhered.
- Repeat until the entire quilt is sprayed and smoothed: Continue this process of spraying and smoothing for each section of the quilt until the entire quilt is basted. Take breaks as needed to avoid fatigue and maintain focus.
Basting your large quilt in sections allows you to have better control and precision during the process. It ensures that each area of the quilt receives adequate basting and that the layers are properly secured. This approach is especially helpful if you are working in limited space or on a large quilt that is challenging to handle in one go.
Once you have completed the basting process for your large quilt, you can move on to the next step: allowing the spray to dry before quilting.
Step 8: Let the Spray Dry
After applying the basting spray, it is crucial to allow it sufficient time to dry before you start quilting. This step ensures that the adhesive sets properly, securing the quilt layers together and providing a stable base for your stitching. Follow these guidelines to ensure proper drying:
- Check the drying time: Refer to the manufacturer’s instructions on the basting spray can for the recommended drying time. Typically, it takes around 1-2 hours for the spray to dry completely, but it may vary depending on factors such as temperature and humidity.
- Provide ample ventilation: During the drying process, make sure the area remains well-ventilated. Open windows or use fans to promote air circulation, helping the spray to dry more quickly.
- Avoid disturbing the quilt layers: While the basting spray is drying, avoid touching or moving the quilt layers. Disturbing the layers may disrupt the adhesive’s bonding process and lead to uneven basting.
- Perform a touch test: After the recommended drying time has passed, perform a touch test to check if the spray is fully dry. Lightly touch an inconspicuous area of the quilt layers to see if any stickiness or residue remains. If it feels dry to the touch, it’s safe to proceed to the next step.
It’s essential to exercise patience and allow the spray to dry completely before quilting. Rushing the process may result in the layers shifting or the basting spray not holding properly, affecting the overall quality of your quilt.
Once you are confident that the basting spray is fully dry, you can move on to the next step: beginning the quilting process.
Read more: How To Use Bidet Spray
Step 9: Begin Quilting
Congratulations! You’ve successfully basted your quilt layers together, and now it’s time to dive into the exciting part – quilting! Follow these guidelines to get started with your quilting journey:
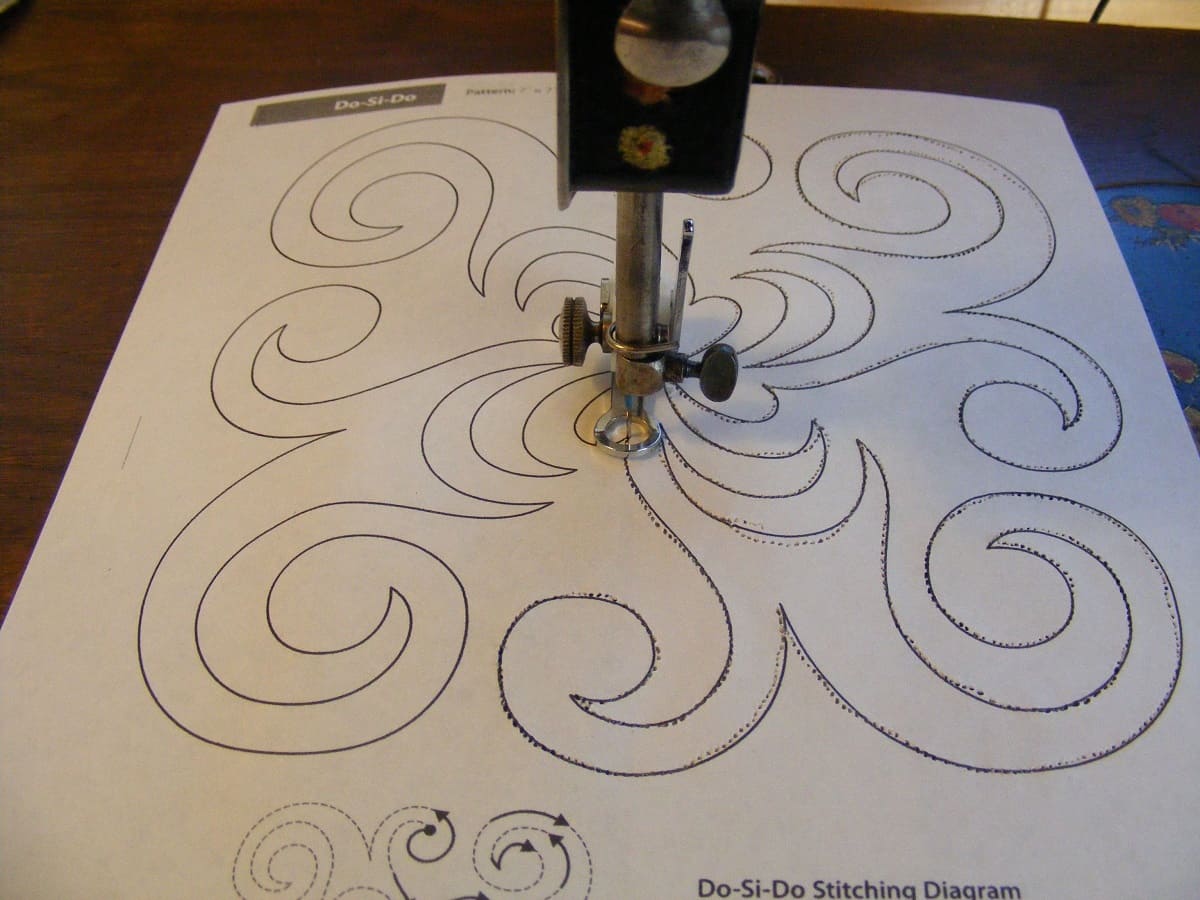
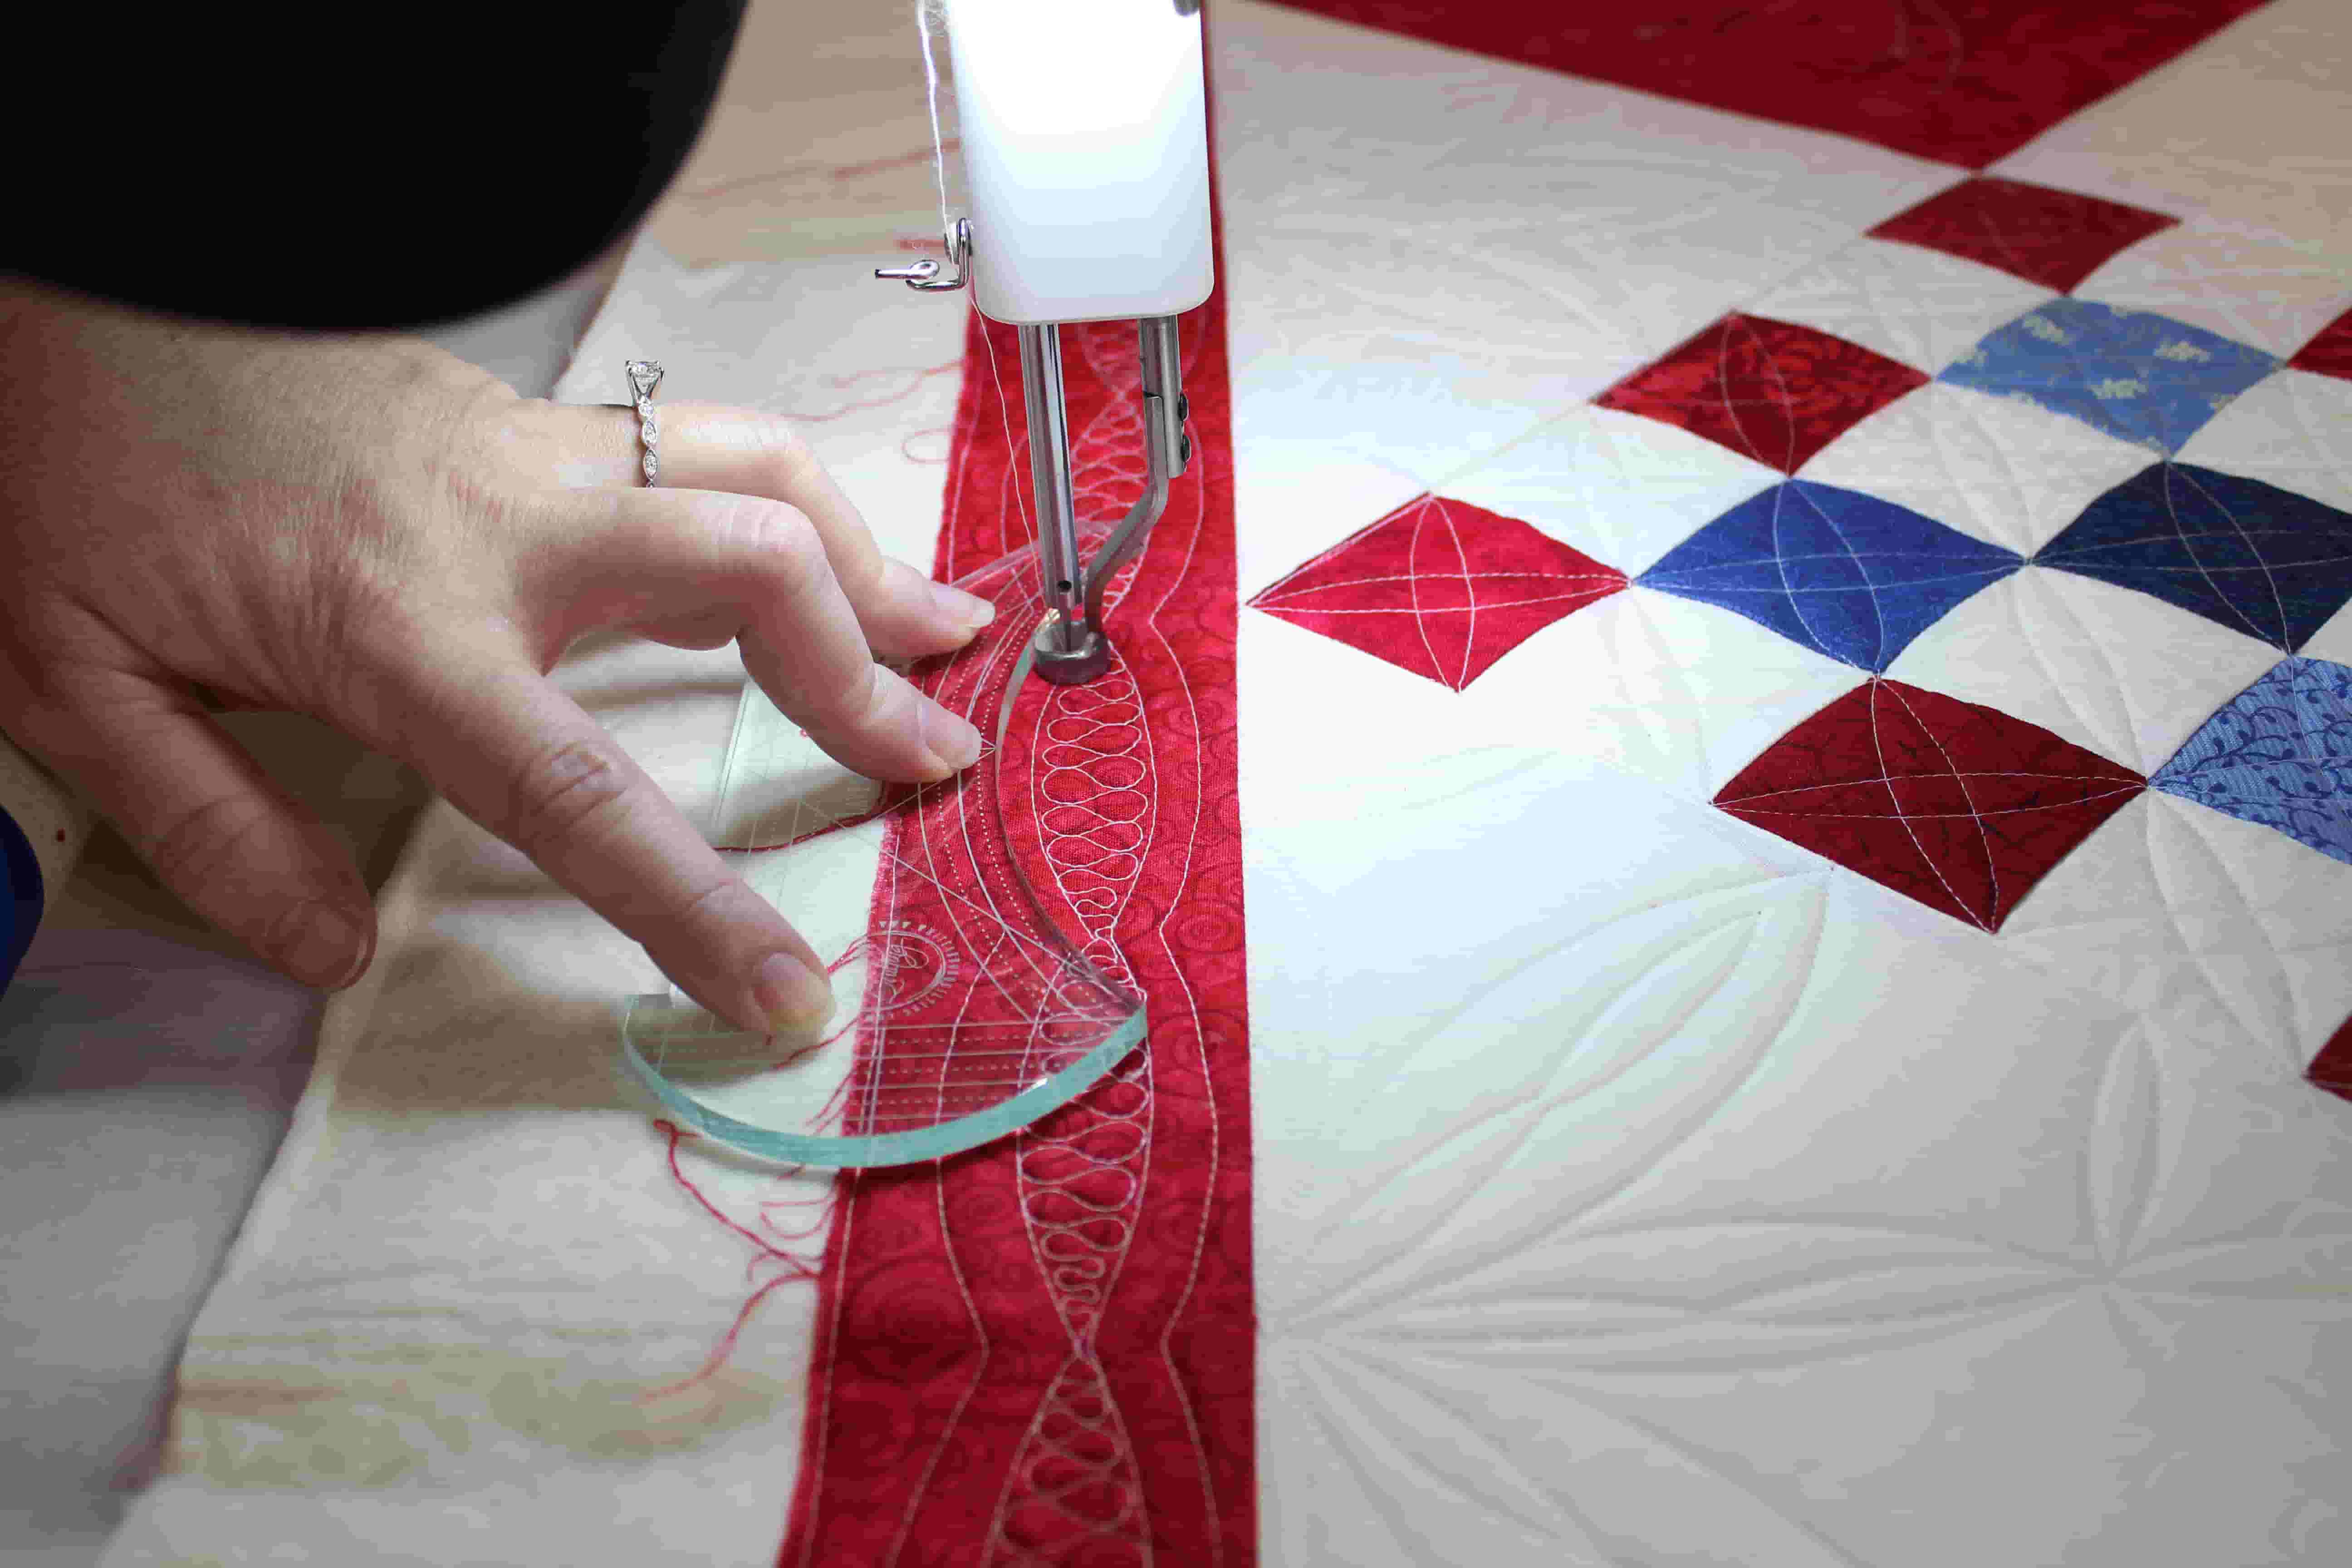
- Select your quilting technique: Decide on the quilting technique you want to use for your project. Whether it’s free-motion quilting, straight-line quilting, or a combination of different designs, choose a technique that complements your quilt’s style and enhances its overall appeal.
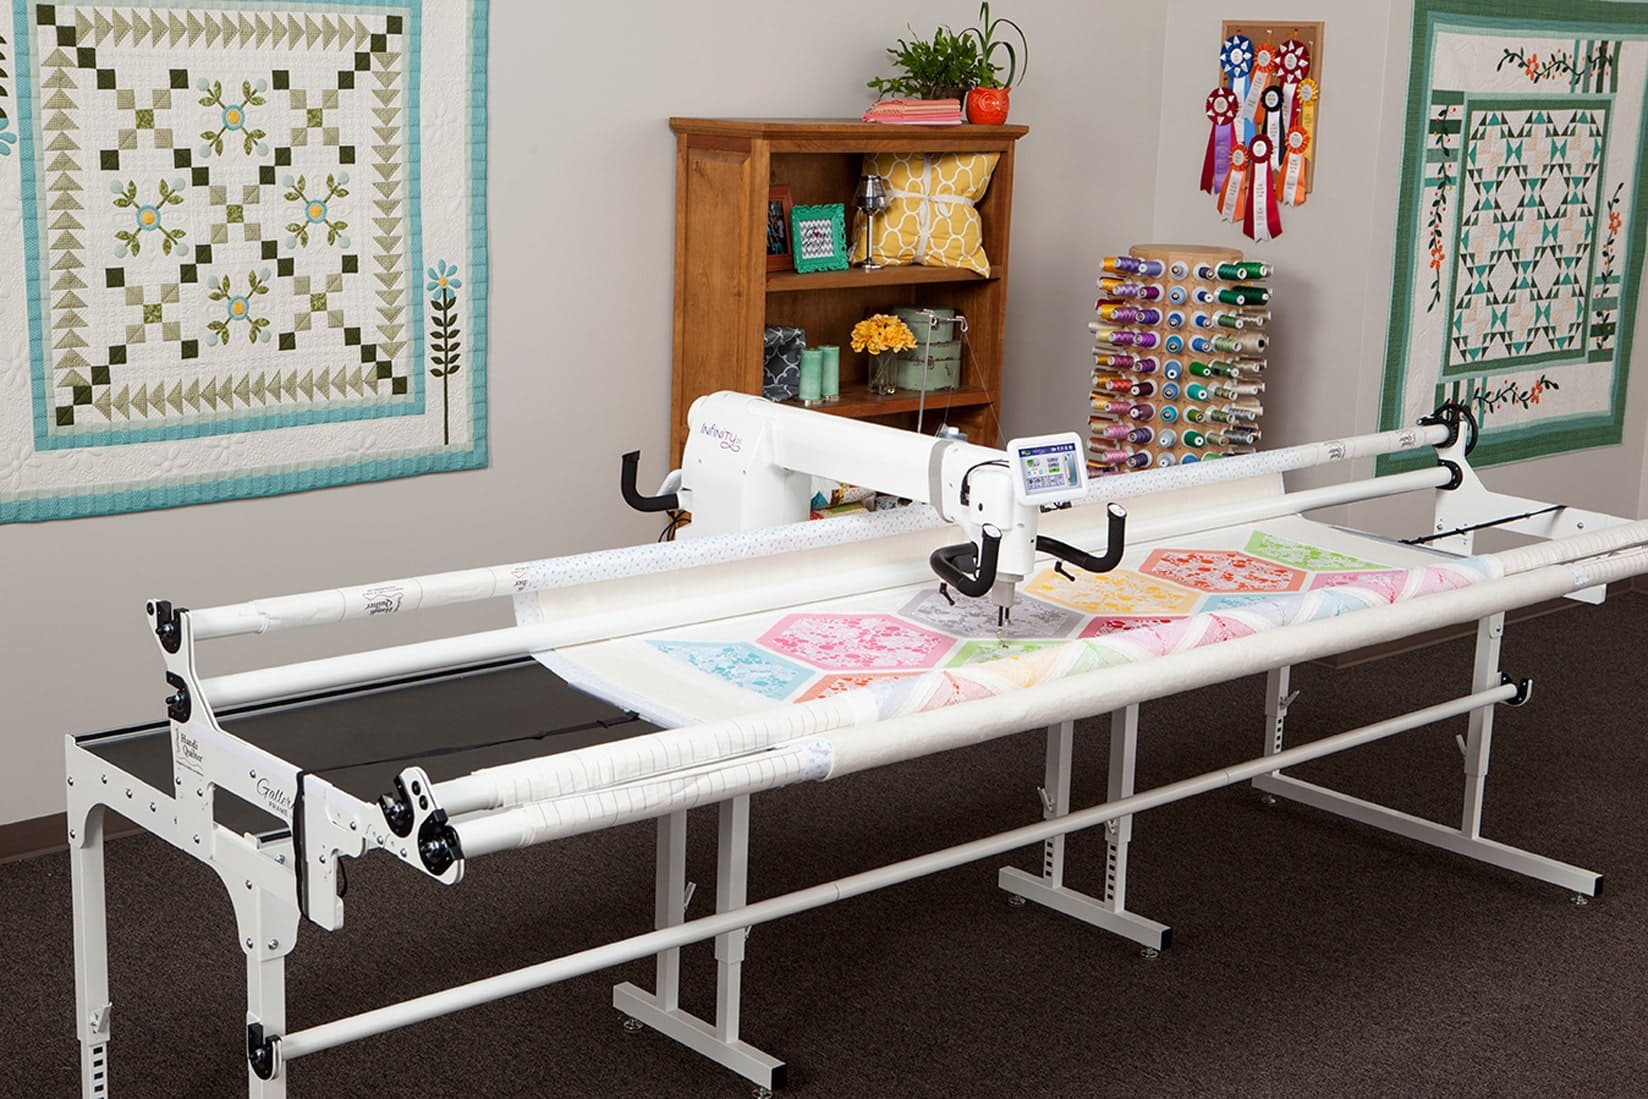
- Set up your quilting workspace: Create a dedicated space for quilting where you have enough room to maneuver your quilt. Ensure you have a comfortable chair, adequate lighting, and all the necessary quilting tools within reach.
- Thread your sewing machine: Choose a thread color that complements your quilt design and thread your sewing machine. Use a quilting-specific thread that is strong, yet thin enough to create smooth and even stitches.
- Start quilting from the center: Begin quilting from the center of your quilt and work your way outwards. This helps to distribute any potential puckering or fullness more evenly throughout the quilt.
- Follow your quilting plan: If you have a quilting plan or pattern in mind, use it as a guide while quilting. Take your time and follow the design lines, filling in the areas with your chosen quilting stitches.
- Maintain consistent stitch length: Aim for a consistent stitch length throughout your quilting to achieve a polished and professional appearance. Practice steady movement and maintain an even speed as you guide your quilt through the machine.
- Take breaks and rest your hands: Quilting can be a time-consuming process, so it’s important to take breaks and rest your hands and eyes periodically. This helps prevent fatigue and ensures better focus and precision in your quilting stitches.
Quilting is a creative and enjoyable process, so allow yourself to experiment and have fun with your design. Embrace imperfections and let your personal style shine through in your quilting stitches.
Once you have completed the quilting process, it’s time to remove the basting spray and finish your quilt.
Step 10: Finish and Remove Basting Spray
Congratulations on completing your quilting journey! Now, it’s time to finish your quilt and remove the basting spray to reveal the final masterpiece. Follow these steps to finish your quilt and remove the basting spray:
- Trim the excess batting and backing: Start by carefully trimming the excess batting and backing fabric from the quilt edges. Use sharp scissors or a rotary cutter to achieve clean and precise cuts.
- Inspect the quilt for any loose threads or stray fibers: Take a close look at your quilt and remove any loose threads or stray fibers that may have accumulated during the quilting process. Use a lint roller or tape to gently lift them away.
- Prepare a clean work surface: Find a clean and flat work surface where you can safely remove the basting spray without damaging your quilt.
- Begin removing the basting spray: Take one corner of your quilt and lift it slightly. Slowly and carefully peel back the layers, starting from the corner, to expose the sprayed areas.
- Use a lint roller or gentle brushing: As you uncover the sprayed areas, use a lint roller or a soft brush to remove any residual adhesive or flaky particles. Take your time and be gentle to avoid tugging or damaging the quilt layers.
- Repeat the process for the entire quilt: Gradually work your way across the quilt, peeling back the layers and removing any traces of the basting spray. Pay close attention to the areas that were heavily sprayed to ensure complete removal.
- Check for any adhesive residue: After removing the basting spray, carefully inspect the entire quilt for any remaining adhesive residue. If you notice any, lightly dab the affected areas with a clean cloth dampened with a mild adhesive remover or rubbing alcohol. Be gentle to avoid smudging or spreading the residue.
- Allow the quilt to air out: Once the basting spray and any residue are removed, allow the quilt to air out in a well-ventilated area for a short period to ensure any lingering fumes dissipate.
After removing the basting spray, your quilt is now ready for the final finishing touches. You can add binding to the edges, give it a thorough press to create crisp folds and smooth wrinkles, and proudly display or gift your beautifully quilted creation!
Remember, enjoy the process and embrace the beauty of your finished quilt. Quilting is a labor of love, and the time and effort you put into it will result in a cherished piece of art for years to come.
Safe travels on your quilting journey, and happy quilting!
Conclusion
Congratulations on successfully learning how to use quilt basting spray! Basting your quilt layers together is a crucial step in the quilting process, ensuring that they stay securely in place while you create beautiful and intricate stitching patterns. Quilt basting spray provides a convenient and efficient alternative to traditional pinning or thread basting methods, allowing for a smooth and wrinkle-free quilting experience.
Throughout this article, we have guided you through a step-by-step process, from gathering your supplies to finishing your quilt and removing the basting spray. By following these steps, you can achieve professional-looking results and a quilt that is ready to be admired and cherished.
Remember to gather all the necessary supplies, prepare your work area, and lay out your quilt layers with care. Shake the basting spray can to ensure proper mixture consistency, and then apply the spray evenly, smoothing out the layers as you go. If you’re working with a large quilt, repeat the process in sections to ensure thorough coverage. Allow the spray to dry completely before moving on to the quilting process.
Once you’ve completed your quilting journey, finish your quilt by removing any excess batting and backing fabric. Take the time to inspect your quilt for loose threads and clean the surface before carefully removing the basting spray. Be patient and gentle as you peel back the layers, ensuring the complete removal of any residue.
Quilting is a labor of love, and with the right techniques and tools, you can create stunning quilts that will be treasured for generations. So, gather your materials, unleash your creativity, and enjoy the satisfaction of completing a beautiful quilt through the use of quilt basting spray.
Happy quilting!
Frequently Asked Questions about How To Use Quilt Basting Spray
Was this page helpful?
At Storables.com, we guarantee accurate and reliable information. Our content, validated by Expert Board Contributors, is crafted following stringent Editorial Policies. We're committed to providing you with well-researched, expert-backed insights for all your informational needs.


0 thoughts on “How To Use Quilt Basting Spray”